 Stefan Lochbrunner
1st approach:
edited html of both images:

(spaces and line breaks to insert space)
how I did it:
- write text
- insert images
- write more text and insert more images
- once done with the general layout, inspect editor element as described here #Hack the Hack A Day Editor
- in HTML code remove </p><p> between the two images you want to have side by side
- add
style="width:50%;float:left;"
and
style="width:50%;float:right;respectively to the <img> tags
example here. if the editor deletes the formatting while you insert the empty space or make some other change to the text, try undo (ctrl+z) to restore it. worked for me (using chrome).
2nd approach:
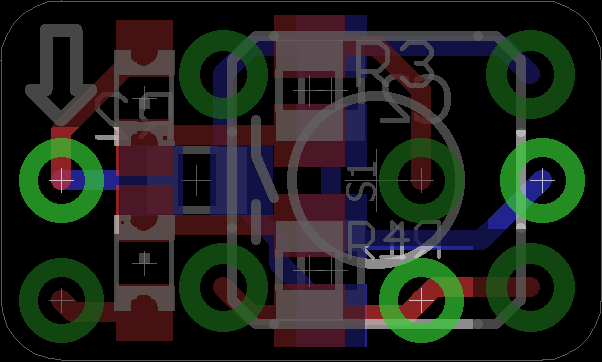
create 1x2 table, drag&drop images:
 |  |
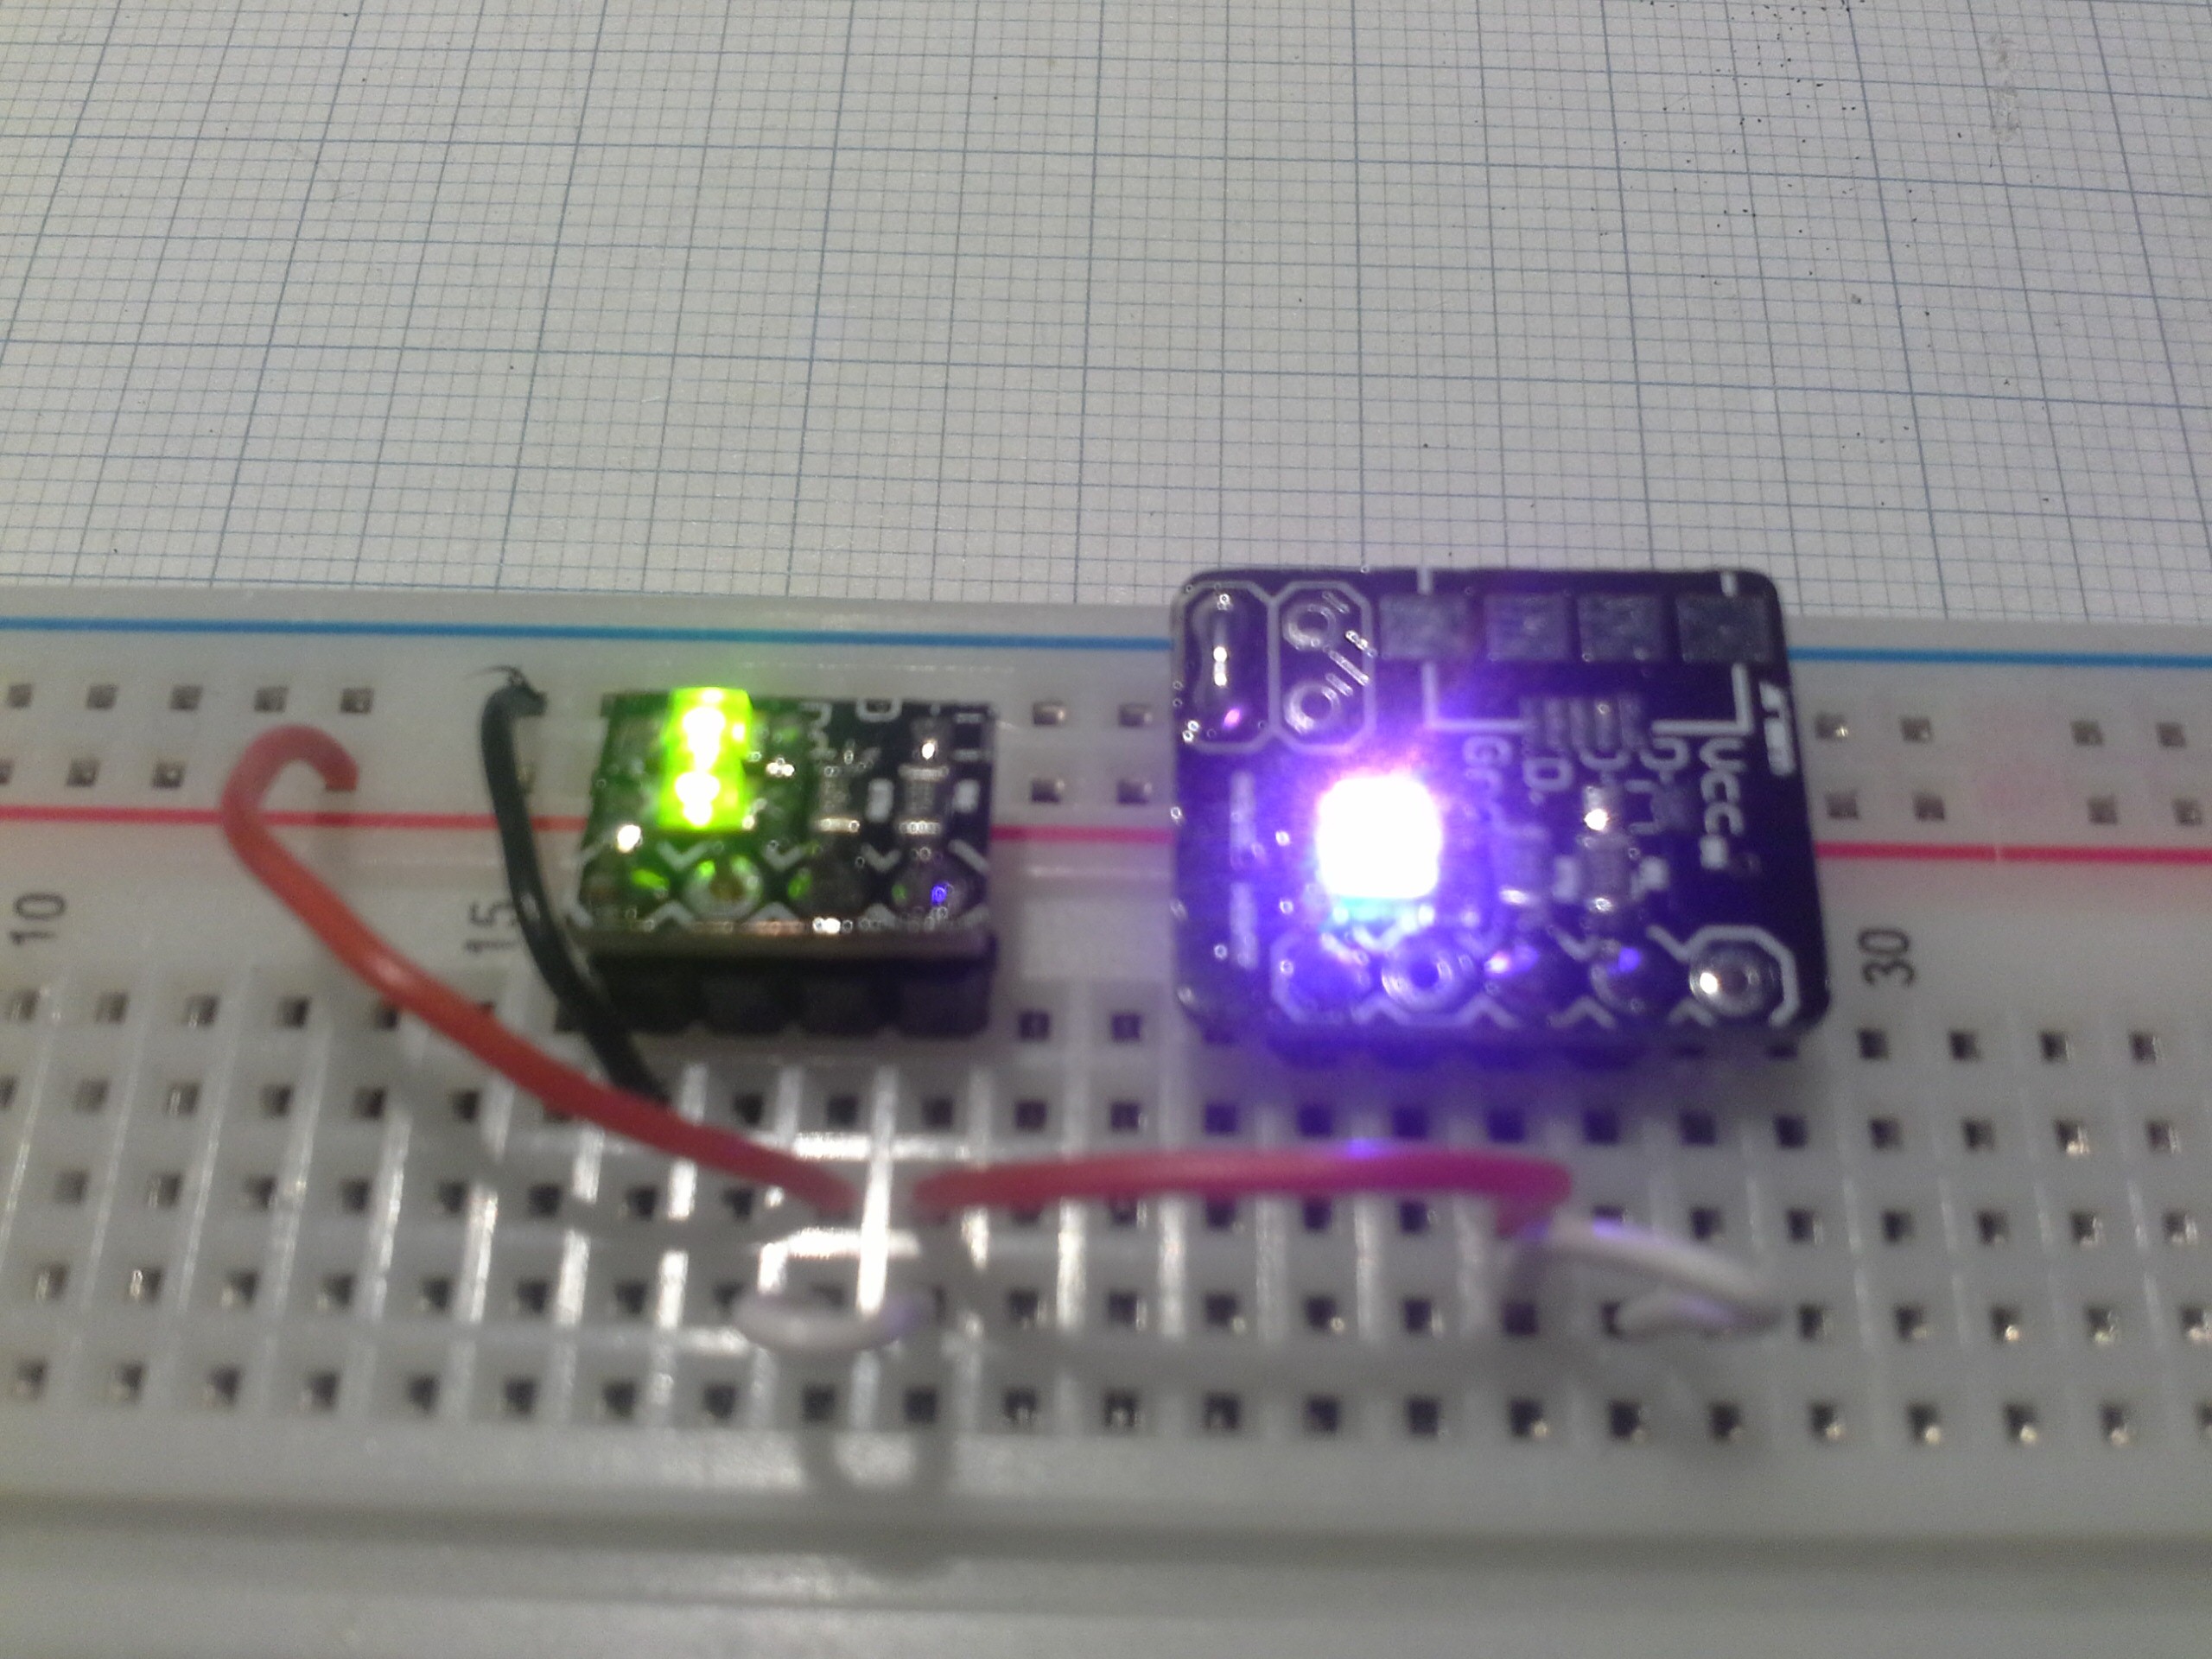 | 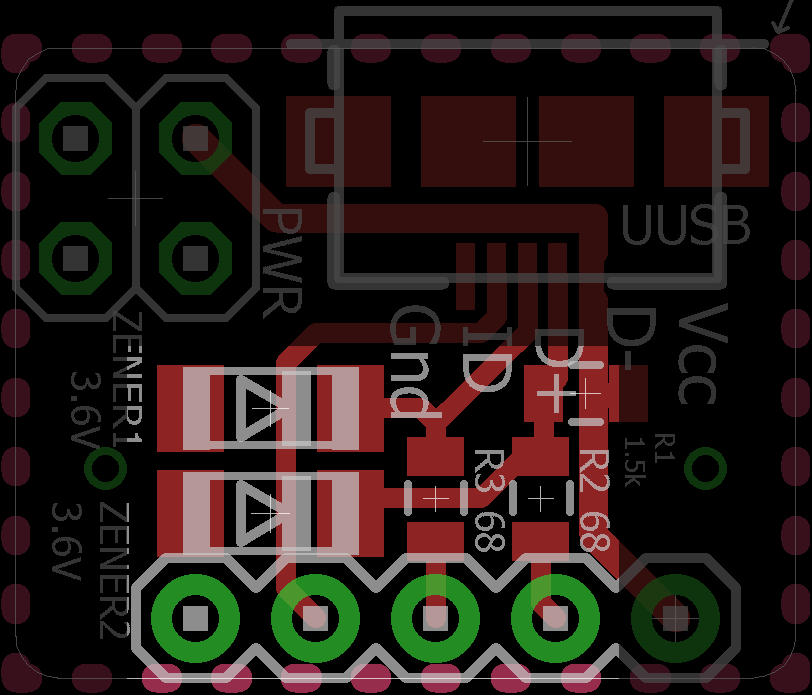 |
same as before, with images resized to same height:
 |  |
resizing images has the effect that they are assigned a fixed size in pixels which can lead to them not being displayed properly and looking different than in the editor. therefore don't shrink the larger (left) image but enlarge the smaller one.
also check out how this page looks on different monitor/window sizes to see the differences and especially how the resized image is being distorted.
for reference

Discussions
Become a Hackaday.io Member
Create an account to leave a comment. Already have an account? Log In.