
Uses car battery power supply for SQ-SW1 spot weld merchine steps:
1.Distinguish the positive and negative poles.

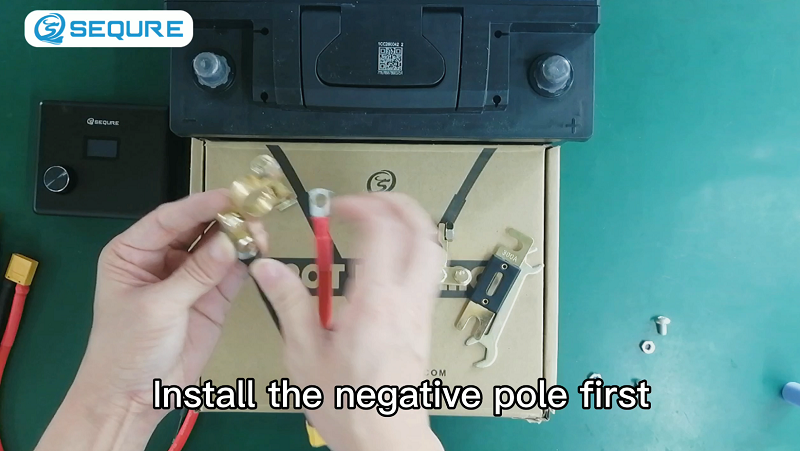
2.Install the negative pole first
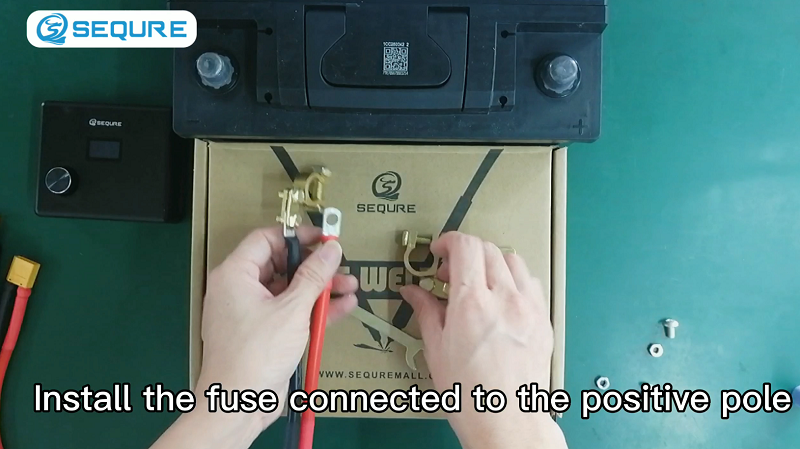
3.Install the fuse connected to the positive pole. Mark the 300A fuse
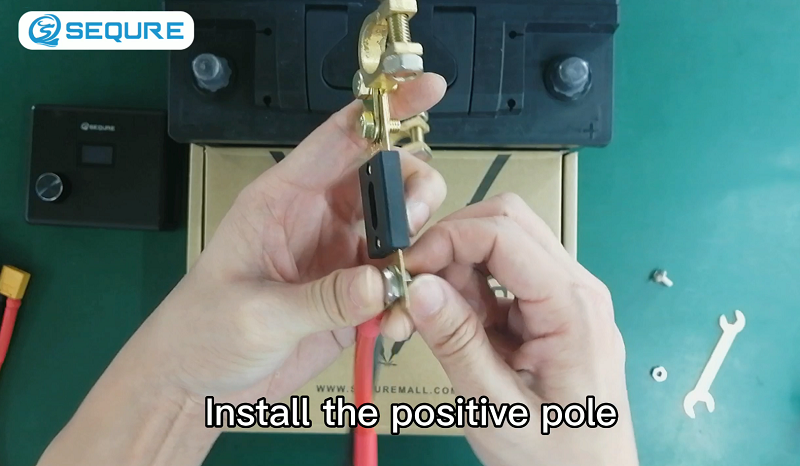
4.Install the positive pole
5.Connect the negative pole of the car battery first, and then connect the positive pole.

6.Install an integrated handle

7.Switch to manual mode
8.Spot welding

Discussions
Become a Hackaday.io Member
Create an account to leave a comment. Already have an account? Log In.