-
Counterfeit STM8S003
01/17/2024 at 15:11 • 0 commentsI ordered some counterfeit STM8S003 recently as the parts dried up and the prices were getting higher. I didn't think much at the time as the seller had been around for a few years and had good reviews.
Aliexpress dispute initially rejected my claim and I had to dig much deeper for additional proof.
I also did some extra digging and found out that STM8 is also a trademark, so leaving it in the description is sufficient enough to associate the part from ST Micro. Aliexpress into real trouble if "STM8" result from their search engine shows a counterfeit part and they refused a refund sheltering guilty parties.
They have finally gave and started the refund process.
![]()
The seller photo edit out the company logo as it is a trademark and even left their company name in the picture.
I found another (counterfeit?) part that has the company logo intact. The part look innocent enough except for markings on the third line.![]()
Same part with similar pin1 dimple and "e4" logo. ![]()
Order page vs actual shipped parts The actually shipped parts are actual a different batch of counterfeit that don't even look like the picture! The ST logo is replace with a thinner version that looks more like 5T and the "E4" uses a different font as the top part of '4' is now closed. The pin 1 dimple is now gone meaning that they now use a different part as the the base for the counterfeit.
Here is another look under the microscope. The real ST part marking are engraved with a Laser while the counterfeit part is printed on. Laser are cheap enough, that isn't the sure fire way of telling these days.
![]()
Left side is the real part that I have Right Side is the counterfeit parts from the order ![]()
Part marking from STM8S003 datasheet STM8S003 marking: PHL = Philippines, Year = 4, Week = 06 and Revision = Y
The counterfeit part uses a slightly different format. CHN = China. The date code could be 03, 6 or 0, 36.I have wired the part onto a protoboard. My preliminary test probing the parasitic ESD protection diodes indicate that the counterfeit base part has same Power/Ground location and likely it is also a microcontroller of some kind. However unlike other simpler counterfeit parts, one can't exactly program it without knowing what it actually is.
The VCAP pin has no voltage output. There are no active I/O pins, so likely there is no bootstrap loader.
There are a few other microcontrollers that shares a similar pinout and package. e.g. Nuvoton N76E003AT20 (8051), HK32F003M (ARM M0) and possibly more.
I don't have a Nu-Link to try out, so there isn't much I can do.
-
STM8 V-USB
08/17/2020 at 03:10 • 0 commentsI found a working version of STM8 V-USB for a HID keypad. I have refactored and modified the stack to support Vendor Request packets. The limitation is that (3) other GPIO pins on the same port are only available as inputs. I got a work around for - just turn them into PWM and you can force them individually H or L. :)
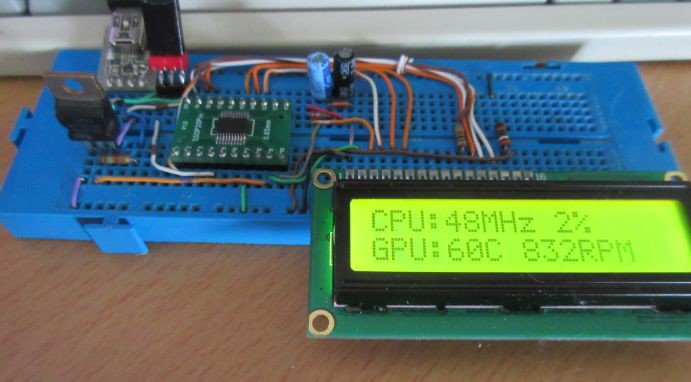
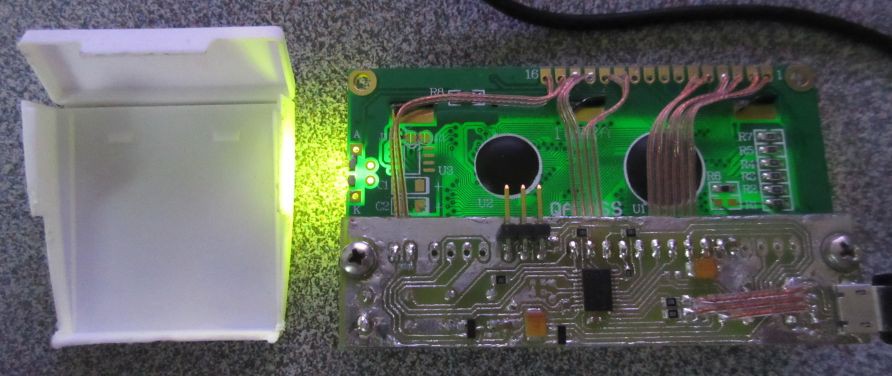
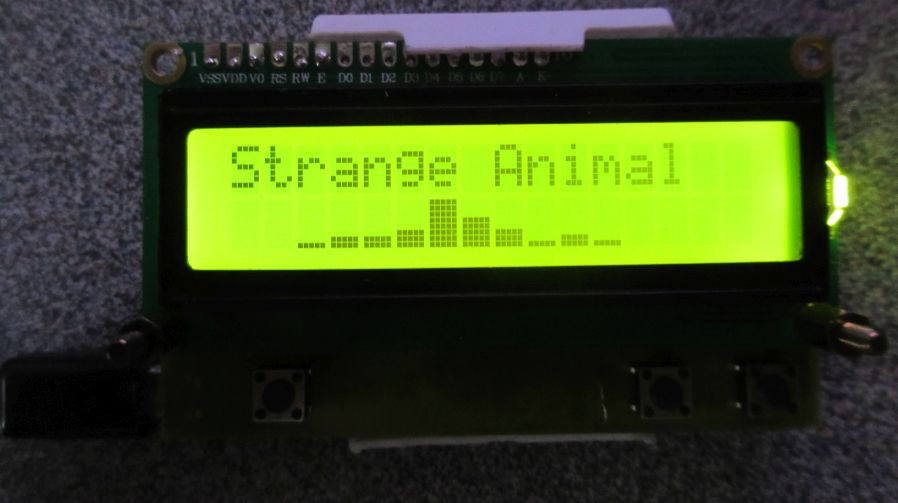
Here is a porototype for a STM8 version of LCD2USB that I used for debugging the V-USB stack. LCD Smarties can be used to control it under Windows.
It is working good enough this morning, so I went ahead and made a toner transfer PCB.
It works first time. :)
I have broken out headers for serial port, I2C as the PCB might be useful for my other projects. I also have pads for a tiny crystal for projects e.g. LCD clock.
-
Winner Winner Chicken Dinner
06/24/2020 at 22:01 • 0 commentsHere is another simple recipe with minimum ingredients and work.
DIY bake chicken coating:
1 teaspoon bread crumb, 1/3 teaspoon of Chilli powder, 1/5 teaspoon salt (optional)I used it to coat a couple of drum sticks.
I made the bread crumbs from the bread ends or stale bread. More details here.According to wiki, Chilli powder is chili peppers and blended with other spices including cumin, onion, garlic powder, and sometimes salt.
Salad dressing mix (dry) are good alternative spice mix to try.
DIY Fries:
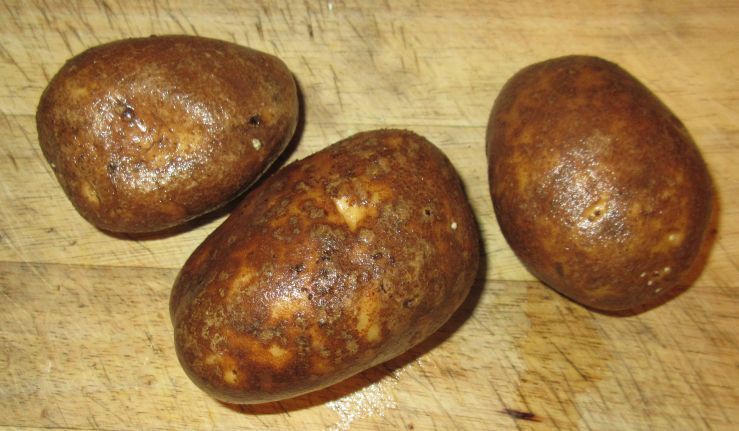
I washed a few potatoes, and use a kitchen gadget to cut them up into fries.
I cook them in a pot of boiling water for 8 minutes. Meanwhile I pre-heat the oven at 400F (200C).
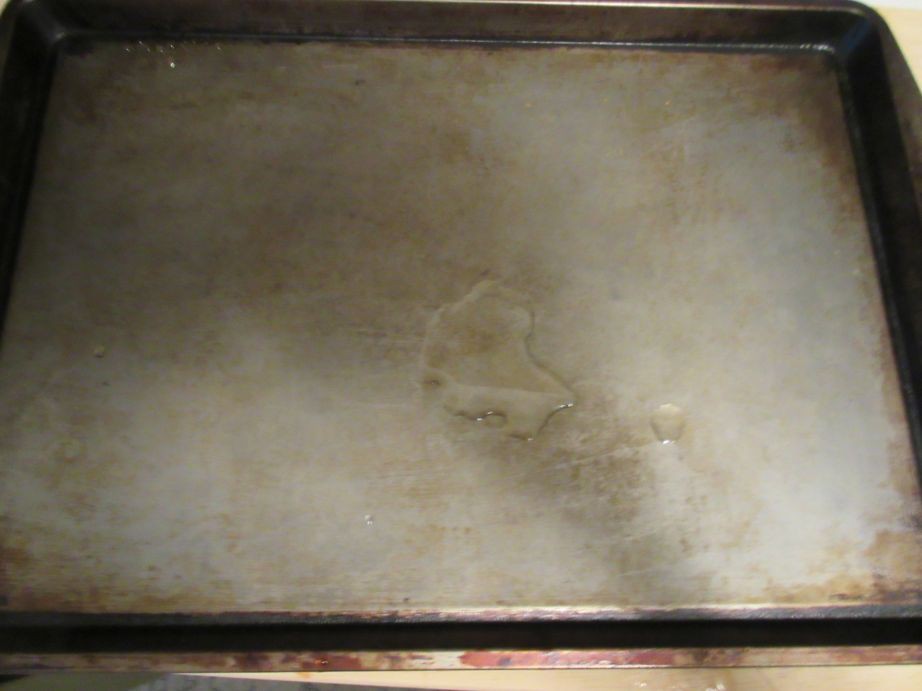
and coated a cookie pan I bought from a dollar store with 1 teaspoon of oil.
When the potatoes are cooked, rinse them in cold water and drain the pot. I use one piece to brush the surface with oil. I spread the fries on the pan and sprinkle a bit of Italian herbs on top.
Put both the chicken and the fries in the oven for 20 minutes. Flip the chicken and fries and bake for another 15 minutes. The chicken should be done. Serve with vegetables, bread etc.
If the fries are not yet crunchy, they might need another 5 minutes.
![]()
-
Fixing Chinesium Connectors
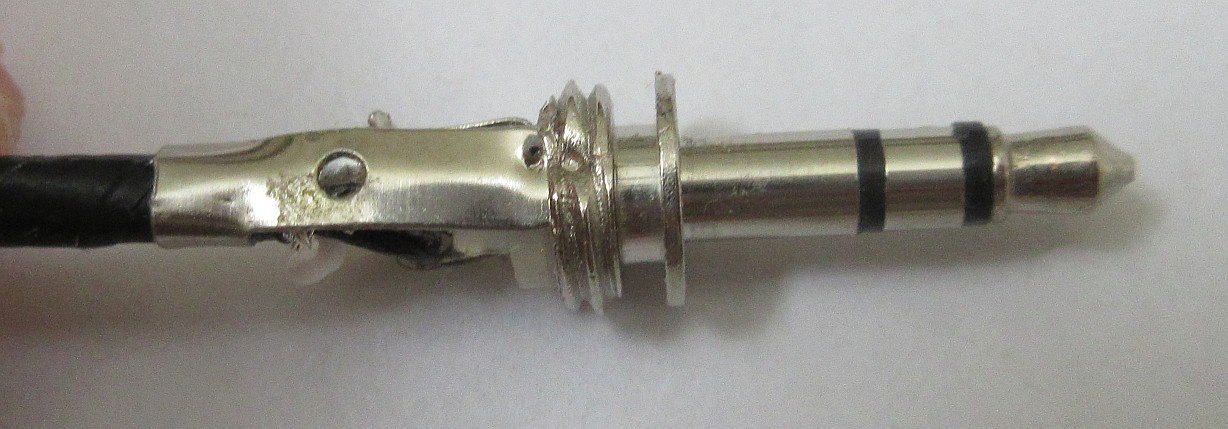
06/09/2020 at 14:22 • 0 commentsIt seems that some of the cheaper Chinese parts are up to snuff when it comes to metal and plastic. This is the usual cheap connector that came off aliexpress.
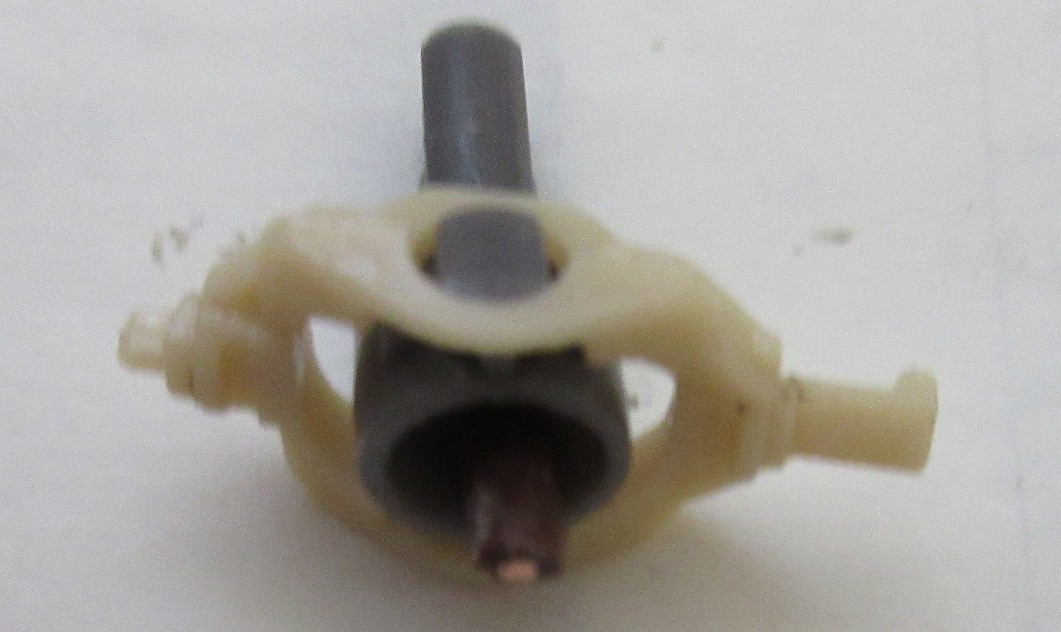
I went into a few issues with the connector. These connectors are made with multiple smaller parts and the riveted together. The problem is that the white piece of plastic spacer can deform under heat from soldering. As a result, the ground ring can spin around and make poor connection. Older more reliable connectors use phoenic and can survive the soldering.
To make the matter worse, the plating on the connection has some serious solderability issue unless you use an aggressive resin and/or file off the plating.
I use my trusty center punch to punch a hole on the side. The Chinesium is soft enough that the punch pieces through the outer layer and pinch into the ground contact. This stops it from spinning around and make a reliable air tight connection.
For the coaxial power plug, I sometime have to use the center punch on the rivet too as they loosen up easily after soldering.
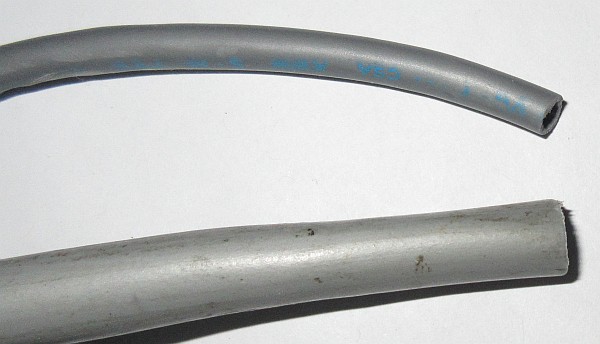
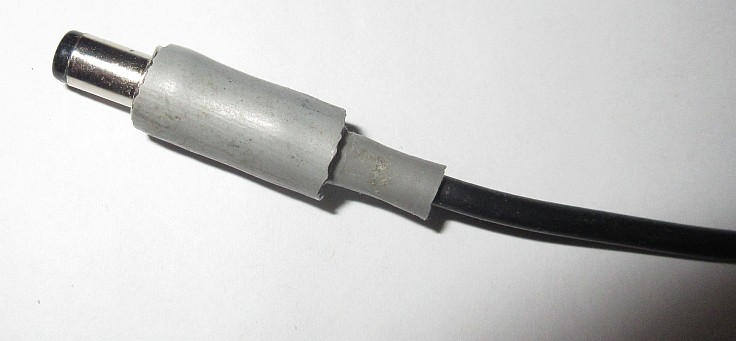
The next common problem is the recycled plastic housing cracks for exposure under UV or something. For that, I made a DIY one out of PVC jacket from old cables with a bit of superglue.
That thick one is probably from the old SCSI 1 Centronic era.
Here is the housing from those indestructible jackets. The connector side is simply screwed into the jacket.
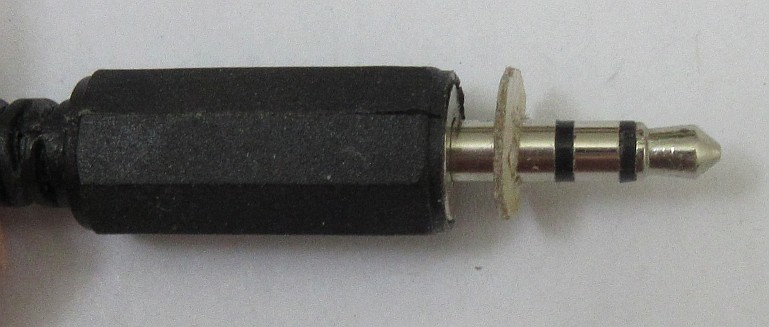
I made a shim out of cardboard on a couple of the connectors because the "Ring" wasn't making proper connection to my PC motherboard audio connector. It worked for my other 3.5mm connectors, so it could be an edge case of mechanical tolerances.
-
This is not the Windows that you are looking for
06/09/2020 at 13:21 • 0 commentsI "upgraded" to Win 10 build 2004 yesterday. I had a lot of USB related system wide crashes on my Ryzen machine until the drivers were updated in 1909. I was foolish enough to ditch the life line for previous version. Well I was wrong.
Others are having the same issue. wjfr23 from the AMD community (May 16, 2020) said:
![]()
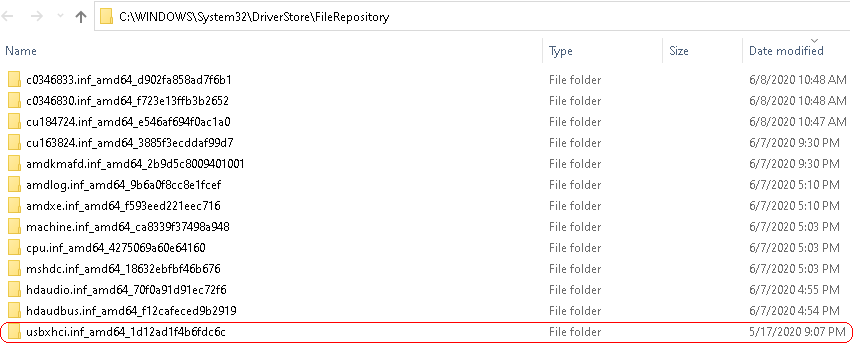
My old PC wouldn't upgrade and was stuck on 1909, so I have a good place to look for the working drivers. It turns out that Windows has a local driver repository at C:\WINDOWS\System32\DriverStore\FileRepository All you need to do is to figure the right one.
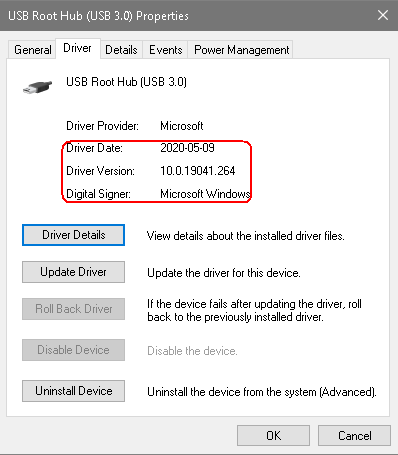
It turns out that the xhci USB driver that comes with build 2004 was a bit earlier (Dec 2019) than the "old" one (Feb 2020). I guess their OS build drivers branched off at an earlier stage and didn't back port the bug fixes since.
I did a sort by date on my machine with the 1909 build and found what I was looking for.
![]()
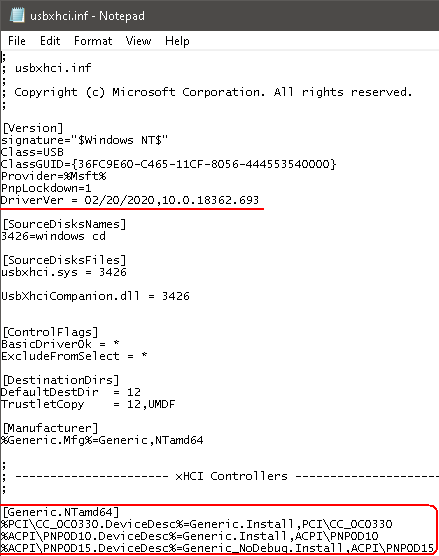
Inside the directory, I opened up the info file. Note the version and date. The device are for generic xhci controller, so they use PnP ID code. The actual hardware ID are stored some where else.
![]()
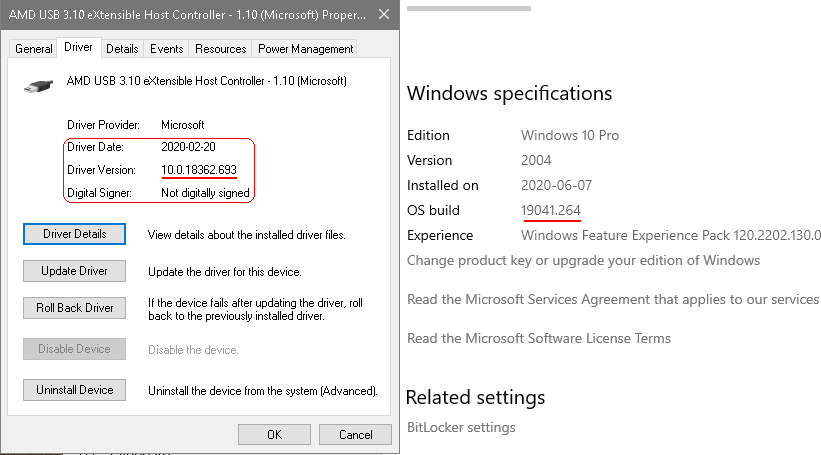
This particular driver is not signed for build 2004 (signed specifically for 1909???), so I went through the Disable Driver Signature routine to get it installed.
![]()
The USB3.0 hub was recent enough, so may be they did fix something since the initial build back in Dec 2019. I'll leave it alone for now.
![]()
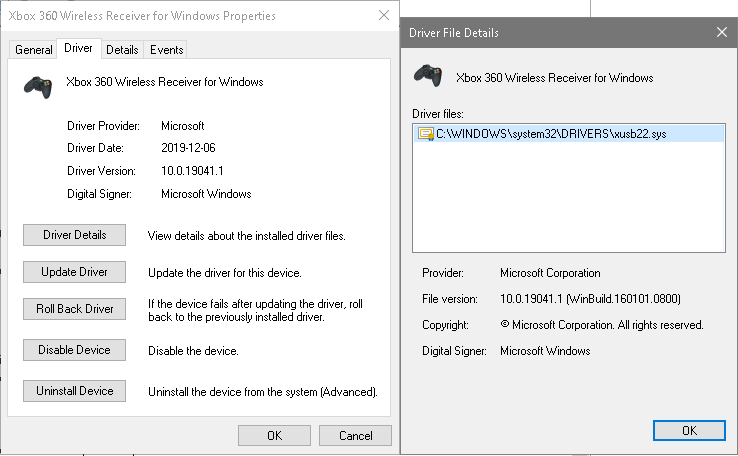
I also had some issues with the driver my knock-off xbox 360 receiver not being installed. May be it is just their usual glitch as the driver that worked for me does come from the driver repository on 2004.
Note: OS driver build date: 2019-12-06 for build 2004.
![]()
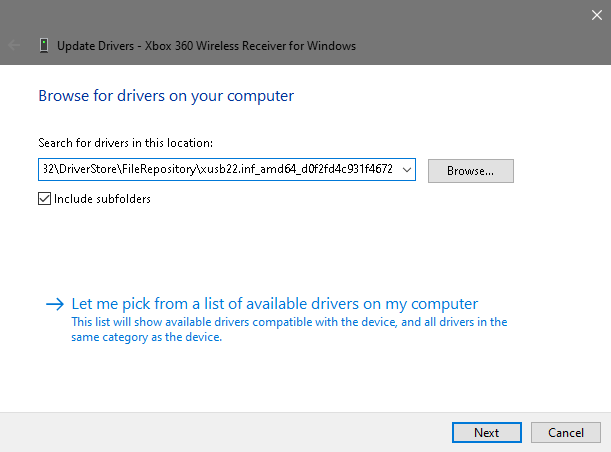
The file path that I used was under xusb22 as it is related to xusb22.sys. It is signed for build 2004, so you don't need to turn off the driver signature.
![]()
Moral of the story:
- Trust but verify - Newer builds might have branched off from an earlier date than old build.
- Don't cut off the escape path to previous version like I did.
- May be a back up of the C:\WINDOWS\System32\DriverStore\FileRepository is a good idea
-
Simple Baked chicken
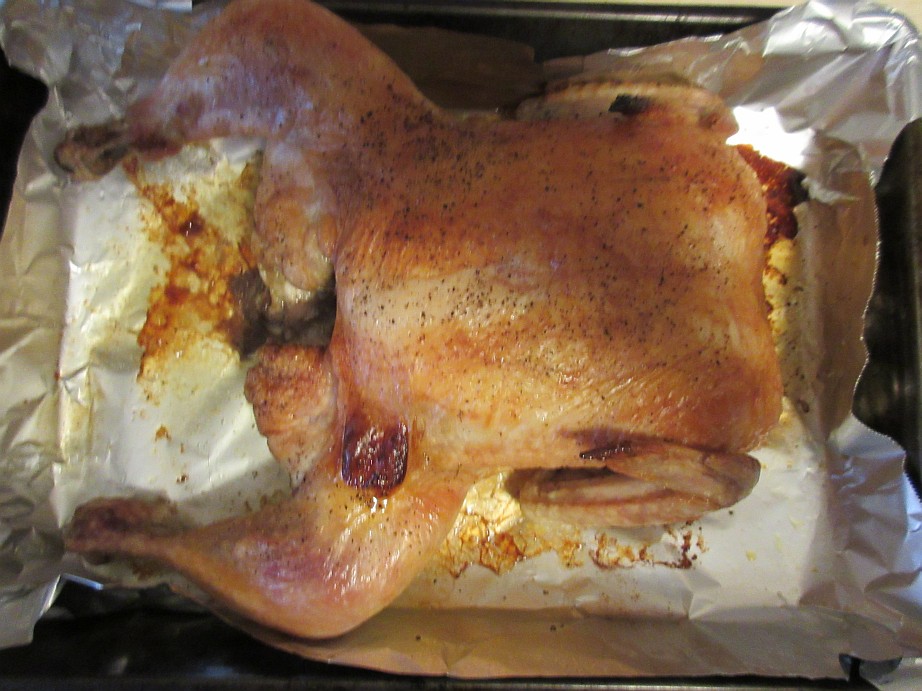
05/11/2020 at 18:45 • 0 commentsI bought a whole chicken today. That was the only meat that was on special. Meats are expensive here.
![]()
The chart on my range top oven suggested 25-30 minutes per lb at 325F
1.7kg = 3.75lb, so cooking time = 93.75 min to 112.5 minutesI decided to cook it around 100 minutes, so 50 minutes per side.
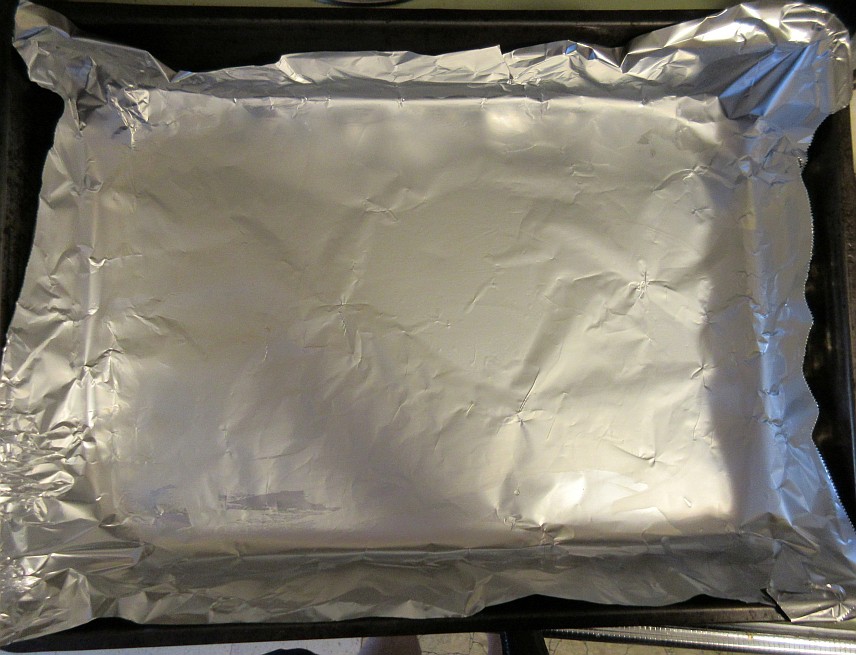
1. Line baking pan with tin foil. Grease it with 1 teaspoon of oil. Alternatively, there are non-stick foils and thicker foils available.
I rinse off the chicken, removed the Bird's Oil Gland (uropygial gland) and trim off extra fat around the area. I rubbed the surface with some light soy sauce and pepper.
I usually make sandwiches, soups and hand pies with the left overs, so I try to not to use too many spices. You can use salt and try out all kind of spices or marinates.
I leave it in the oven for 50 minutes at 325F. I didn't bother with pre-heating the oven as the 10 minutes or so doesn't make a whole lot of difference when the cooking time is that long.
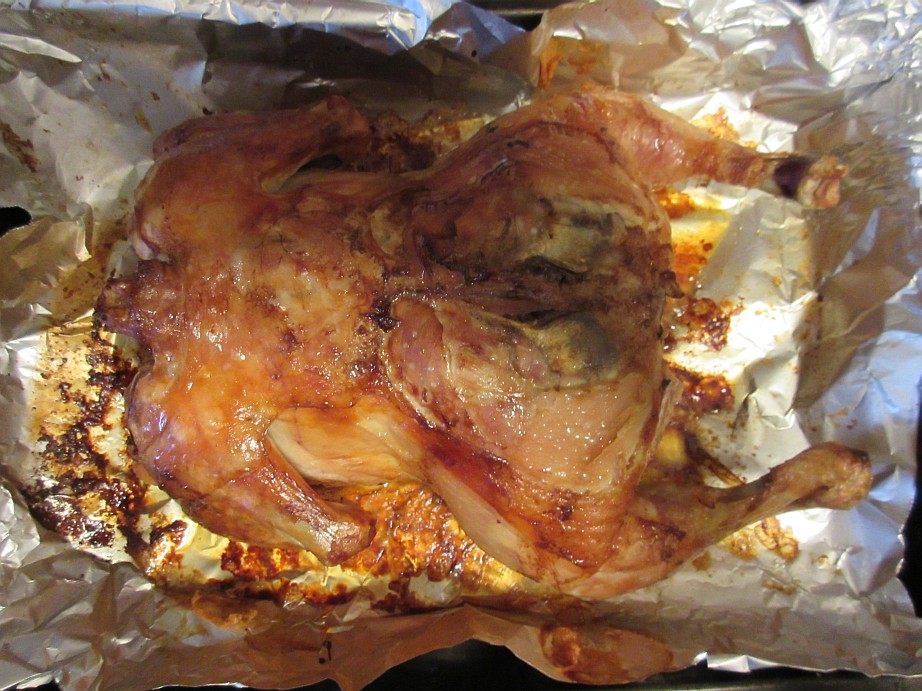
I drained the juices and oil at this point. Now it is time to flip it over. Some of the skins are stuck on the foil. I rub this side with some soy sauce too.
The baked chicken is ready after another 50 minutes. Let it cool off before cutting. The meat is very tender and you can pull it off the bones.
There are some "drippings" on the foil and some juices that can be used to make a gravy.
-
Fixing thumb stick on game controller with Inanimate carbon rod
05/11/2020 at 00:04 • 0 commentsOnce in a while I had to replace the thumb stick on my xbox controller. Due to the asymmetrical design, my left thumb gets pretty good leverage on the stick and I usually kills it during a boss fight. This time I broke it right after a boss fight.
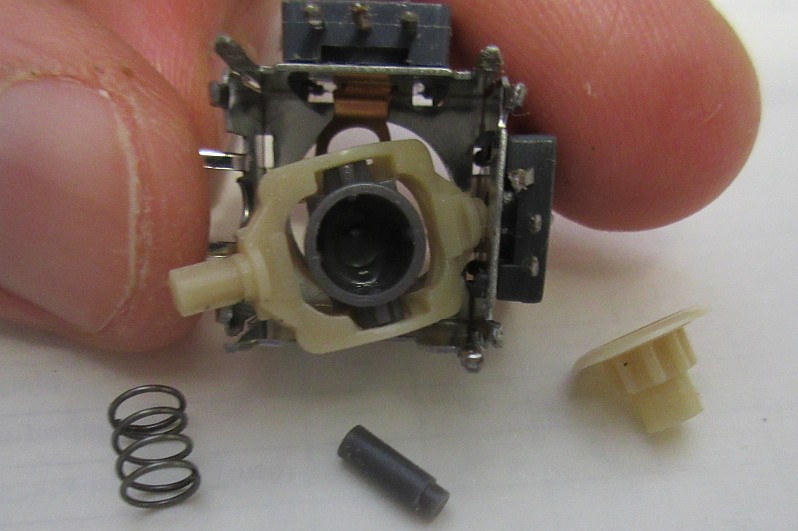
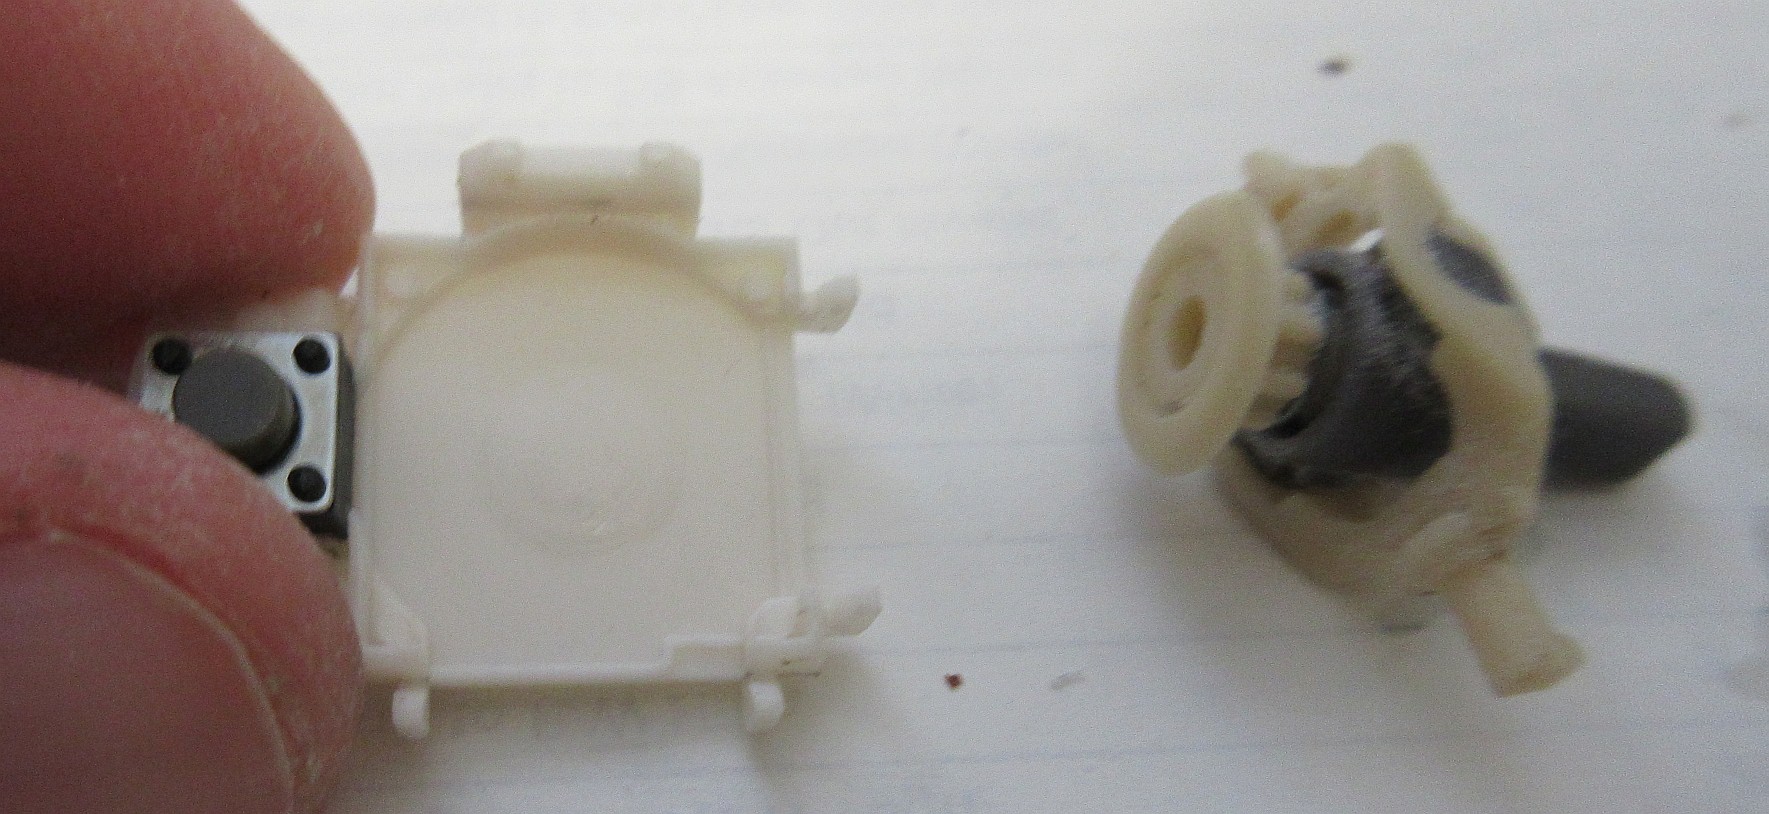
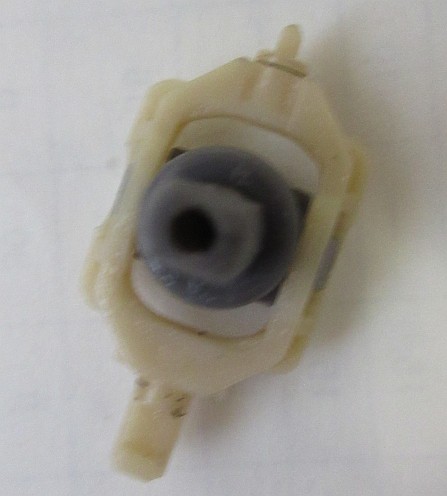
There is a small plastic dowel that usually break off. It is used for centering the stick. No amount of gluing is going to hold.
The butt end of the thumbstick pushes against the convex surface of the bottom piece. The little dowel redirect the side ward force to center the stick.
Usually I replace the whole thumb stick with replacement parts I bought off aliexpress a long time ago. This time I am trying something else.
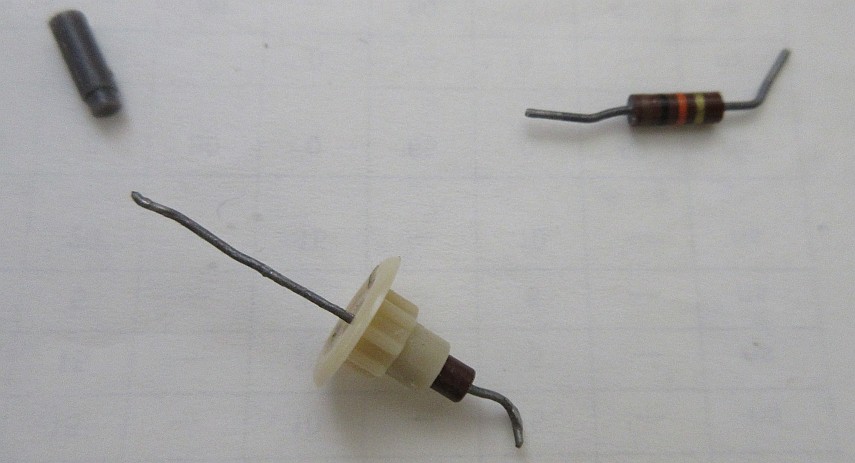
It turns out that an old fashion 1/8W carbon composite resistor has the same diameter as the little dowel. This is not surprising as mechanical engineers like to use standard sizes for holes.
Possibly source: http://www.surplussales.com/Resistors/CarbonComp/Res-CarbonComp_1.htm
There is a hole that runs all the way down other side of the thumb stick. So I drill through it with a drill bit.
(Sorry didn't take a good picture of these steps)
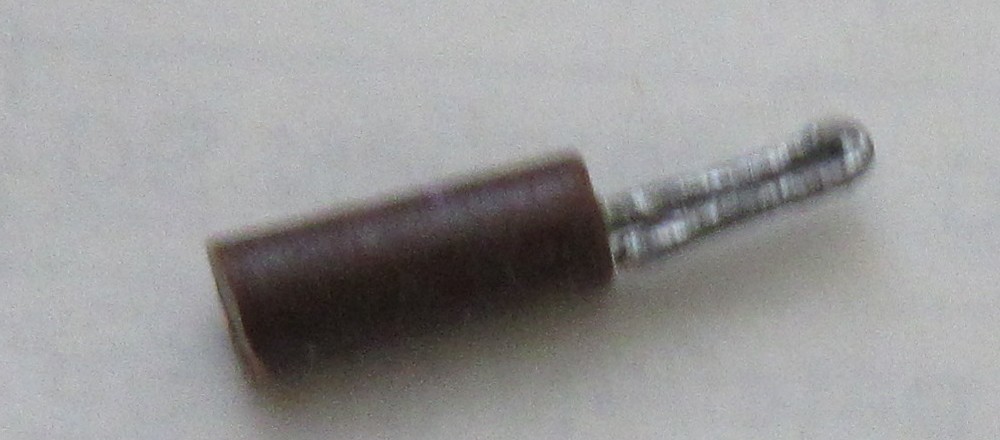
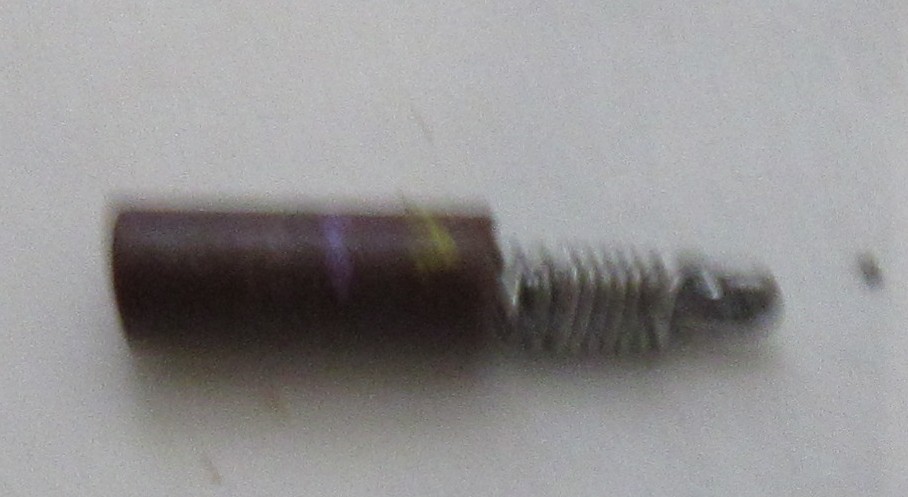
The resistor pin are a bit too thin, so I folded it,
wounded fine wires on it and solder to make it thicker.
I dusted some baking soda into the drill hole and superglued the tail end into the thumb stick. The baking soda helps to fill gaps between the joint. Think of it as a Dental implant for the dowel. :P
Putting the thumb stick back together. Resolder back onto the PCB and calibrate the controller.
Closing thought: I think a metal piece on a lathe would be a better way of making this, but I don't have one. :(
It is working fine for 2 boss fights so far. Hopefully this would last a little while.
------
I check the dimension of the original dowel. It is 0.098" dia. Not all of the resistors in my collection offers a tight fit. Without a tight fit, there'll be some wiggle room in the centering.
Also not all of the similar looking thumb sticks from China uses the same dimension either.
------
This hack is now superseded by Fixing thumb stick on game controller
-
Stitching like your life depends on it
04/27/2020 at 13:10 • 0 commentsI don't normally do arts and crafts, but have to make my own face masks.
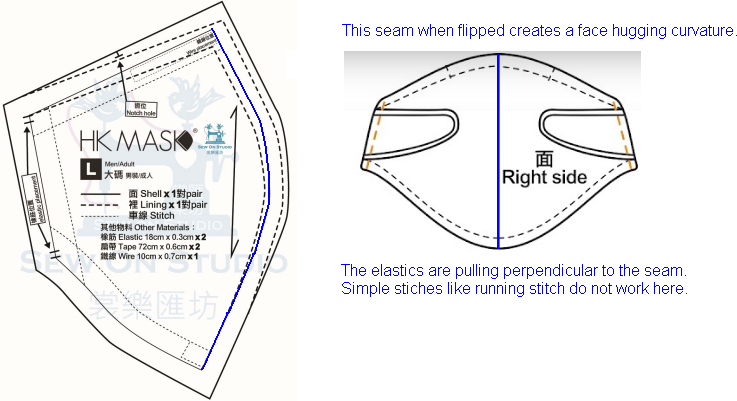
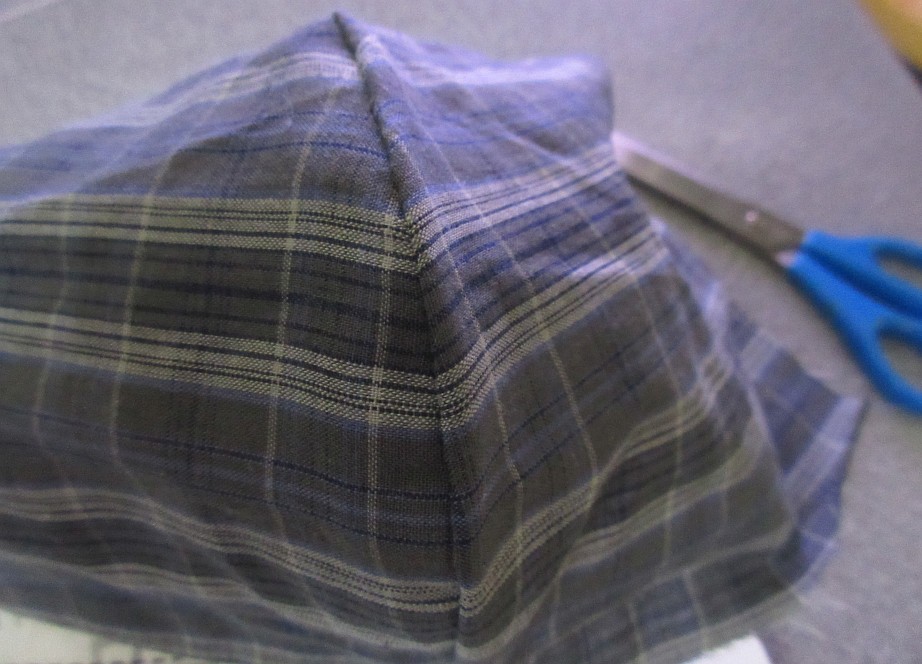
I am making a HKMask which has a face hugging curvature created by a vertical seam. It seems nice, but this seam is a problem for those of us with nothing but a dollar store sewing kit. I do like a challenge.
![]()
There are a few things I tried to fix for those of us that are not skilled in stitching.
- the stitches are done from one side only, so it eliminates the front/back registrations problem
- the fold acts as a guide, so it is easier to follow the curve as some of us can't stitch in a straight line.
- the force acting on the seam is perpendicular. This is the case of the puppy dog with the chain (chain = stitches) pulled up vertically as the force vector at 90° = 0. for a regular stitch, it is at its weakest
![]()
I am using a modified Blanket stitch for this seam. There is a series of ovehand knots along the seam that deal with the perpendicular tension from the elastic bands as the loop of the knot is parallel to the force.
The illustration is modified from How To Lace Cable Harnesses which is what I am using.
![]()
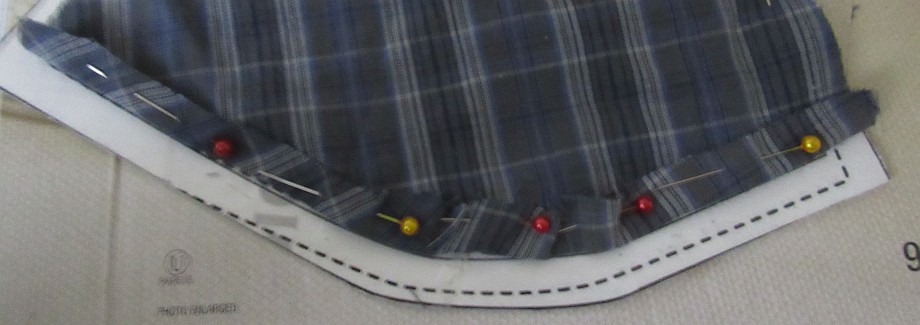
I glued the two halves with a washable glue stick as the fabric could shift. Instead of sewing, I fold along the line of the seam. I use some needles to hold the fold in place while I stitch.
Make sure that you cover all the 4 layers of materials:2 layers x 2 for the fold or this would happen.
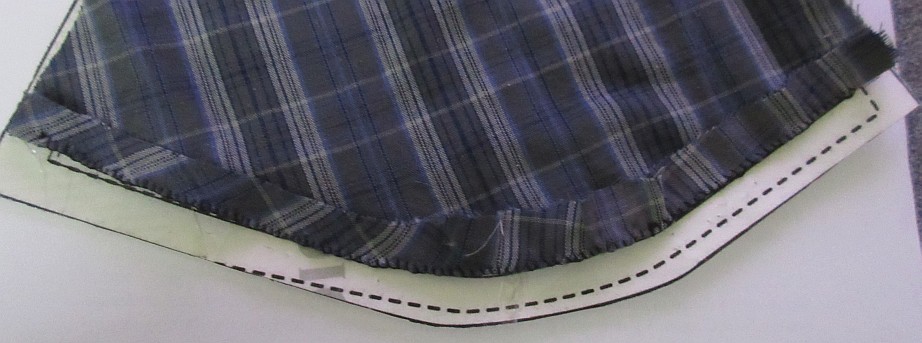
The stitching is done at the fold and not at the edge. I used a spacing of 2mm between stitch and 2mm from the fold. (I might be overdoing the stitching a bit.)
This seam is done. It is strong and hidden.
The rest of the seams can be done with regular stitches as they aren't critical.
Elastic bands aren't easy to come by. See my flat hook for the mask in Small hack for virus outbreak
Don't worry too much about needle holes as there is a filter layer.
FYI: filter material -
Egg noodles from scratch
04/19/2020 at 20:15 • 0 commentsIn case you can't find your regular instant noodles, here is my lazy recipe for home made egg noodles from scratch. You won't want to go back to instant noodles again.
![]()
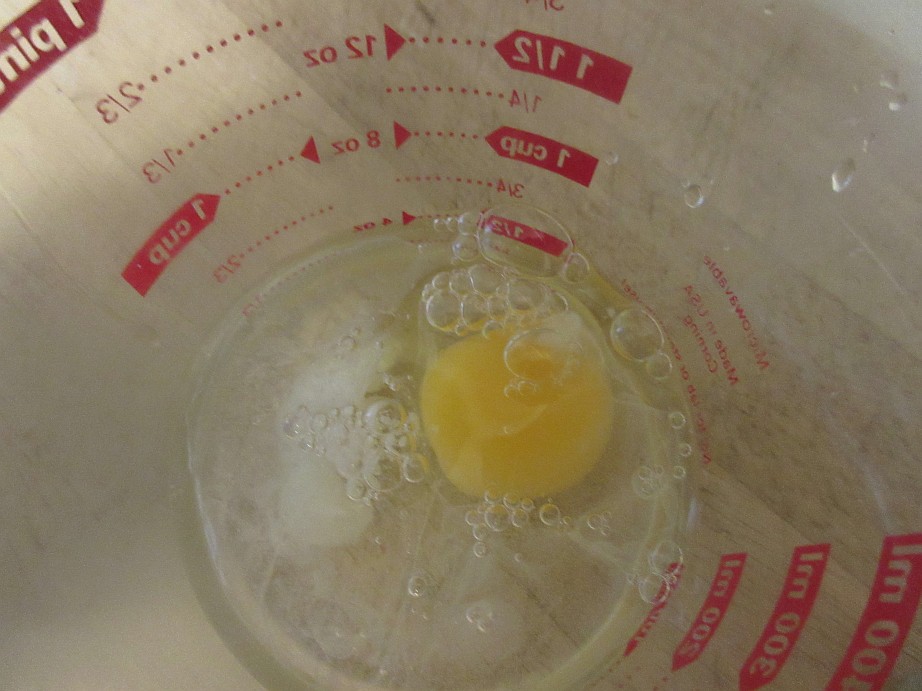
Ingredients: 1 egg, 1/3 teaspoon of sodium carbonate, flour and water.
Tools: hands, pasta machine, measuring cup, flat surface e.g. baking pan.
Sodium carbonate (Na2CO3) can be made by heating sodium bicarbonate (NaHCO3). It is also available as washing soda, however I don't know if they are food grade.
Without sodium carbonate it's possible to have hand-pulled noodles with any flour. The downside is you will have to knead the dough for 45 minutes and leave to rest for 2 hours until you can start pulling your noodle strands.
The alkaline dough also help to discourage Salmonella, but hey you are going to boil the noodles at some point anyway.
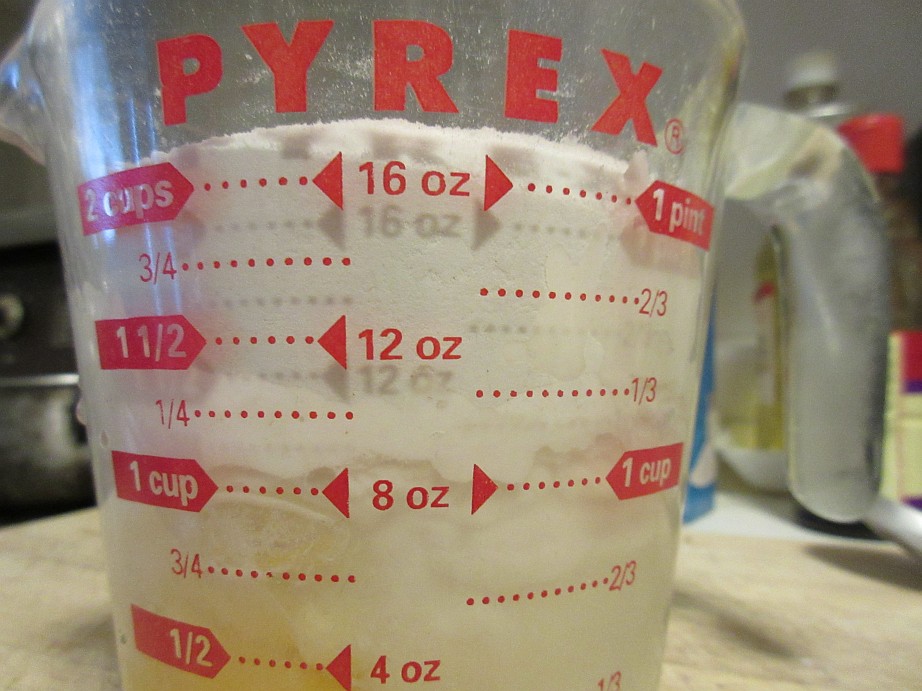
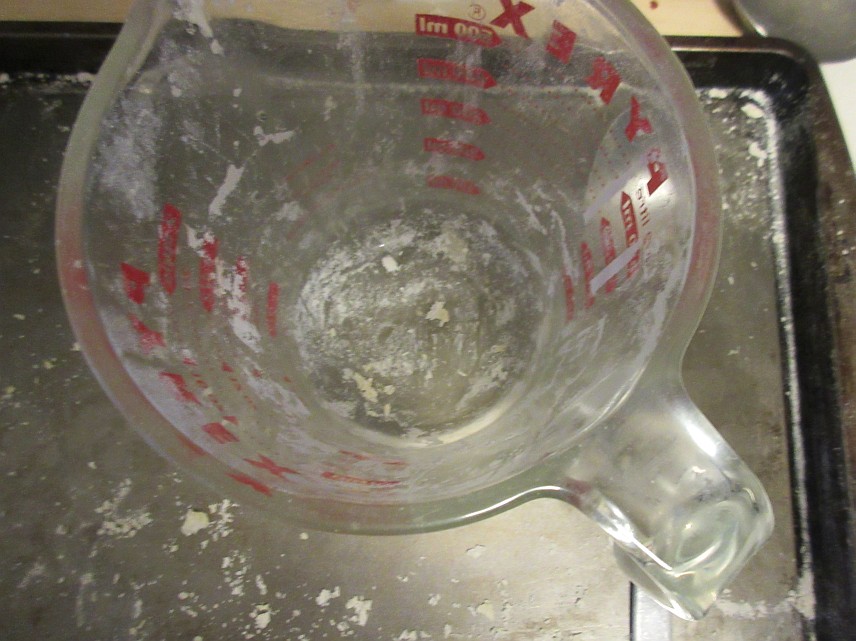
1. Add 1 large egg, fill water to 1/2 mark, add 1/3 teaspoon of sodium carbonate. (This take cares of egg sizes variation.)
2. top it up the same measuring cup with white general purpose flour to a bit above the 2 cups mark. Why wash when you could use the same cup?
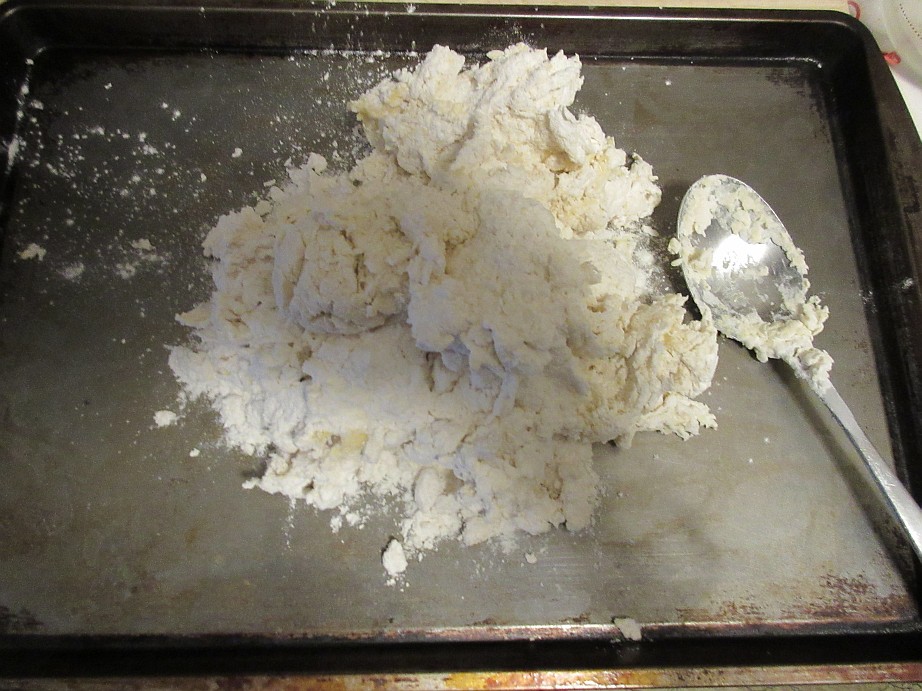
3. Stir it around with a spoon until all the liquid is absorbed.
4. Pour contents into a surface. I use a baking pan to contain spills.
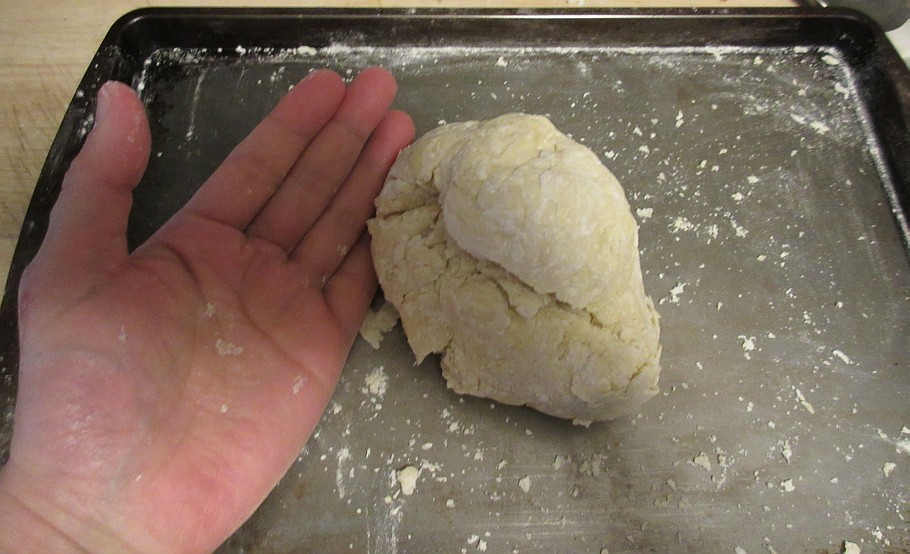
5. Knead the dough until your hands are clean (about 10-15 minutes). It is a very tough dough, but it is a good exercise.
The clean up isn't too bad. Leave the pan for now as you'll need it later.
6. Store the dough in a container and keep it in the fridge for about 3 hours and let it "rest". Make sure you wash your hands after this as the dough is alkaline.
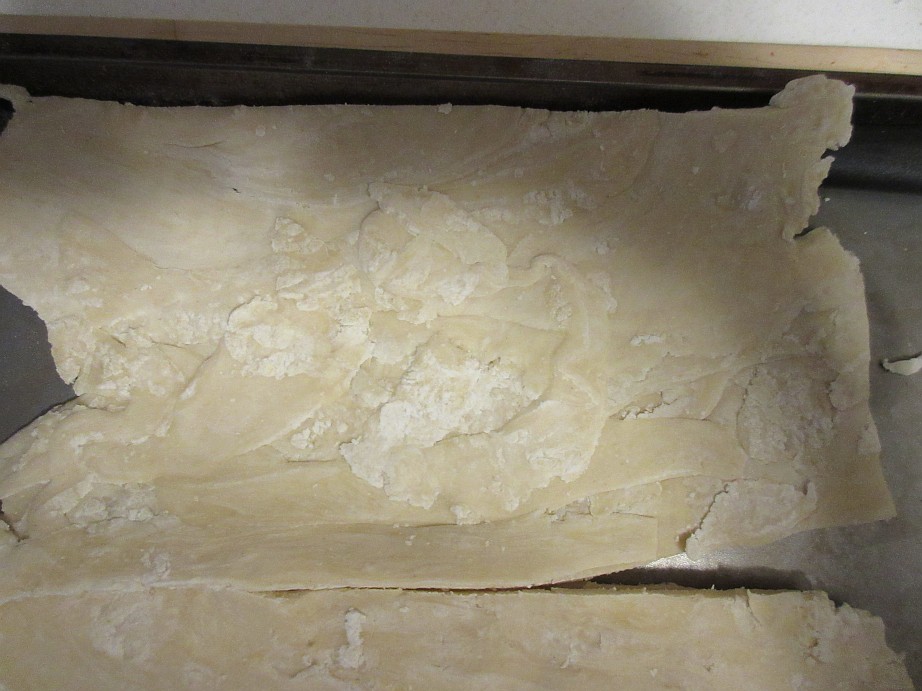
7. I roll the dough with my manual pasta machine starting from the thickest setting. I also trim the rugged edges and patch up holes in the dough. Go one setting at a time to reduce the thickness of the dough sheets. Trim the length when the sheets gets too long.
This dough can be used for making wonton wrapping.
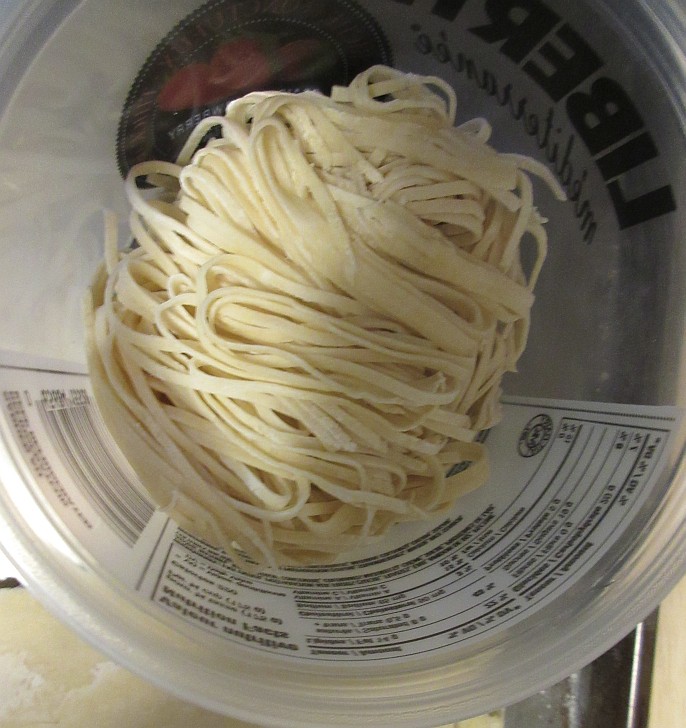
8. Cut the dough with the attachment. Here is the finished product.
I don't bother adding dry flour as the noodle is not sticky.9. At this point you can put it in boiling water and it cooks in a minute. Rinse under cold water to stops the cooking. The noodle is very chewy. Serves 4-6. Here is the amount for 1/4 of the dough.
10. I put it in a plastic container and freeze it. I put a layer of food wrap between servings so that they don't freeze into one lump. It take less than 2 minutes to cook in boiling water from frozen as there is no need for defrosting.
-
Small hack for virus outbreak
04/09/2020 at 11:10 • 0 commentsVegetables in 4-6 days, just add water. No sunlight or soil needed.
While doing an inventory of my food supply, I came across some mung beans I bought about 10 years ago. So I grew some bean sprouts from following this website. It is very nutritional and a low effort alternative for fresh vegetable during a food shortage. I use the webbing from a pack of garlic to use as the mesh and tie it to the bottle with some solid wires. I soaked the beans overnight and then rinse it twice a day. Keep it out of direct light. Other than that, it requires very little efforts. I had to stop after 4 days when the bottle was getting too full. Those little guys expand a lot and push very hard on the mesh.
I recommended eating it cooked as you don't want get sick. Here is one simple recipe for a stir fried noodle.
Flat hook for DIY mask
I made a HKMask for personal protection. I am not a arts and craft person, so I had to make do with what I have. I modified the design as I don't have any thin elastic bands. I do have a lot of fat ones from my grocery.
I use the I core from old transformer to make a flat hook and a AWG10 solid wire (household wiring) for the loop. The rubber band is very strong, so it is important to have the right cord lengths for comfort and fit. I crimped the 2mm paracord gently during length adjustment. Once the adjustment is done, I crimped tightly to hold it in place.
Thin metal such as I/O expansion covers from cheap PC case or transformer cores is used for the hook.
Alternatively, the hook can be made from wire.
One source of those nose clip wires:
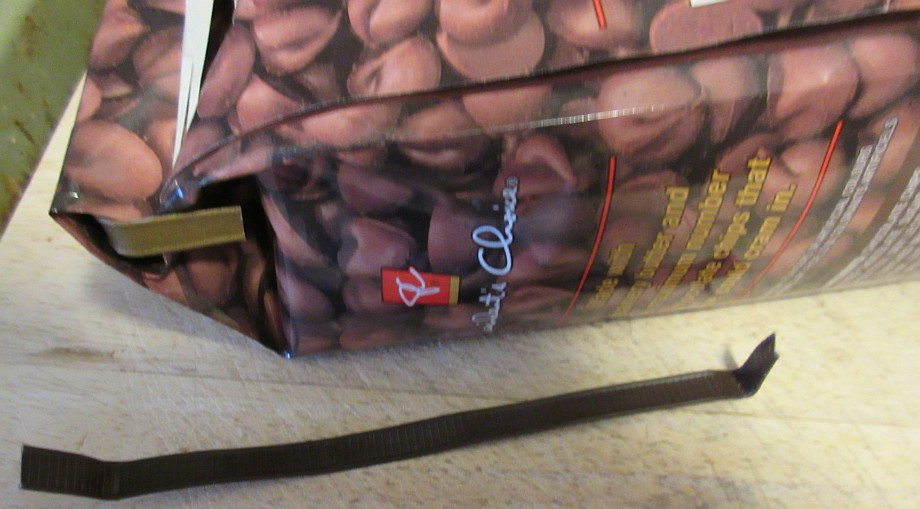
Good cookies and come with a bonus: a flat clip for resealing the bag. It is plastic coated with 2 wires on the edges.
Be safe out there! Here is one music video from our Prime minister's daily address.
-
STM8 Clock - RTC
11/20/2019 at 13:28 • 6 commentsI have upgrade the code inside the clock with a numerically-controlled oscillator (NCO) with a 24-bit phase accumulator. The NCO allows me to finely compensate against the crystal's tolerance. It is a step up in the resolution from tweaking the 16-bit timer divider in my timer project. While the timer divider could be extended in firmware using overflow and timer compare, the NCO approach actually is much simpler.
I have modified my RTC code which was running from a 10Hz interrupt. The timer now generates a 20Hz (+/- clock tolerance) interrupt with the NCO code implementing the divide by (2 + tolerance tweak).
There will be additional jitters (of 50ms) of this approach, but it is not too noticeable.
// 20Hz IRQ
// tick comes from Direct Digital Synthesis
DDS_Accum += DDS_PhaseInc;

if (DDS_Accum & DDS_CARRY)
{
  // 10Hz RTC code here
}

DDS_Accum &= DDS_MASK;
The clock has been running close to 32 hours and so far it is within 100ms (or so) to the internet time at https://time.is/ So likely it would be within a few seconds for a month. Just 3 lines of code. Why pay for an extra RTC chip?
Meanwhile my Win10 clock has drifted to 1.6 seconds in the same period. (Win10 would resync the clock once in a while.)
The clock is limited by the drift and temperature coefficient of the cheap 12MHz crystal. It is sitting on my computer desk which is unlikely to get more than 10C of temperature change.
-
STM8 LED Clock
11/14/2019 at 18:58 • 6 commentsI made a digital clock. Originally I planned to use a VFD, but the user interface on a 4 digits was too much of a limitation. (I already have to cramped the UI on my STM8 timer with 16x2 LCD)
![]()
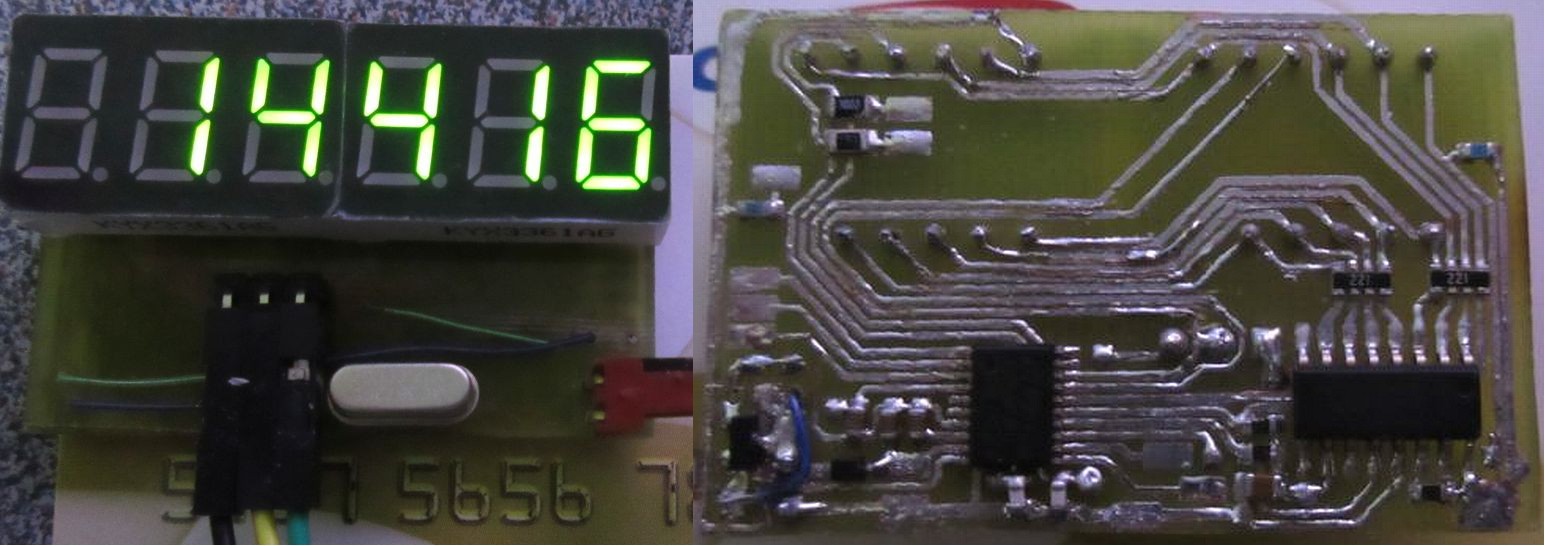
I used a STM8S003, 74HC595 and a couple of the cheap green 7 segment displays. The display efficiency is actually not bad as the entire clock runs on 5V at ~20mA.
The RTC is implemented in firmware using a DDS for fine frequency adjustment. A supercap allows the STM8 to work for a few minutes during a power failure. The LED driver is on a separate rail.
![]()
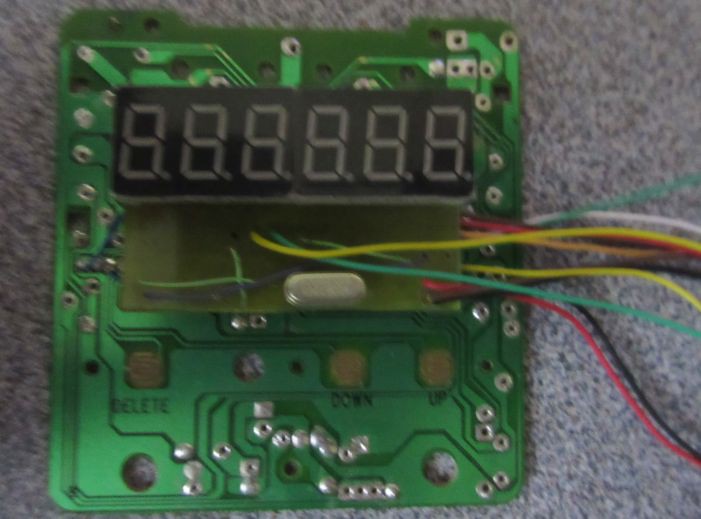
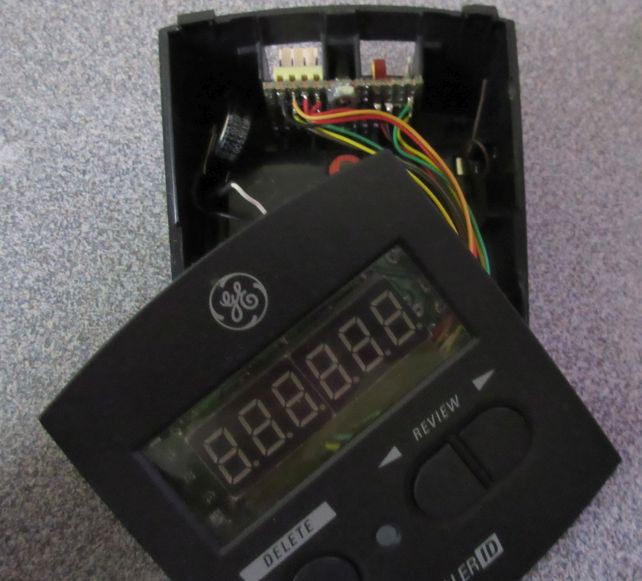
The PCB is wired to the original (stripped) PCB to use existing buttons. The same GPIO for the common cathode driver when off-duty is used for polling the buttons.
![]()
I could have used the STM8 alone, but the 74HC595 frees up a few GPIO lines. UART, I2C, a Timer pin, power and the debug interface are connected to the headers on an I/O panel PCB using the existing RJ11 cutouts.
(I have since changed the power connector to a MicroUSB as it has much better latching.)
![]()
Still working on the user interface and other features.
![]()
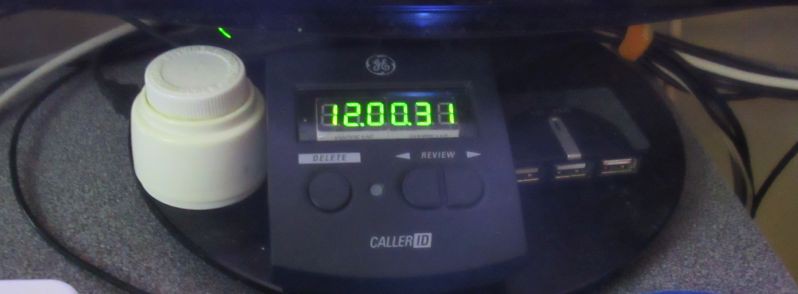
Side by side view of the old traveler's Casio clock it is replacing as it is much harder to read during night time.
My blog: https://hw-by-design.blogspot.com/2019/11/stm8-led-clock-part-1.html
Github: https://github.com/FPGA-Computer/LED-Clock
Initial release: bare minimal feature.
It is one of those things that once it works, you don't want to mess around too much.
-
Possible STM8 based meter
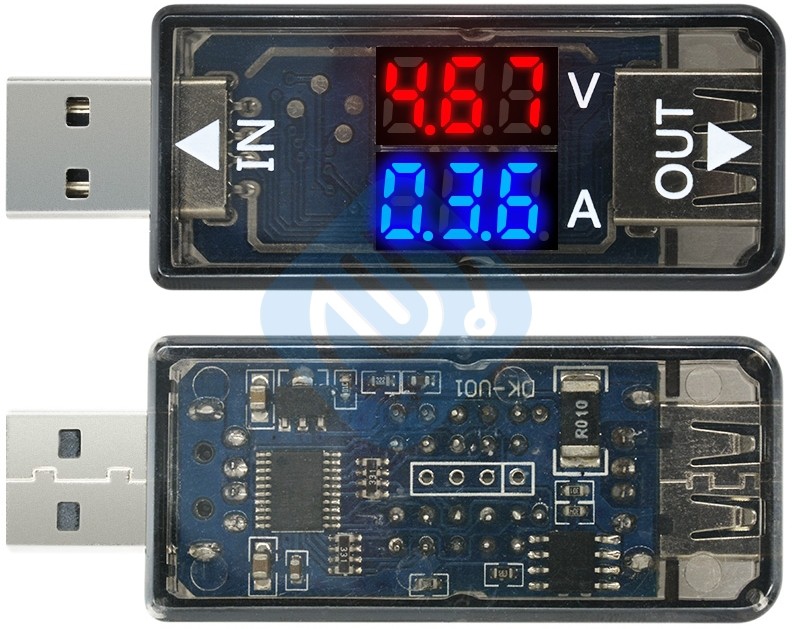
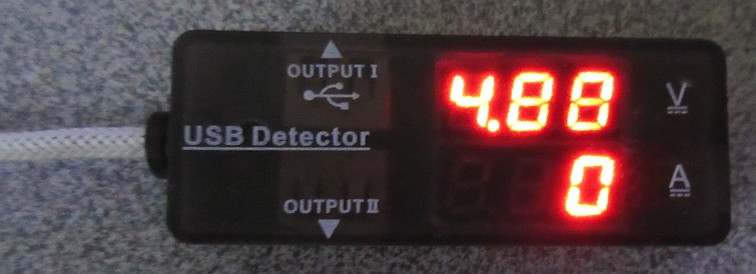
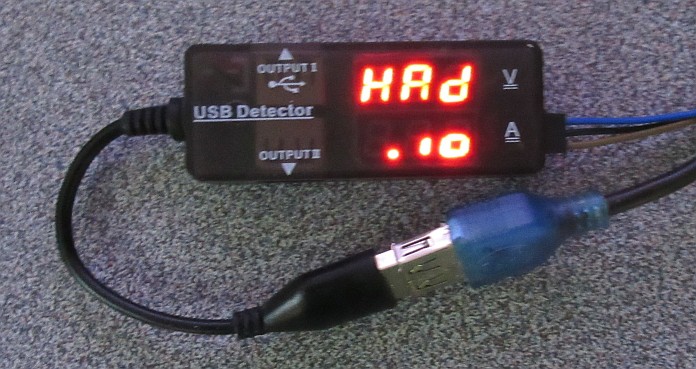
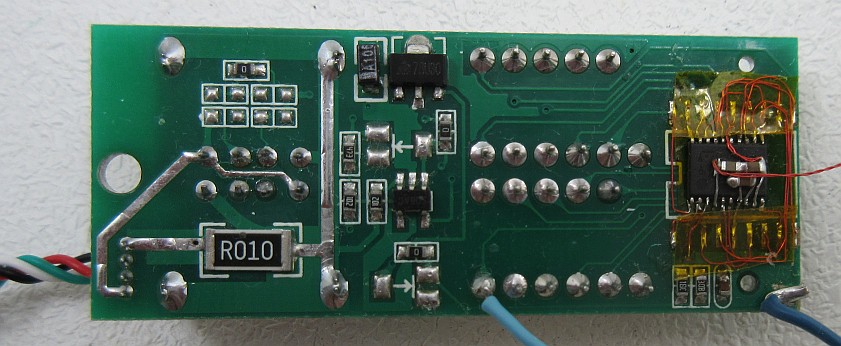
09/15/2019 at 01:47 • 0 commentsI found a USB meter that might have a STM8 inside along with a 4-pin programming connector. It also have series resistors for the display.
![]()
I'll let someone else play with it.
-
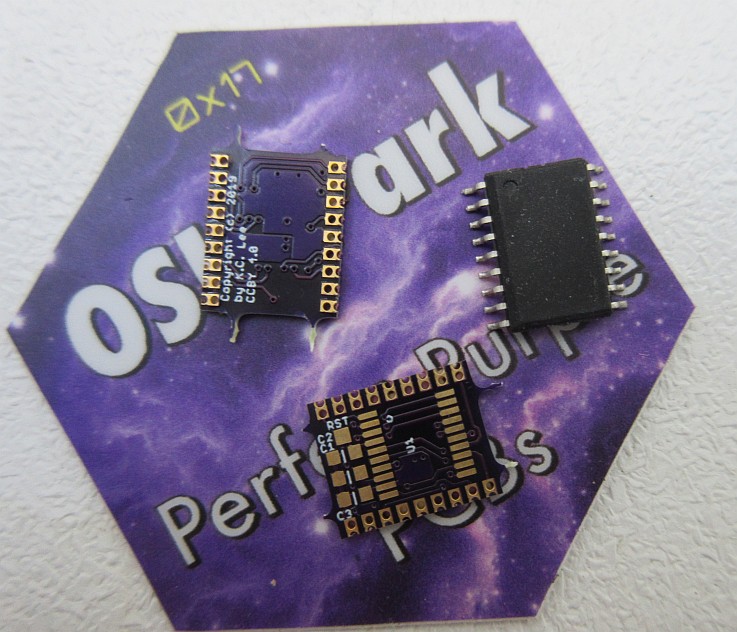
My smallest PCB so far
09/13/2019 at 02:29 • 6 commentsIt's Friday just before work day, so I sent it off hoping to beat the weekend.
![]()
![]()
You know it is a tiny PCB when the postage alone is easily worth $0.95. When the board is this tiny, it could easily fit into otherwise wasted space in a batch.
![]()
Oops. flipped the soic foot print. Have to redo more routing. This is why I procrastinate on ordering PCB. When I don't, I miss something.
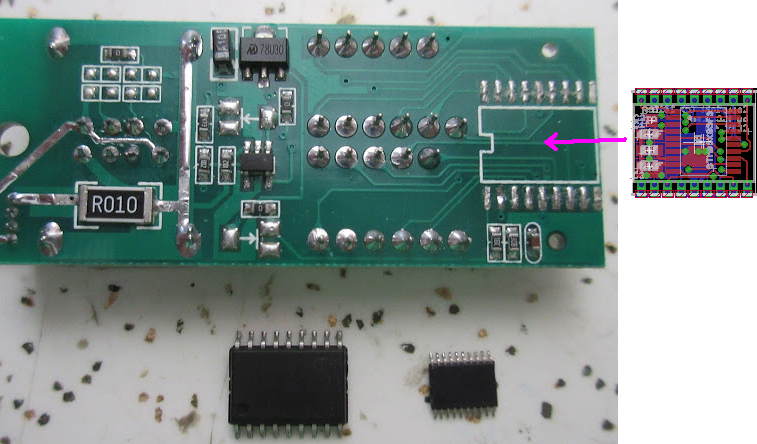
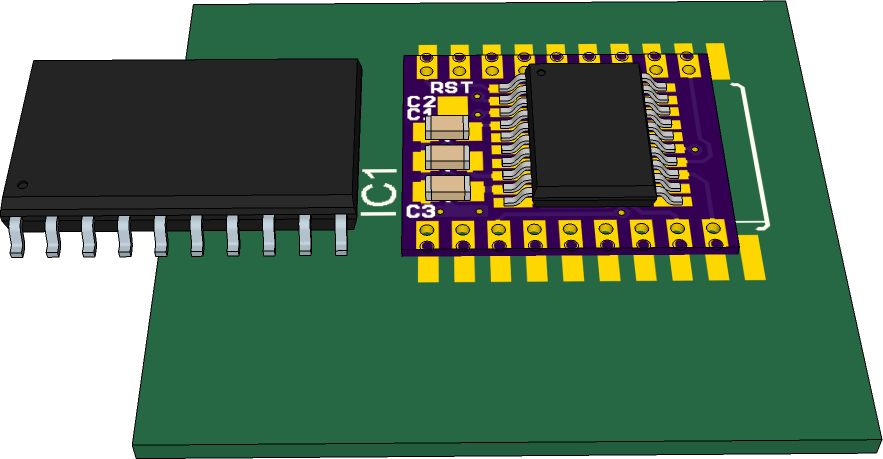
This is how it would look sitting on a SOIC20 footprint. (Too lazy to make up a soic18). The pads are a bit narrower on the USB meter, but it should hold.
![]()
It turns out that I can make a PCB adapter that fits the STM8 to the SO18 (wide) pads. I was going to try to make a flex PCB, but decided to try out the making a Castellated Edges 0.8mm (0.031") PCB instead.
All the GPIO are broken out + 1 pad for the Reset on 0.05" pitch. The pinout is weird as it is a STM8 adapter for the SOIC-18 pin USB meter microcontroller that I have previously wired by hand.
It's going to take may be 3+ week from OSH Park.
------------------------------------------------------------------------------------It has arrived. Original chip (SOIC-18 wide) vs tiny PCB.
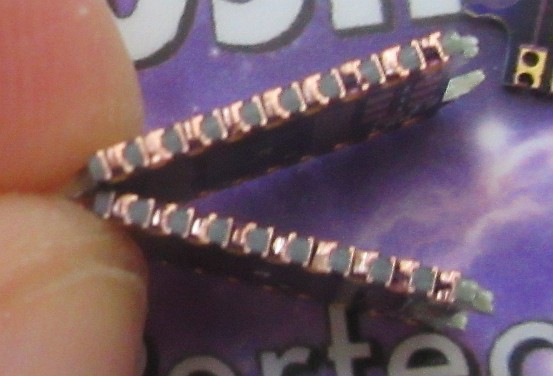
It isn't perfect, but good enough for me. Some of the barrel was removed by the milling. The hole size was 0.0197" (0.5mm) vs size of mill ~1mm.
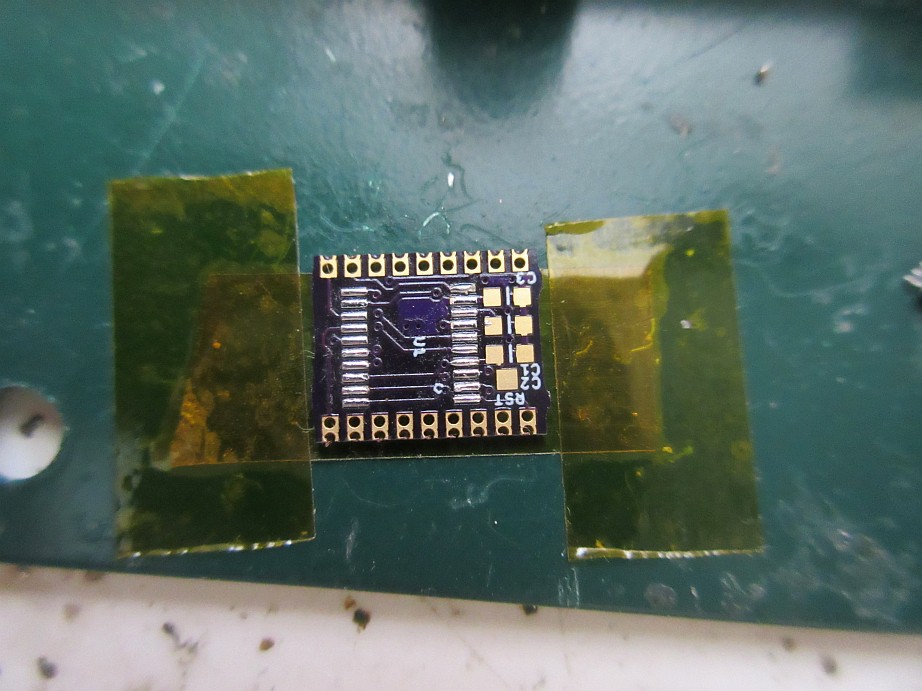
I taped down the tiny PCB for reflow. I recycled the old parts from the mod.
I think it works well enough. It takes a bit of extra heating to make sure that the solder seeped under the pads as well. (The 2nd pad to the left was peeled off when I did the initial mod. )
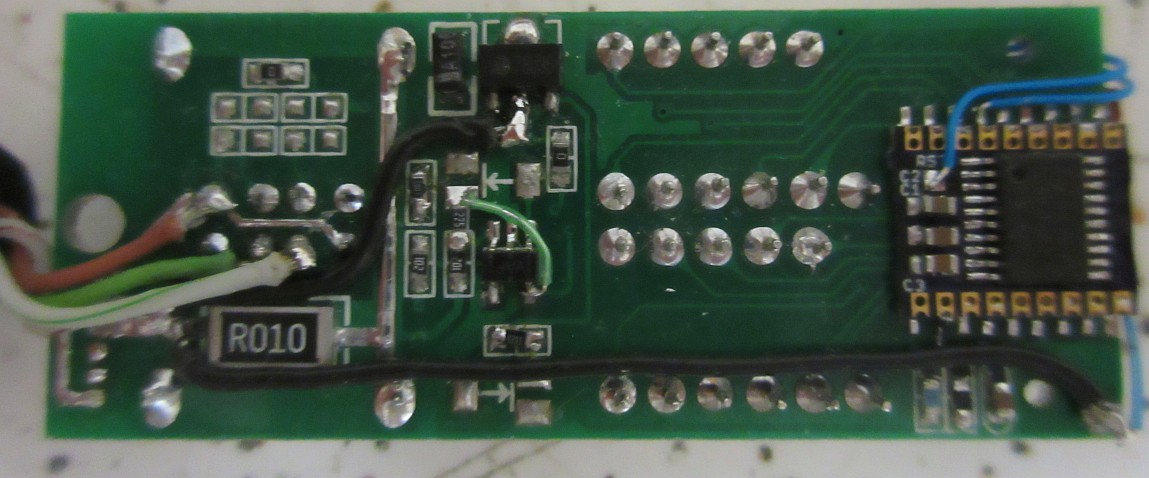
I cleaned up the mod wires. I routed Gnd, SWIM and Reset (pad RST) to the programming connector. Some of the solder wicked through the via on the inner pads.
It lights up.
-
Long time no hacks
09/04/2019 at 01:11 • 0 commentsNew hack: KW203 modded with a STM8S003.
Sorry no PCB as this was a weekend project. There are some additional component changes etc.
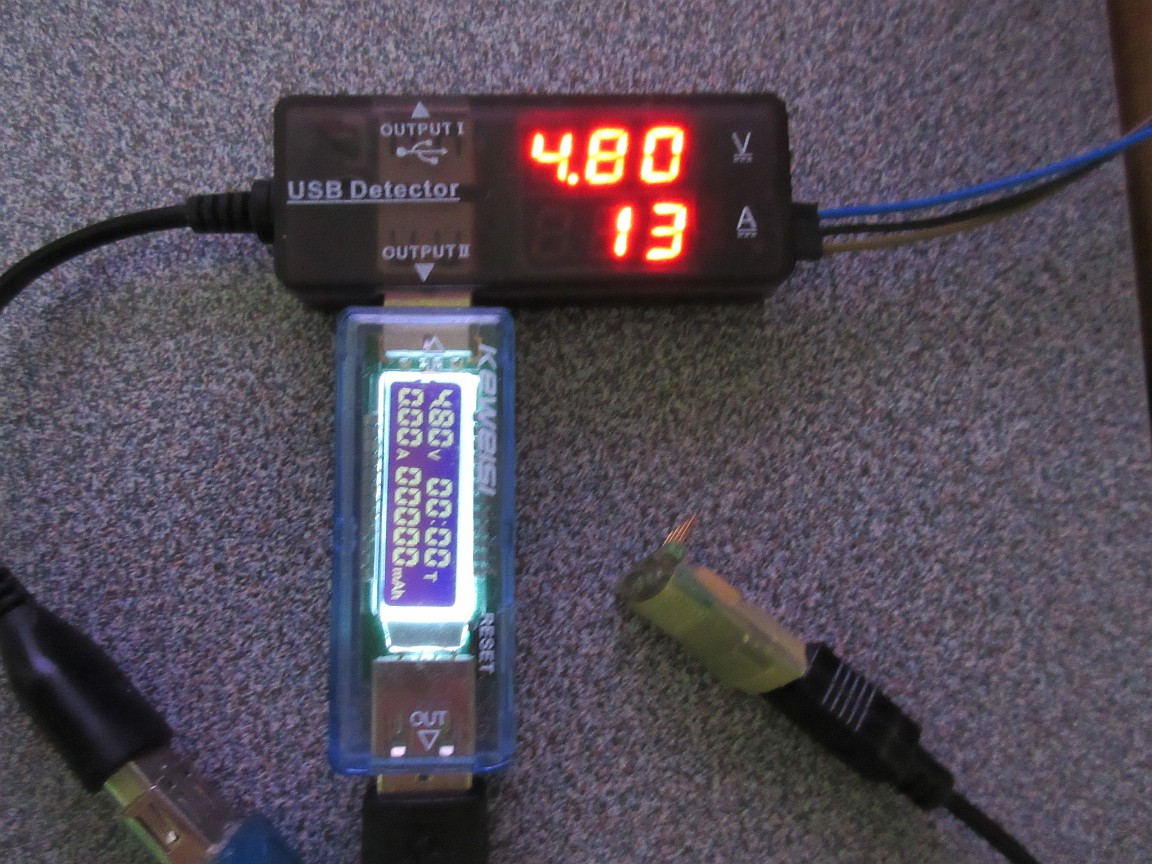
Why? Most generic USB meters do not have sufficient resolution to see low current gadgets. My modded meter has a resolution of 1mA and can easily see the current drawn by the LCD meter (3mA) and my USB serial dongle (10mA). It is a handy tool to have.
Github: https://github.com/FPGA-Computer/USB-Voltage-Current-Meter
Project page:
https://hw-by-design.blogspot.com/2019/08/usb-meter-modding.html
https://hw-by-design.blogspot.com/2019/09/usb-meter-modding-part-2.html -
Thanks for all your fish
07/25/2018 at 04:21 • 23 commentsI have decided to shut down all my projects and start looking for a new host. I need a break from this place. Here is my new place: http://hw-by-design.blogspot.com/
Only started. Slowly moving my projects there.
Trying to learn new editor and reformatting things on the fly. Editor: major improvement and white background finally.
----
Been playing around a few days, I think I am getting the hang of things. The editor is a major improvement. Gone are the usual complain/bugs. If I accidentally quit the browser while editing, it saved the copy as draft and I can go back in without missing a thing! Wow. No missing first character or pictures that get deleted when you only meant to delete some text. I guess when a company is specialized on blog hosting, they tend to do that well enough. How long do they take to "try" to fix bugs here again?
I have a lot of control on how I can theme my own web page. Everything is about freedom of my choice/preference. If I don't like the colouring scheme, fonts etc. I can change all that as I am the admin of my own site.
Let's say I have not regret the move so far.
-
Canada Day, The morning after
07/02/2018 at 12:00 • 0 commentsIt is another scorching day here on the morning after Canada day.
![]()
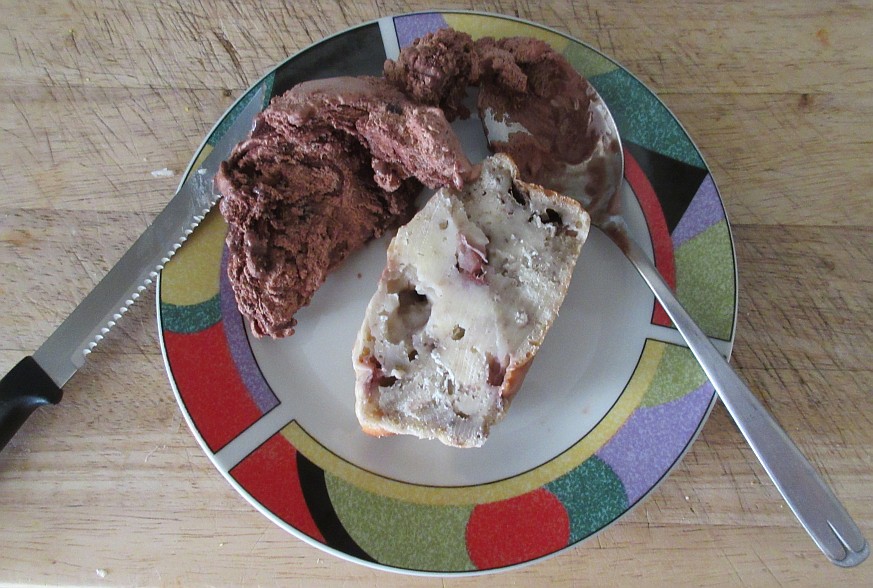
Nothing like starting the day with ice cream with a dense lump of banana bread. I think I got most of the food groups covered.
One thing about being an adult is that you can make your own rules at home...
To our American friends, we started out party early!
-
Rubber band ball
03/13/2016 at 20:49 • 0 commentsor the longest time, I simply hang those wide rubber bands from my grocery in the kitchen. From time to time, I use a couple of them on my pair of pier to hold things together for gluing.
The collection is now big enough to start making my own rubber band ball.
- Start off with a solid core
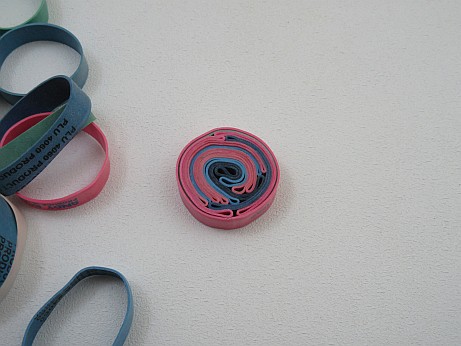
- Now time to turn it into a sphere
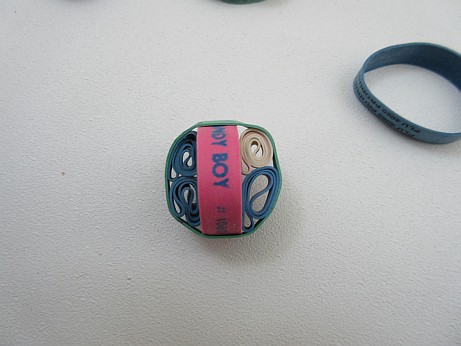

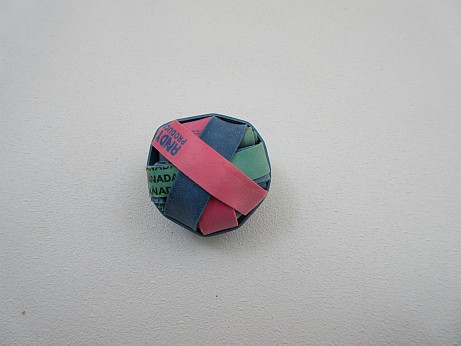
- At this point, you can make it grow by simply adding more rubber bands.
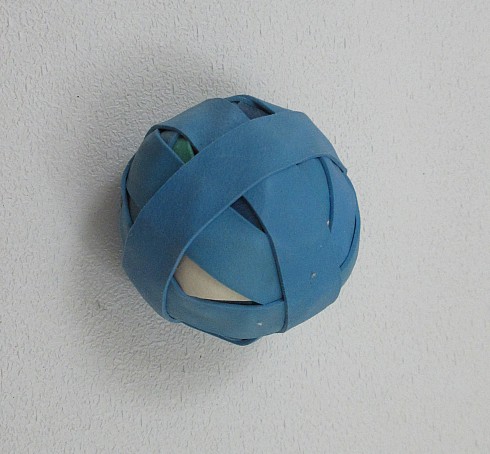
- ???
- Profit!

- Start off with a solid core
-
Hacker kitchen aid
03/10/2016 at 22:15 • 1 commentI bought a cheap pasta maker on Amazon just to qualify for free shipping for something else. The clamp for the pasta maker was unfortunately on the same side as the crank which kind of put my hand above the stove. The clamp wasn't long enough for the front side of the bench.
So I do what any hacker would do under the situation.
Bon Appétit!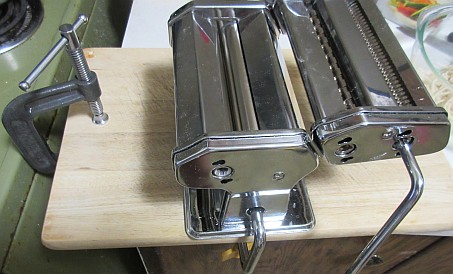

-
Patch job
11/11/2015 at 17:13 • 4 commentsWhen it comes to procrastination, I lost to the repair works at my apartment. I had to patch up a couple of oversized holes left behind under the kitchen sink before I moved in. The new neighbor on the opposite side of the wall is a chain smoker. :( I have asked them to come in, but it is like supervising socially active teenage and the work quality wasn't up to par.
The proper way of doing this is to use dry wall mesh to act as scaffolding before applying drywall filler compound etc. I am not getting paid for this, so I am using whatever I have on hand - cardboard from soda cracker boxes and hot glue that I rarely use.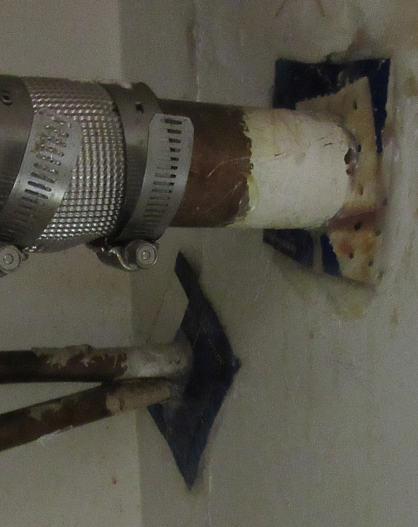
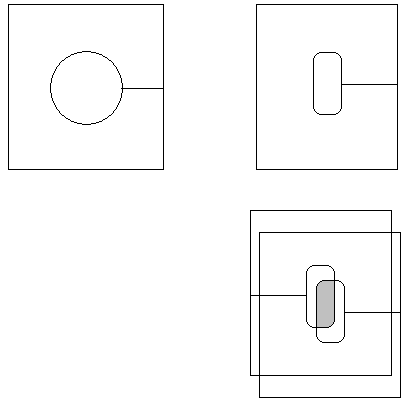
I measure the diameter out the large drain pipe with my trusty caliper. I found the old compass I had from high school for the circle! I cut out a slit and the circle with a pair of scissors. The cut out fits the drain pipe perfectly. I used tons of hot glue to glue the patch onto the wall board. I glue over a second piece rotated by 180 degrees over the top to add some extra strength.
For the other hole, I cut out an elongated slot. The two offset cardboards allow me to make some adjustments on the width/length aperture. I glooped the whole thing with ample of hot glue to fill the area between the two water pipes.
I went over the patches with my hot air tool to smooth over the glue and make sure that the glue are melted completely and soak onto the surface. It is not a pretty job, but is better than the unfinished repair work or the attempted Saran wrap by the previous tenant.
I ordered some STM32F030F4 parts from China. They are 16kB FLASH with 4kB SRAM 48MHz Cortex M0 in a TSSOP package for $0.60 US a piece at QTY 10. There are the usual 12-bit ADC, SPI, I2C, USART, timers and a 5 channel DMA!!! At that kind of price point, I wouldn't bother with the regular 8-bit chips.
Links:
http://eleceng.dit.ie/frank/arm/STM32F030ISP/index.html
https://hackaday.io/project/4277-stm32f030f4p6-breakout-boardAlso ordered some of the Buck Converter modules. All you need is a couple of bulk input and output caps. Hopefully these should arrive before Xmas.
Canada Post and the Canada Custom are getting slower these days. My ten nRF24 clone modules arrived today. With the SFM32F030, these would make some low cost decent LoT modules.
-
Useful/Interest stuff
03/03/2015 at 23:45 • 0 commentsUSB Related:
usb.org - The Official Specs
Cypress AN57294 - USB 101 - An Introduction to Universal Serial Bus 2.0.pdf - Very detailed intro


