-
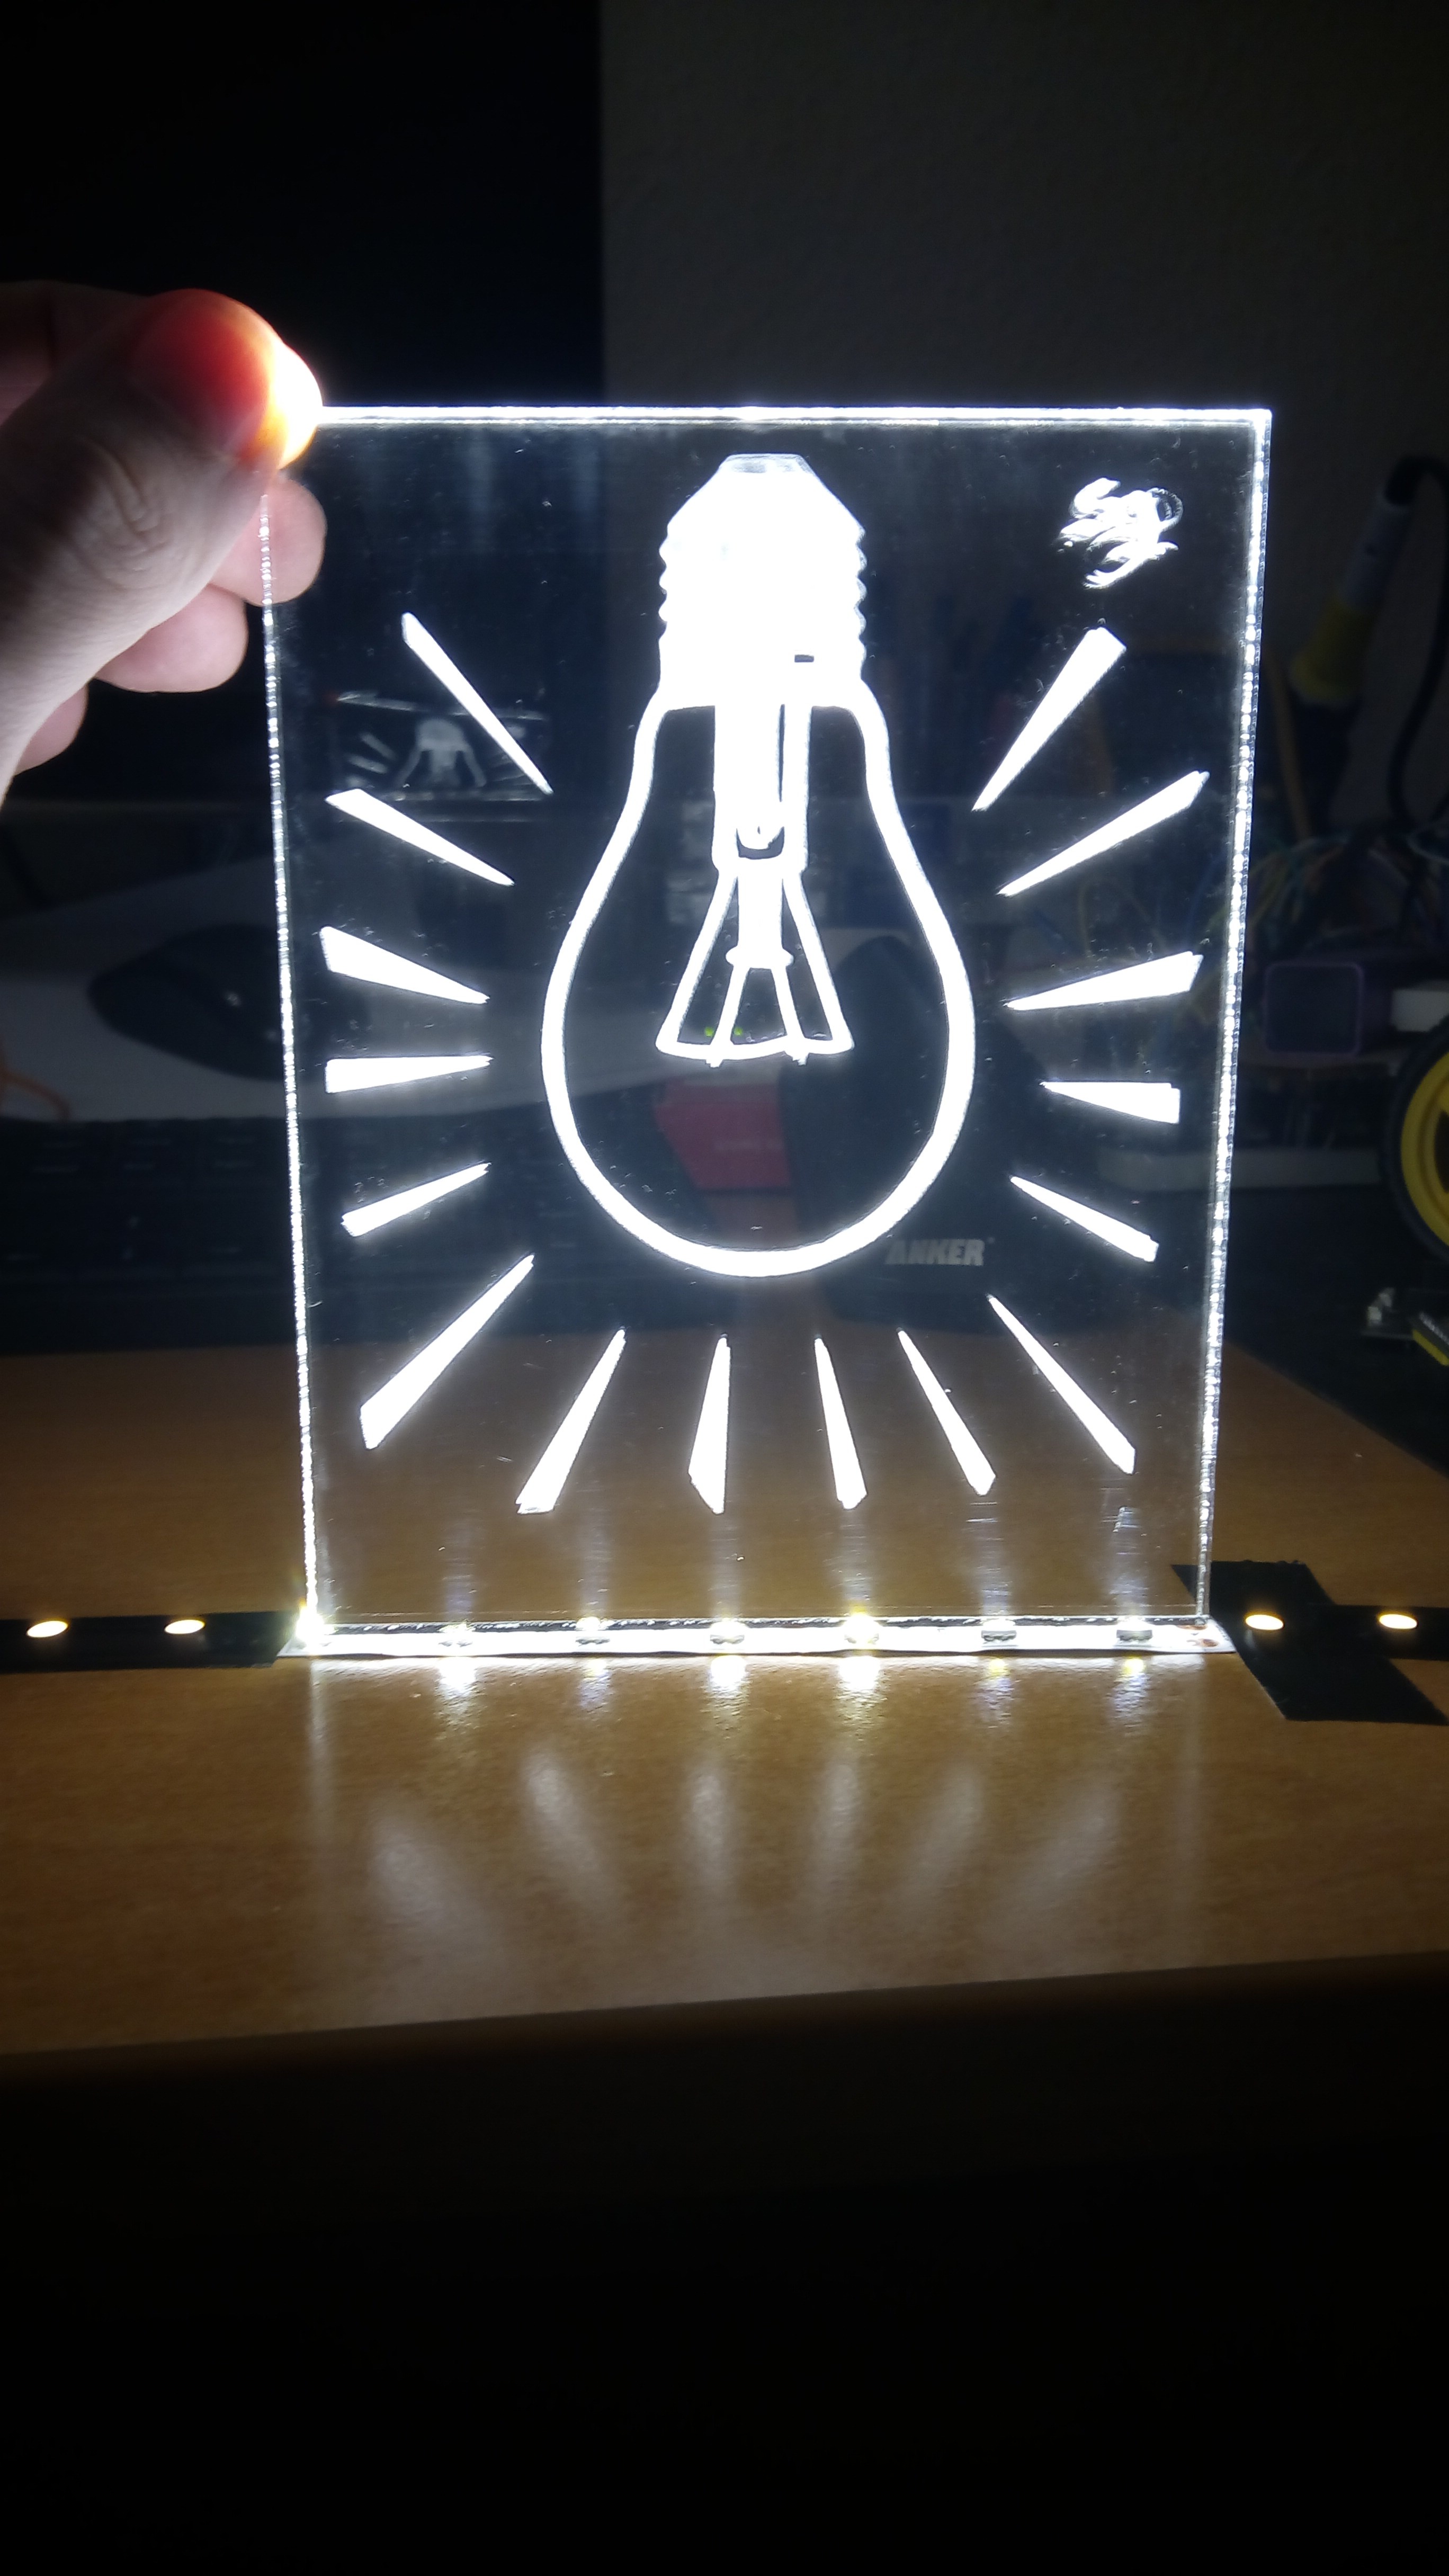
Edge lit acrylic
02/24/2018 at 22:48 • 0 comments -
Hi-Tech Digital Full Automated PID Controlled Etcher :)
02/04/2018 at 23:12 • 0 commentsLiving in an apartment has its advantages, just I was unsuccessful of finding it :) But one of the major drawback is, you can't have a workshop at home. So these are the times, when one are going to be creative.
Etching PCB's are inevitable, when you are on a budget. Sure, there are times, when outsourcing makes sense, like when you are thinking, that an ENIG finish will be OK for the "other" side of the pogo pins connector, in a somewhat long run of a few hundred connections. But home etching, especially if it is a one piece big PCB, has a good price in compared to fabing. Having a small place for hobby, and having a small child running around, automatically disqualifies a lot of hazardous things. Fortunately, there is an etchant, which is not so dangerous: sodium persulfate. But there is no free lunch, it is picky on the conditions. By my experience, it slows down, or stops under 40°C, but loses its etching capacity over 50°C. And it really needs the etchant moving (or the PCB). I was thinking a lot, how could I make the perfect conditions for the etching. One day somehow got in my hands the baby bottle warmer. Being a geek, it was picked by me of course. It have an LCD, measures the temperature, you can set it up with timing or the temperature. I think You understand. And in that moment, I realized, voilá, here is your perfect heater. And the plan started to assemble. It was out of question to directly heat the etchant. I needed a heat exchanger, and a pump.

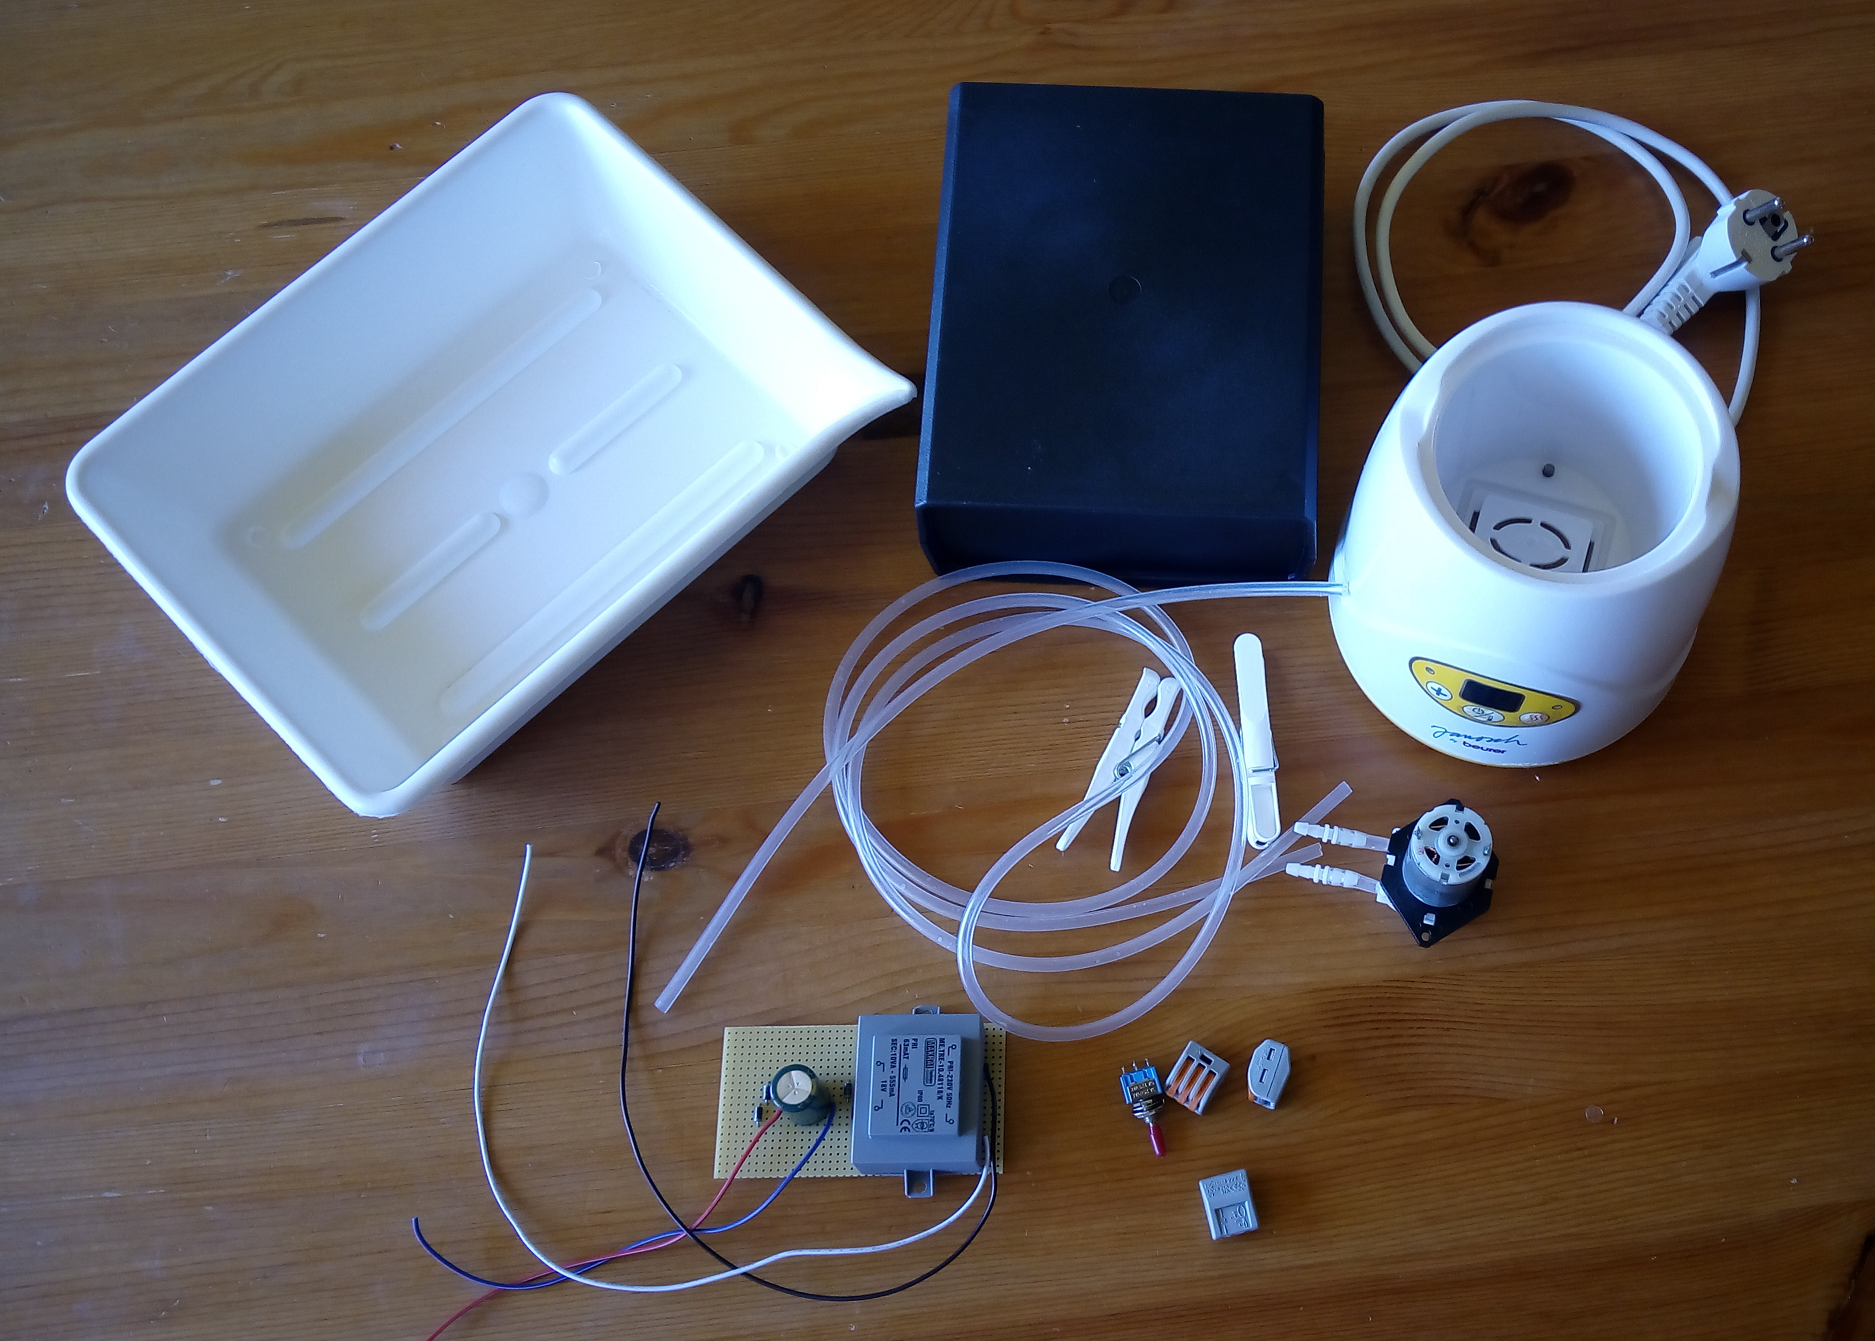
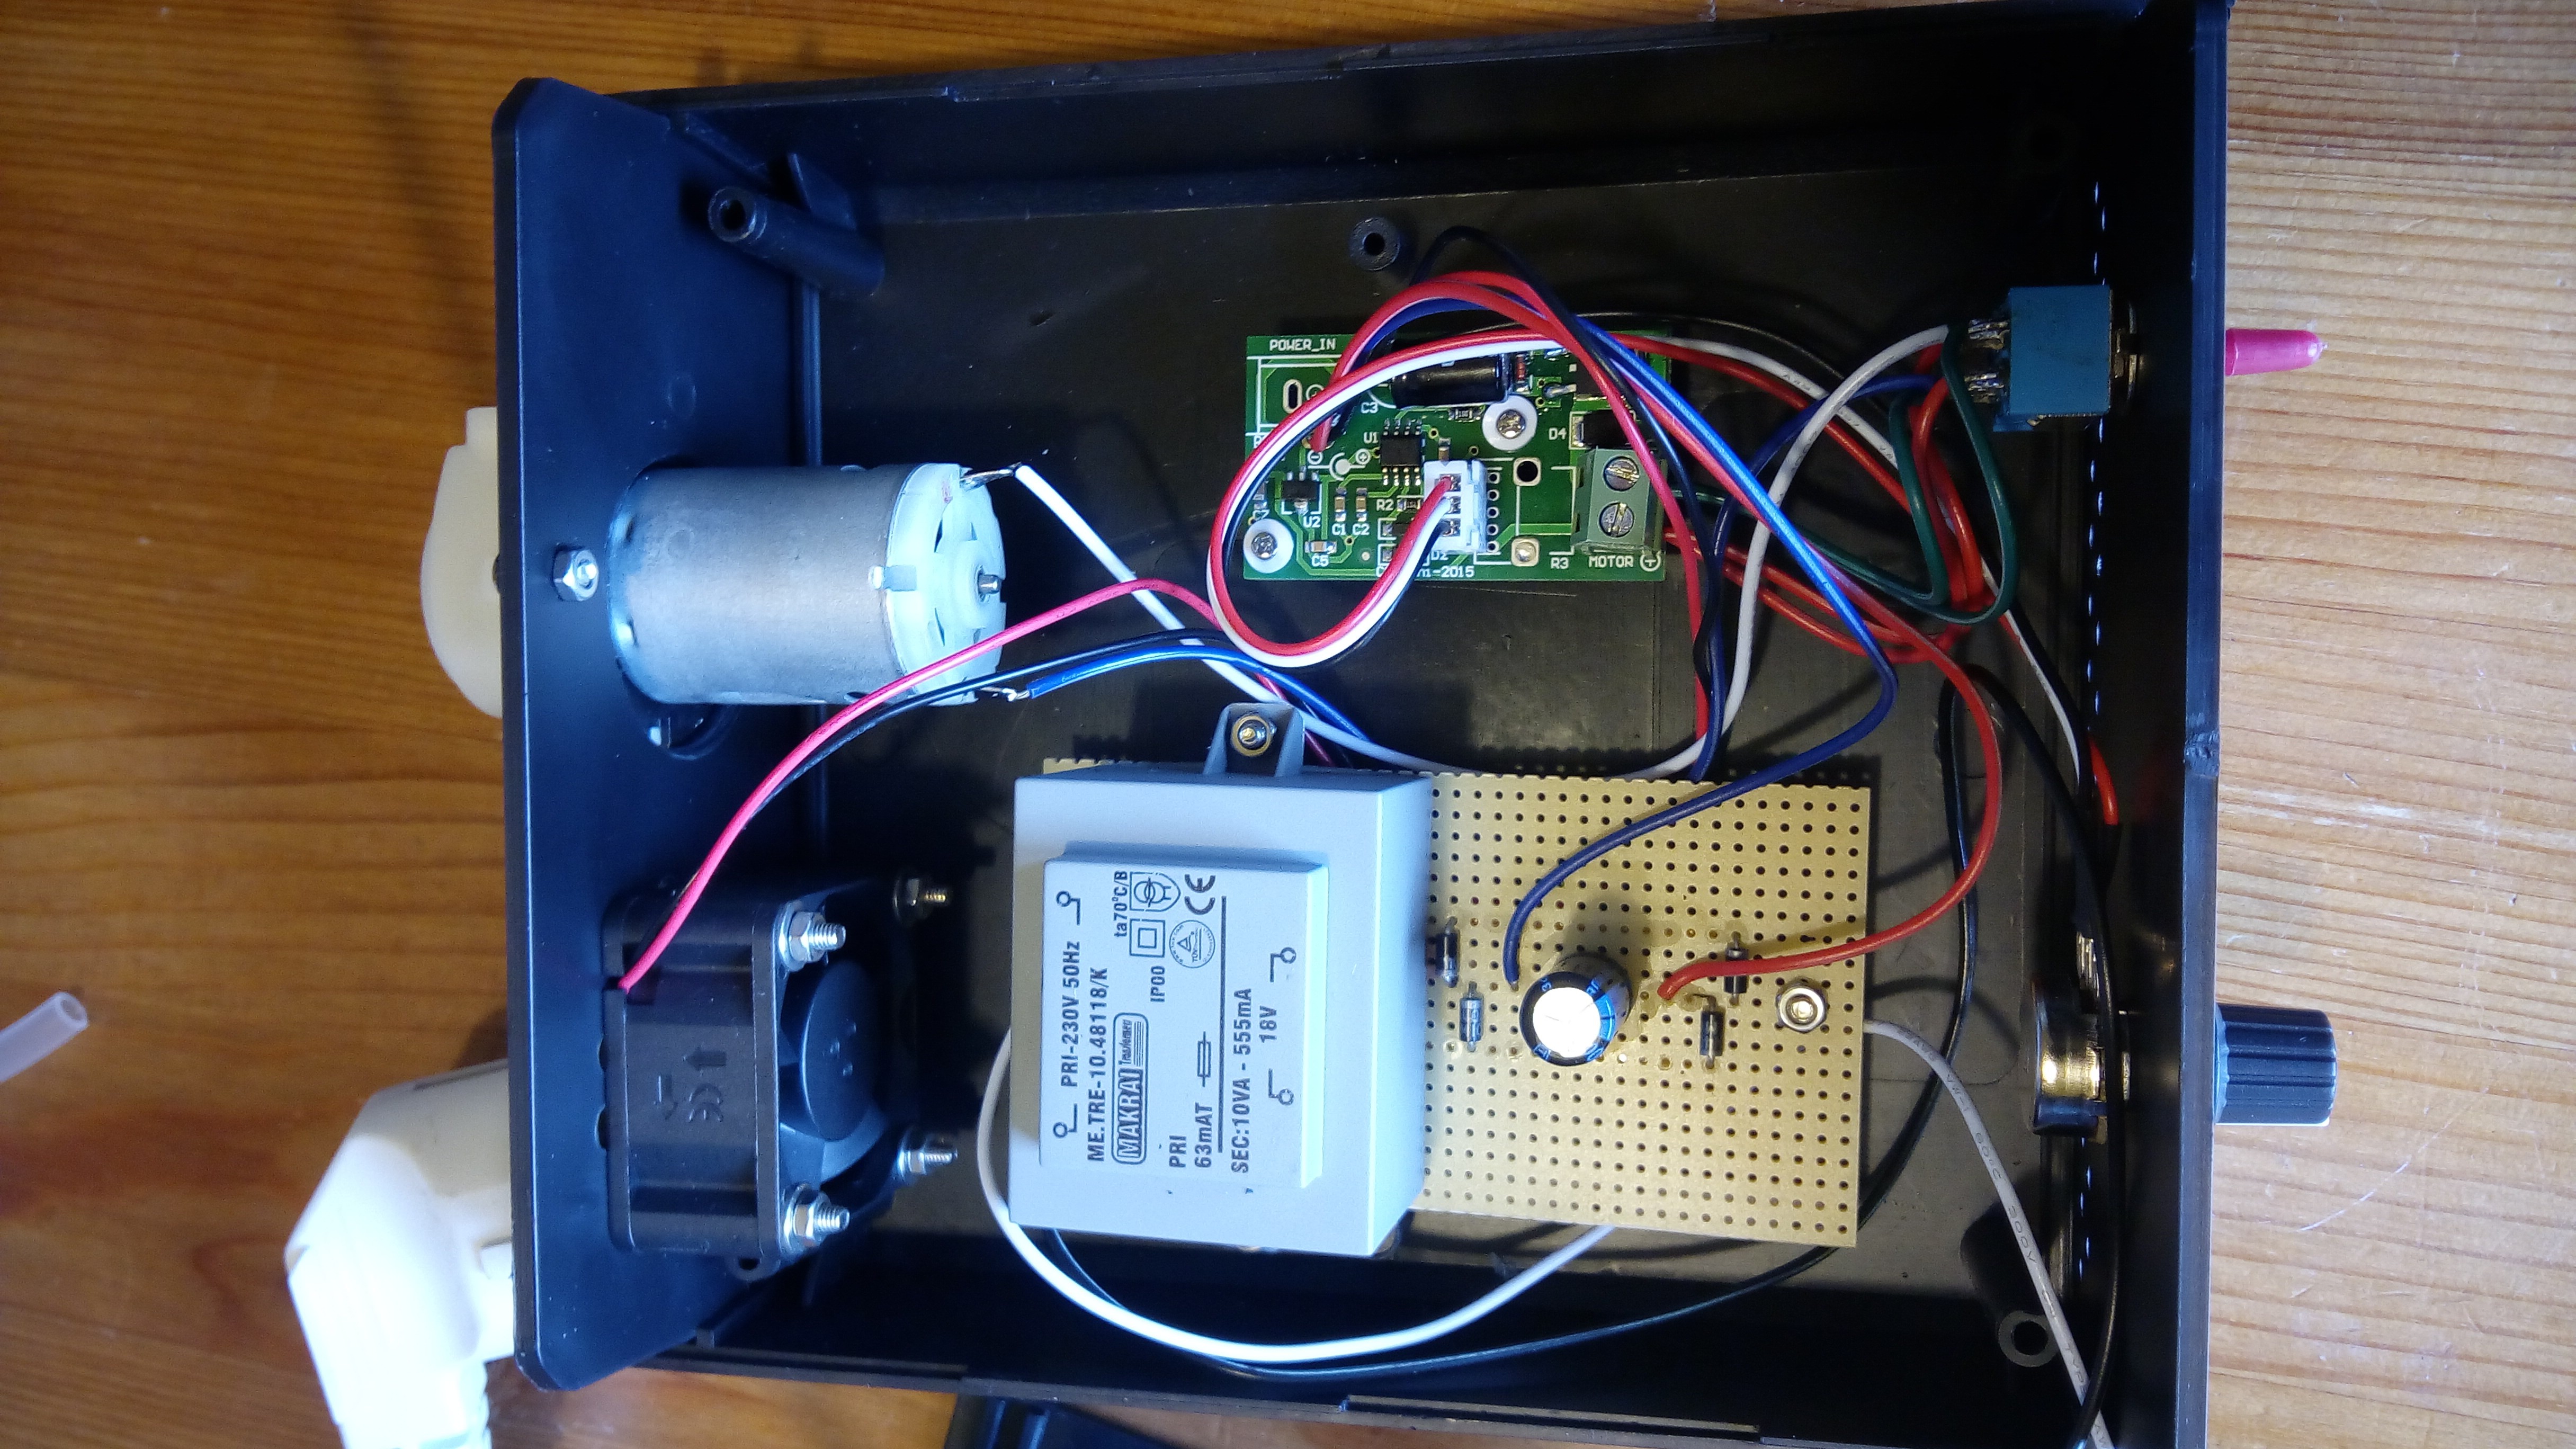
A peristaltic pump from China, a power supply made on perfboard with some transformer I had at home, some tube from an aquarium shop, clothespins. It looks good :) Later I put in a PWM for the pump, and a cooling ventilator.

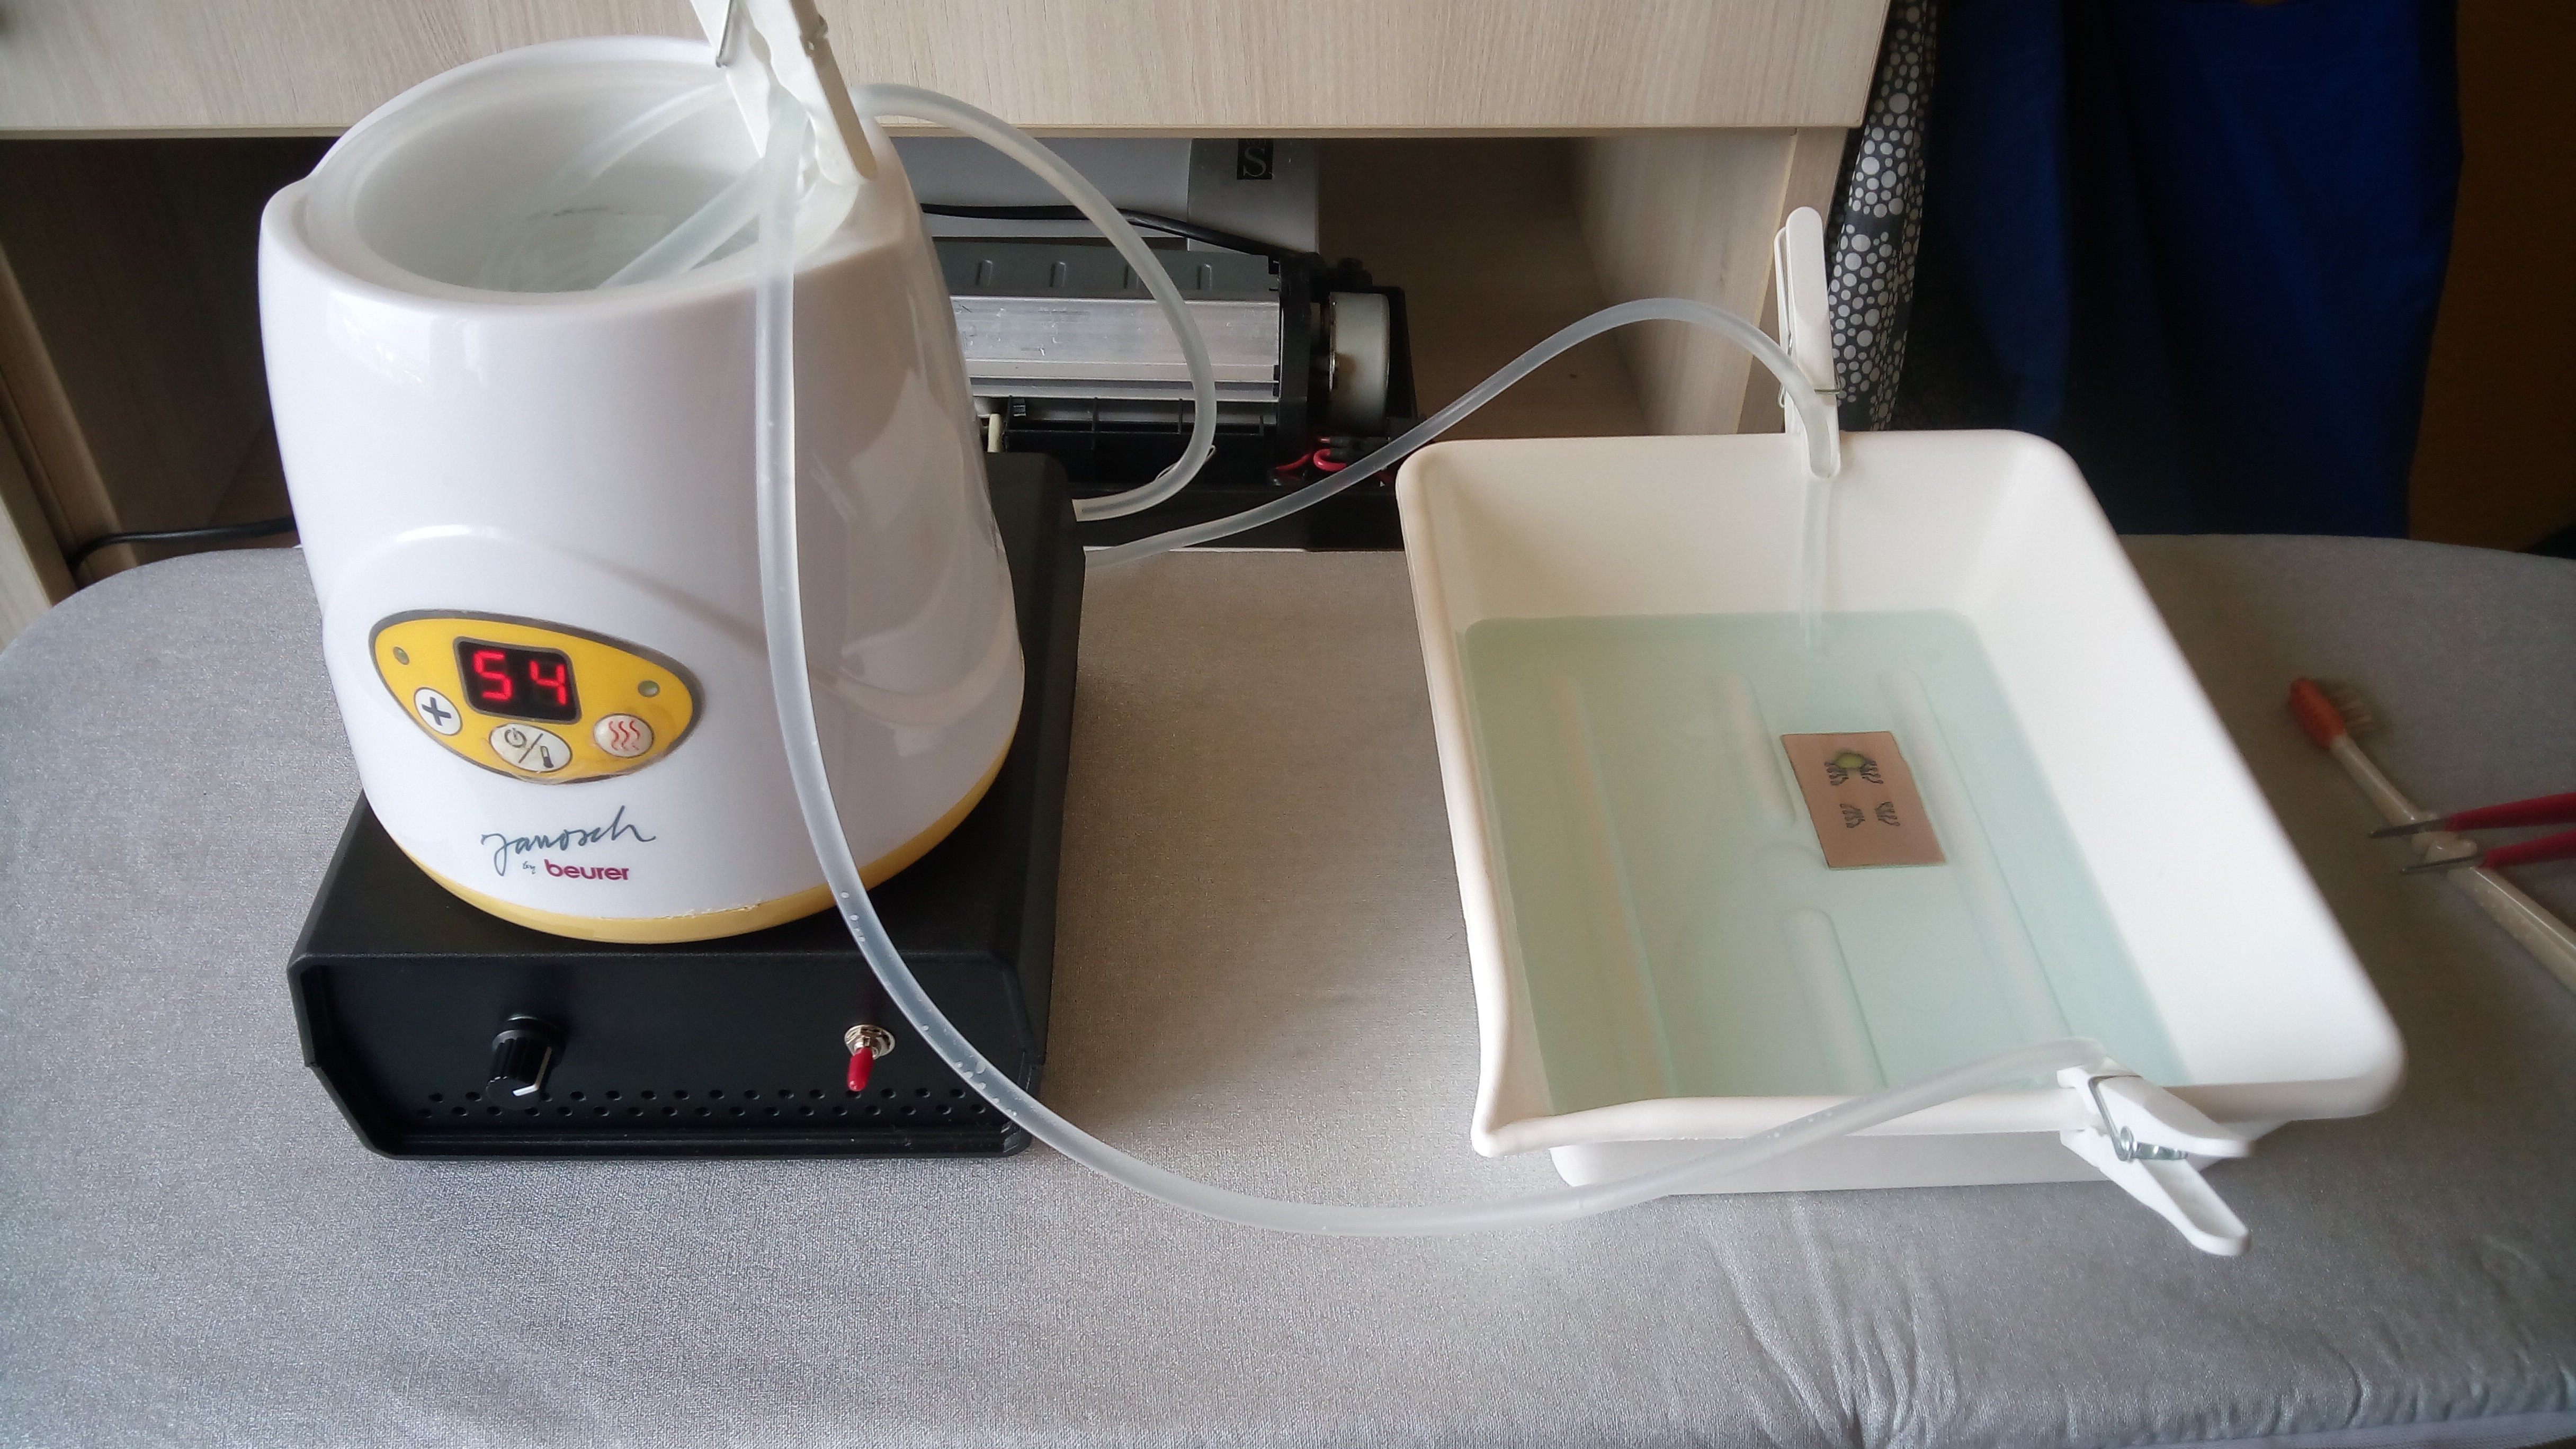
Fully assembled and working:

In that picture is the breakout board for the EEPROMs, for testing in Cubetto Clones controller. And in the back is a laminator with the higher temperature bimetal thermostat. It was a success also, I can make a trace between the pads of the 0805 every time, and had success making traces between 0603 too (ordered it by error, wanted 0805).


