-
Mentions on Hackaday.com and other articles
02/08/2021 at 22:42 • 0 commentsBecause I lost track...I want to keep this list...may missing some older ones. If you know of one missing please notify me.
2021-02-08 A Modern Homage To The TIL311 Display
2020-12-24 Discrete LEDs Make A Micro Display
2019-01-10 35C3: Biggest Communication Congress, Yet Little Chaos
2017-05-06 Hackaday Prize Bring-a-Hack Munich Was Great
2016-06-12 Tiny Tiny RGB LED Displays
2015-10-02 The Square Inch Project Challenges Your Layout Skills
2015-10-14 ASCII Games, Chiptunes, Hacker Celebrities At Hackaday Prize Worldwide Berlin
2015-06-19 Hacklet 52 – Breakout Board Projects
on hackster.io
This Modern Day Take on the TIL311 Shines a Light on How to Deal with Part Obsolescence!
If Imitation Is the Most Sincere Form of Flattery, Lixie Labs Should Be Flattered by the COPIXE!
Build an Ultra Tiny Smart RGB LED Display Matrix with the SAM D21
OSH-park Blog
2021-02-03 This Modern Day Take on the TIL311 Shines a Light on How to Deal with Part Obsolescence
2020-12-26 Discrete LEDs Make a Micro Display
2018-02-04 reDot Smart 5×7 LED Matrix
2016-12-19 reDOT: Tiny 5×7 LED matrix
2016-06-13 Tiny Tiny RGB LED Displays — Hackaday
2016-05-12 PICTIL: Remake of the TIL311 display
2016-01-18 One Square Inch: more OSH Park shared projects
electronics-lab
https://www.electronics-lab.com/pictil-remake-til311-hex-led-display/
-
Xpress Evaluation Board
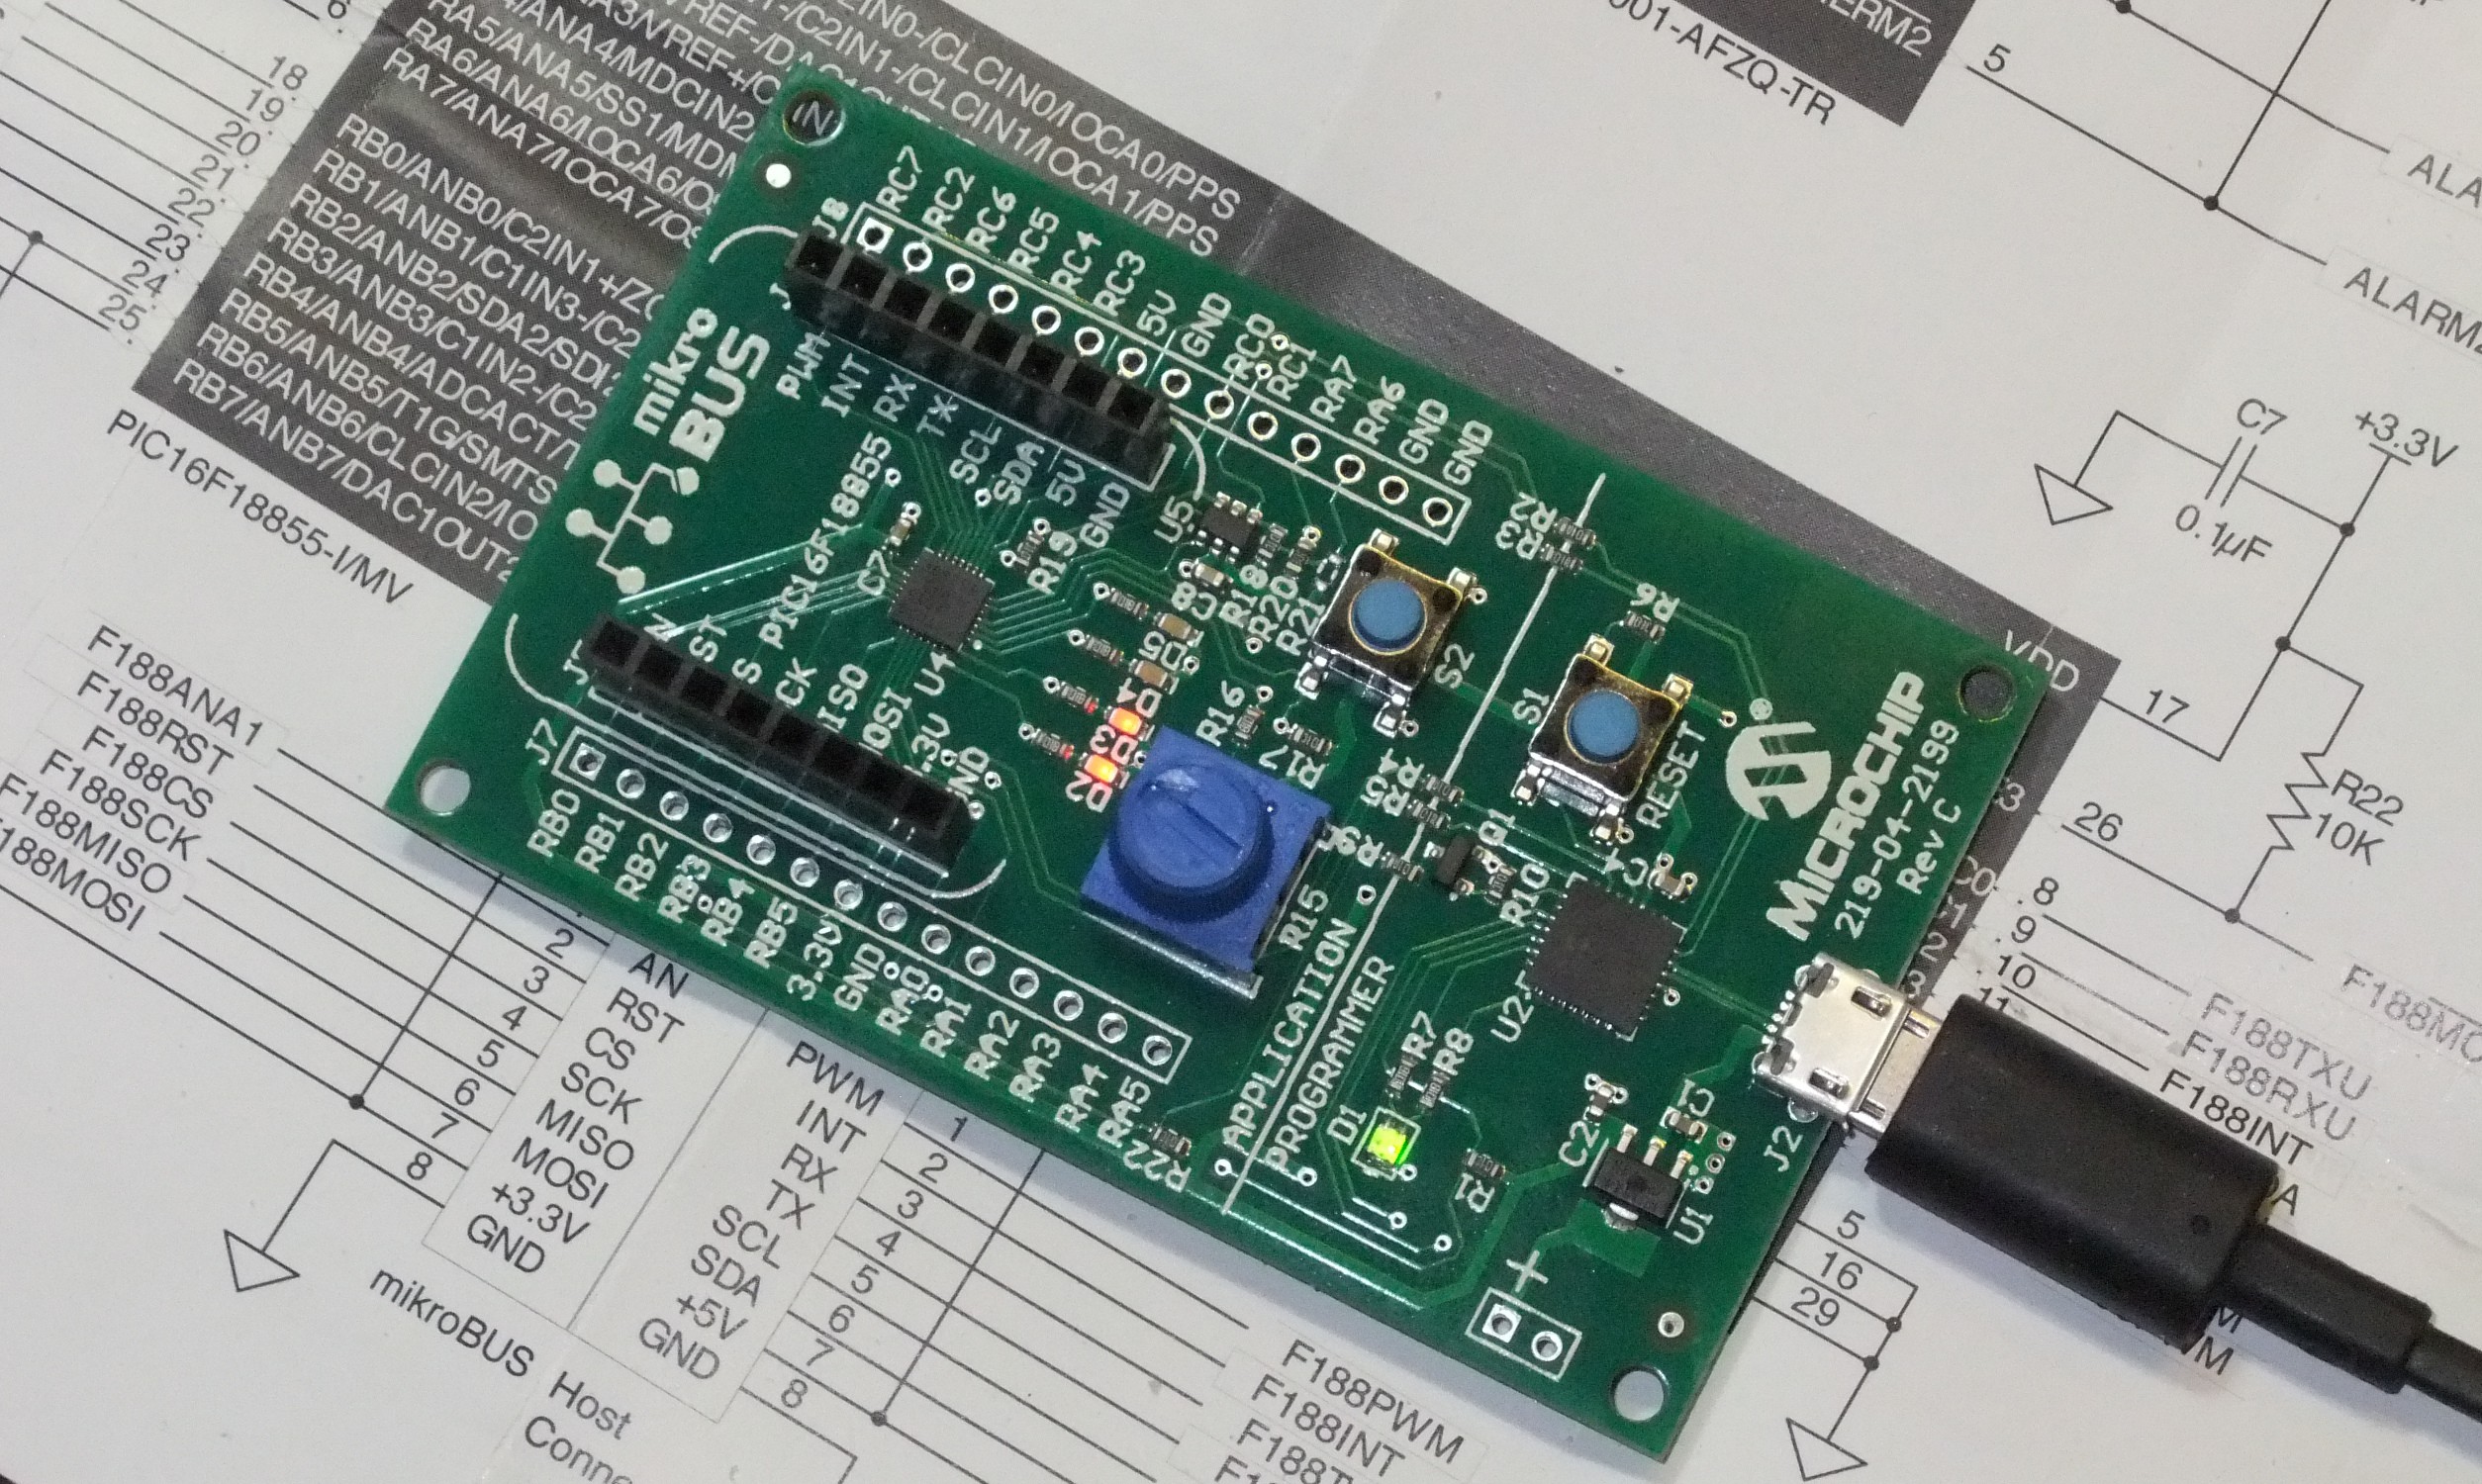
03/02/2016 at 18:03 • 0 commentsSome weeks ago I read this Article on Hackaday. Microchip did gave away some MPLAB Xpress Evaluations Boards. Here are some thoughts about this and the MPLAB Xpress browser based IDE. This page does not claim to be a full review just some thoughts (and I did not get paid for it).
First as also written in the Hackaday article it is possible to get nearly set-up time free entrance to Microntroller development. It is possible to use this this board just with the online IDE and no need to download anything.
The online IDE does work similar to the offline MPLAB X IDE. It also looks similar. But for me there is code completion missing (or at least not findable). After writing your code. You can compile it and download the hex file. But if you like to use the Xpress Code configurator you need to download some software. This should be included in the web application. Something else I did noticed is that you have the board connected if switching between two projects when using the code configurator and the online IDE.
The code configuarator is a really nice tool for fast results. This tool was also new to me (I did work with PICs before). Because I did used PICs before, there was MPLAB X installed on my PC. The code configuarator is there also available as much smoother working plugin.
Now to the Hardware. If there is a compiled hex file created by one of the IDEs, the programming of the board is very easy. The board is recognized as external flash drive. After copying the hex file onto it the PIC gets programmed and resets when ready. Very simple and easy to use. On the Hardware side it is very handy to have the potentiometer and four user leds onboard. Thesre is also a switch wich I did not used so far.
I do like this board and this is a good way to learn more about PICs. So far did only use smaller PICs mostly for basic IO stuff. So this board is a good platform for further experimenting. But I will use the offline IDE the most time. The online IDE is useful if you do not use your own computer (or some small netbook) and want to change something quick.
So faar my first expierencer with this board.
-
MEMTYPE testing
01/24/2016 at 20:54 • 1 commentFirst test - 2016-01-24
Today I plugged my #Memtype into my PC for the first time. Here I will write some words about the first impressions/ideas. This page will get updated when i am doing further tests.
Positive Thinks:
- Worked out of the box (Win7)
- Nice and user friendly menu structure
Negative Things
- causes blue screen when unplugging while it was writing
(only one time. I could not reproduce this, could have an other reason)
Ideas for Improvements ( all meant constructive and not negative)
- case! This could be much more handy with a case. So that you can put it on your key ring and carry it with you.
- For testing this PCB USB plug is okay, I would replace it in a production run.
- use right footprint for the ATtiny
- use QFN ATtiny - this would be thinner and better to put in case
- LED maybe dual color to indicate power/locked/unlocked
So far to my first impression of Memetype. the next thing I will do is testing the mttoll software. And store some real data on it.
-
Ideas to #PICTIL
10/31/2015 at 15:05 • 1 commentI did really like the idea of #PICTIL. So I did some research on this and on this page I will just summarize ideas. (mostly because all this in a comment would be to much I think).
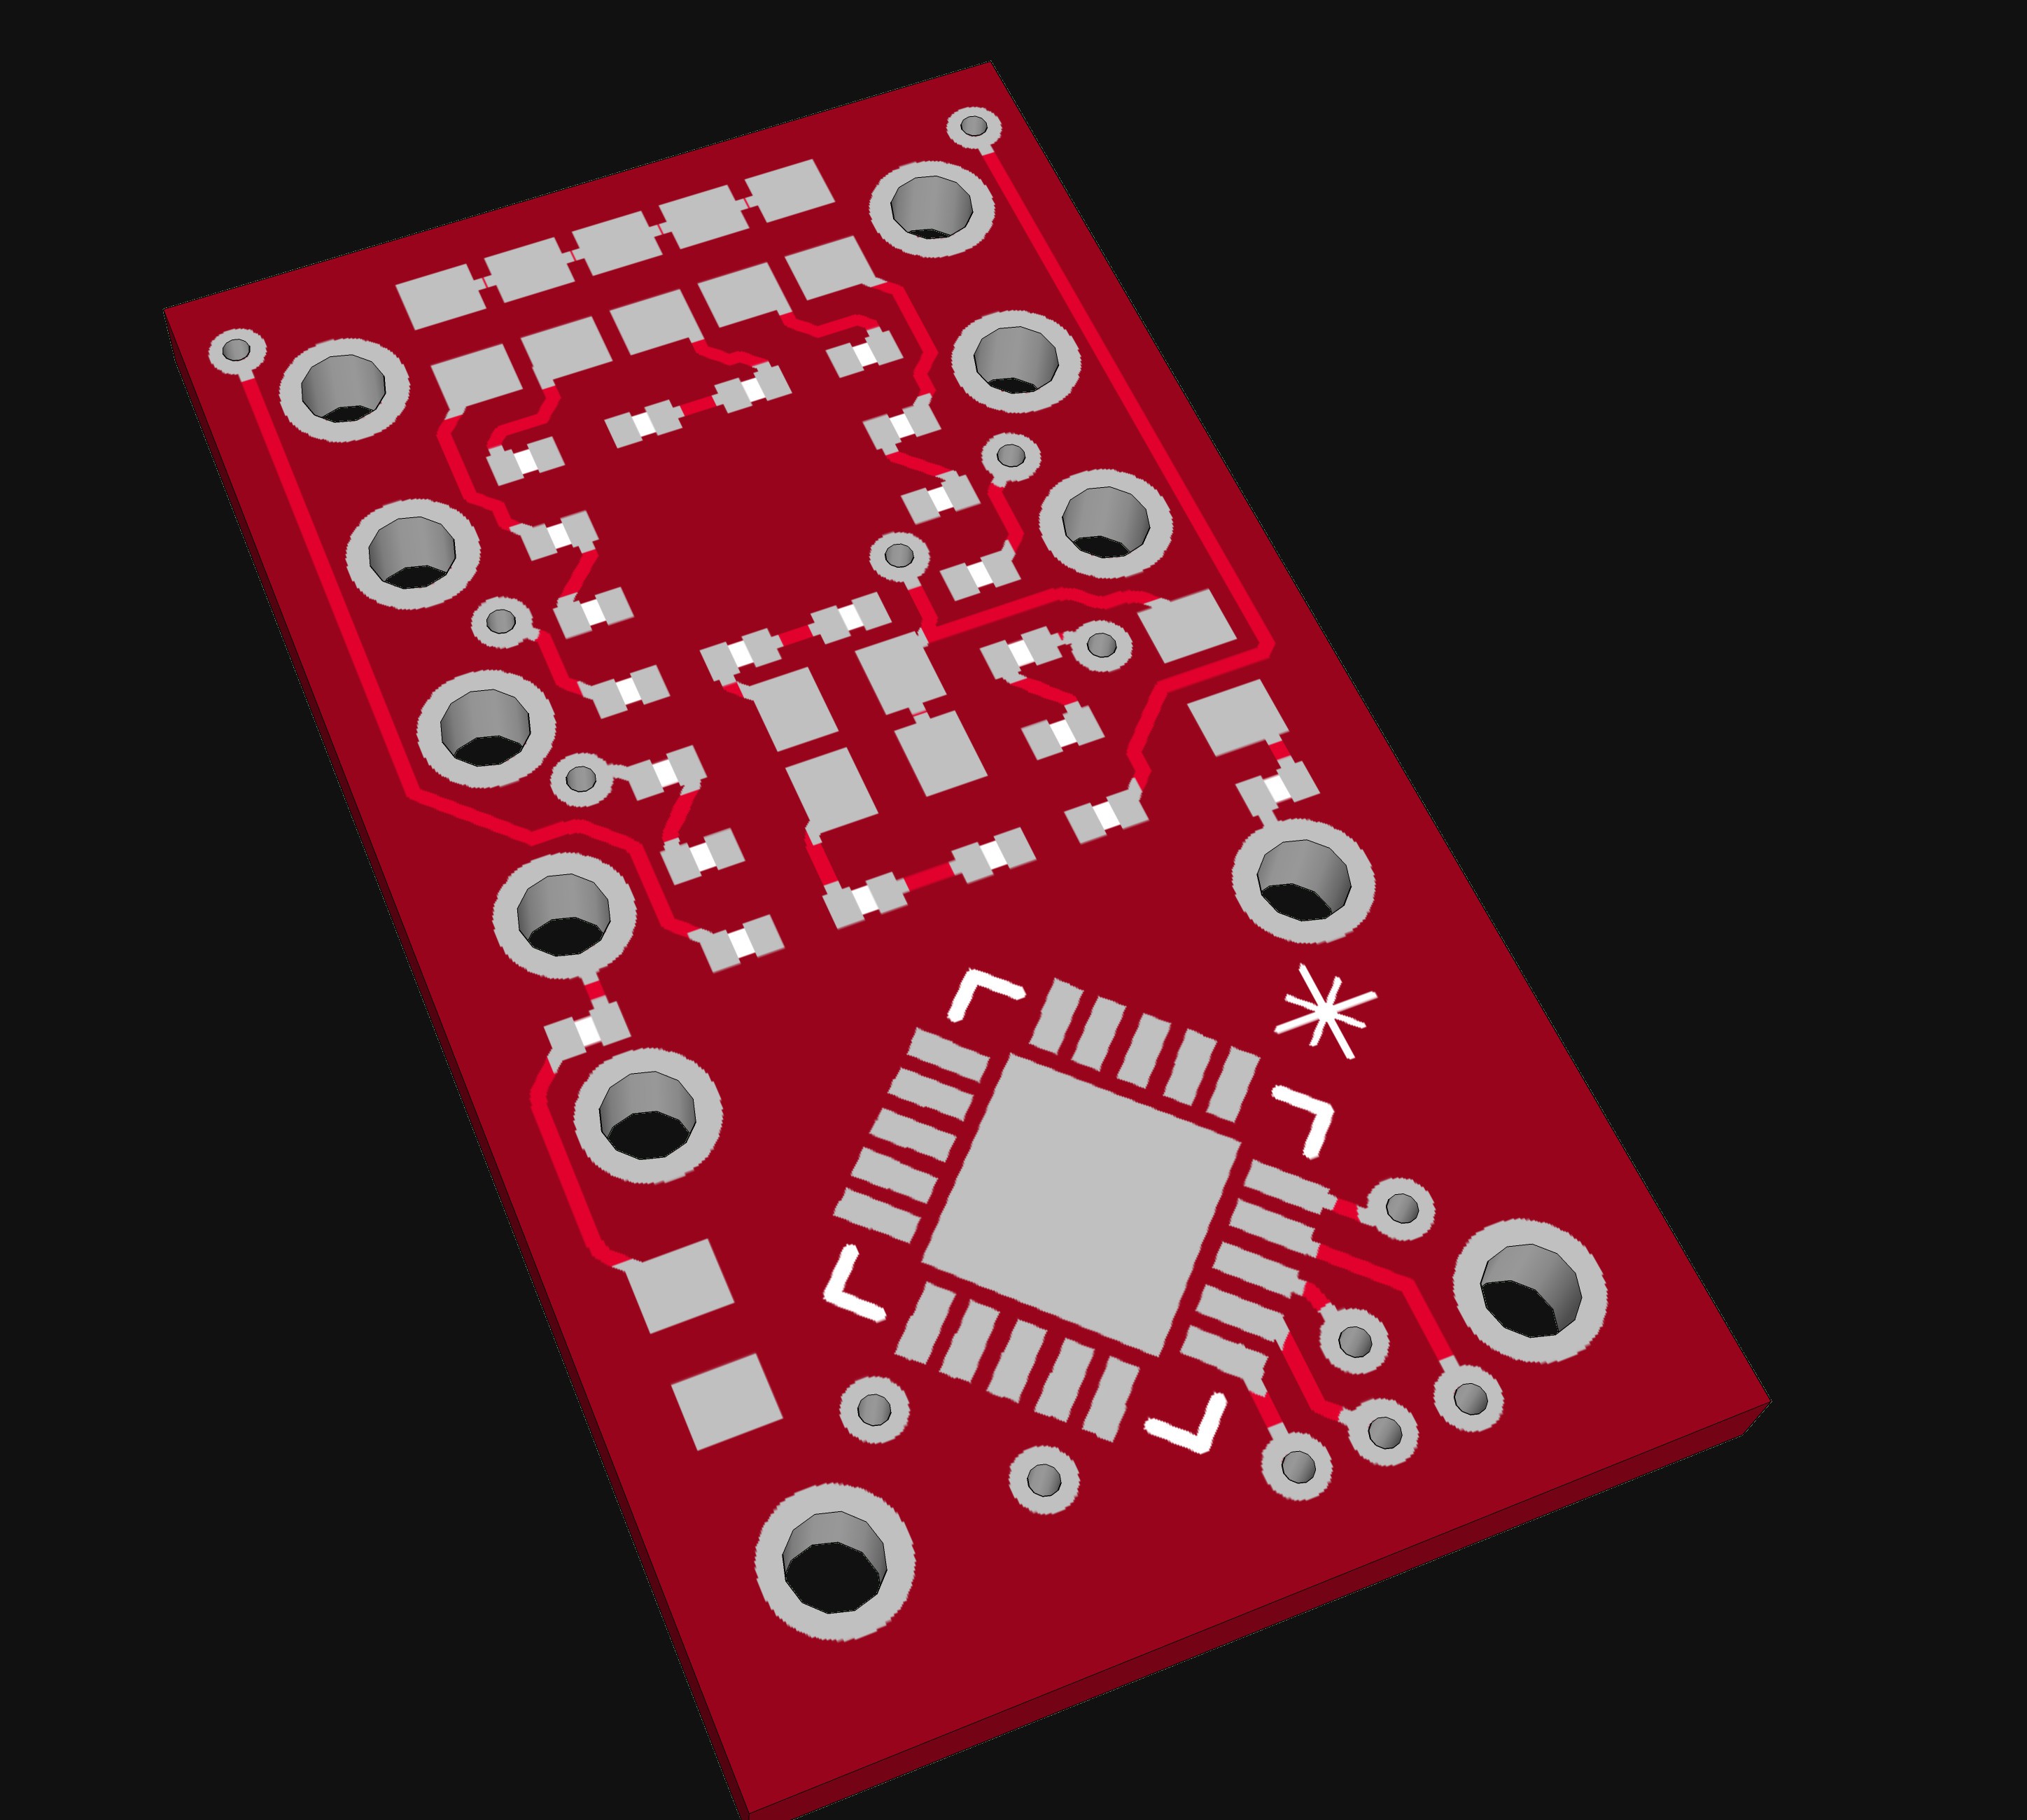
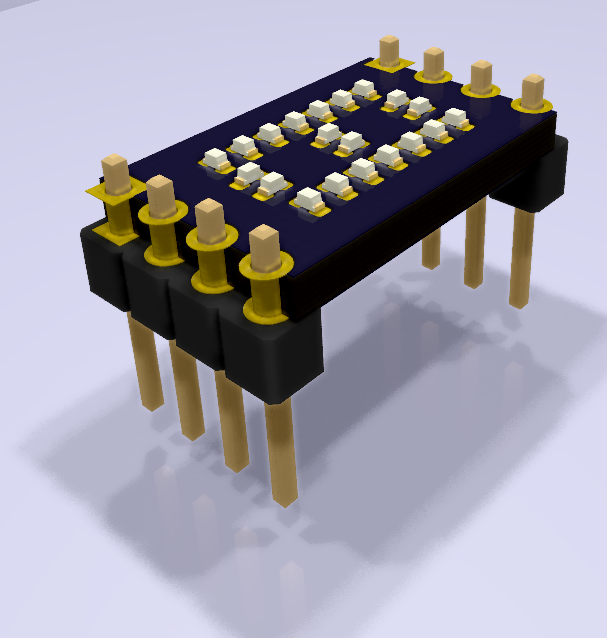
First the idea of using the PIC16F527 which @Yann Guidon / YGDES suggested. Is a very good choice. In my test design I used every pin of this micro controller and its quite cheap (sub 1$) . With these tiny LEDs (0201!!!) you could built something like this:
![]()
This would be an Pin and size compatible replacement. the small SMD parts are the LEDs the bigger ones resistors (0402). an you can also see the PIC (TQFP-20).
So it is posibble to make this but the routing is not ready yet. Maybe I will finish it, but i do not know. If I would finish the PCB I would have the next probllem with soldering these LEDs. And so far I do have no experience with programming PICs.
some additional links/data sheets:
original project by @Yann Guidon / YGDES: #PICTIL
Datshett TIL311: http://www.ti.com/lit/ds/symlink/til311.pdf
Datasheet PIC16F527: http://ww1.microchip.com/downloads/en/DeviceDoc/41652A.pdf
New 2020 idea


