Close
0%
0%

Urban gardening on the cheap

Using recycled materials to grow food effectively, and at very low cost.

Similar projects worth following
Urban gardening is a growing trend. In developed countries, we see fancy hydroponics and expensive automatic watering systems used to grow organic salad ingredients and herbs in apartments and cities. In developing nations, we see people in high density areas using portable gardens to feed their families. Our focus is the latter.
Zimbabwe has experienced massive crop failures this year. The rapidly growing urban population is going to have to learn how to grow their own food. We want to design and test systems of growing food using very limited resources – limited soil, water, space and finances. An interesting aspect of our designs is that they have to be mobile. The average tenant in the high density suburbs changes location regularly. They are not prepared to invest time and energy into projects that they might have to leave behind. We not only want to teach people how to produce their own food – we want to teach them how to teach others and pass on the knowledge.

The idea here is to test and develop methods for doing things very cheaply. There will be a focus on low cost stuff, but I doubt I'll be able to resist some electronics for automatic plant care etc. We are making progress (see my dad's work in the second latest project log) and there are many more things to write up!

More systems are described in some power-points (located in the files section) which have much more info on how to make various things.

Contents:

Some of the most interesting content is in the files section, as powerpoints (which will later be added as logs or build instructions). Logs of note:

Motivation:

Team member @Richard Whitaker has begun a vegetable gardening club at the school where he teaches, and has also taken on a few 'apprentices' this holiday to continue coming up with ideas and teaching people. He describes the plan as follows:

In a nutshell we want to contribute to the alleviation of malnutrition in Zimbabwe.

Our motto is “Learn – Practise – Teach.”

We want to learn as much as possible about growing food with limited space and resources – specifically within an urban environment. We then want to design and test various systems to establish their efficacy. When we come up with systems that are effective, we want to teach others how to duplicate them.

Read more »

Sack garden.pptx

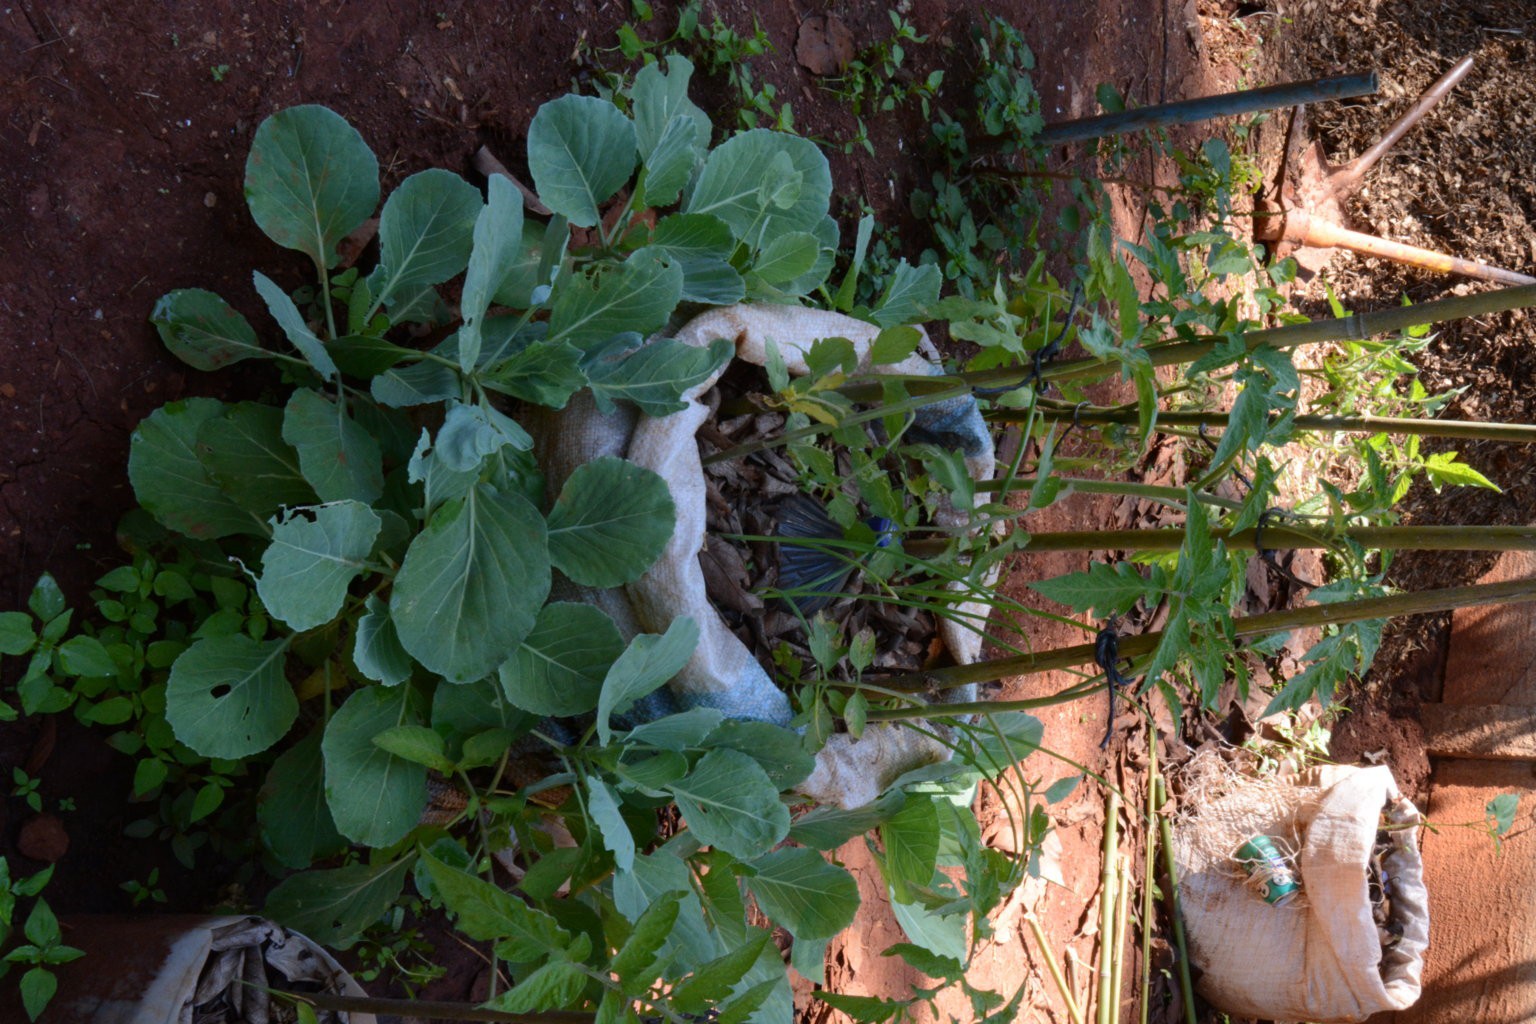
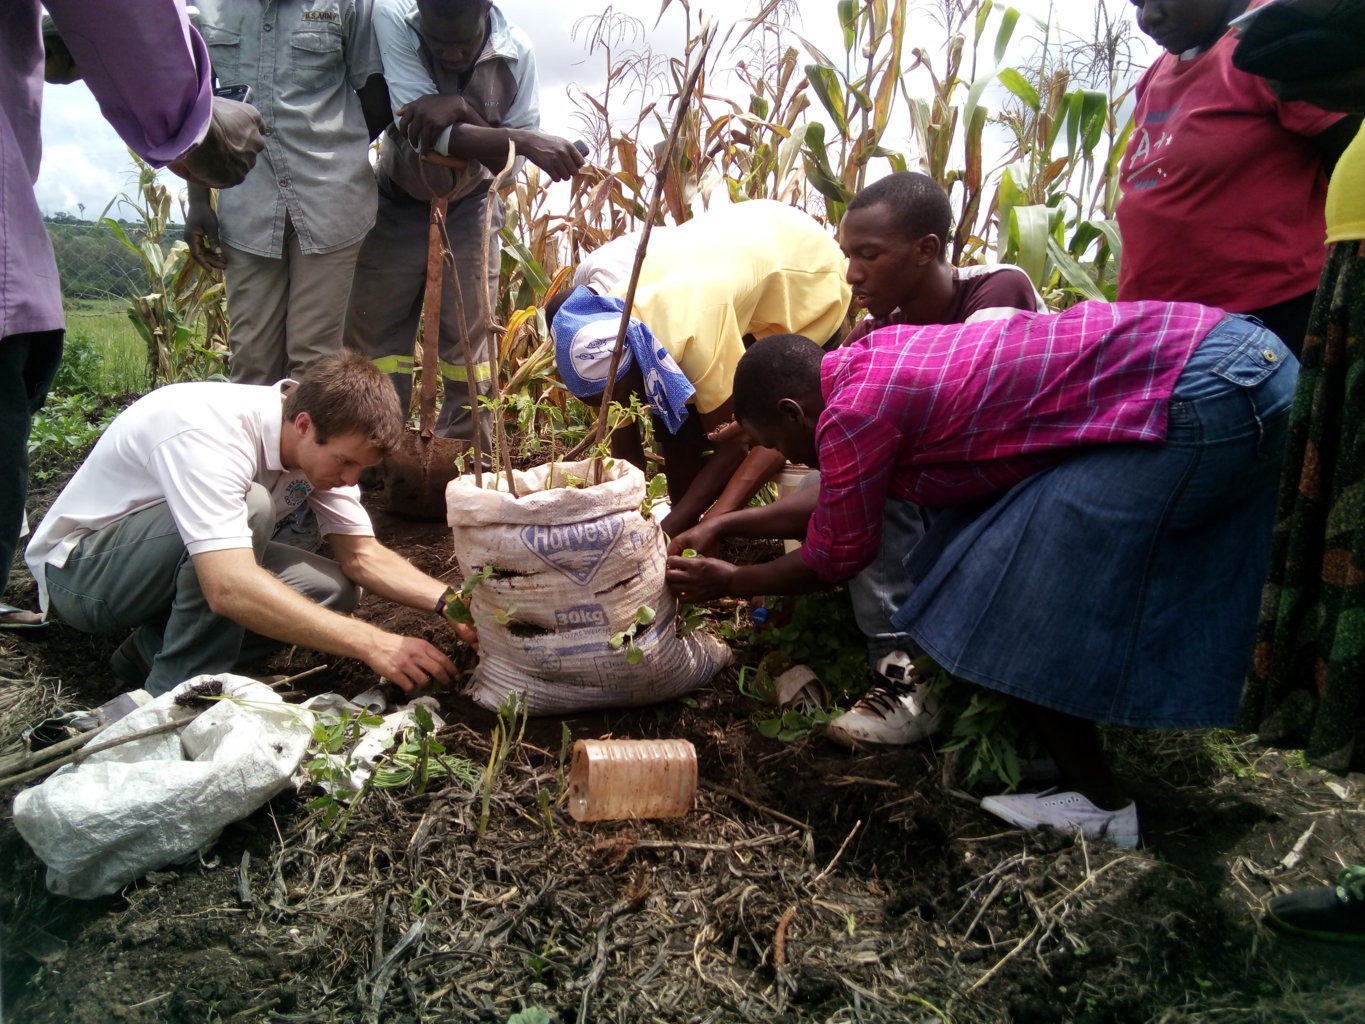
Sack garden (also described in it's own log). Lots of greens in a very small area.

presentation - 21.43 MB - 04/26/2016 at 17:23

Download

Self-wicking containers.pptx

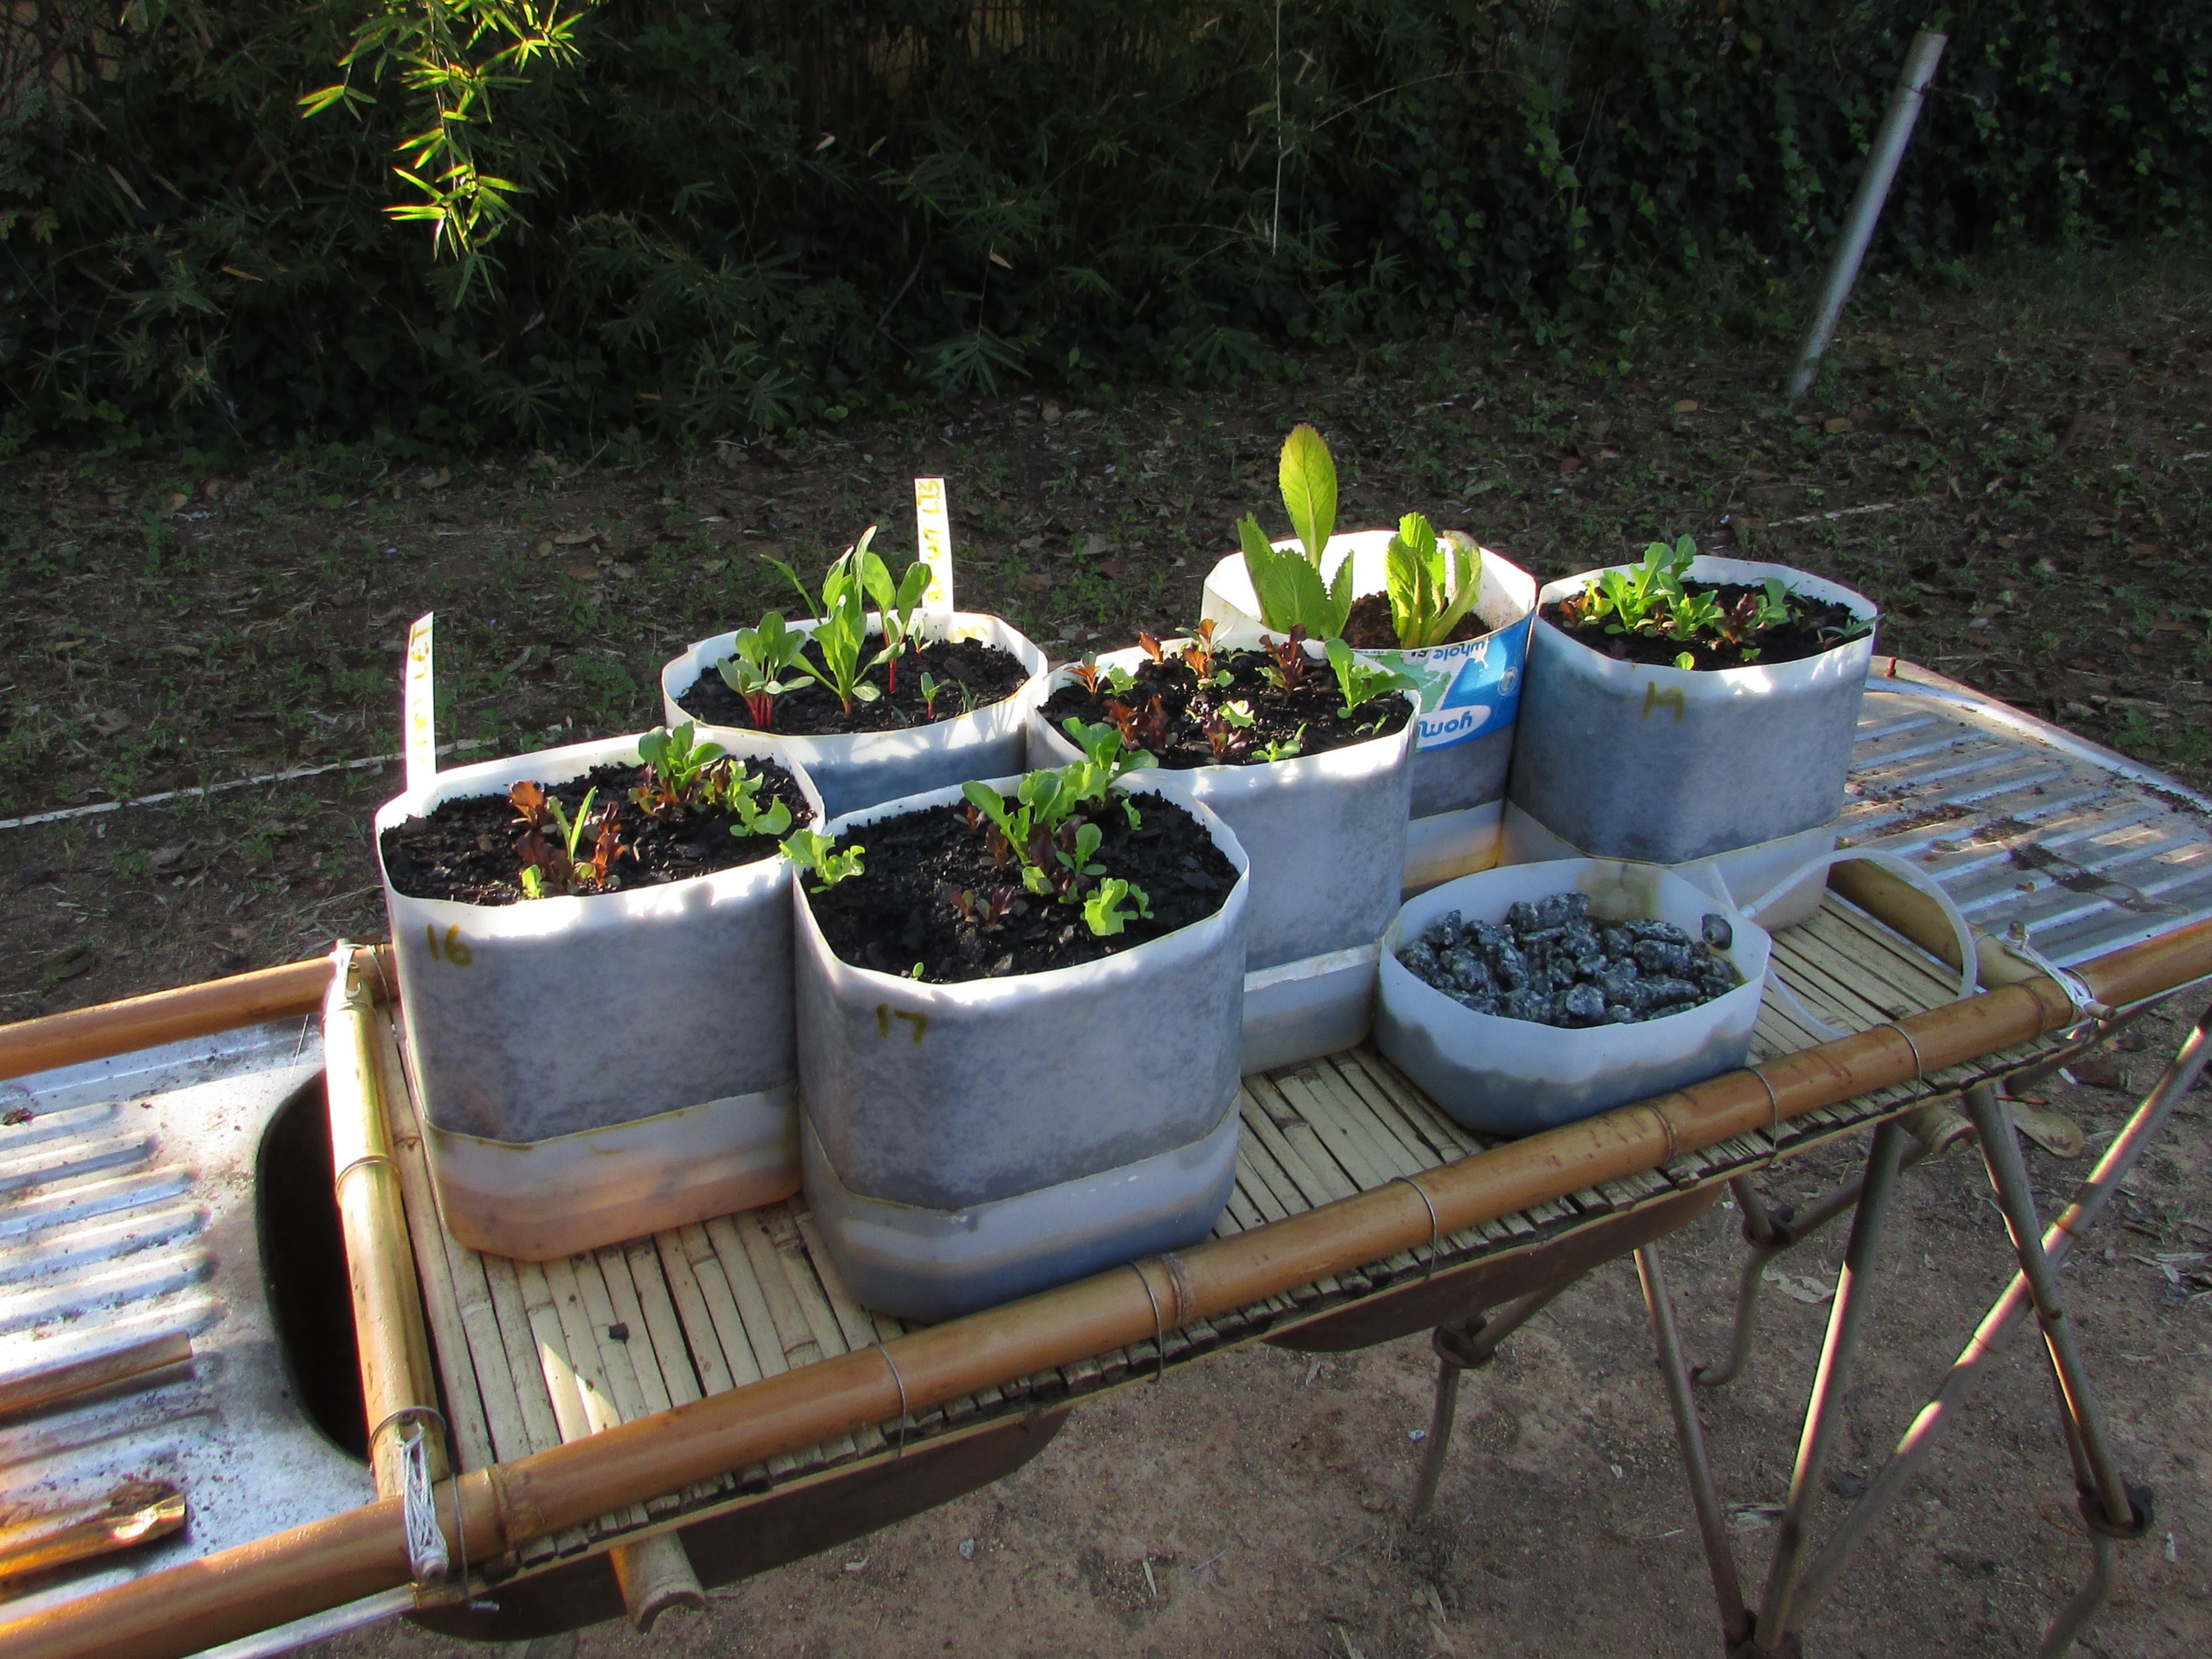
This can be plugged into a 20 L water hopper for when you go on vacation

presentation - 28.48 MB - 04/25/2016 at 07:35

Download

Potato tower - 200L plastic drums.pptx

This is growing amazingly fast, and requiring more mulch on a daily basis!

presentation - 35.60 MB - 04/24/2016 at 07:02

Download

20 litre container garden.pptx

presentation - 43.72 MB - 04/23/2016 at 18:04

Download

5L Onion.pptx

presentation - 19.01 MB - 04/23/2016 at 18:04

Download

View all 10 files

  • Instructional on how to make a water-wise strawberry container

    Richard Whitaker04/29/2016 at 02:43 0 comments

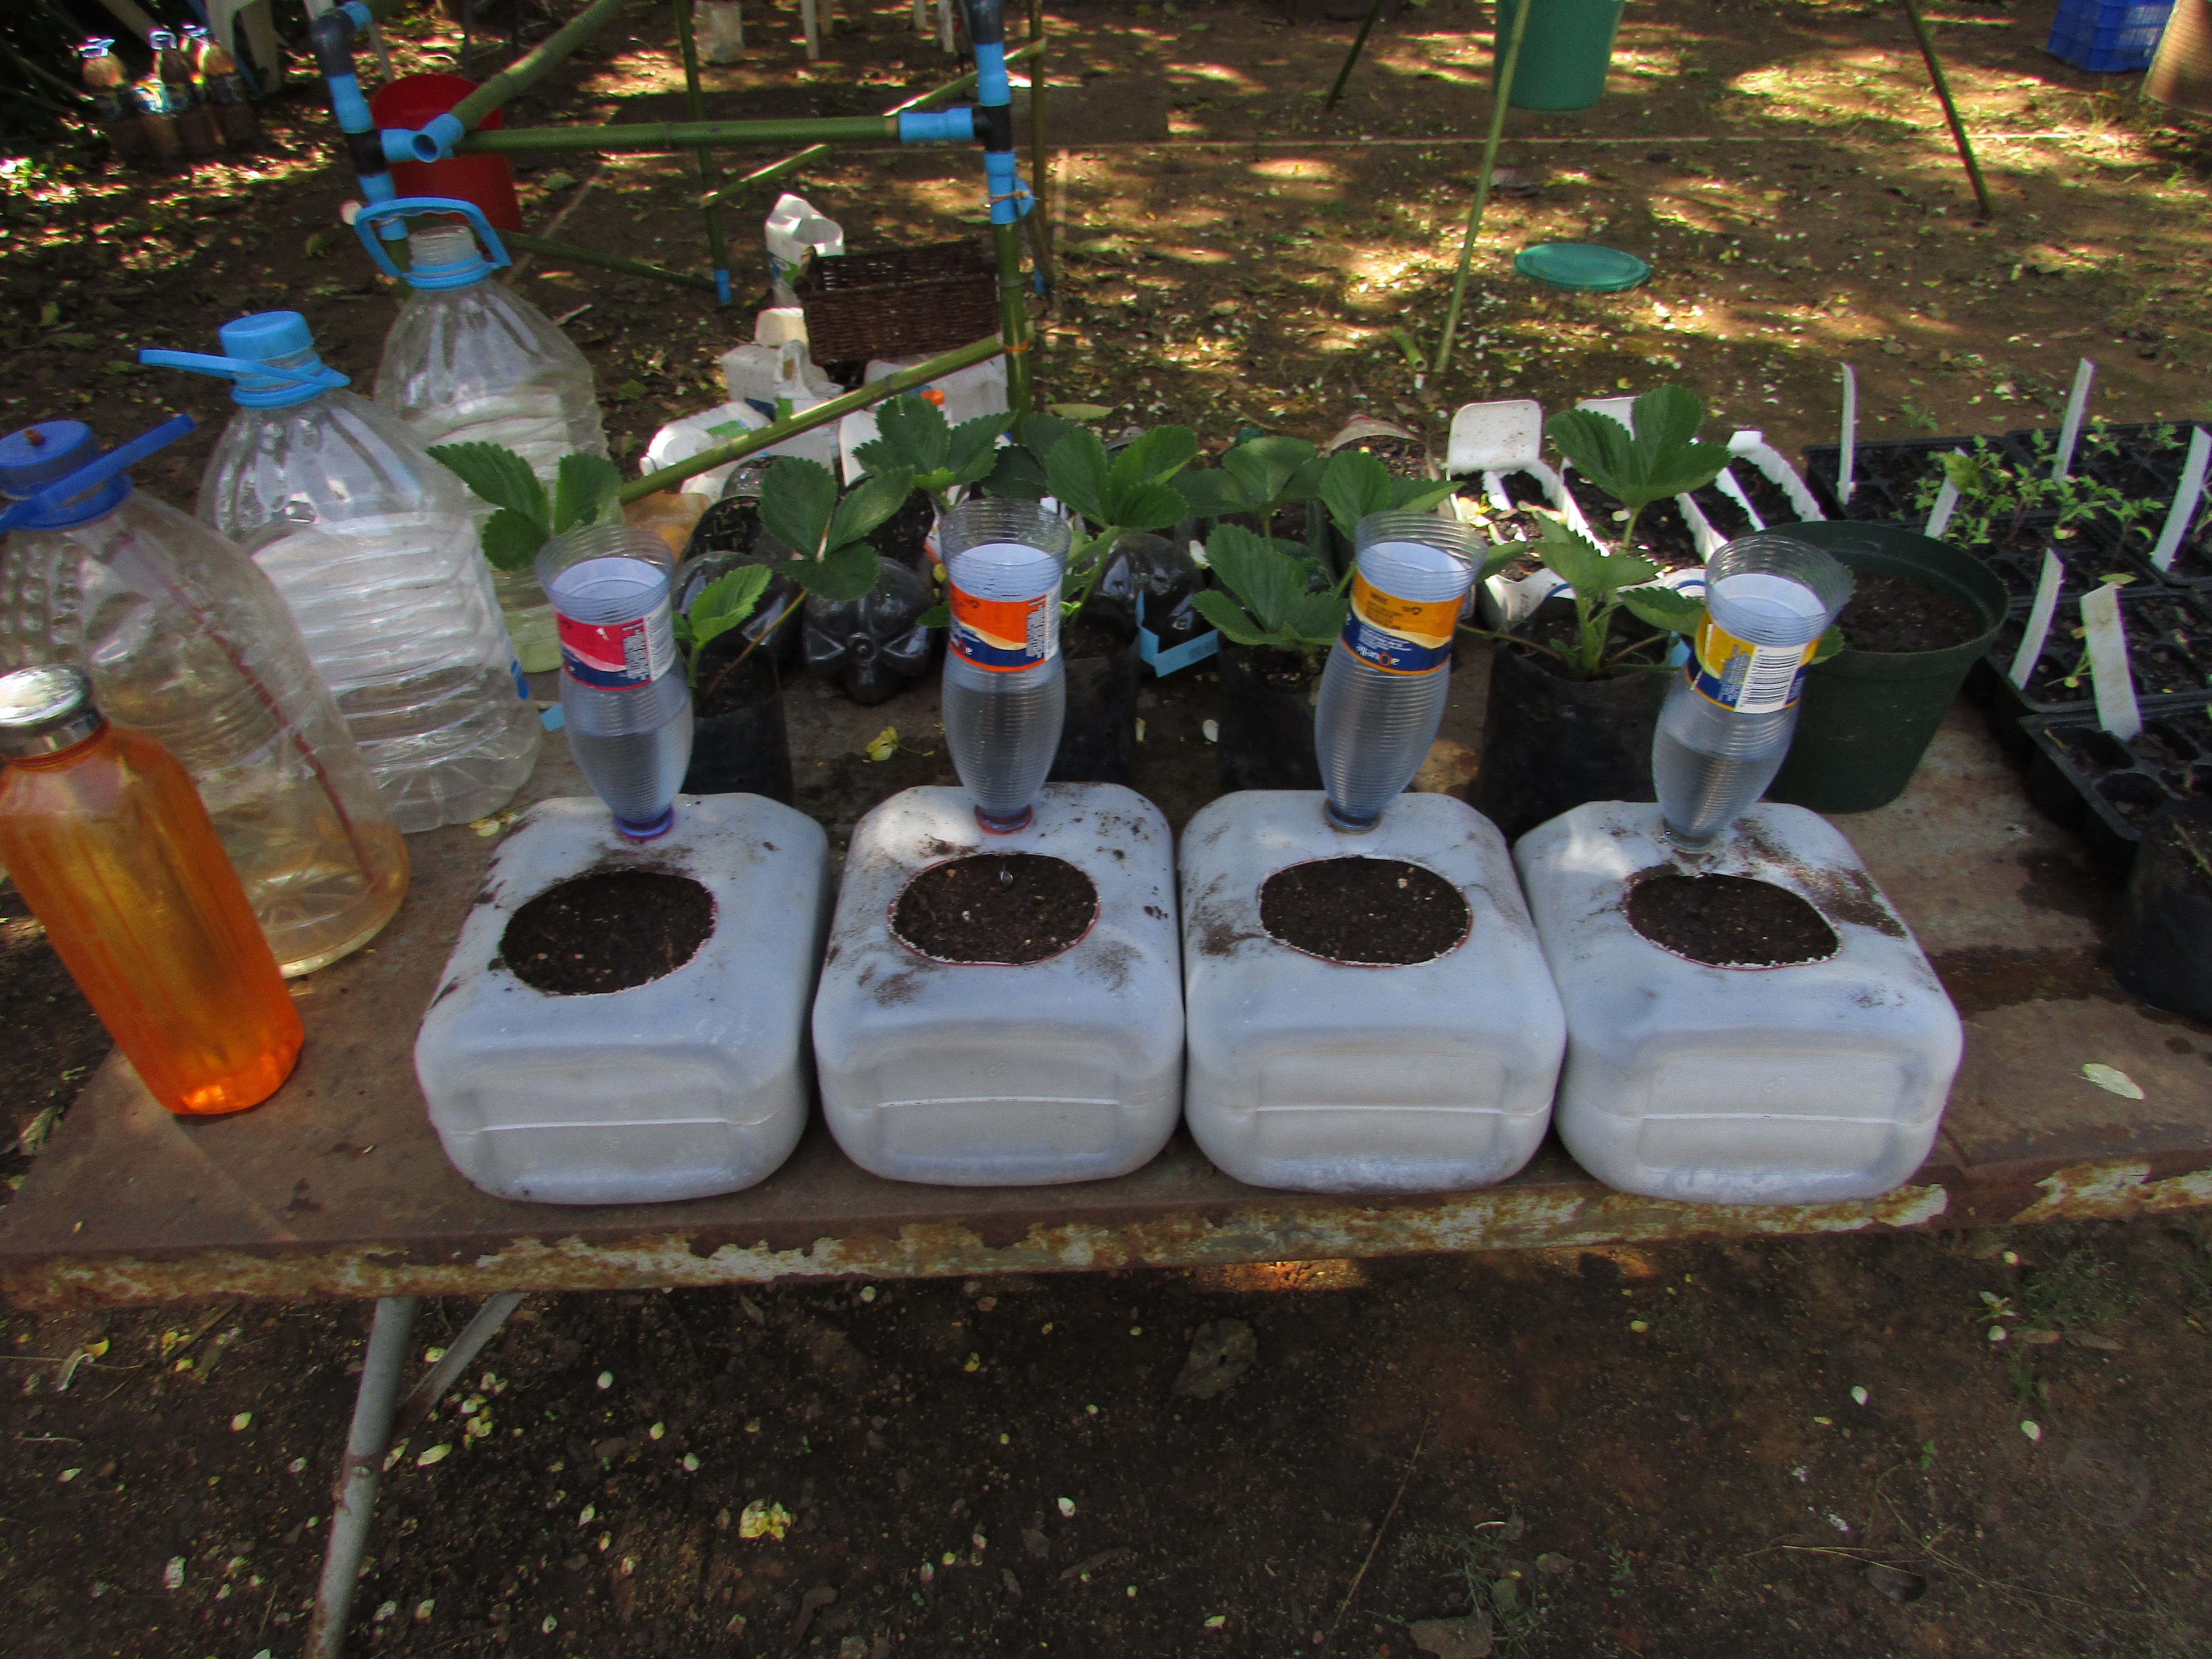
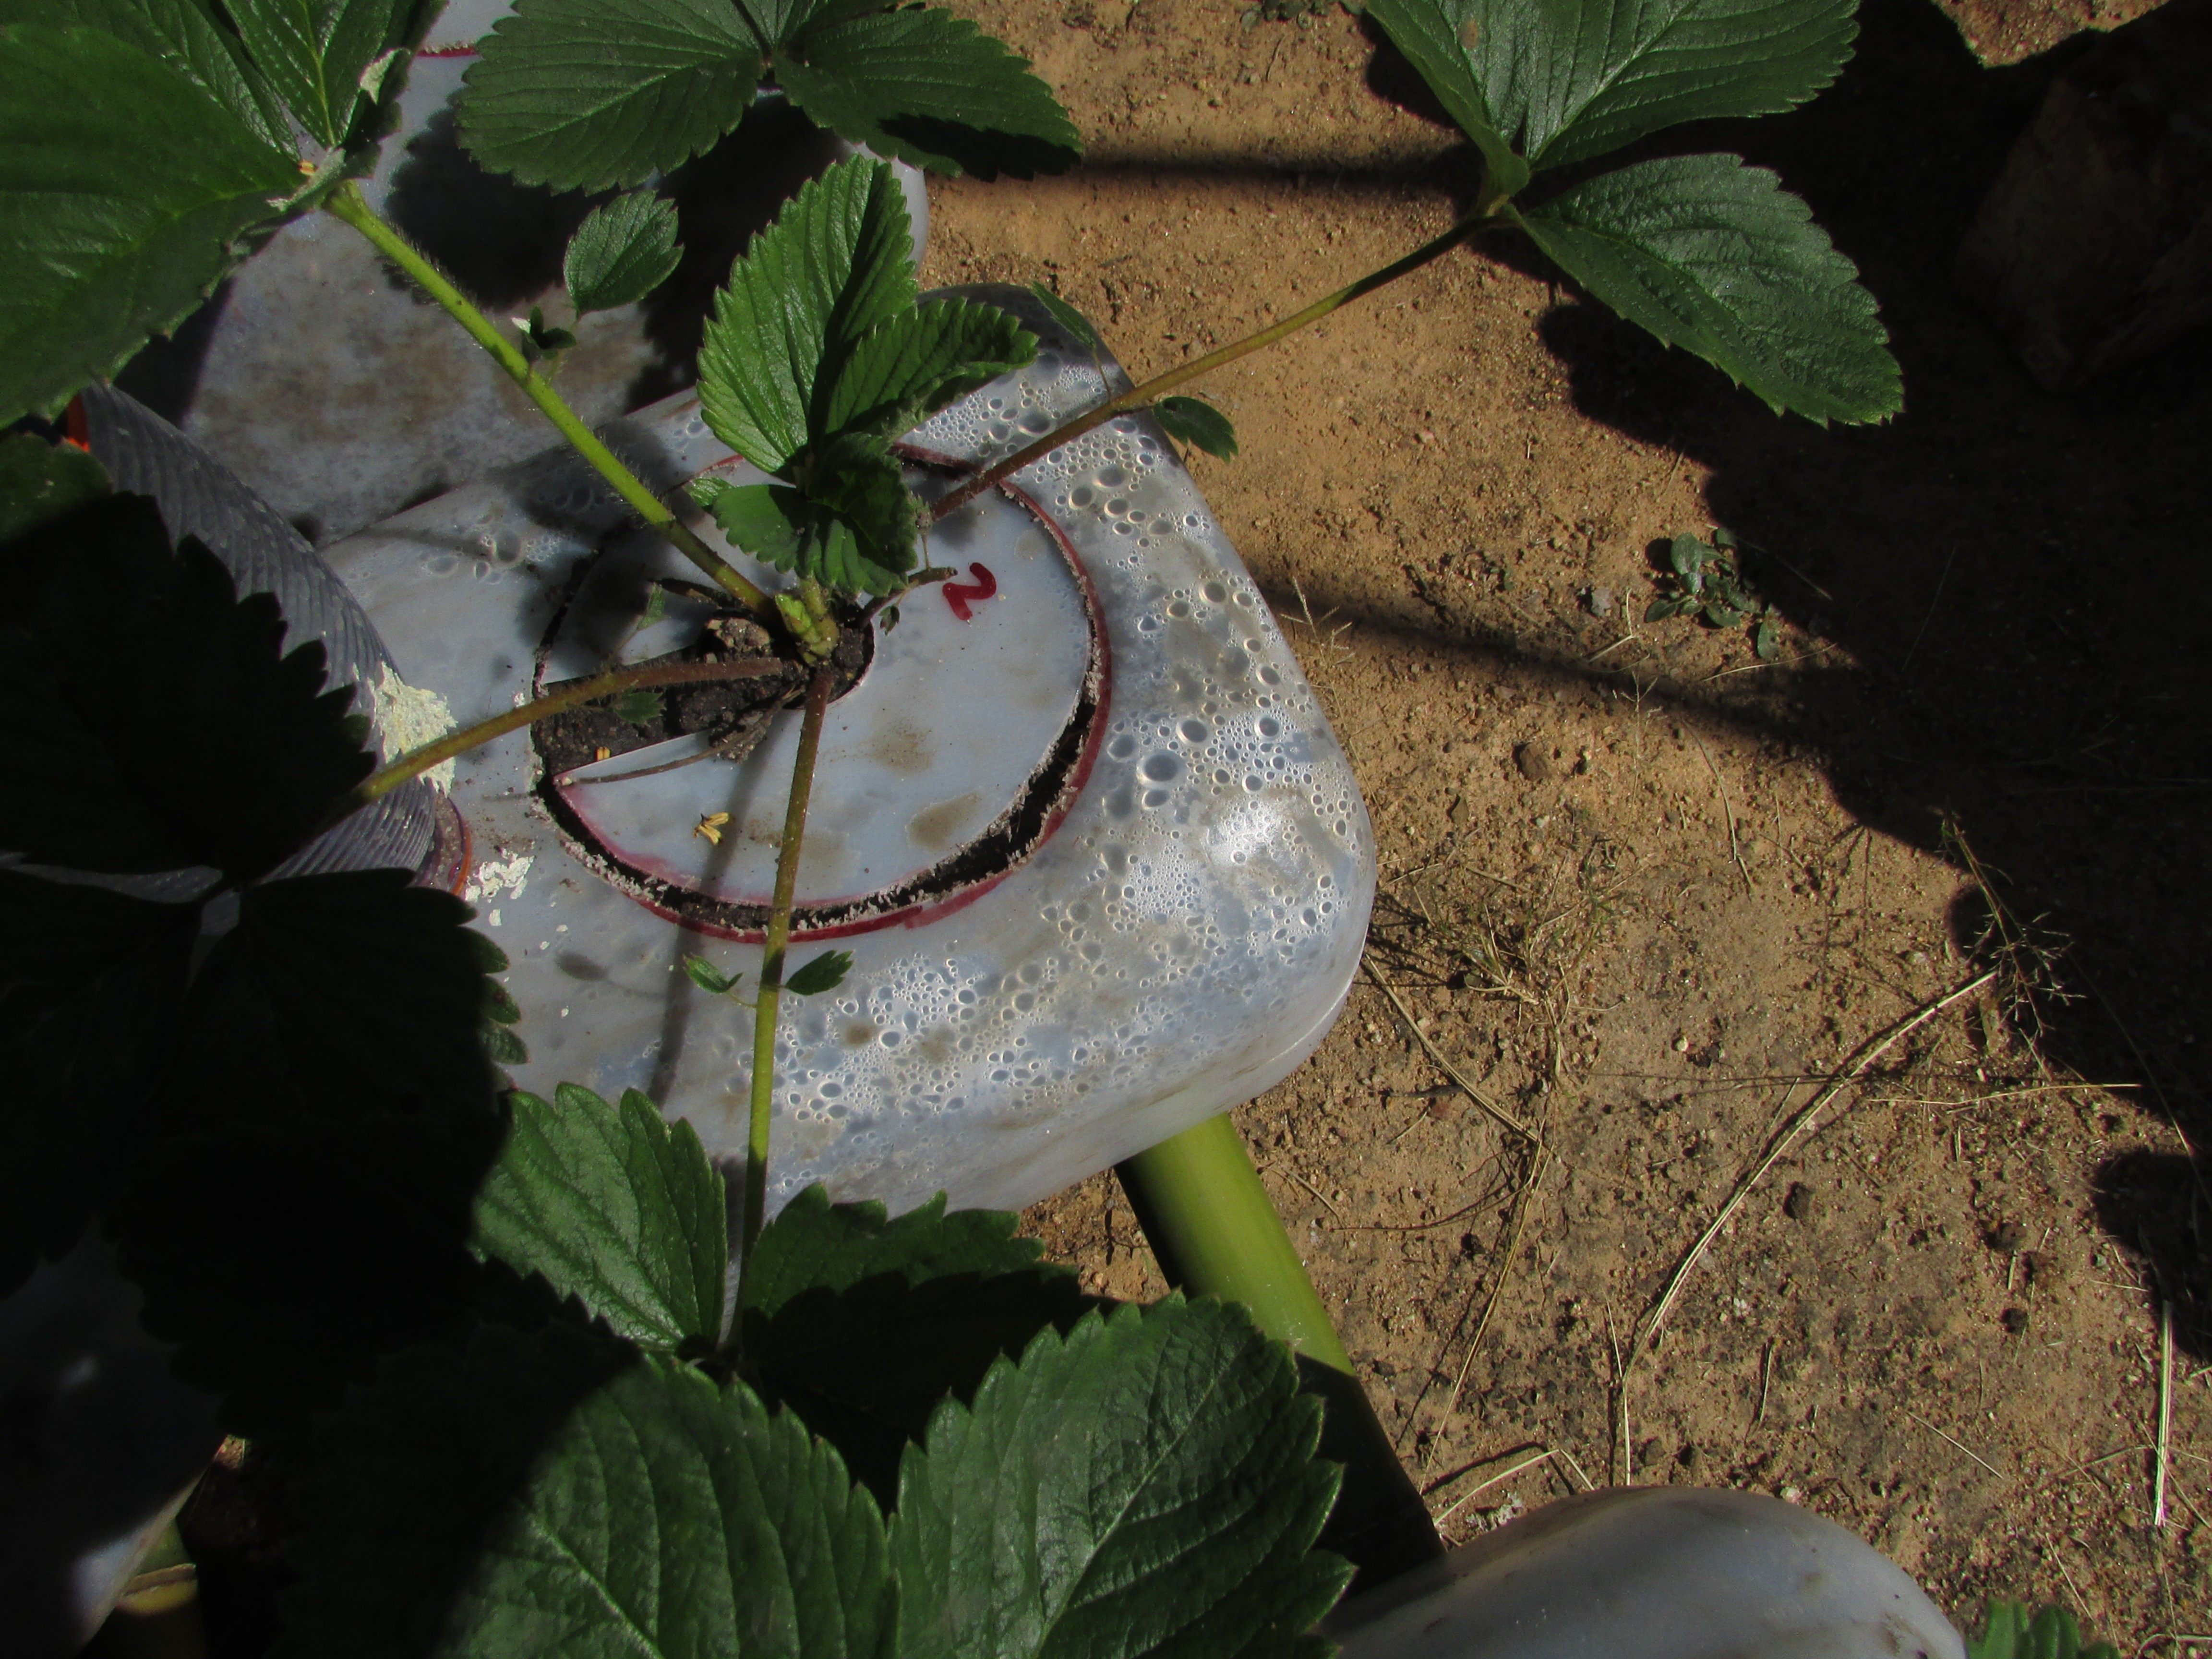
    A water-wise strawberry container.

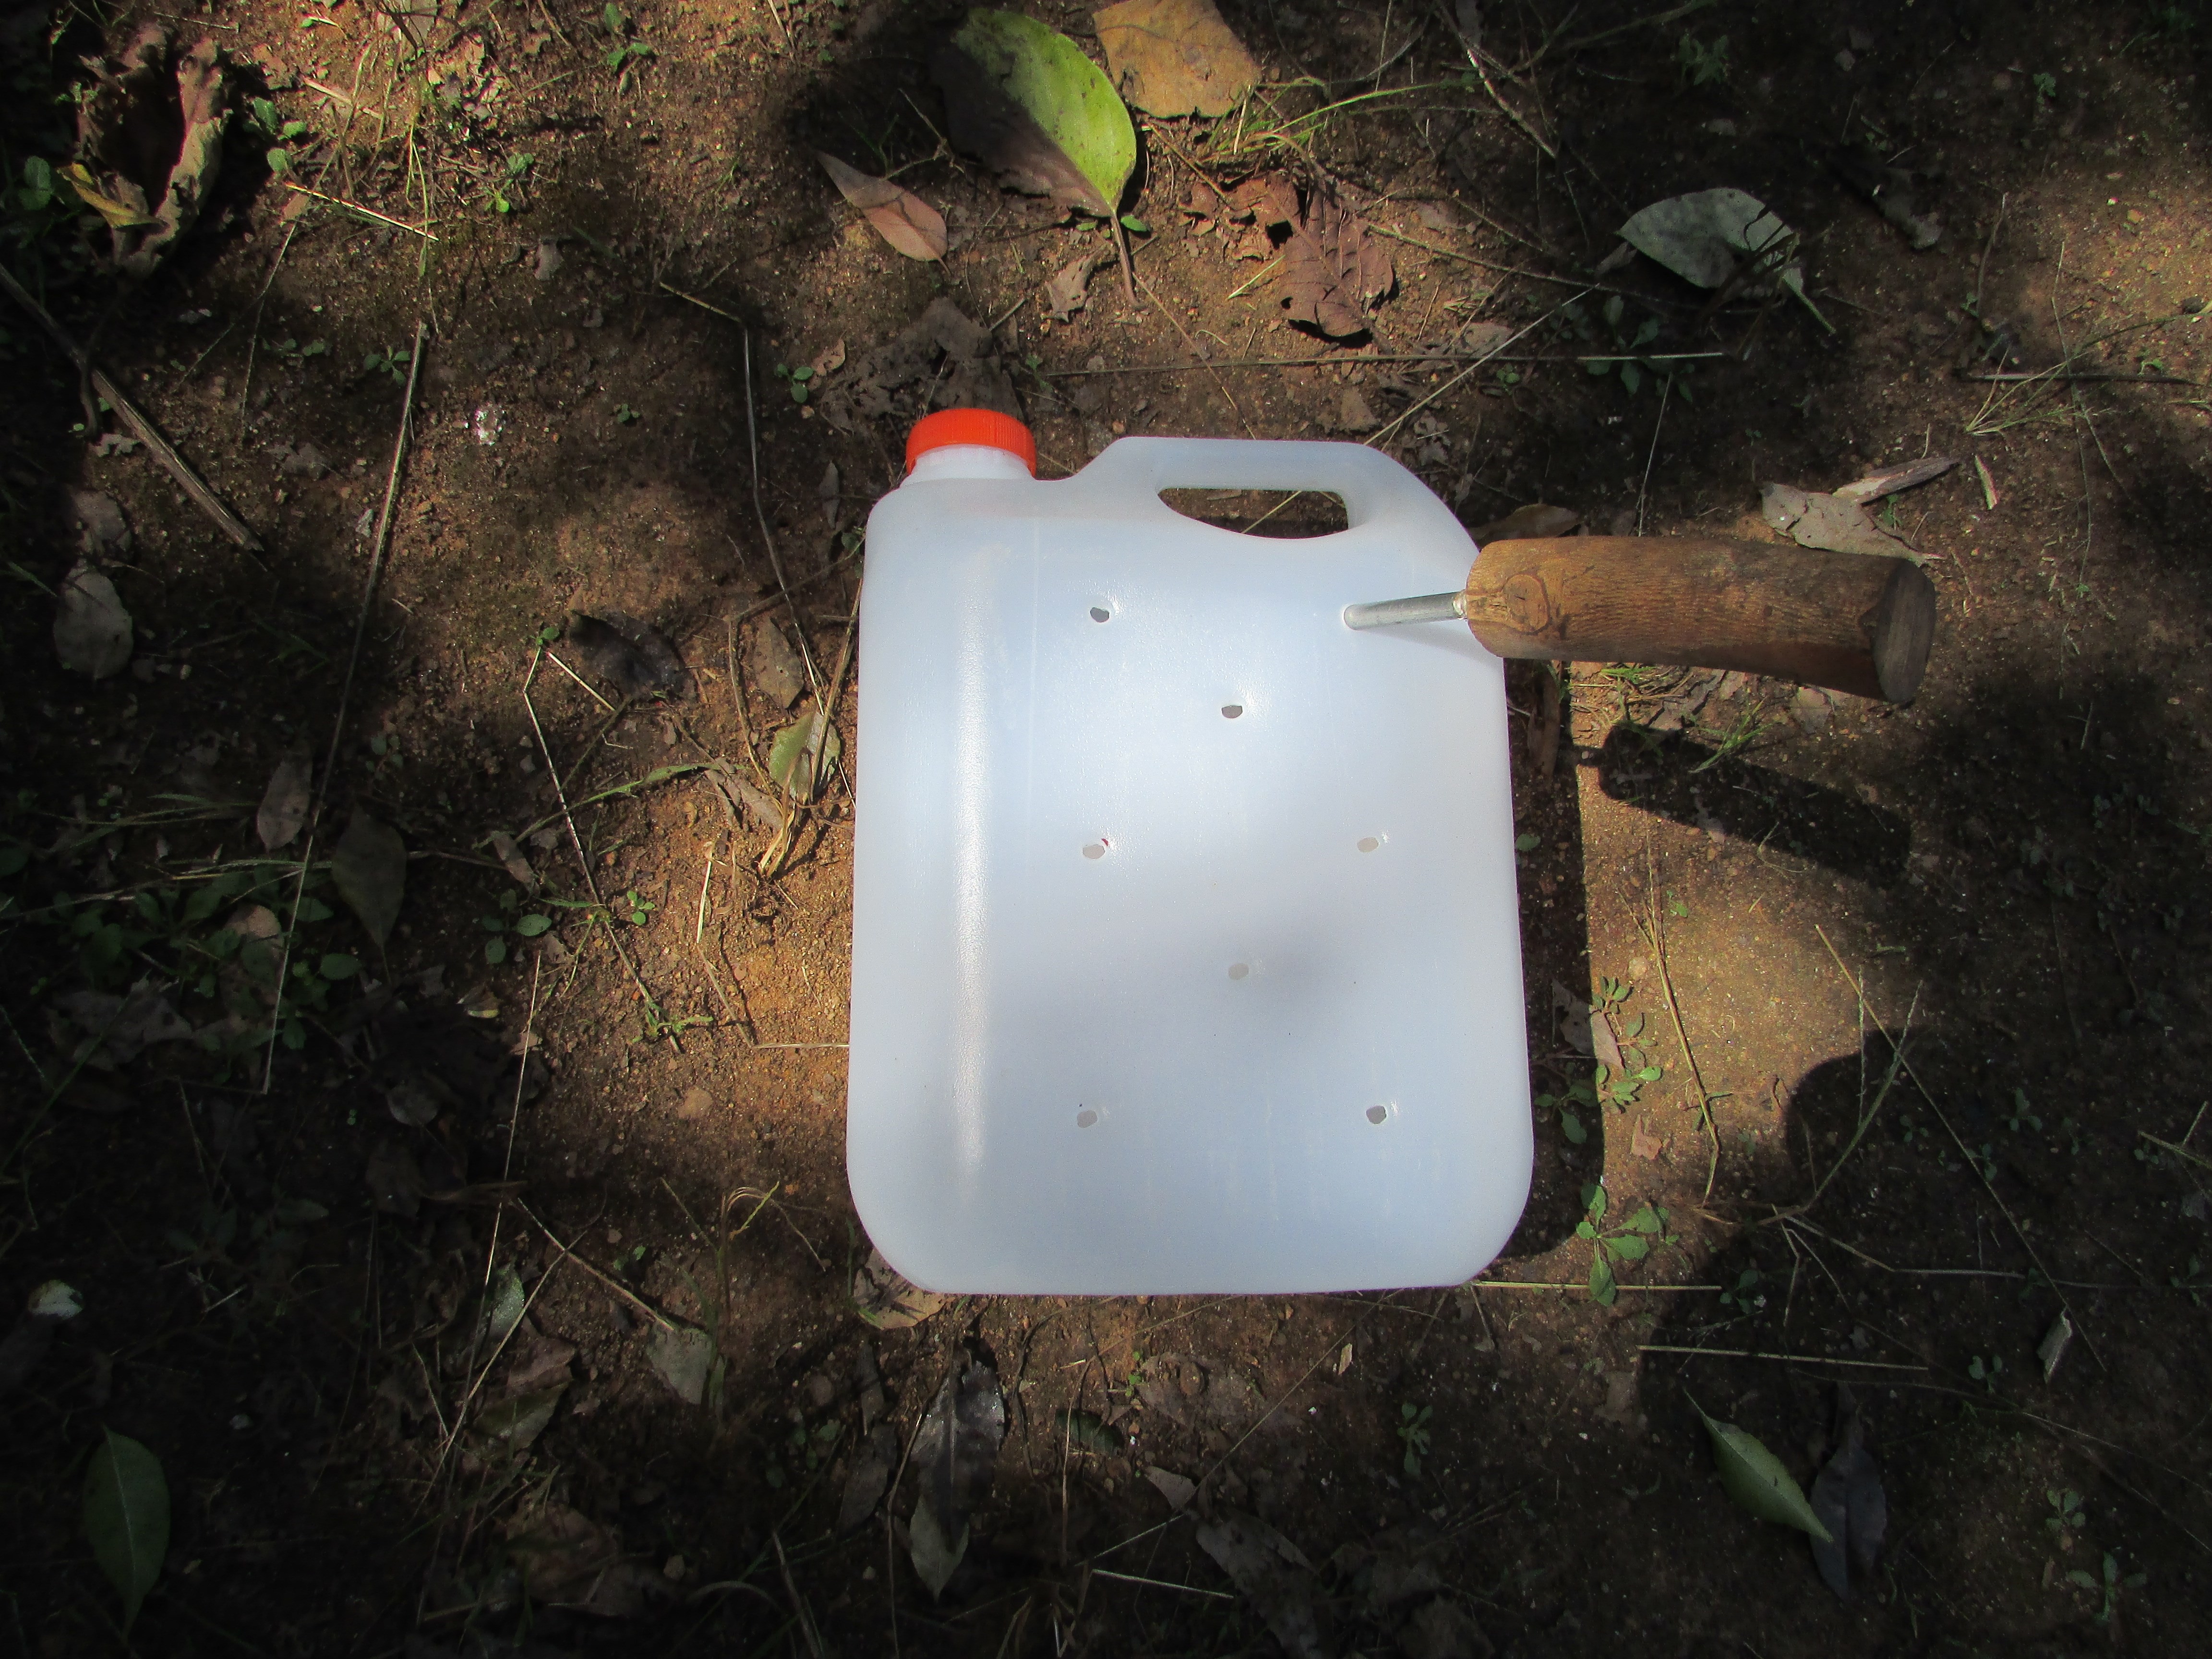
    STEP ONE Punch or drill drainage holes in the base of a 5 litre container

    STEP TWO

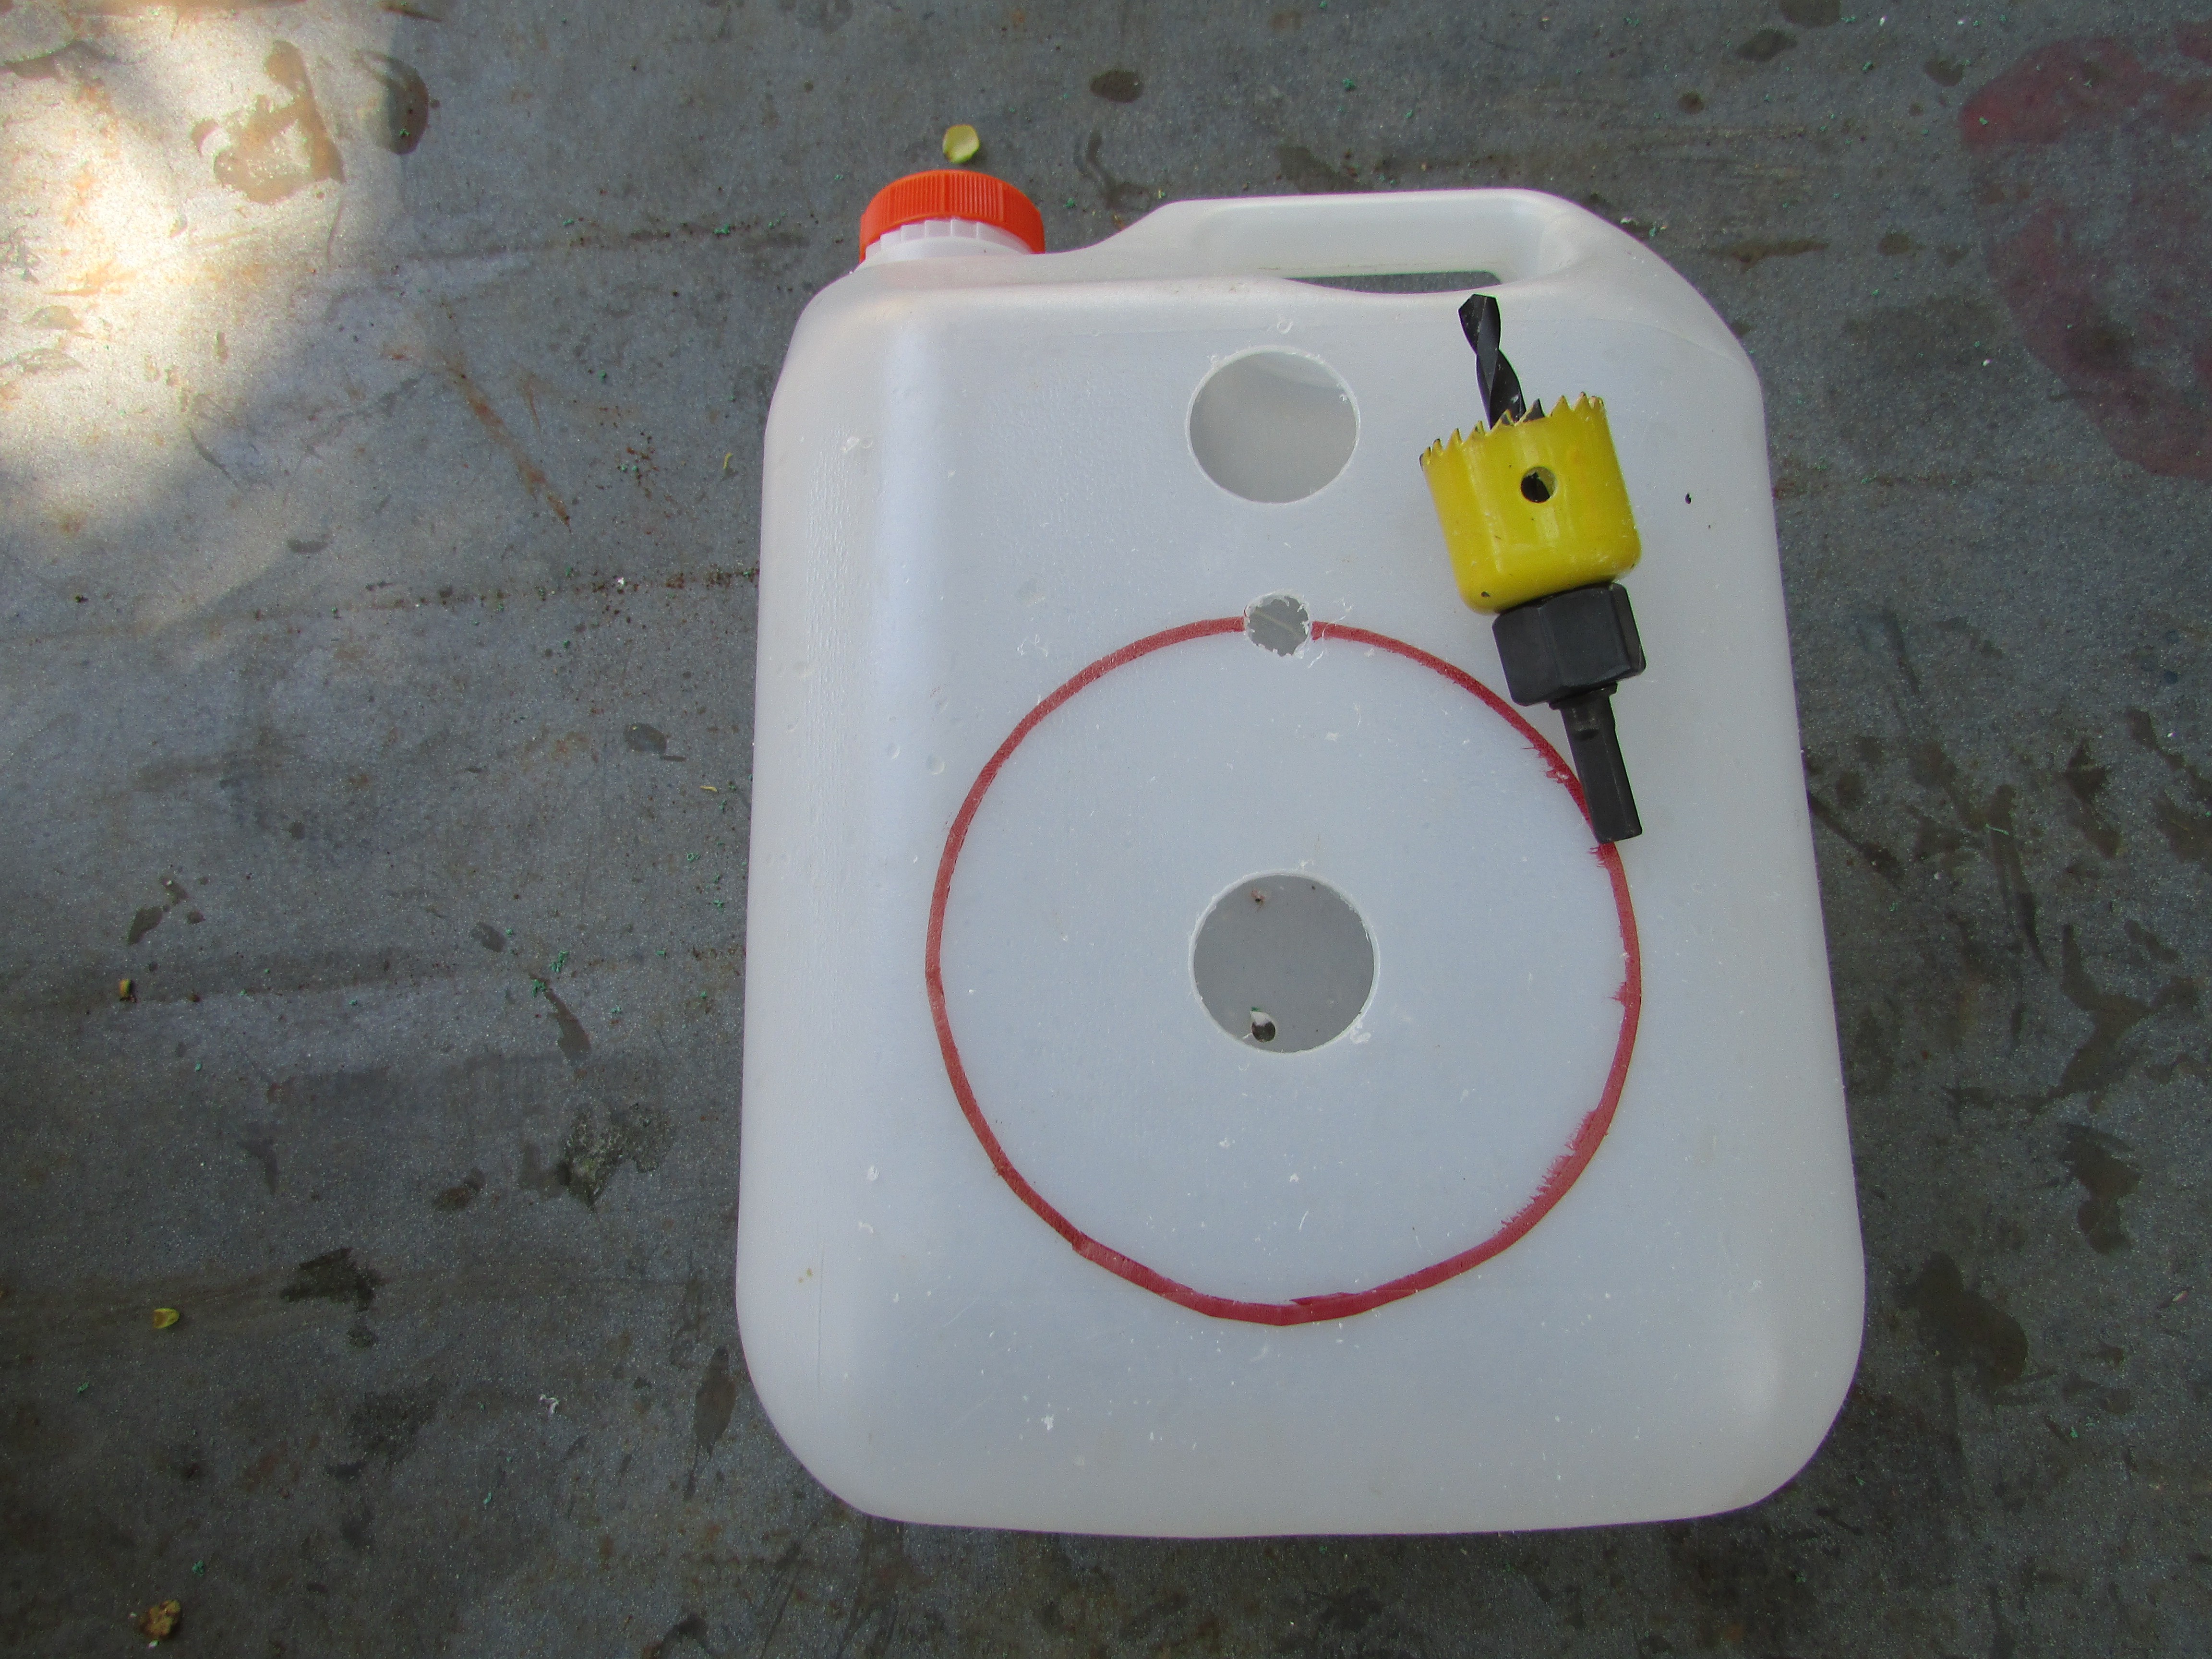
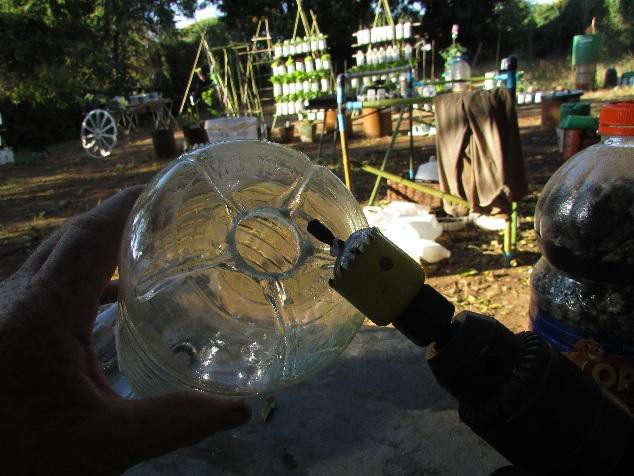
    Bore a 28 mm irrigation hole at the top and a 28 mm hole in the centre of the planting station.

    Drill a starter hole (for a jig saw) on the edge of a 100 mm D circle around the planting station.

    STEP THREE

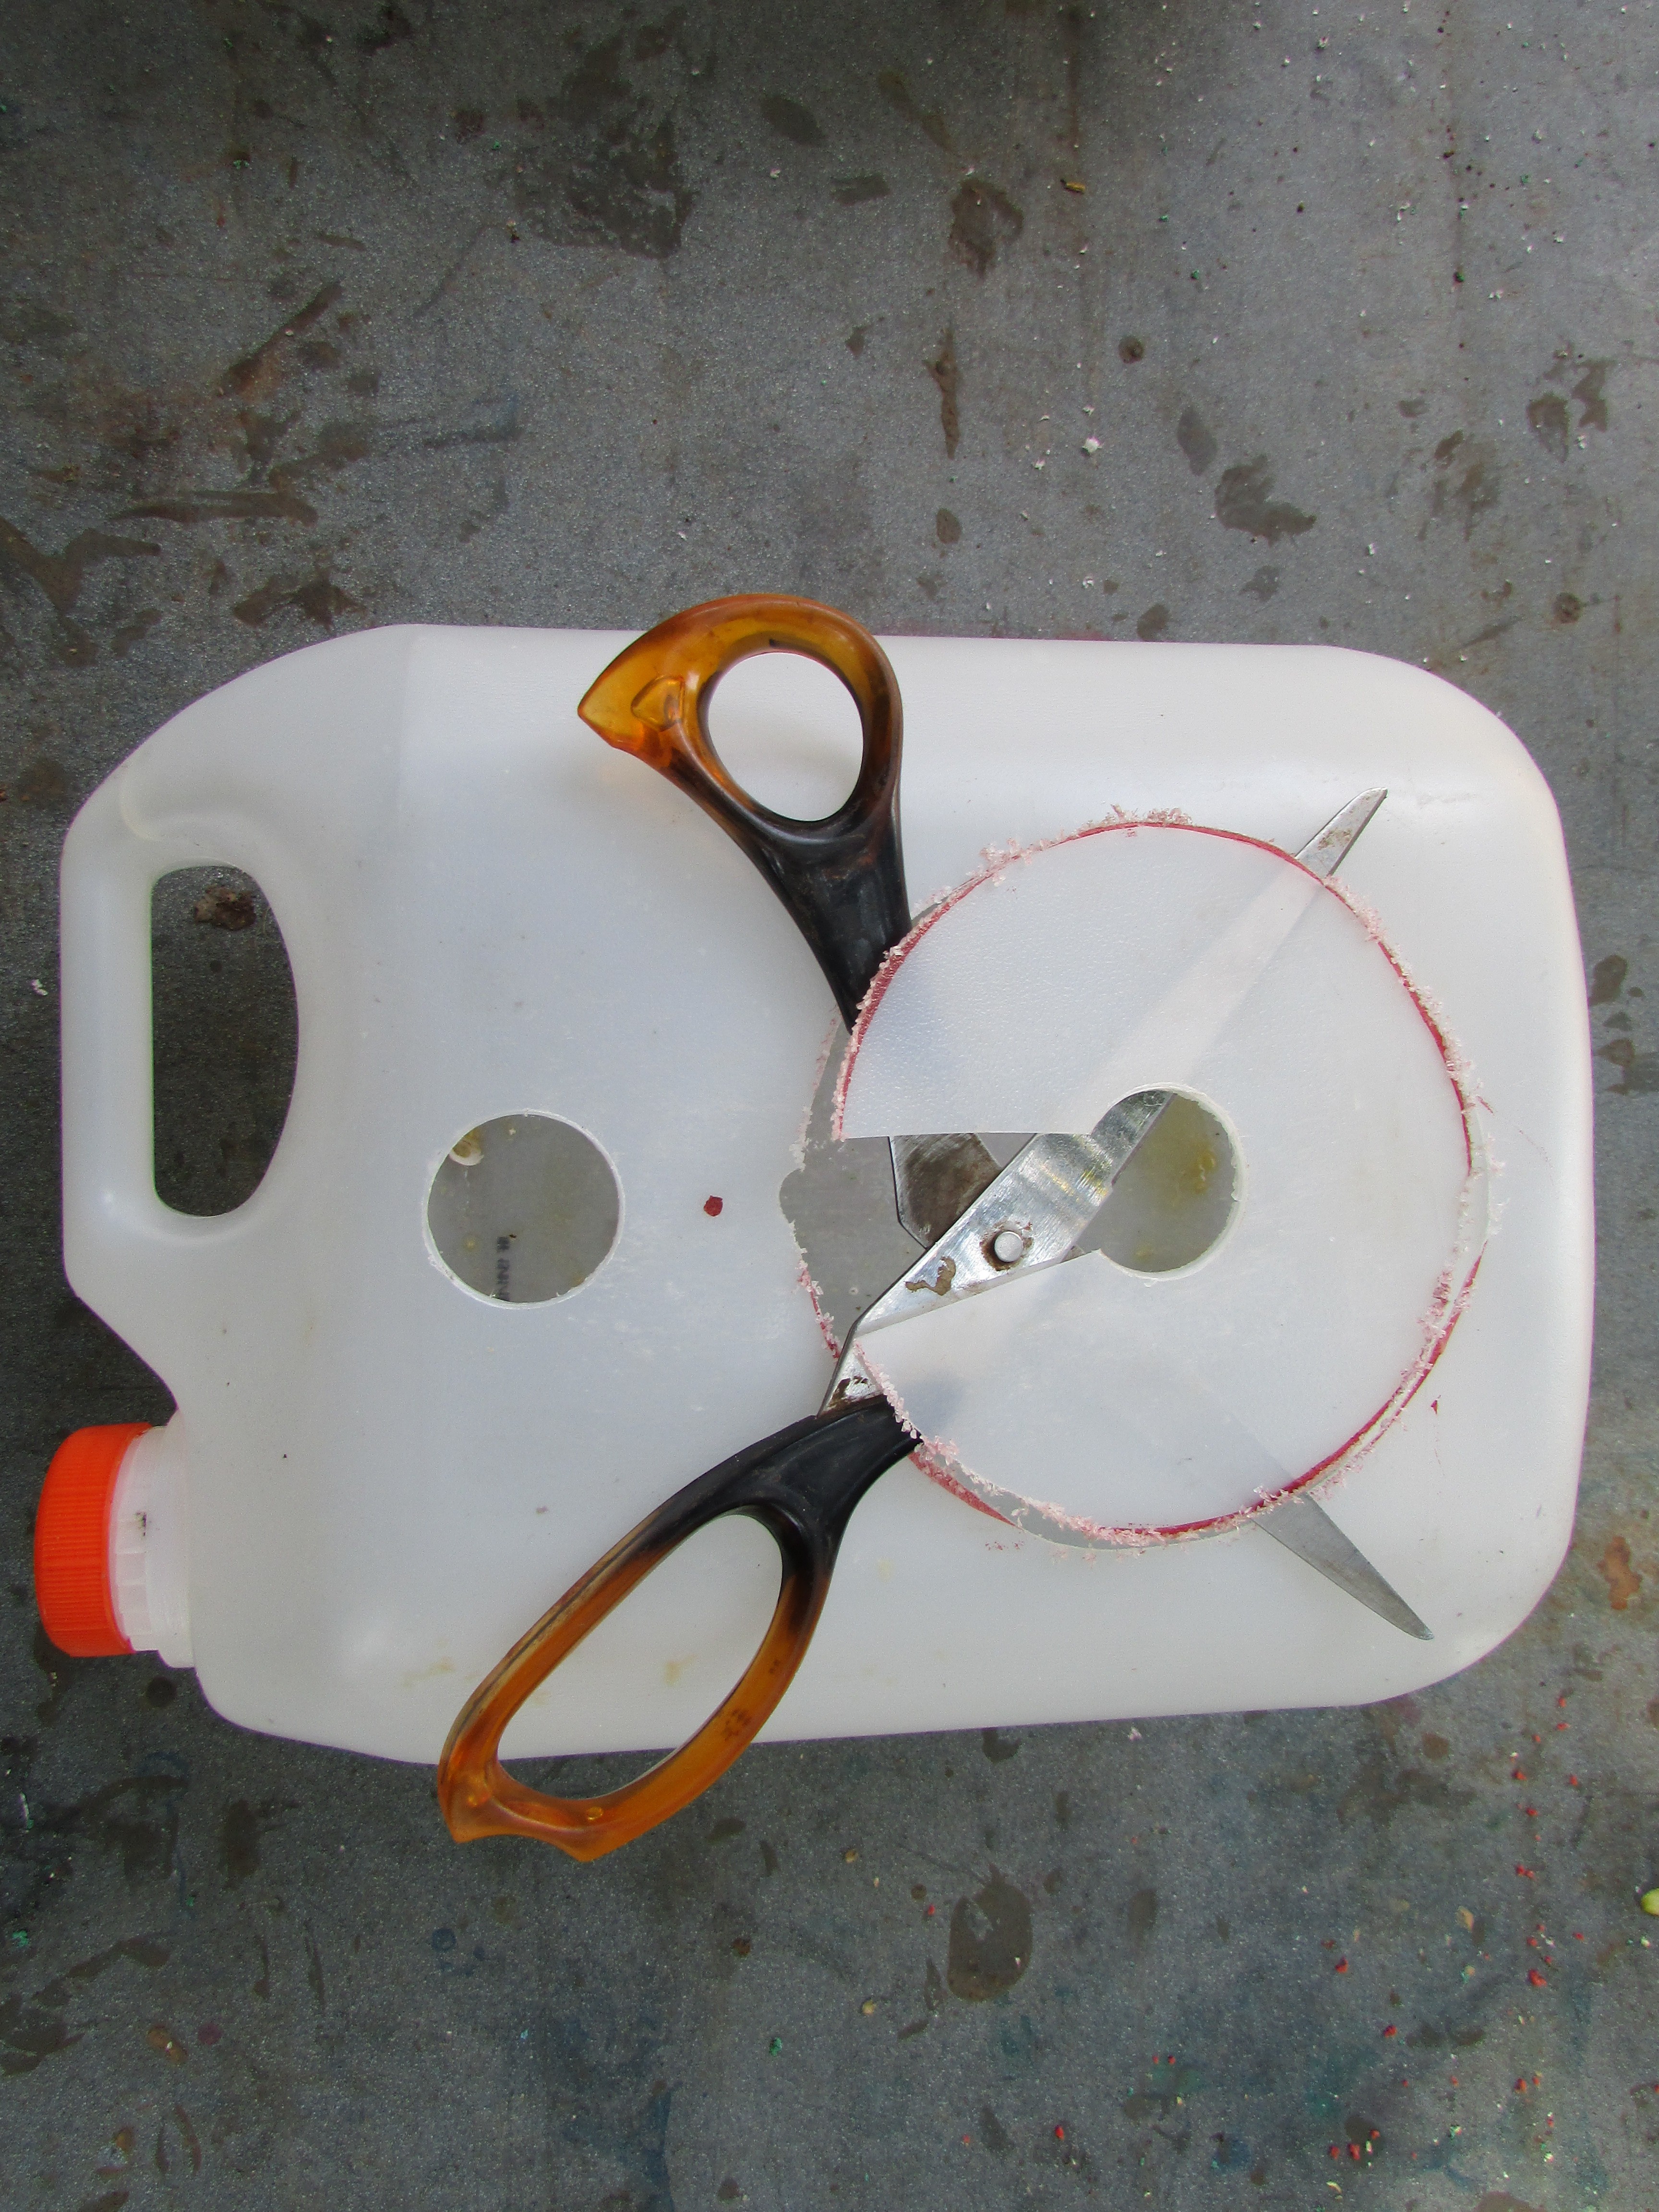
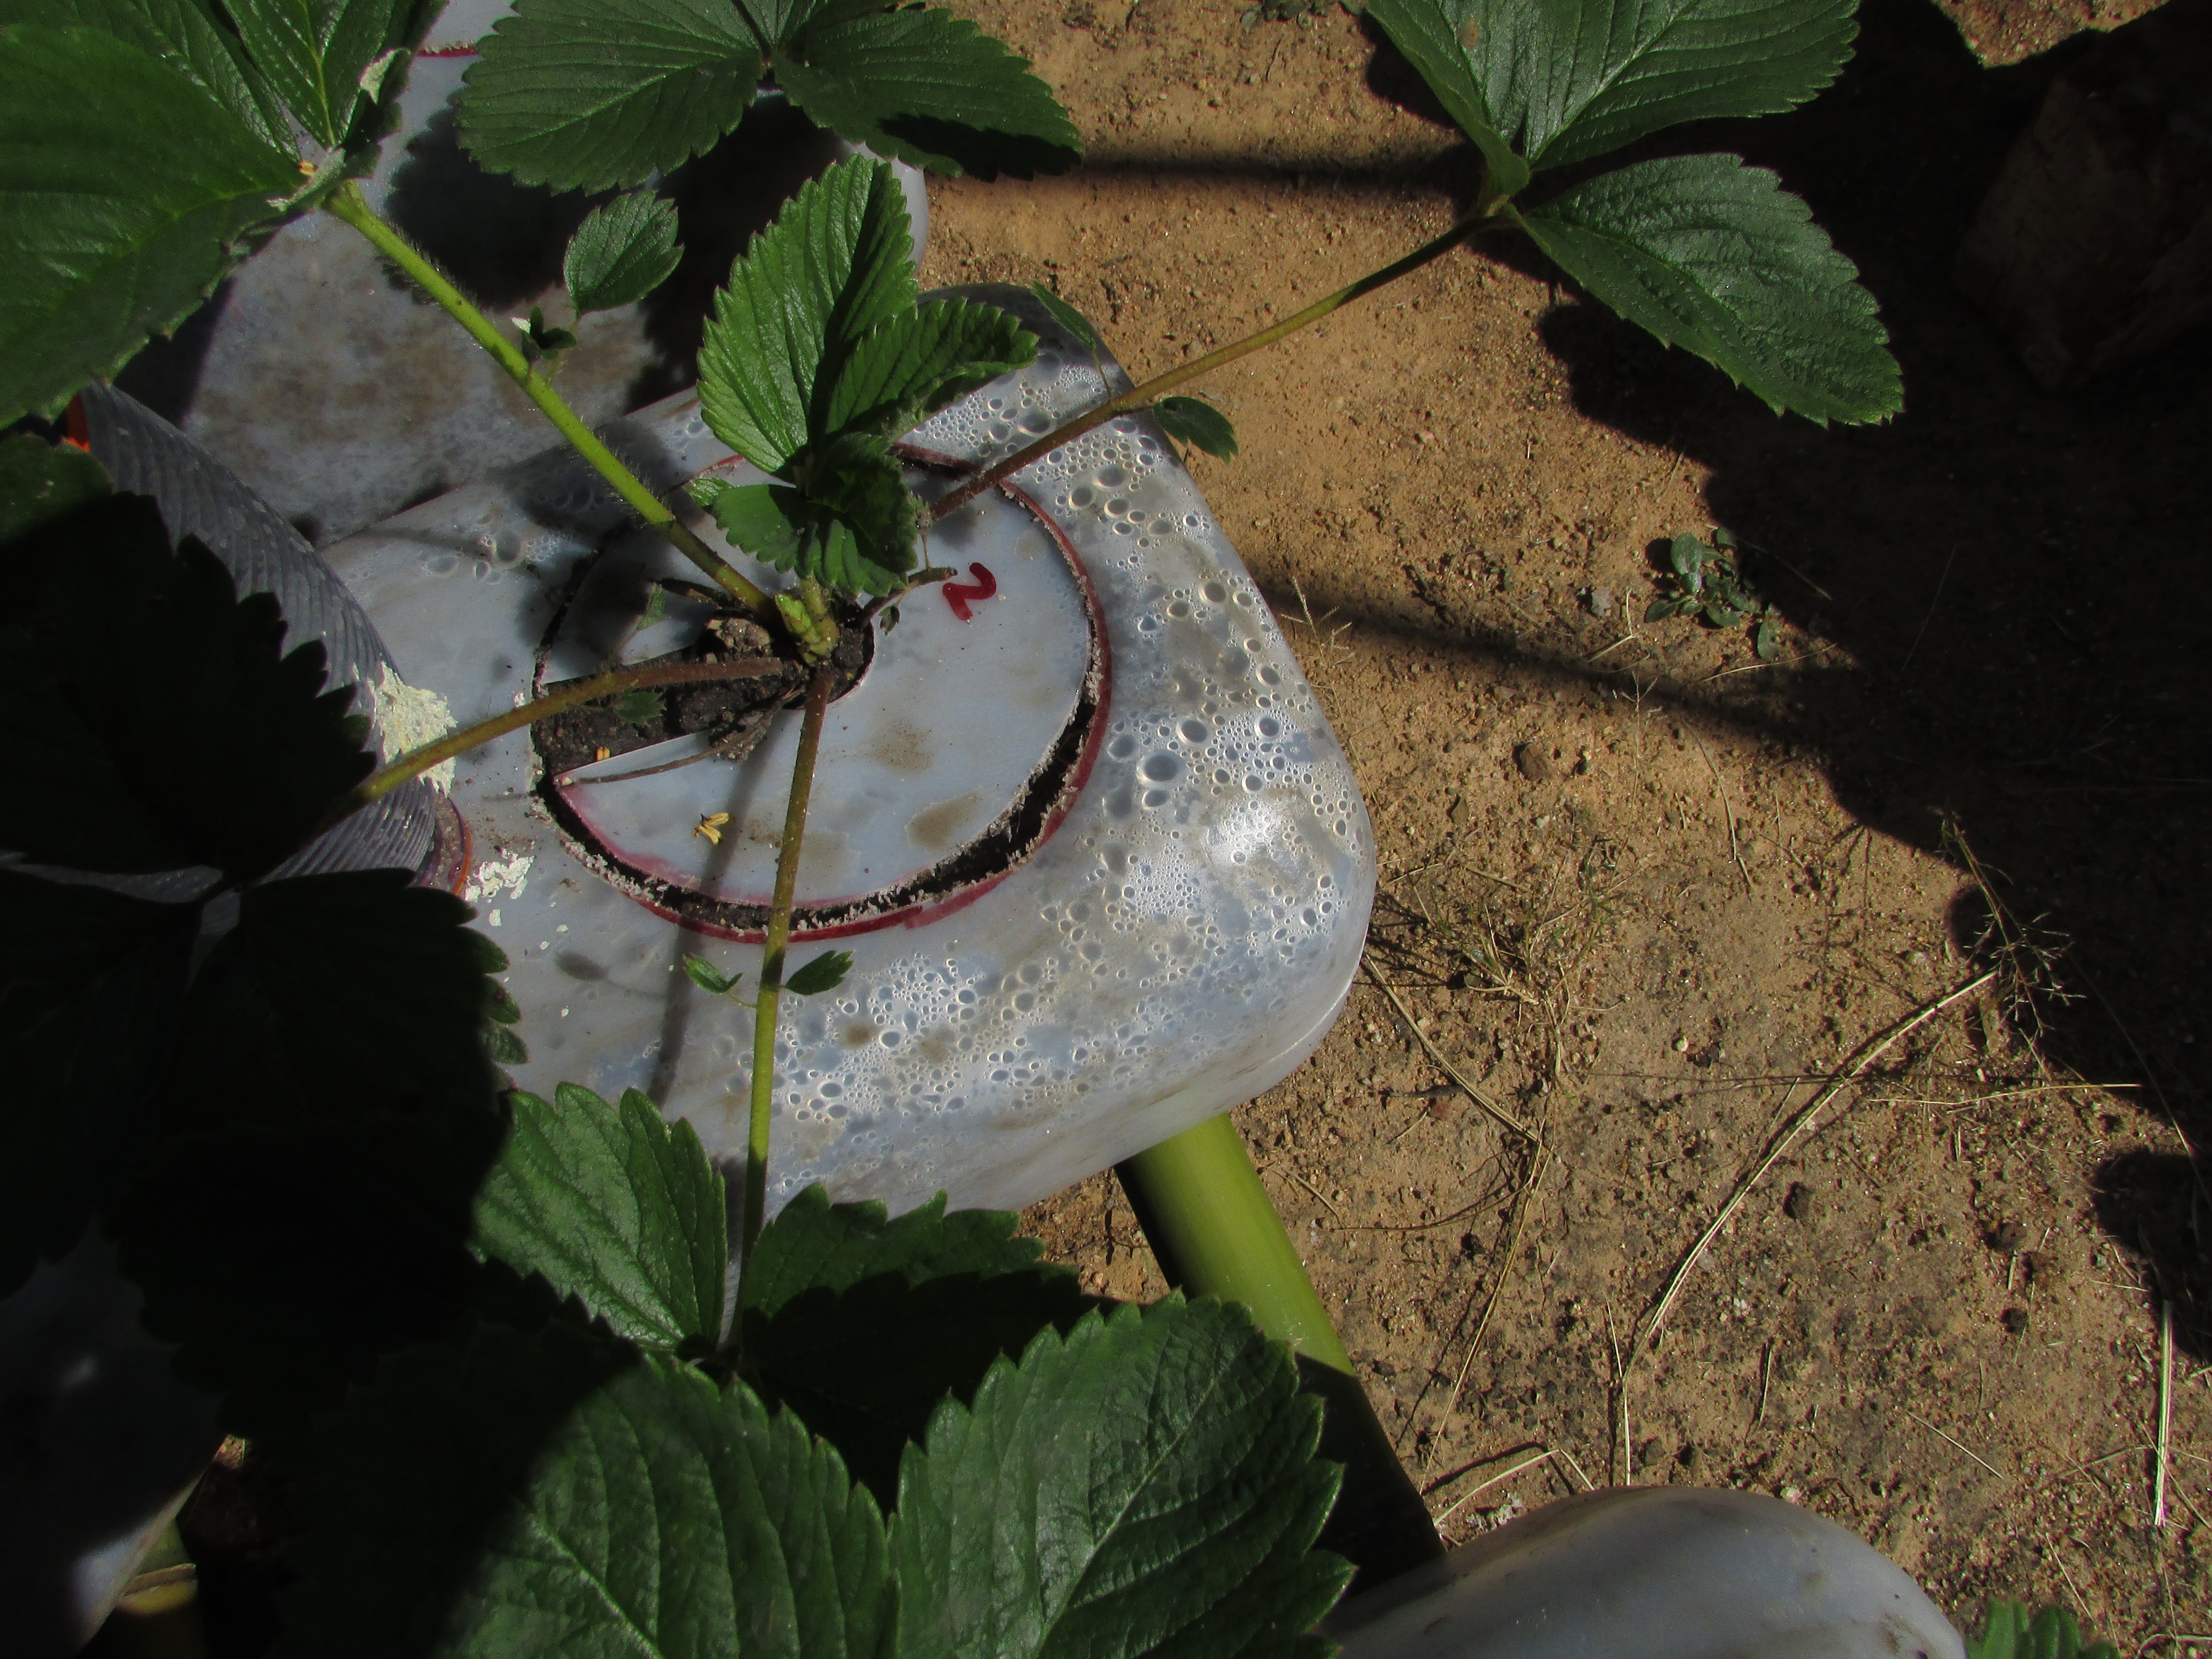
    Cut out the planting station and cut a "keyhole" into the disc.

    STEP FOUR

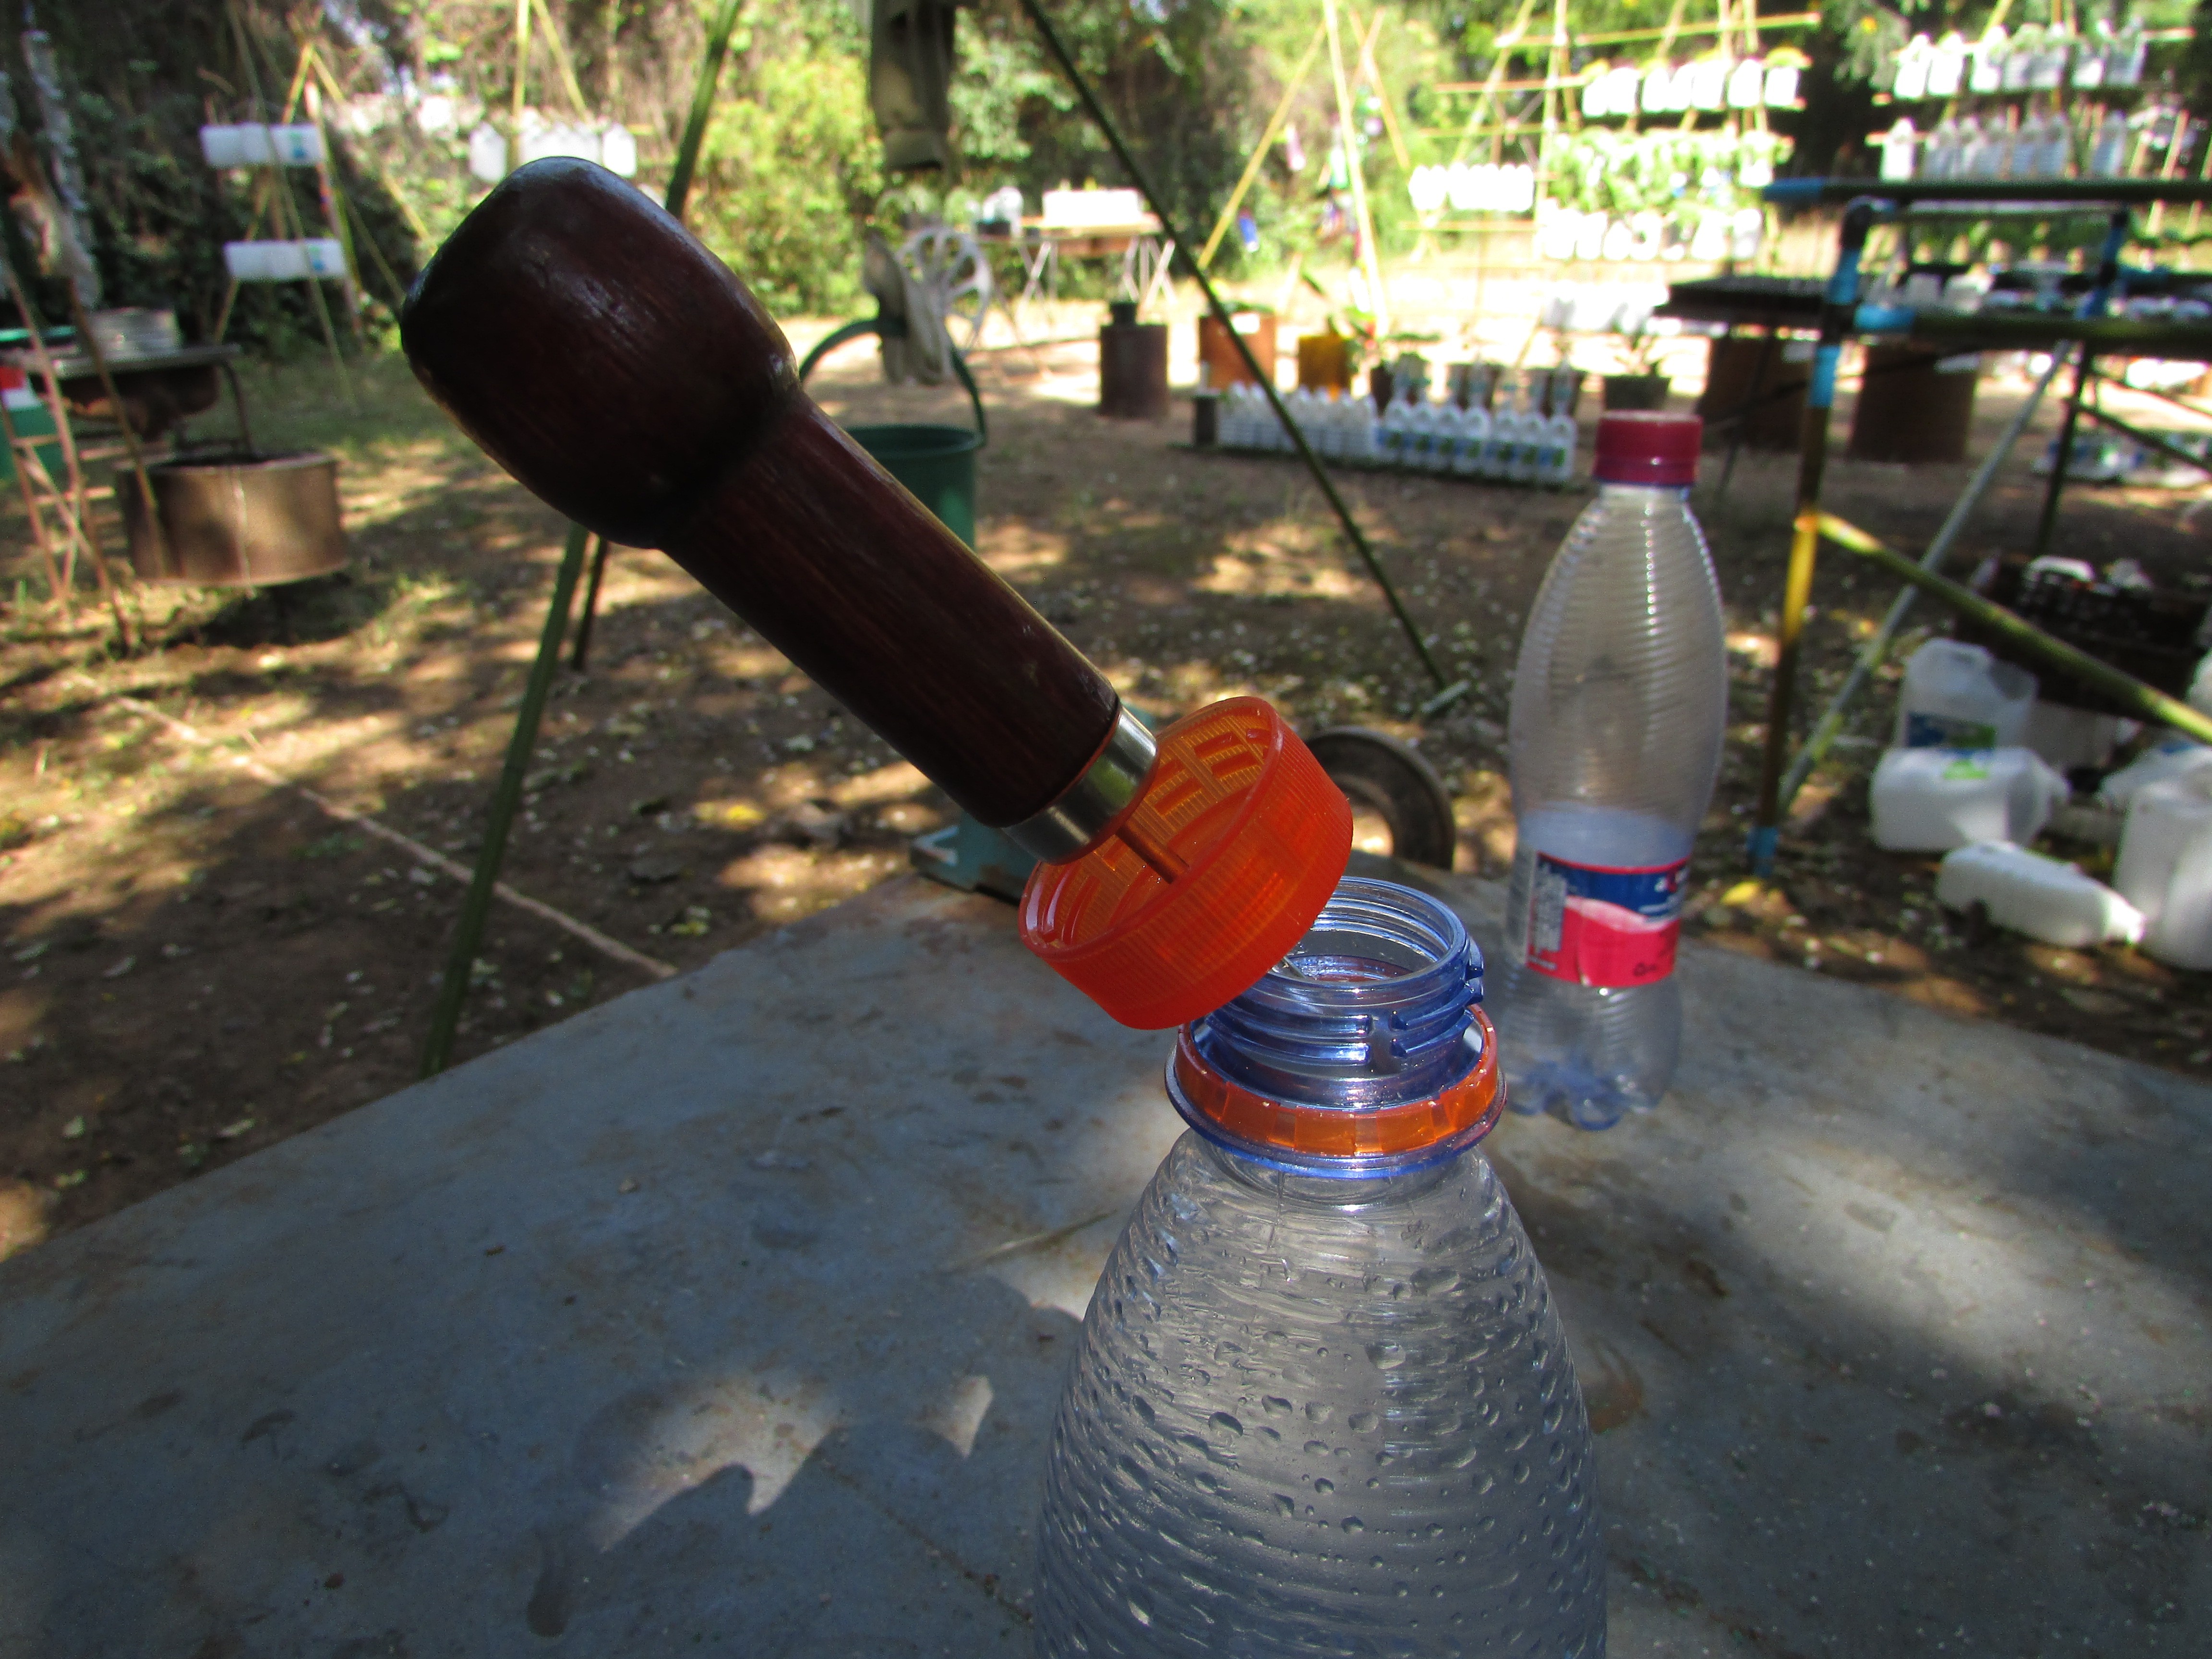
    Punch a 3 mm irrigation hole in the cap of a soda bottle. Punch it from the inside.

    STEP FIVE

    Cut off the base of the soda bottle, push the neck through the irrigation hole and screw on the cap from the inside.

    STEP SIX

    Add a layer of gravel to cover the drainage holes, add potting soil, pre-irrigate, plant the strawberry and slide in the moisture shield.


  • Sack Garden - Trying a different format for build instructions

    johnowhitaker04/28/2016 at 19:20 0 comments

    SACK GARDEN.

    The internal irrigation system.

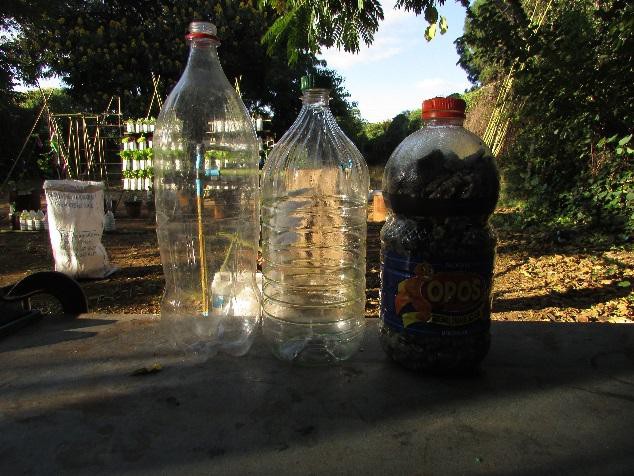
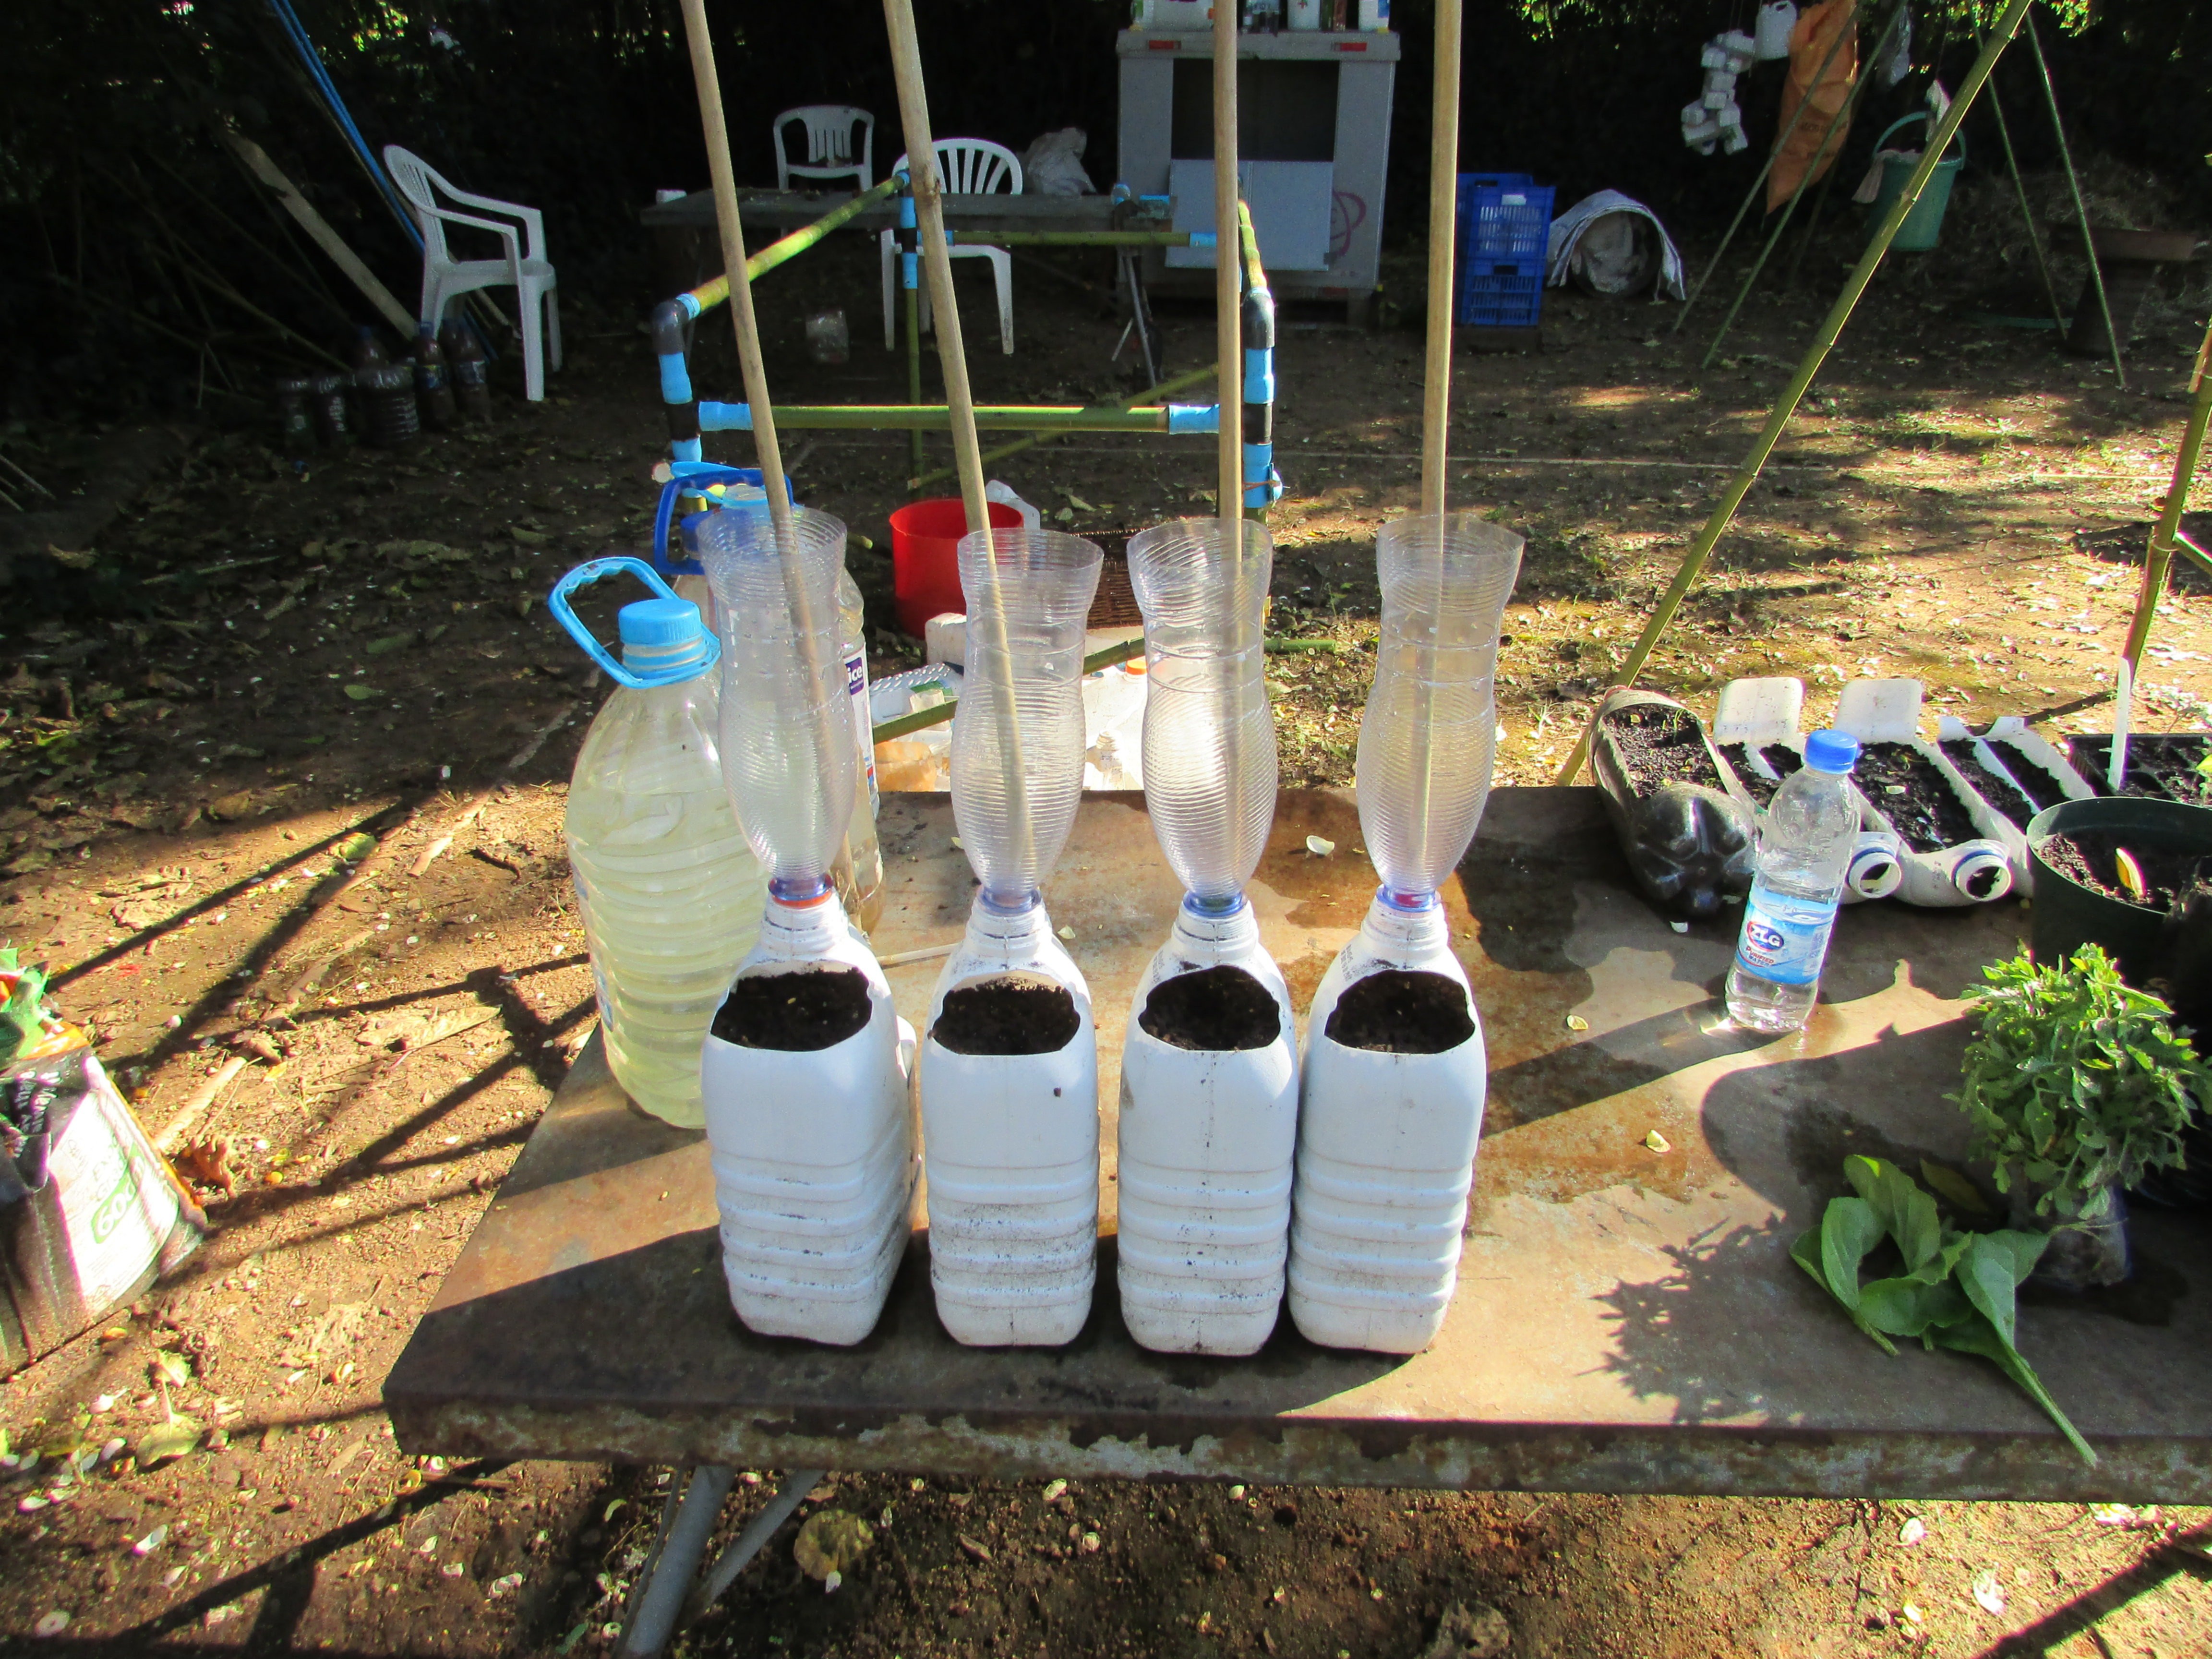
    3 x 2L bottles

    The bottom bottle must have a wide neck and big cap


    Step One.

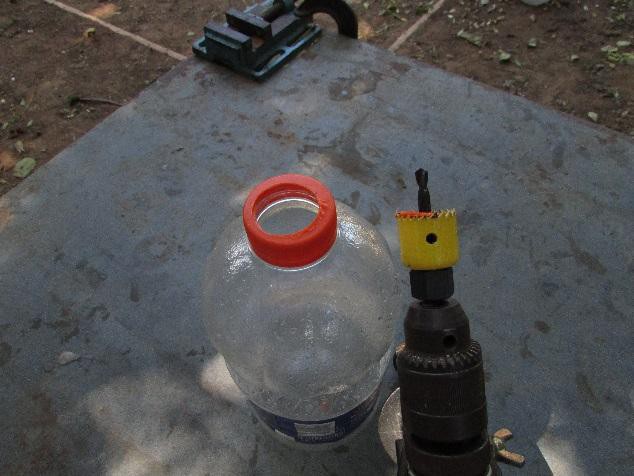
    Bore a 28 mm hole in the cap of the bottom bottle.


    Step Two.

    Bore a 28 mm hole in the base of the middle bottle.

    Read more »

  • Deployment in the real world

    johnowhitaker04/24/2016 at 18:48 0 comments

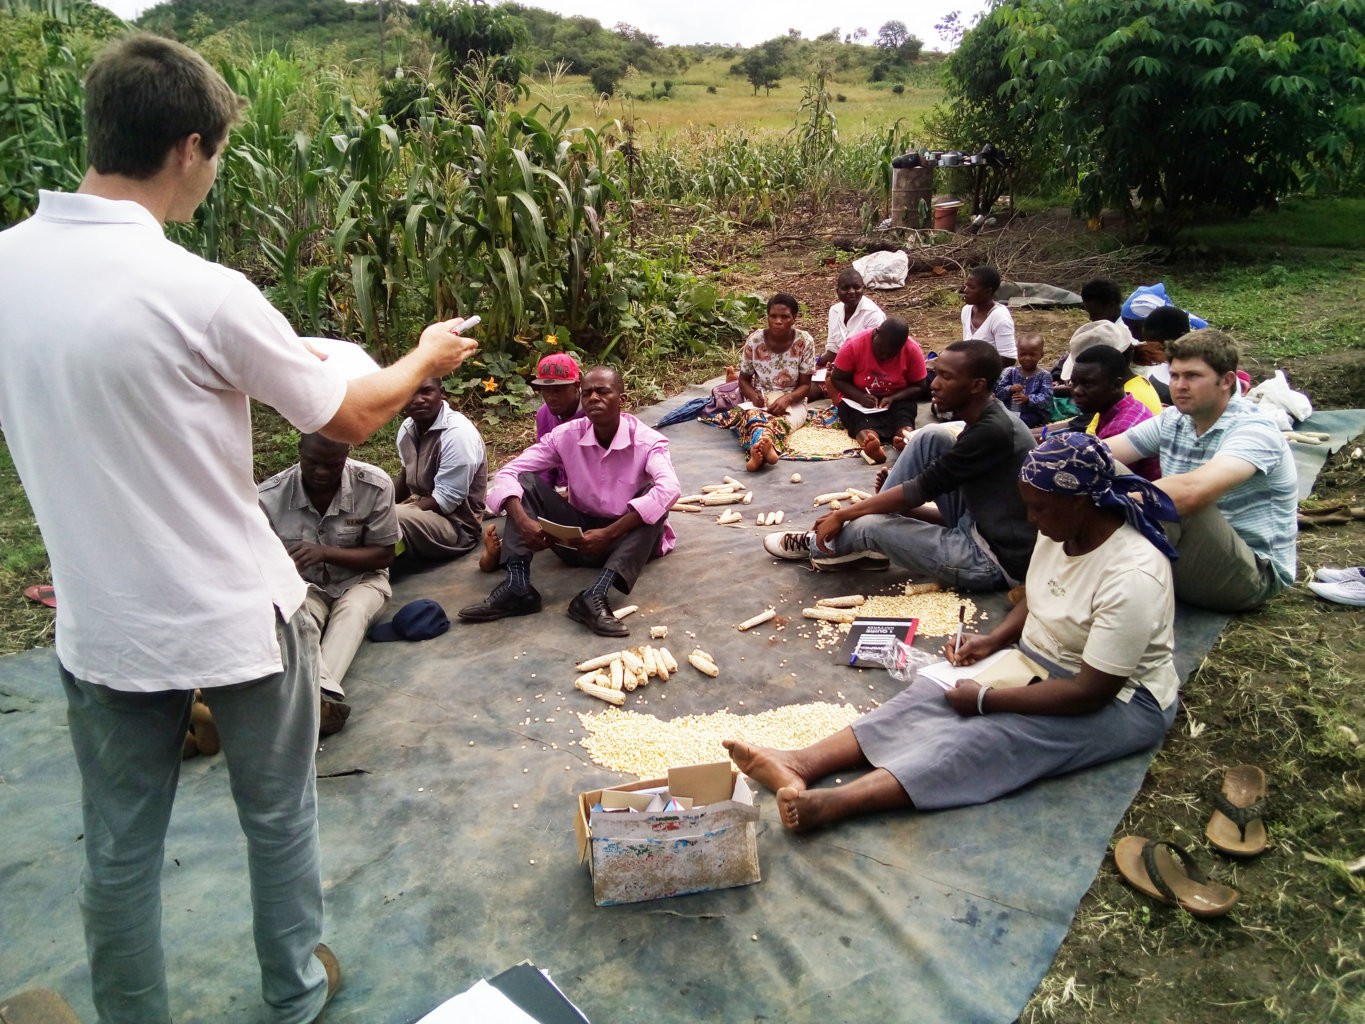
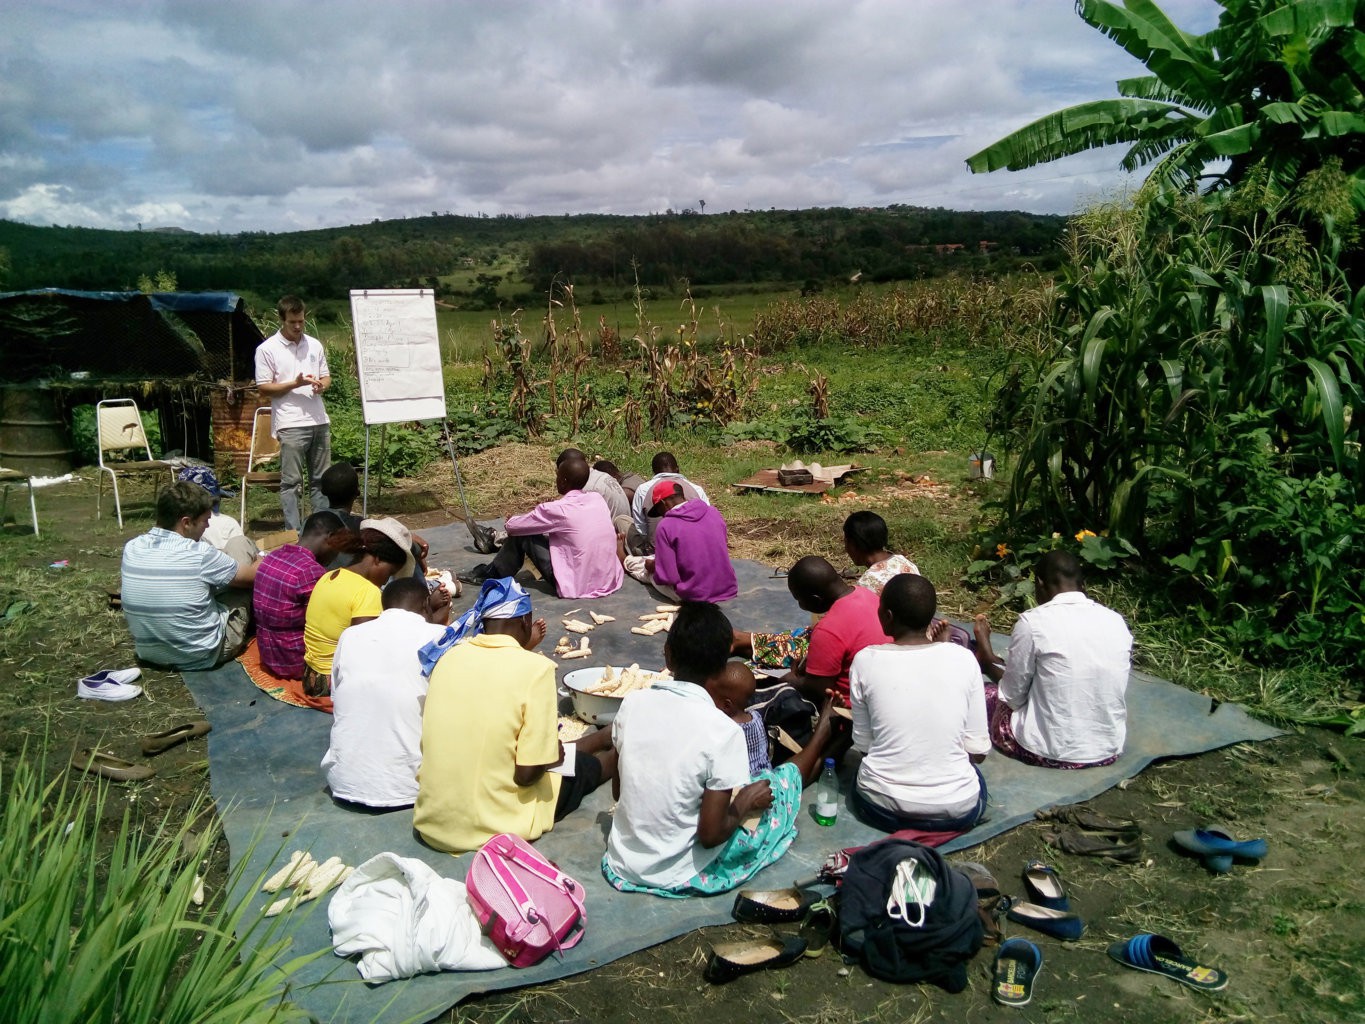
    While the older boys have been playing around with ideas, the youngest has been part of a project teaching people around Zimbabwe to use some of the systems they've come up with. They are doing amazing work, and I have some pics (just in time for the first round deadline hopefully):

    Read more »

  • Hi dad :)

    johnowhitaker04/23/2016 at 18:03 0 comments

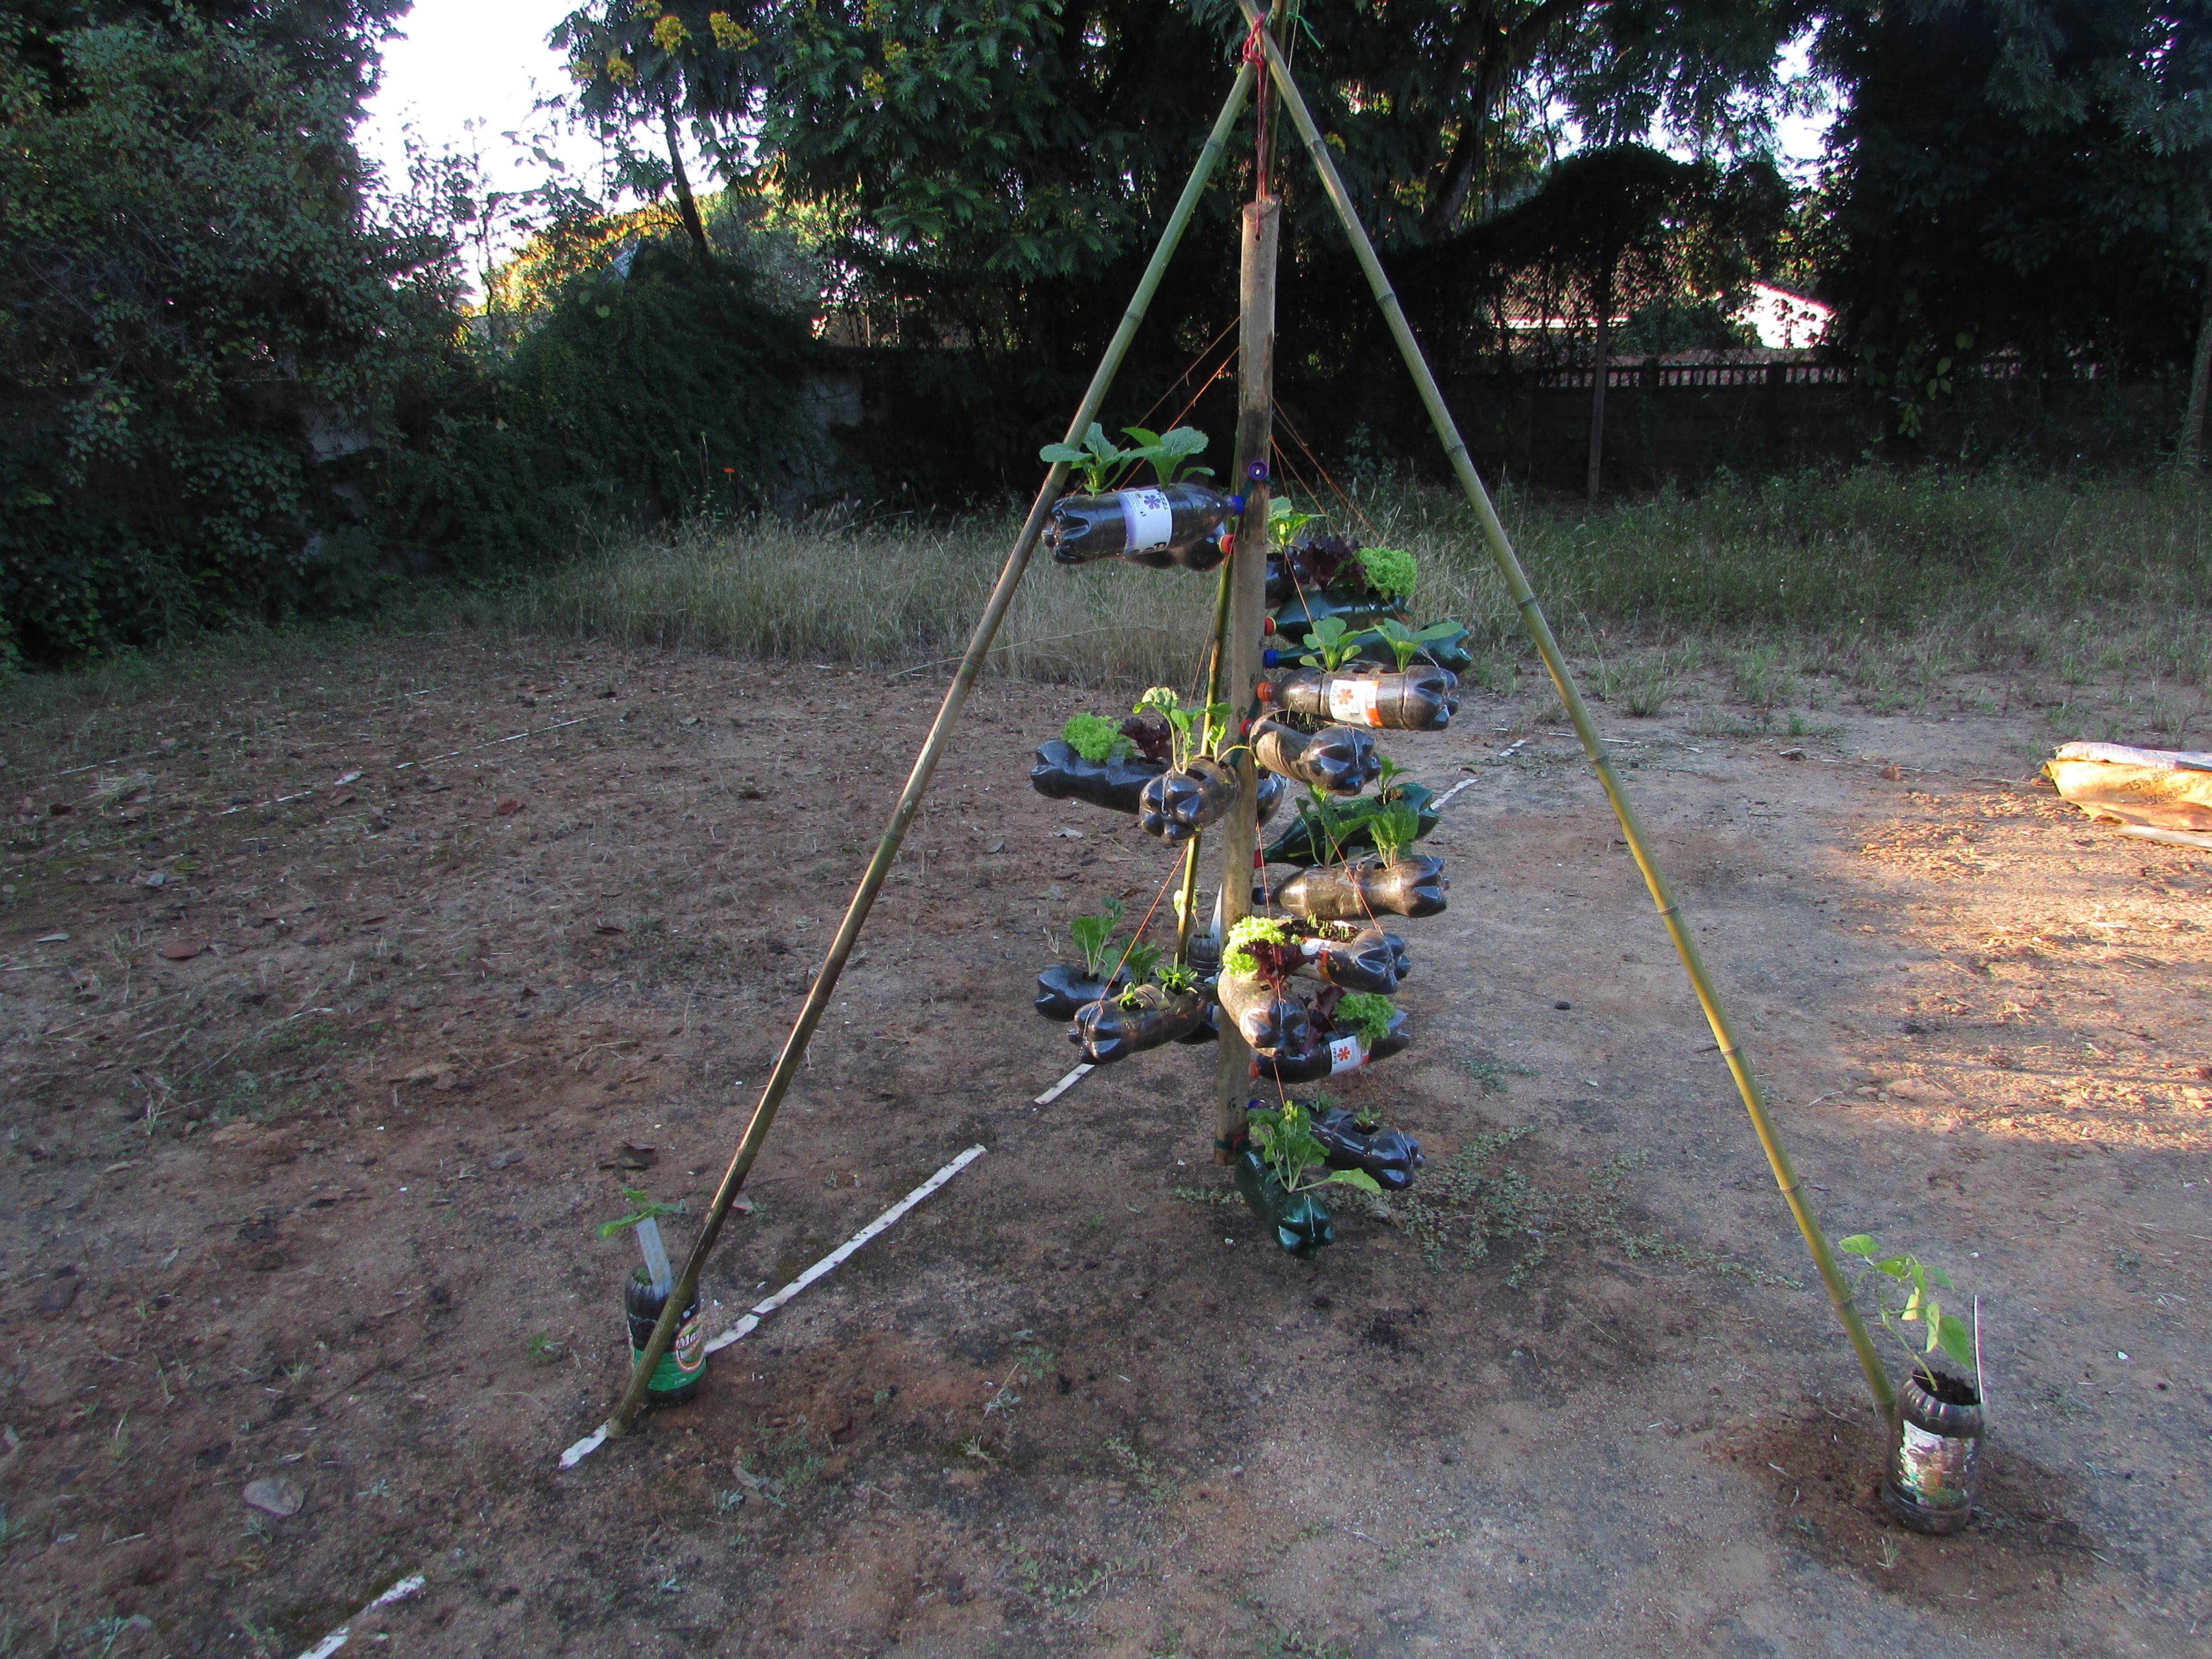
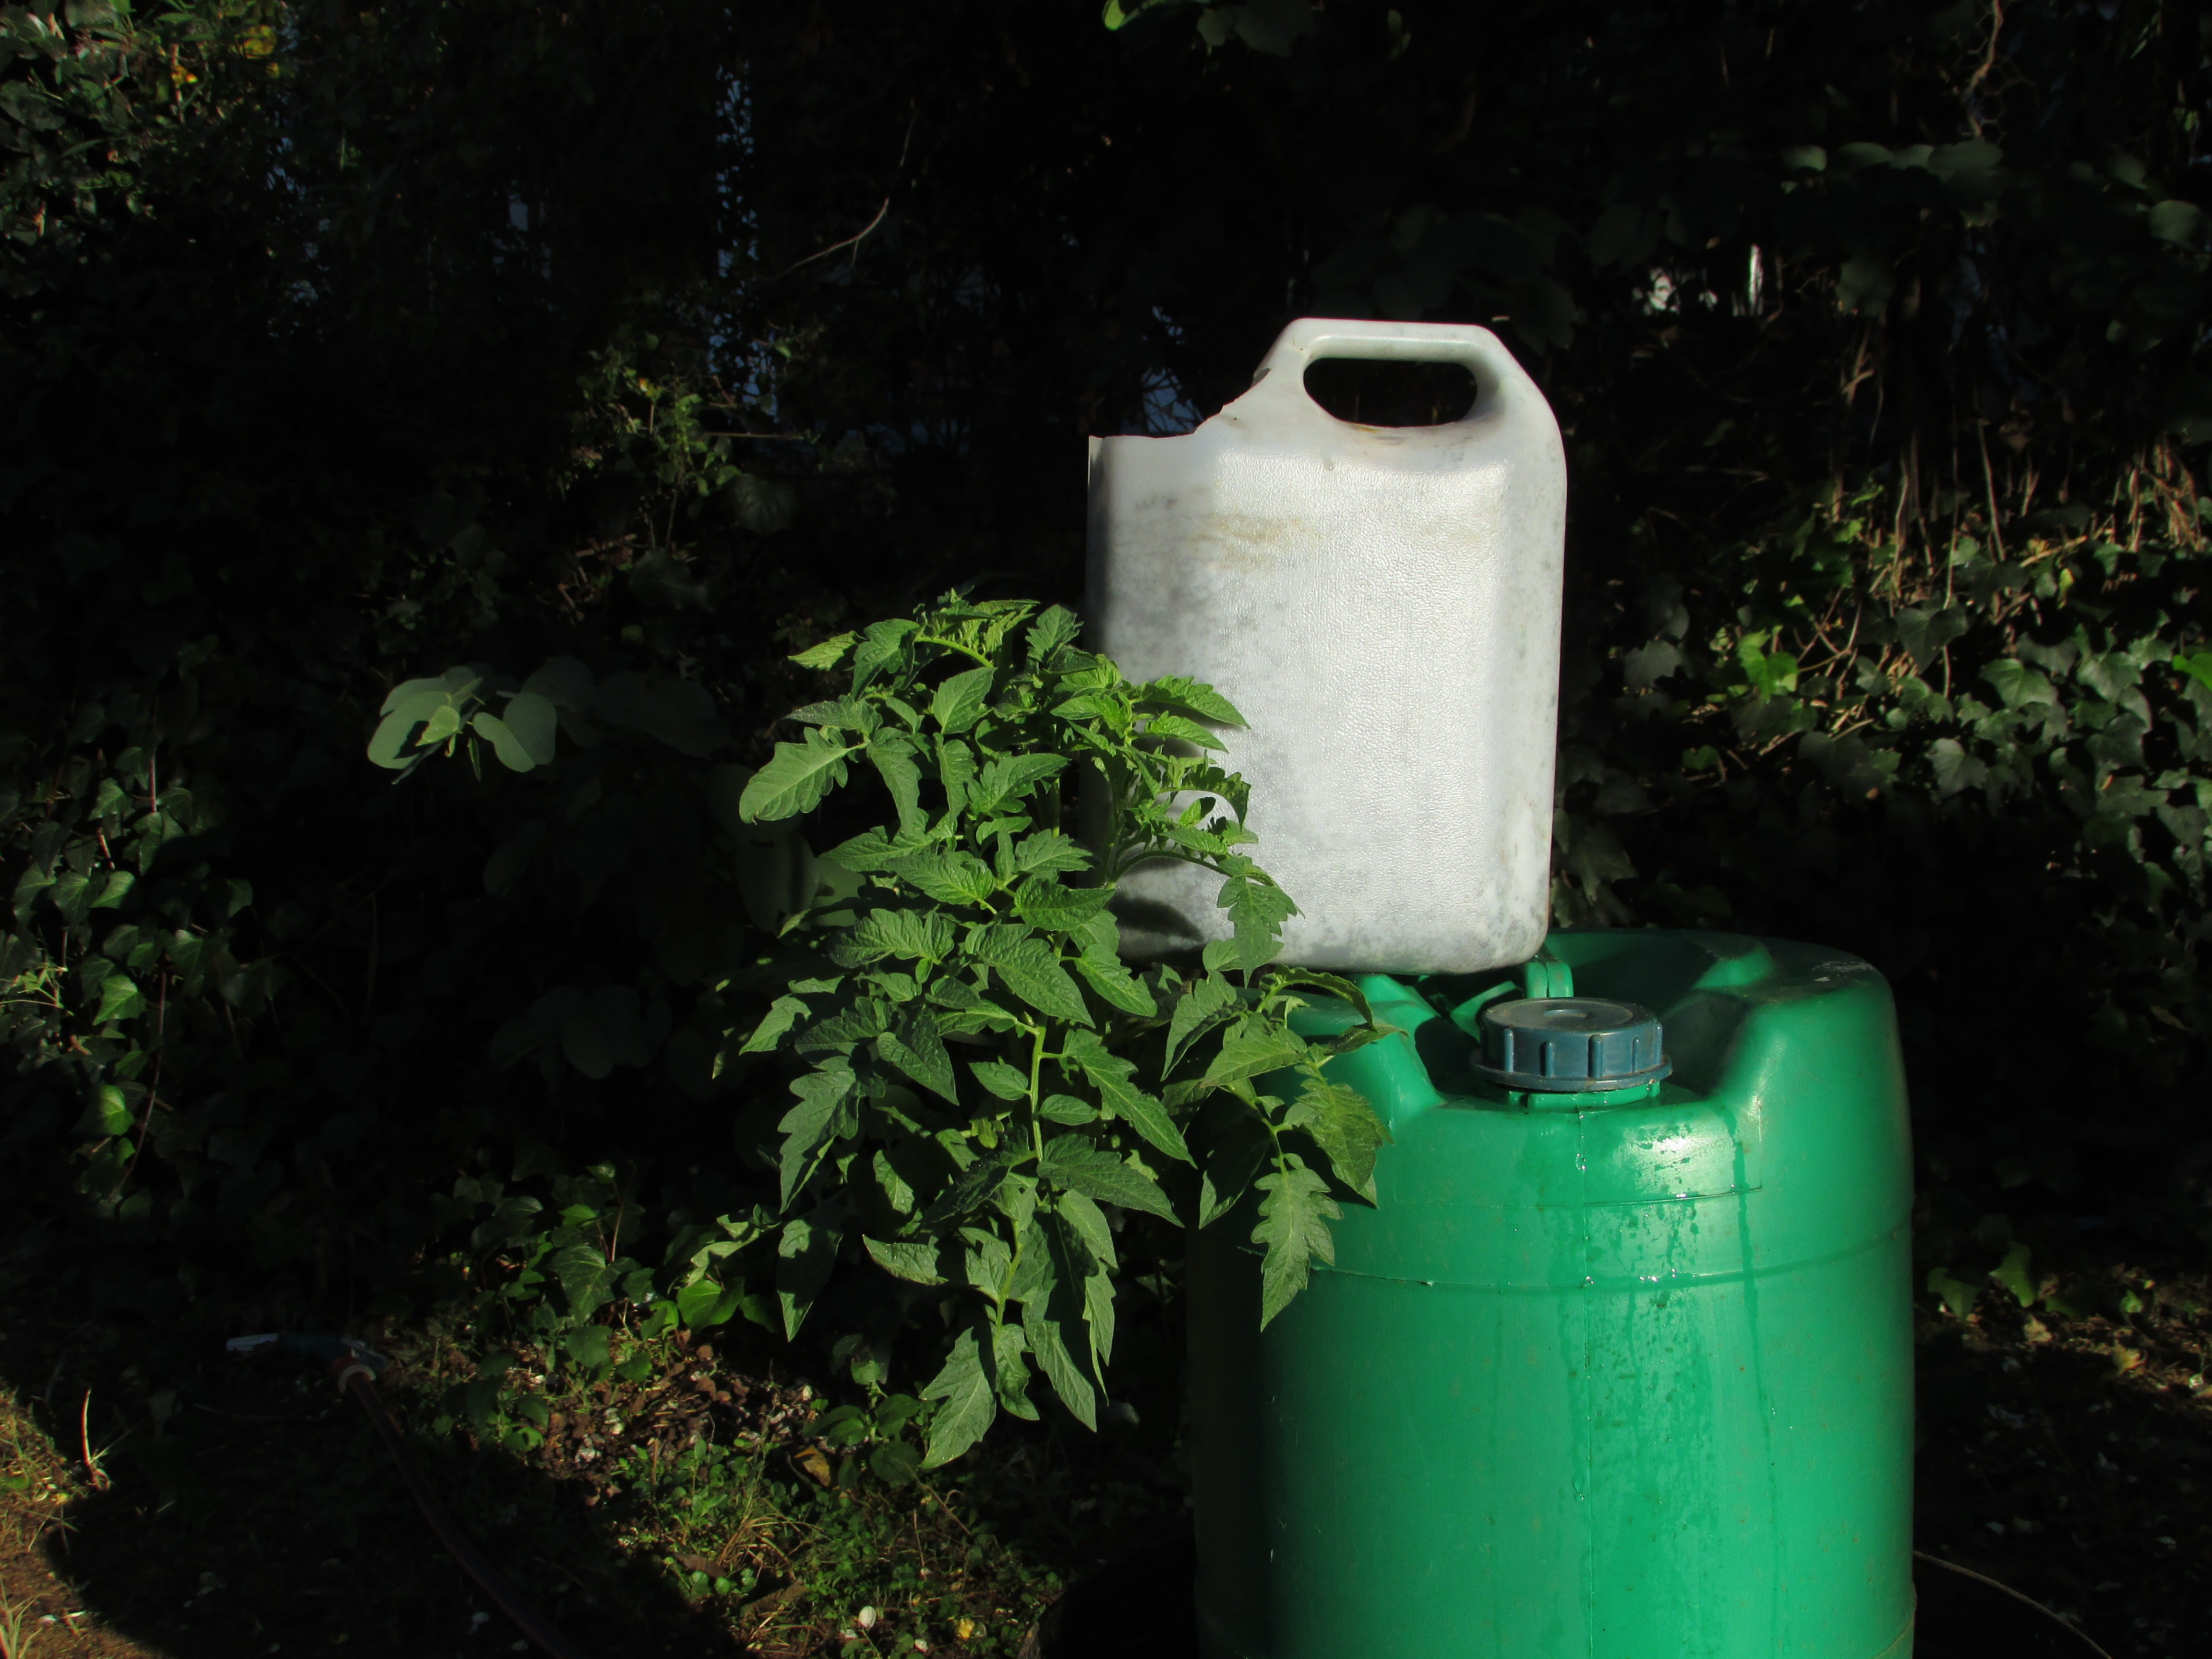
    This has become a family entry! Richard Whitaker (my father) has become very passionate about the idea of vertical vegetable gardening, and has been building things at a rapid rate. In this log I'll put photos of some of his contraptions.

    1) A bottle spiral. This early design is going to be much improved in a later version.

    2) Water poured over the gravel is wicked up by the plants. Good for leafy greens and lazy gardeners!

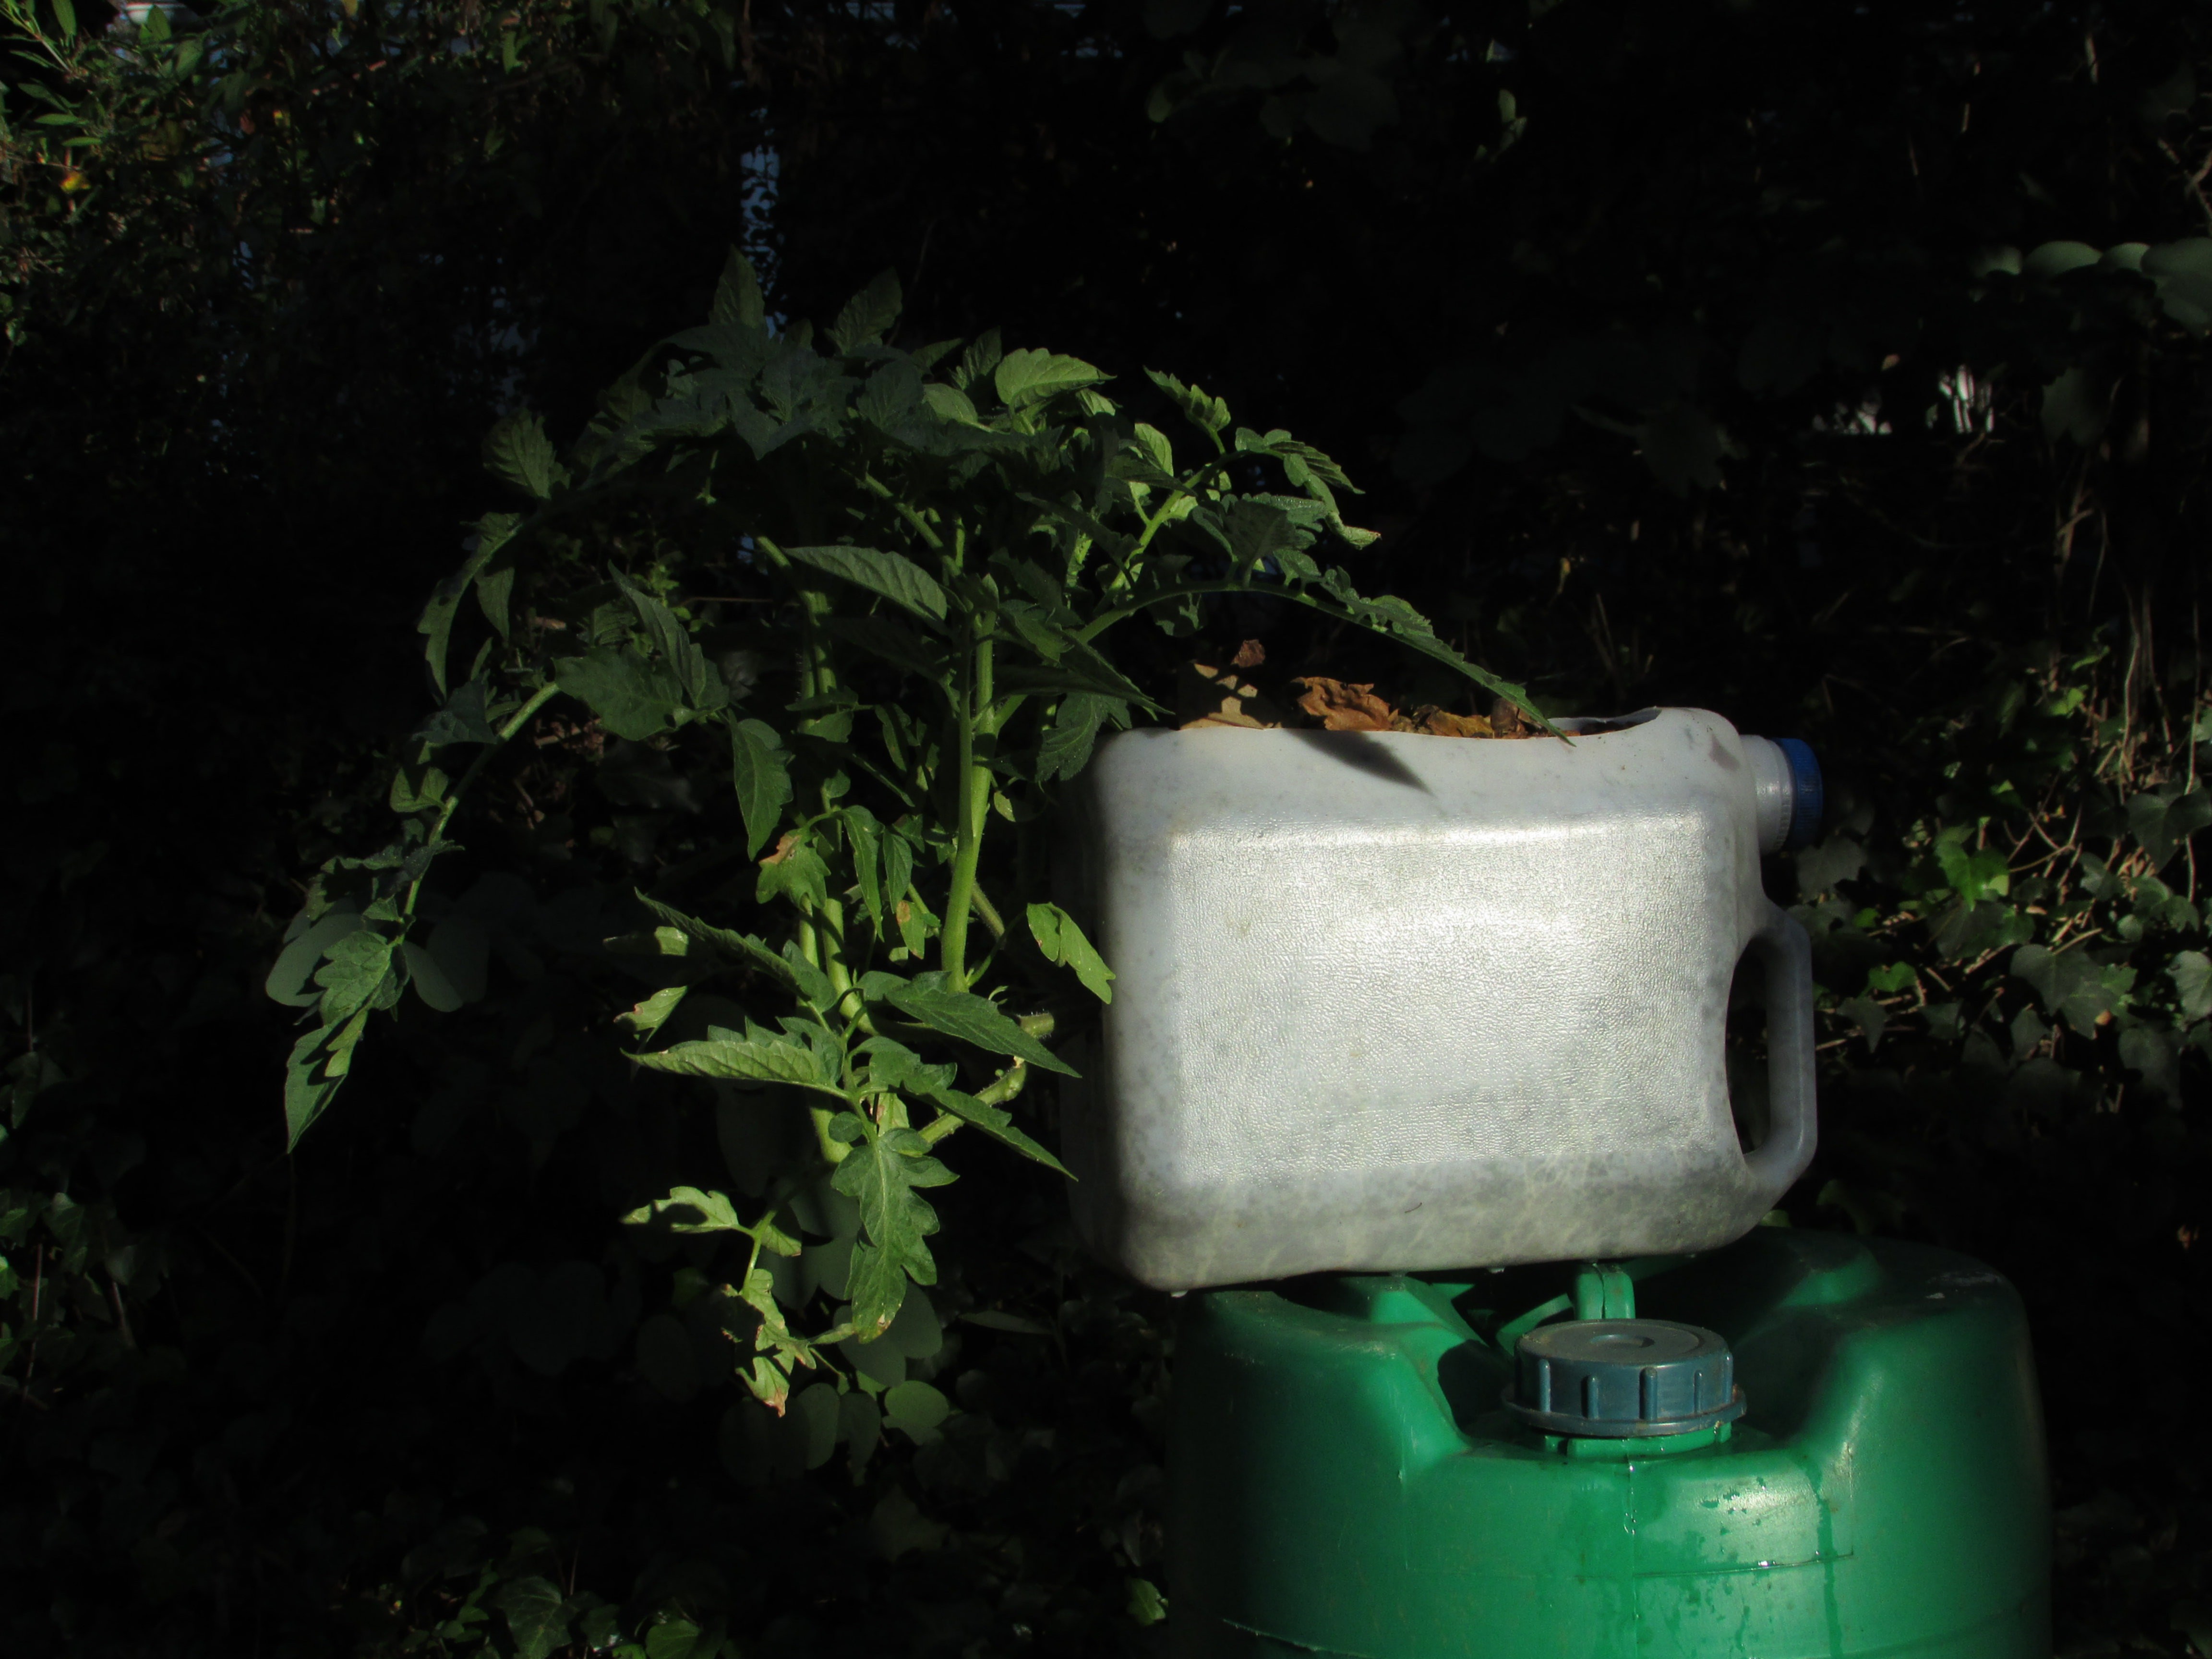
    3) Who says tomatoes need to grow out of the top!

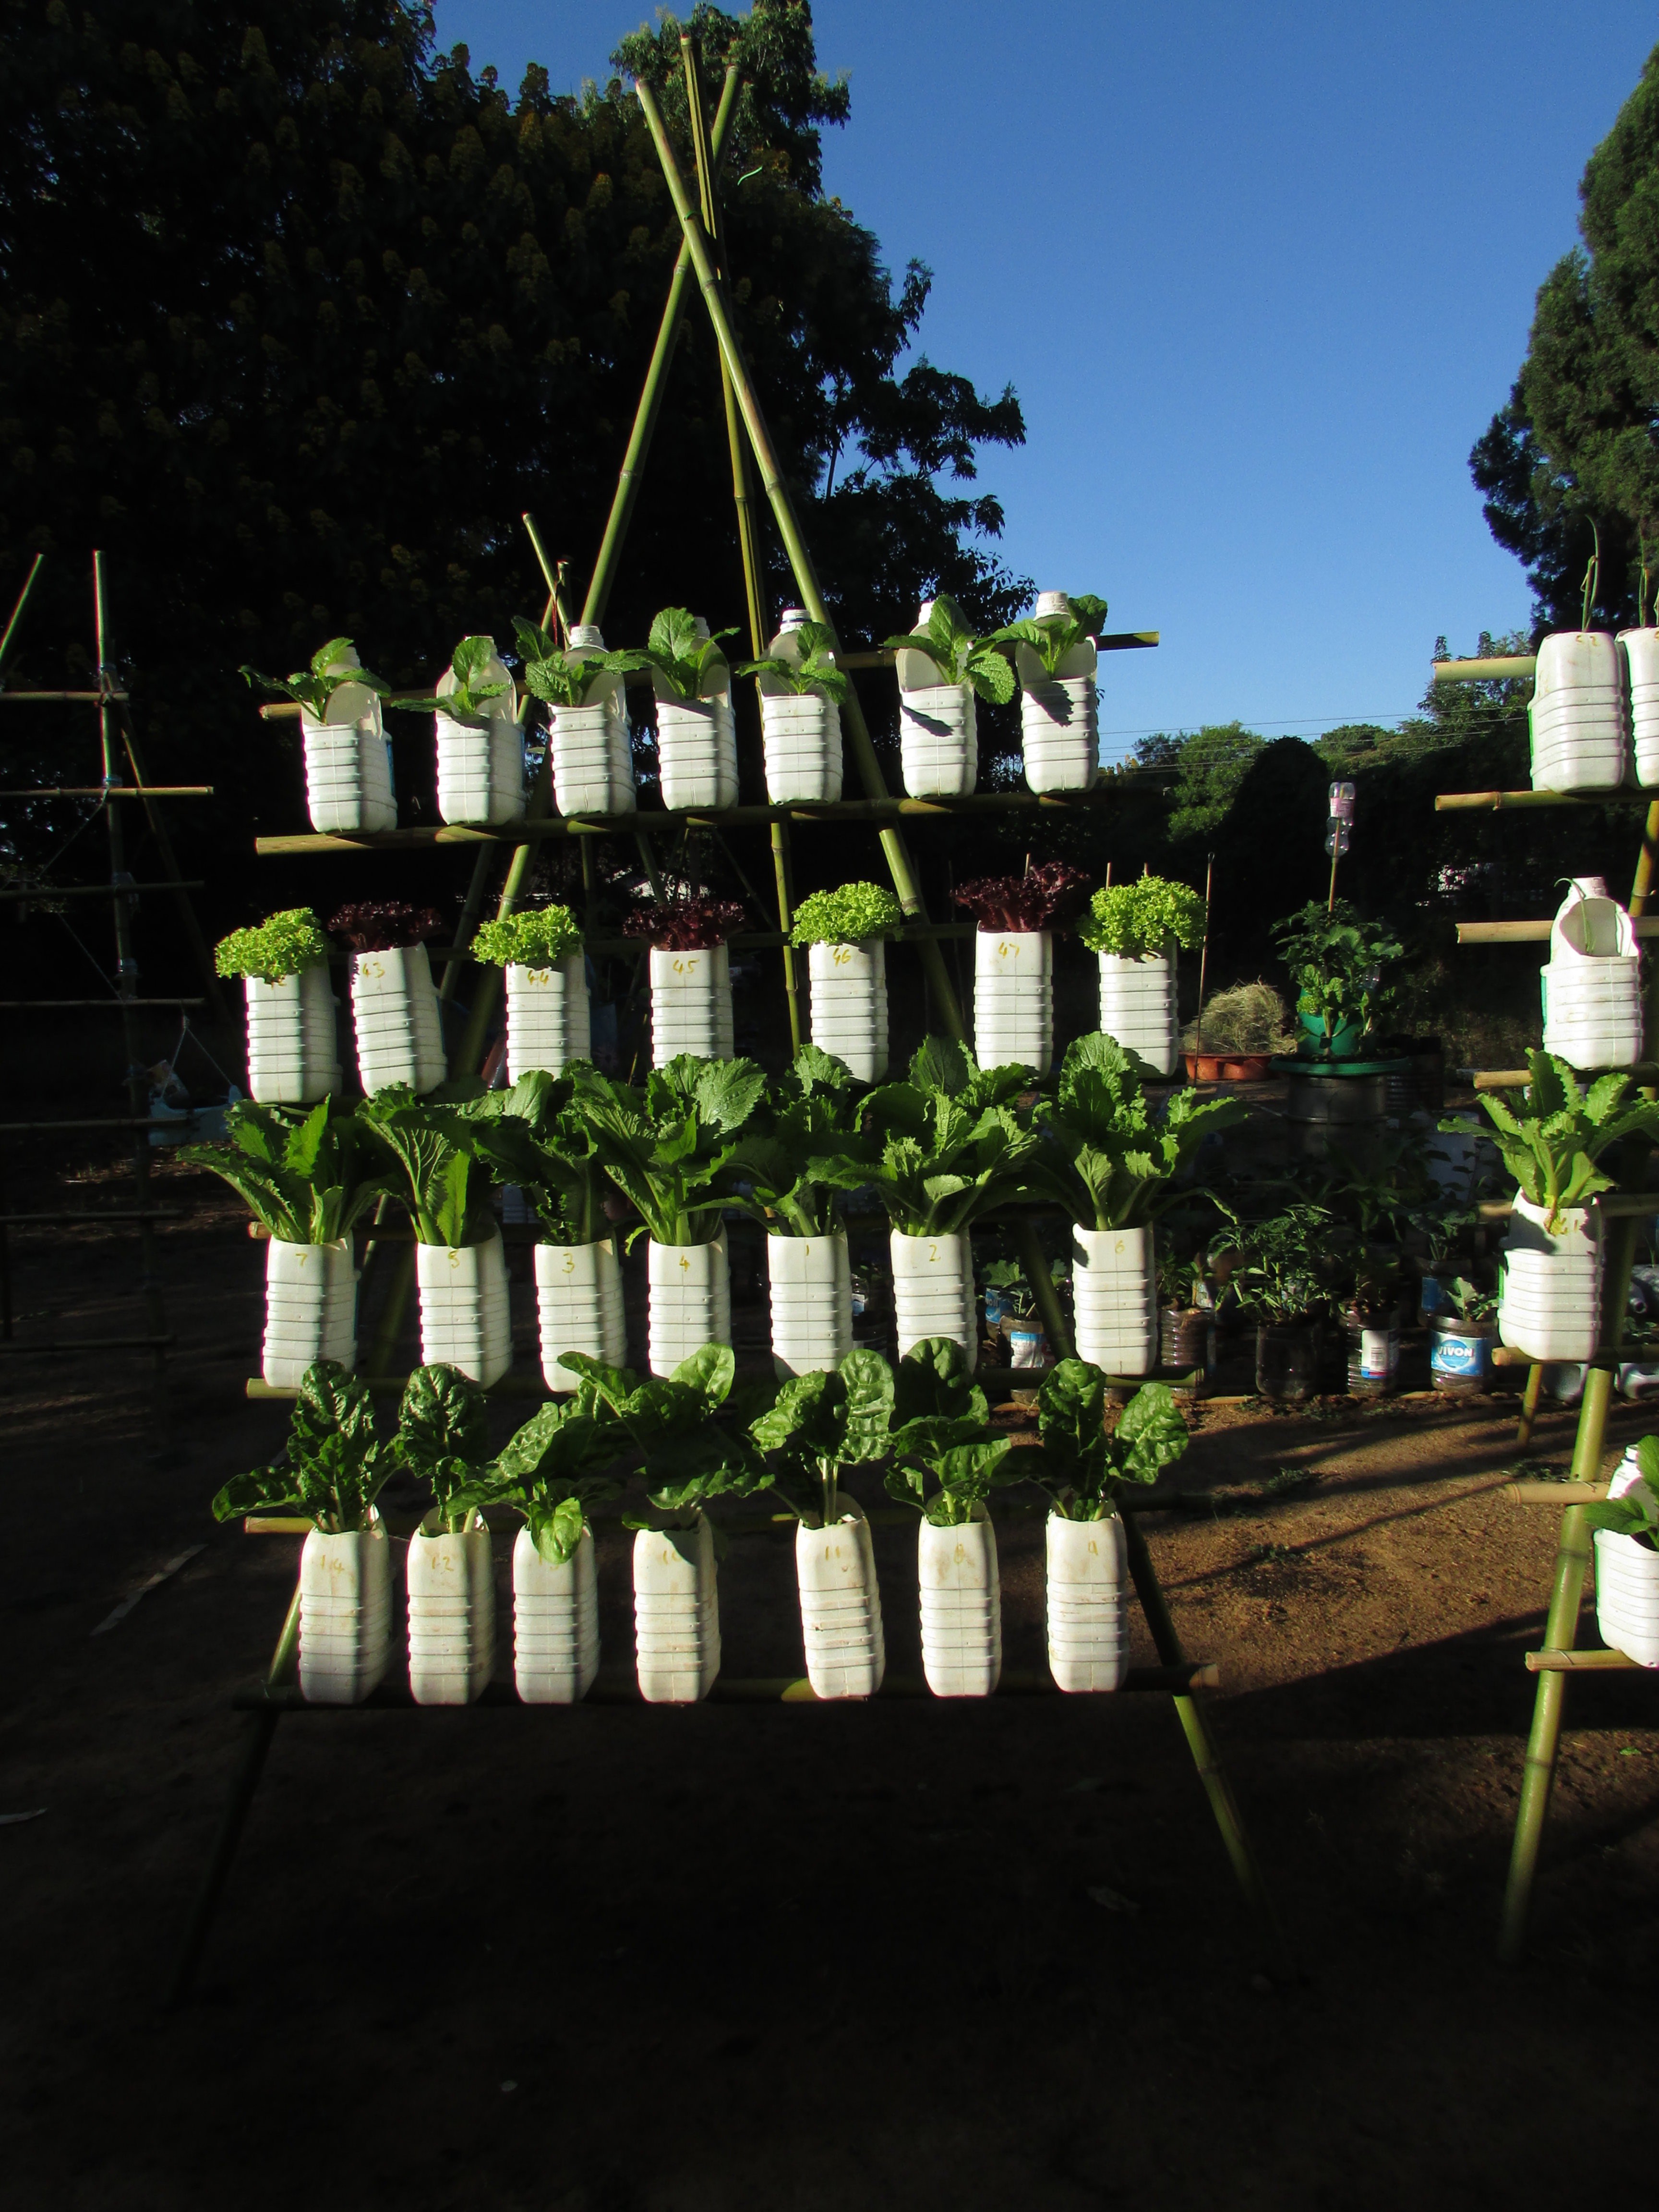
    4) A bottle rack. Each bottle can click in and out independently. One of the nicest systems so far, and these milk bottles are a very common type of trash.

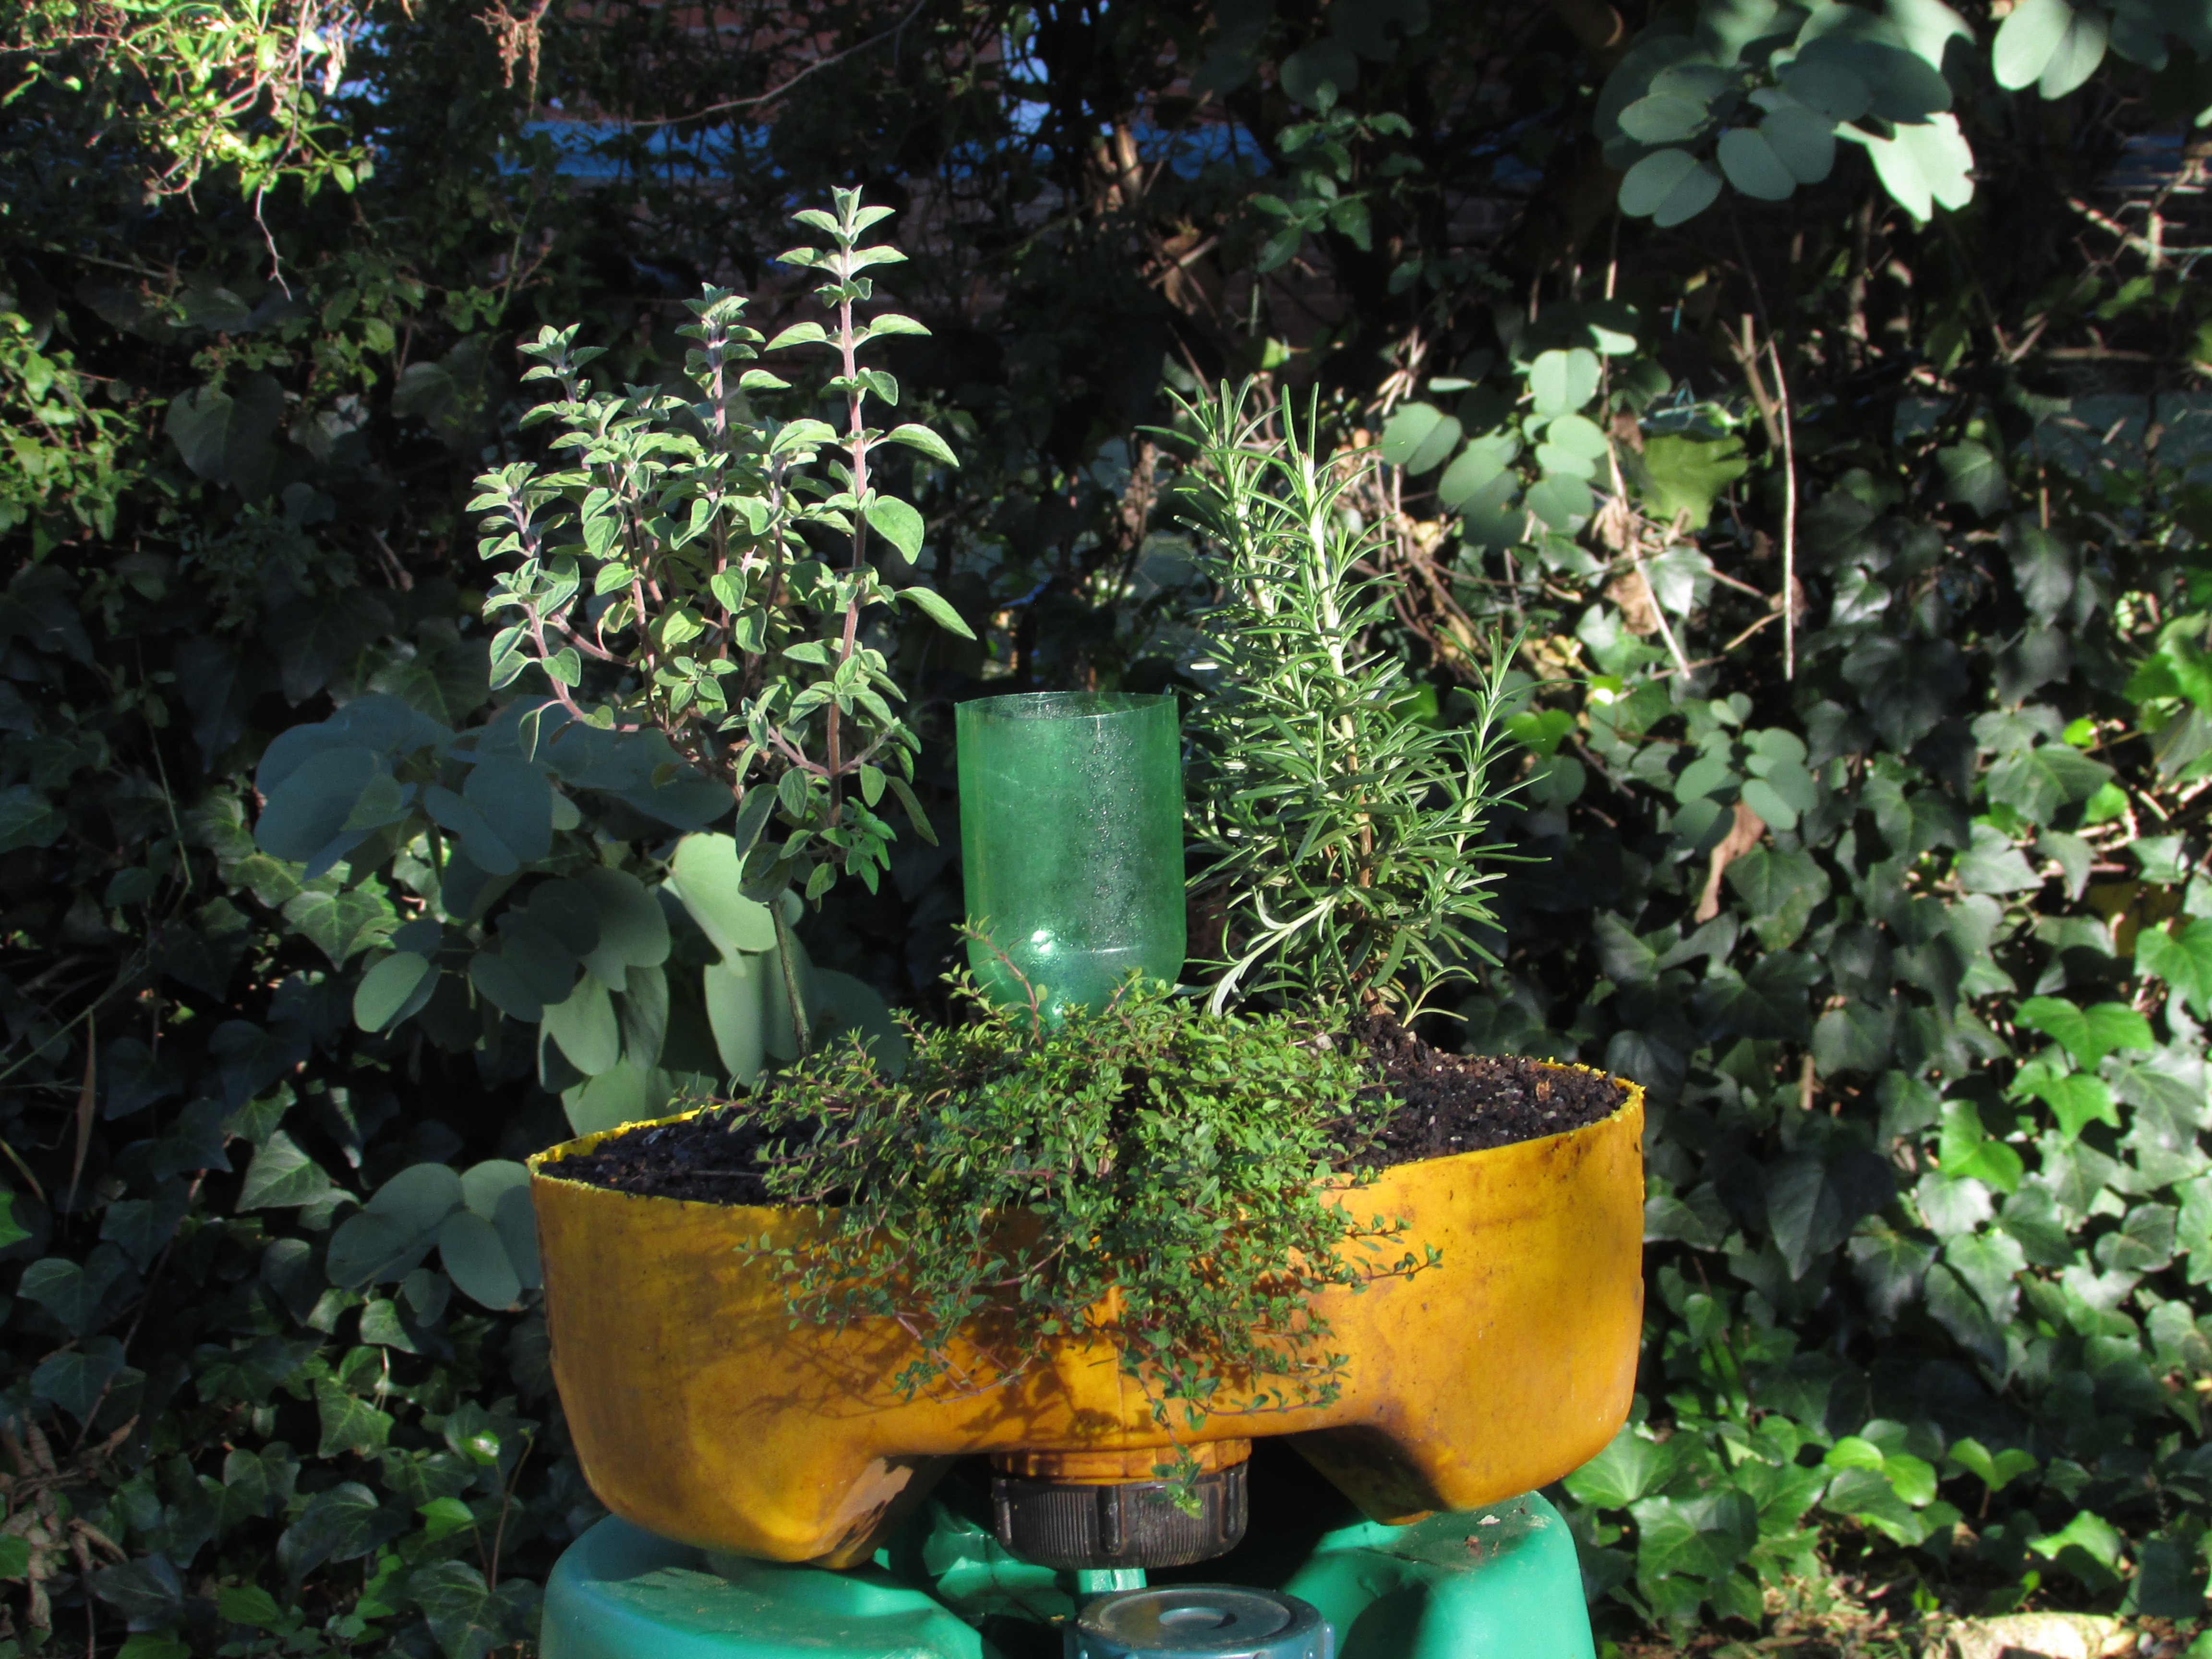
    5) A pretty herb garden

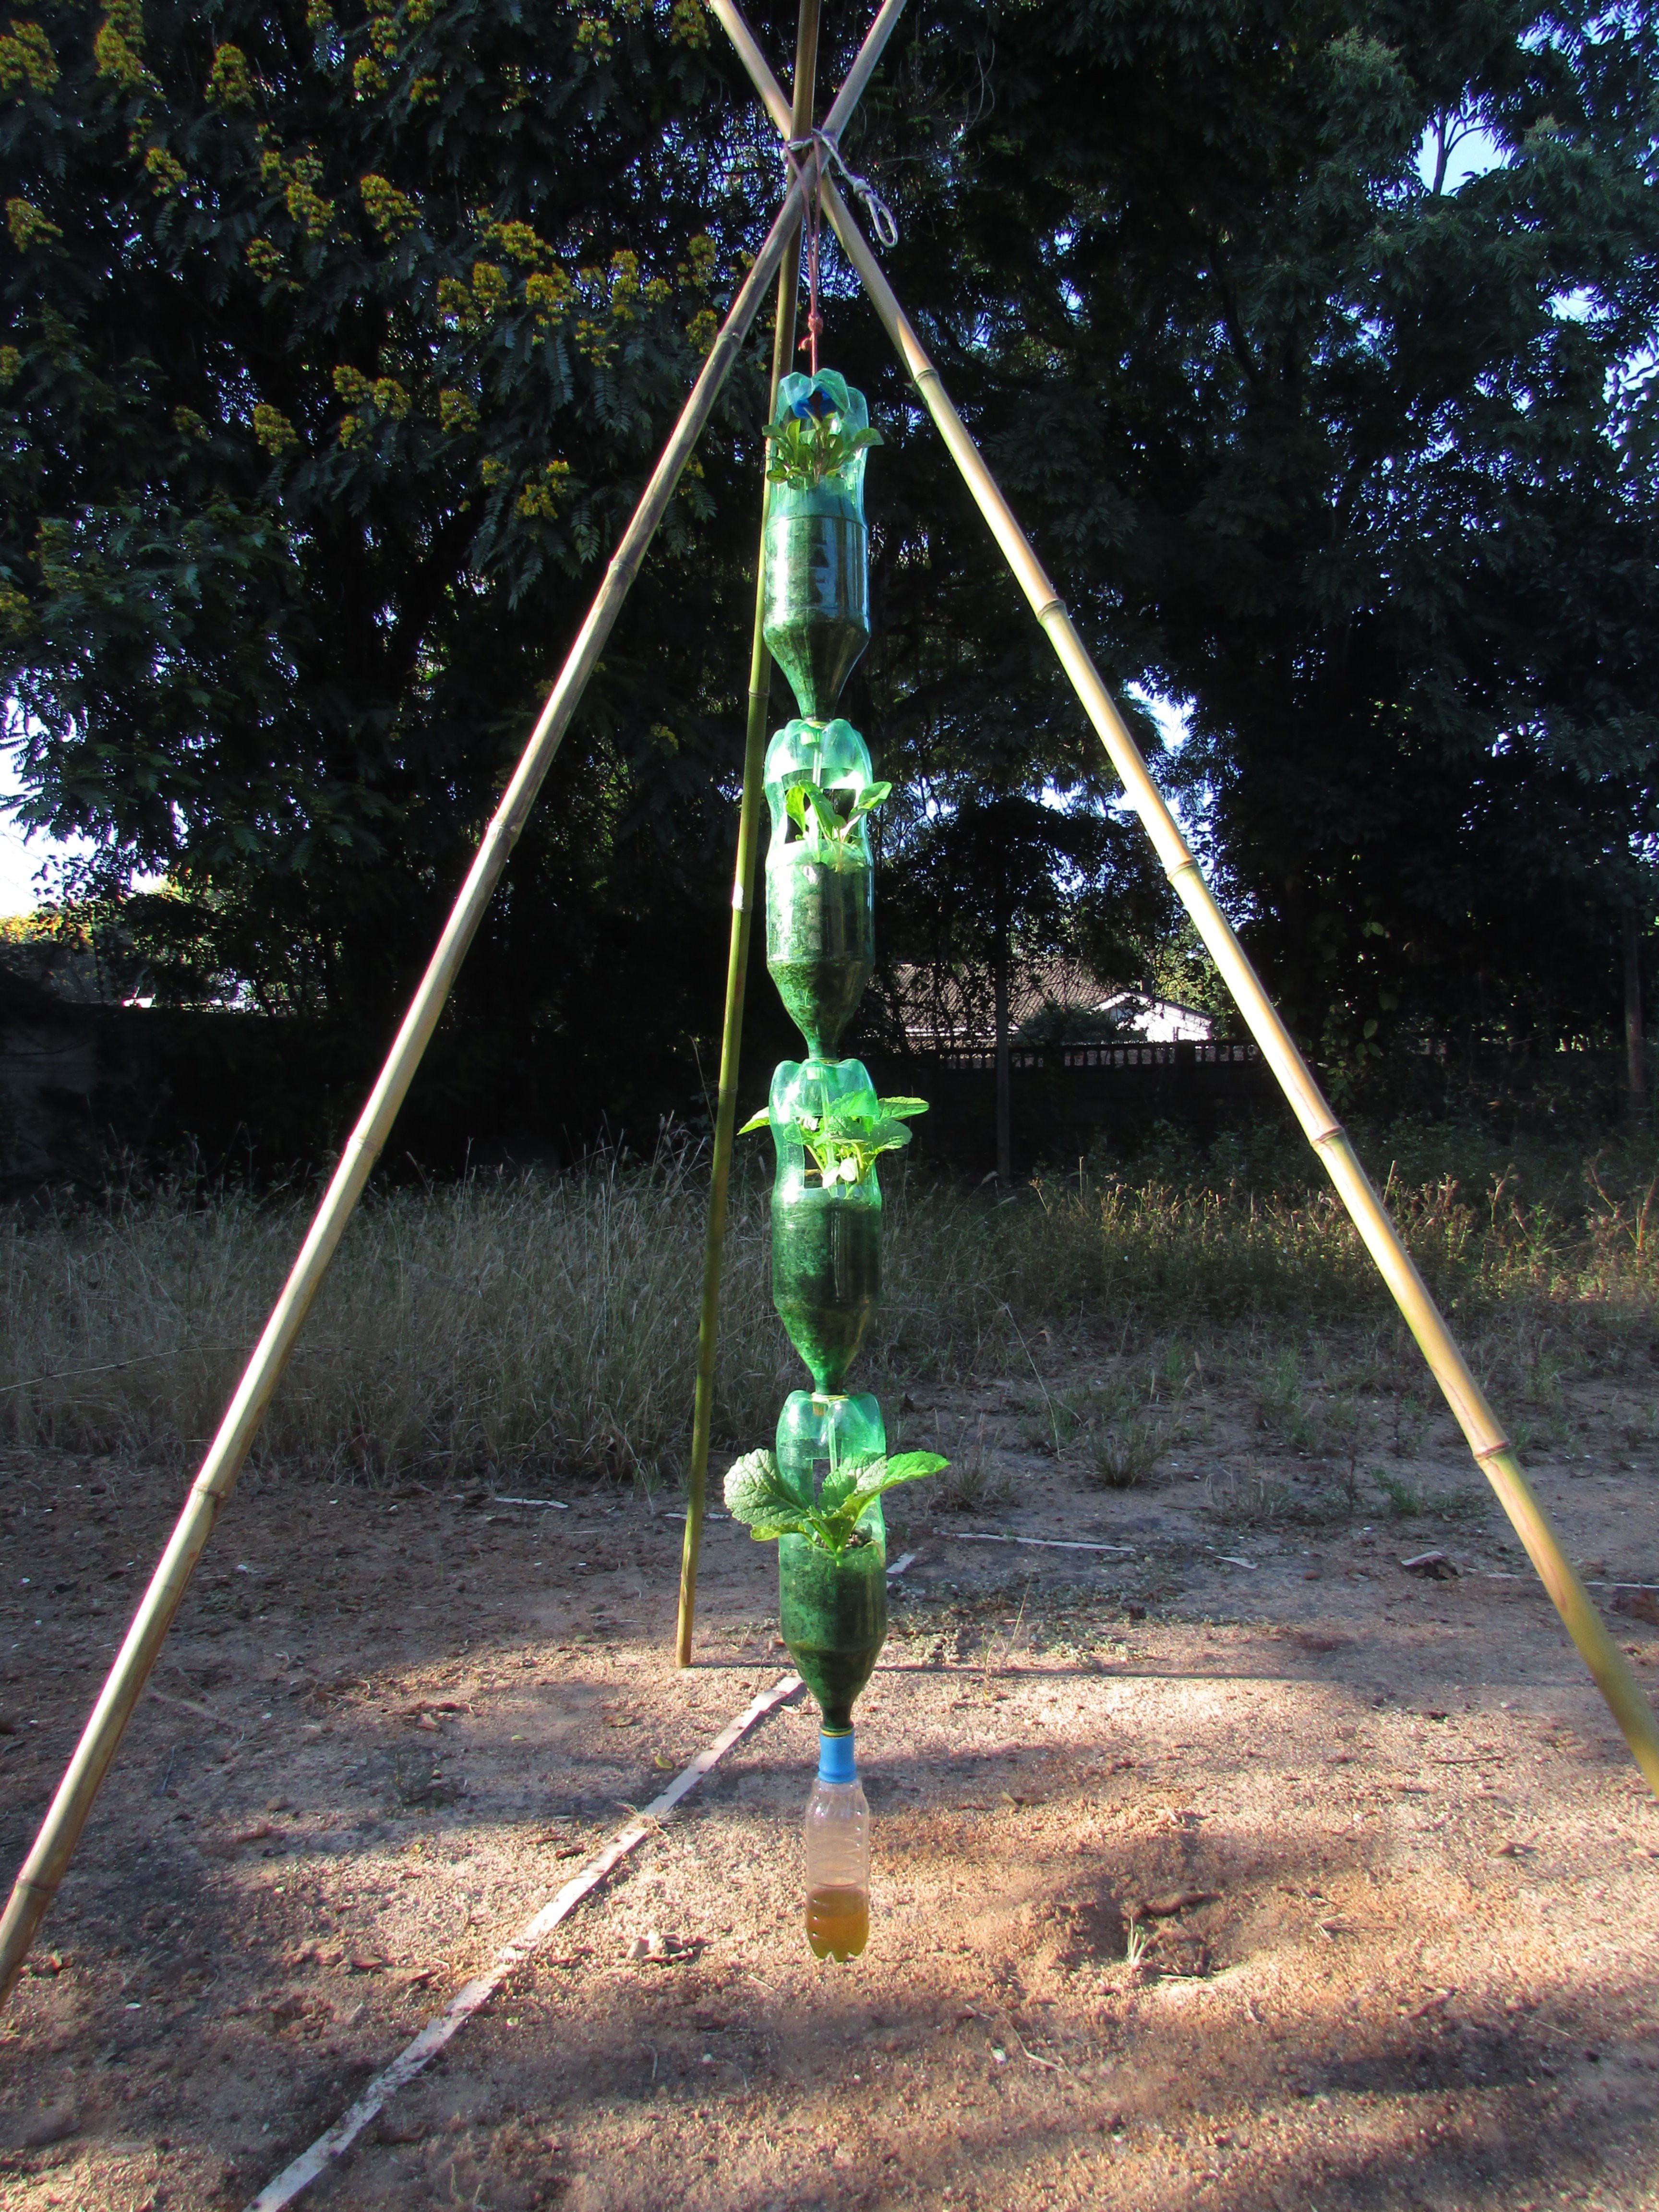
    6) Hanging tower of bottles - water in the top trickles down and waters all the plants.

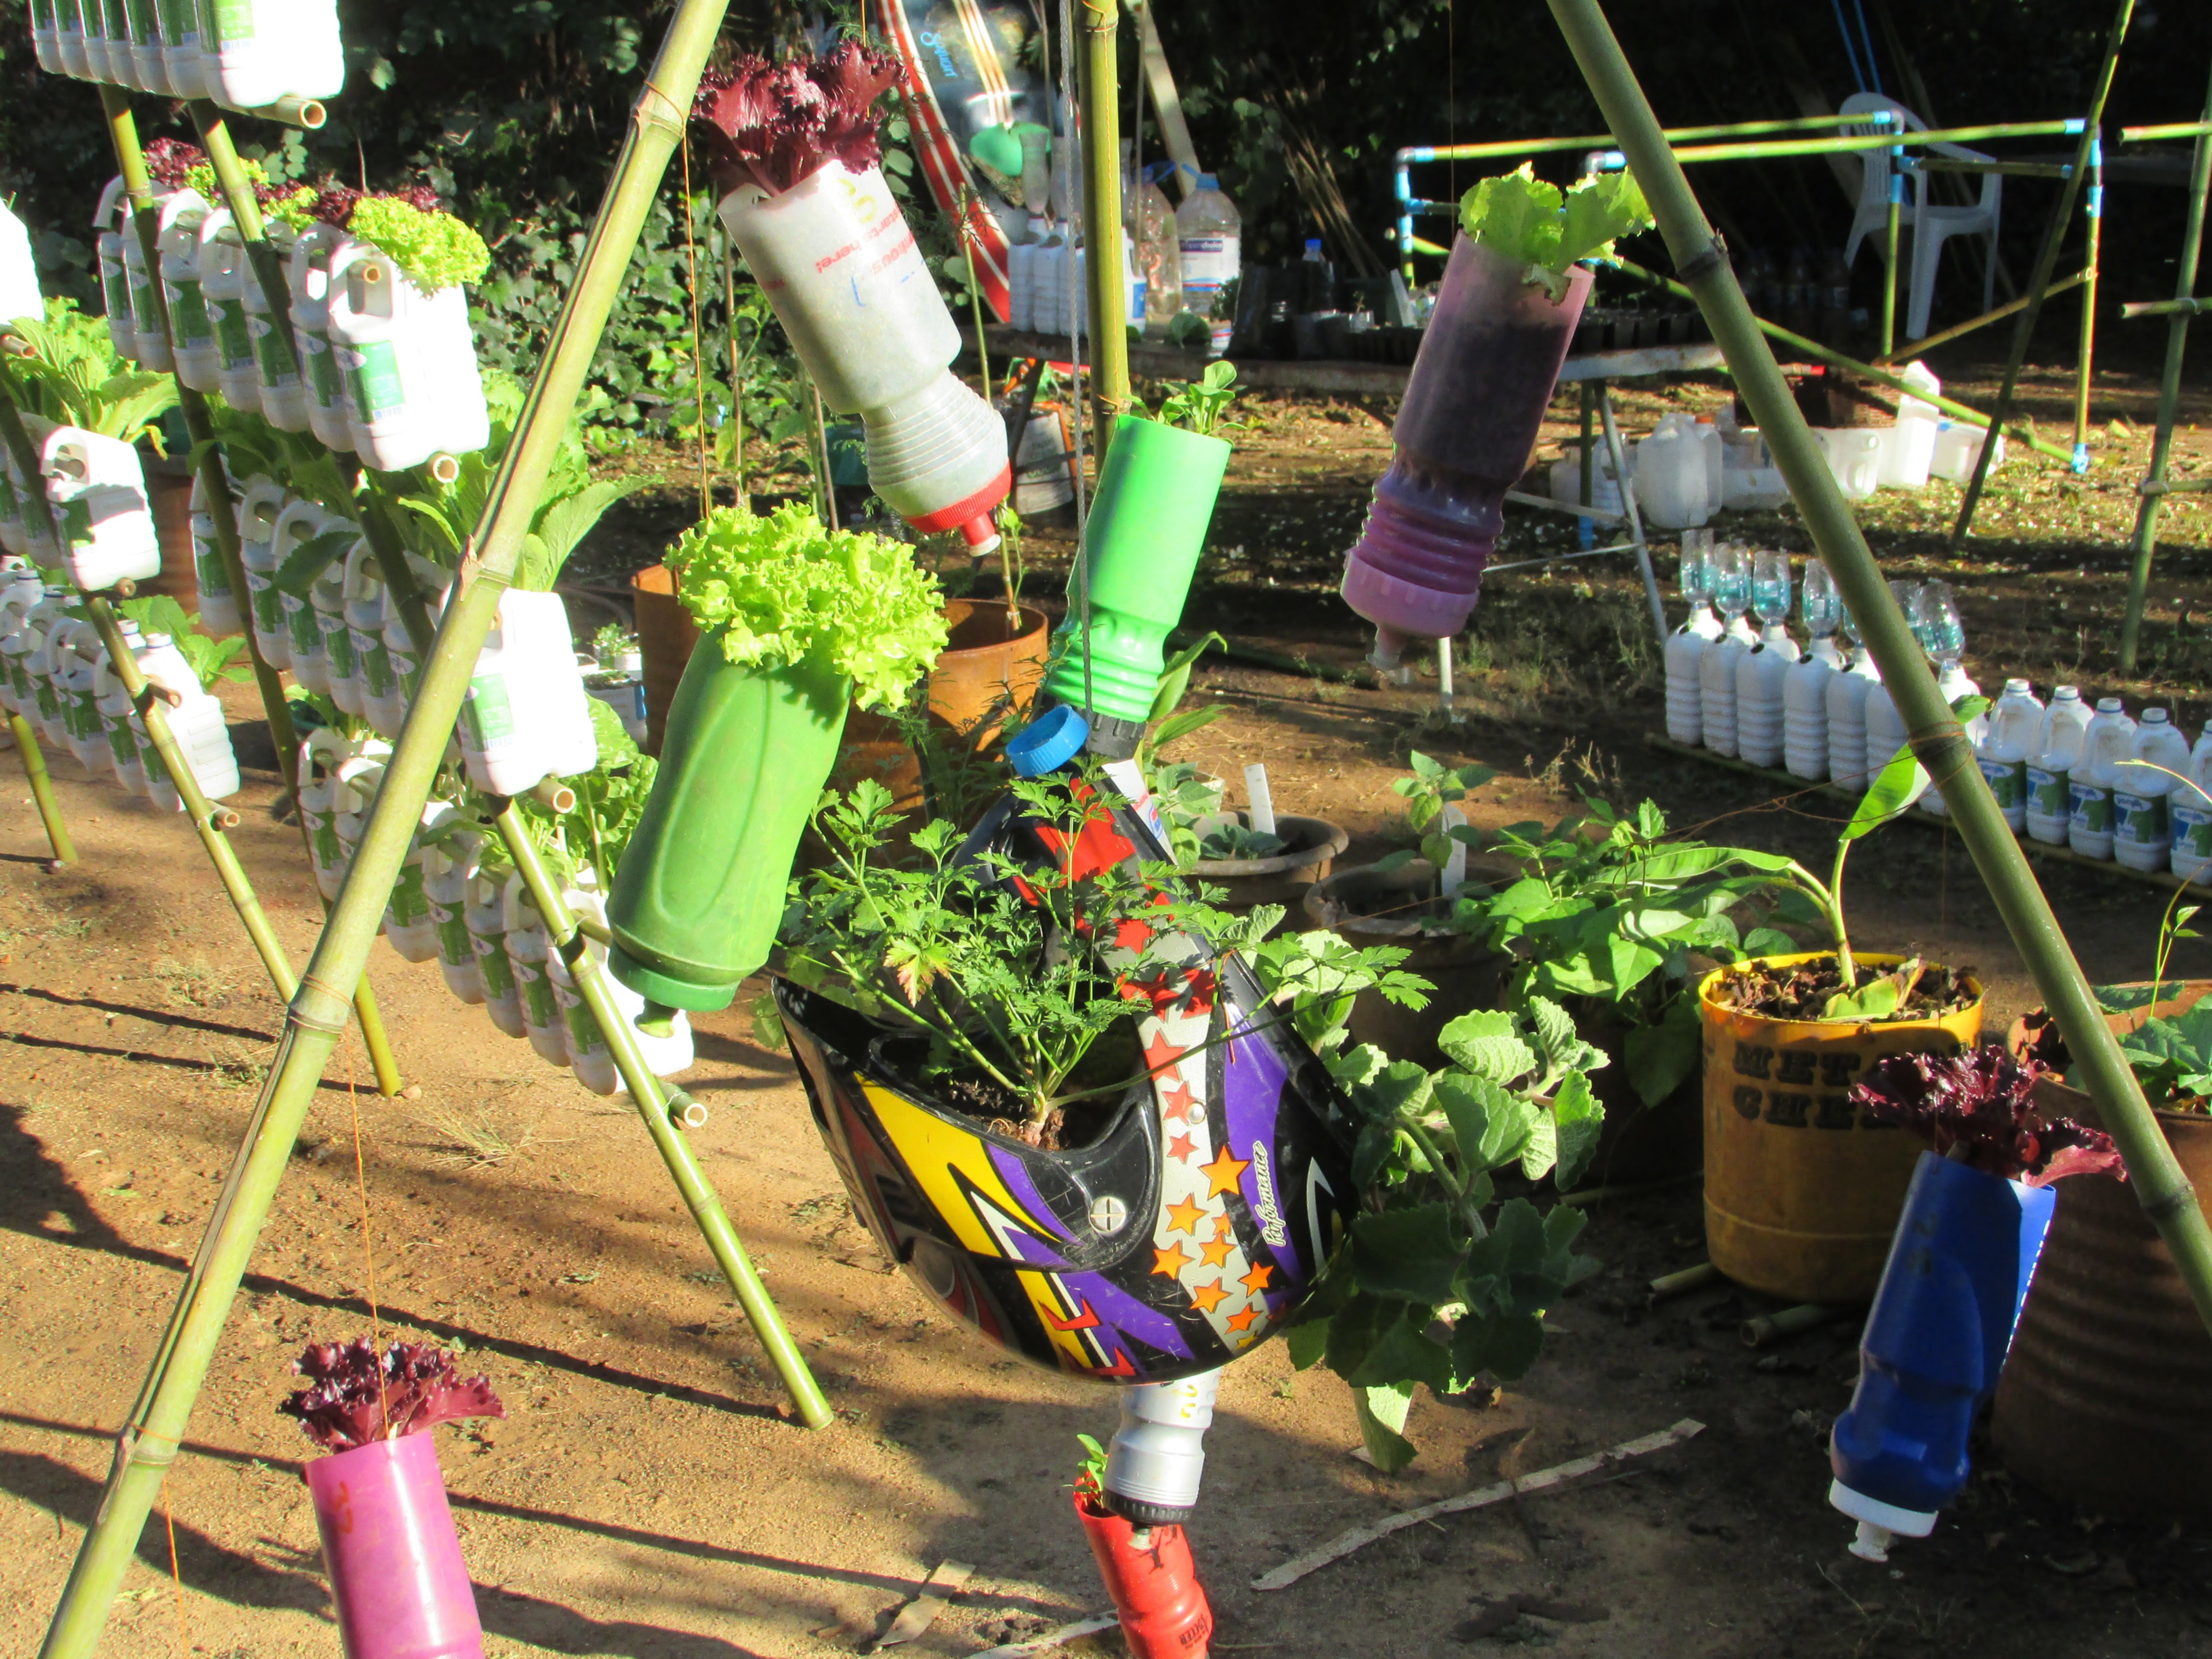
    7) A sports themed salad bar (bottles from unclaimed lost property)

    8) Can tomatoes be grown in less than 2 kg of soil

    9) How many tomatoes can be grown in 10 kg of soil?

    10) A strawberry pot with a moisture retention system.

    It's crazy how quickly all this was thrown together, literally out of trash. Way to go team Whitaker! Can't wait for @David Whitaker to add in what he's been up to :)

  • Seedling holder from recycled bottles

    johnowhitaker04/14/2016 at 14:34 0 comments

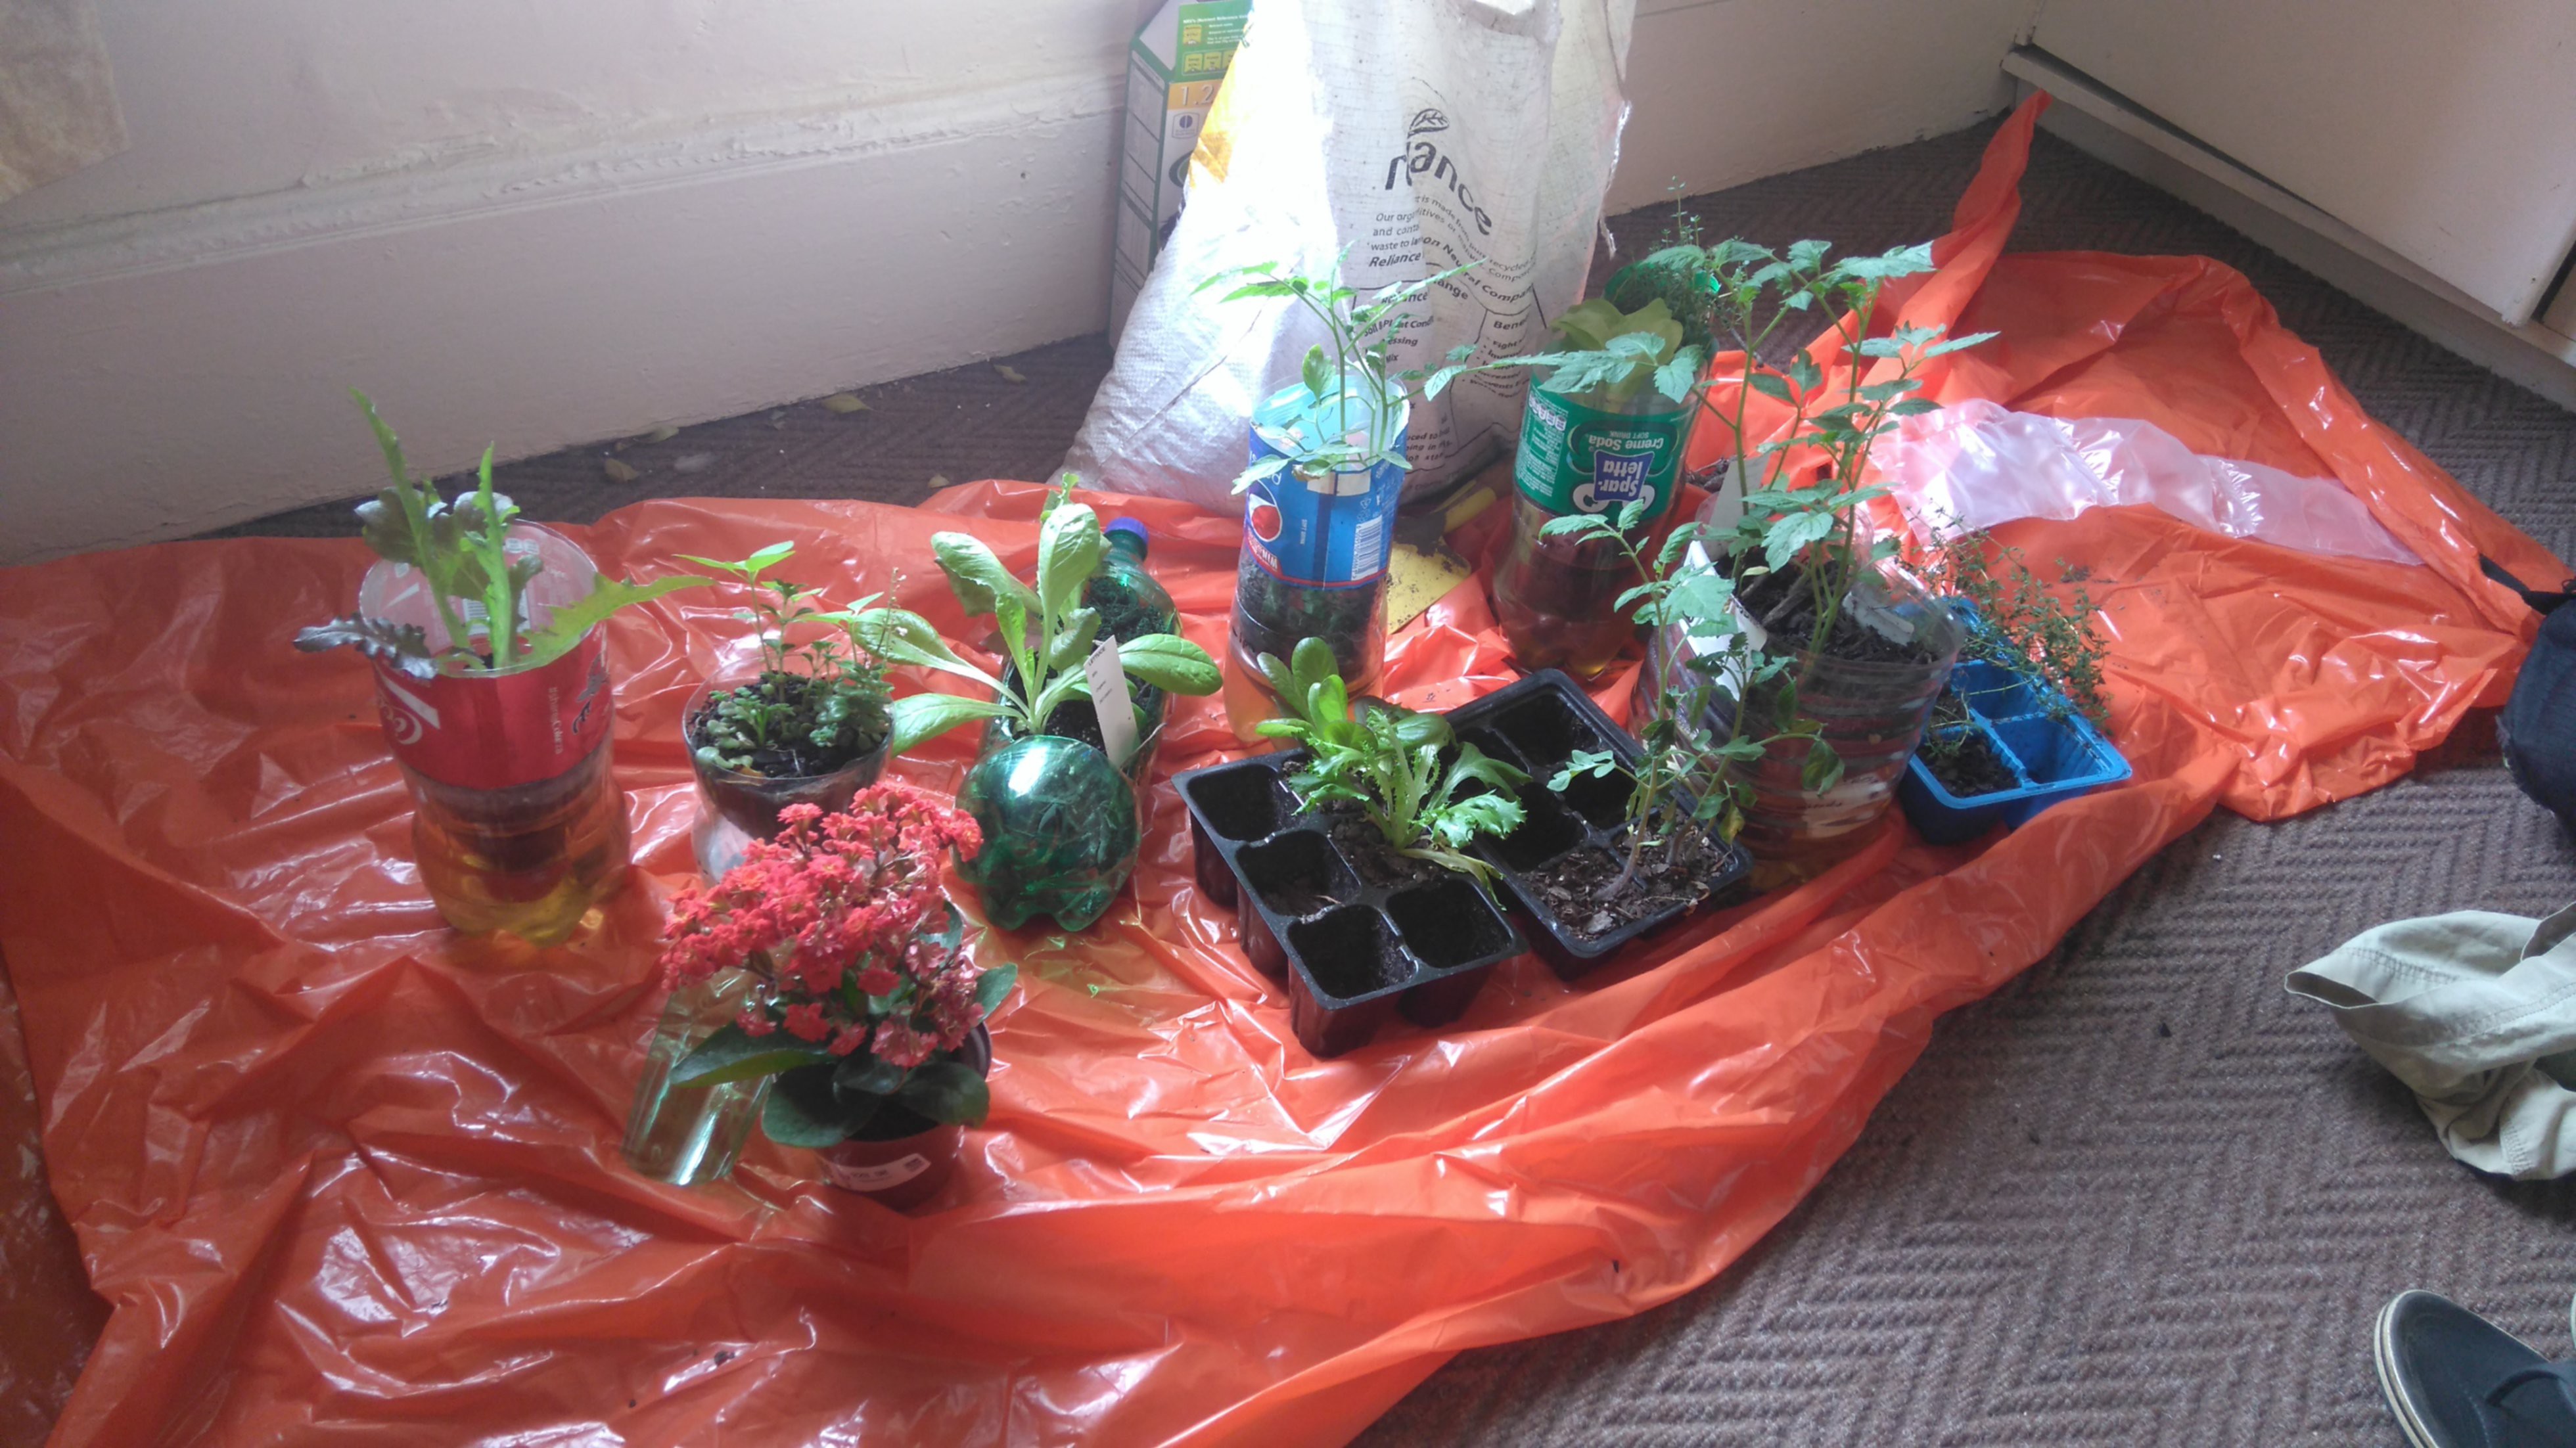
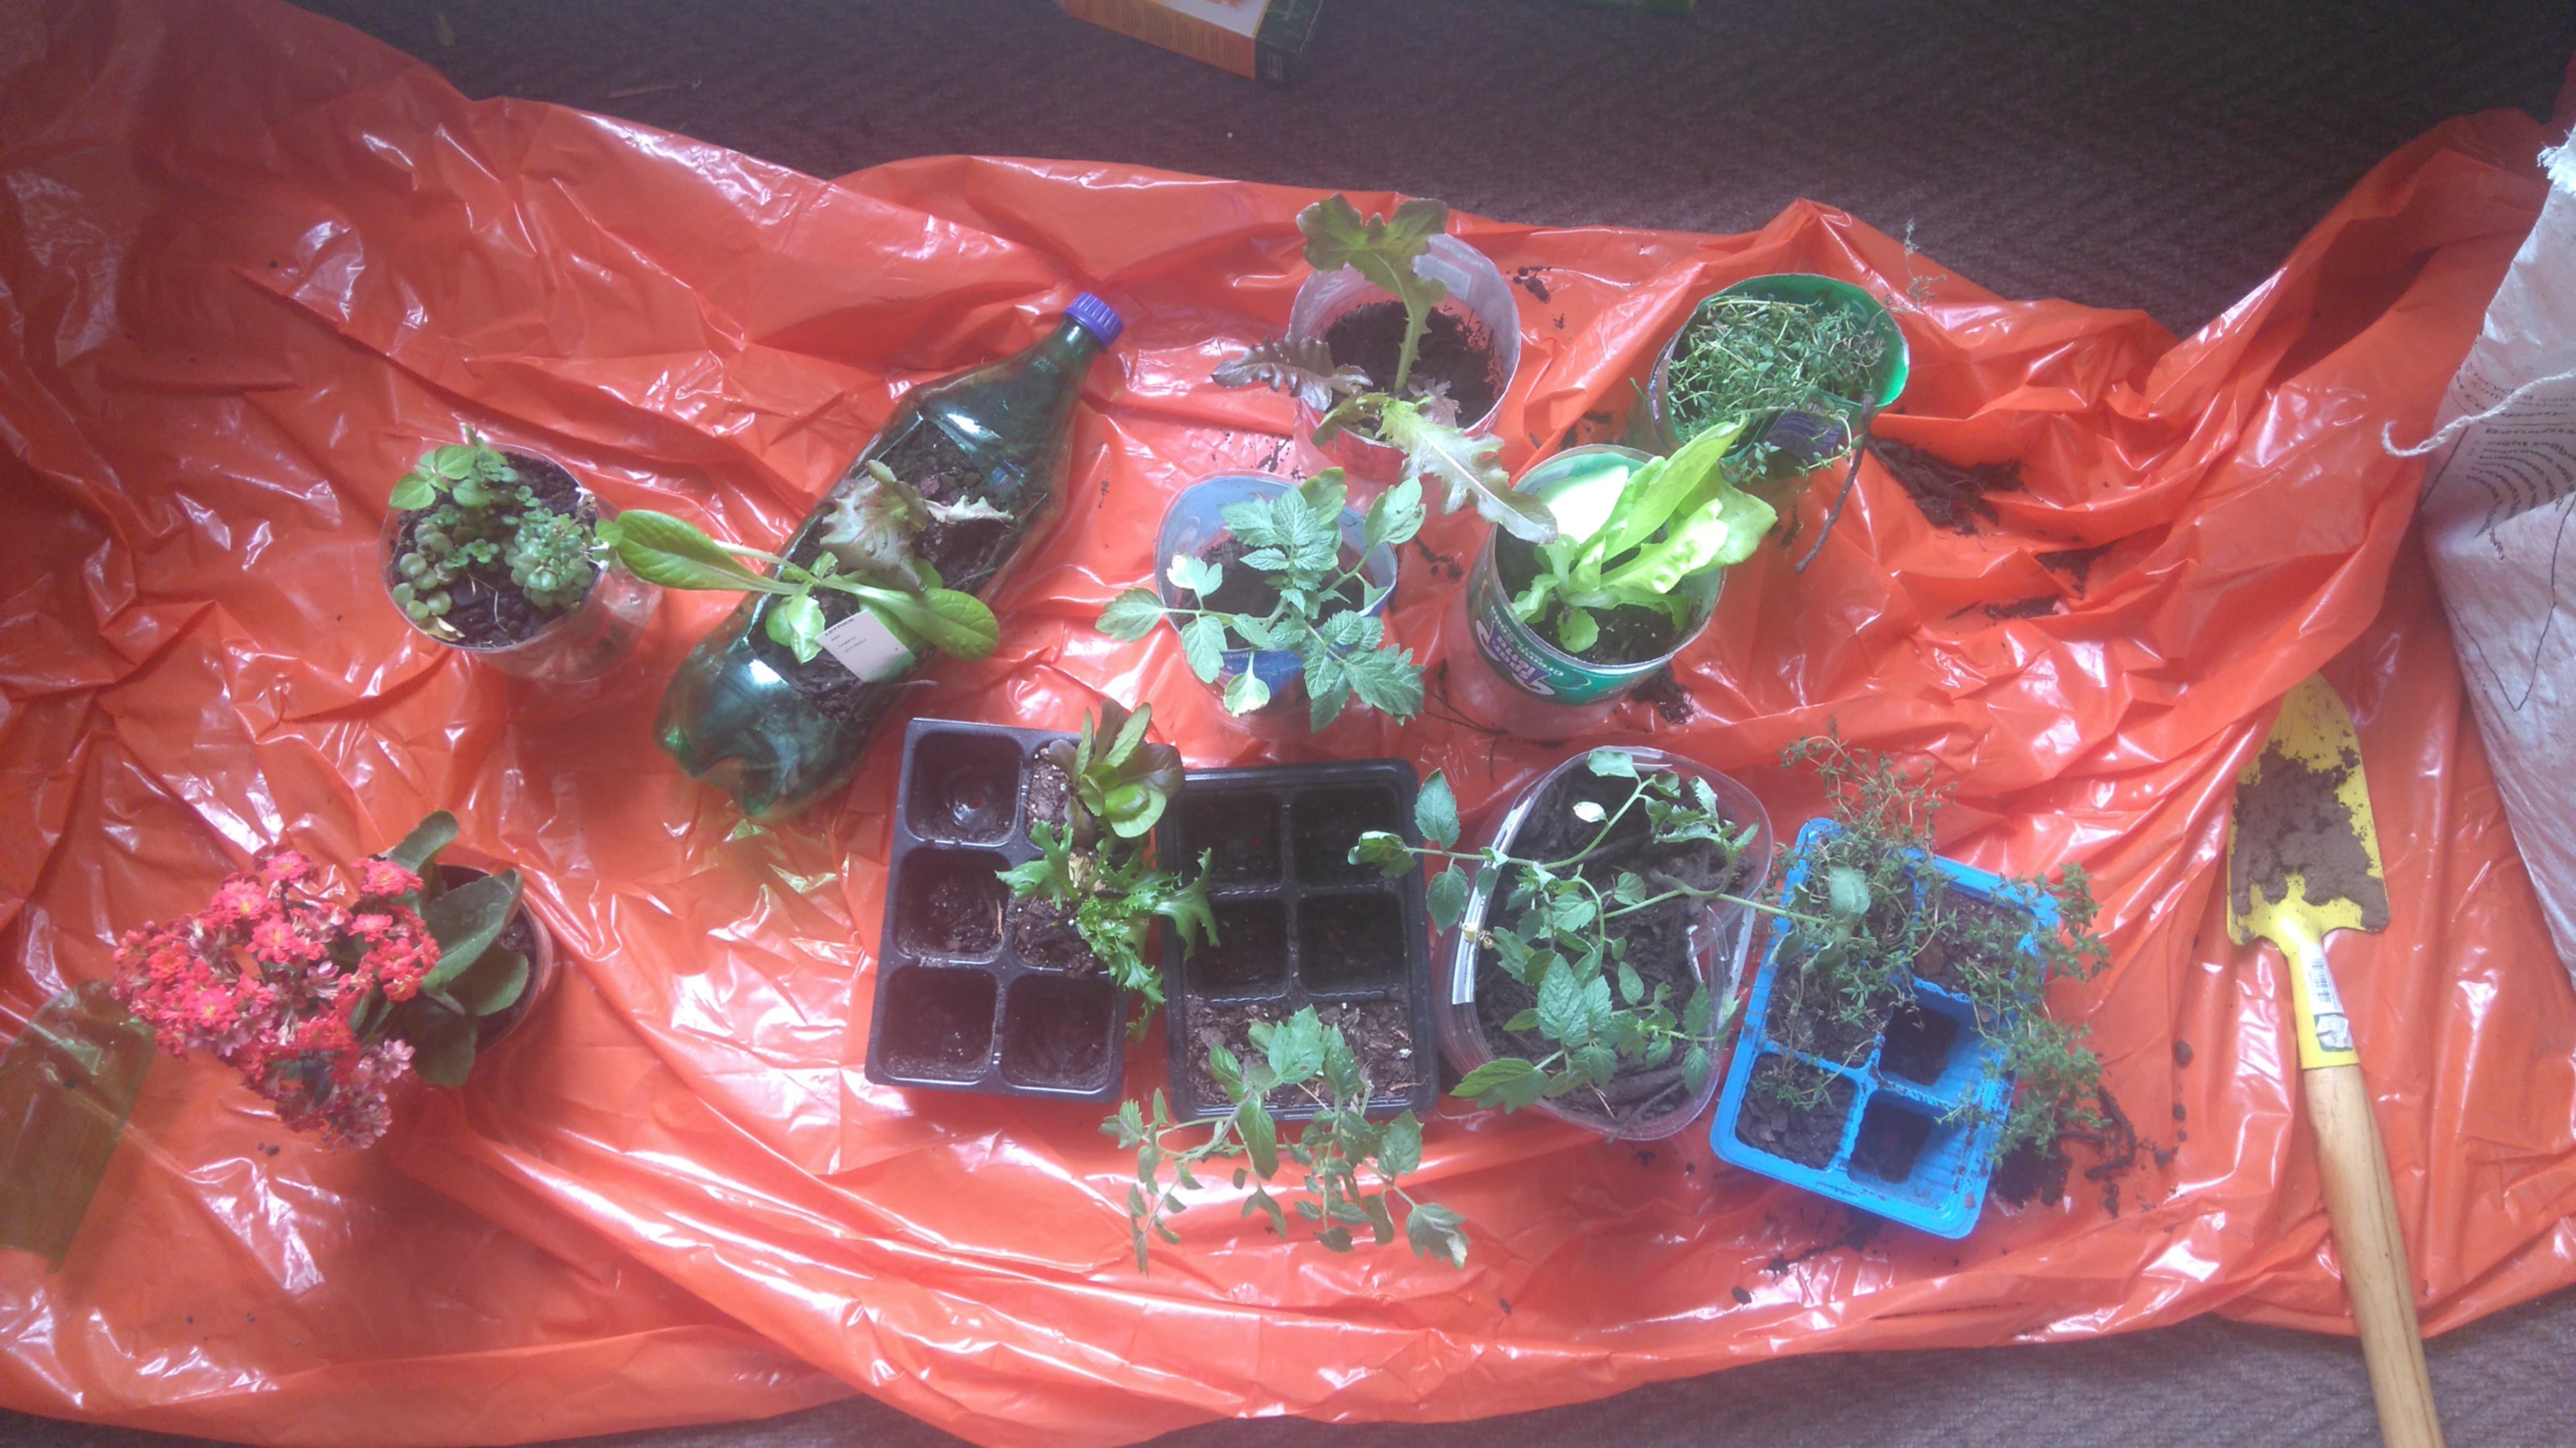
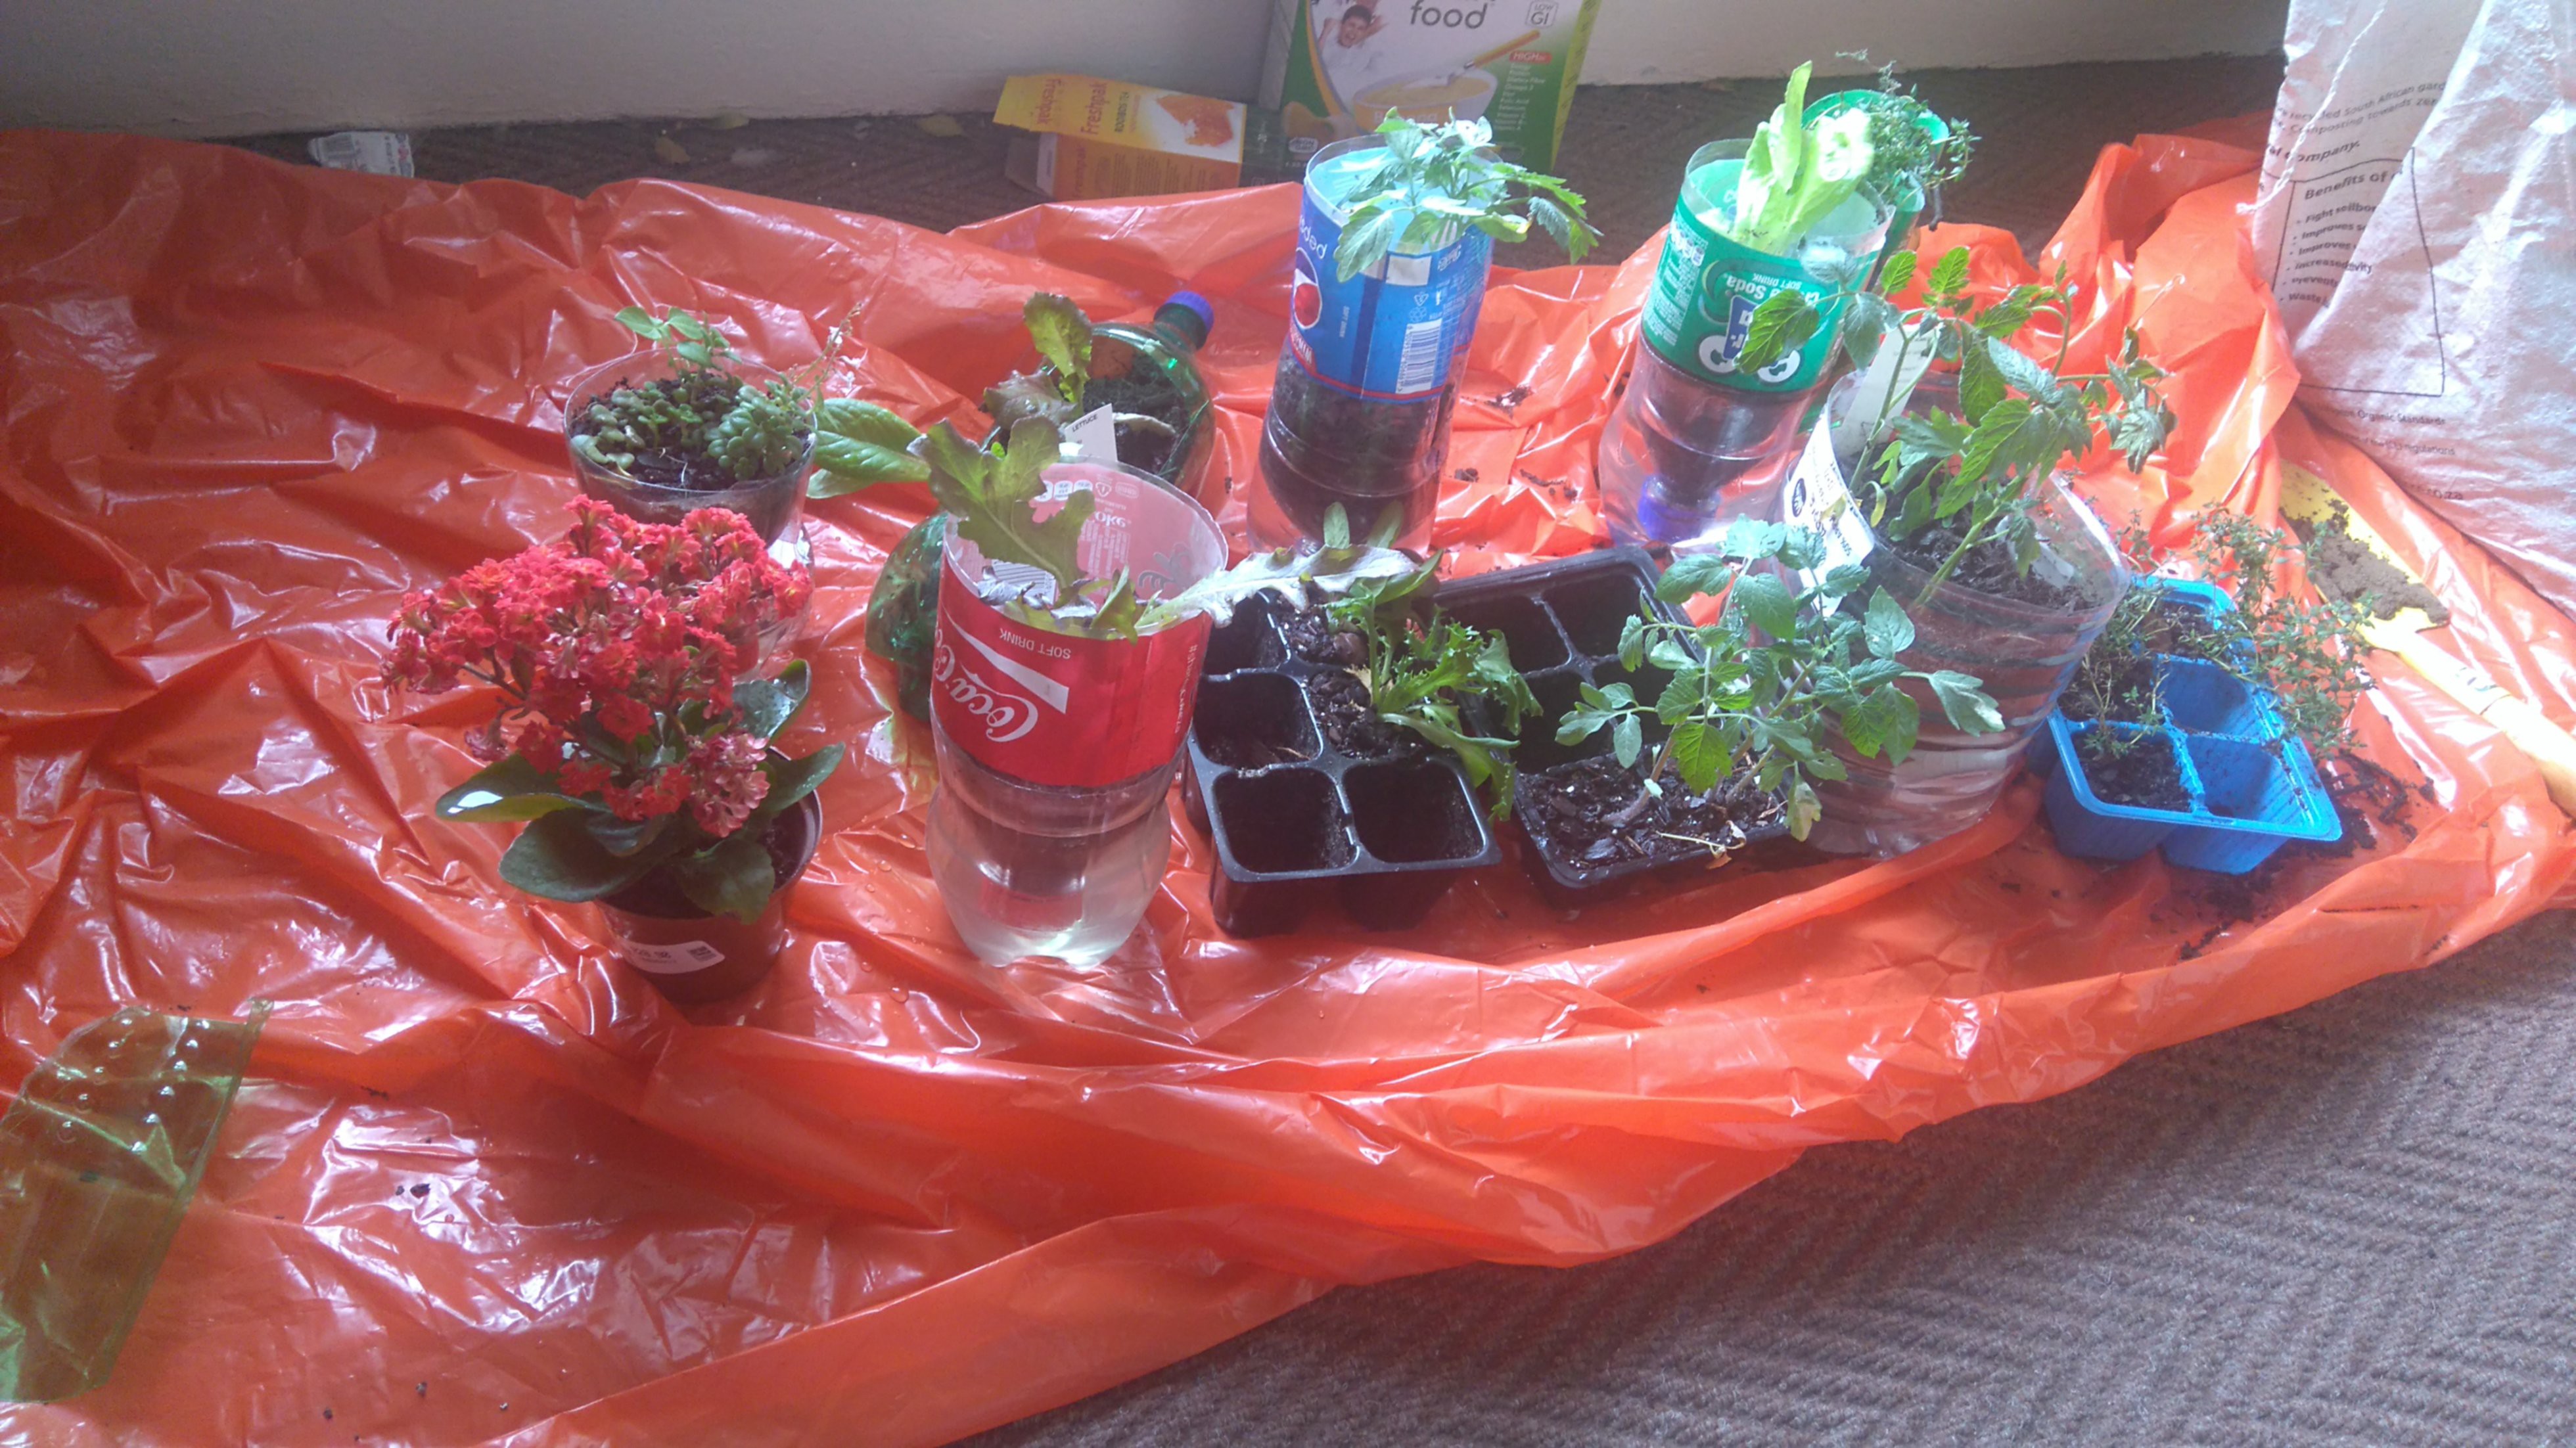
    My university have a little contest to see which residence can decorate their reception area using juice bottles. I made a little quiz game (https://hackaday.io/project/11033-environmental-quiz-game), and some random other stuff, but I thought some greenery might be nice. Behold:

    The string it hangs from is also made from bottles. I don't know how applicable this is to the real world but scaled up it could be cool for hanging from a fence...

  • They're alive!

    johnowhitaker03/31/2016 at 11:50 0 comments

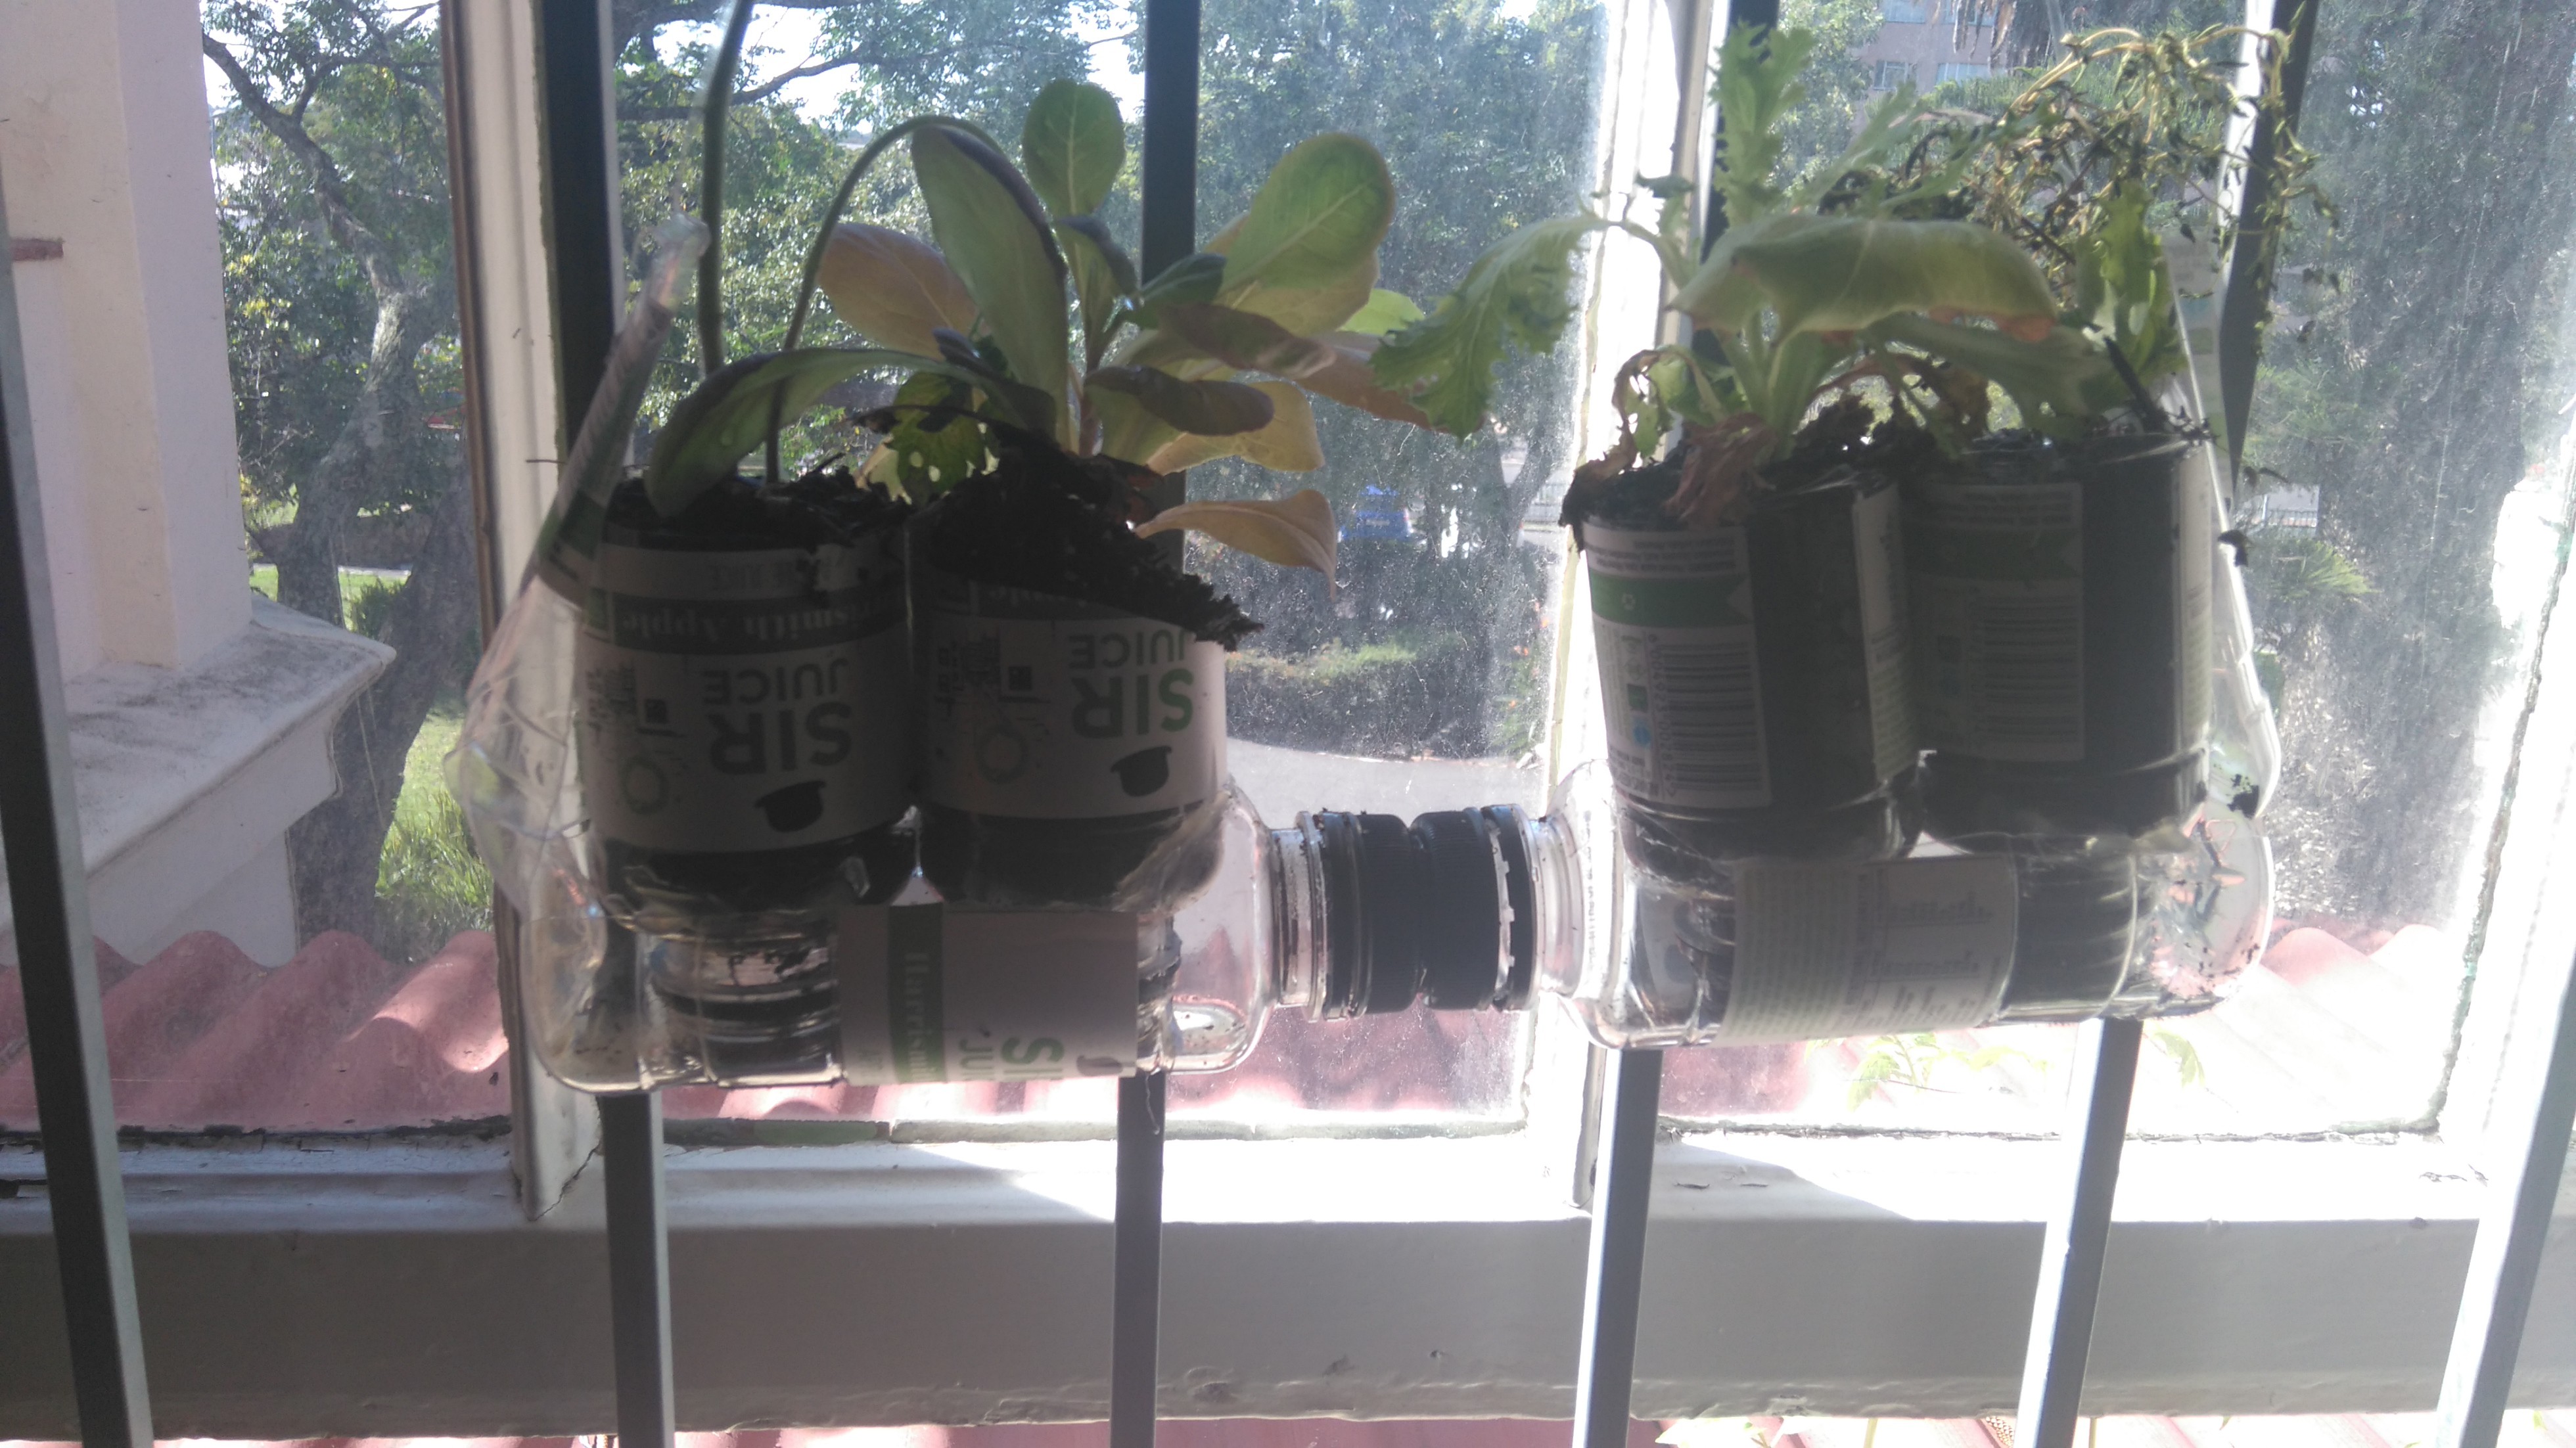
    Well, 5 days later, everything is alive and well. Even the controls - although they looked significantly less happy then the ones I'd transplanted. It looks like it's working so far, so I think I'll leave the experiment running a while longer. The level of the water in the bottles had dropped about a cm so far, which means it should be possible for them to survive for quite some time. Here's a pic:

  • Testing a wick method for self-watering pots (from soda bottles)

    johnowhitaker03/25/2016 at 09:09 1 comment

    I'm going away for 5 days, which means I can't water the seedlings I've had on my windowsill any more. I could ask a friend, but that's not how we nerds do things :)

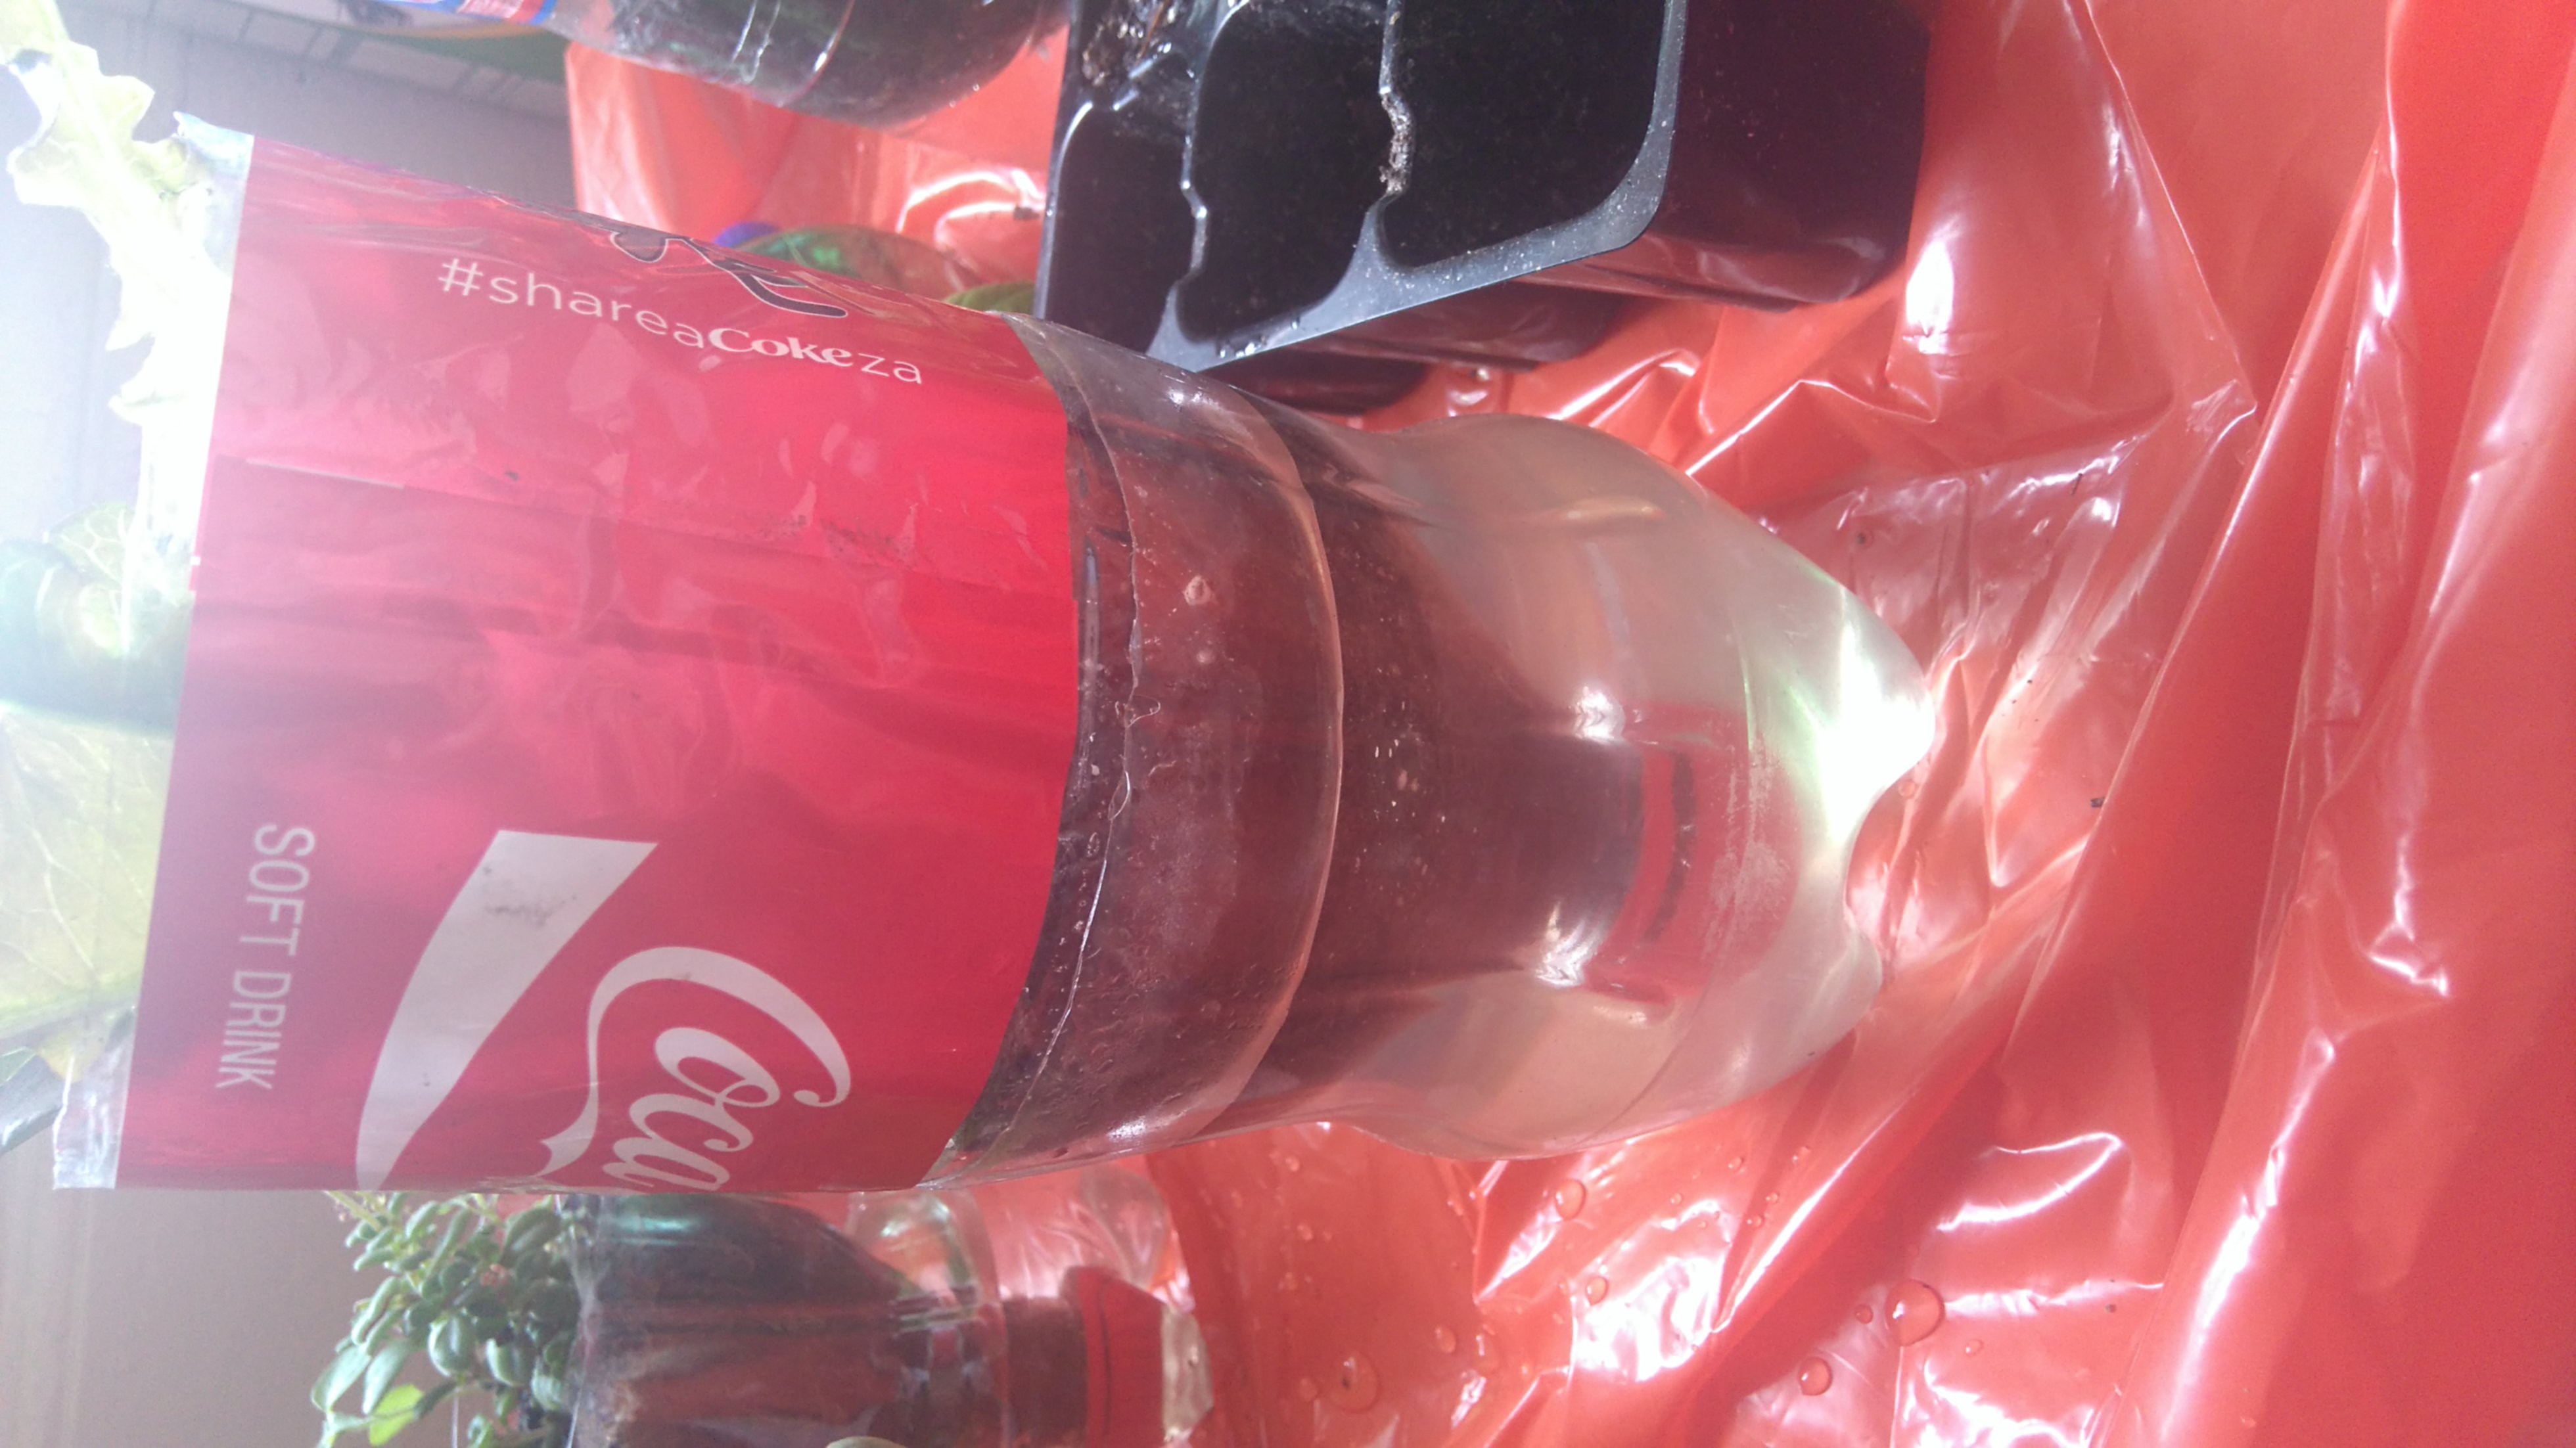
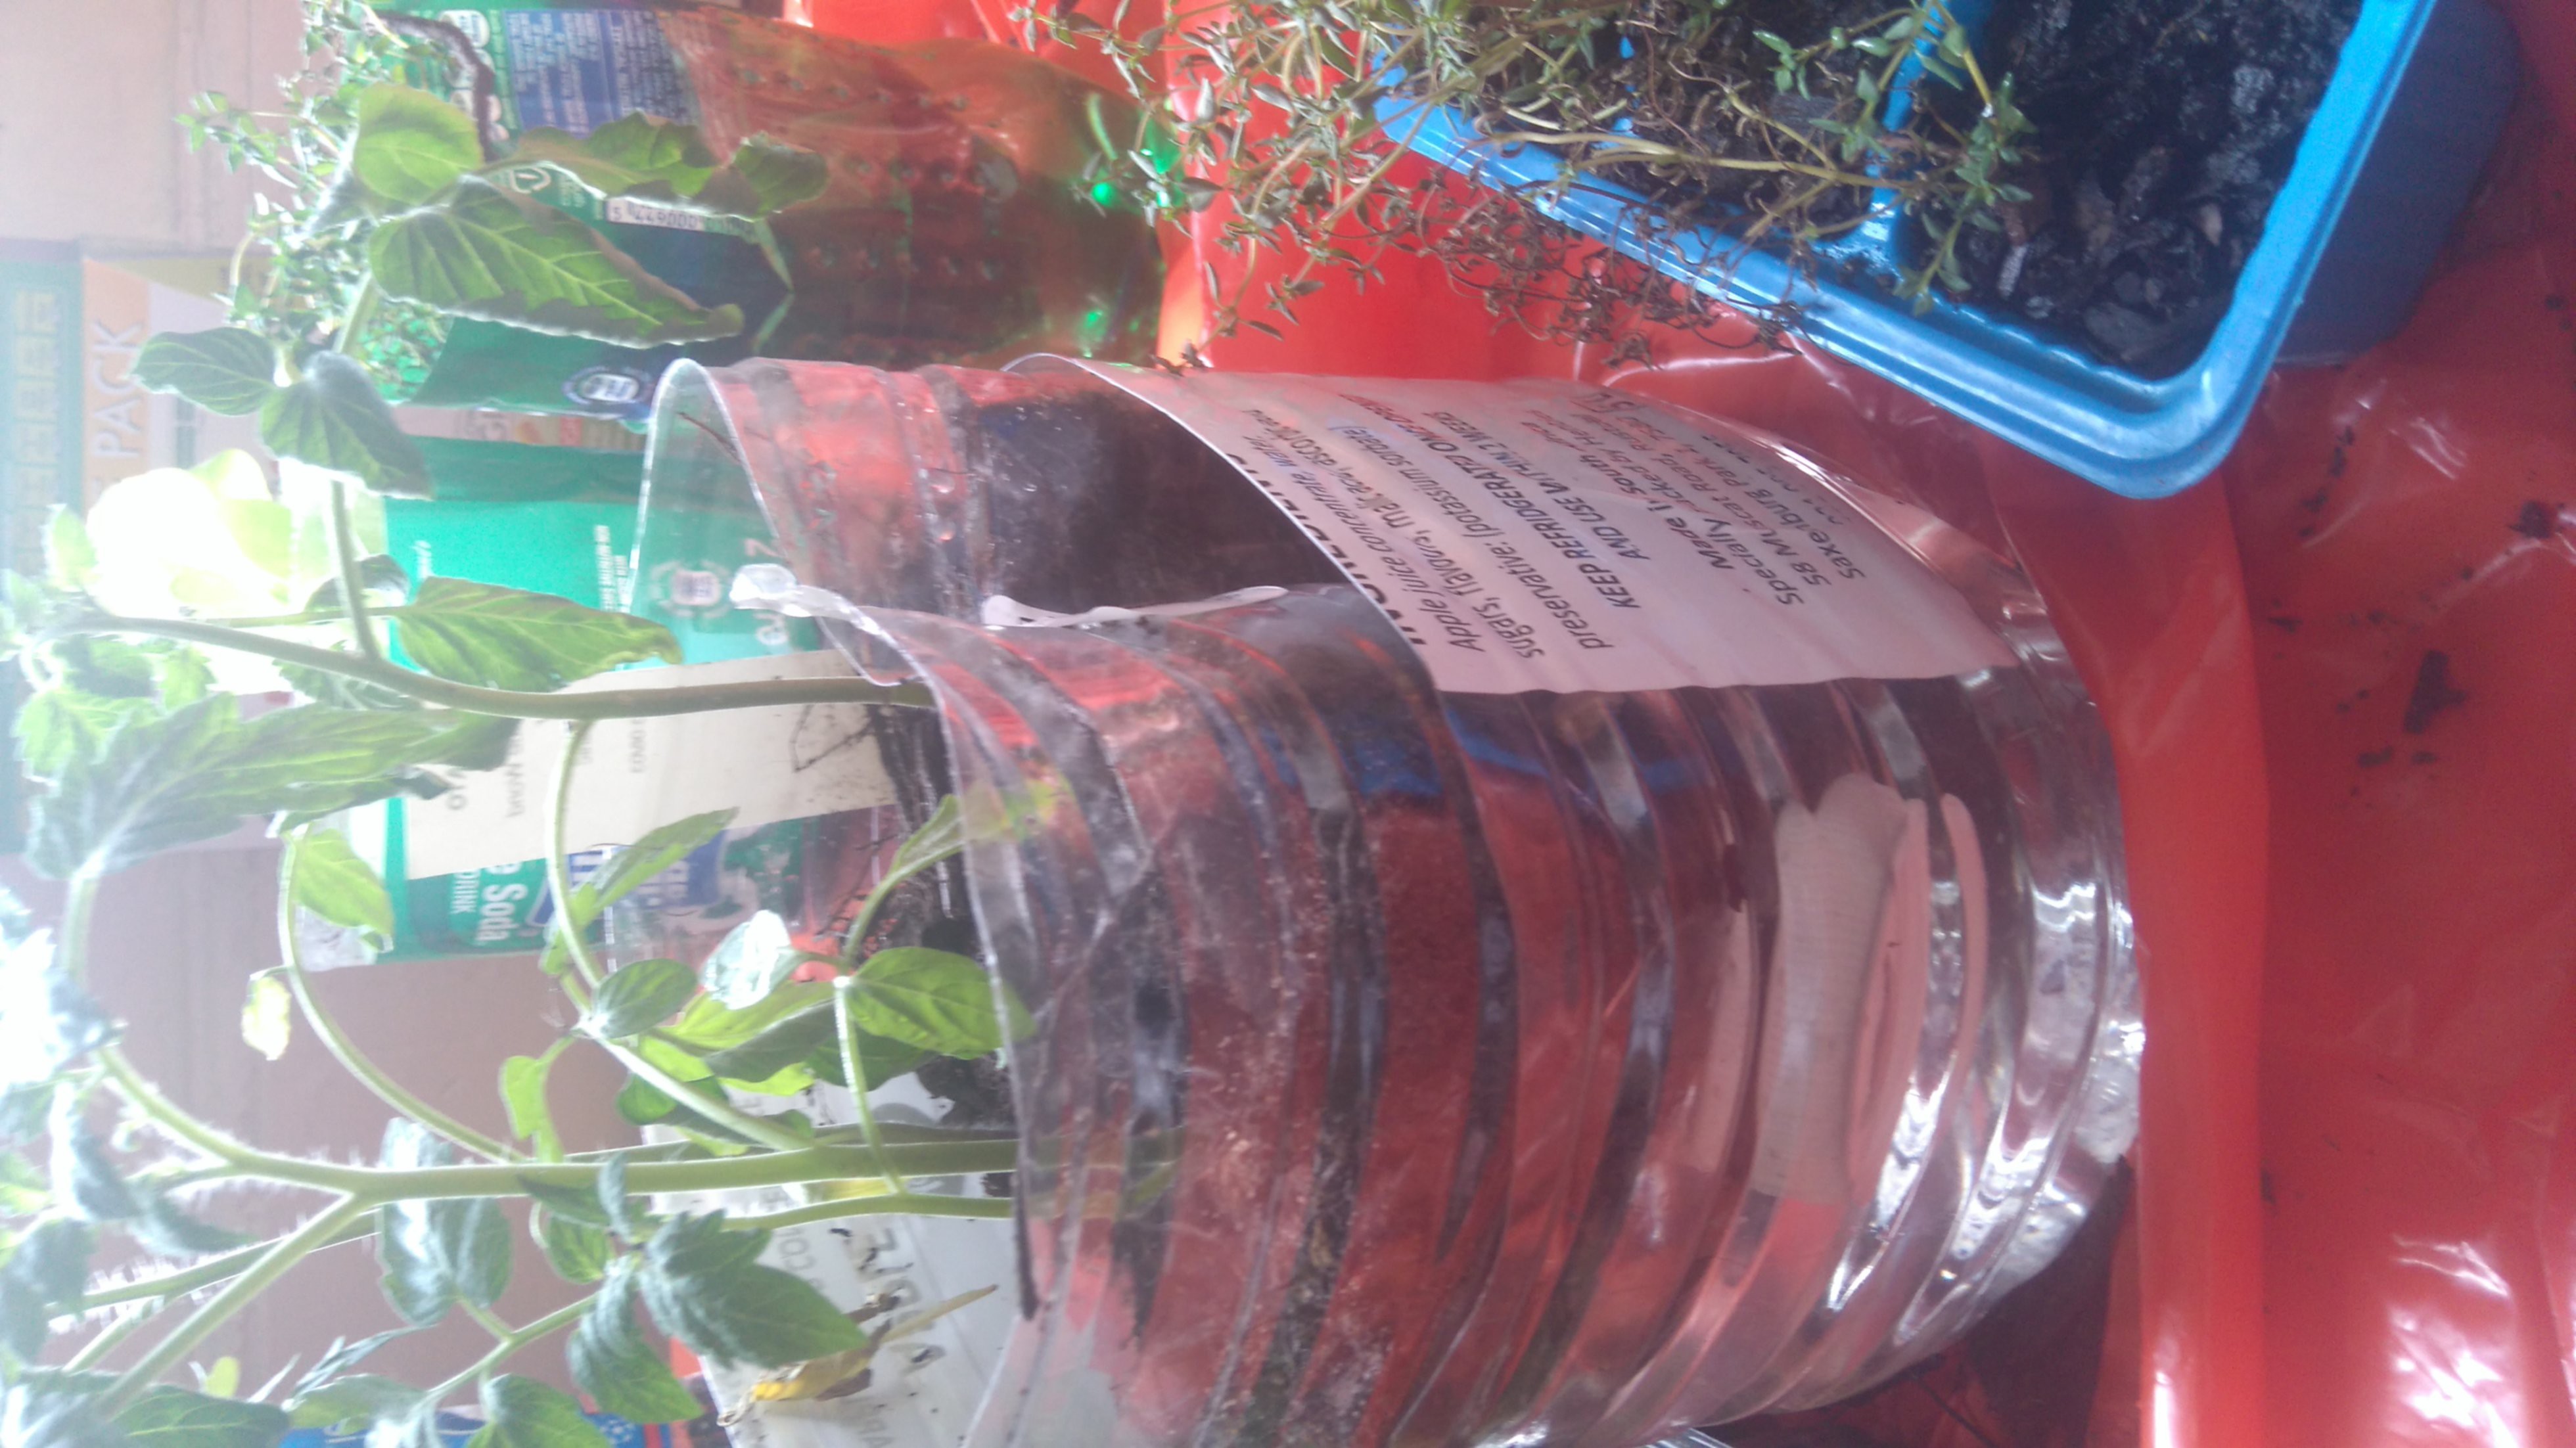
    I'm testing a system that already works for one of my pot plants - the plant is in the top of a bottle, suspended upside down in the base of the bottle. The outer layer is filled with water, which is drawn up by the plant as needed. The idea is to fill up the water once a week as opposed to watering daily.

    This is all rushed (I leave in a few hours), but here are the pics of my set-up. I left some plants in the planters as controls. Sadly, I doubt they'll make it - but their sacrifice is for science! Hopefully I don't come back to a whole bunch of dead plants...

    I'll put more info when I get back. Anyone who feels like trying this, all you need is a bottle, a box cutter and a plant! Cut holes near the lid of the bottle, chop it in half, partly fill the bottom half with water and the top half with plant and soil, insert one into the other and add water when you feel like it.

View all 7 project logs

Enjoy this project?

Share

Discussions

Similar Projects

Does this project spark your interest?

Become a member to follow this project and never miss any updates