 Douglas Miller
Nailed it! Parts fit perfect first time.
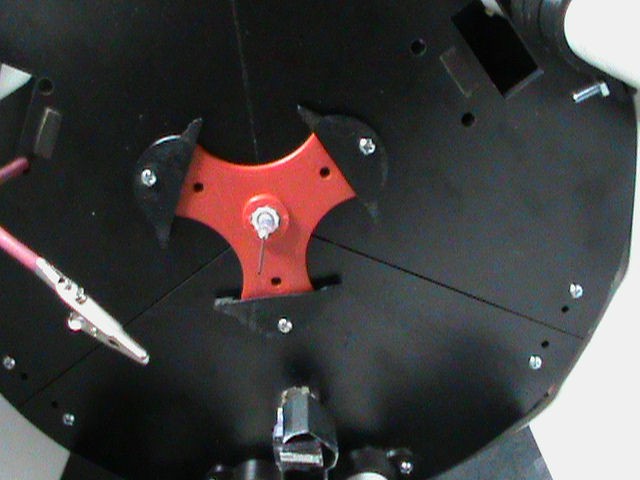
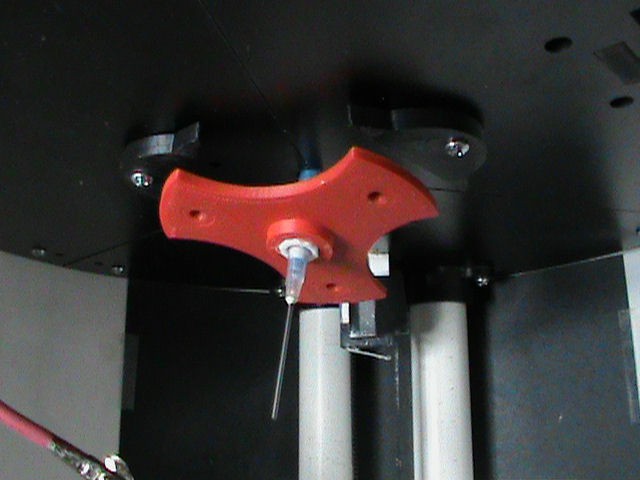
The red hub with the tubing connector in the middle was just bolted to the top of the chamber. That meant to change the tubing I had to remove a side cover, take out three bolts, work the tubing off with my hands up in the top of the machine, and then put the new tubing on and reassemble.
Now all I need to do is give the hub a twist and pull it down a bit. Easy.
Can't believe I didn't set it up that way to start with, but at least it's done now.
Also got this today:
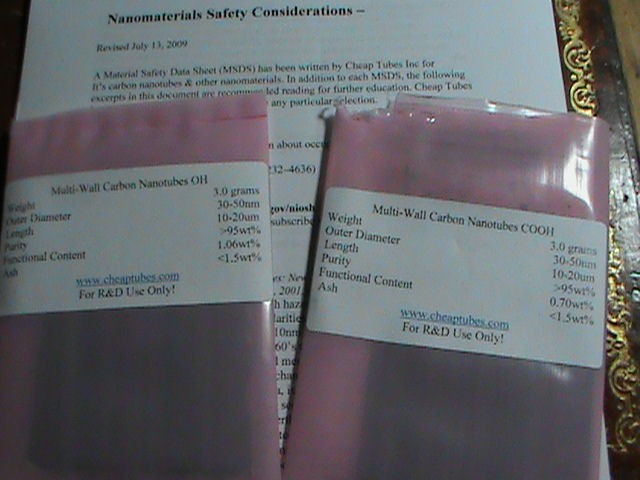
Yes, I could have made my own (and have!) but I don't have time for it right now. Too much to do yet to stop and mess around with that, at least if I want any hope of getting into the finals this round. These will wind up mixed into some of the materials I intend to start running here real soon. First I need to 'unzip' some of them and turn them into nanoribbons. Those will be used to add their strength to materials, with the electrospinning process getting them into alignment for maximum effect, something I don't know how else it could be done. Then I can get started on making some conductive polymers. :)
Oh, the good folks at cheaptubes even sent a MSDS with them. Like the little touches...
Discussions
Become a Hackaday.io Member
Create an account to leave a comment. Already have an account? Log In.