Just a quick update - mainly photos of progress.
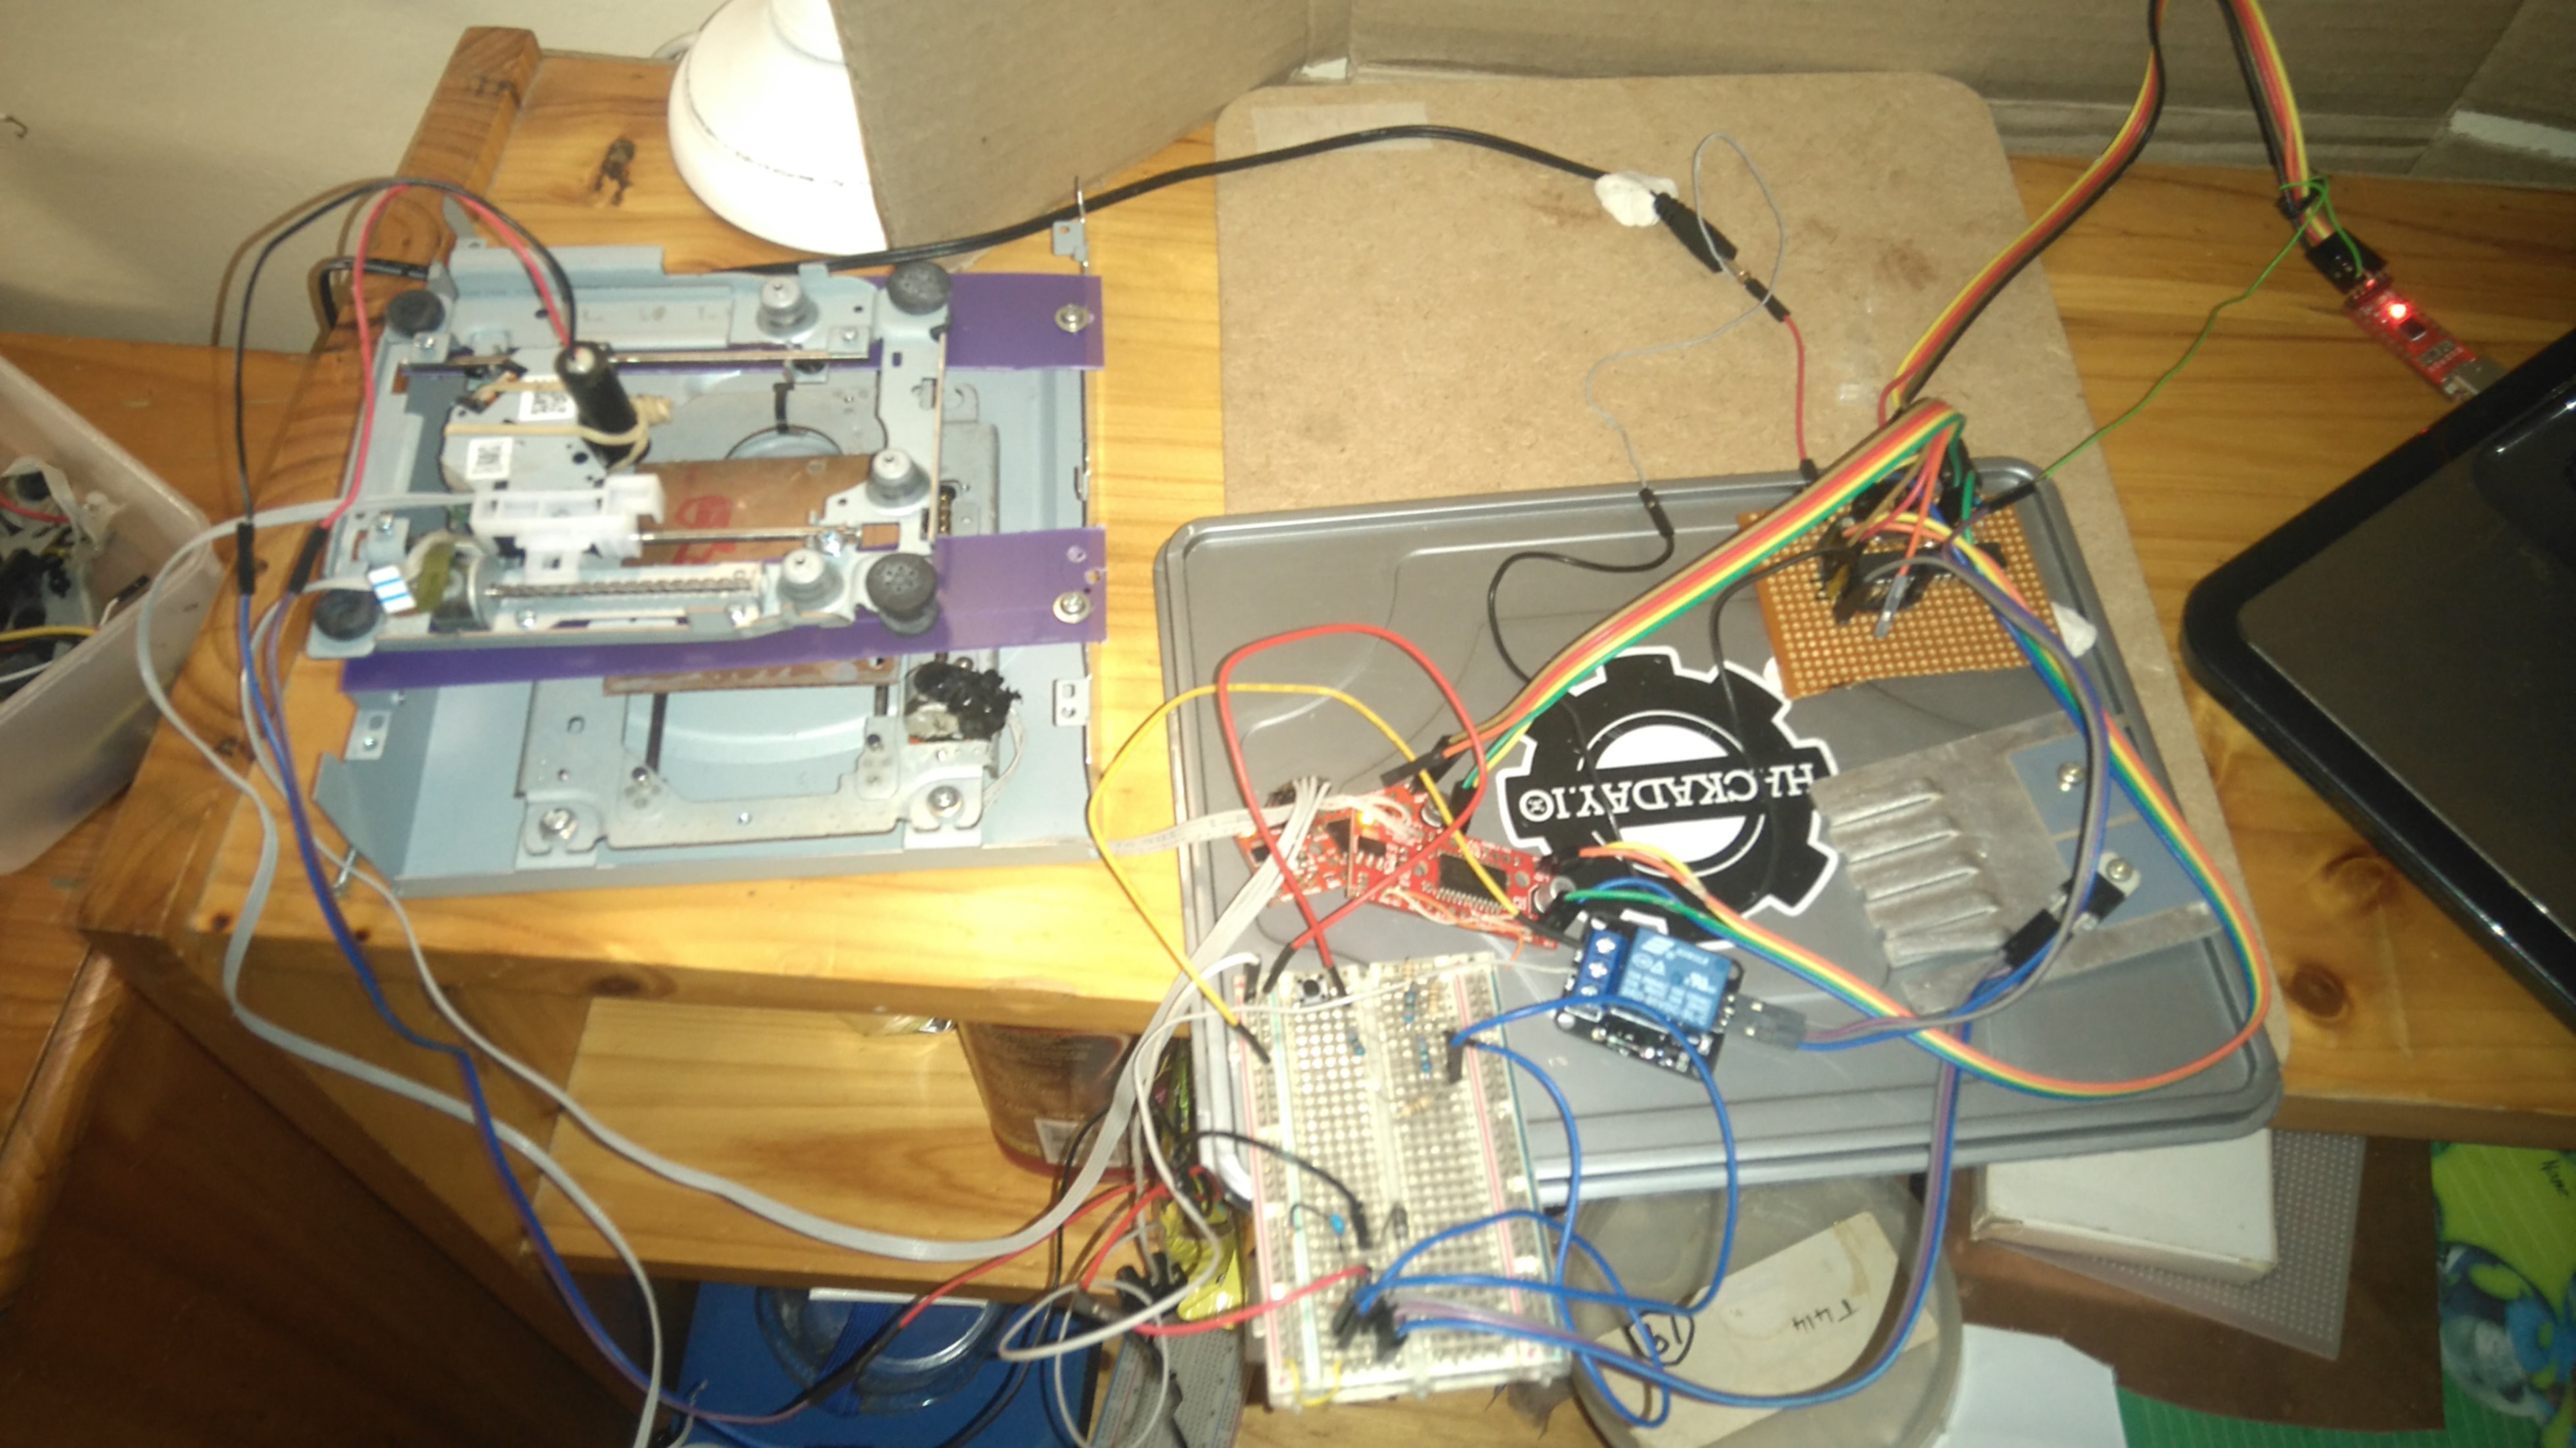
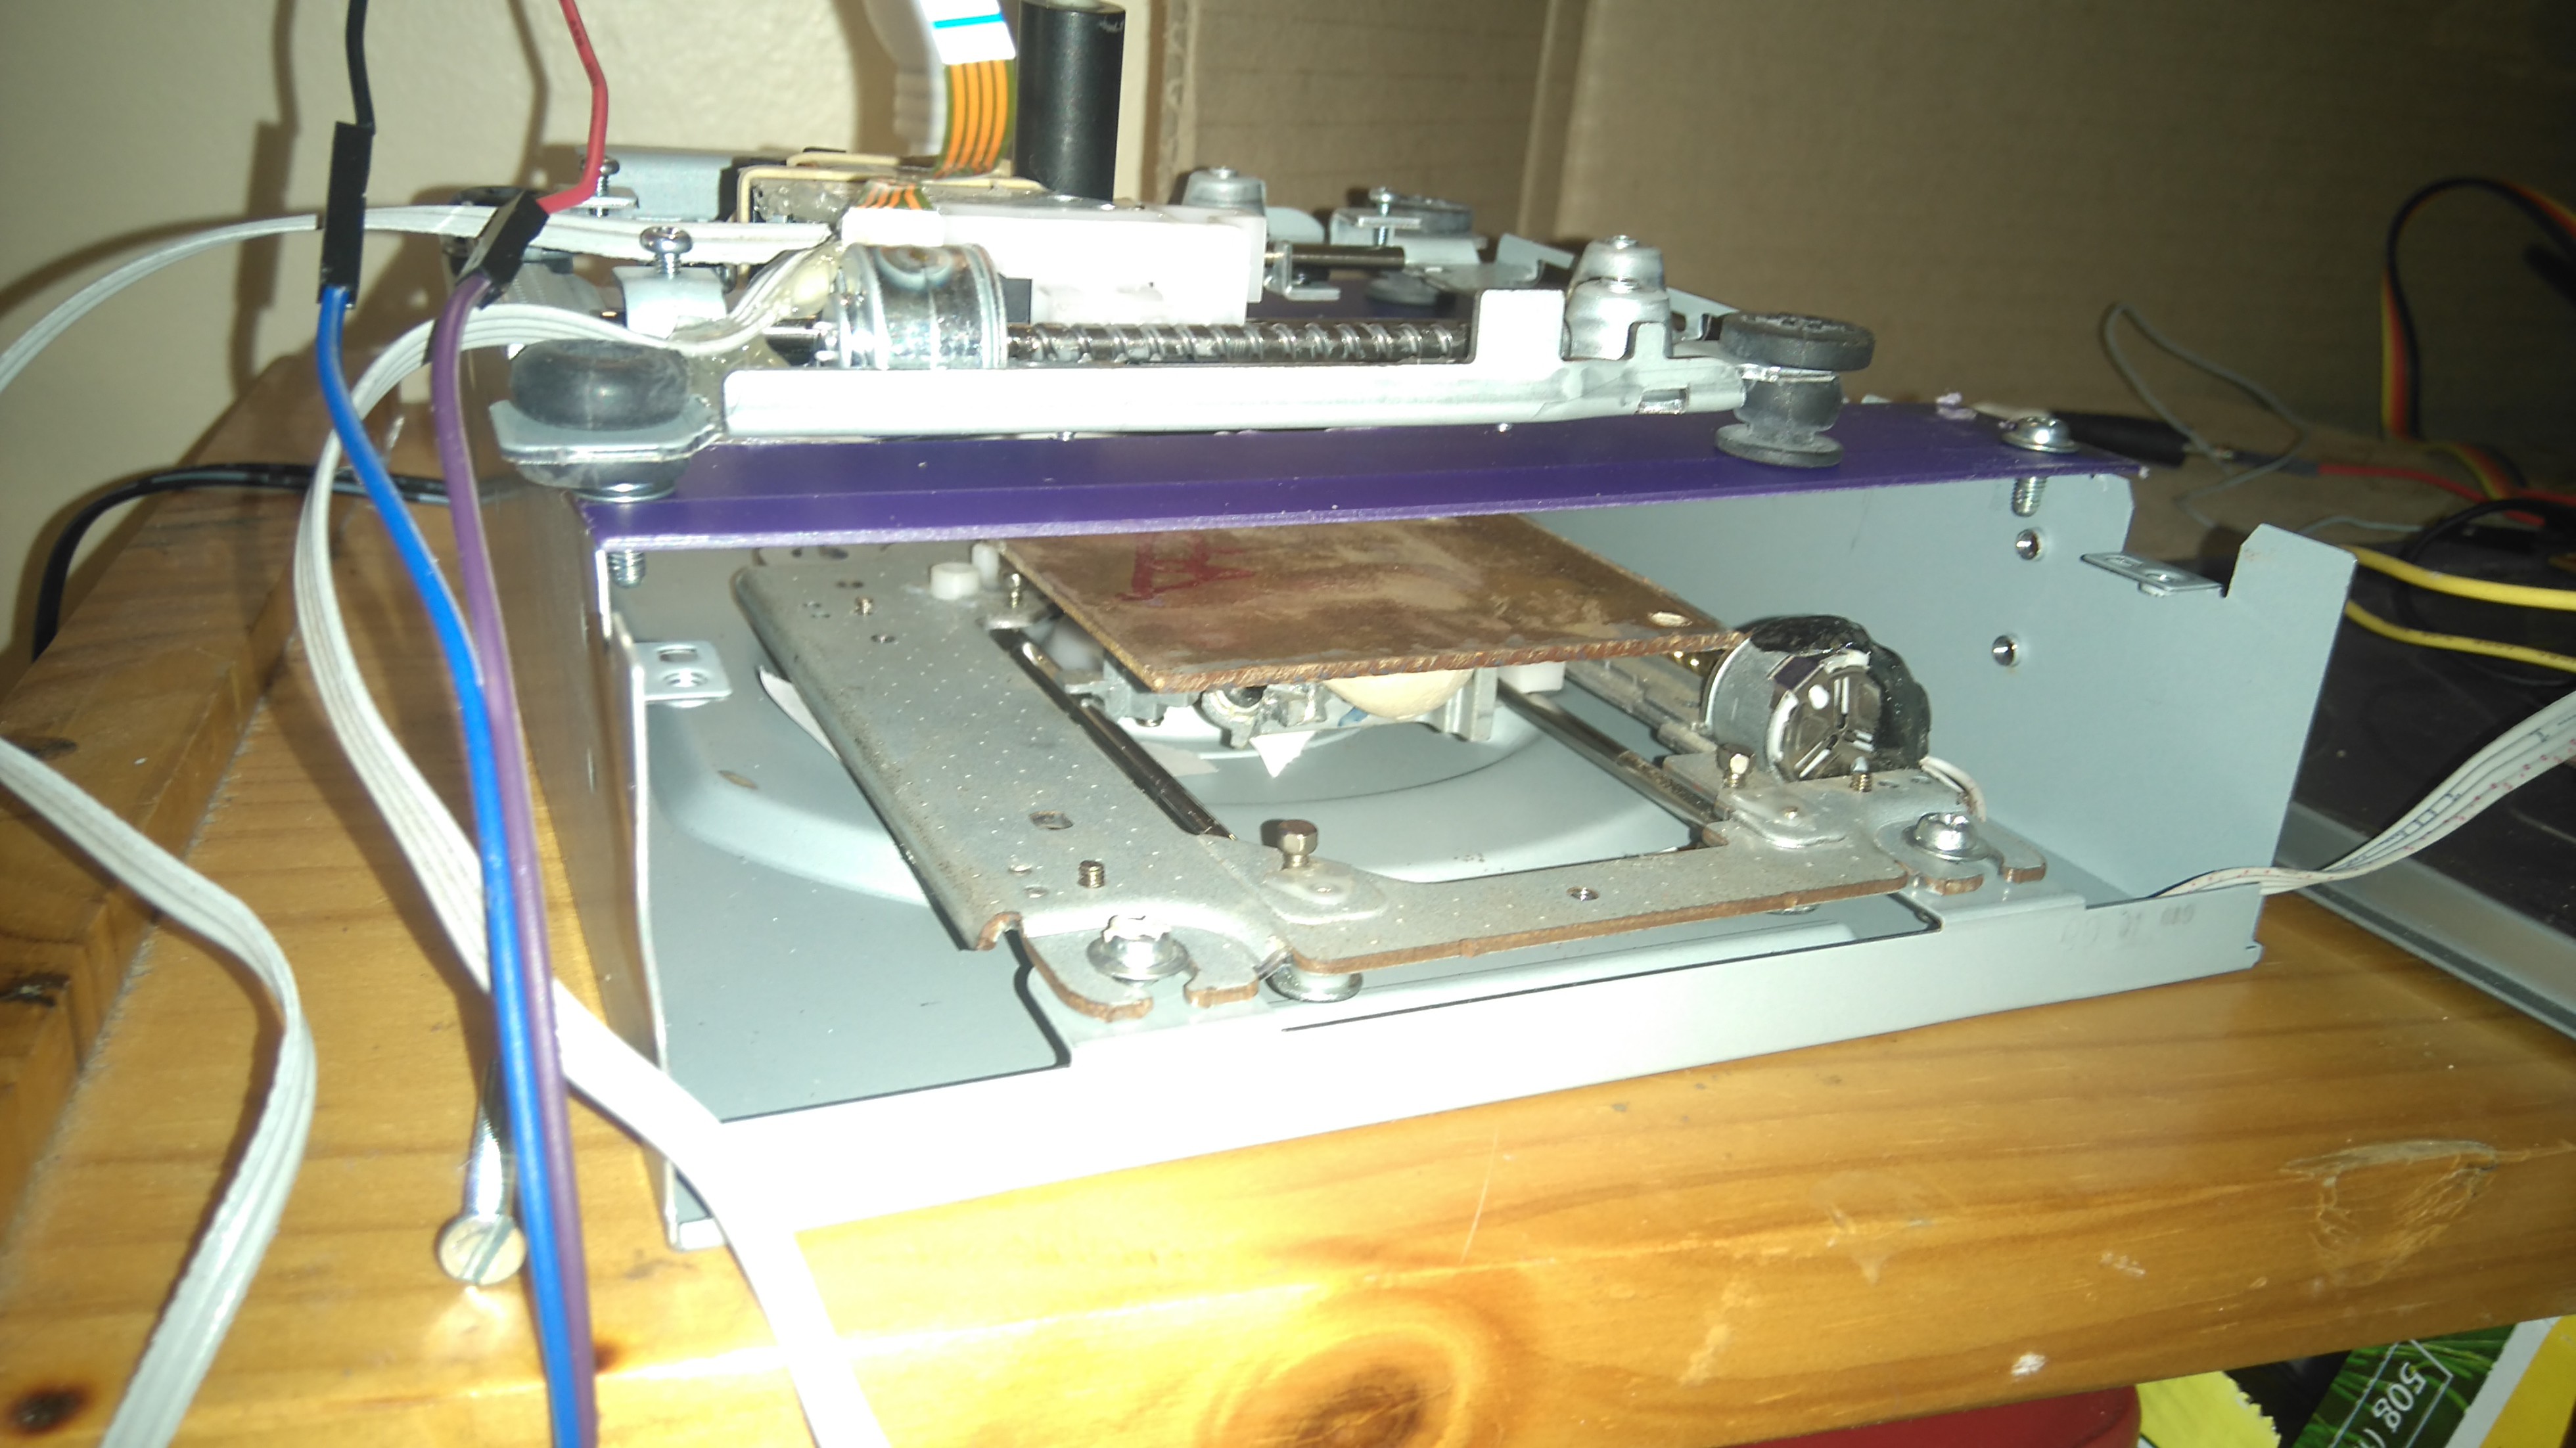
I made a proper frame to keep the axes perpendicular, and control the height of the laser. I'm currently using an IR laser I bought, with adjustable focus. The laser driver circuit is controlled by a relay module (I was in a hurry), and the rest of the system is still the same - two easydrivers and a bare-bones arduino with GBRL. The test pattern below is the first usable output!
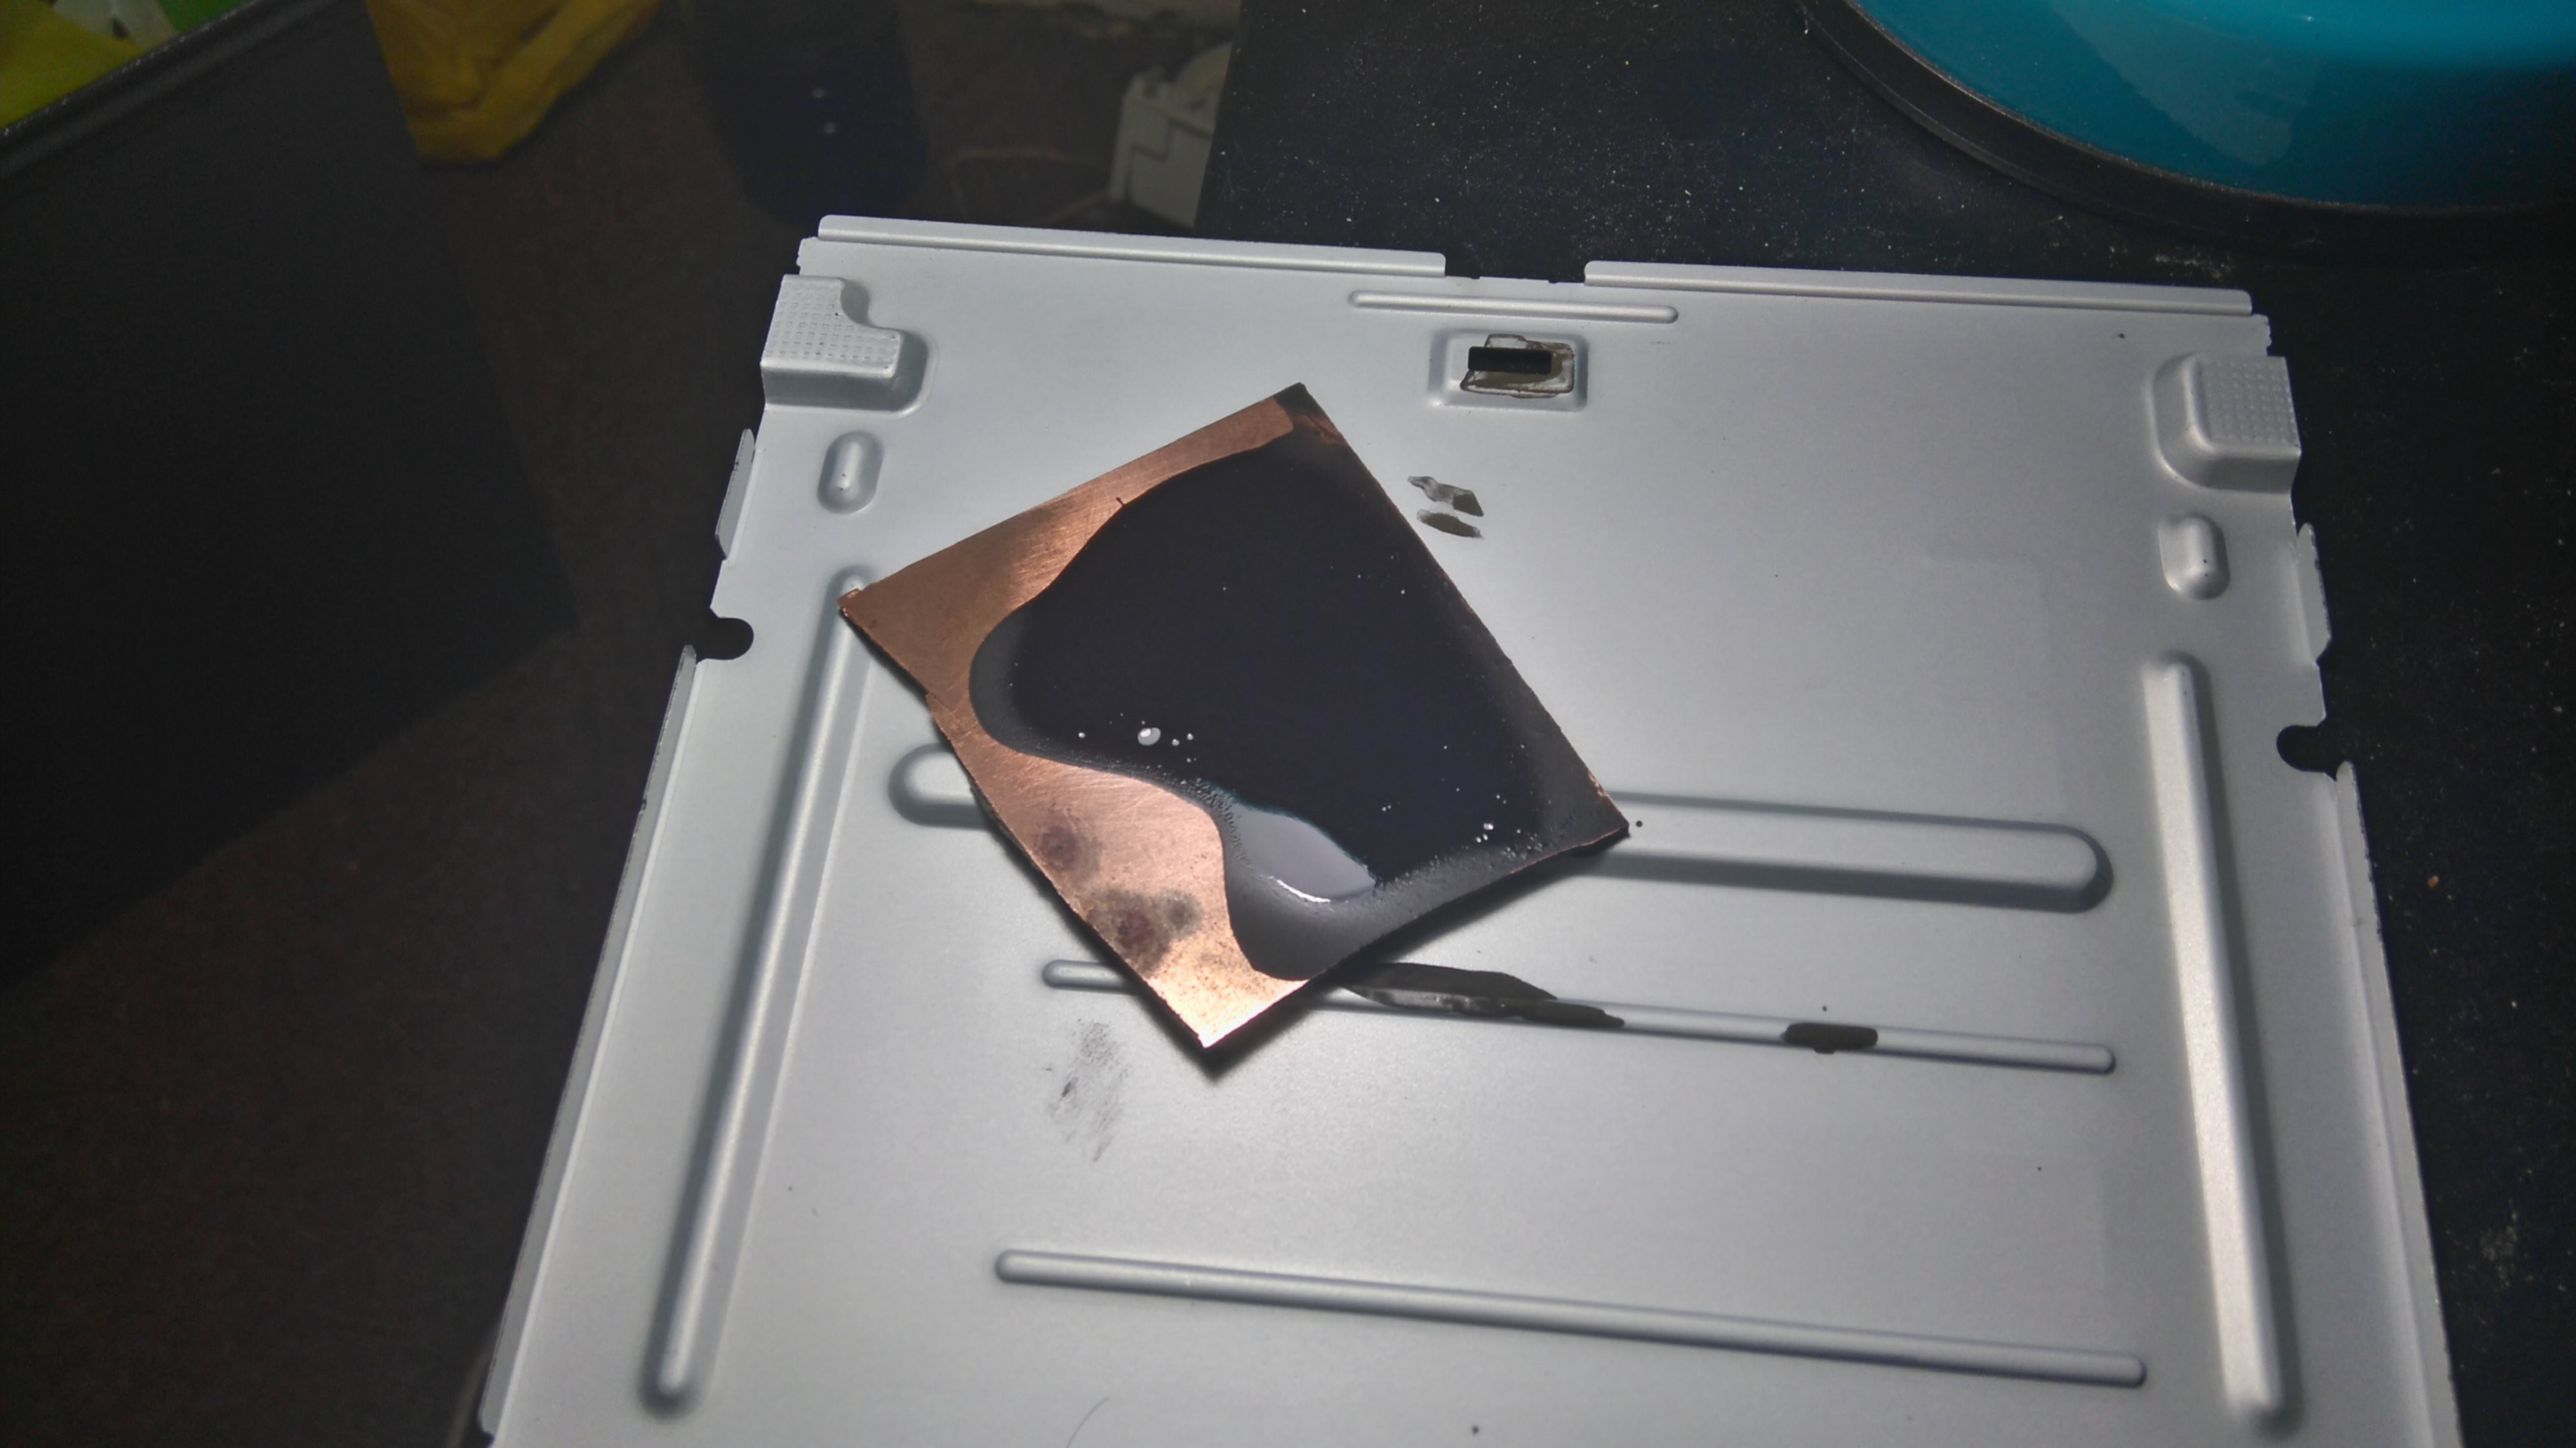
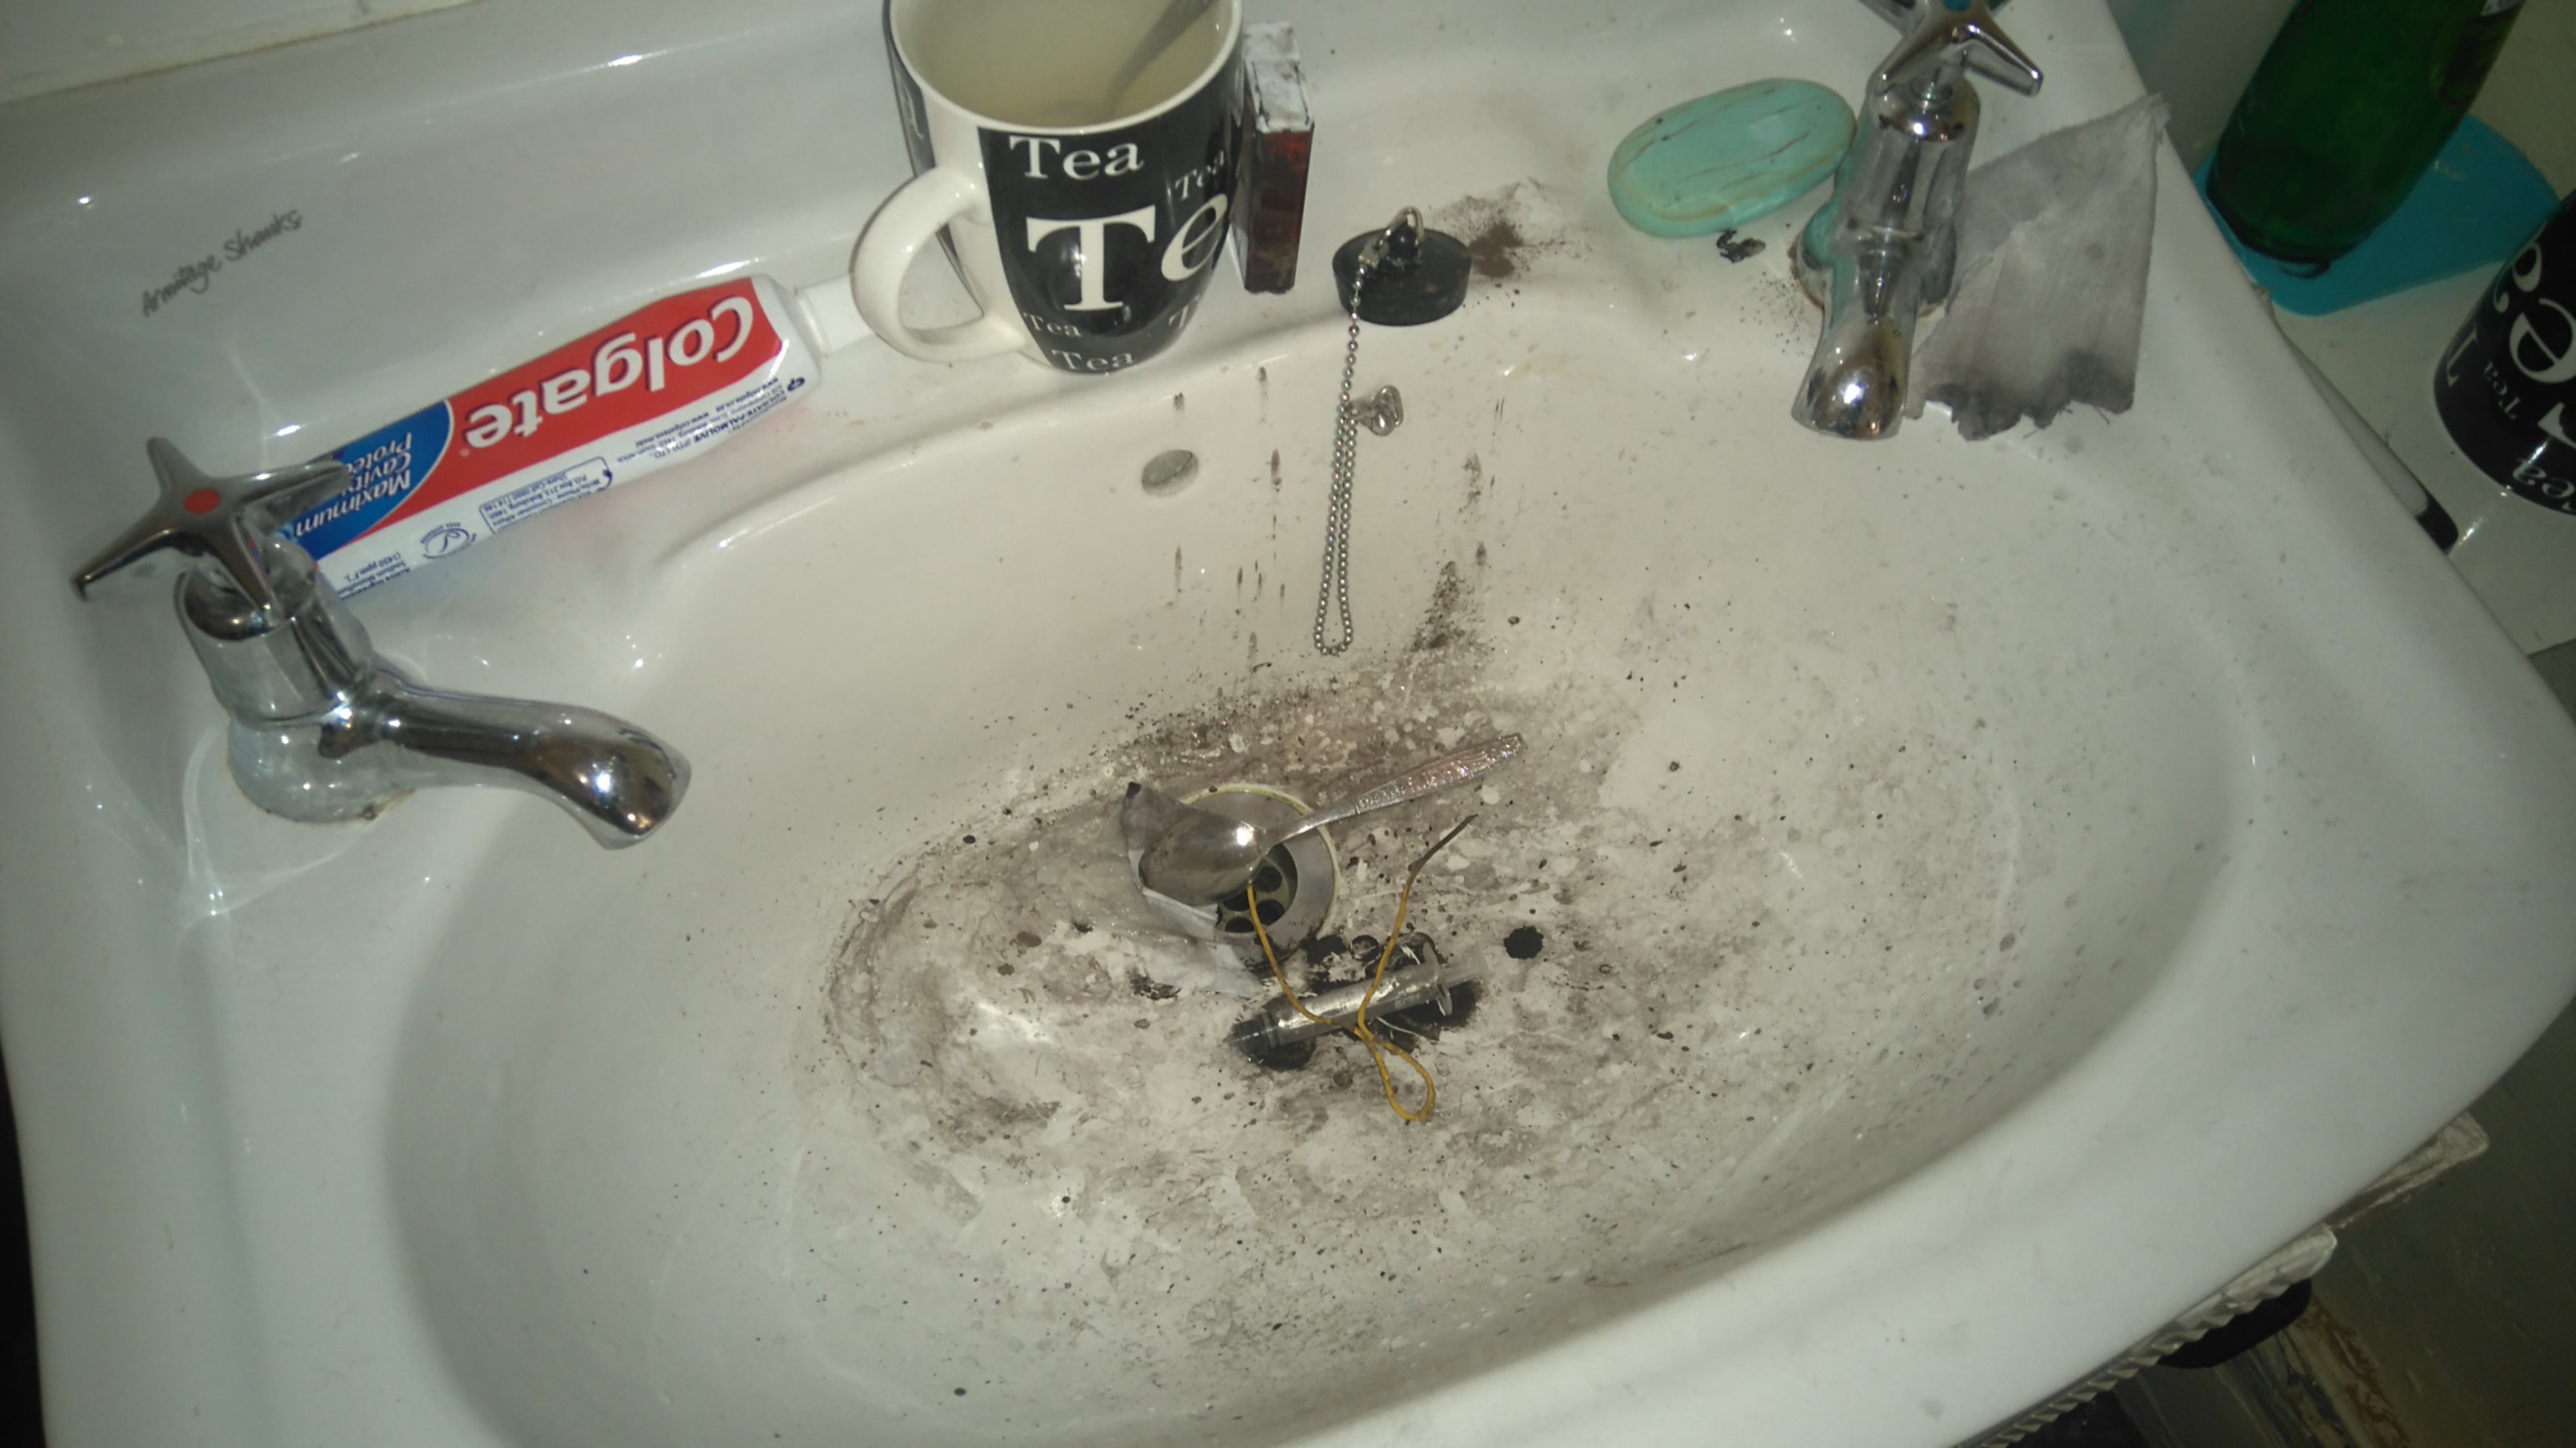
It took some trial and error to get the traces durable - the first few tries brushed off too easily. The trick was getting a thin regular coating of toner (very runny slurry of toner in alcohol - it should dry in a few minutes) and making sure the laser was focused properly.
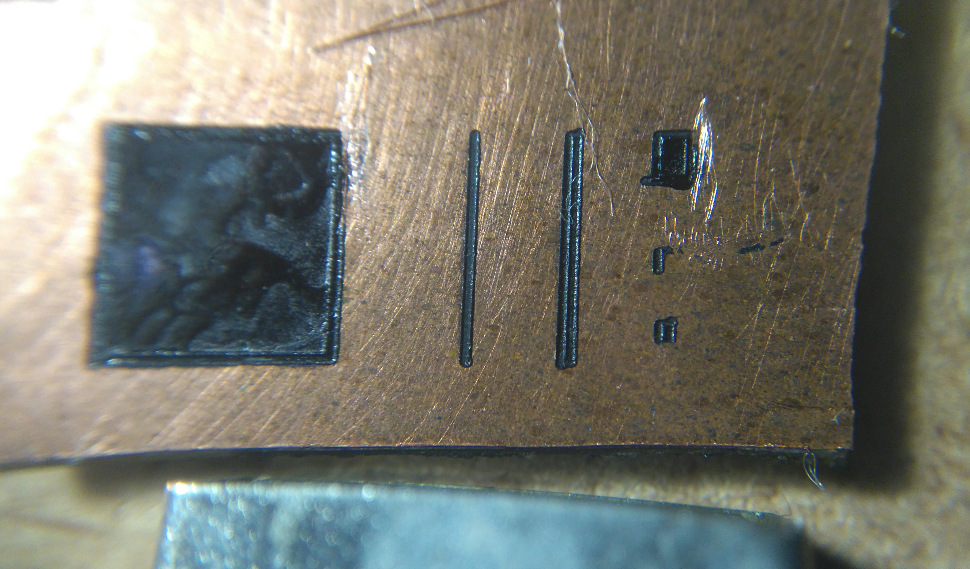
Here's the board being prepared:
Another shot of the XY part of the system:
Next steps: Tidy up the drive electronics into a box (with a fan), etch an actual board, make a decent video and figure out how to get a consistent coating (maybe a spin coater).
 johnowhitaker
Discussions
Become a Hackaday.io Member
Create an account to leave a comment. Already have an account? Log In.