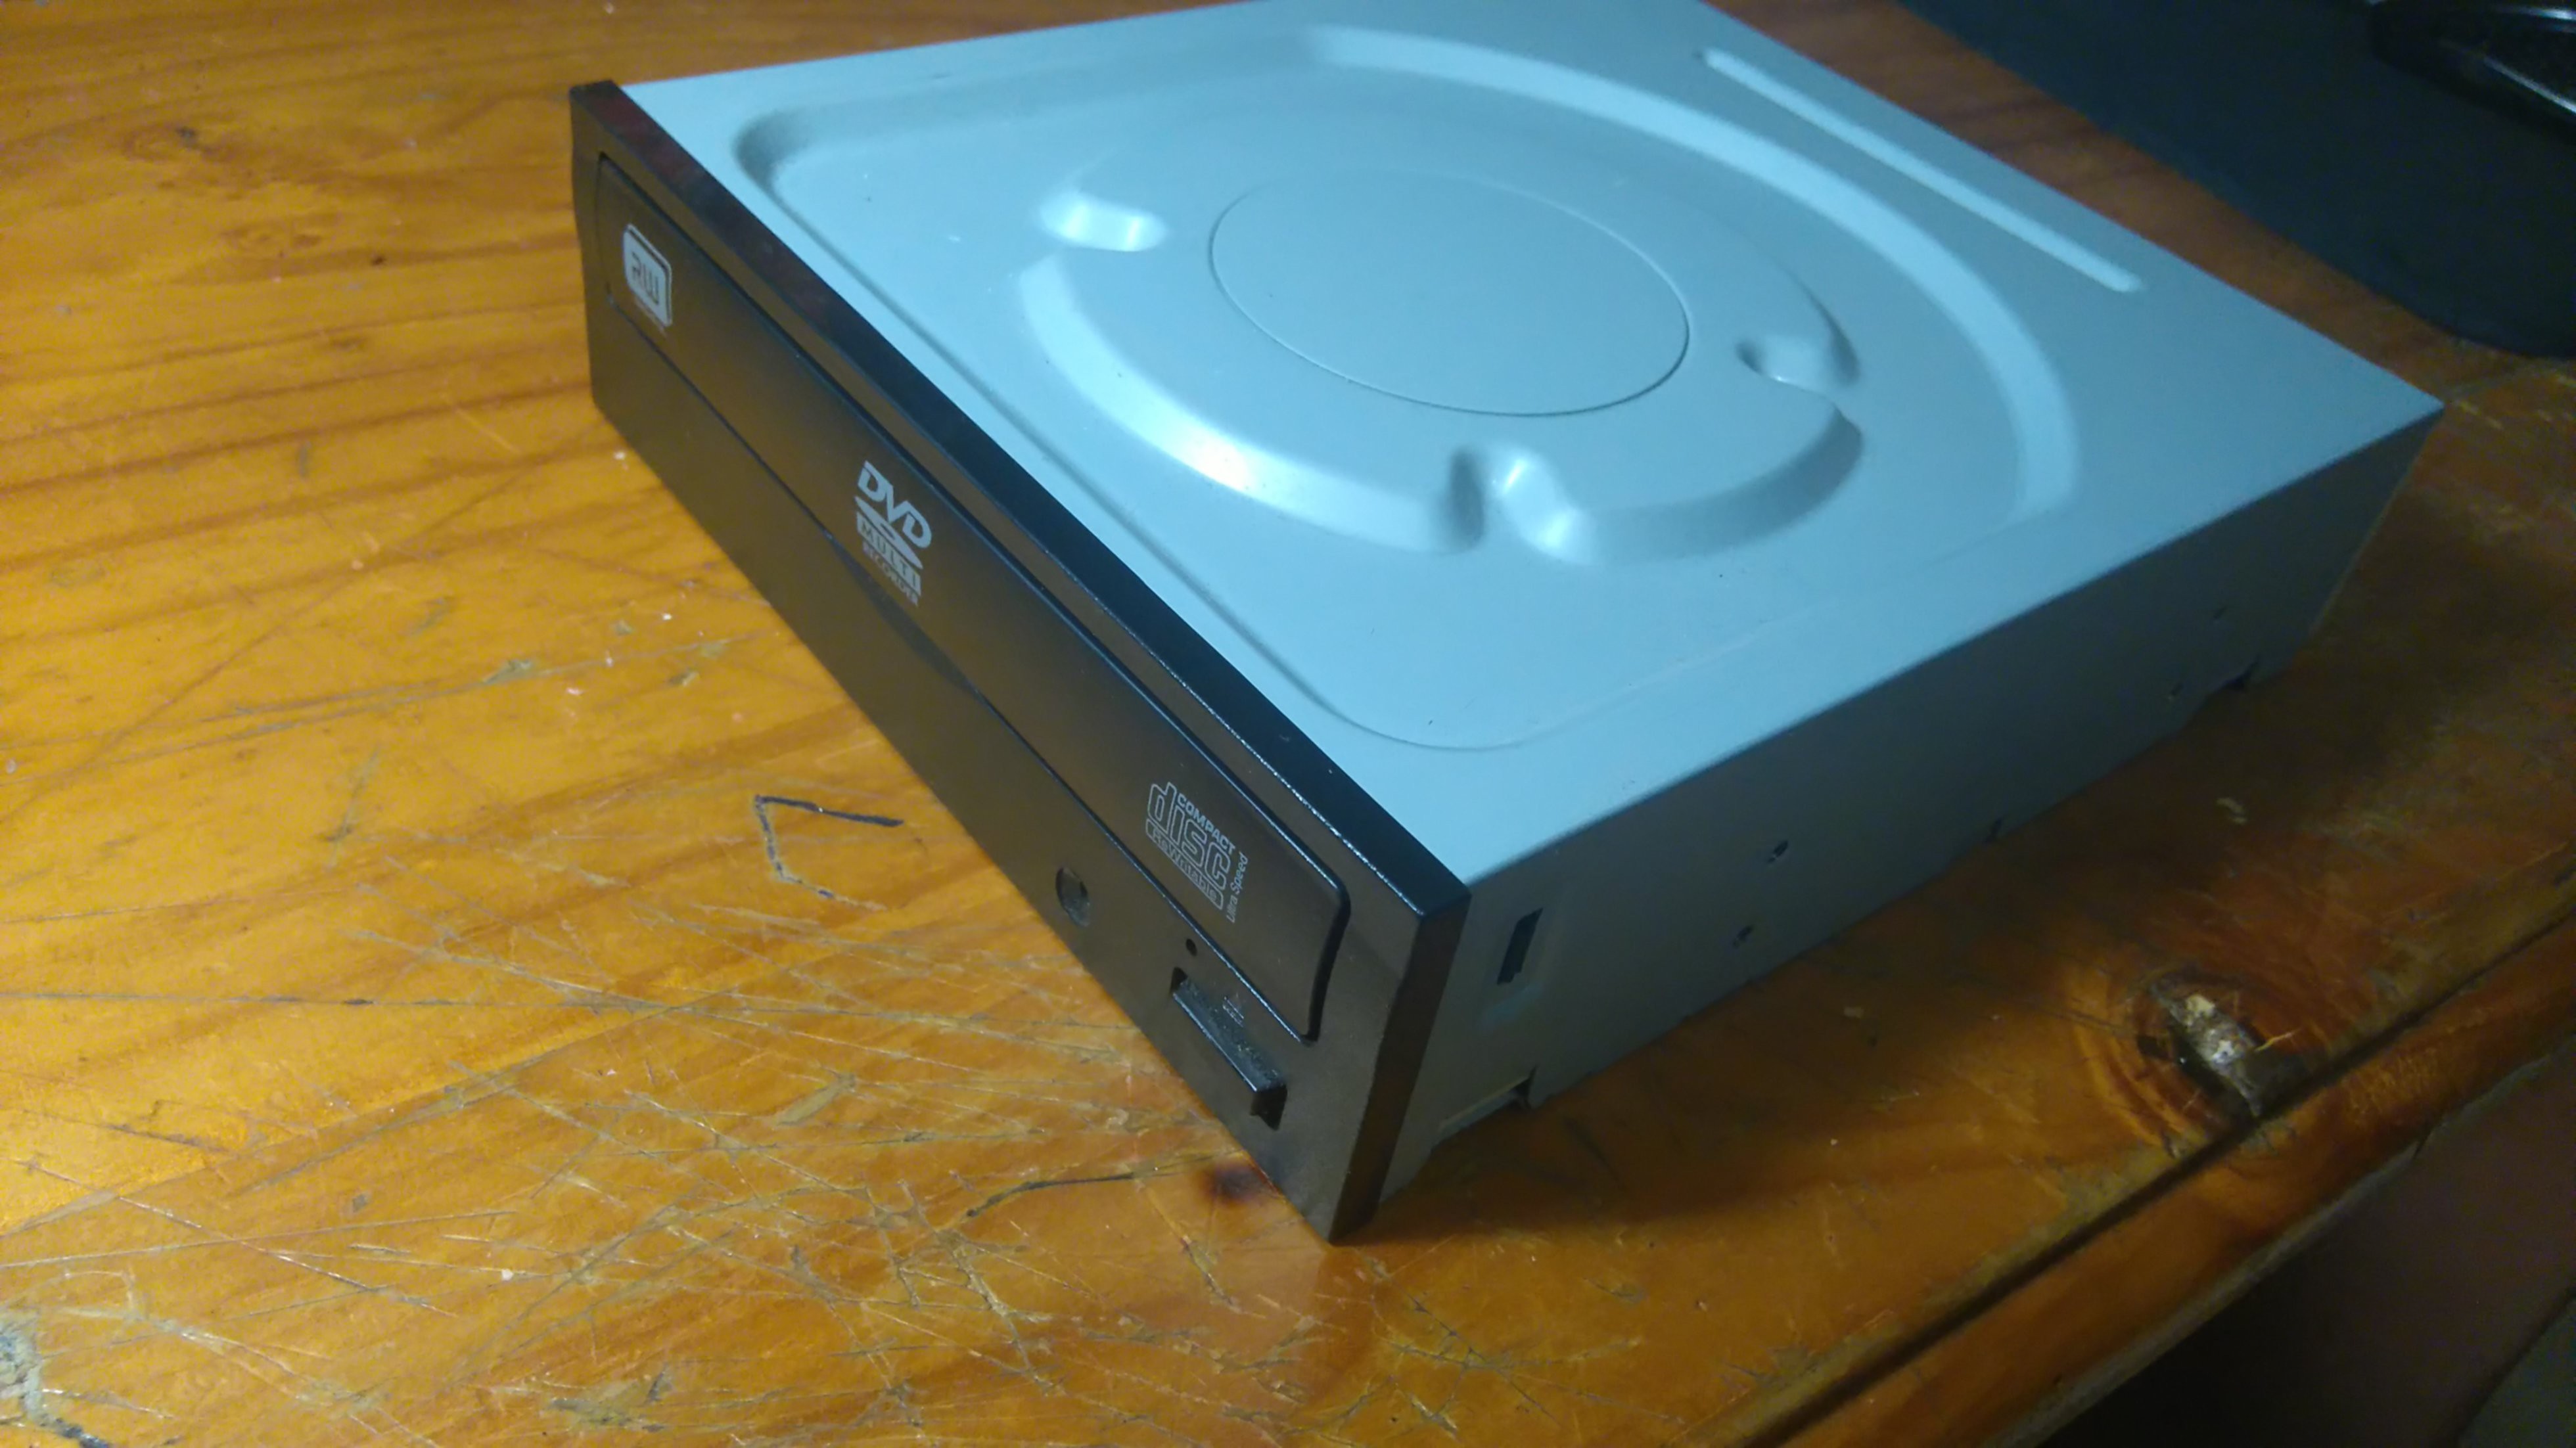
My #Mini Laser Cutter was disassembled and broken, so I'm starting again and focusing on the PCB fabrication aspect. To that end, I pulled the DVD drive from my PC (don't need a drive THAT much) and took it apart to see what I have to work with.
The drive:
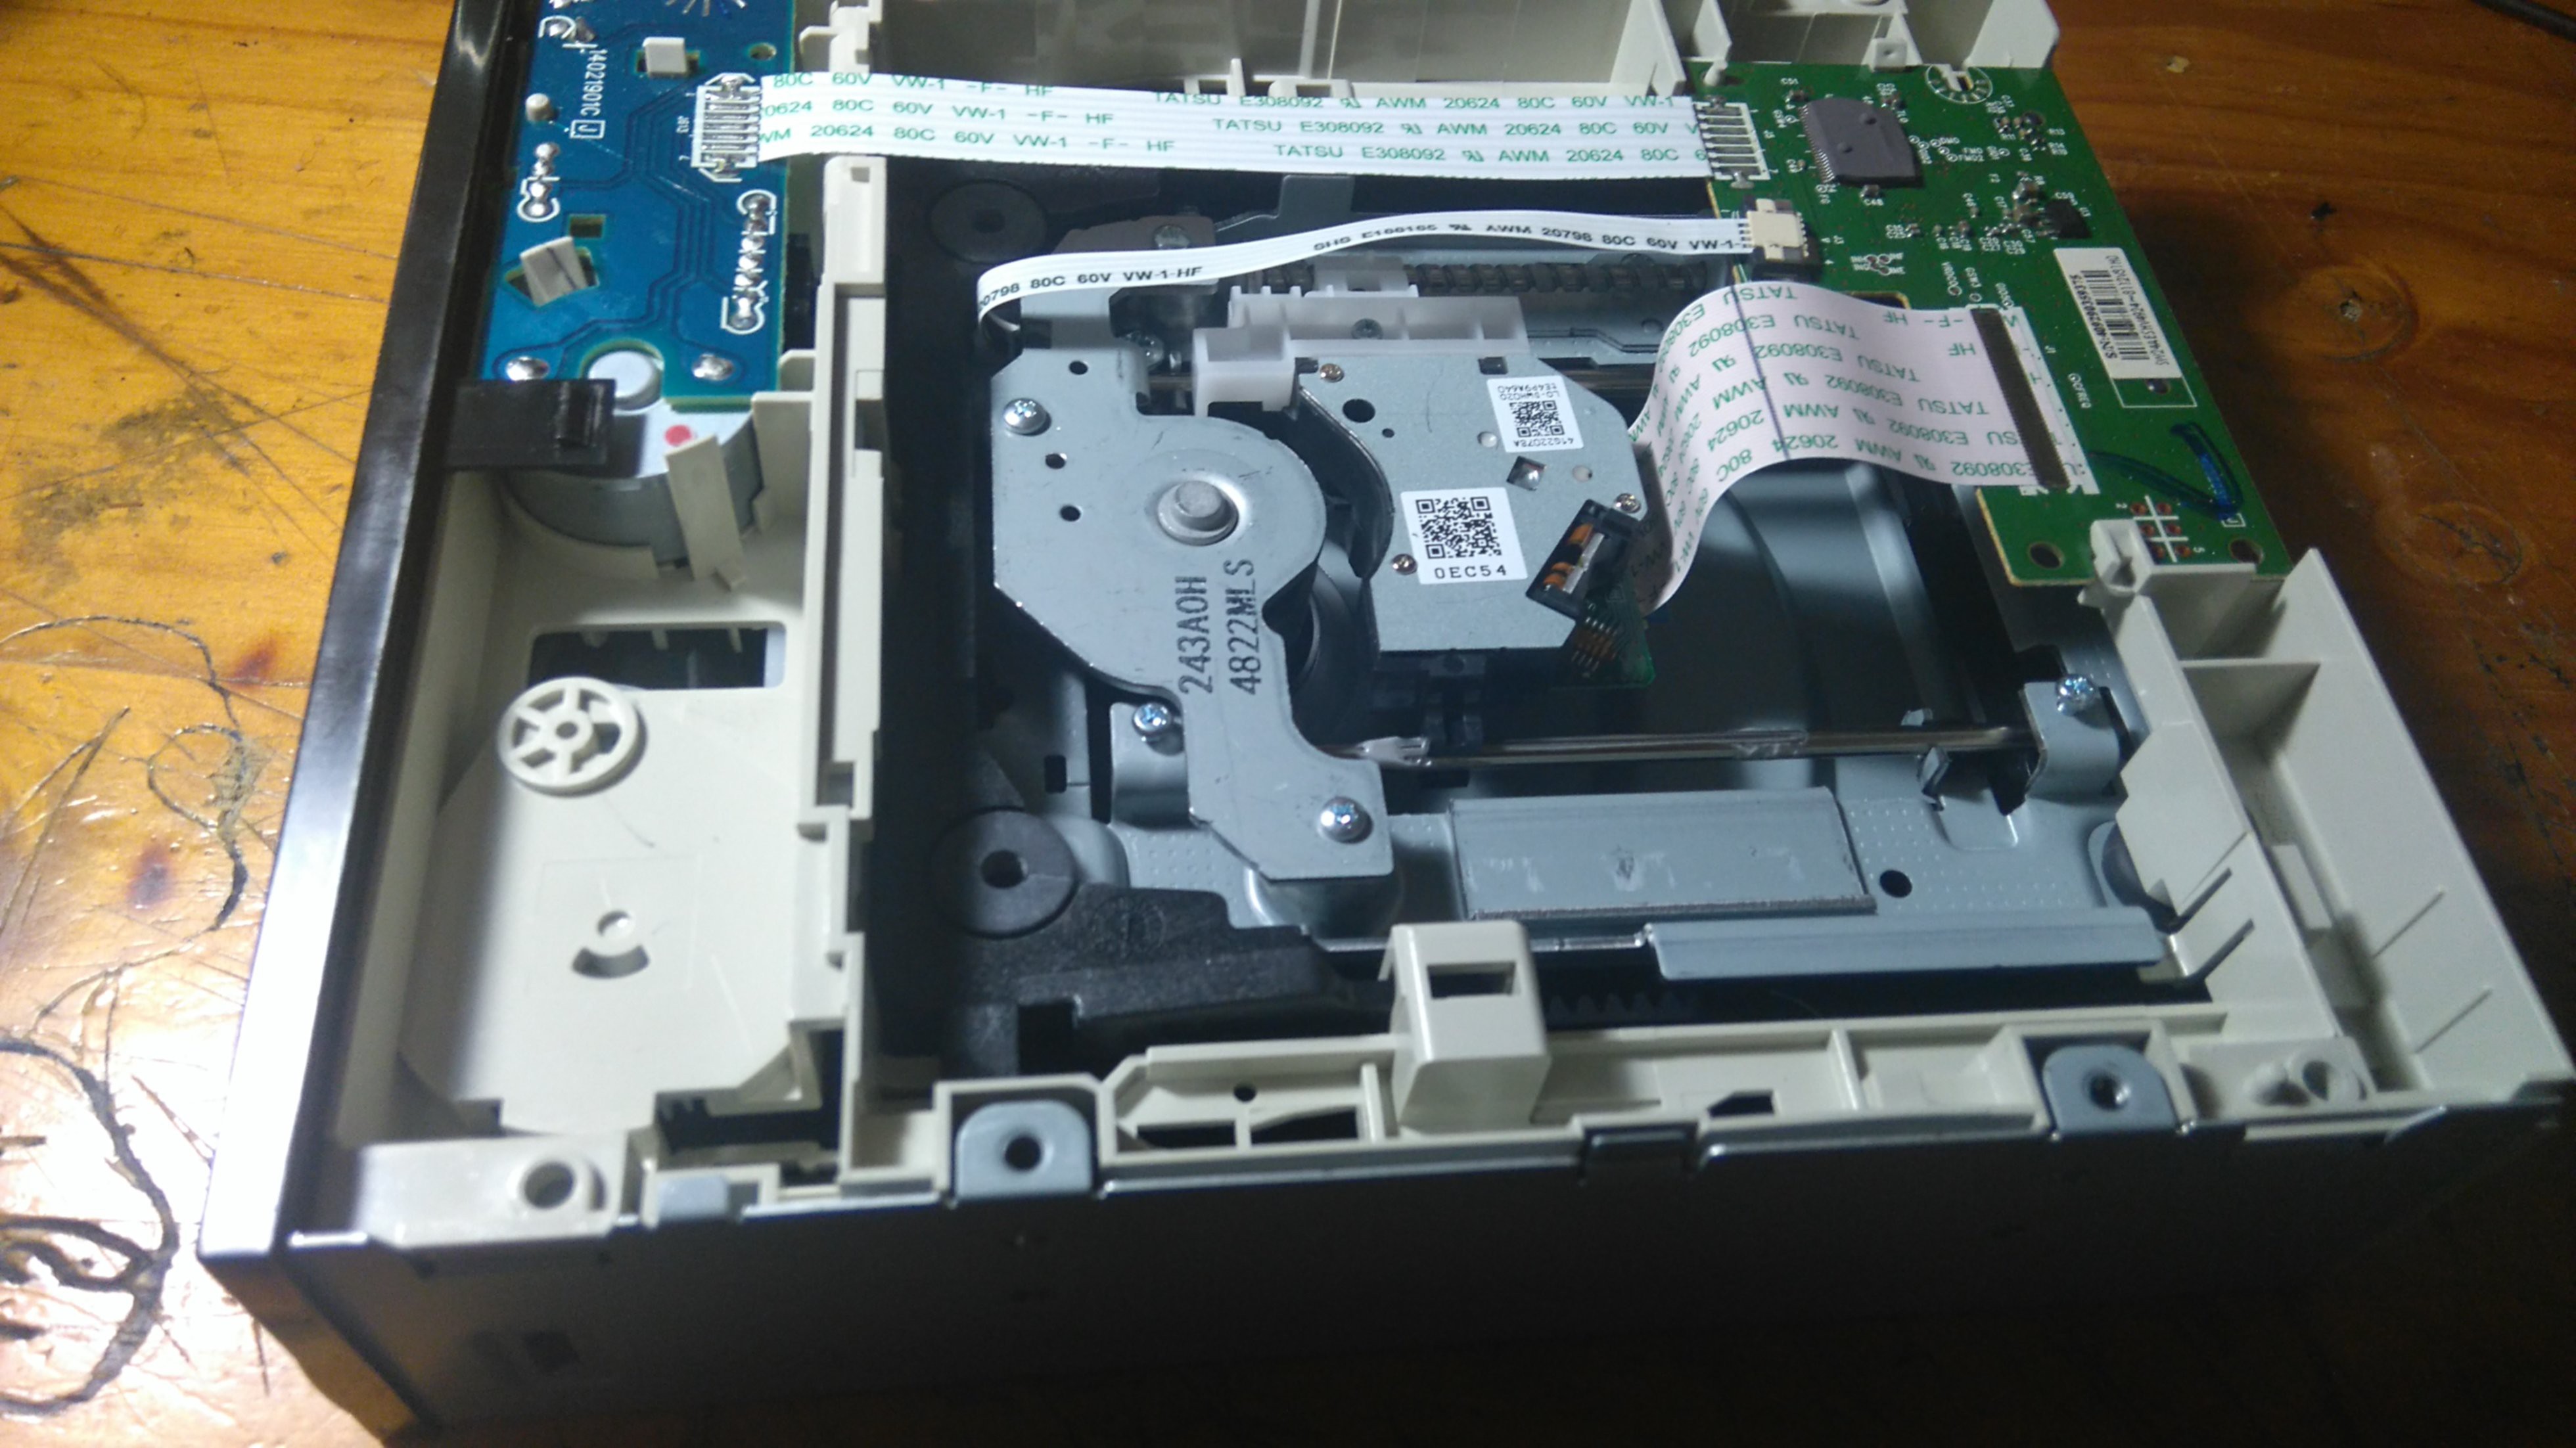
Removing two screws reveals the innards:
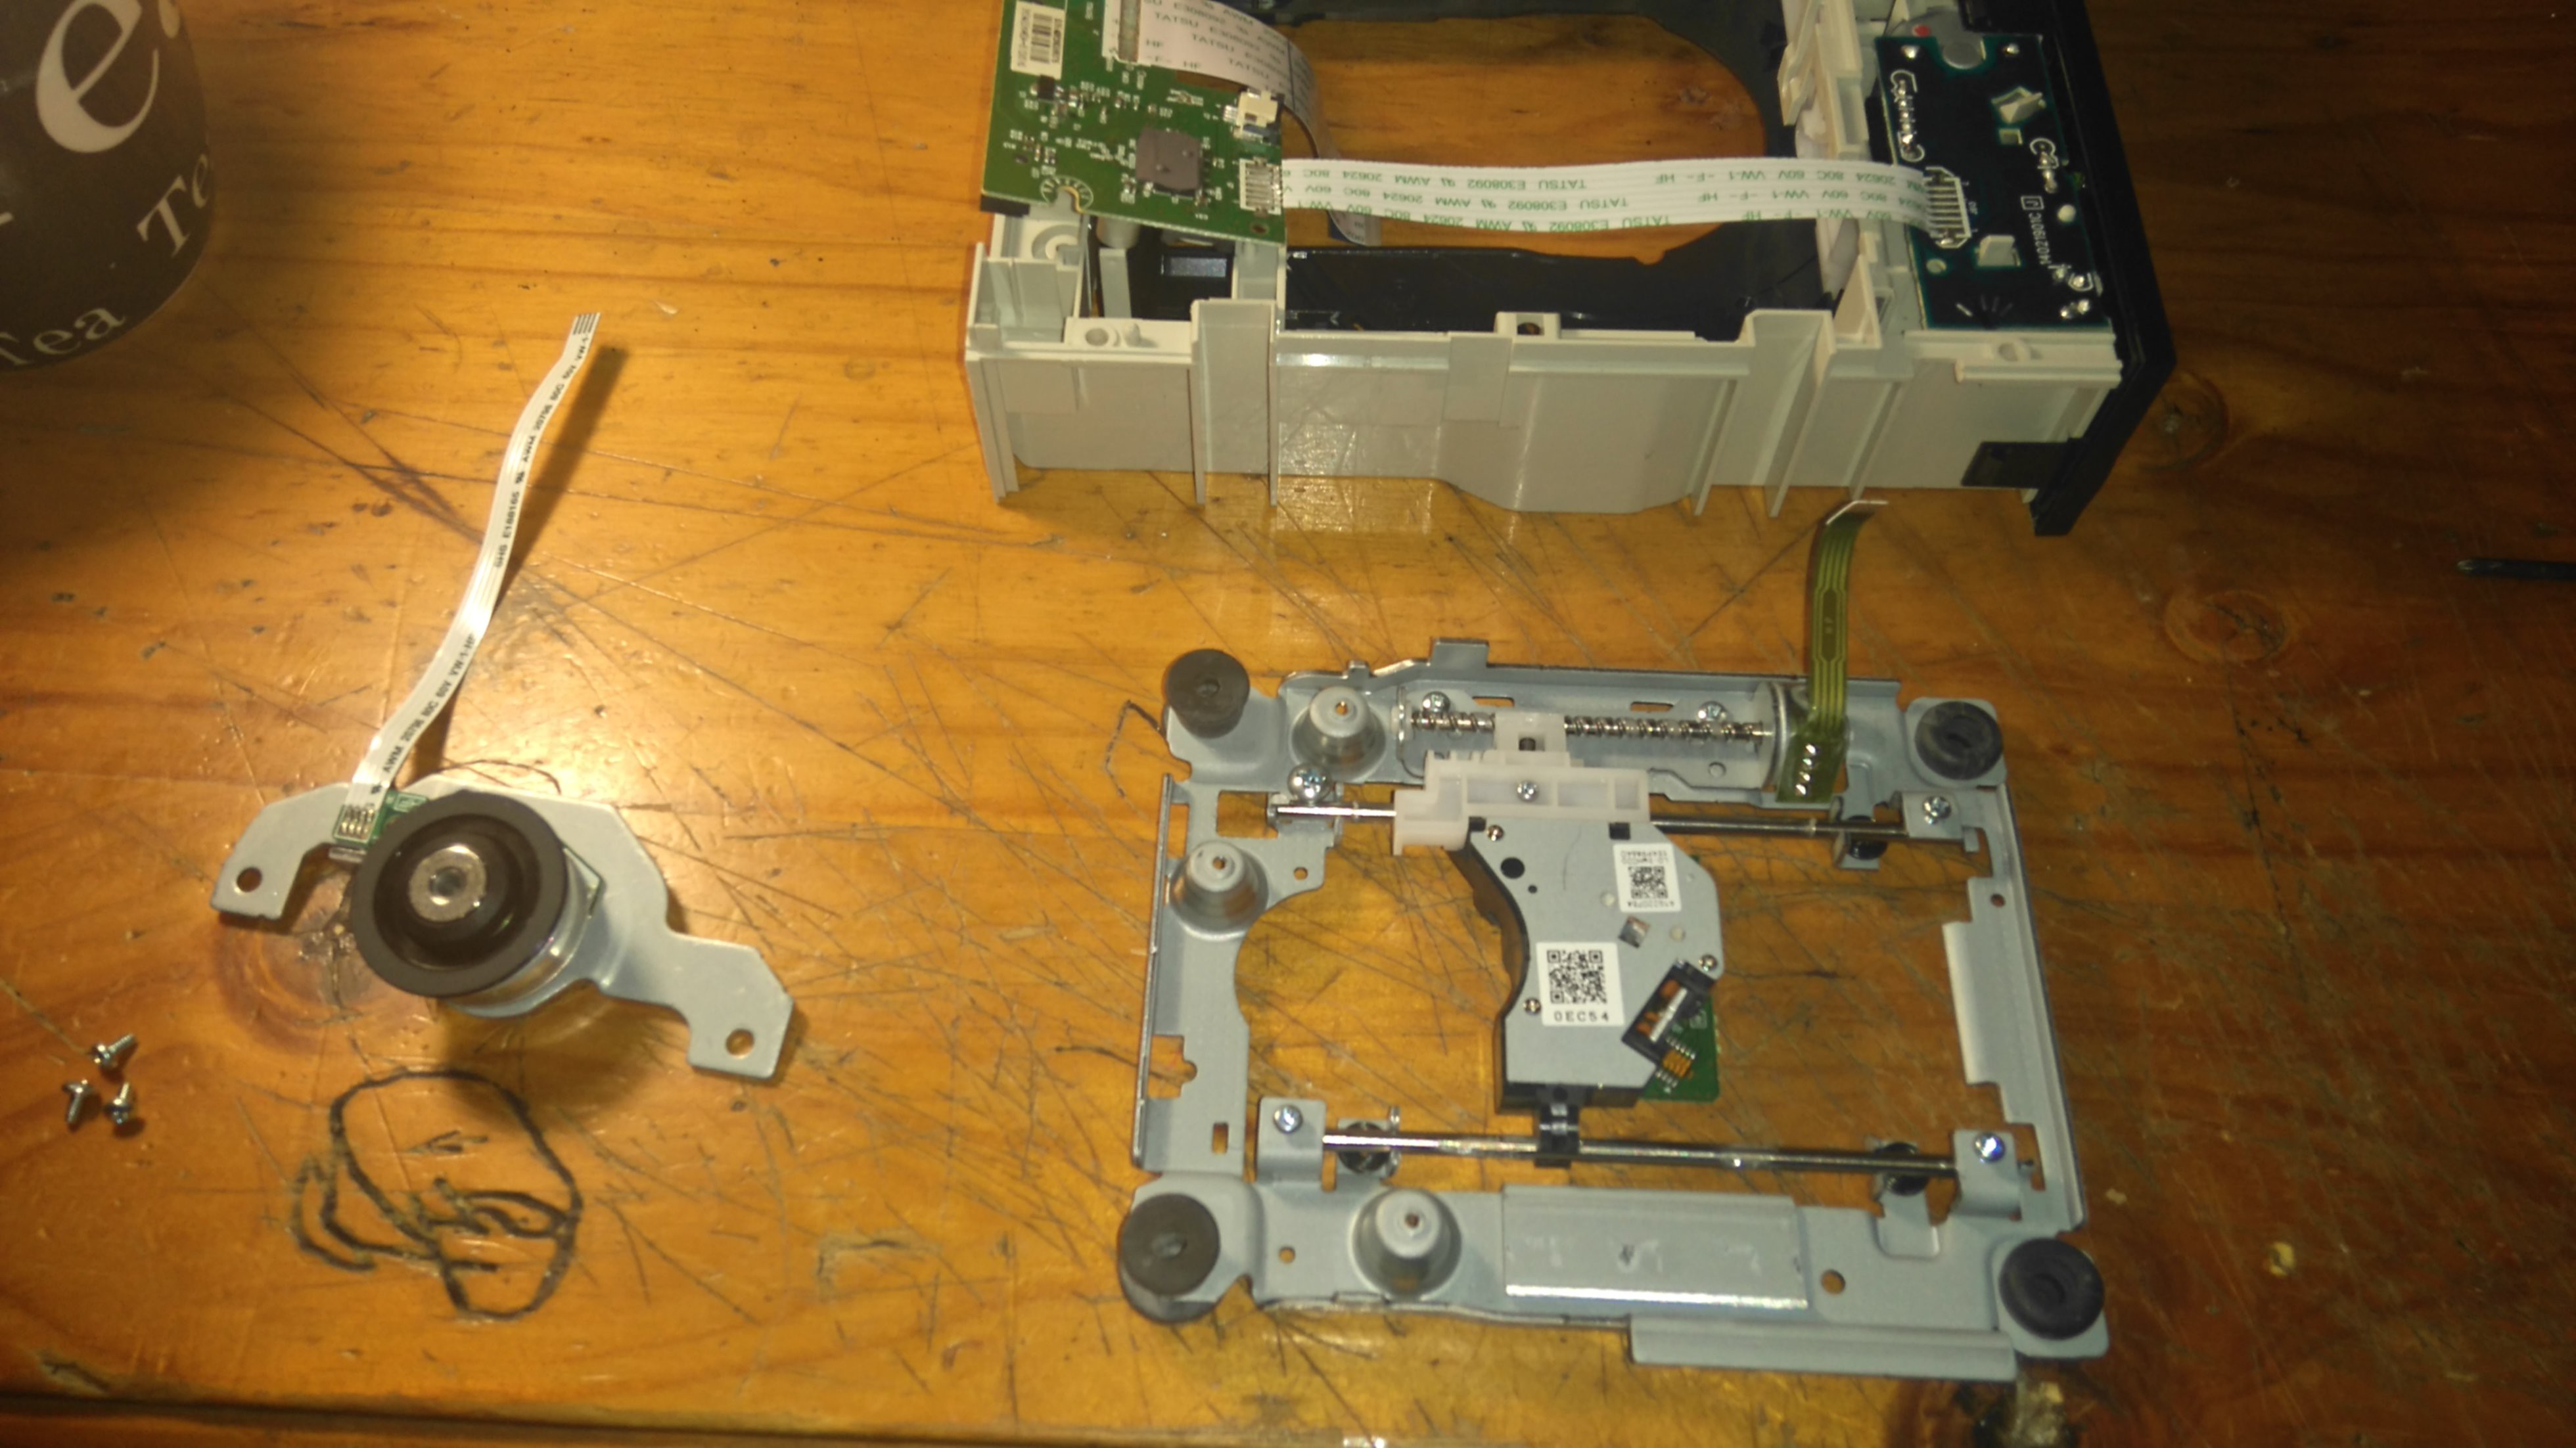
A few more and I have it in pieces - the eject mechanism and main board, the brush-less motor and the slide/pick-up mechanism:
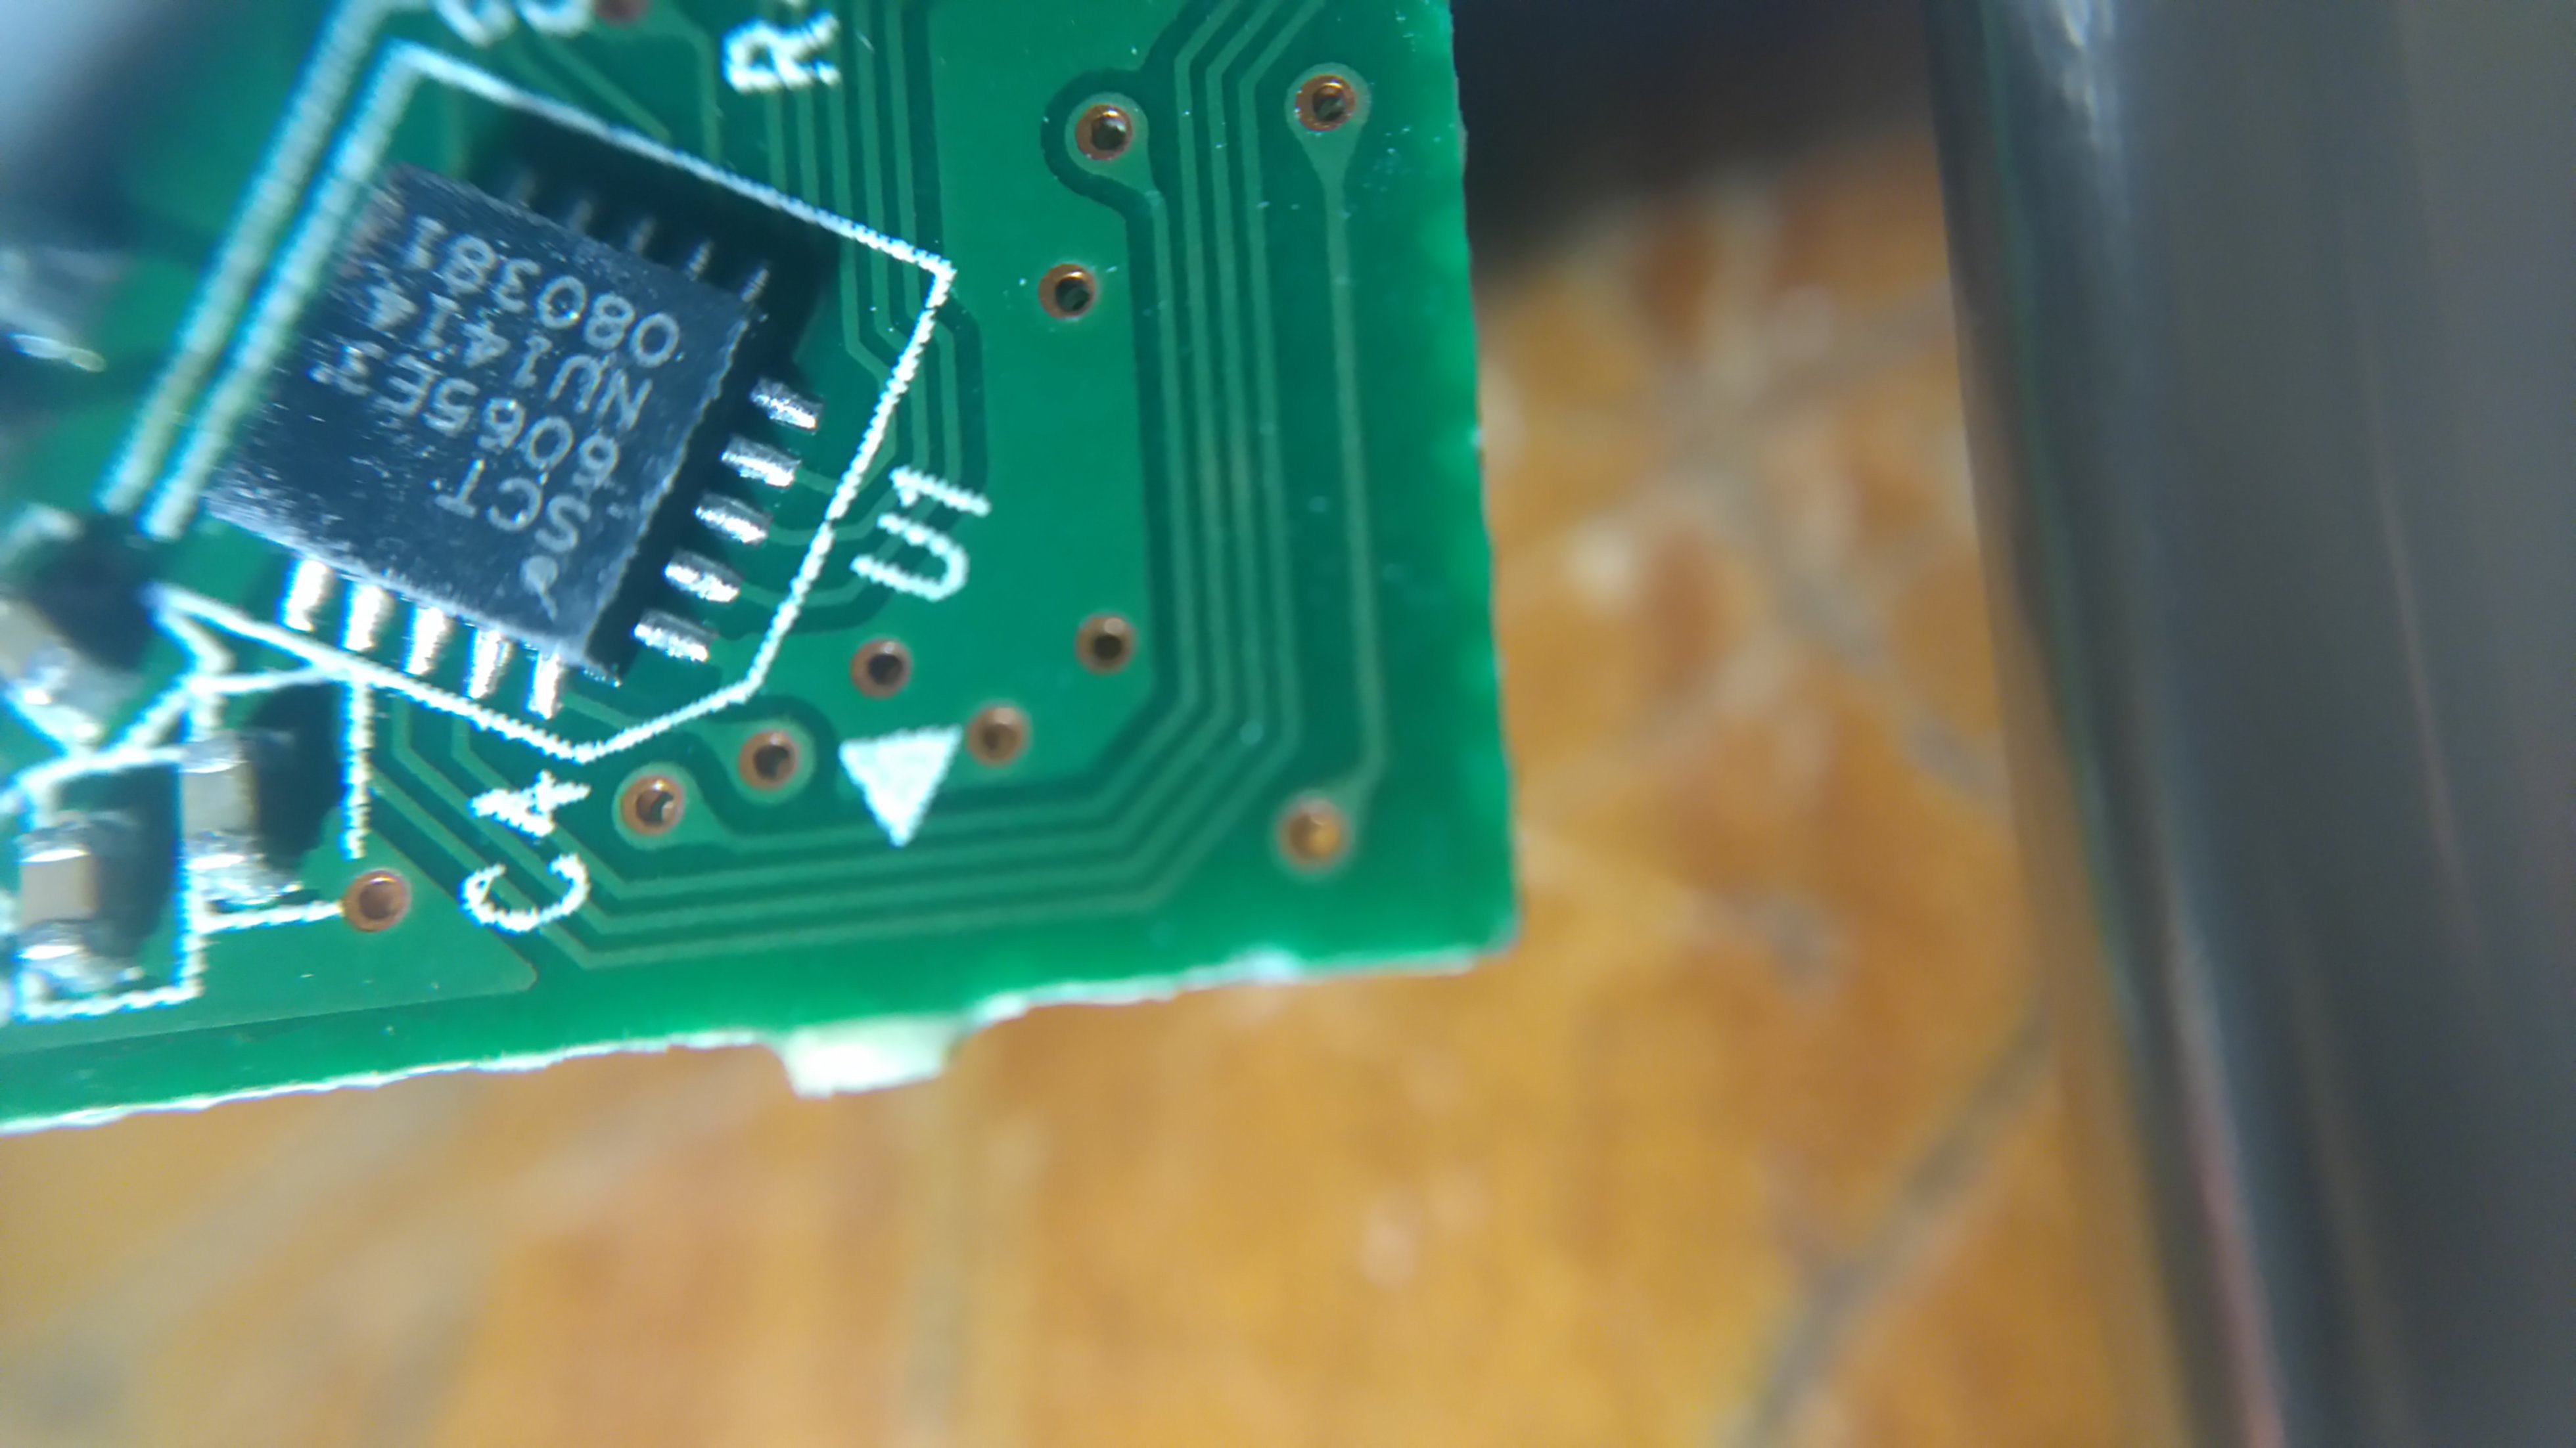
I spent a while checking pin-outs and following the PCB traces, but gave up my idea of using the built in drivers because a) I have a test today and don't need more diversions and b) I couldn't find this chip anywhere (if you know it, yell):
Anyway, I soldered some cable to the stepper and laser pins, and fired it up for a test:
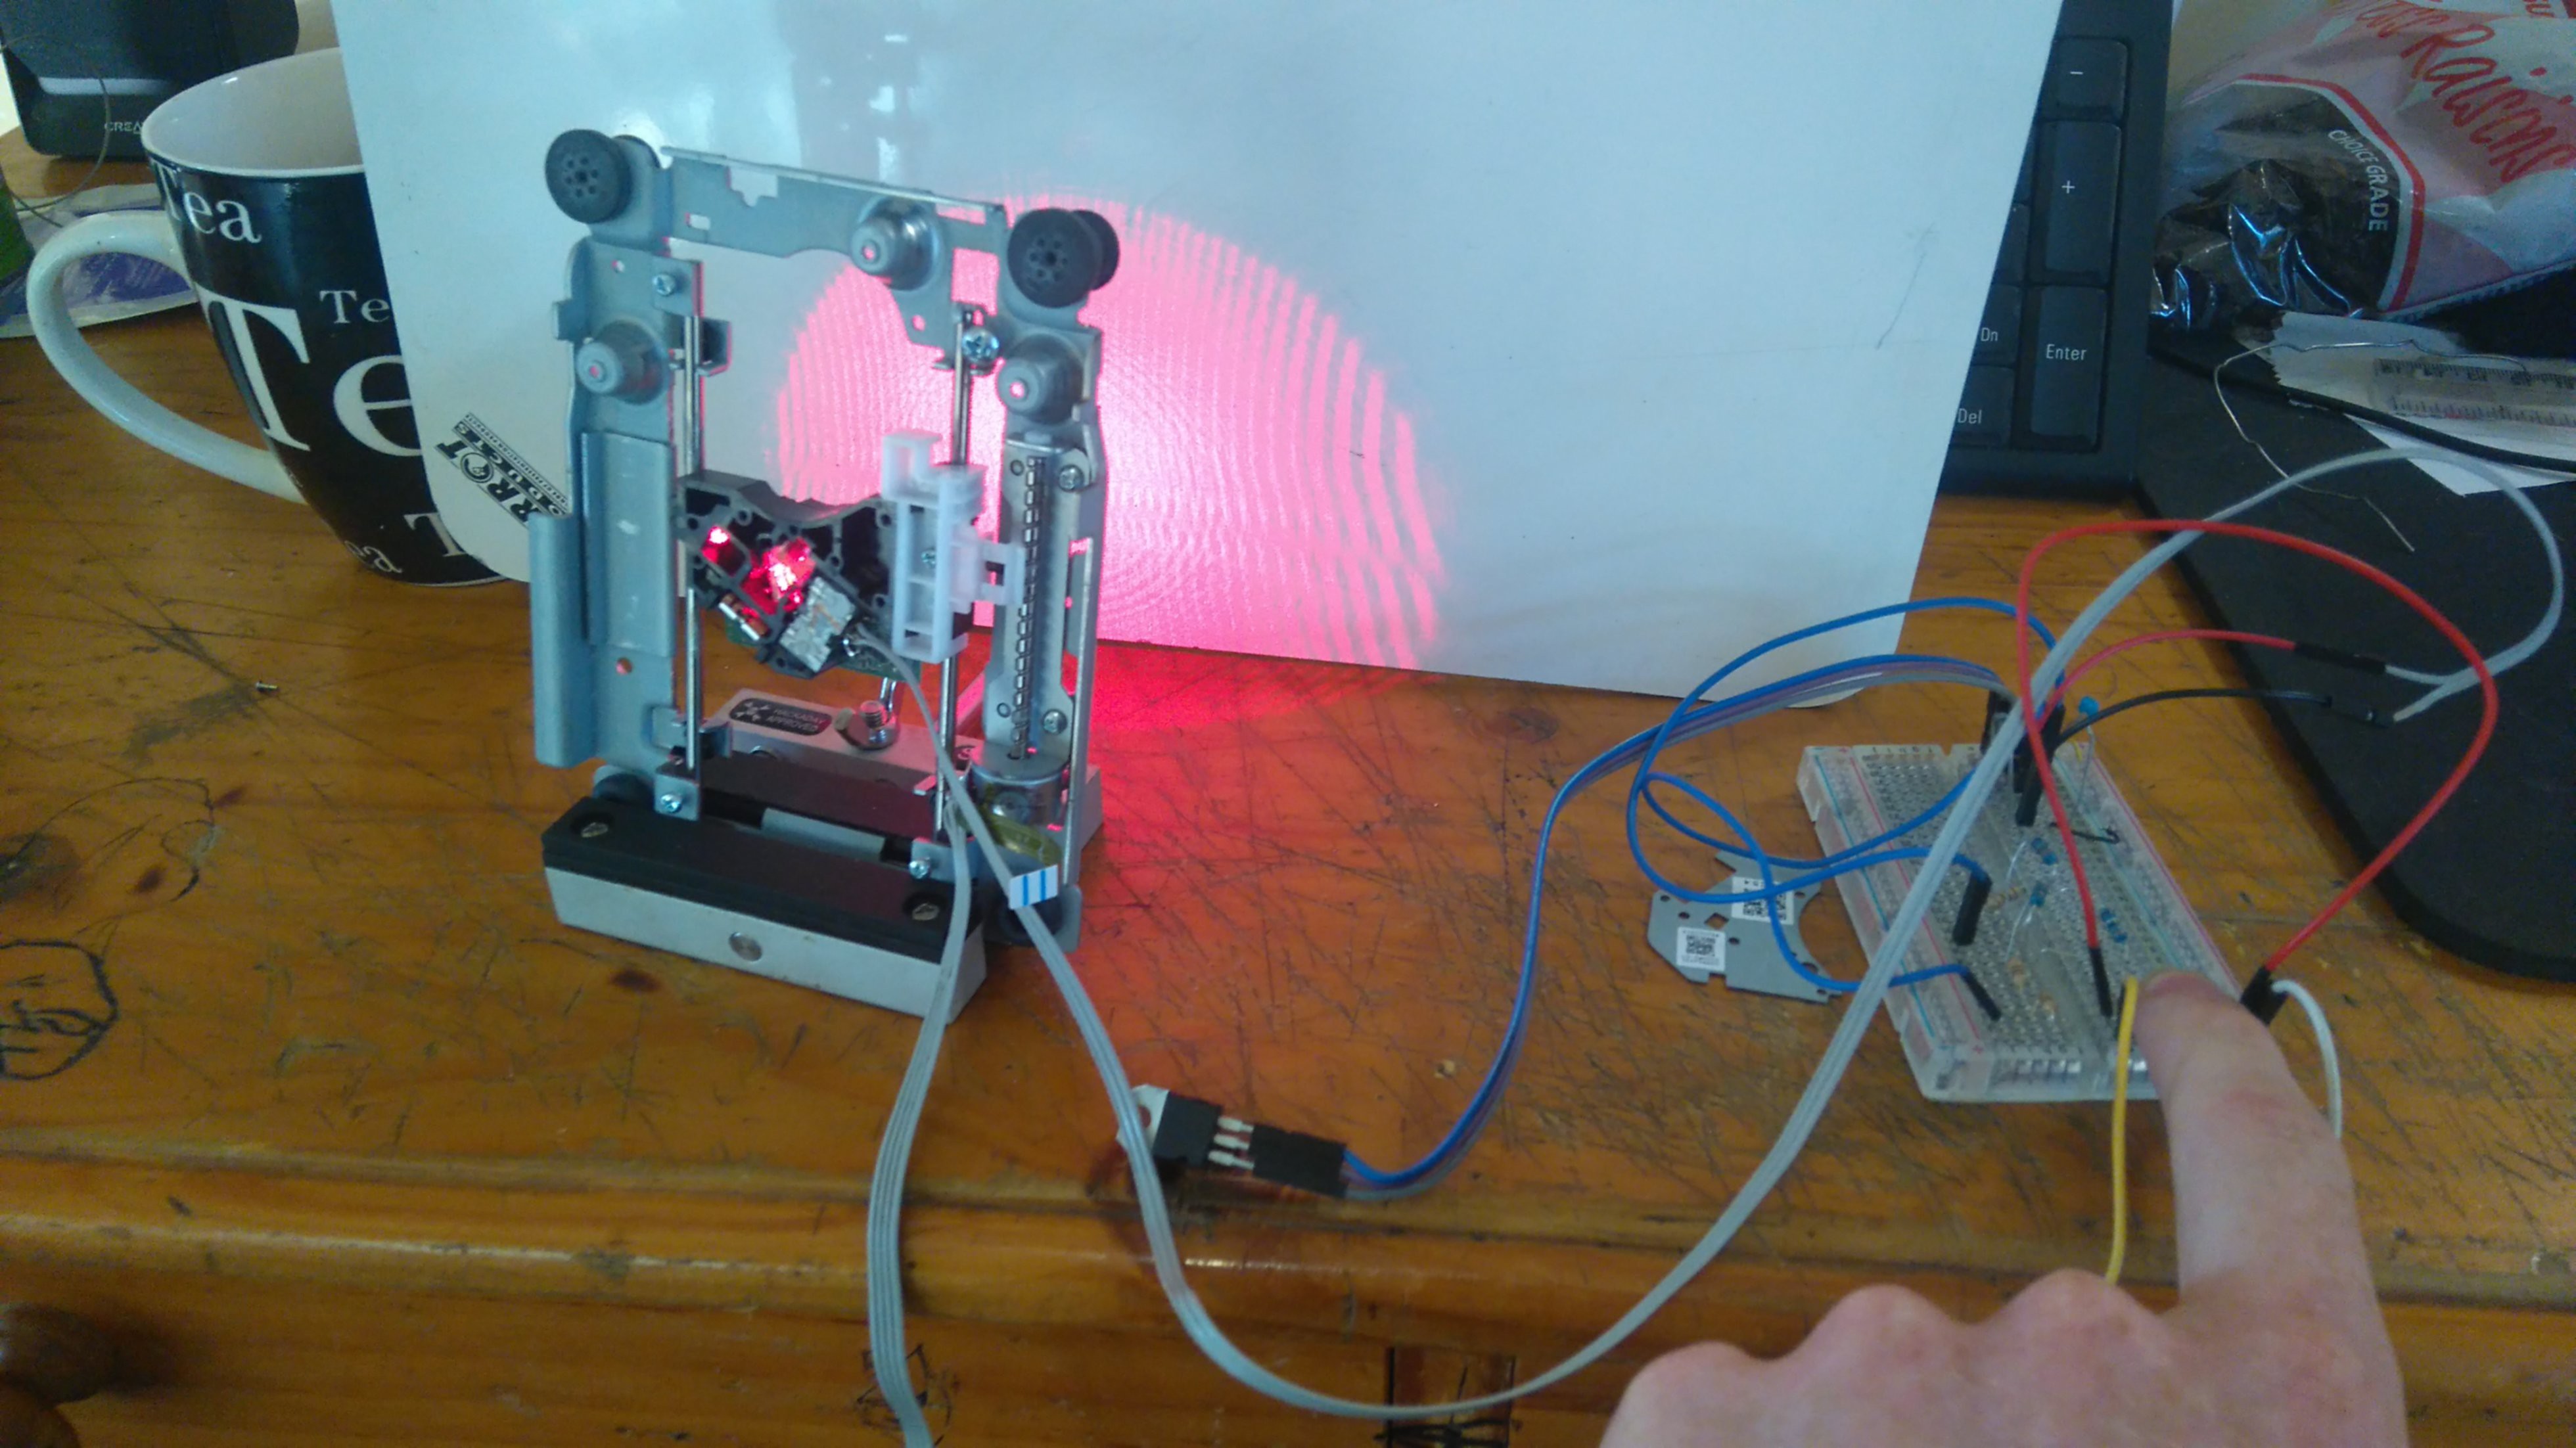
Yaay, it's a red laser! BE VERY CAREFUL - sometimes you get IR lasers which can easily blind you. Red is still dangerous (this can burn paper and retinas with equal ease) but you at least know when it's on, and your blink reflex should save you especially when it's focused so that it spreads out (as in the image above). To drive the laser, I'm using the following circuit. I start with the current set resistance at 100 ohms, and moved down to ~16 ohms for now. I will find it's limits later - for now this looks bright enough and is well below the max so everything stays nice and cool and I don't burn it out accidentally.
So the plan is to use one of the stages from my old set-up, and use the built in laser for the toner melting process. I may also experiment with controlling the coils for focus, but that's for later.
One final thing: This is a team project! @esot.eric is also trying this out, so we'll collaborate and hopefully between us come up with something useful :)
 johnowhitaker
Discussions
Become a Hackaday.io Member
Create an account to leave a comment. Already have an account? Log In.