makeTVee
-
Weather forecast
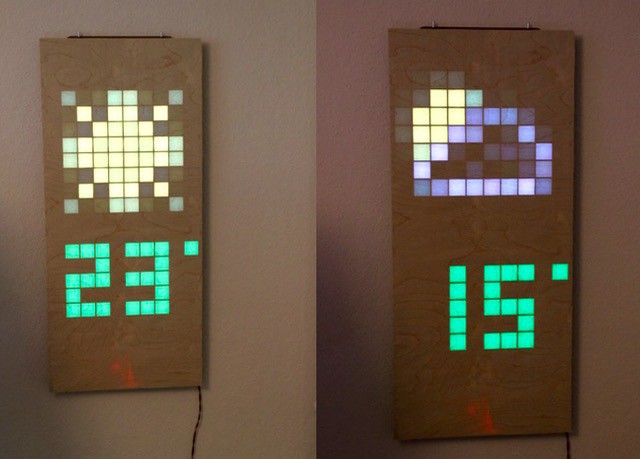
04/27/2016 at 19:42 • 1 commentRunning Python code on the Pi makes it so easy to realize new features. This is a quick preview of getting a weather forecast on the LED matrix. Using PyOWM to talk to OpenWeaterMap and some 10x10 pixel weather icons, that's it.
![]()
Planned features:
- animated icons
- 7 day forecast (slideshow)
- Barbecue forecast
-
Hard- and software overview
04/17/2016 at 11:59 • 0 commentsArchitecture
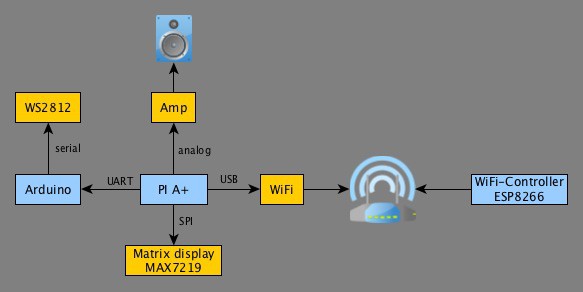
There are 3 software components in the system:
- Arduino firmware for driving the WS2812 LED stripes
- ESP8266 firmware (Arduino sketch)
- Python scripts for the Raspberry Pi
This image gives an overview of the system:
![]()
WS2812
There exists an option to directly drive the WS2812 LEDs from a Pi with the dpi_ws281x library. But I decided to use an Arduino, so it is possible to use the LEDs even during the Pi's boot process or without booting the Pi. Arduino and Pi communicate via UART at a speed of 500kbit/s, which is quite enough for a smooth gameplay.
Text display
The MAX7219-Matrix displays (e.g. available at eBay or direct china import) are driven by a great existing library, which provides text scrolling and direct pixel access via Python. I used four 8x8 matrix displays in a cascaded setup. For the Tetris highscore display, I build my own small font for 6 digits and enough space for displaying the next piece for the game. 6 digits are needed to realize the original Gamboy Tetris scoring.
Audio
There is an integrated speaker driven by a mono amplifier (from Adafruit), which is connected to the analog audio output of the Pi.
Raspberry Pi
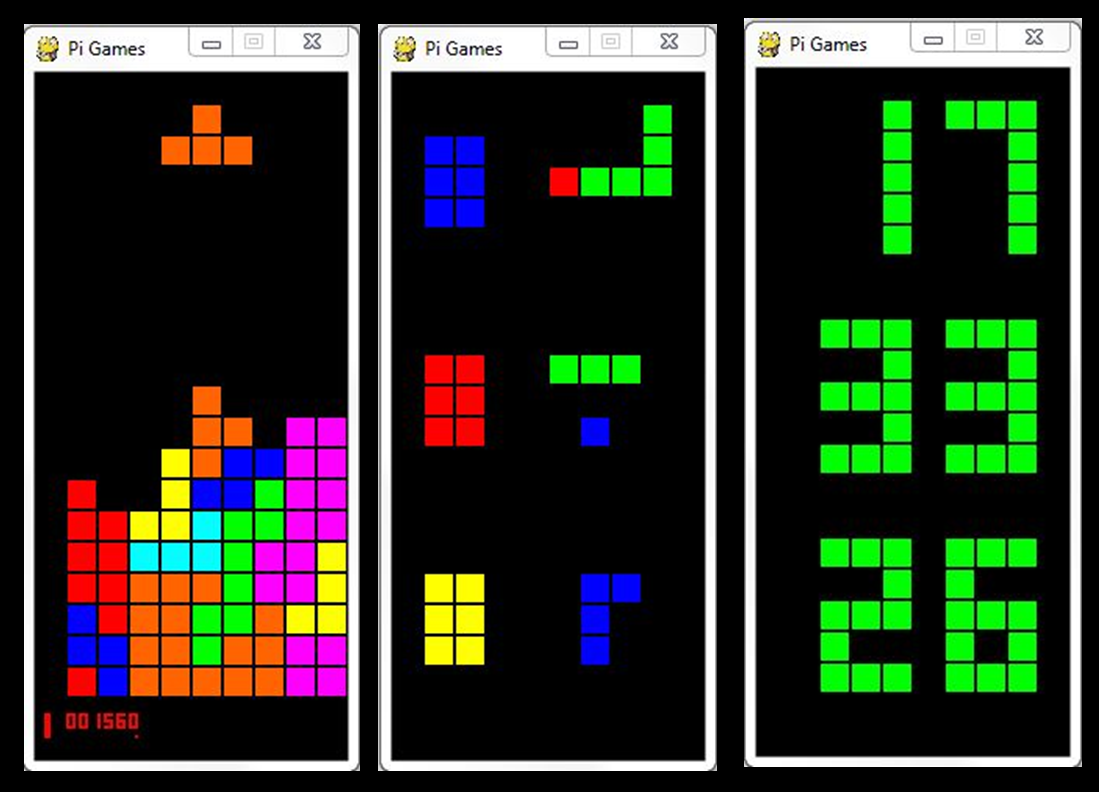
The Raspbian distribution includes a set of Python games in the folder python_games (doc of Python Games) which are based on the pygame lib. I replaced this library by my own display driver to directly drive the 20x10 LED matrix, but reused the gameplay for Tetris and Snake. For development purpose, I wrote a simulation version which still uses the pygame lib to write and test the code on a PC/Mac before transferring it to the Pi. Some screenshot of the simulator:
![]()
There is also a simulator for the controller using the arrow keys of the PC to control the simulator or the LED matrix
I will publish all the code soon after some code cleanup.
-
Building process
04/15/2016 at 18:08 • 0 commentsMatrix construction was done in DesignSpark Mechanical (Free CAD tool from RS, win only :-( )
![]()
I used the Lasercutting service offered by Formulor.
![]()
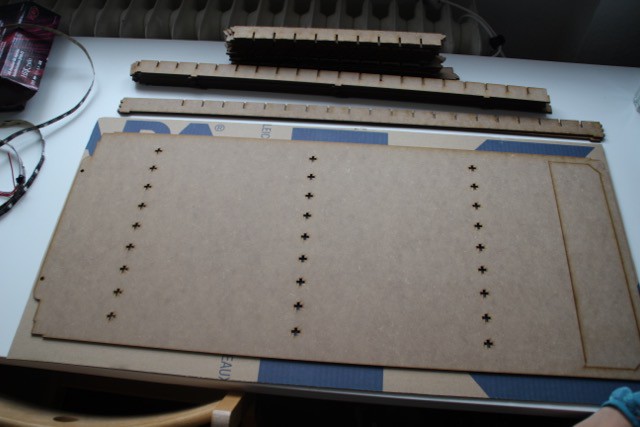
10 LED-stripes with 20 LEDs of each (WS2812, 30 LED/m) were placed on the backplane before putting all the pieces together.
![]()
First test after assembling:
![]()
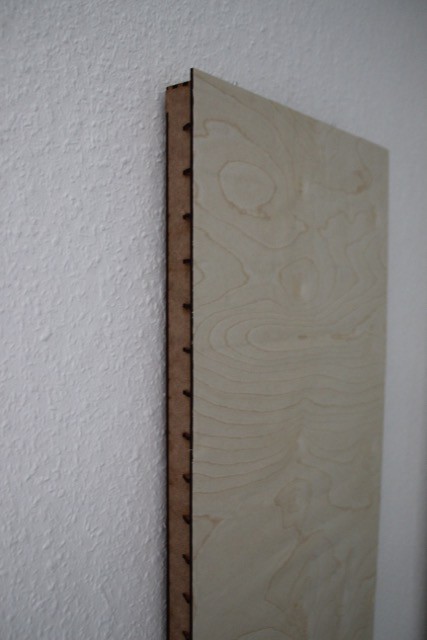
In the lower section, all the electronic is placed but still can be removed from the back side even after placing the veneer.
![]()
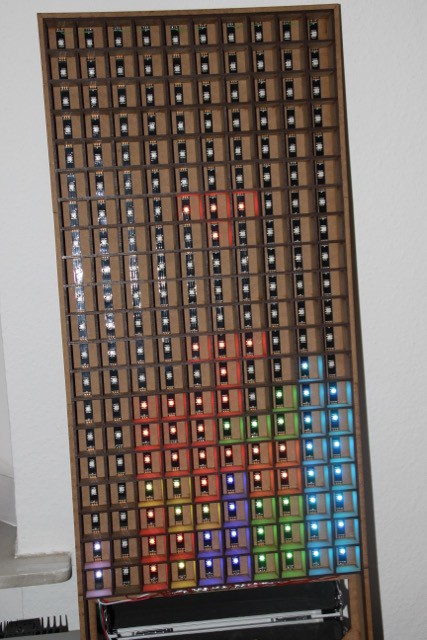
Finished matrix with veneer surface:
![]()
Raspberry Pi Retro Gaming LED Display
20x10 WS2812 LEDs driven by Raspberry Pi/Arduino to play games like Tetris in the living room