Stardate 96546.25
I'm here to resurrect this project from the depths of time...
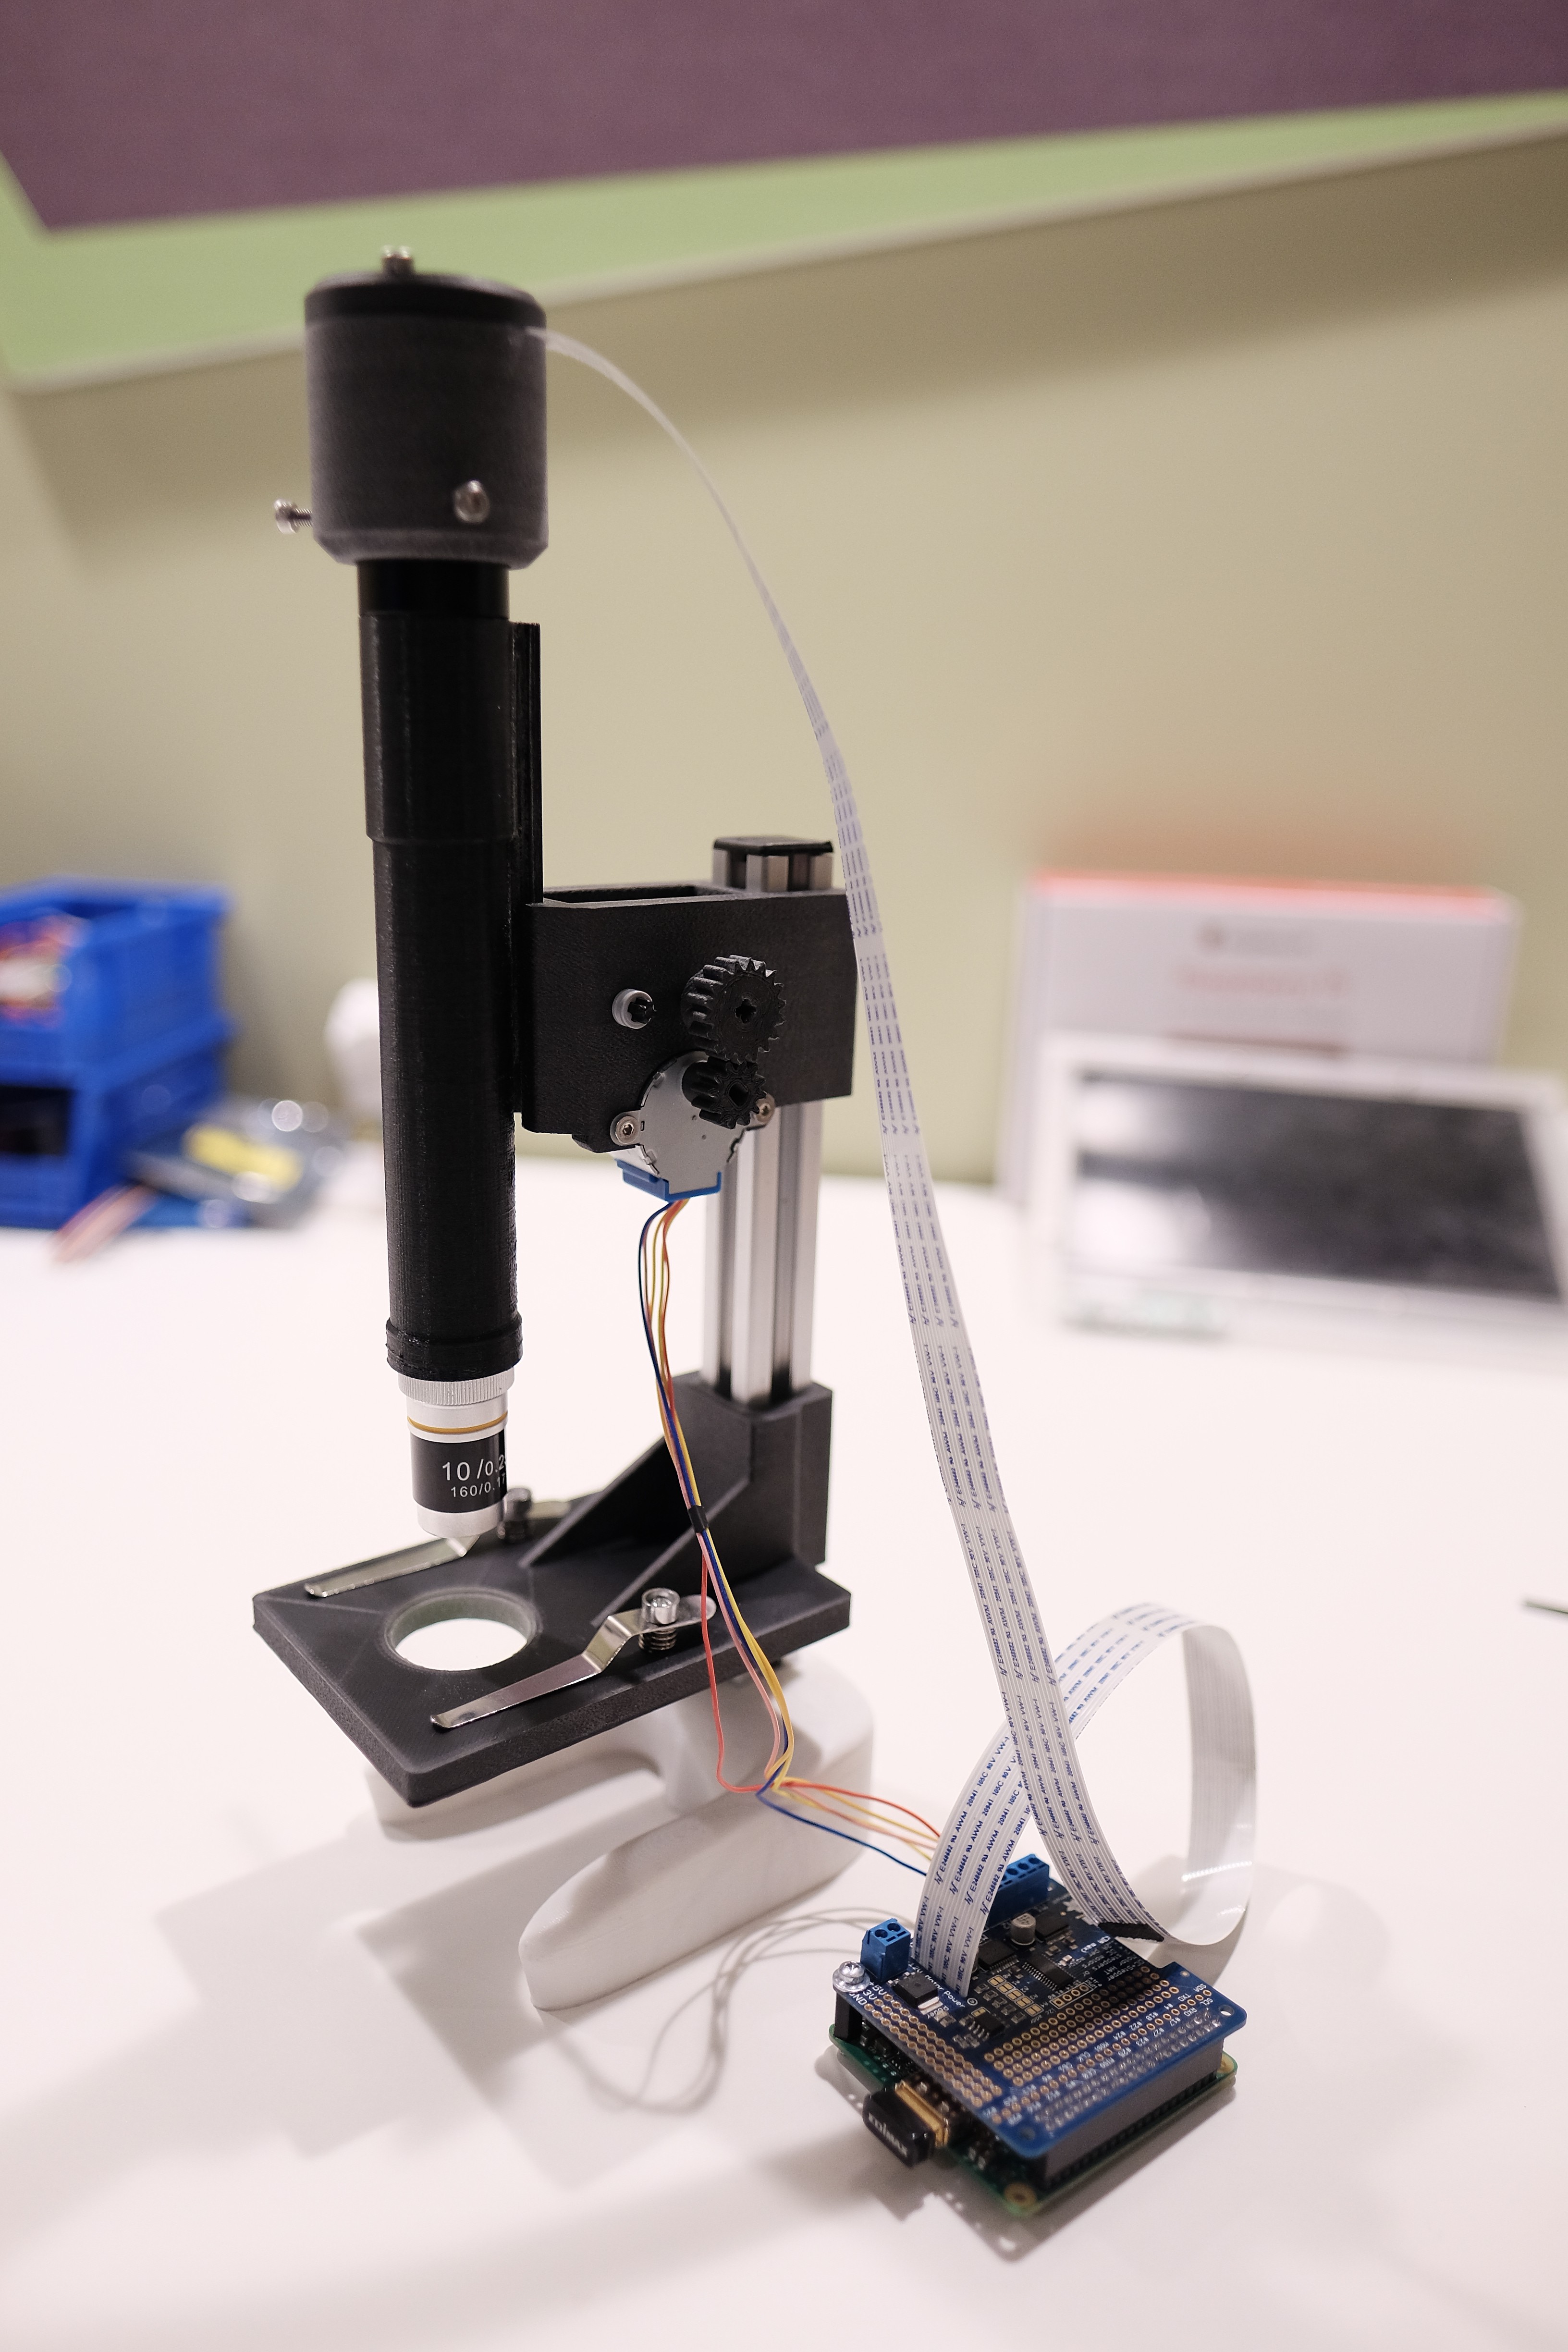
There I was stuck at the origin of Autodesk Fusion wondering though the vast array of design files, only to find that the Pi microscope needed a bit of TLC. I then went on a spree of design and redesign. Though all of this, I'm proud to present the microscope v3.

Well it looks the same you say? Wrong...
Updated features include:
- A new camera mount compatible with the Raspberry Pi 8MP camera
- Lego gears (I'm unabashedly an adult AFOL ( Adult Fan Of Lego ))
- Objectives are now easily screwed in to the bottom of the optical tube with metal internal threads
- A 32mm mineral glass for the platform
- Integrated stepper motor mounting
- A 3D printed rack attached to the optical tube
- Stronger over all
- Less parts to print
- Cheap as ever
How many design iterations did it take?
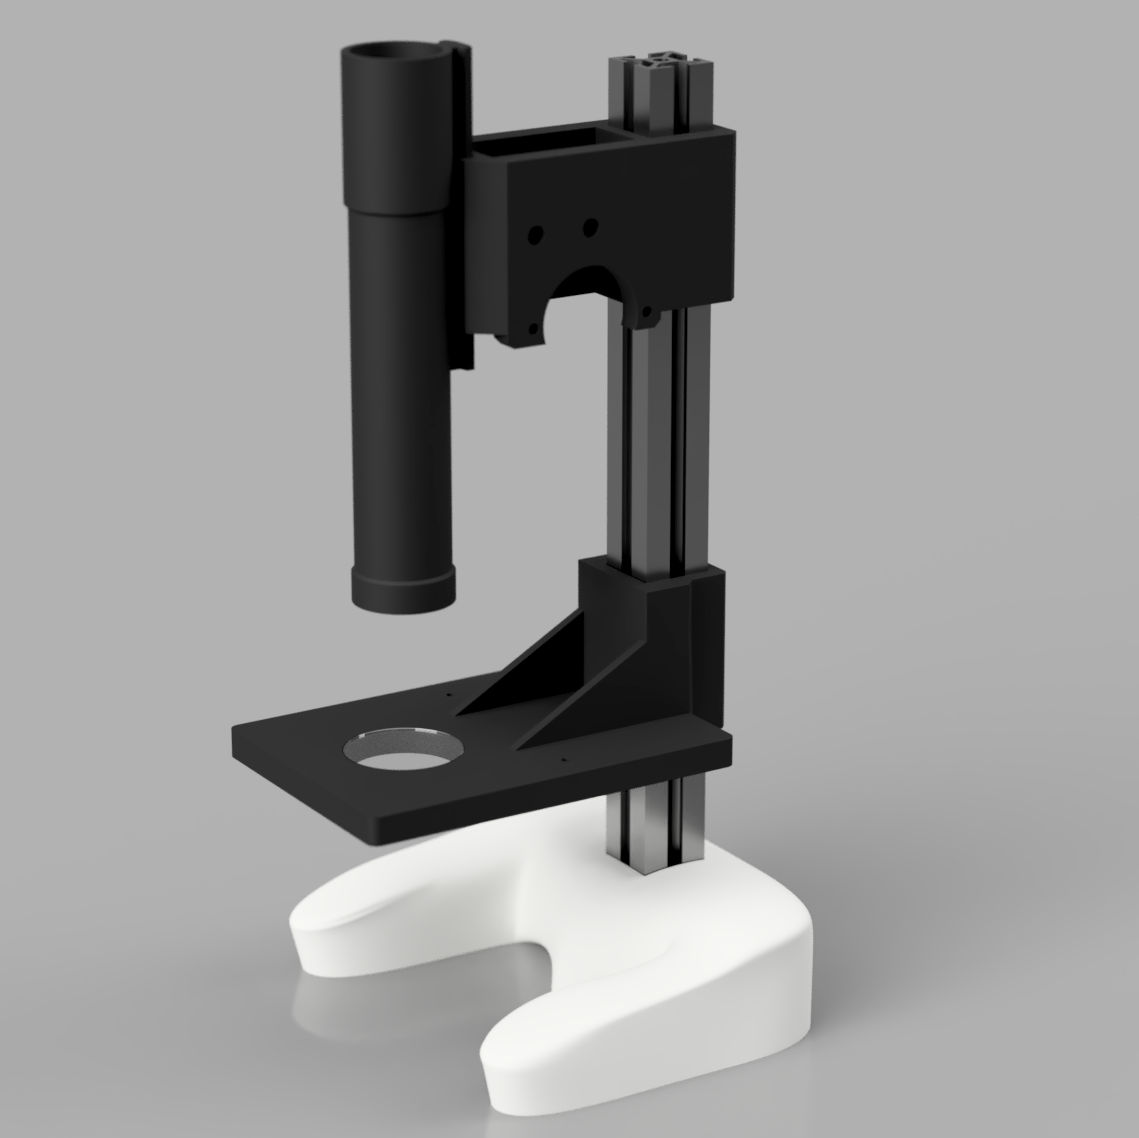
Well over 20 for some and only minor adjustments for others. Here is a look at the CAD render.

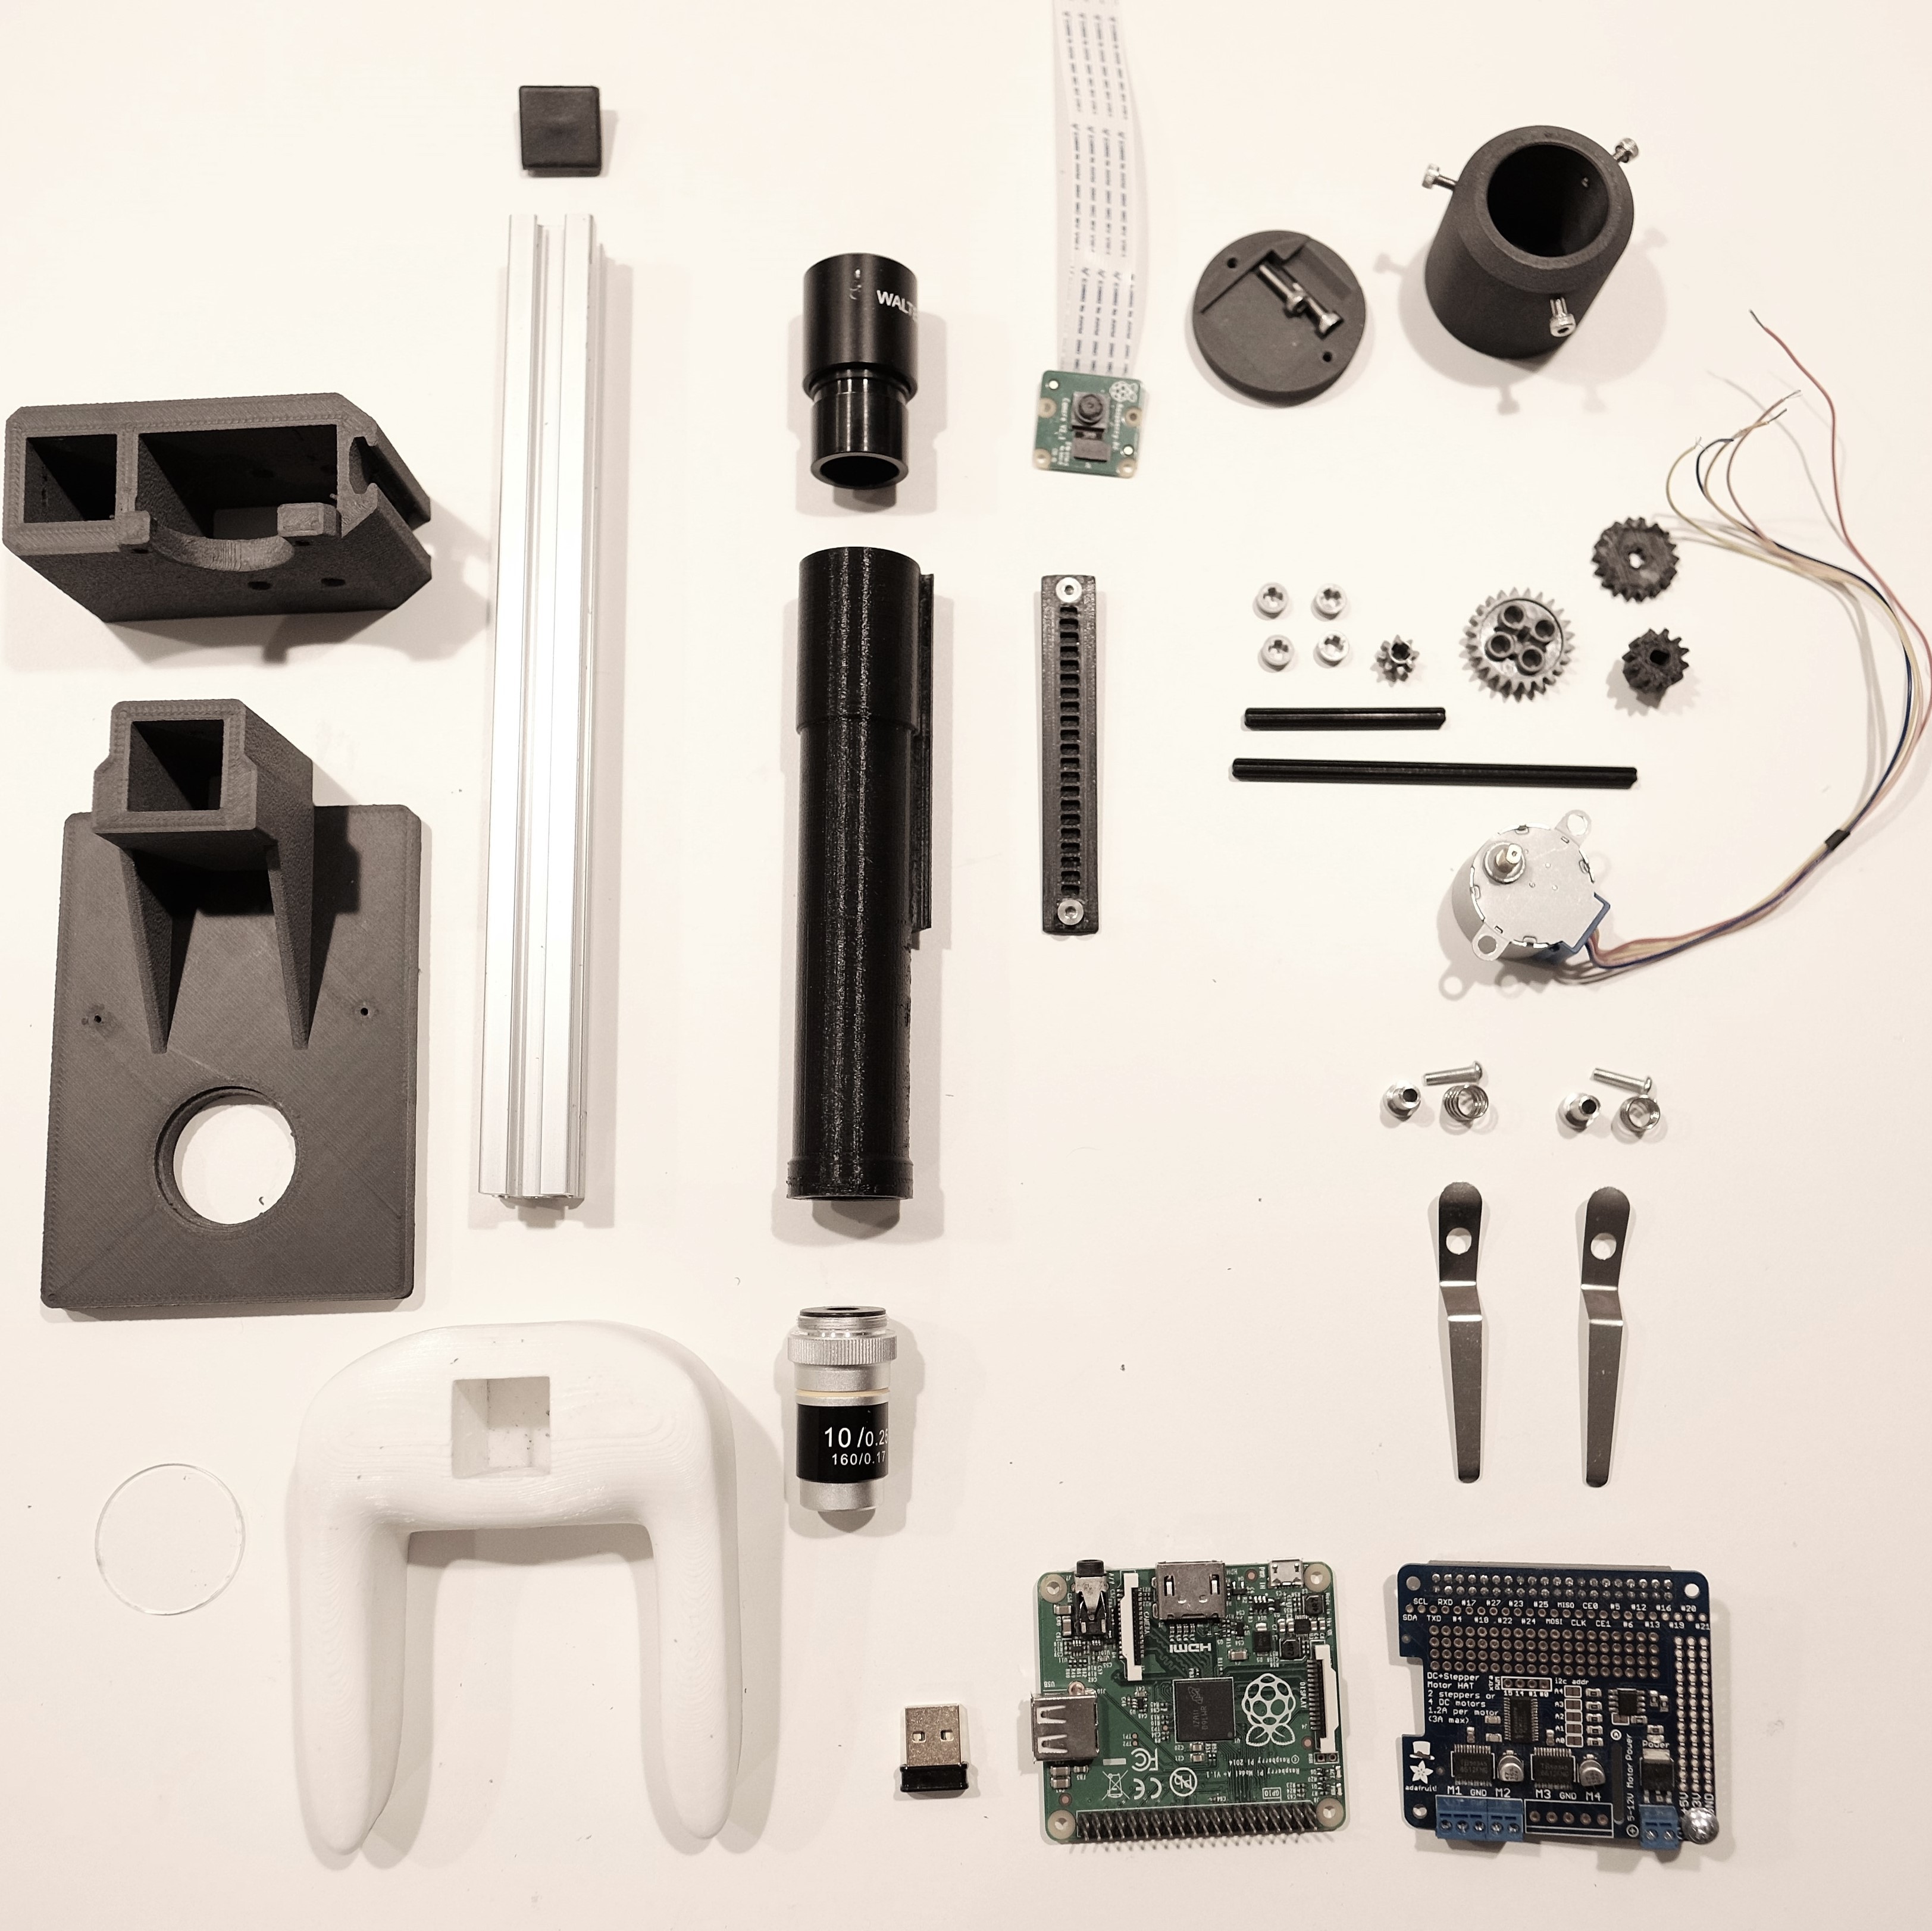
Below is a look at all the parts used:

Note: I should be getting to uploading the design files tomorrow. But know that the ones that say v3 on them are the correct parts to print for the newest design. You will also need "microscope base" and "base plate" .STL files.
How do I build it?
Well first stop procrastinating and start printing the parts. Then buy some objectives and a Pi.
As for printing:
I have three different print layer sizes to choose from.
0.1 mm - you want a show piece microscope that does work!
0.15 mm - you want a functional microscope to show to friends and family \o/
0.2 mm - you want to have a really nice looking paper weight that does not function...
All the holes are slightly under sized so you can carve them out a bit for a better fit.
Enjoy!
Apollo
 Apollo Timbers
Discussions
Become a Hackaday.io Member
Create an account to leave a comment. Already have an account? Log In.