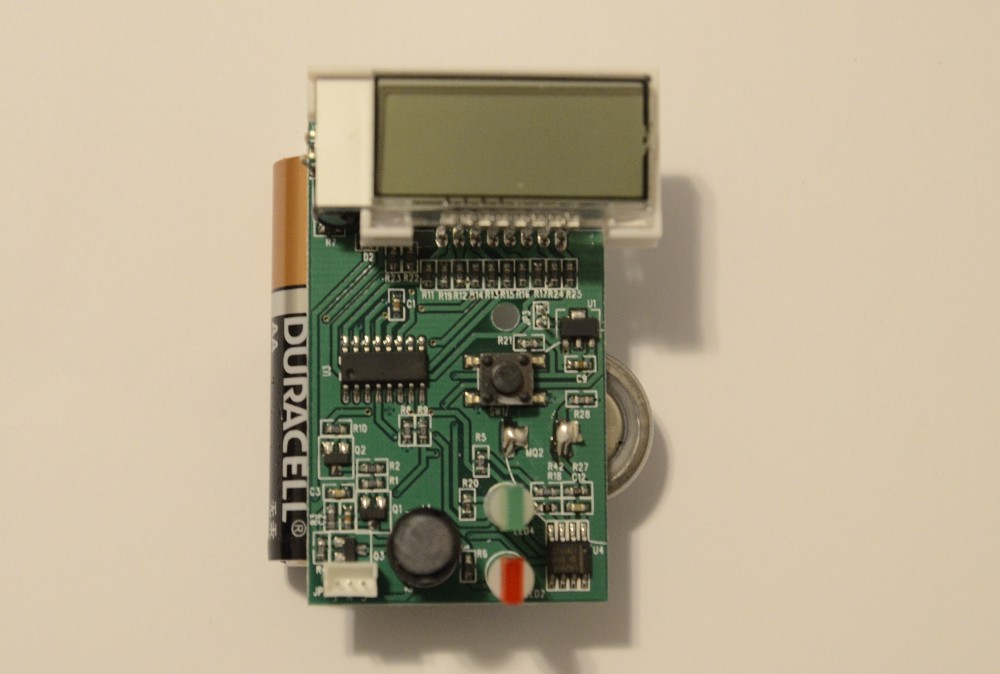
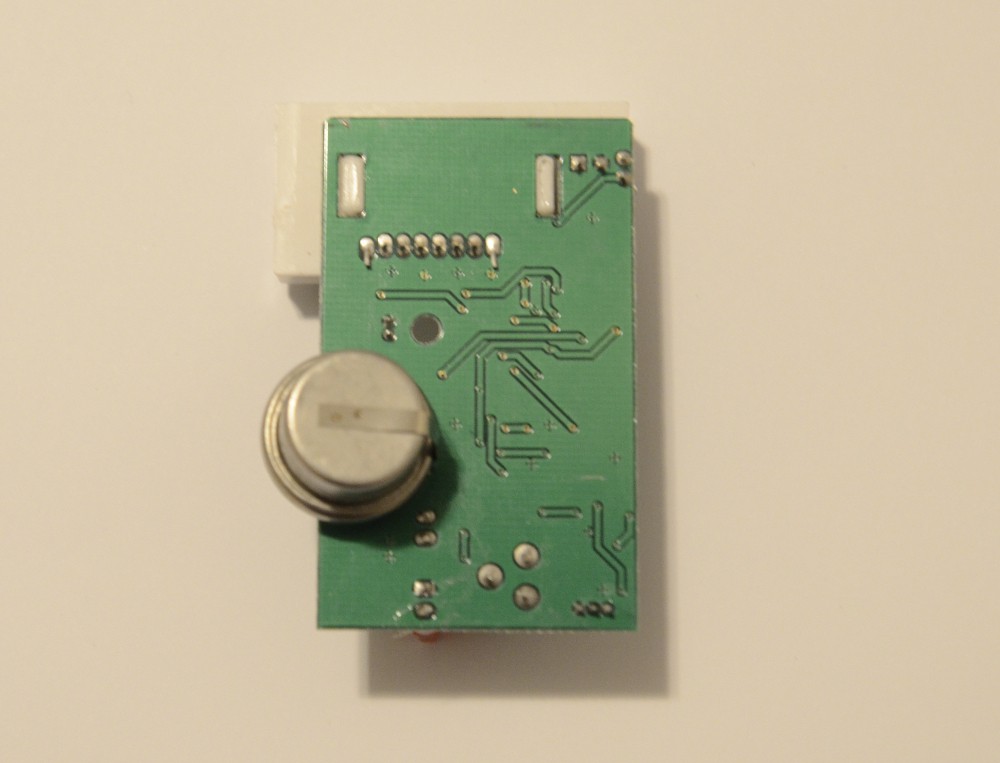
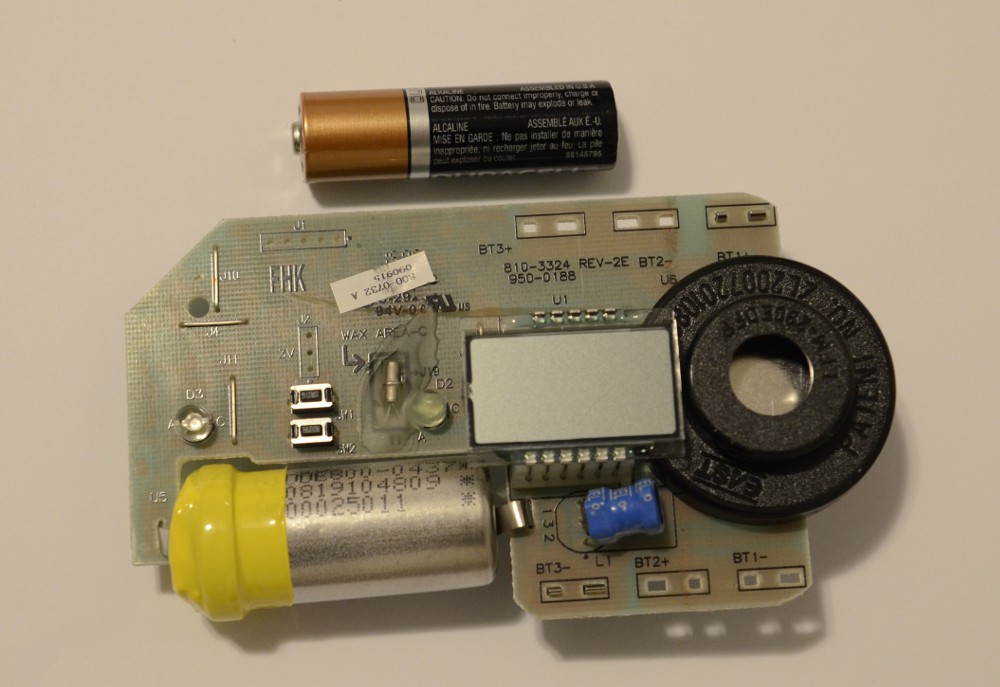
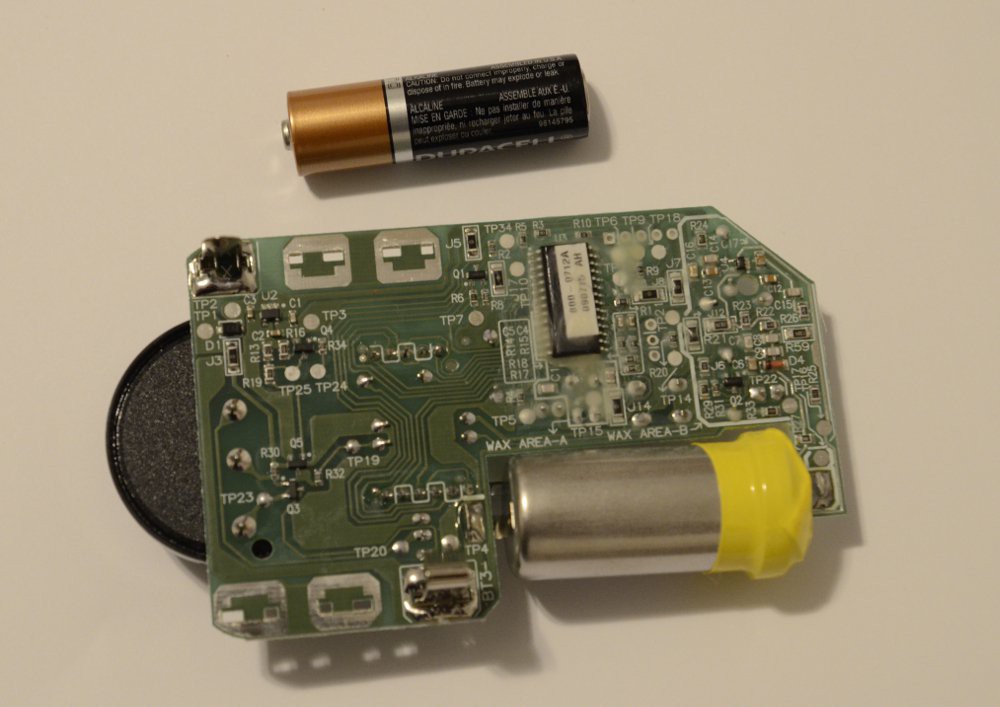
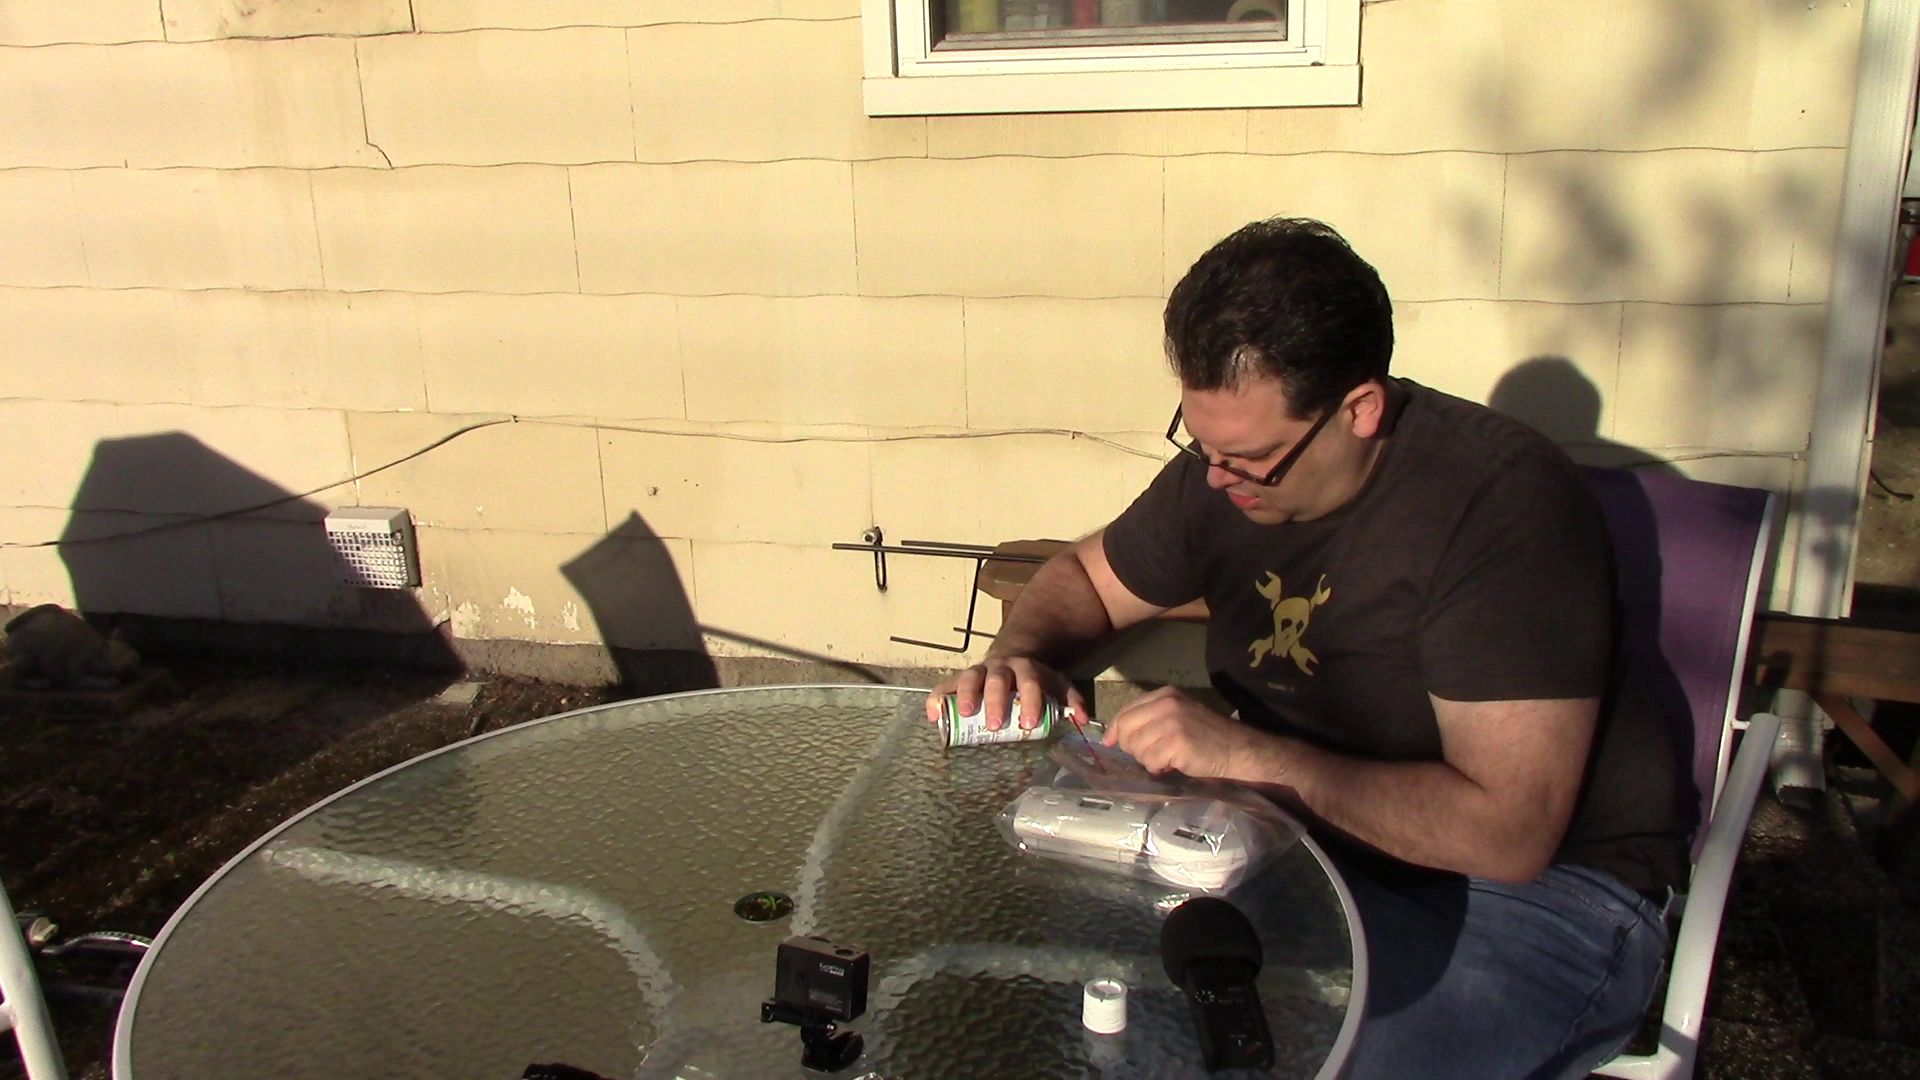
Checking out how carbon monoxide detectors work in a controlled environment
To make the experience fit your profile, pick a username and tell us what interests you.
We found and based on your interests.
My tests showed that both sensors worked well to detect a relatively high concentration of carbon monoxide. However, which one would I put on my wall? I personally would go with the Kidde. It costs a bit more, but I at least know that the design has been tested by a third party (Underwriters Laboratories).
This wouldn't be a complete test without tearing down the sensors. Both devices run on 3 AA size batteries. Both are also a great study in cost reduction. Neither sensor uses screws - they simply clip together.
First the Floureon sensor:
Top:
Next the Kidde top:
and Bottom:
Overall, the Kidde seemed to be better assembled in terms of quality.
I wasn't able to read the part numbers on either device. The Kidde sensor was embedded in wax, while the Floureon had part numbers sanded off.
So why did the Floureon sensor go into alarm so much sooner than the Kidde? It all comes down to the UL 2032 code for CO detectors. The Kidde sensor is UL listed, which means it was tested (at great expense I bet) by Underwriters Labs to comply with the standard. A good portion of the 2032 standard is about reducing false alarms. My best guess is that the Kidde sensor has software running which will wait a certain amount of time before triggering the alarm.
The Floureon sensor on the other hand isn't listed with any safety agency. They were free to use any false alarm delay they wanted.
I'll be the first to admit that this is not a scientific test. However, it is a practical test that anyone can do at home. First a bit of safety - do this test outside, and be careful to not inhale any of the CO check gas.
I set things up on my patio table. The two CO alarms fit nicely into a 1 gallon Ziploc bag. I pushed out as much as air as I could from the bag, then zipped it down on the tube which comes with the CO check can. I started a stopwatch and injected the gas.
The Floureon sensor took just 17 seconds to start beeping. A CO alert is 3 beeps followed by 5 seconds of silence, then the pattern repeats. The Floureon sensor was already reading 830ppm. At 33 seconds, the Floureon sensor read 970 PPM while the Kidde sensor read 0 PPM.
At 51 seconds, the Kidde sensor displayed 415 PPM, but it didn't go into alarm.
The PPM displayed on the Kidde sensor continued to rise.
At 2 minutes 13 seconds, the Kidde sensor went into alarm.
The final display was 811 on the Kidde, and 970 on the Floureon.
Create an account to leave a comment. Already have an account? Log In.
I had one of these recently expire in the house, it's a very similar PCP, same components as well. What i would love to know is how to drive that LCD display with a different micro, like an Arduino or Pi. I hate throwing stuff like this away especially when i can harvest components for random projects. while i doubt i can re-use the micro controller on it due to the EEPROM fuses being set in the factory, the rest of the stuff on there would be fun to play with, especially the LCD display, but i can't figure out how it's driven, is it SPI or i2C? and is there even a library for it?
Become a member to follow this project and never miss any updates
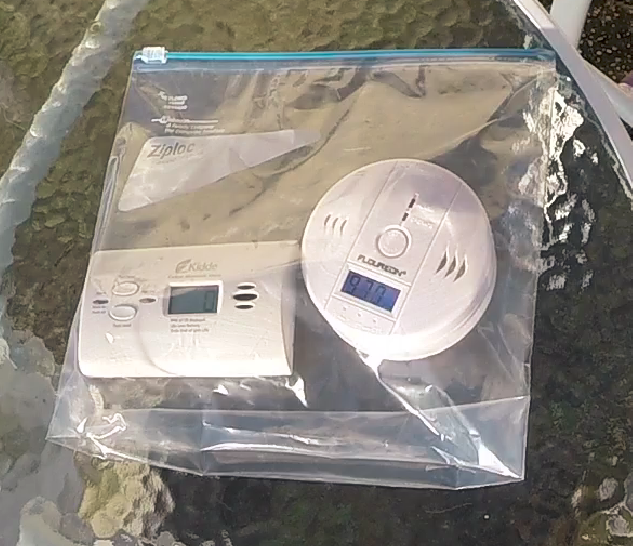
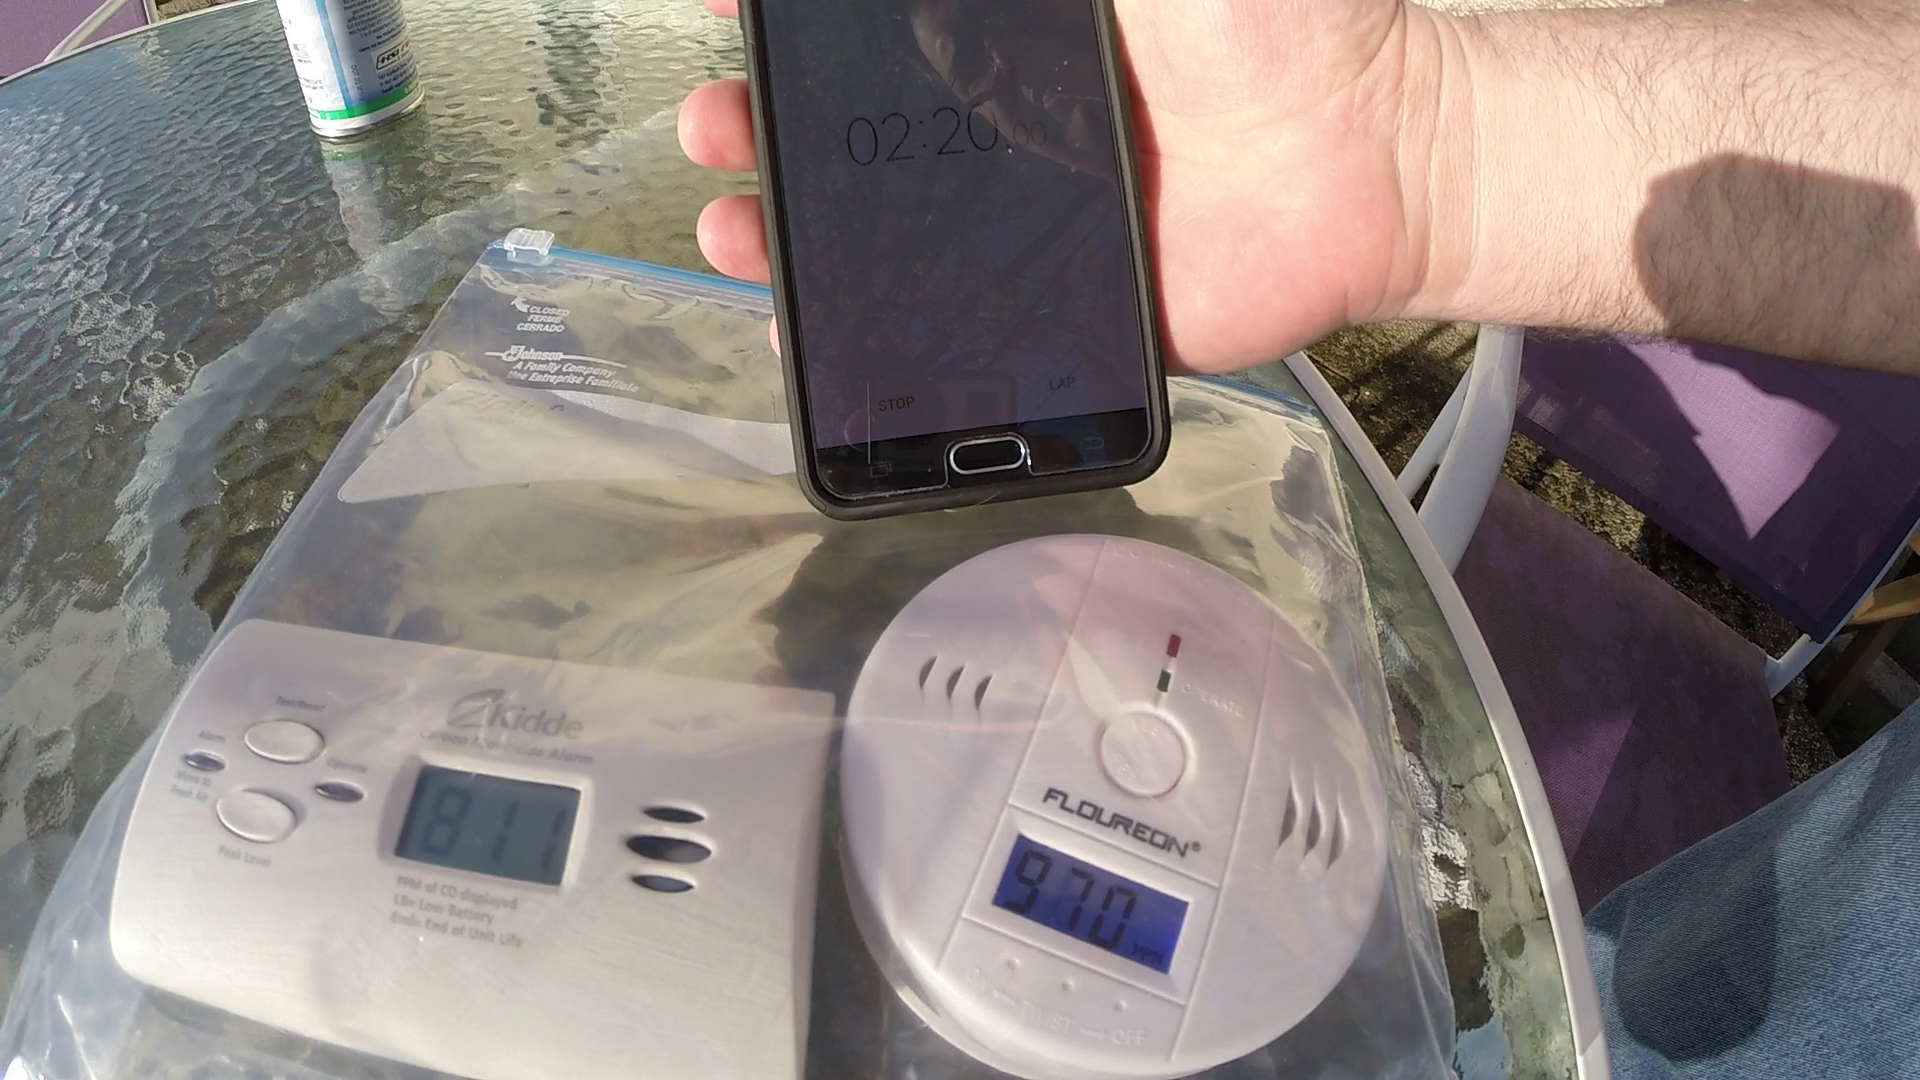
Testing carbon monoxide detectors is crucial for ensuring their functionality and safety. Start by pressing the test button on the detector to ensure the alarm sounds,https://plumbingheatingcoolingnj.com/ indicating the device is operational. Check the battery regularly and replace it as needed to maintain power. Use a CO detector test kit or CO gas to verify that the sensor accurately detects carbon monoxide. Regular maintenance and testing of CO detectors help protect against the dangers of carbon monoxide poisoning by ensuring early detection and timely alerts.v