Displays come in all shapes and sizes. Selection can be difficult with many factors to consider; power consumption, size, readability, touch input and of course there's the actual programming of a micro-controller in order to make full use of your choice. The Adafruit 2.8" Touch screen display is driven by the ILI9341 display driver, while the resistive touch data is output on 2 digital pins and 2 analogue pins. The Adafruit site are pretty good with their documentation so there are easy to follow wiring diagrams and an Arduino library with example sketches available through their site. I'm not going to cover the basics of connecting the display, instead I'm going to discuss some of the GUI elements I've created for this project and lesson learned working with this screen over a couple of logs.
Before diving into the programming whole, the project goals need to be considered. Using the touch screen as the main input to the MyComm device makes it very similar in appearance to a smartphone. In order to achieve smartphone functionality would require a much higher level of processing than the Teensy micro-controller can handle. This can be observed when writing images to the screen. The Teensy doesn't have a large enough ram to buffer the entire screen and run other code. This means when an image is loaded from external storage, the image is written on a "line-by-line" basis. Using micro-sd as the storage device bottlenecks this method further and results in being able to see the image as it is drawn in. See the example video below:
The advantage of using a small micro-controller is power! Then Teensy at very maximum draw only uses 120mA; The raspberry pi typically draws 200-400mA depending on version. So, with the limitation of the Teensy in mind, it's much more reasonable to think of pre-smartphone era devices as the model for our interface.
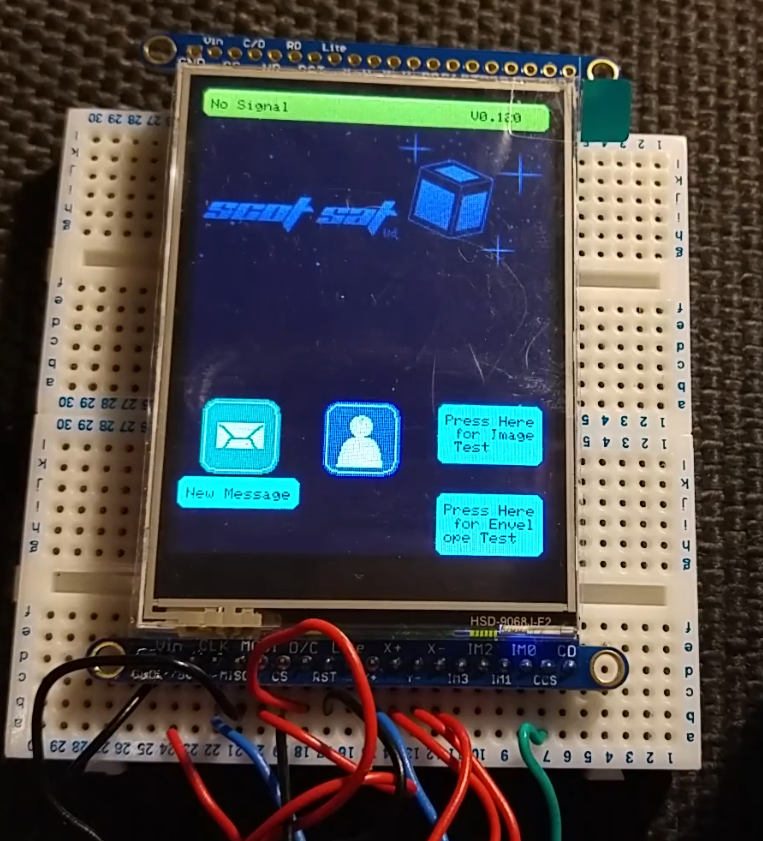
Starting out with images; it's simple enough to draw some basic shapes in paint to produce a small size image to make a button or display information. A really useful example in the ILI9341 library is "pictureEmbed". This uses an image broken down into an array of bytes in order to store the image in the micro-controller program memory. This means we can utilise the Teensy's 256KB of flash storage to hold small images. The writer of the example sketch also includes a Link that will convert files for us for free! The flash stored images load much faster as it bypasses the need for the micro-sd card. And thus we have GUI icons:
From a timing/speed perspective I ran some simple draw tests for comparison. The results below:
| File Name | Storage Method | File Size / Program Memory | File Dimension | Write to Screen Time |
| Scotsat Logo | SD Card | 161kB | 240 x 104 | 220mS (visually see write) |
| Scotsat Logo | Prog Memory | 49.920kB (19% of prog memory) | 240x104 | 3.65ms |
| Envelope (small) | SD Card | 246B | 8x8 | 2.2mS |
| Envelope (small) | Prog Memory | 128B (0.05% prog memory) | 8x8 | 0.057ms |
| Envlope Large | SD Card | 2.74kB | 30x30 | 29.7ms |
| Envlope Large | Prog Memory | 1.8kB | 30x30 | 0.68ms |
Clearly the program memory for loading images is substantially faster. I'll have to keep an eye on my memory usage to ensure I have enough room on the Teensy for the actual running code.
JW
Discussions
Become a Hackaday.io Member
Create an account to leave a comment. Already have an account? Log In.