 Brenda Armour
My Dashboard is almost ready. I decided to add voice controlled music based on this study:
http://mentalfloss.com/article/70539/7-scientific-studies-about-how-animals-react-music
This contains a summary and links to 7 studies on how music can impact the lives of animals. Music can reduce agitation, promote sleep, and improve mood, and lower stress and anxiety. Dogs prefer classical over heavy metal. Apparently cats are more pick and there has been research on music that appeals to them. You can hear a sample at this link.
Cows enjoy calm music—like R.E.M.'s "Everybody Hurts," Simon & Garfunkel's "Bridge Over Troubled Water," and Beethoven's "Pastoral Symphony”
So I will be expanding on this before the end of the contest. The best Voice Command software was PiAUISuite that was developed in 2013. I watch the video and knew this is what I wanted. But with changes since the first build, it was a challenge to get this running on the Raspberry Pi. After reading countless forums I found the following steps worked. After I post this, I will reproduce the setup on a different SD card for a final test.
Step 1: Setting up and testing the Microphone:
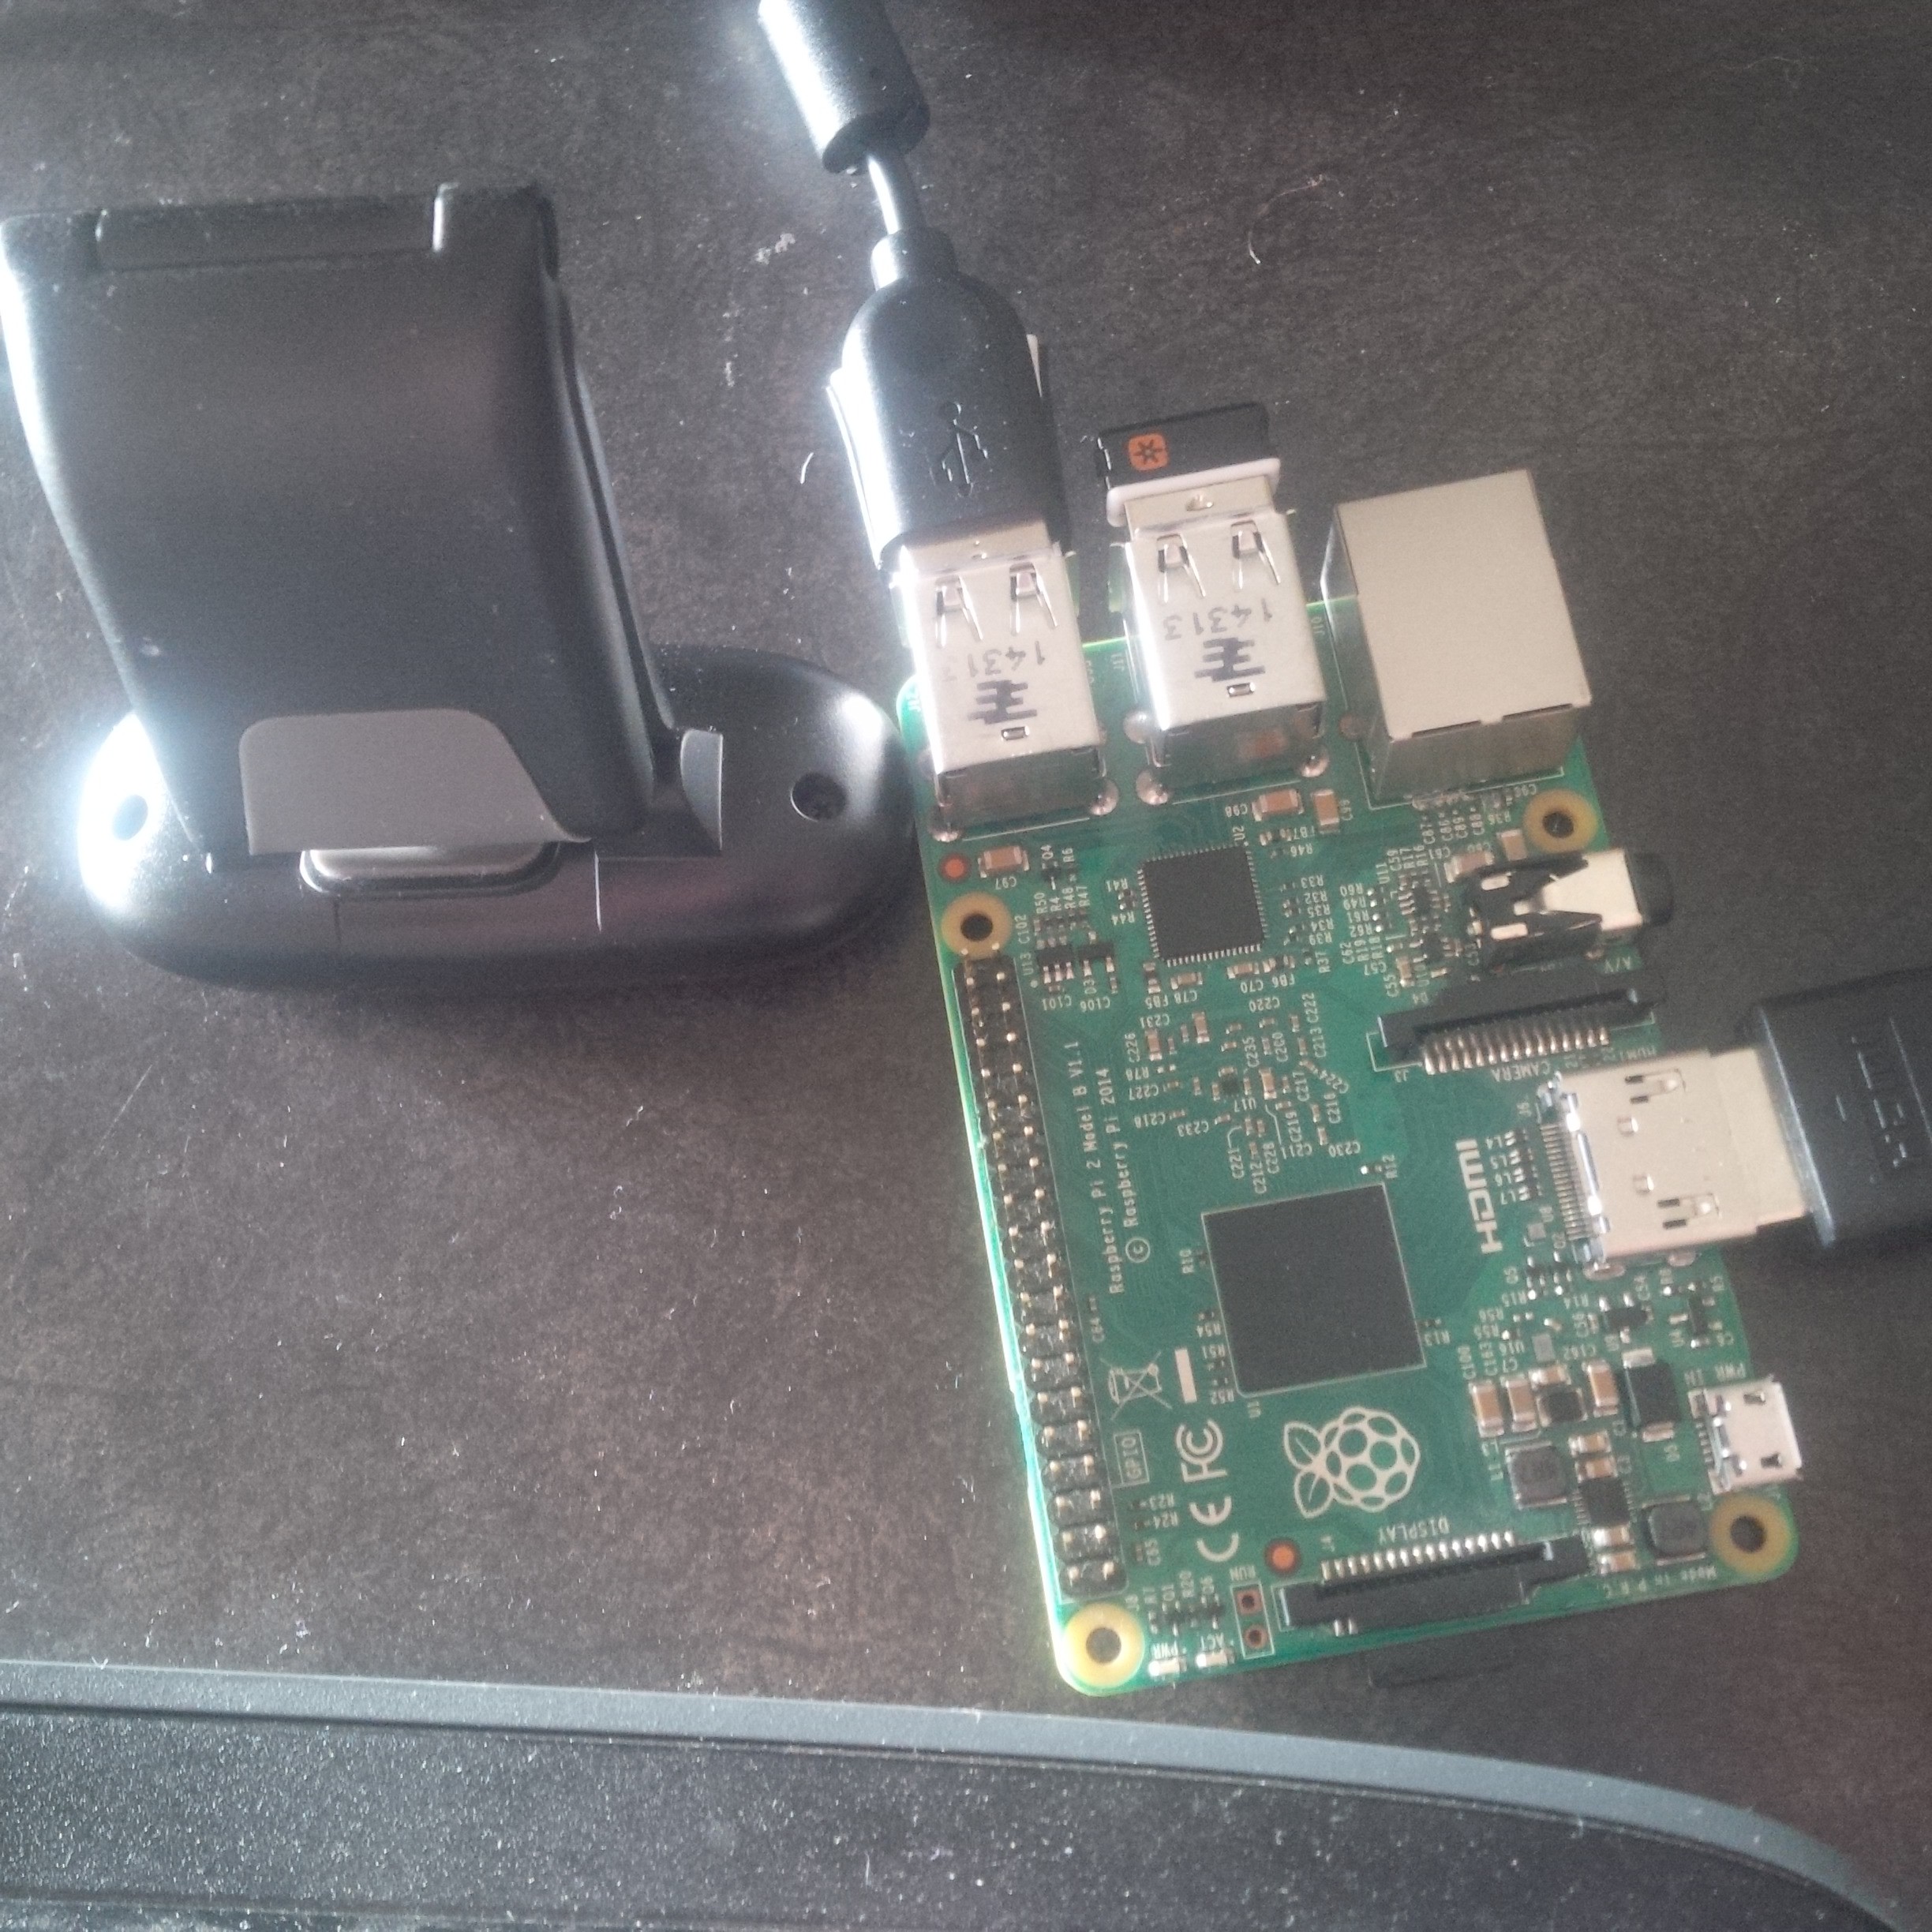
I have budget constraints and chose the low cost Logitech c170 webcam with a microphone included. I paid $22 CND for it and it works like a charm. When I first tested this with aplay I received just static noise. So I had to configure my microphone for the raspberry pi. First you need to load the drivers.
sudo modprobe snd_bcm2835 sudo nano /etc/modprobe.d/alsa-base.congoptions snd-usb-audio index=1 To save it you need to CTL+X. If the module is blank just add the code, Same for the next step.
Then:
sudo nano /etc/asound.conf pcm.!default {
type plug
slave {
pcm "hw:1,0"
}
}
ctl.!default {
type hw
card 1
} sudo reboot To save it you need to CTL+X before you reboot.
Run this command and say something:
arecord -D plughw:1,0 -f cd test.wav Play it back
aplay test.wav Okay so I received my recording back..”testing 123” and know my mic is working.
As a side note – I’m pushing the sound to my RCA TV using HDMI connection to the Pi. I had to run a few commands:
sudo nano /boot/config.txt Uncomment the line by deleting #
hdmi_drive=2
Step 2: Install Dependencies
sudo apt-get install -y libboost-dev libboost-regex-dev youtube-dl axel curl xterm libcurl4-gnutls-dev mpg123 flac sox
Step 3 Install PiAUISuite:
git clone https://github.com/StevenHickson/PiAUISuite.git

cd PiAUISuite/Install

./InstallAUISuite.sh
During the install a number of questions will be asked for the commands.conf file. General consensus instructs us to say yes to all the questions. To get this all to work I did a manual rather than an automatic setup for VoiceCommand so said no. .My threshold was different than the default. An once I had the correct threshold I could see the recording as mono and signed. I'll post my .commands.conf file in the log.
Step 4: Replace the tts file:
We have to replace the tts (Text to Speech) with this: The file is in the VoiceCommand folder.
#!/bin/bash


#since google ended TTS, this script
replaces tts with pico2wave.


if [ $# -lt 1 ]


then               #an argument was not entered -
pico2wave needs something to say


/usr/bin/pico2wave -w /tmp/tempsound.wav "I have nothing to
say."


/usr/bin/aplay -q
/tmp/tempsound.wav


rm /tmp/tempsound.wav


exit 0


fi


speech=$@


/usr/bin/pico2wave -w
/tmp/tempsound.wav "$speech"


/usr/bin/aplay -q  /tmp/tempsound.wav


rm /tmp/tempsound.wav


#!/bin/bash


#since google ended TTS, this
wrapper-script replaces tts with pico2wave.


#version 0.2 -now rudimentarily handles
language -l param.


if [ $# -lt 1 ]


then                  #no argument entered - i need
something to say


/usr/bin/pico2wave -w /tmp/tempsound.wav "I have nothing to
say."


/usr/bin/aplay -q /tmp/tempsound.wav


rm /tmp/tempsound.wav


exit 0


fi


if [ "$1" = "-l"
]    #-l in event where user explicitly
defines language.


then                   # Note: always assumes $2 is
'en' or a valid language option.


lang=$2


if [ $lang = "en" ]
#TODO: cant find the real source of en, but if


then                      # i see
'en' I'm hard coding  en-US.


lang="en-US"       #US
English, mofo, do you speak it


fi


shift 2


speech=$@


/usr/bin/pico2wave -l $lang -w /tmp/tempsound.wav "$speech"


/usr/bin/aplay -q /tmp/tempsound.wav


rm /tmp/tempsound.wav


exit 0


else                  #else lets go straight to
speech-output


speech=$@


/usr/bin/pico2wave -w /tmp/tempsound.wav "$speech"


/usr/bin/aplay -q /tmp/tempsound.wav


rm /tmp/tempsound.wav


fi
Step 4: Modify two Lines
Update PiAUISuite/VoiceCommand/speech-recog.sh old line -f cd -t wav with -f S16_LE –d
Change this line - > arecord -D $hardware -f cd -t wav -d
And:
update PiAUISuite/VoiceCommand/voicecommand.cpp function GetVolume(string RecordHW,...) Again, look for -f cd -t wav with -f S16_LE –d7
Change this line -> run += " -f cd -t wav -d ";
Step 5: You may have to install an older version of g++
sudo apt-get install g++-4.8
make This is important to run this command. It compiles the changes and it required to make this work.
go to install folder and
sudo ./InstallAUISuite.sh Step 5: Install Pico2Wave
sudo apt-get install libttspico-utils pico2wave -w lookdave.wav "Look Dave, I can see you're really upset about this." && aplay lookdave.wav Step 6: Test tts by running this script at the command line.
tts hello Brenda. What a fine day.More to come. Below is a test run:
Discussions
Become a Hackaday.io Member
Create an account to leave a comment. Already have an account? Log In.