 Kevin Kadooka
This weekend I got to adding the stepper motor and controller to the whole setup (below). Here I'm using a NEMA 8 stepper and a DRV8834 low-voltage stepper driver from Pololu. I hadn't really realized that the NEMA 8 would have so little "oomph" (read: torque). It takes some careful timing of the stepper and control of the current limit to avoid skipping steps, without browning out the rest of the system. I
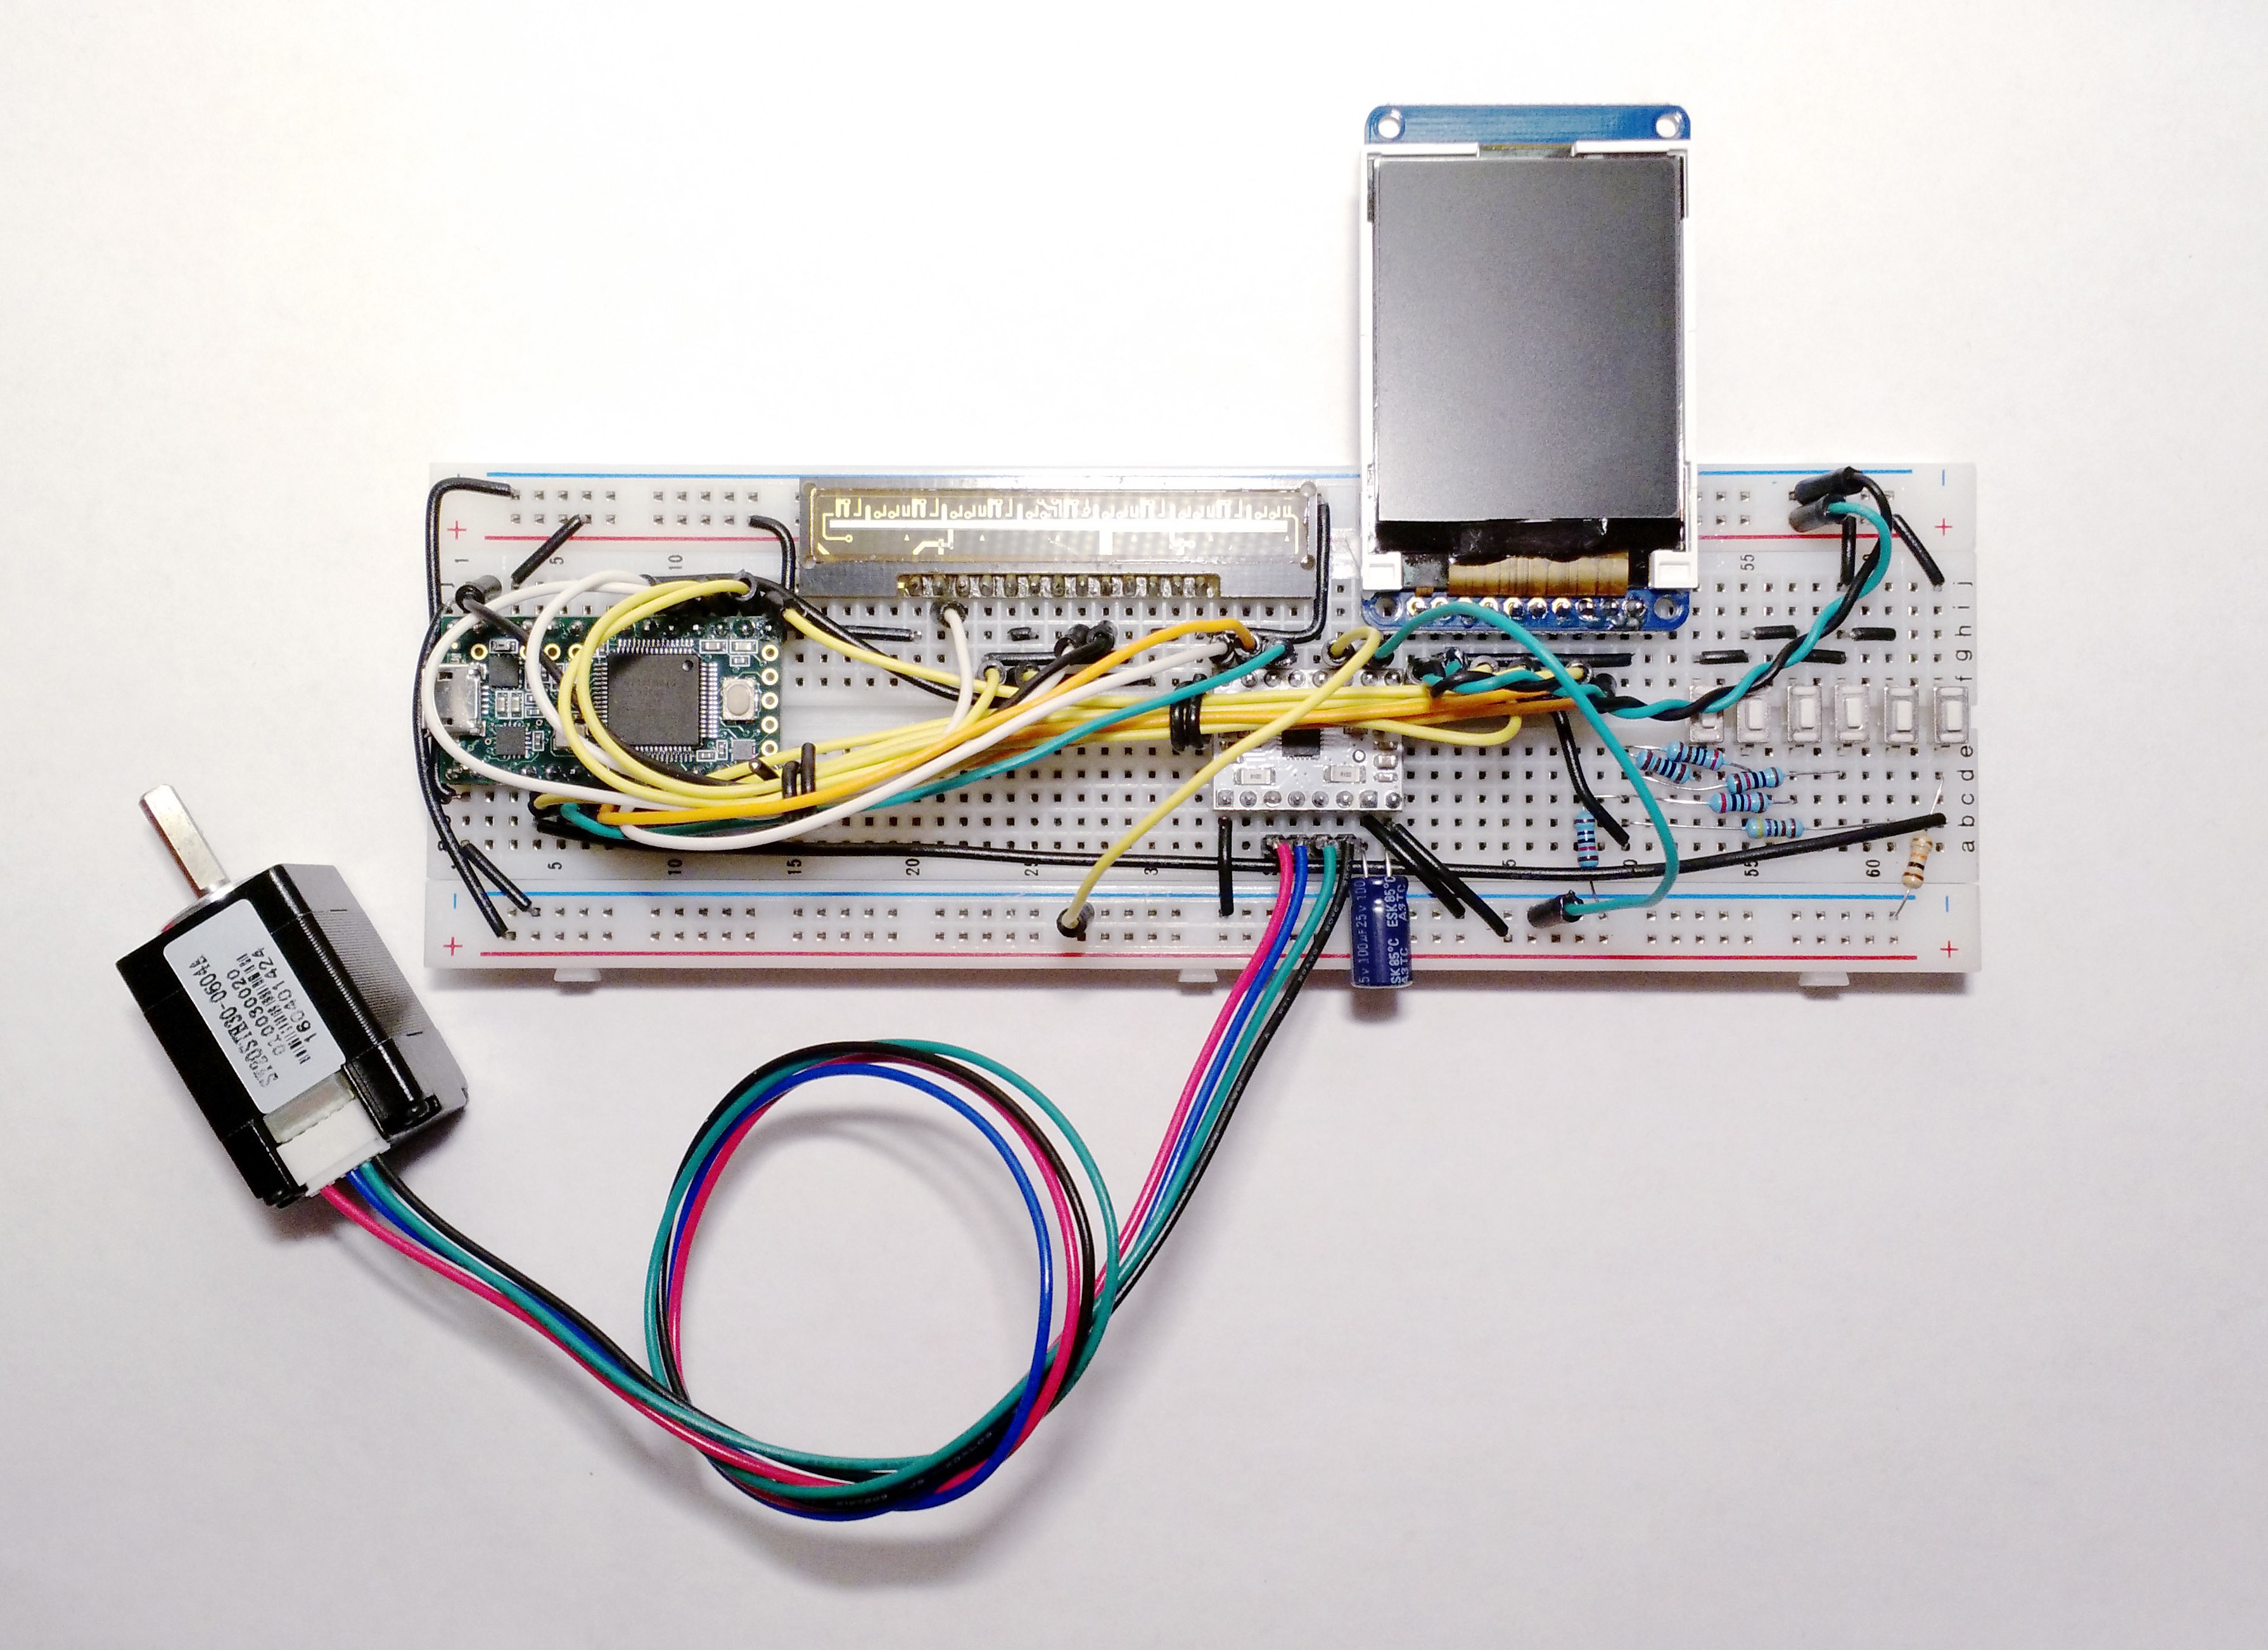
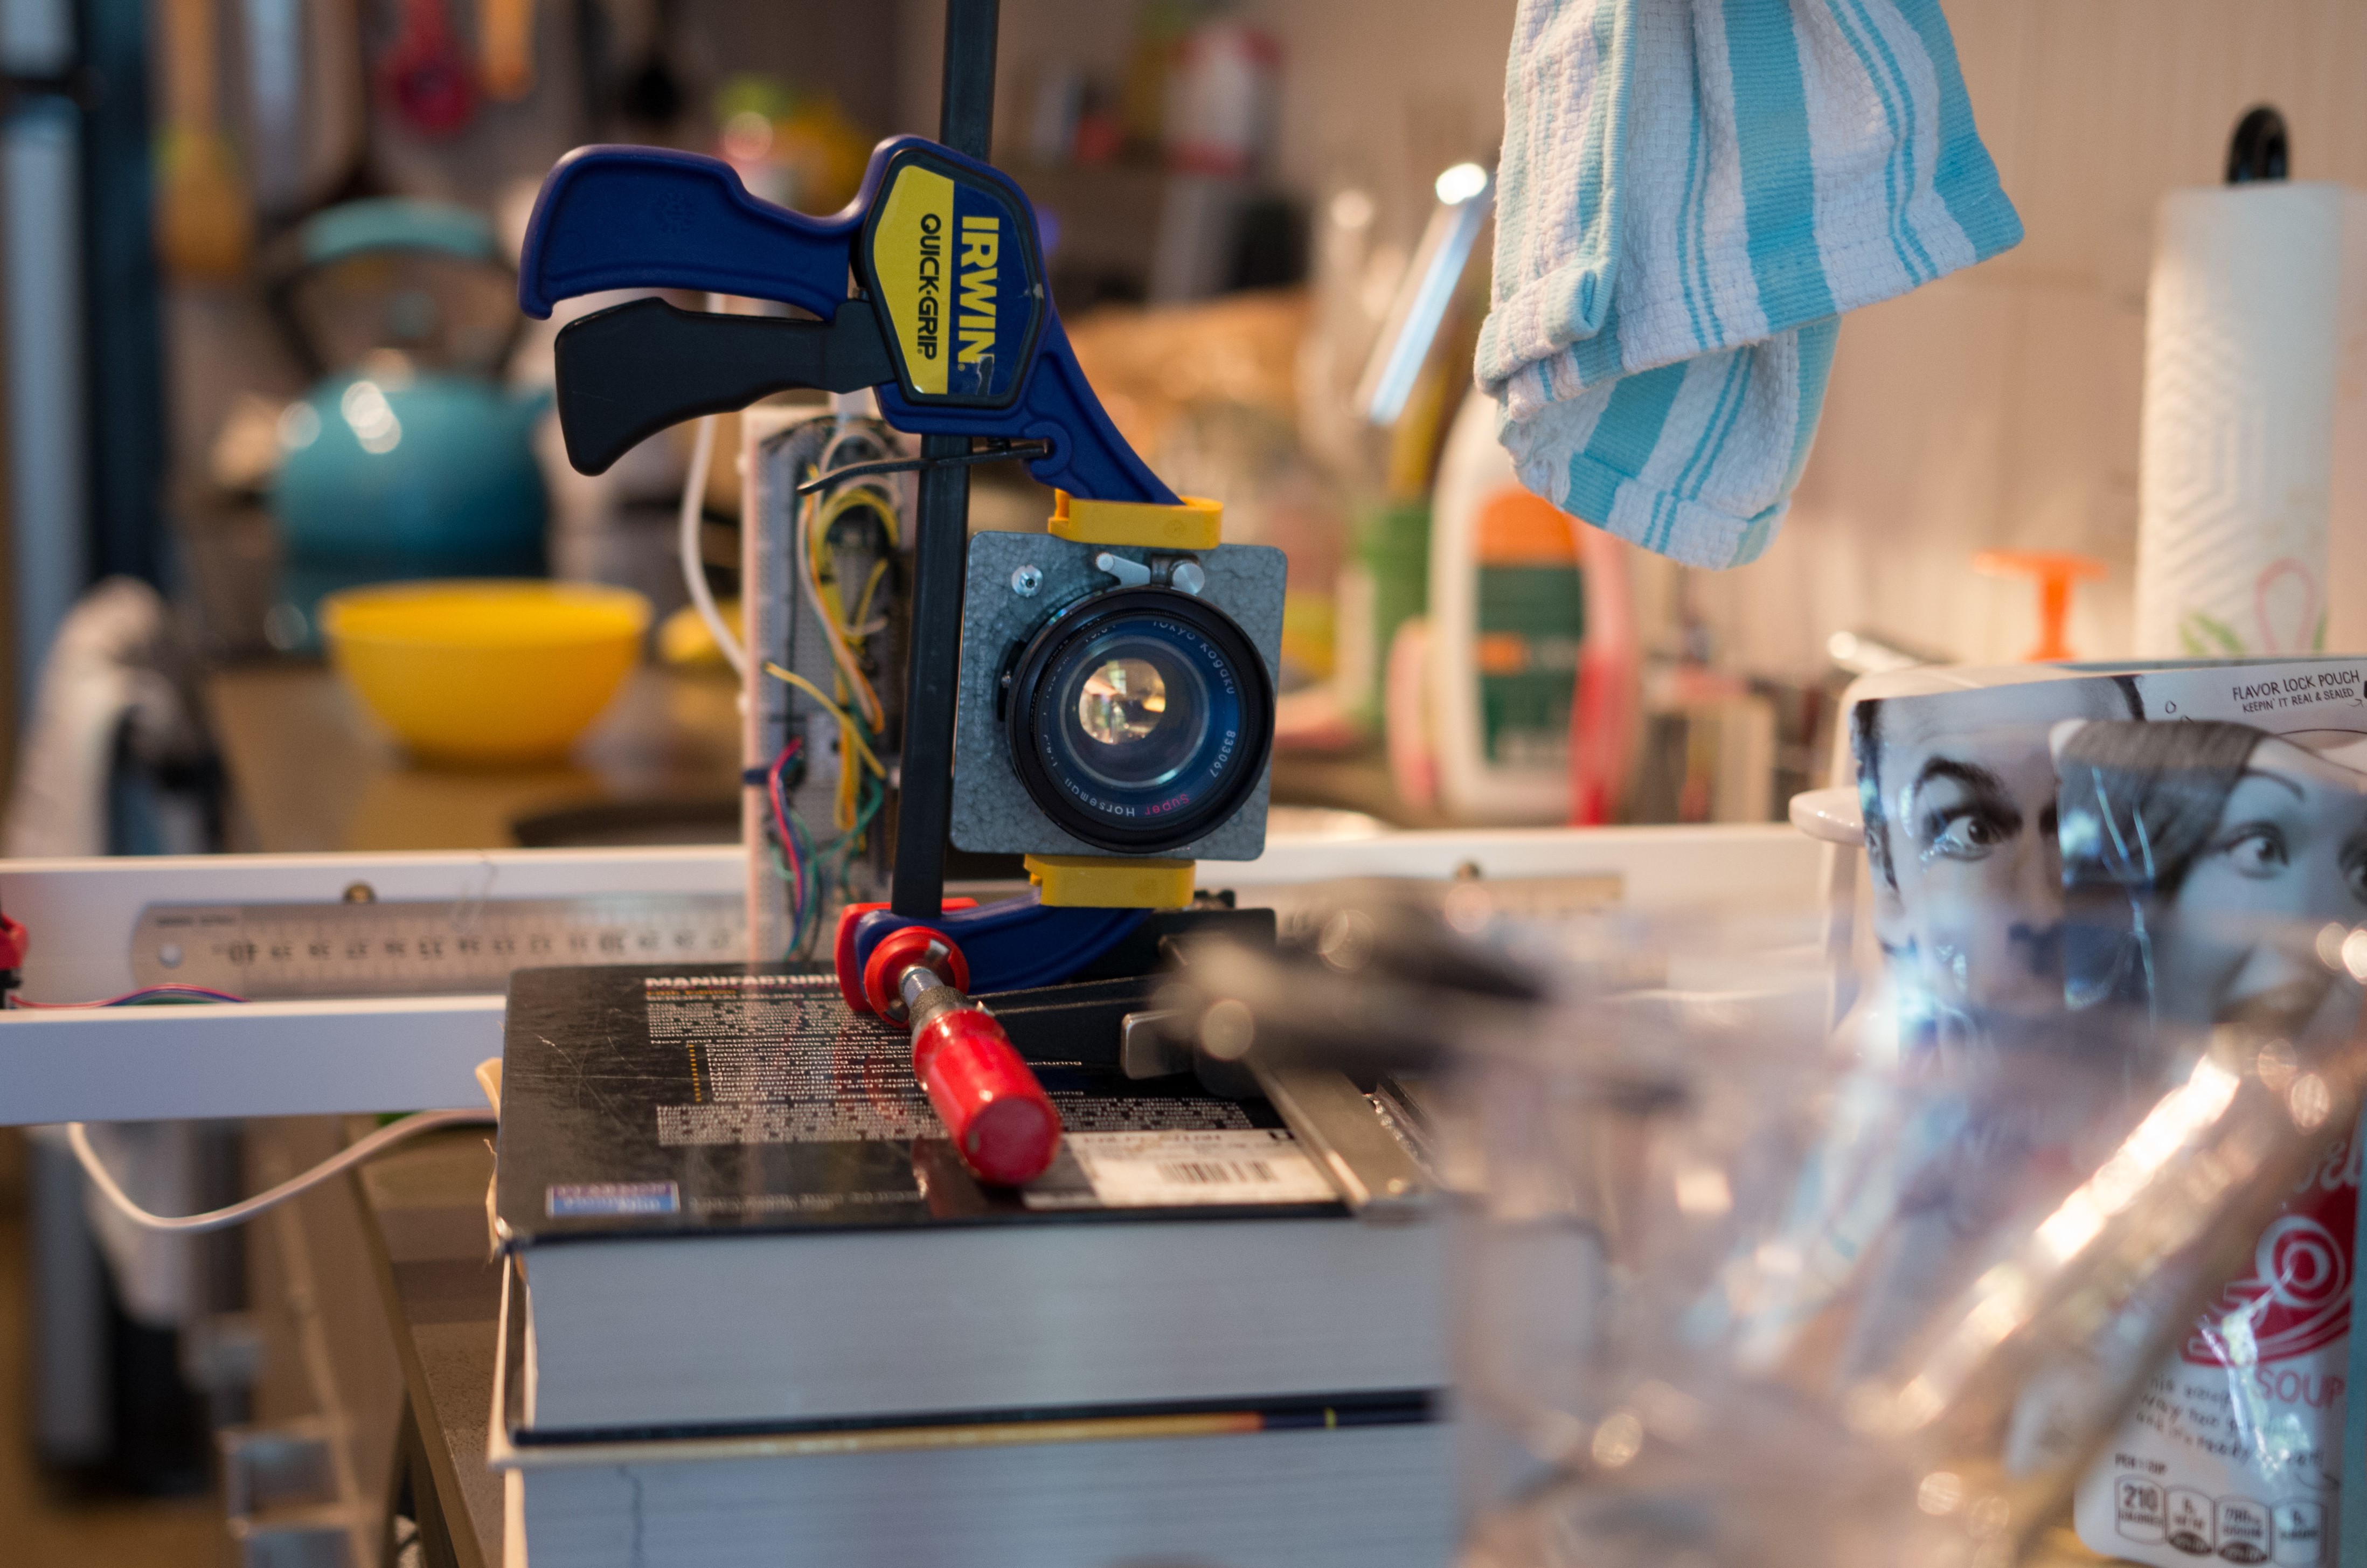
I've also programmed it to show a helpful menu system on the TFT screen, to control capture, integration times, image preview, etc. More on that later. But to heck with all that for now - let's take some photos! I kludged together this setup with an actual lens this time - a Super Horseman 105mm f/4.5, which covers 4x5. It's my go-to test lens since it covers 4x5", press shutter, and good sharpness. The breadboard is pulled along an Ikea shelf (which recently fell off of my wall taking some paint with it - RIP safety deposit) by a piece of dental floss (the minty kind) tied around the shaft of the stepper.
To top it all off, a Safeway grocery bag is used to provide some semblance of a dark chamber for the sensor. Take a look at this masterpiece.
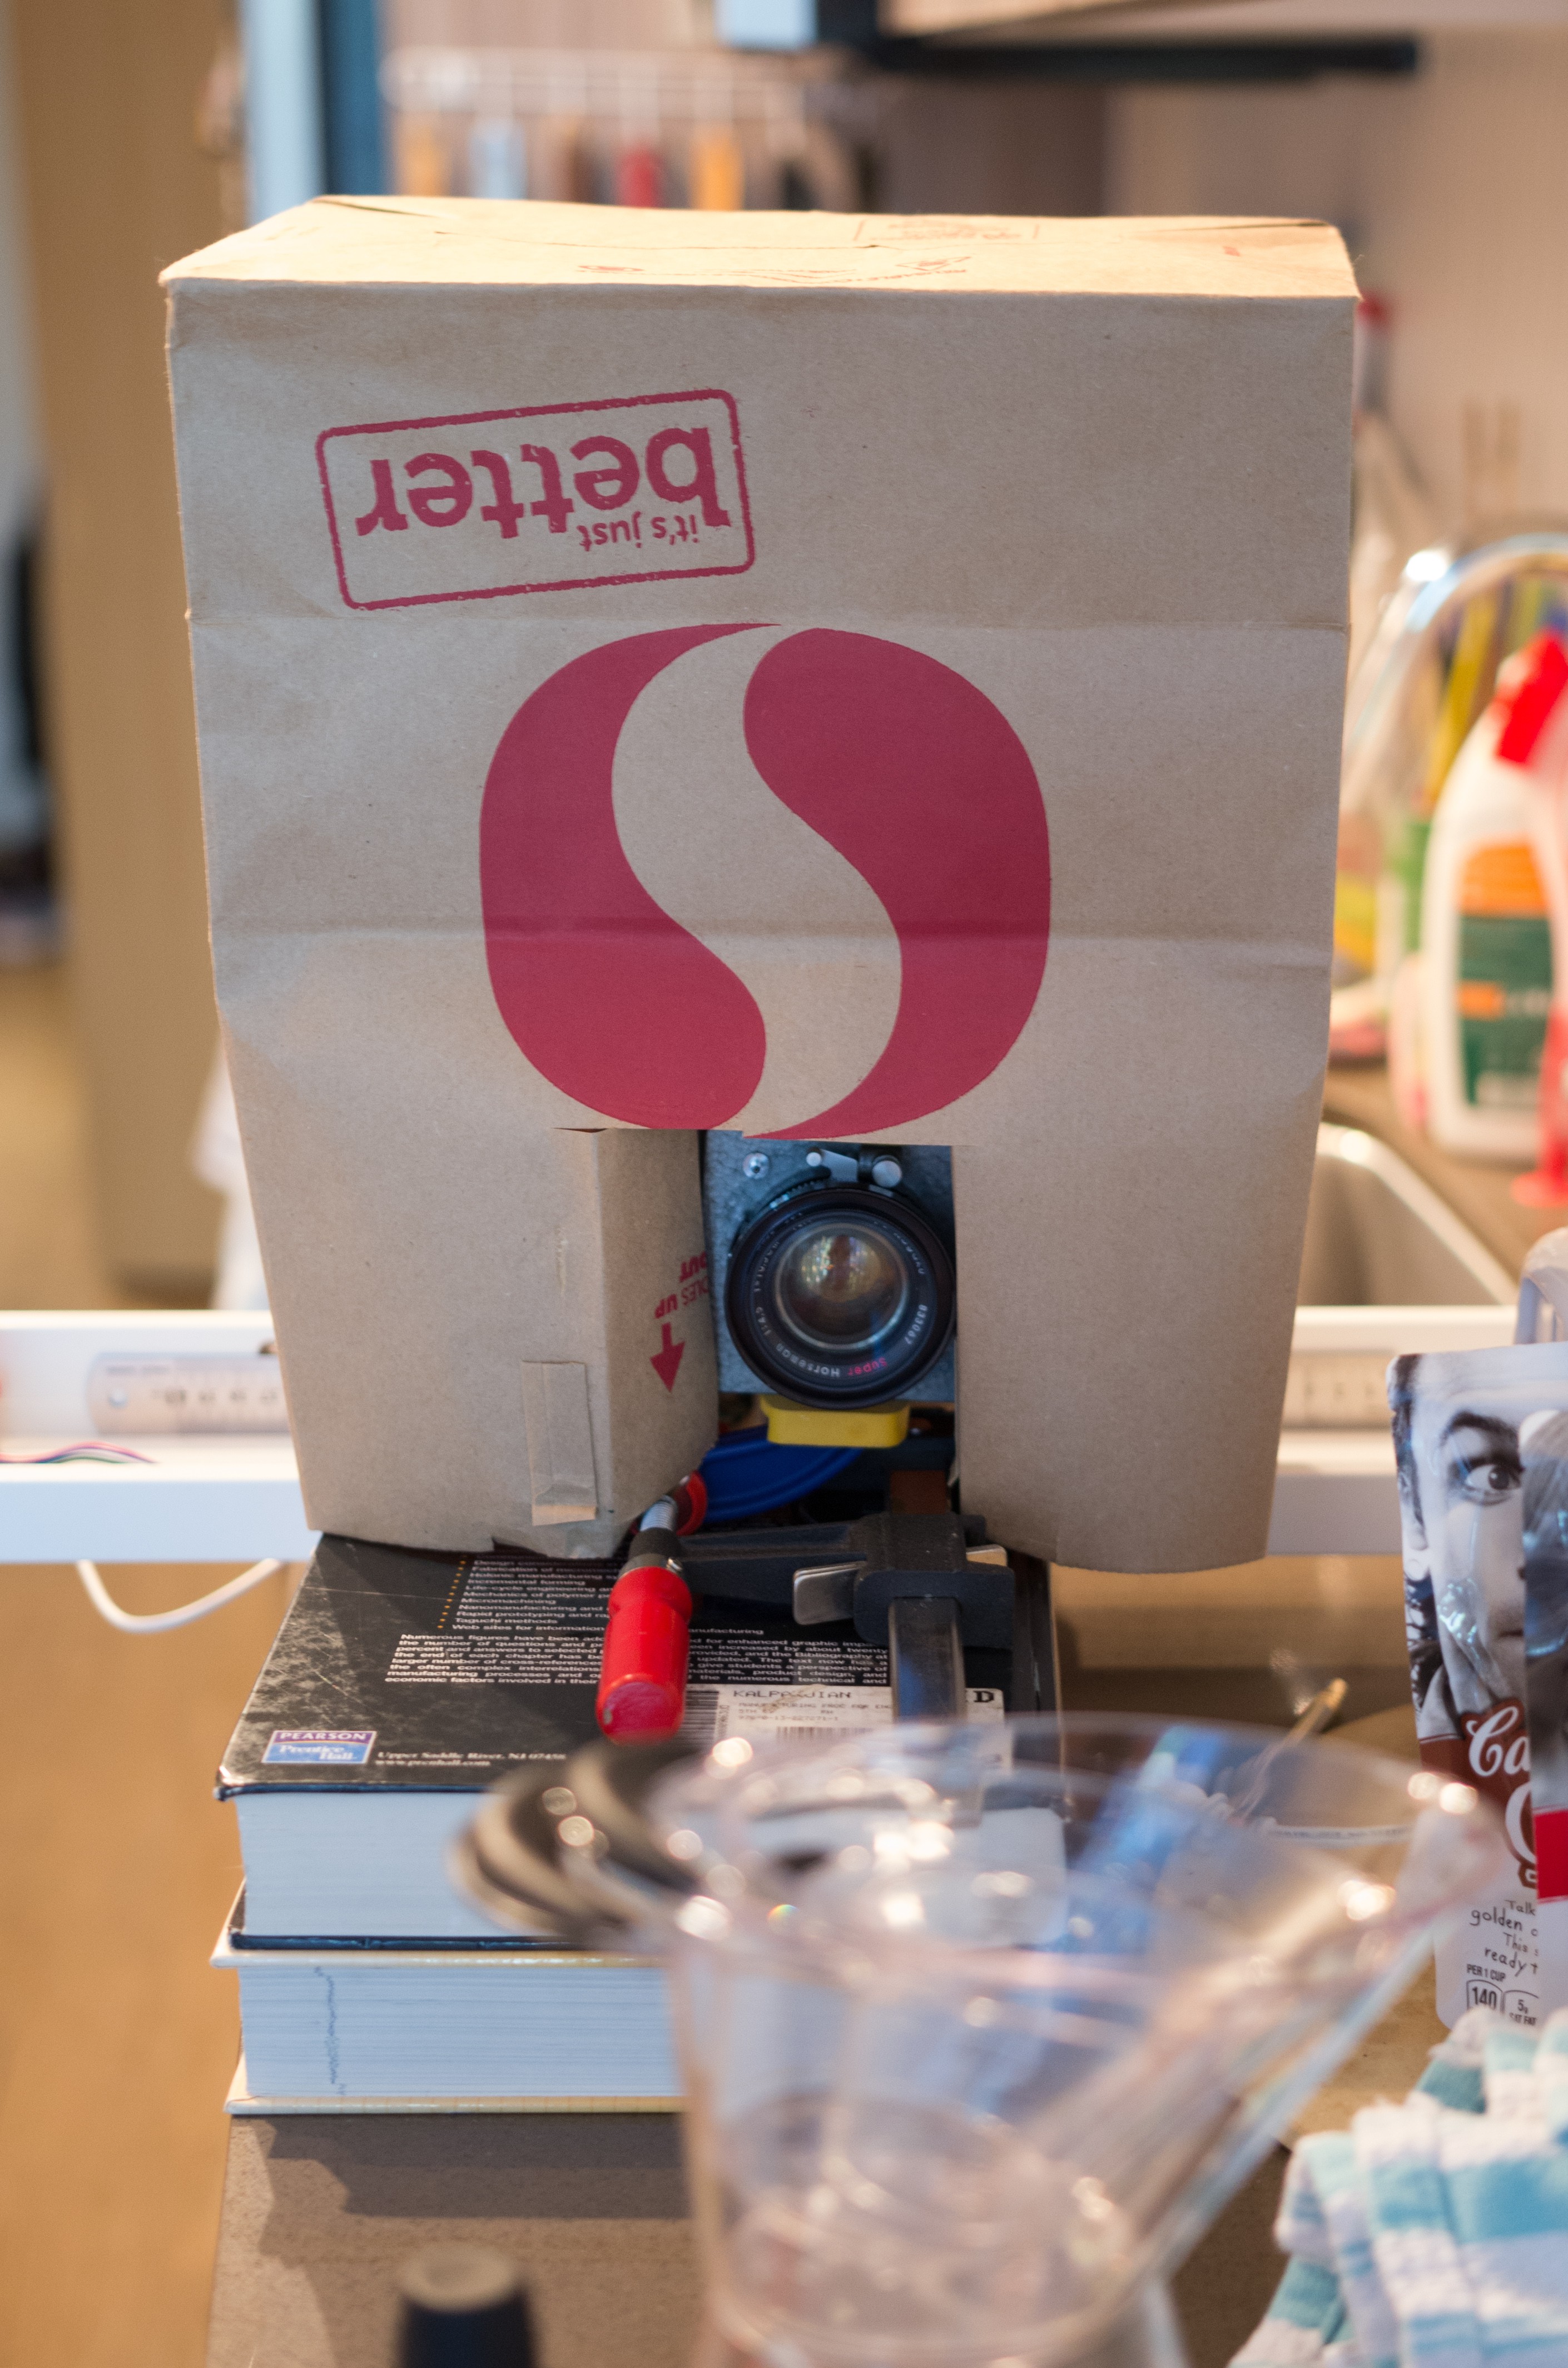
Look below and you can see the stepper (lower left) clamped to the Ikea shelf, with a thin strand of floss pulling a ruler, with the breadboard in tow.
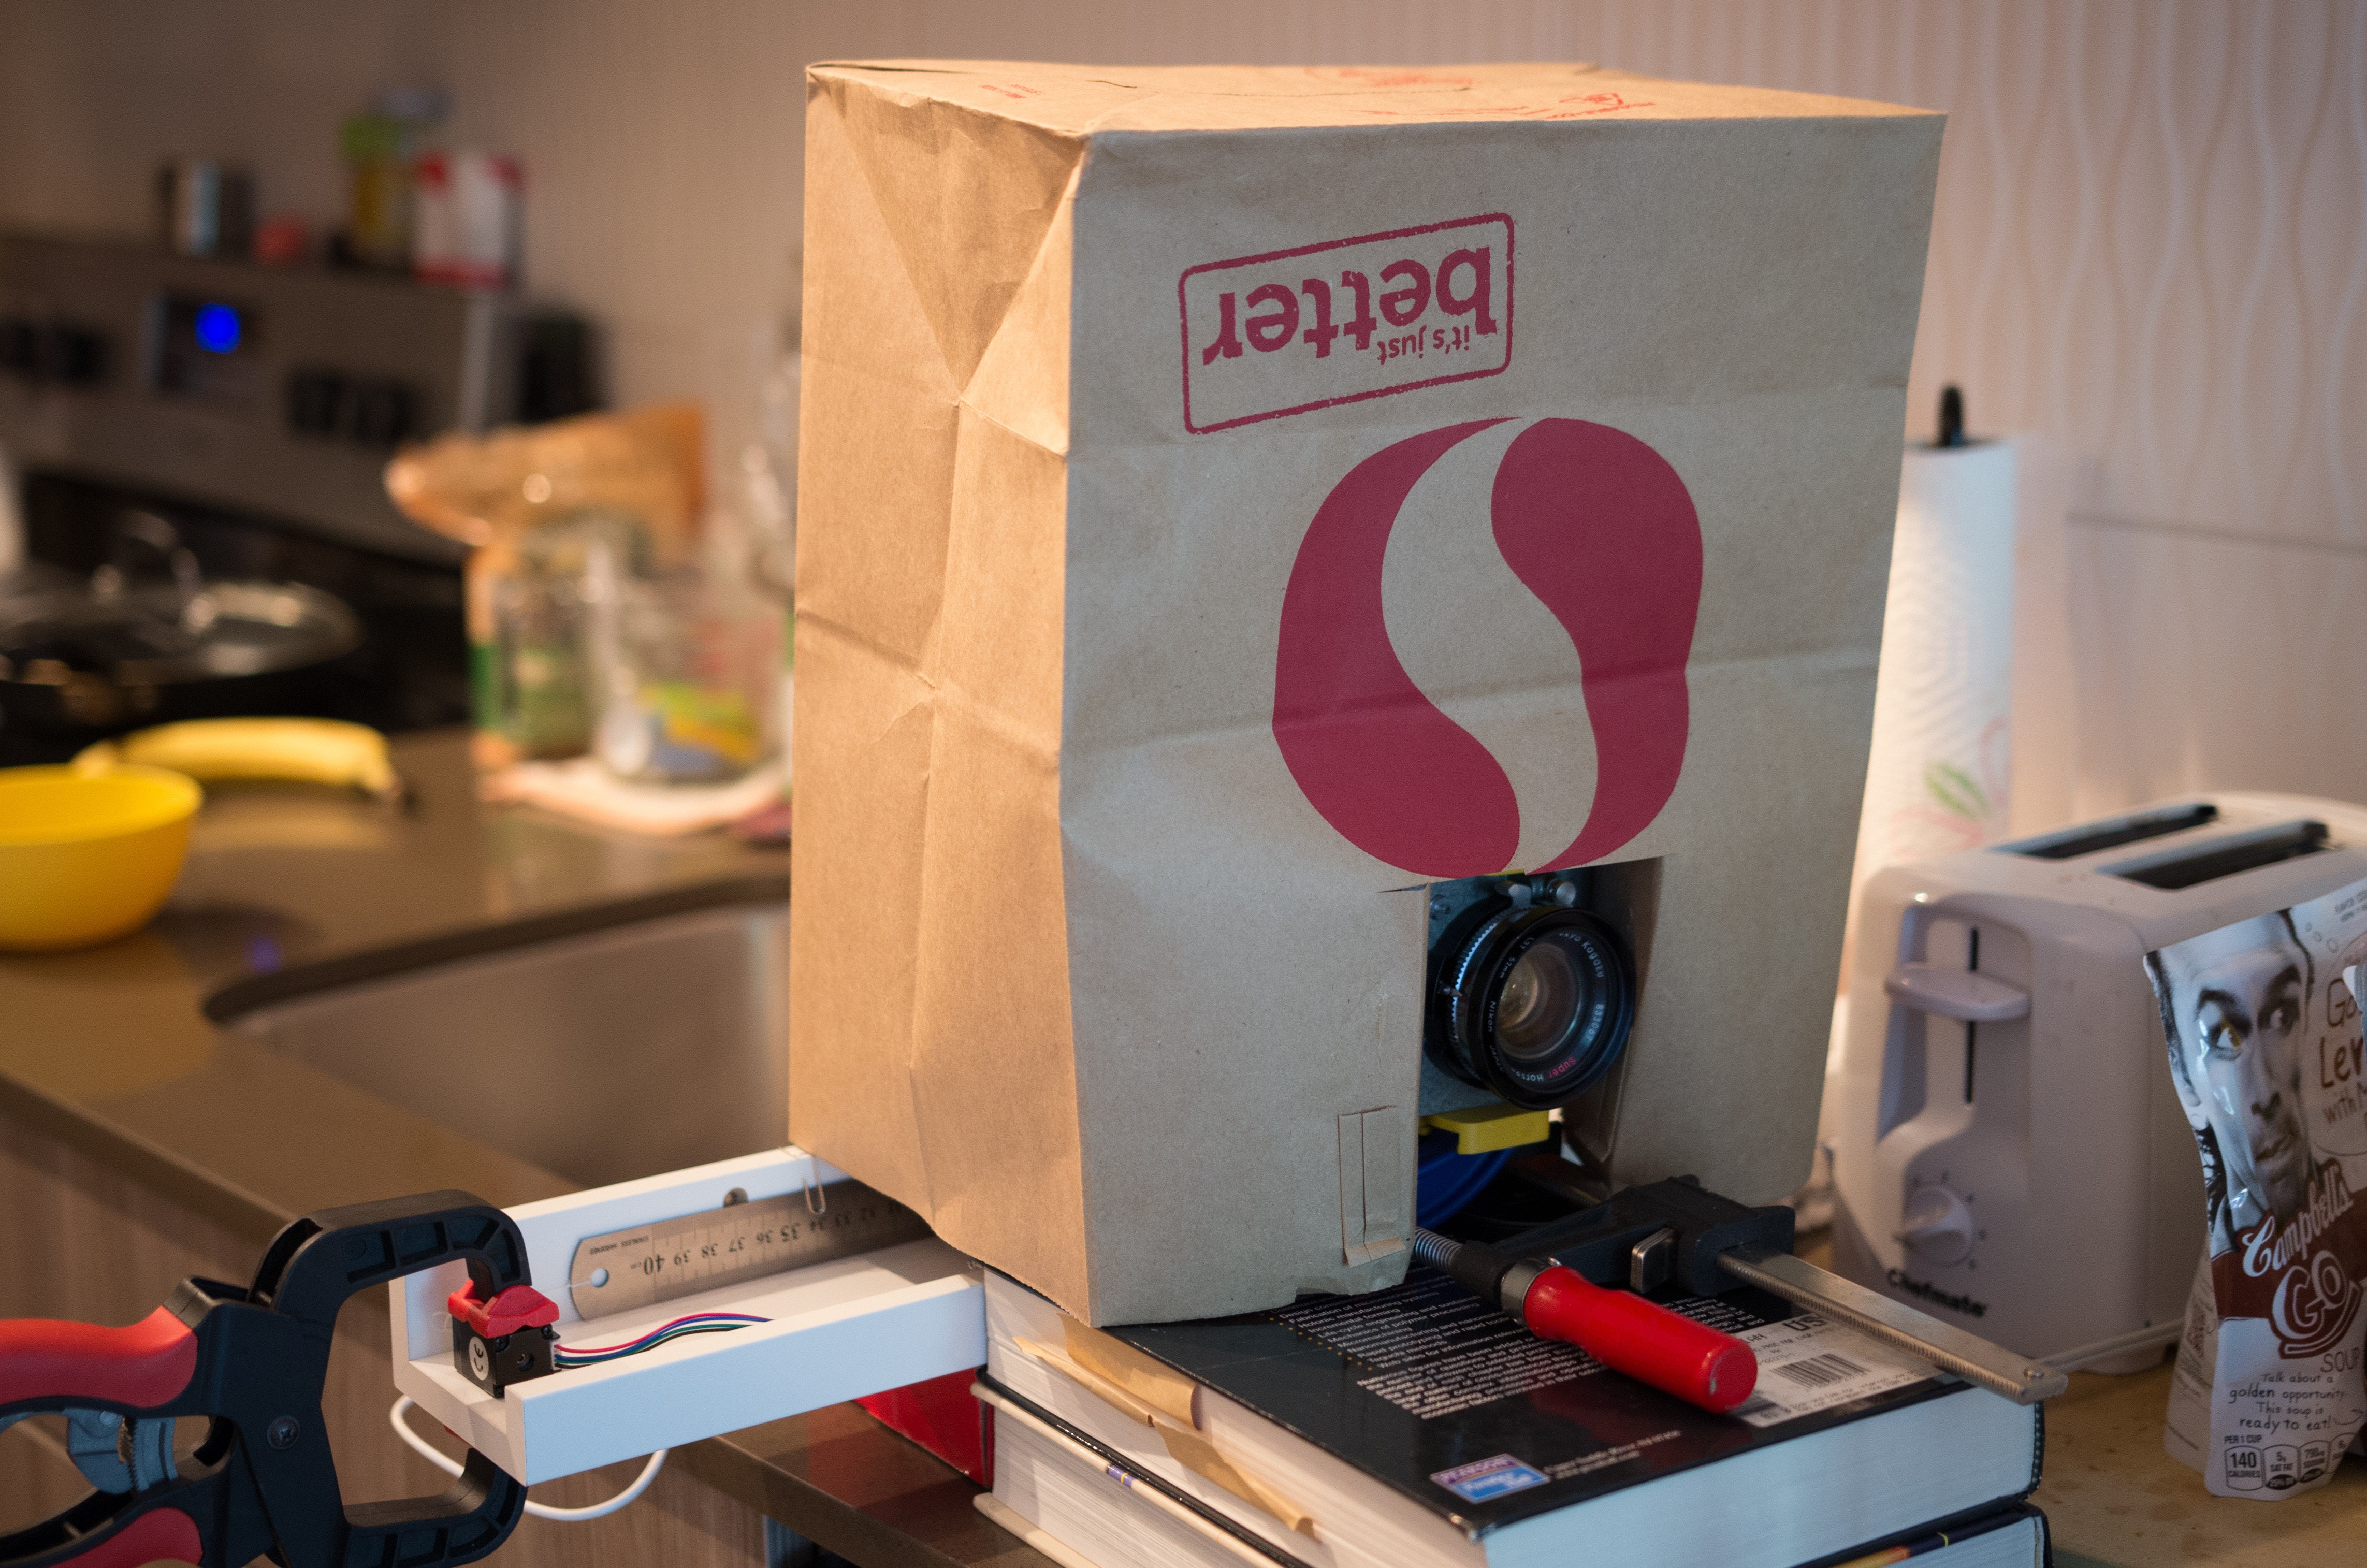
Using the stepper instead of simply sliding the breadboard along by hand of course yields much better scans, with less distortion. There are still some light leaks here (surprisingly, the paper bag isn't completely light-tight), but hey, not bad. It's hard to focus and compose without ground glass or any sort of viewfinder, though. But that will be addressed soon enough, hopefully.

Plastic measuring cups. Super Horseman 105mm f/4.5, at f/4.5. Integration time was 1/250s. Minor contrast adjustment in PS.
Discussions
Become a Hackaday.io Member
Create an account to leave a comment. Already have an account? Log In.