I thought I could pretty much do this instantly, and if I'd kept it simple, I could have. But I realized that joining the parts together would be kind of tricky, and so I wanted a solution for that.
So, the idea is that you laser cut panels for your sides and then put generic edge and corner bits together that are produced ahead of time on the 3d printer.
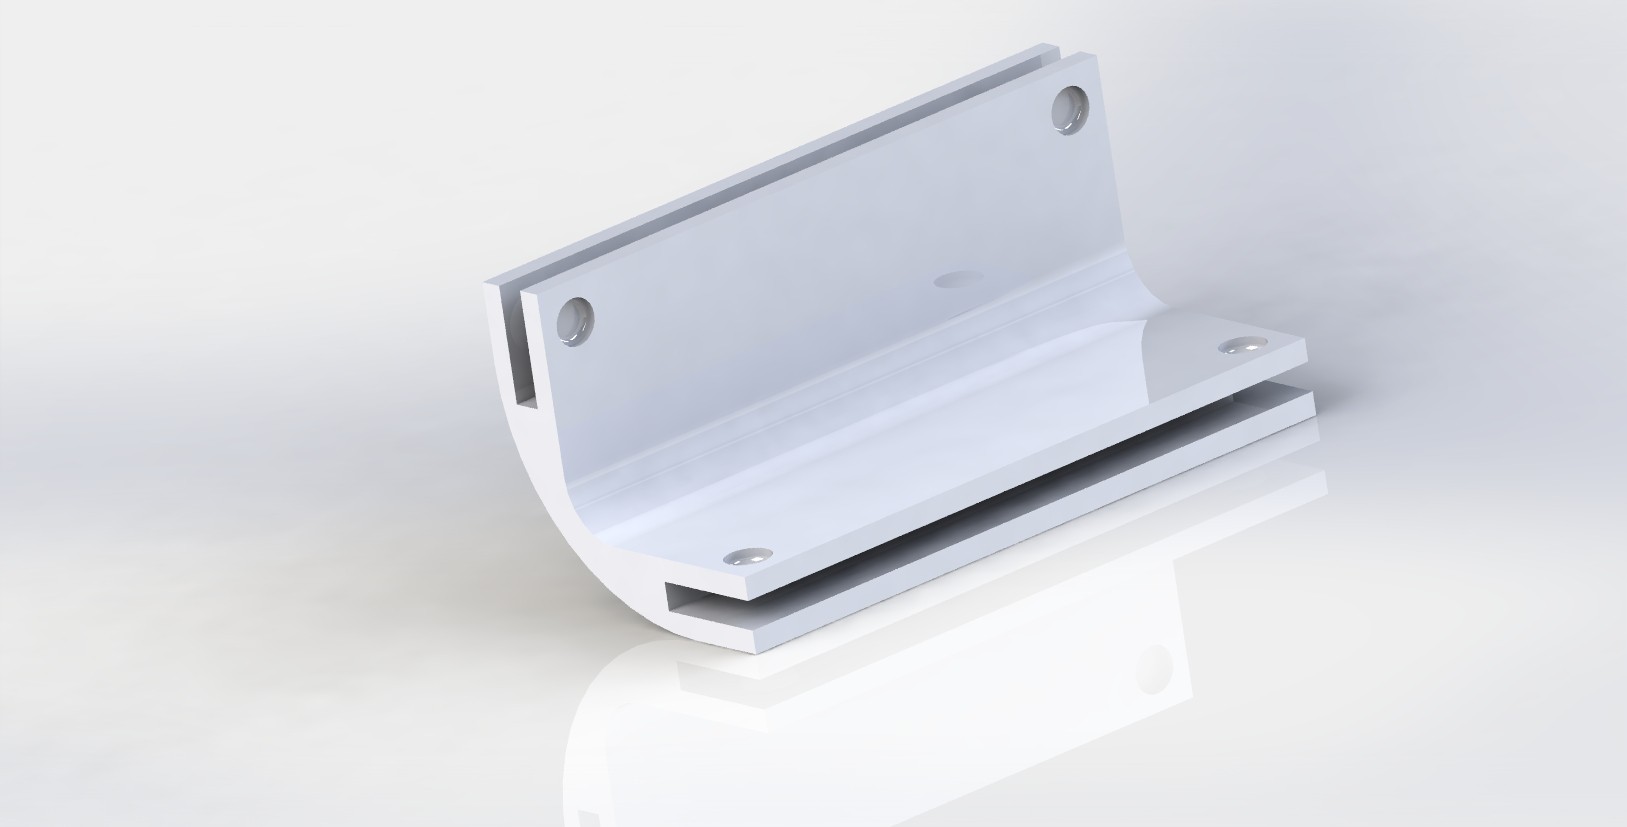
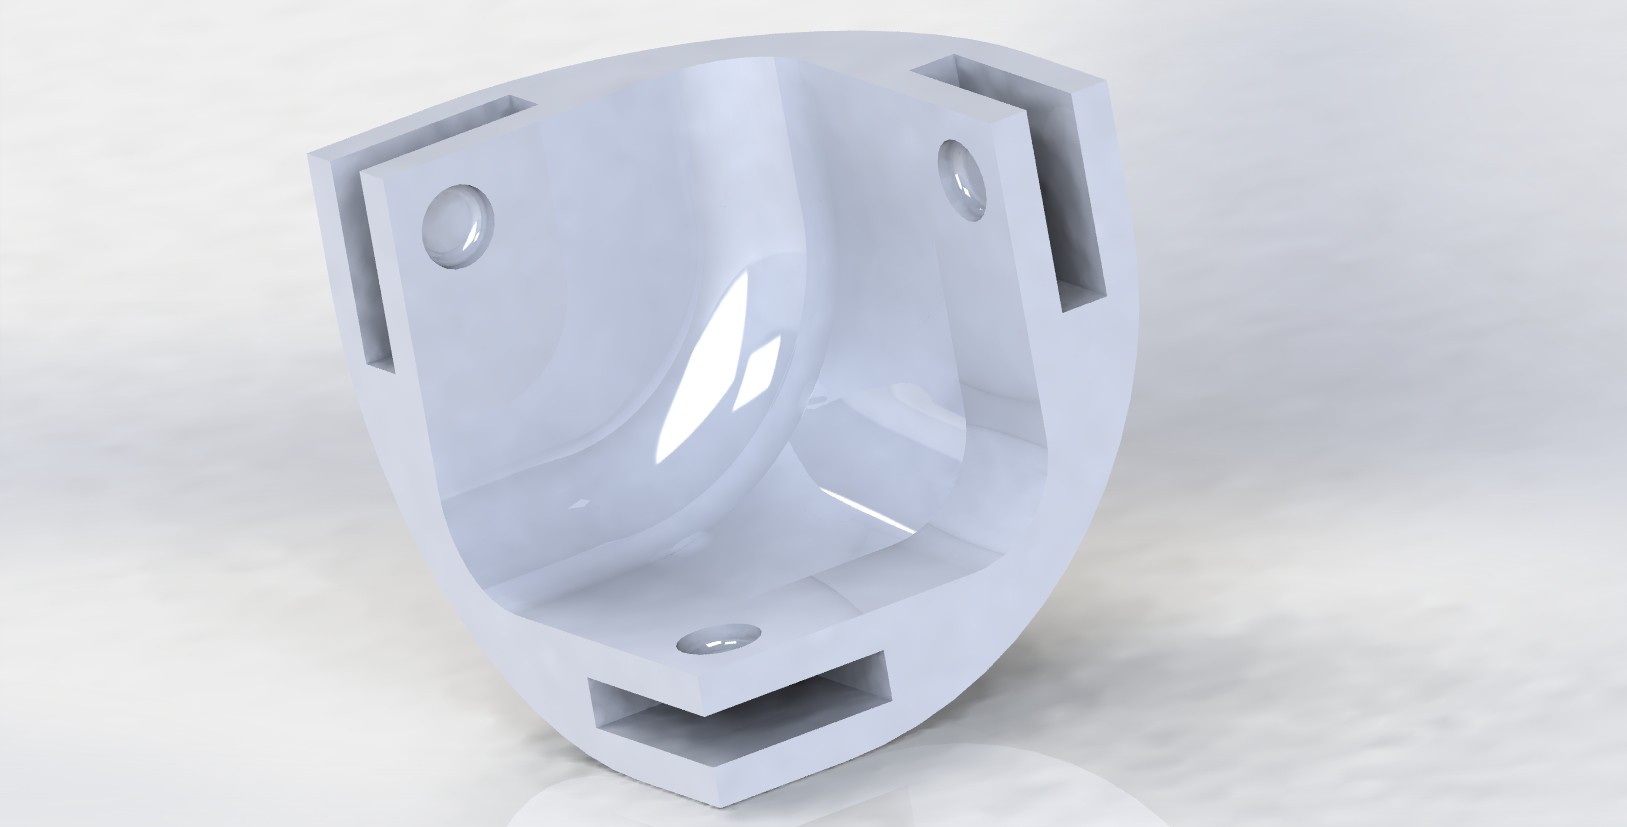
I designed the box with a 1/2" lip on either side of the acrylic, with bumps in the corners to lock into holes cut into the acrylic.
Here is an edge part. Note that the indentations you see are for additional joiner parts I'll talk about later.
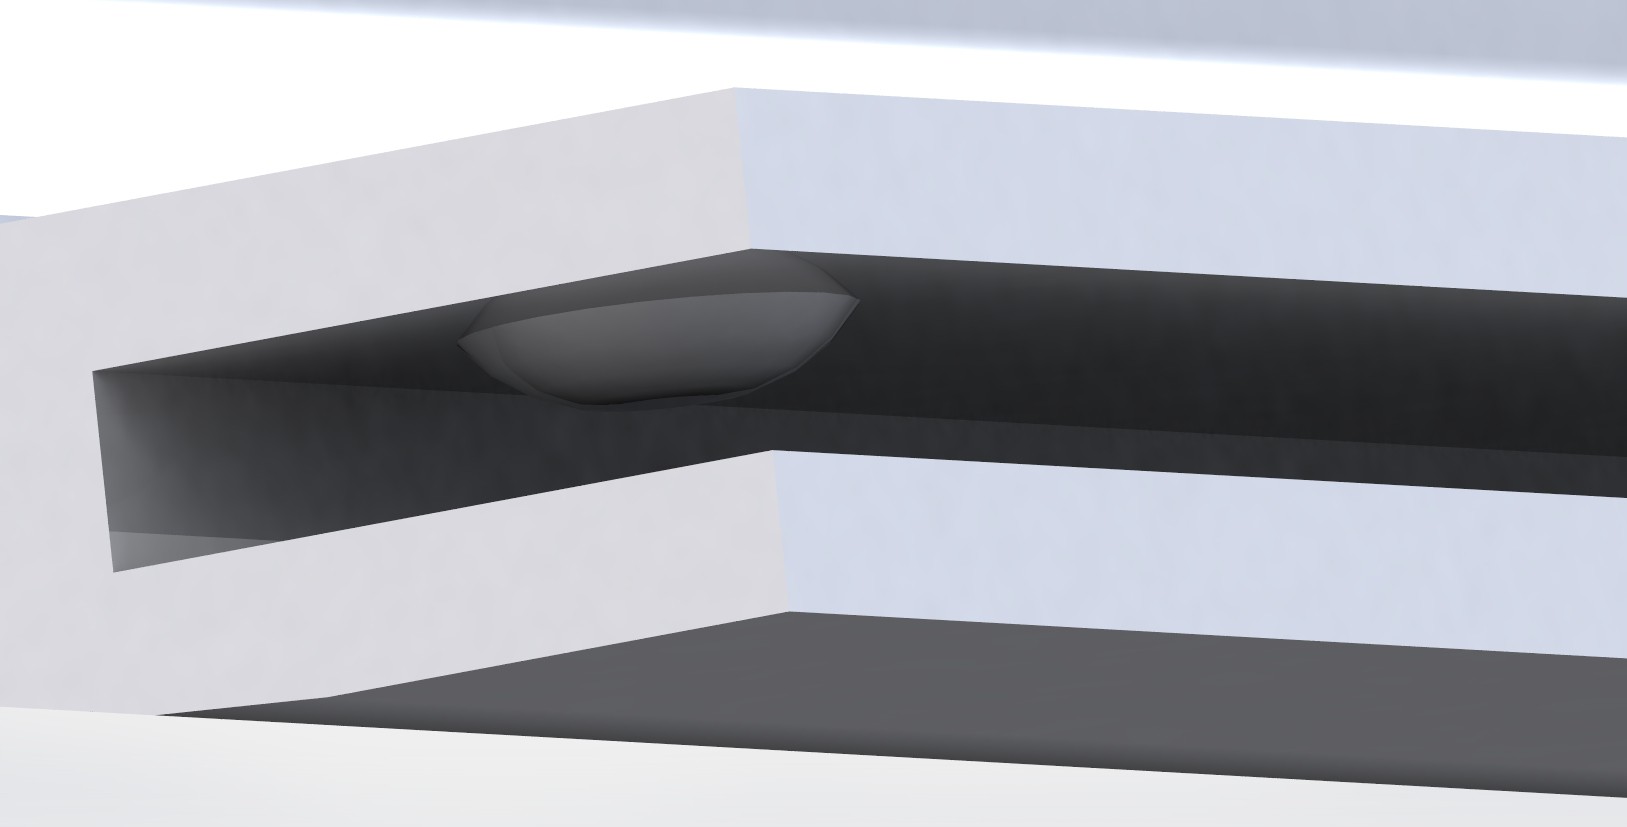
Here is a closeup of the bump that locks the acrylic in place. I'm counting on the 3D printed material to have a little bit of give to it so that the panel can be slid in and then locked with the bump.
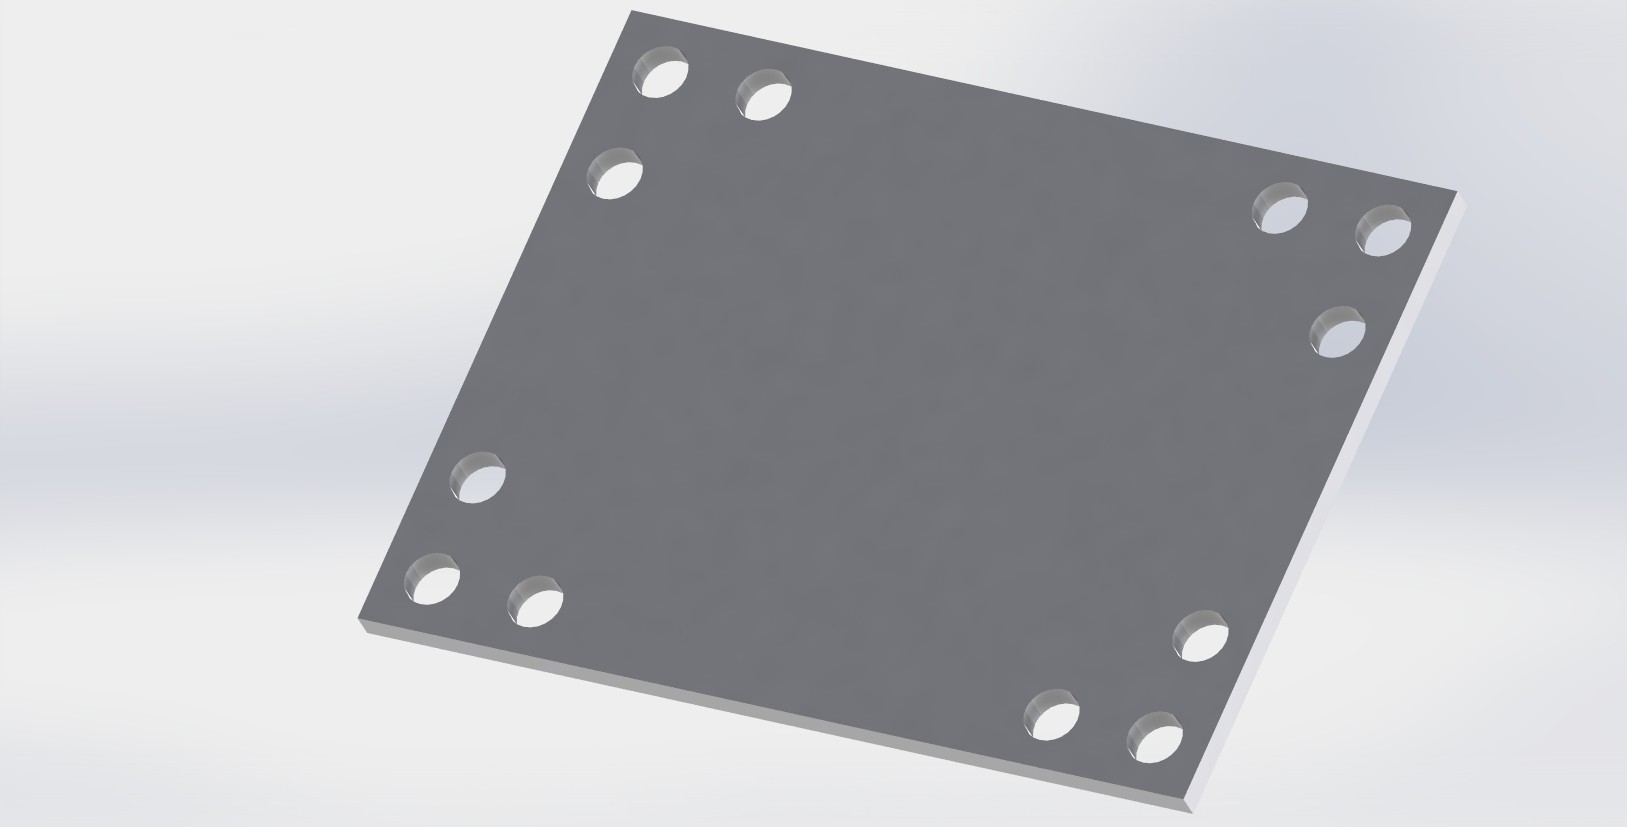
Three holes would have to be cut in each corner of the face plate to lock in place.
The reason for 3 holes is because you have to also lock the corners in.
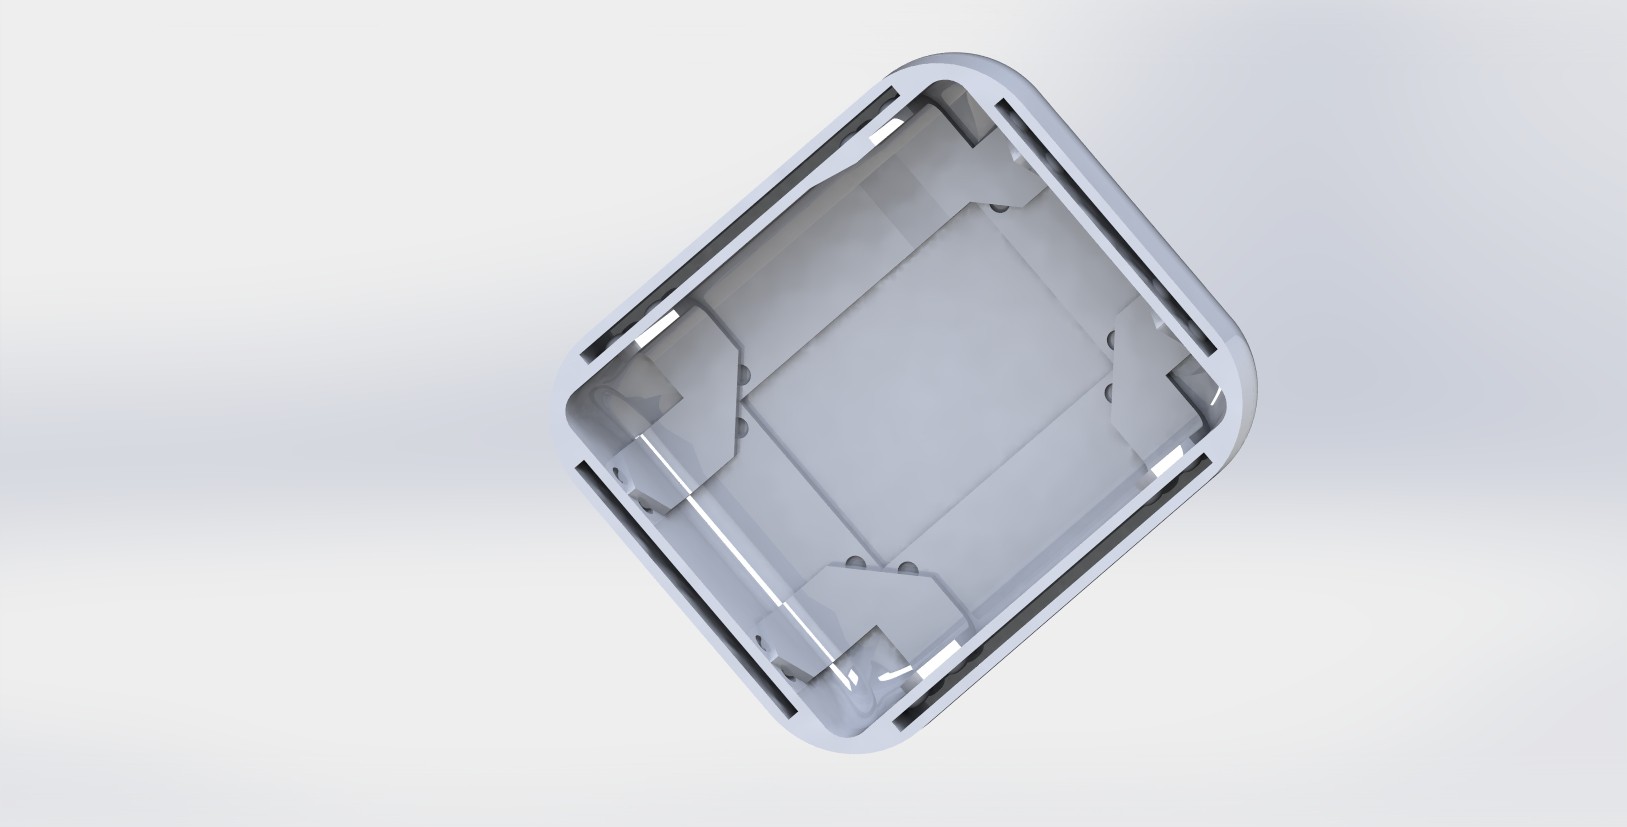
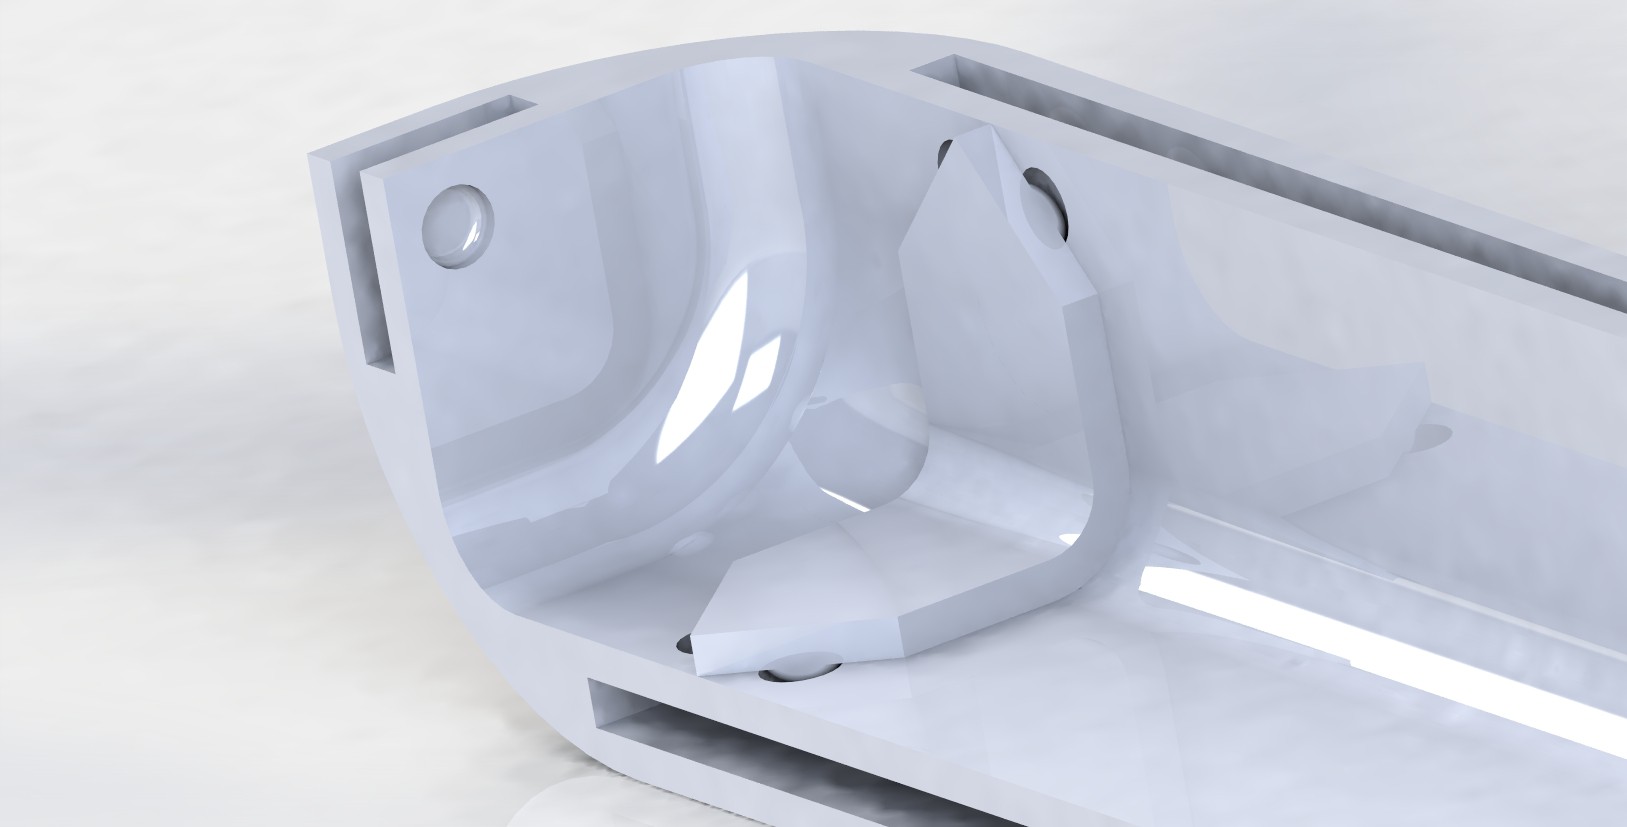
These lock on in the same way. There is also a joiner piece that can go on the inside edge to hide cracks and strengthen the joint. I'm not sure if the bump locking mechanism will give enough friction here, so I'll have to try it out and make adjustments later.
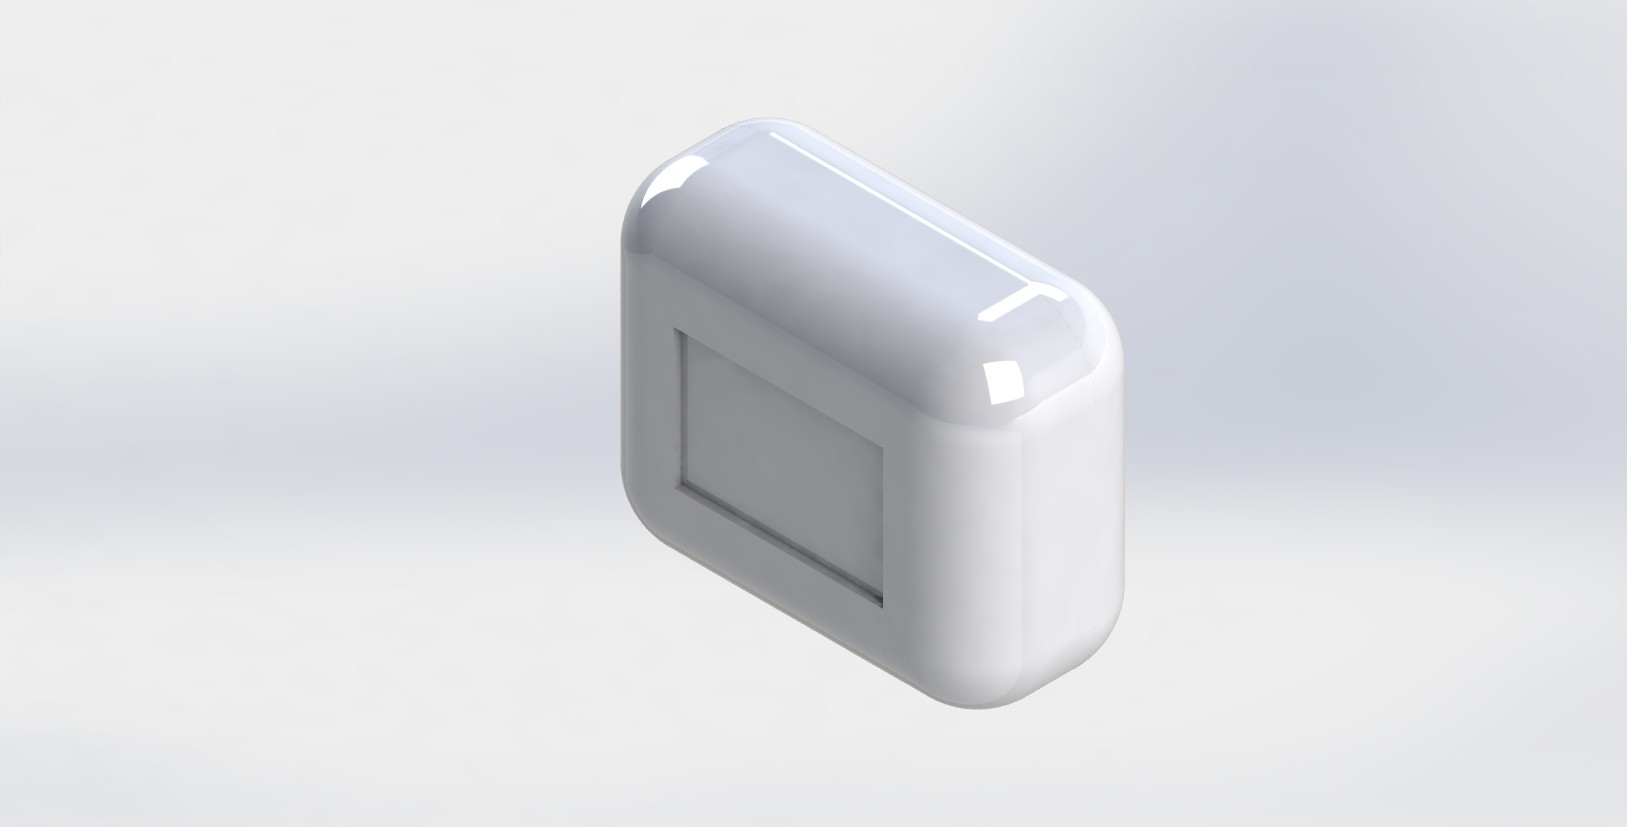
To make a whole box would take 12 edges, 8 corners, and 24 joiners. The test box I have above cheats and joins the top and bottom halves together directly. That would be done by cutting a 1" panel with 8 holes to fit in the slot. But at least you could eliminate four edges... a small win.
 T. B. Trzepacz
Discussions
Become a Hackaday.io Member
Create an account to leave a comment. Already have an account? Log In.