Close
0%
0%

High Altitude Weather Balloon

Design and build hardware and software required to launch a fully functional weather balloon

Similar projects worth following

This project was originally conceived as the most economic way to get a homemade probe to space.

The first version of the balloon has already been launched, although I haven't finished uploading logs yet.

The second version is still a WIP, but I plan to put that up here as well. The parts list is for the second balloon.

Here is the github page for my project.


The sensors each probe was equipped with include the following:

  • GPS - latitude, longitude, speed, climb, altitude, time
  • Barometer - pressure, temperature, altitude
  • Horizontal Camera - pictures of the horizon (curvature of the Earth?)
  • Downward Camera - pictures of the receding ground

sakis3g.conf

Configuration file used for sakis3g.

conf - 1.04 kB - 07/21/2016 at 17:16

Download

wvdial.conf

Configuration file used for wvdial.

conf - 264.00 bytes - 07/21/2016 at 17:15

Download

spotting.py

A short script for estimating position and altitude based off of two azimuth and elevation angles taken from a known distance apart.

plain - 1.89 kB - 07/20/2016 at 02:49

Download

webcam.py

Contains Webcam class.

plain - 1.01 kB - 07/20/2016 at 02:49

Download

balloon.py

Main file.

plain - 4.25 kB - 07/20/2016 at 02:49

Download

View all 8 files

View all 7 components

  • Program Logic

    Jonathan Buchanan09/06/2016 at 21:31 0 comments

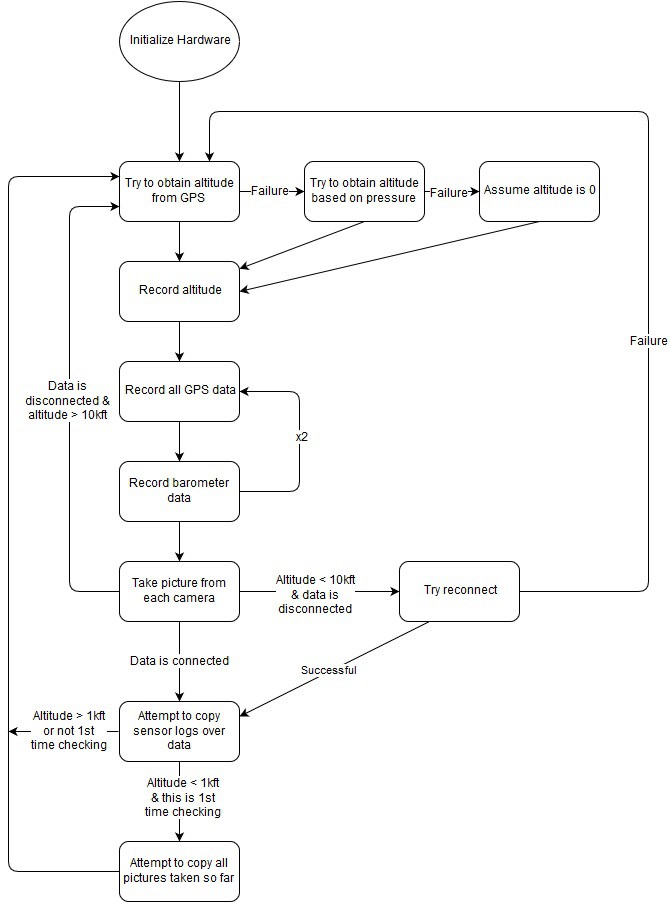
    It's been awhile since I posted because school started back and that makes it hard to get anything useful done. This is a diagram of the logic the program uses to decide what to do during the flight.

  • Radar - MK1 Balloon

    Jonathan Buchanan07/29/2016 at 21:25 0 comments

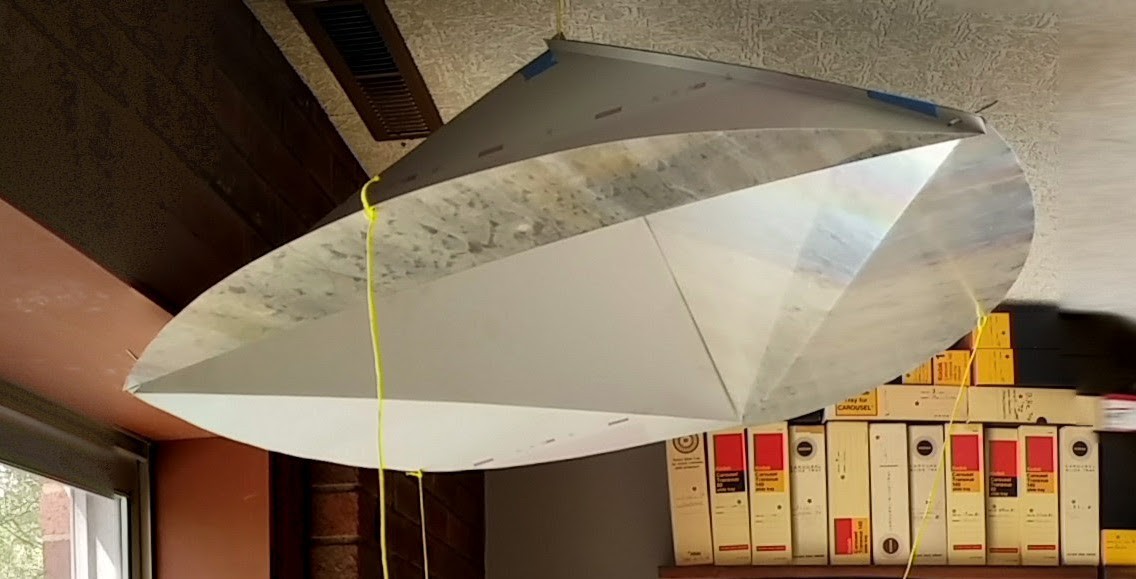
    While discussing with my Grandfather my concerns about relying solely on cell towers to track the location of my balloon, he, being a former pilot, suggested attaching a radar reflector to the balloon so that air traffic control could track it. It seemed like a good idea, and he offered to make it, so I decided to use it.

    It looked like this:

    The idea is that it is a corner reflector, that it reflects incoming rays directly back at the source.

    We picked a day to go to the nearest radar tower, and went out to visit them. They were very friendly and their instruments were very cool, though I don't have any pictures to post. We agreed to take our reflector up on an adjacent mountain to test it out.

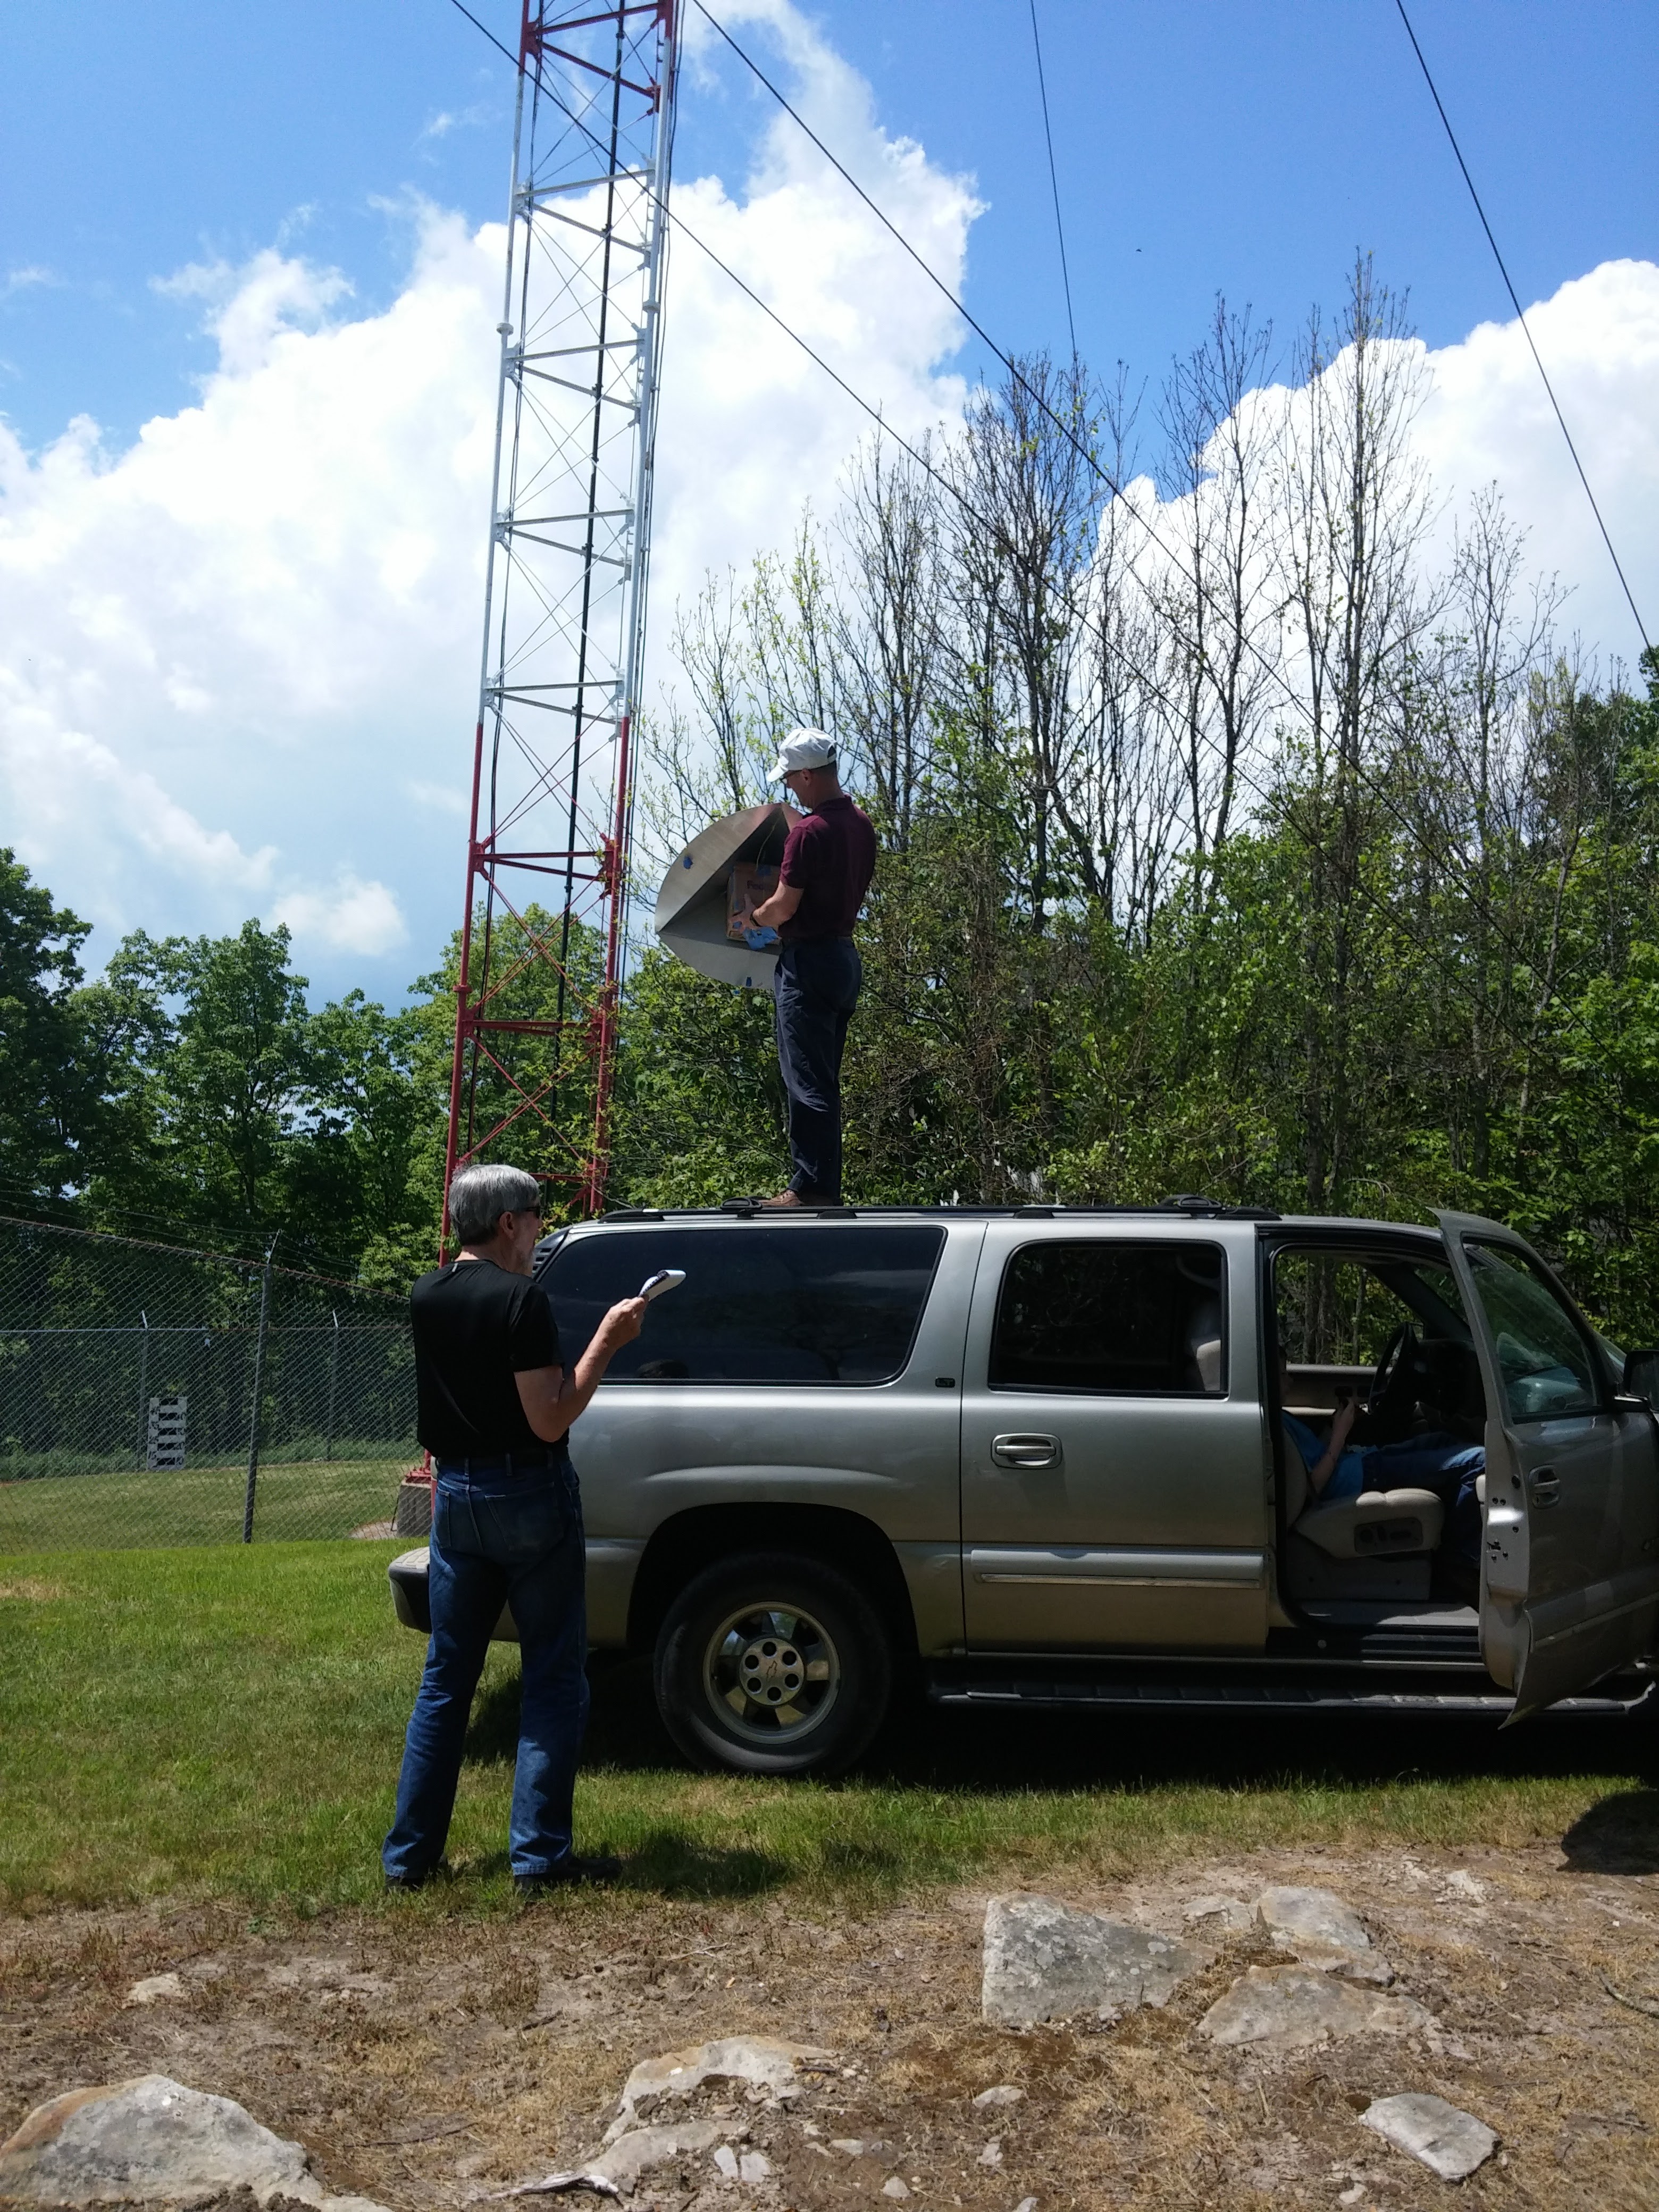
    We drove up one day and wandered around old forest service roads until we found a decently clear spot toward the airport.

    They couldn't see it, though the guy on the other end didn't seem as friendly or motivated as the ones we met.

    Not ones to be deterred by difficulties, we went to the only more clear spot on the top of the mountain. The only reason we didn't try there at the beginning is that, at first, we didn't realize their fence went only 200ft from the gate.

    The view from this spot was much better; we could even literally see the airport, but they still claimed they couldn't see it. Something about a mountain being too close or something like that.

  • Container - MK1 Balloon

    Jonathan Buchanan07/22/2016 at 01:26 0 comments

    Now that I had all these nice bits of equipment, I needed a place to mount them all. For that purpose I considered the requirements.

    • Light
    • Strong
    • Insulator

    In retrospect, while it's true that the projected temperature of the atmosphere at the balloon's maximum altitude is lower than that of the minimum operating temperature of many of the components, the atmosphere has lost so much of its density by that point that it cannot wick away heat effectively enough to matter.

    Regardless, my past self saw it logical to choose a small styrofoam cooler to fit the above specifications.

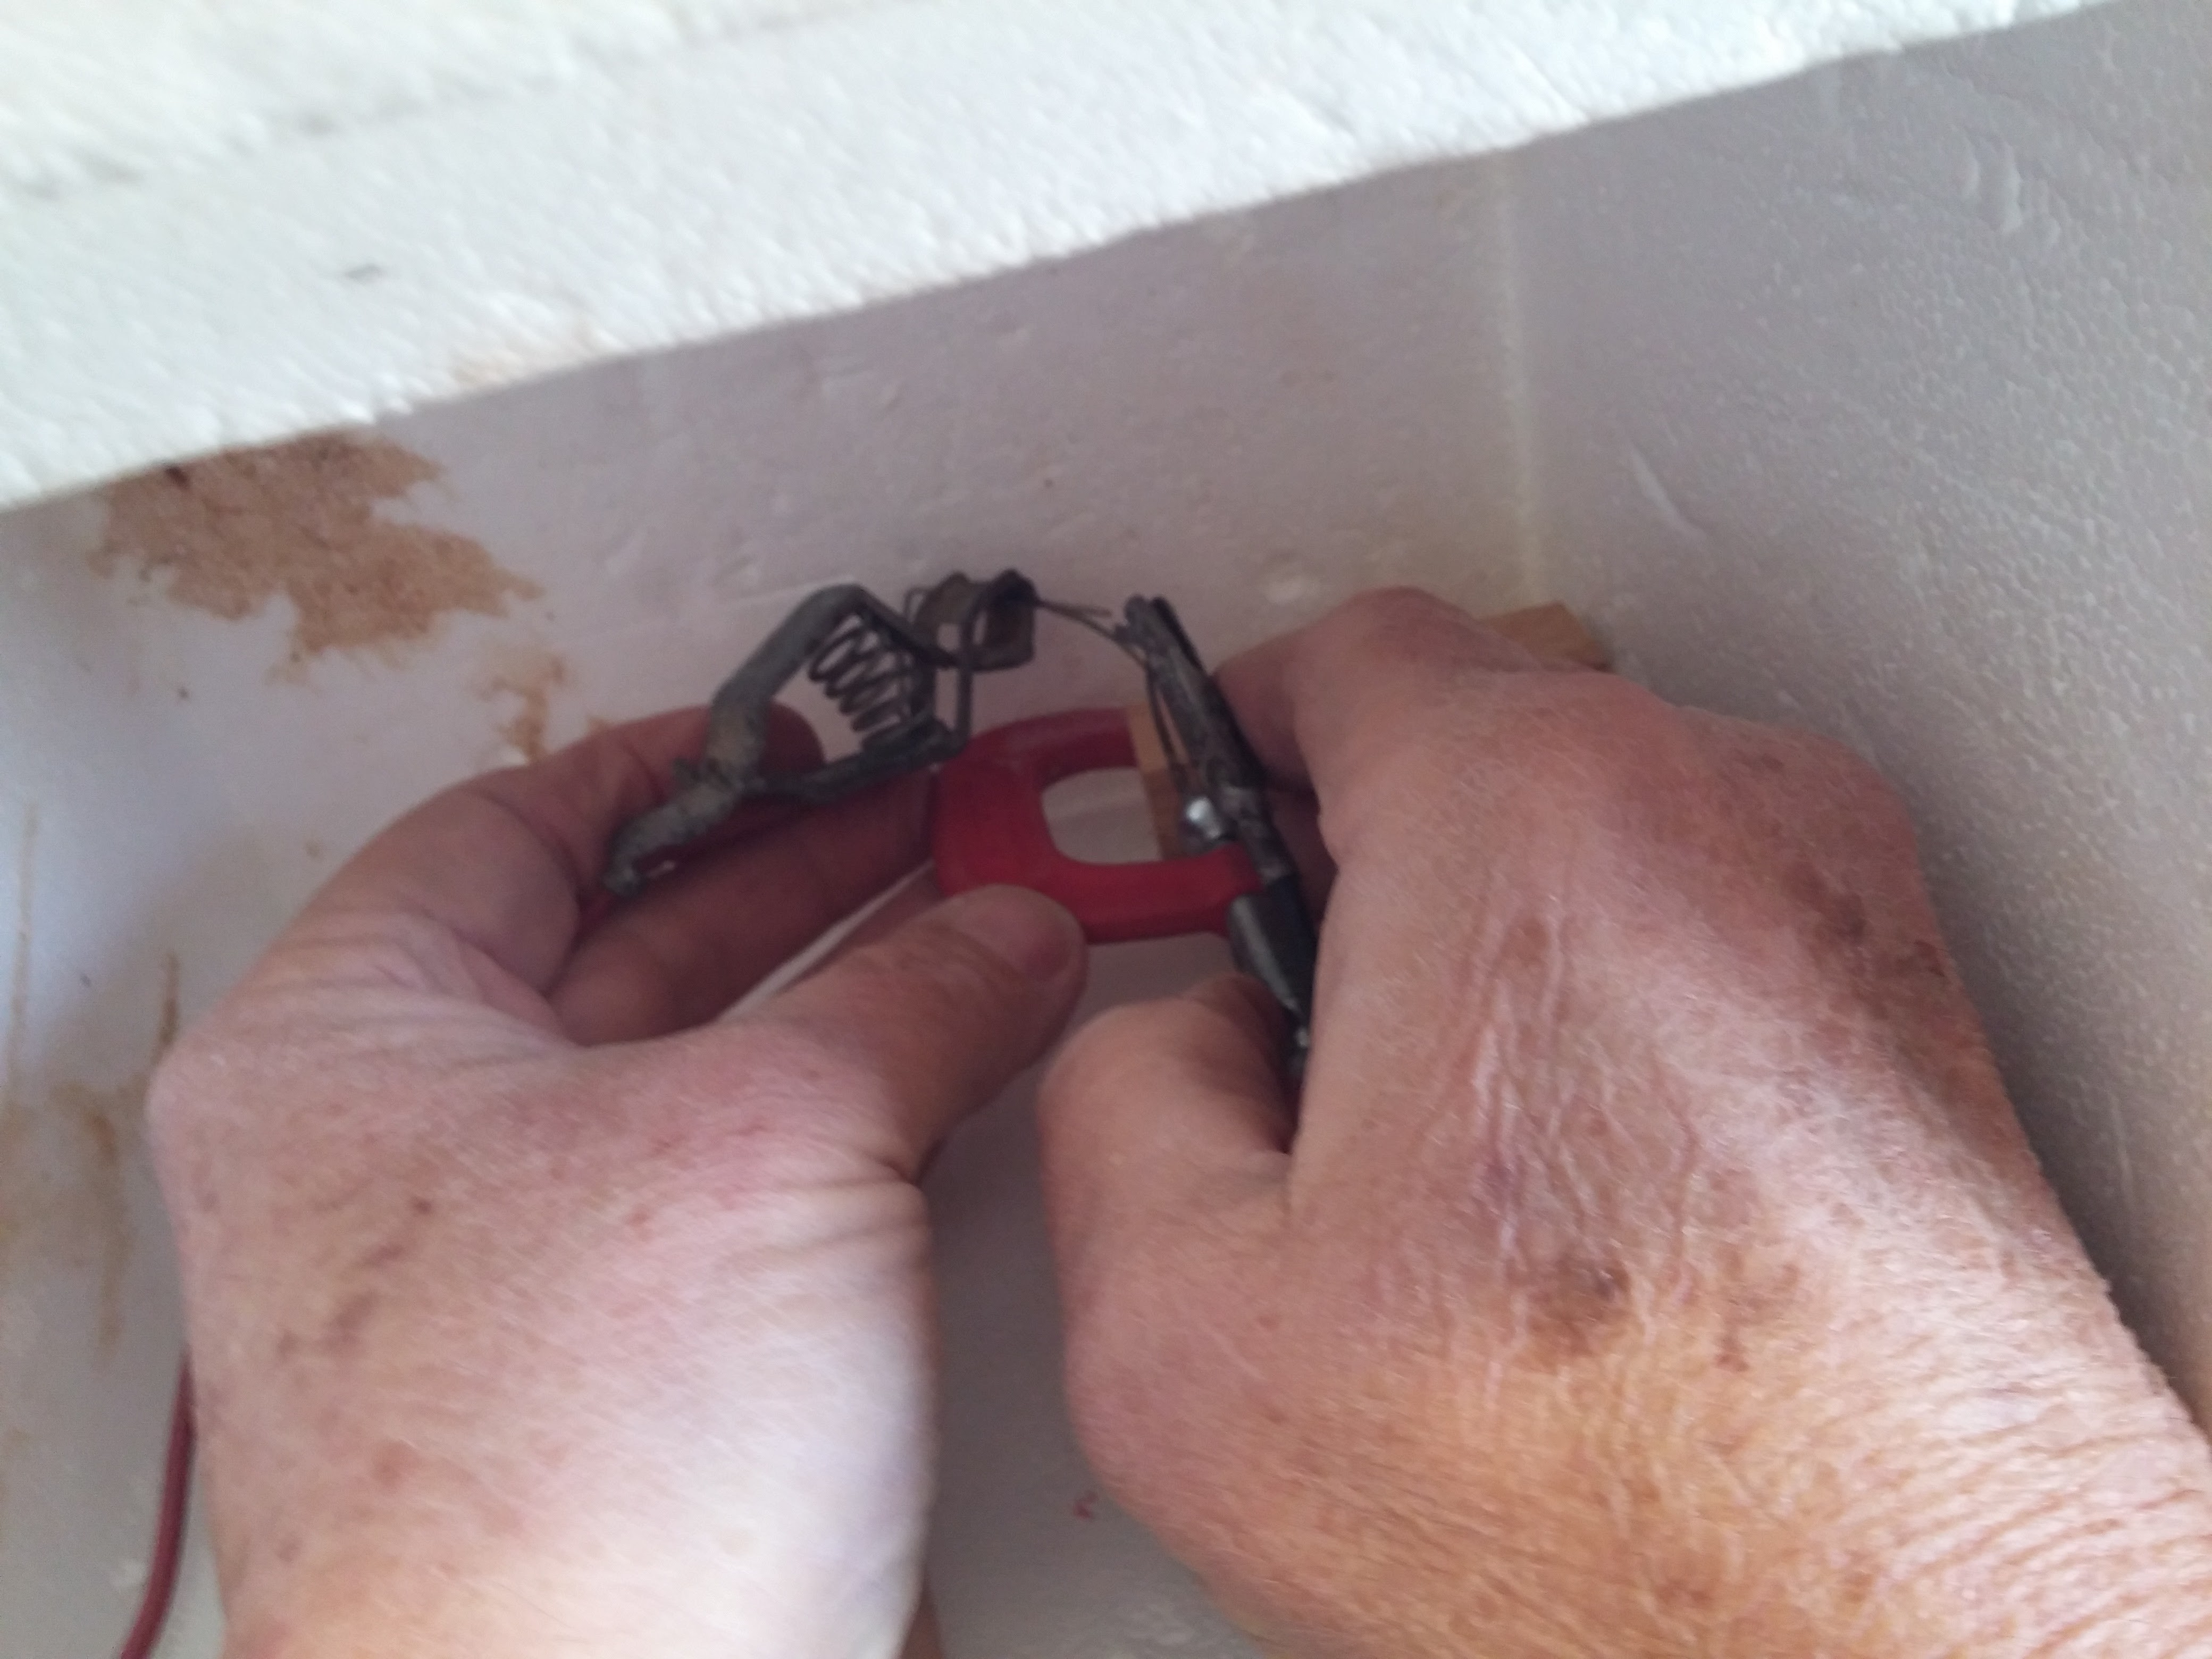
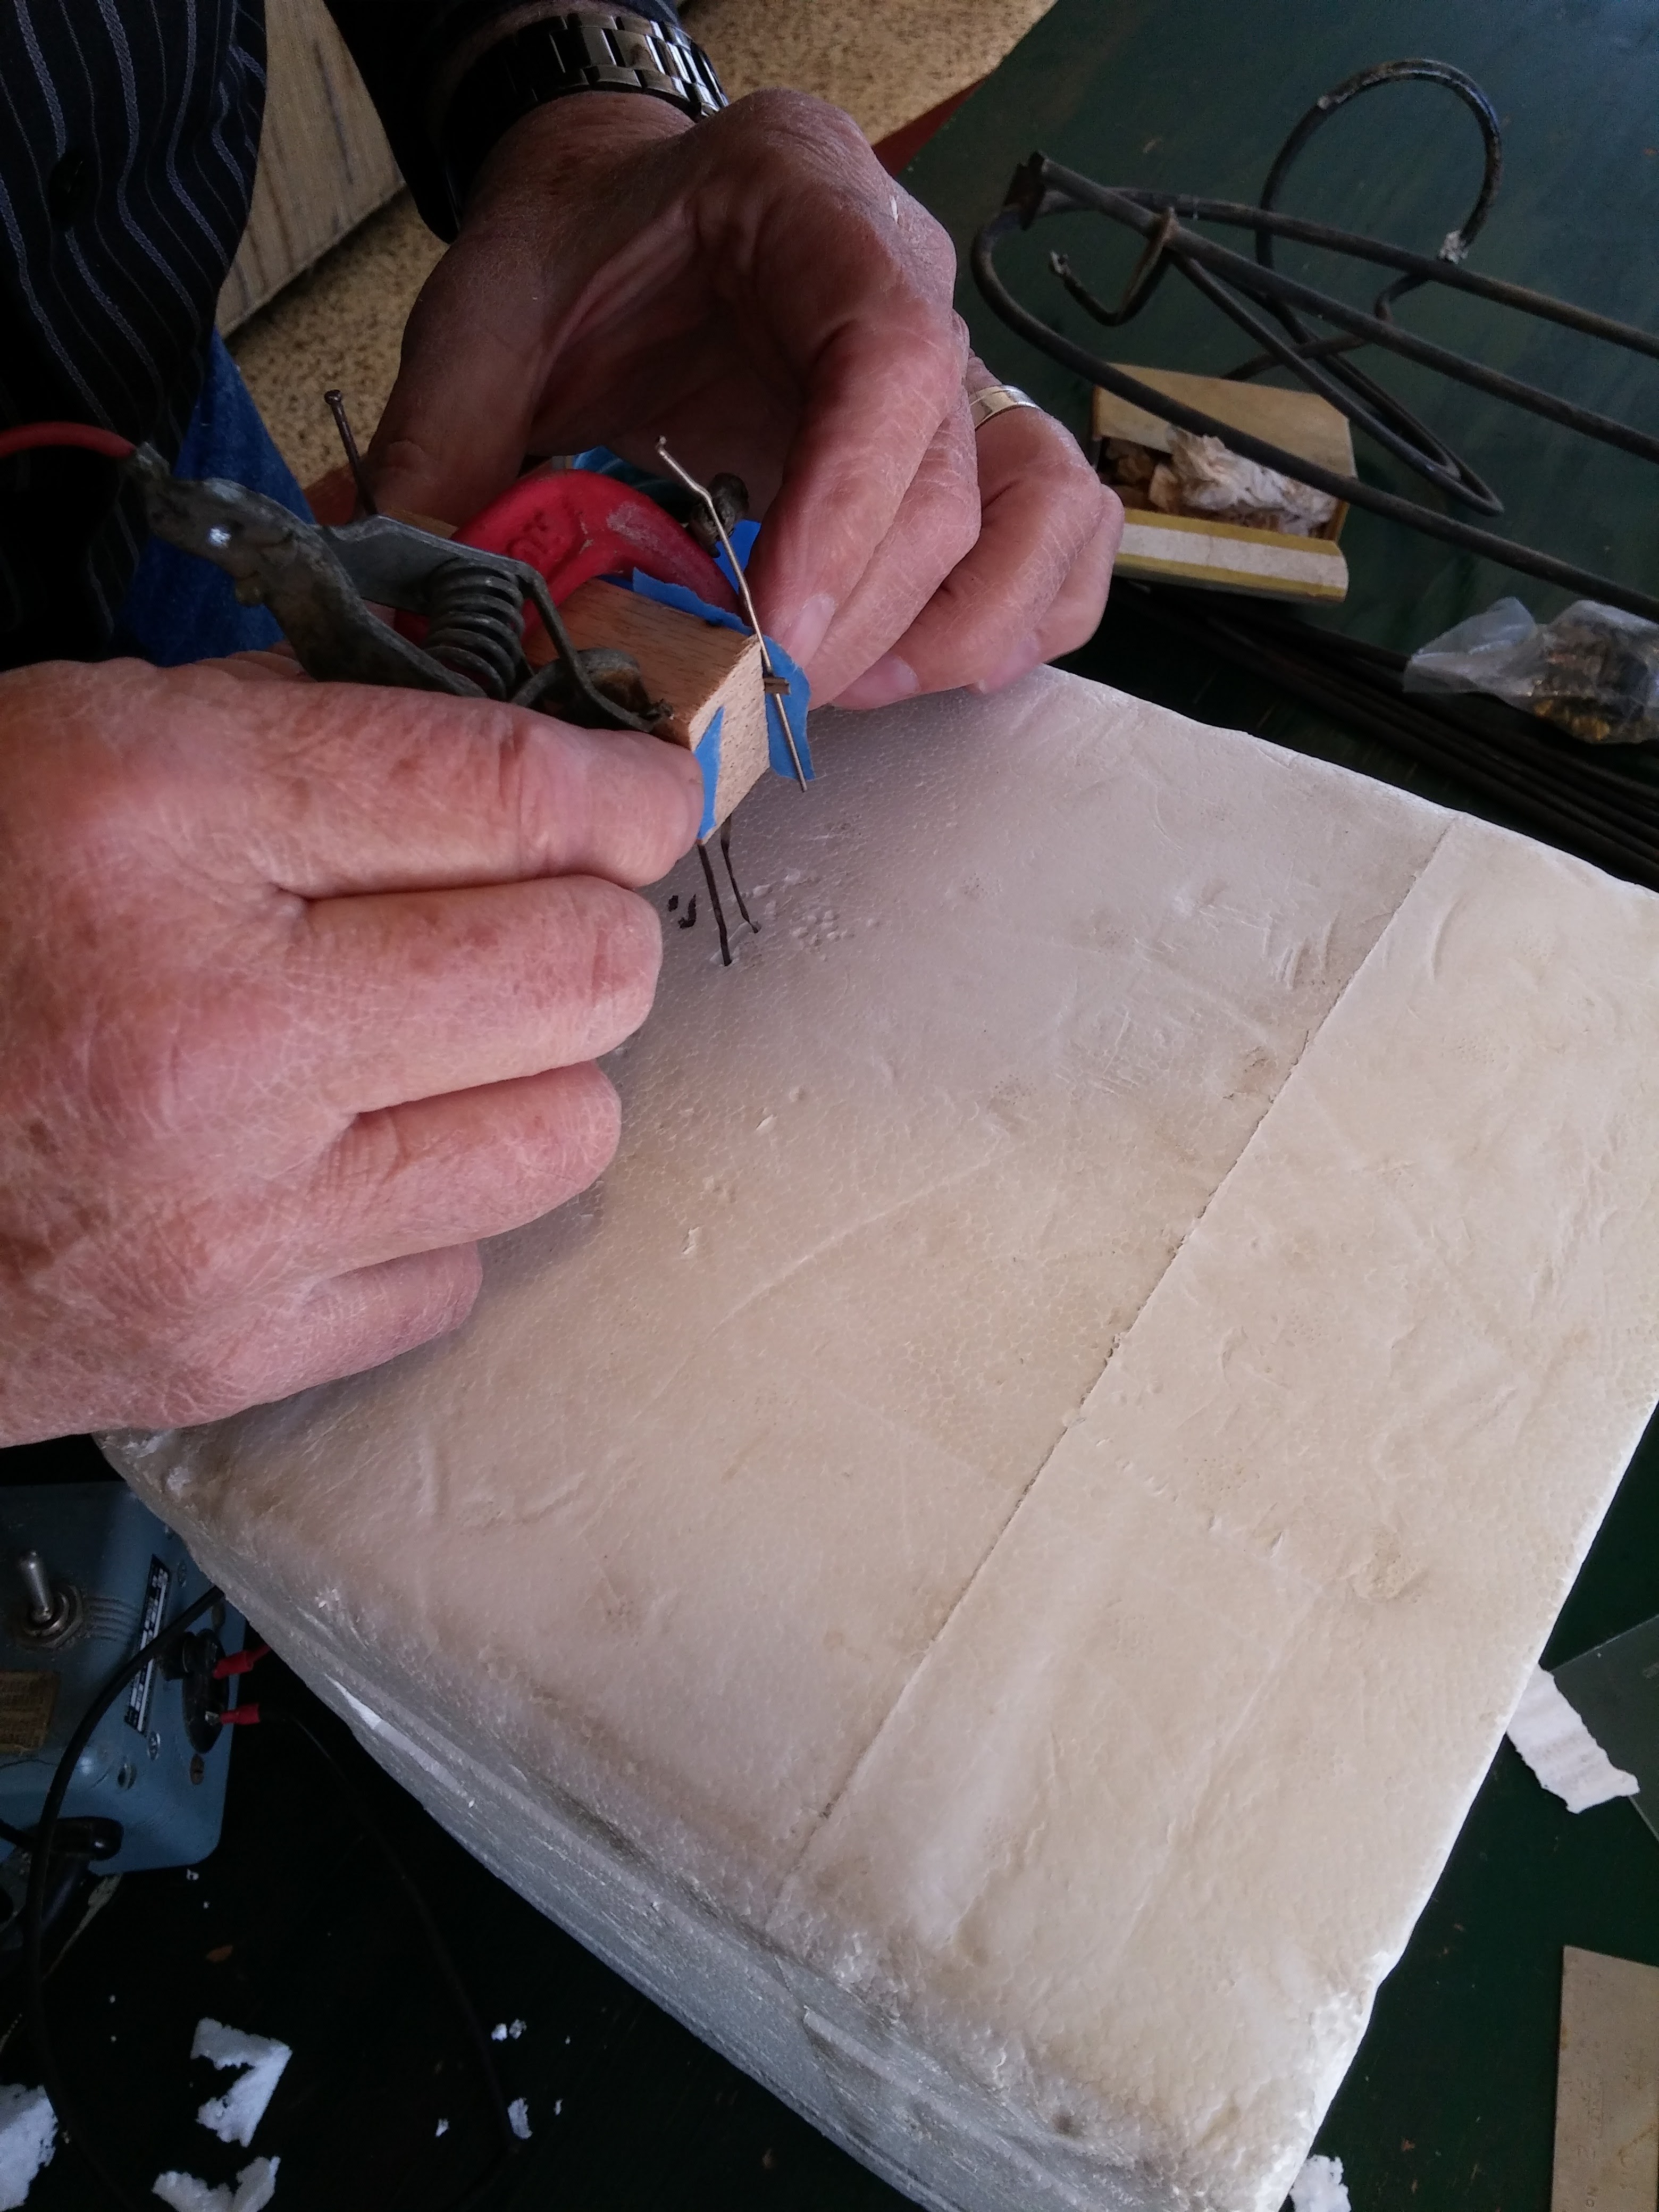
    Anyone who's ever tried knows you can't precisely cut styrofoam with a knife. It kind of just bludgeons through as if the knife wasn't even sharp. To overcome this, my Grandfather suggested shorting a wire to heat it up and melt through the foam. Here are some pictures of that process.

    I chose to mount the lower resolution camera facing downward and the better one horizontal because if I want high resolution pictures of the ground, I can go to google earth. Pictures I took of the curvature of the Earth would be much cooler.

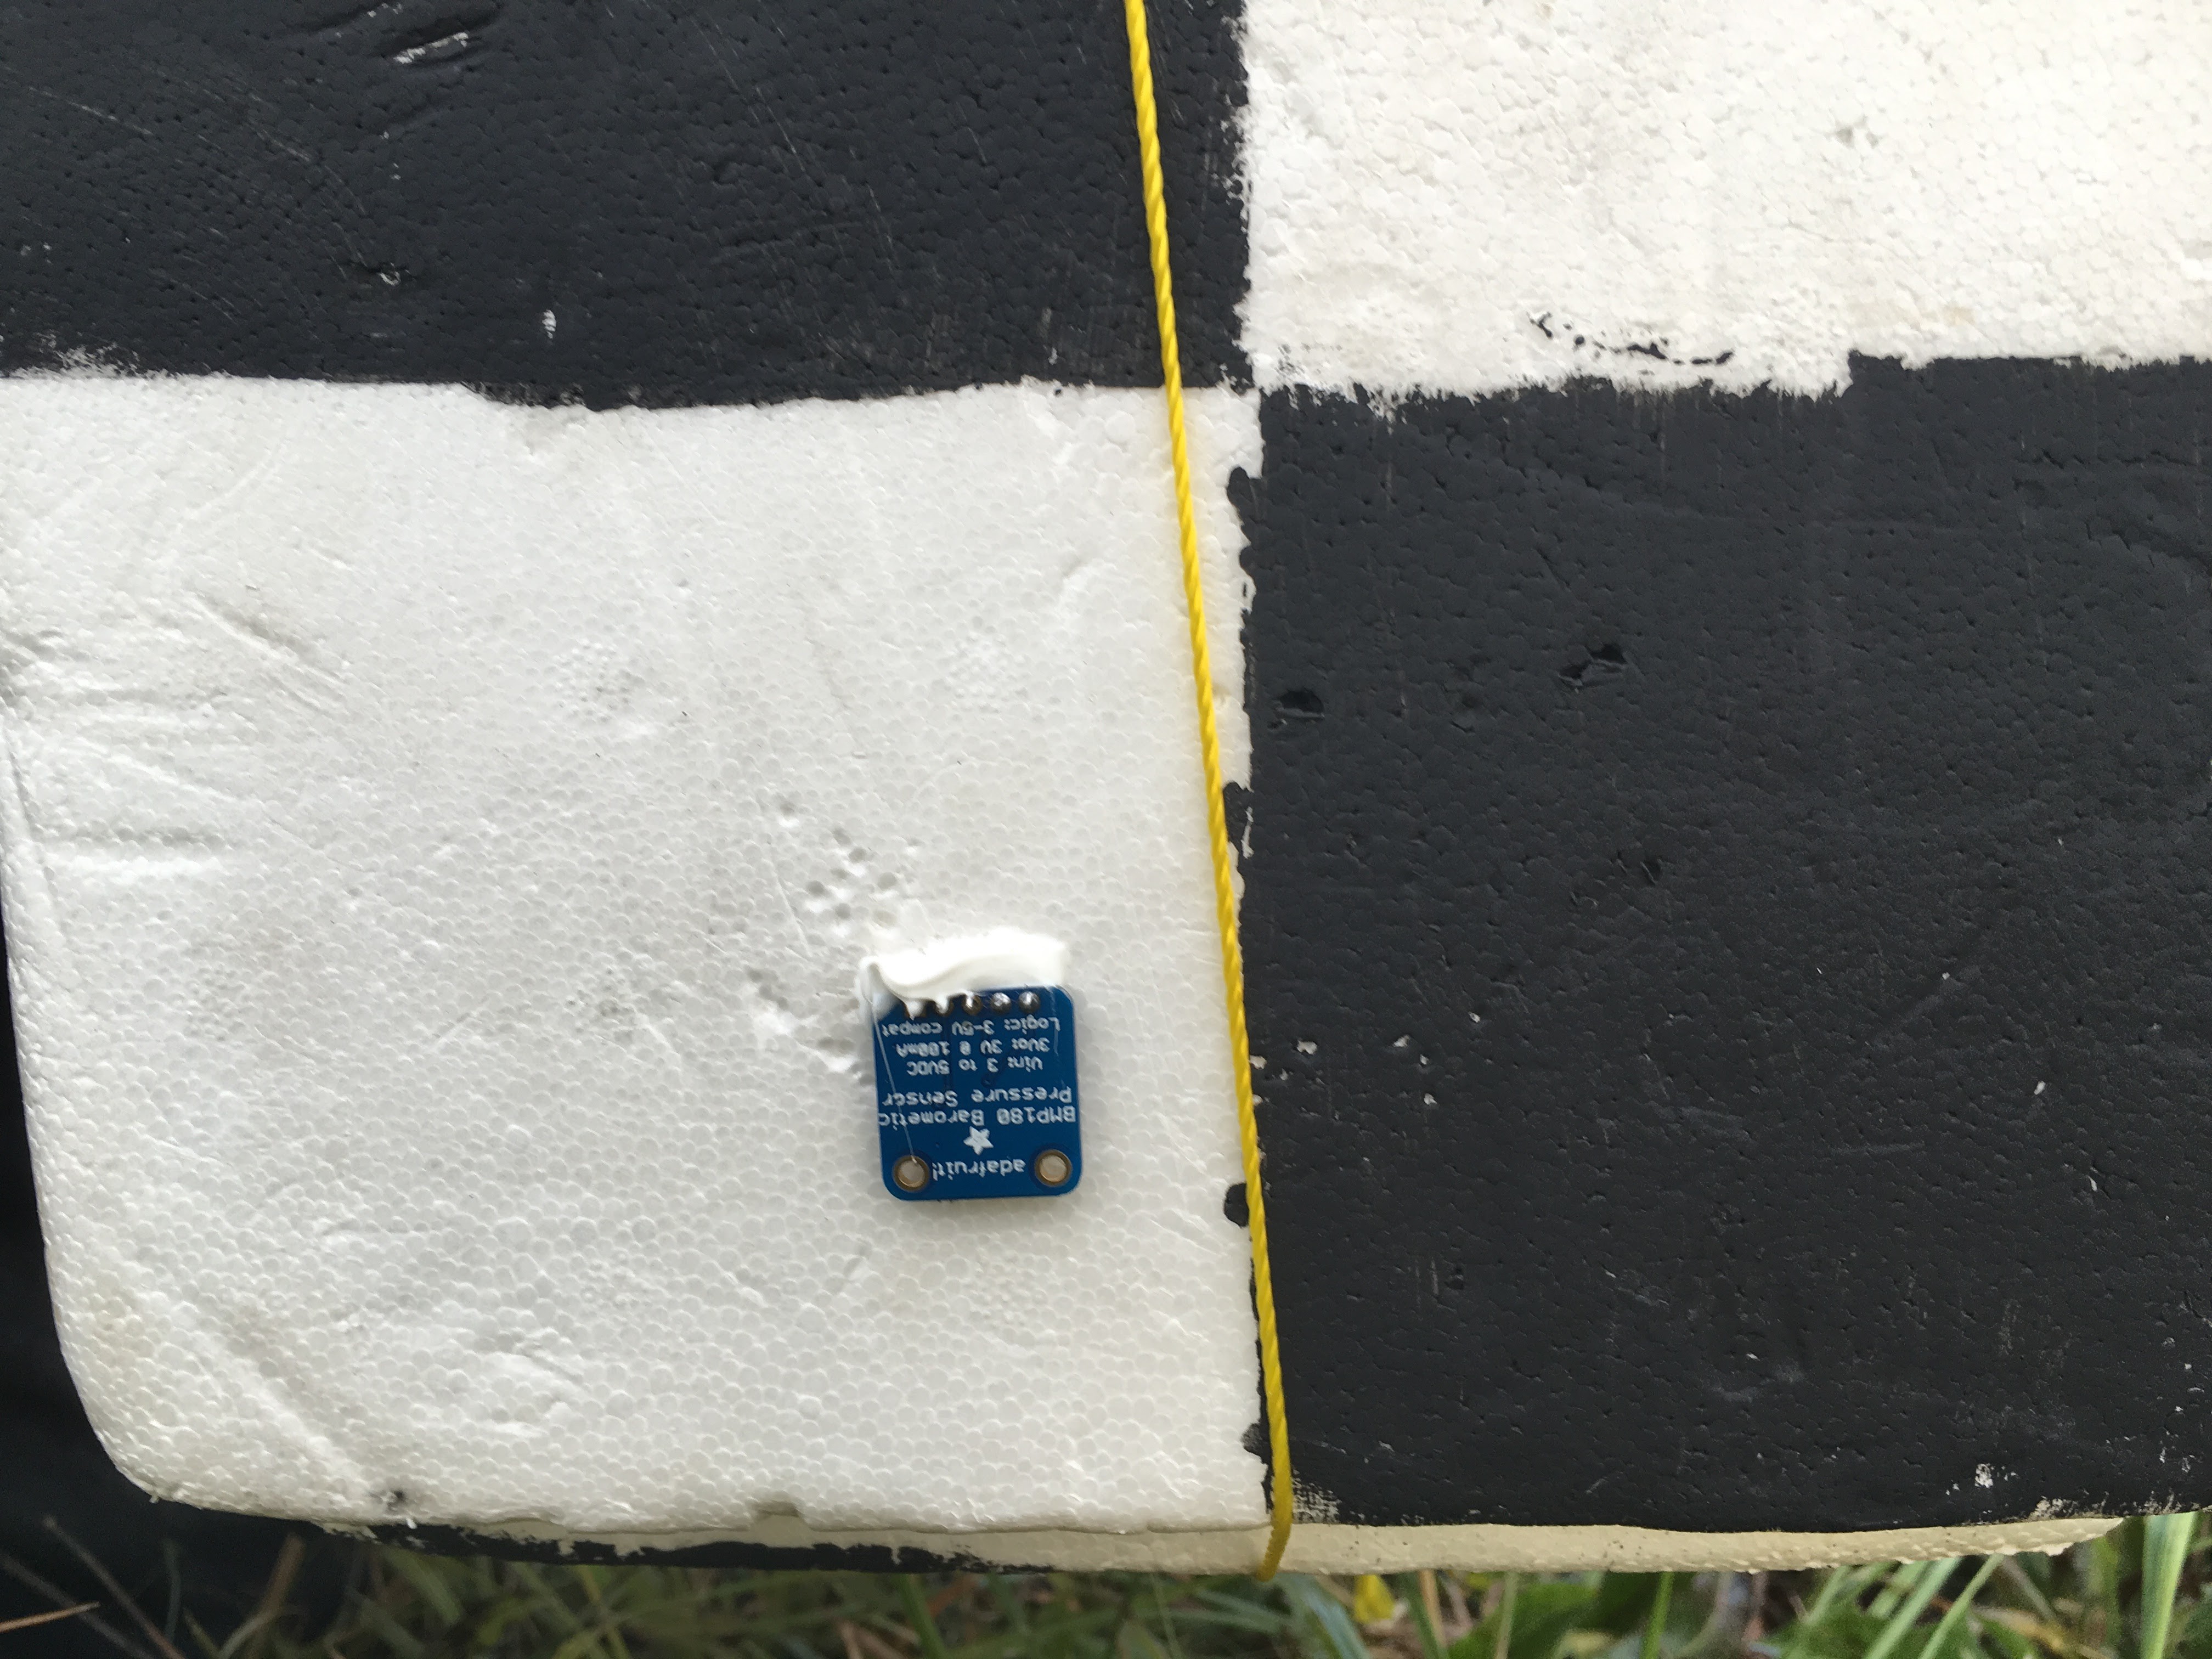
    The Barometer/Thermometer was mounted in the side, which may have been a mistake as it could have been exposed to sunlight.

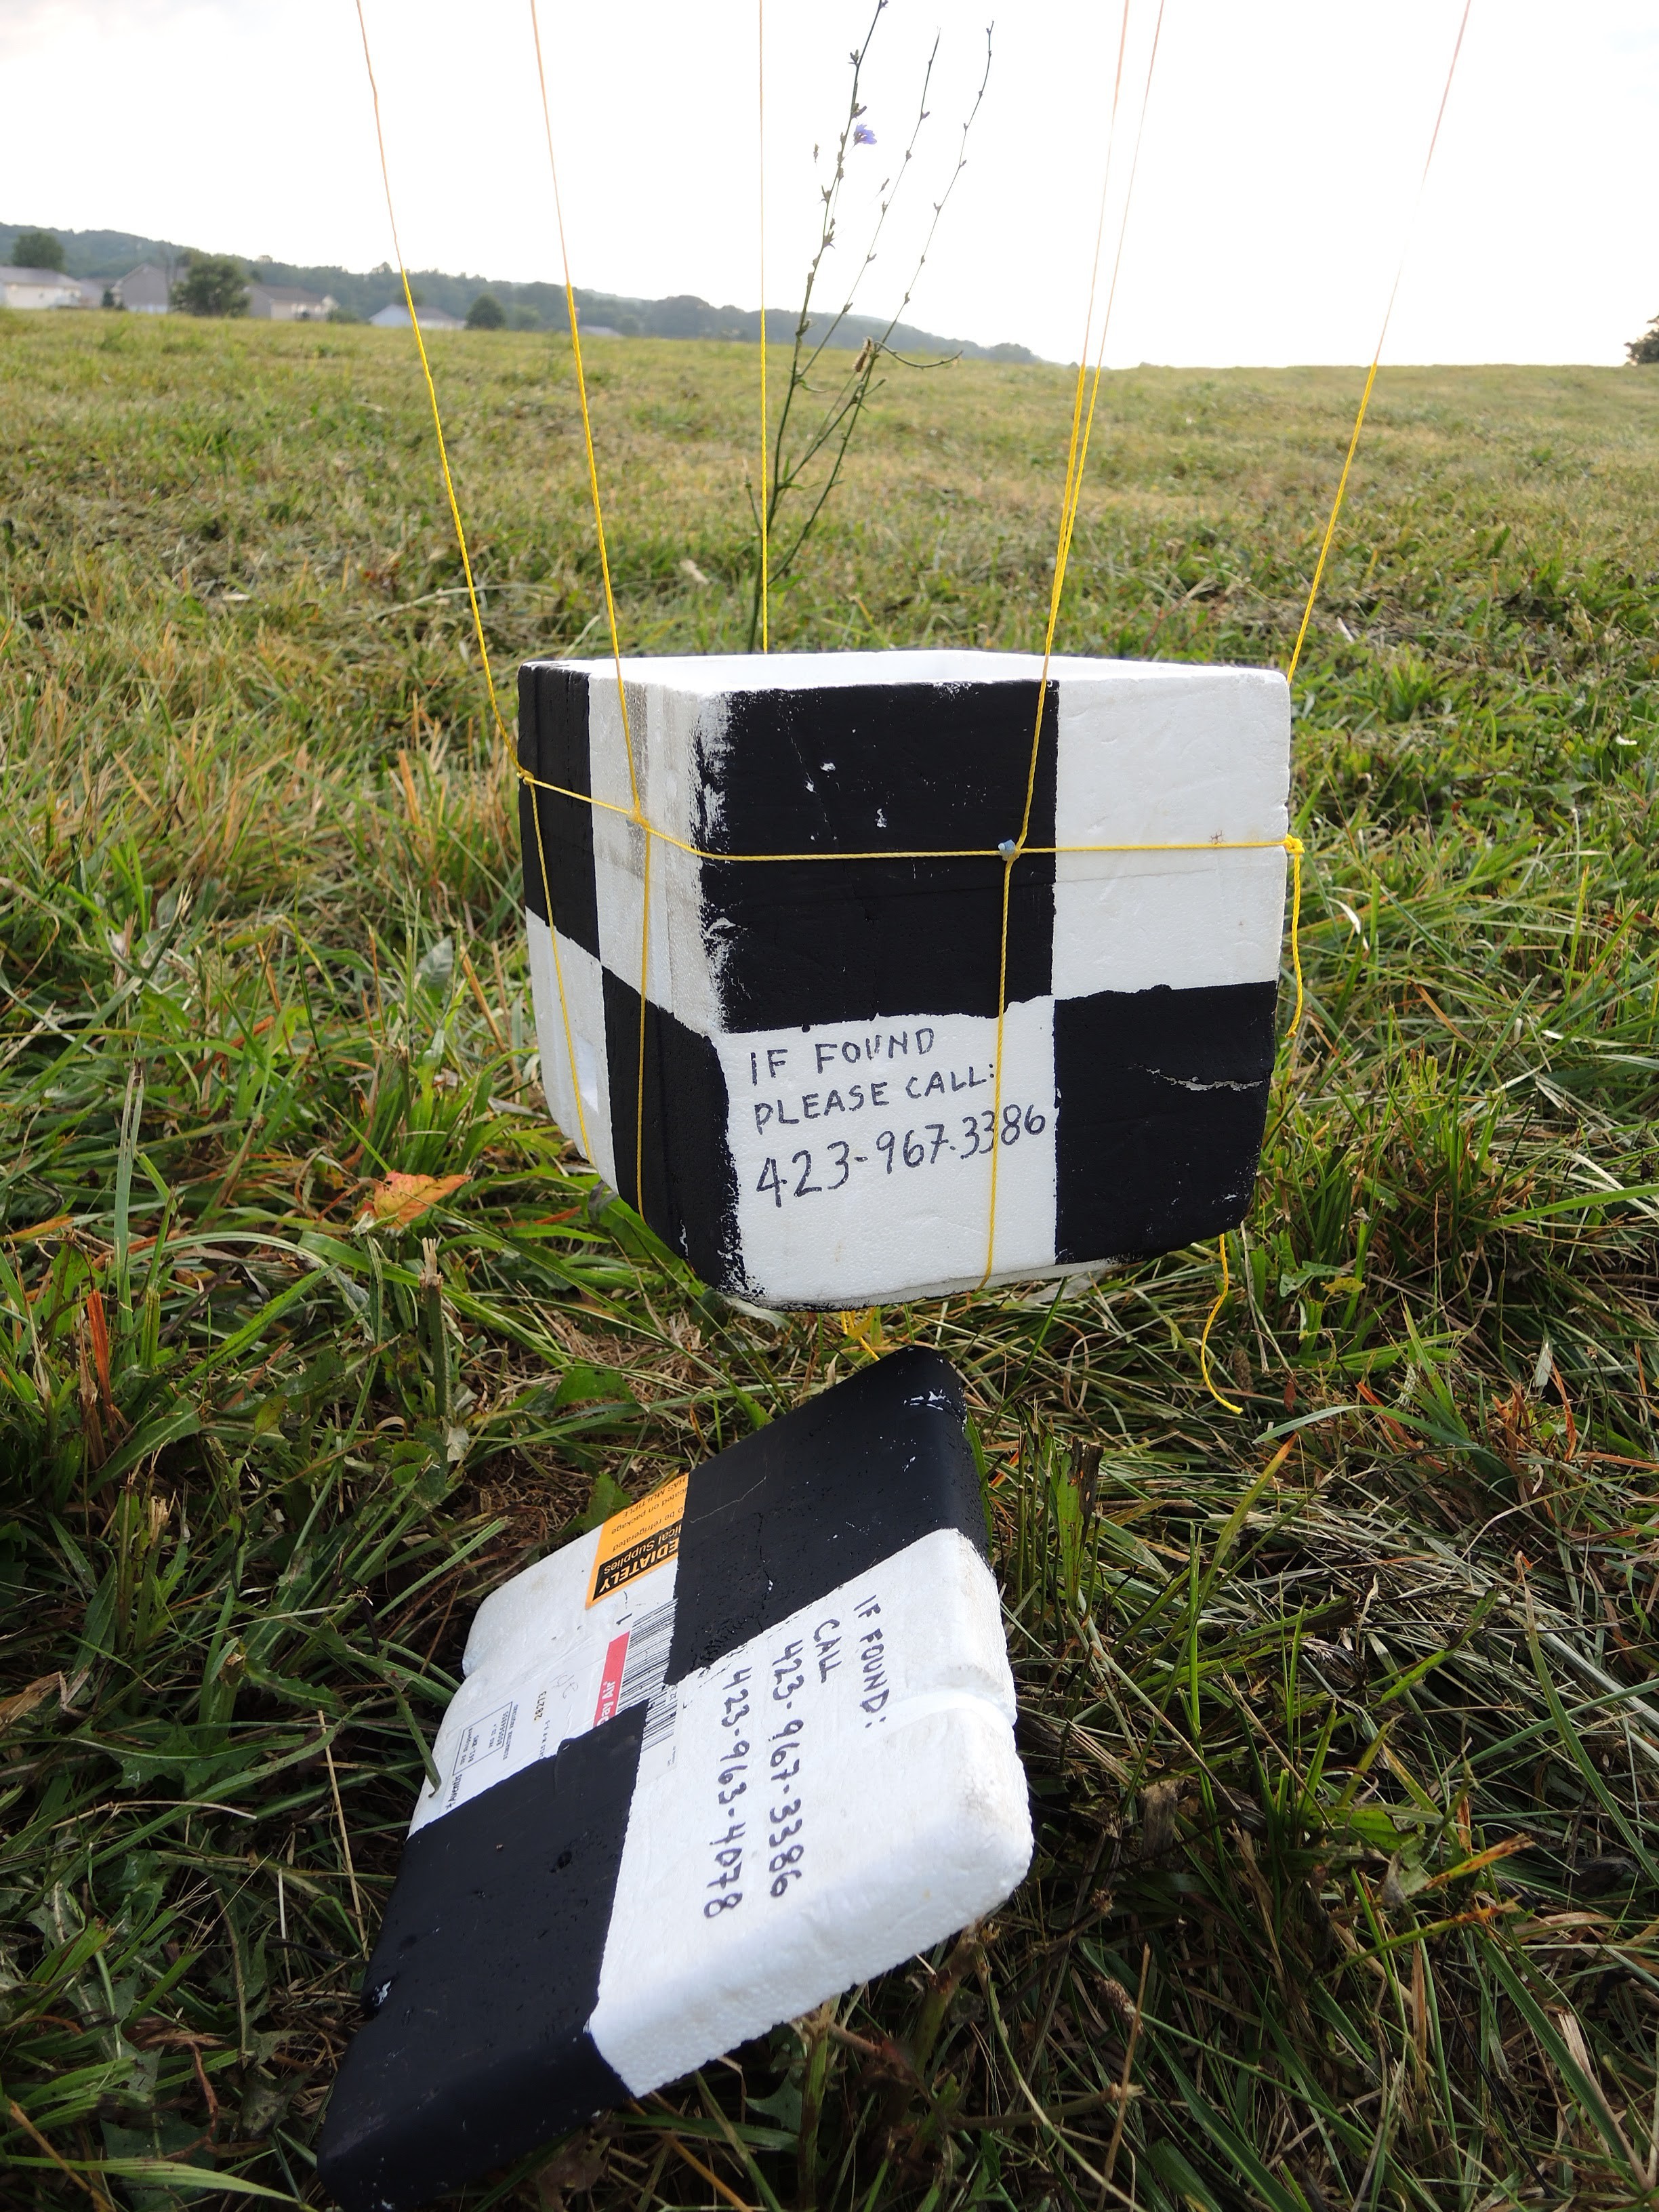
    We also painted it with a lovely checkerboard pattern to increase visibility.

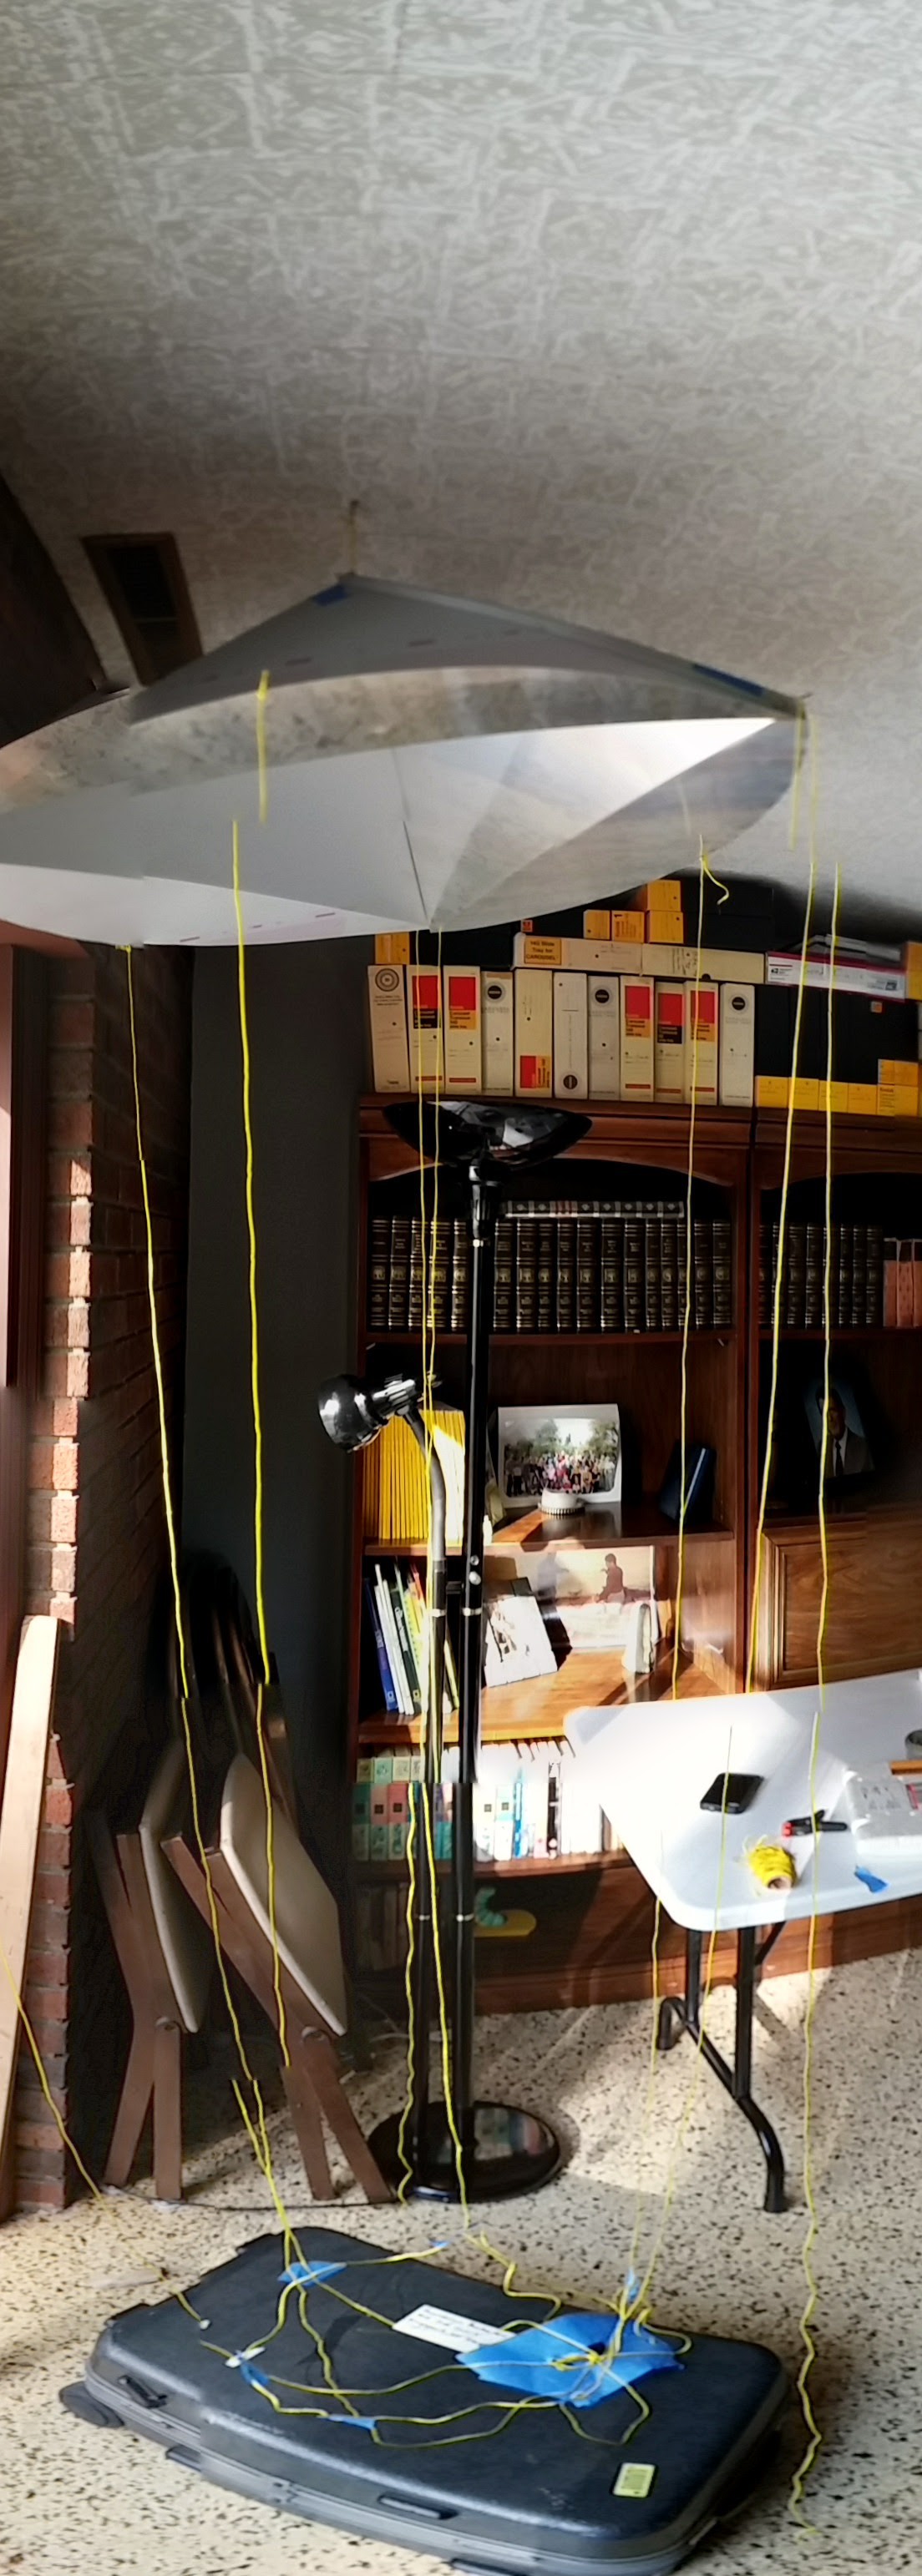
    For securing the box to the balloon, we used this fancy rig, which incorporates the radar reflector. It'll be explained later. Also please pardon the awkward photo patching. It was too tall for one picture.

    The box sits in the harness a the bottom.

  • Cameras - MK1 Balloon

    Jonathan Buchanan07/22/2016 at 01:03 0 comments

    As this was a project on a tight budget, I'm sure you'll laugh at my webcam selection. One was a iSight camera I pulled out of an ancient g5 iMac and soldered a usb port onto. The other was a 720p Microsoft lifecam I ordered from amazon for $20.

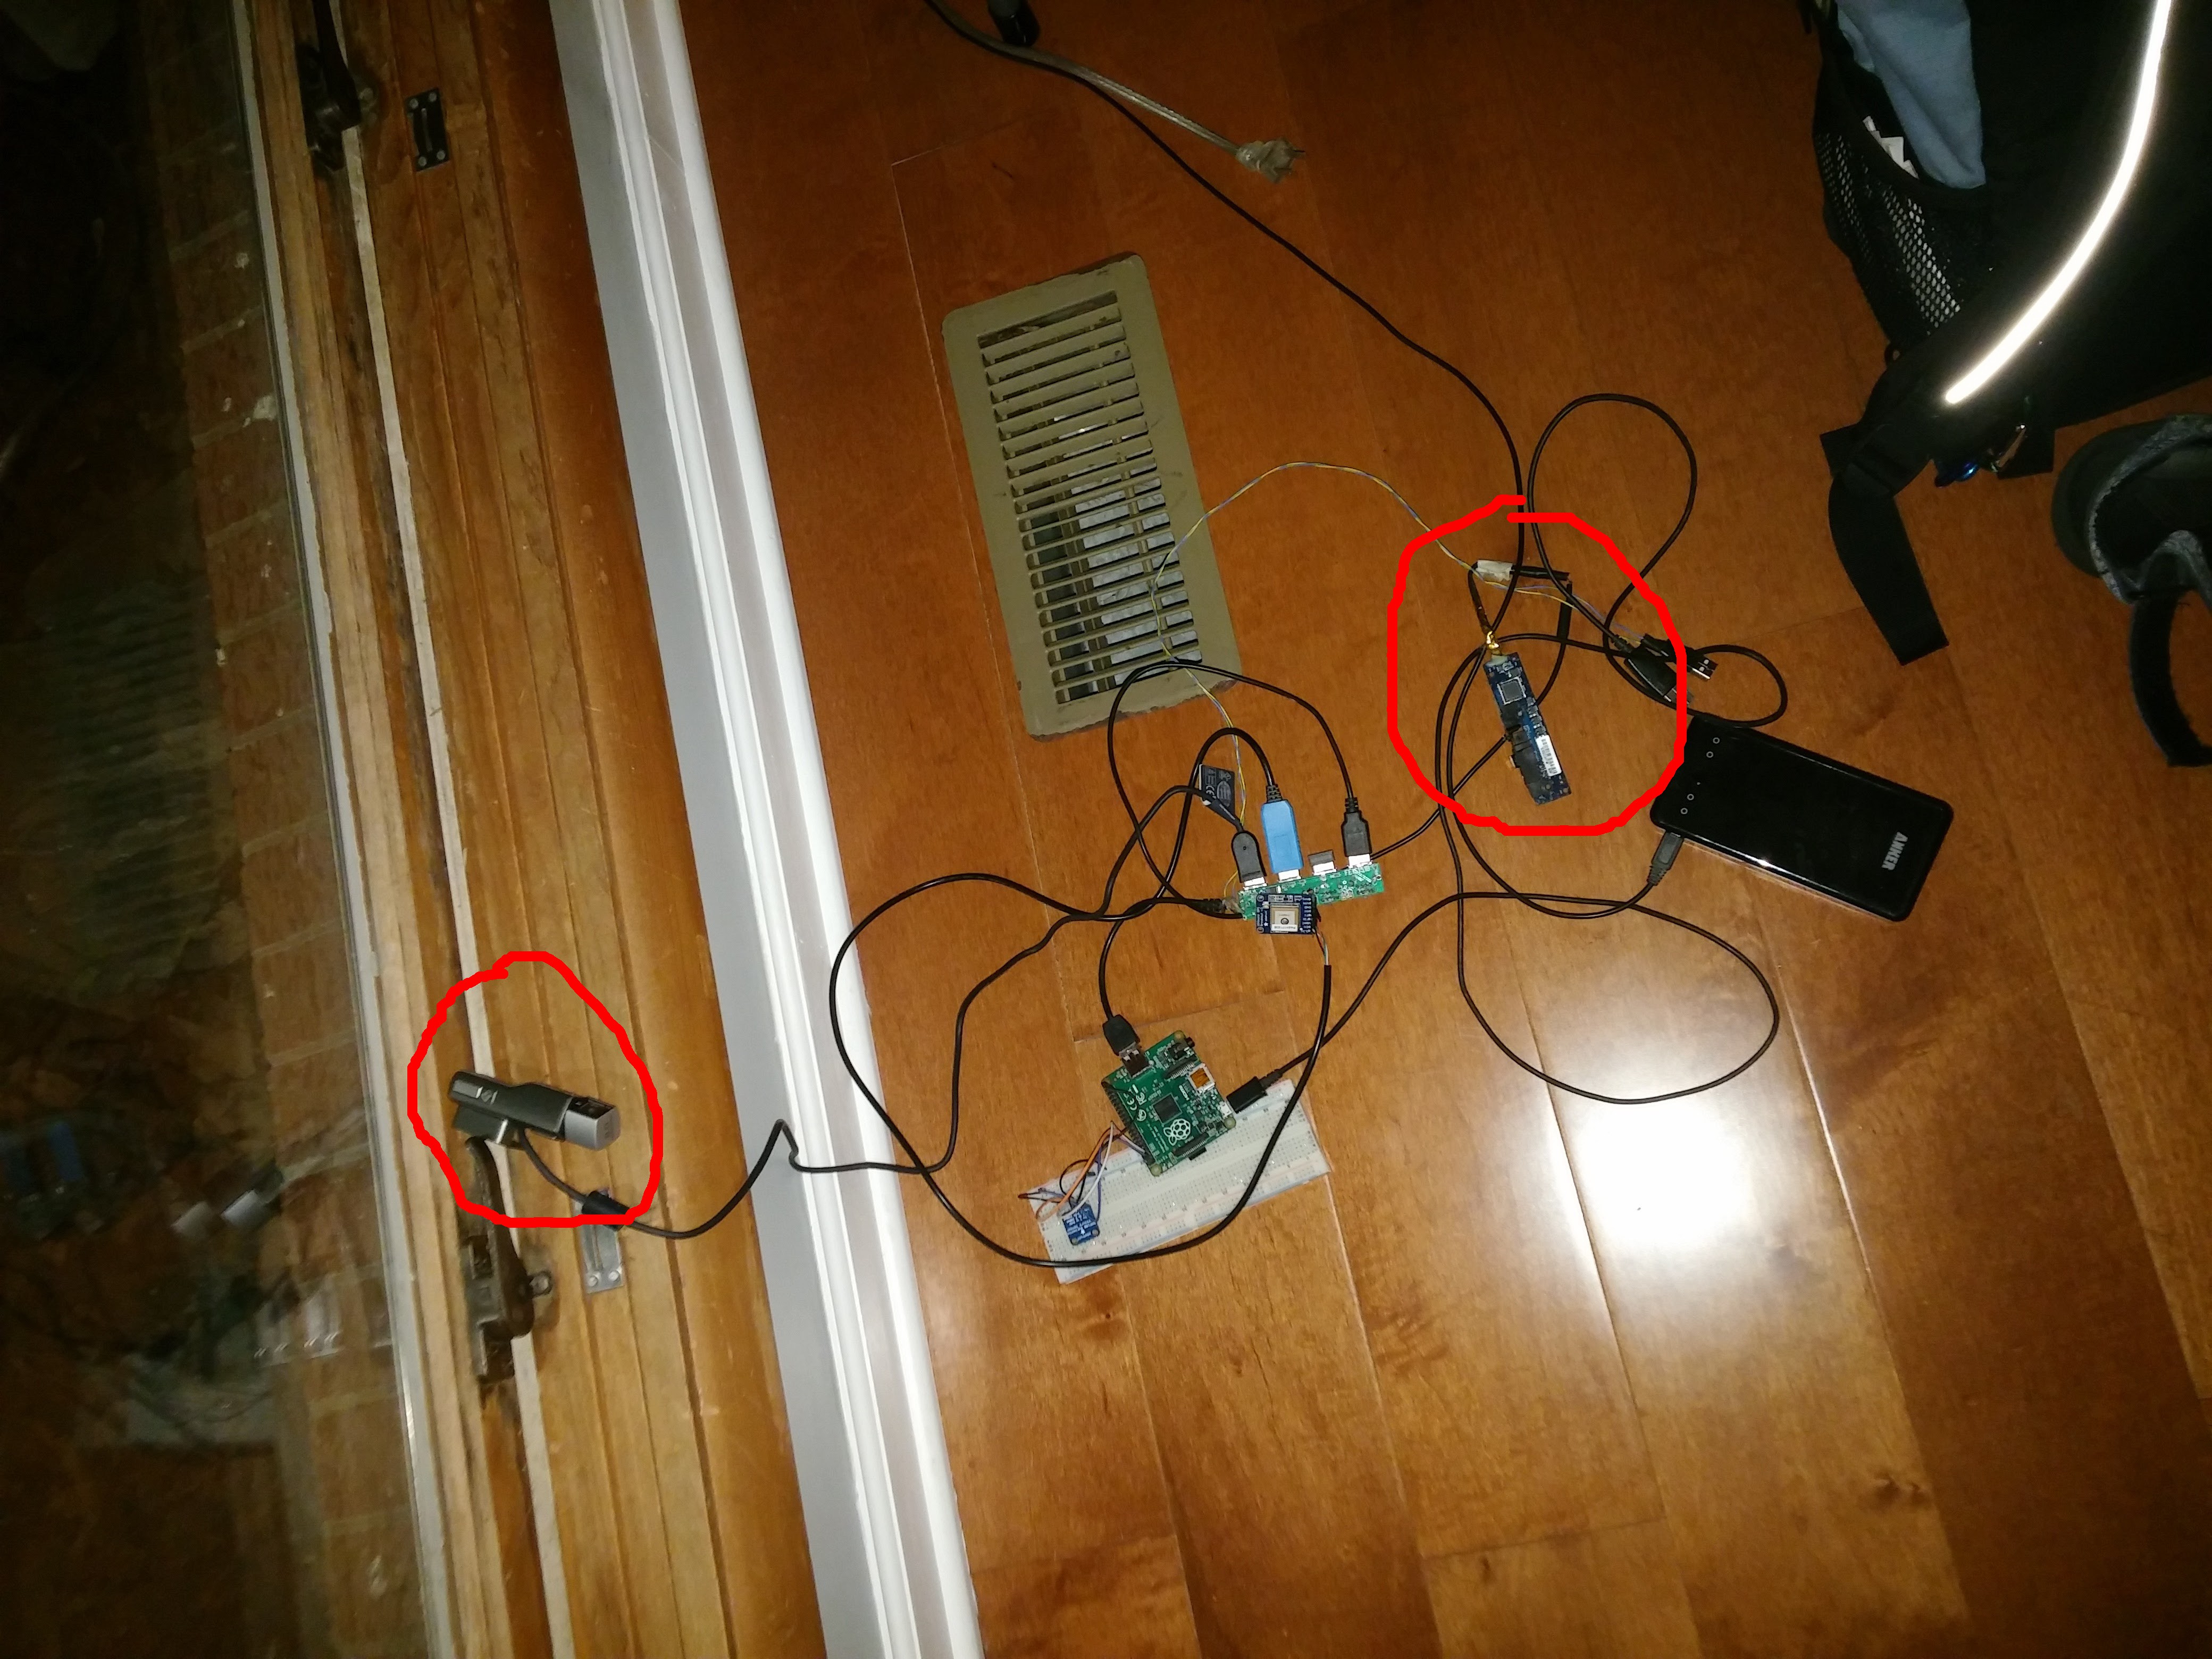
    Regrettably, I don't have a great picture of either one, but here is a decent one, highlighted for your convenience.

    In retrospect, two usb camera's likely wasn't good for my power consumption, as it uses power doubly as a usb device and because webcams are poorly optimized for the pi (compared to the picamera).

    Drivers for the iSight camera were actually a bit of a struggle. There is a tool for Debian that can extract the .fw file from the corresponding OS X kext. The only hitch is that that kext comes from Leopard. Six operating systems out of date. Needless to say that proprietary file is scarce on the internet. After hours of broken links, I did eventually find it though. The Microsoft camera worked without any issues.

    For both usb cameras I used fswebcam, a versatile yet lightweight command line program for using usb webcams.

    Due to the naming issue brought up in the GPS post, I gave fswebcam the

    /dev/v4l/by-id/
    entry of the cameras to ensure consistancy.

  • GPS - MK1 Balloon

    Jonathan Buchanan07/22/2016 at 00:45 0 comments

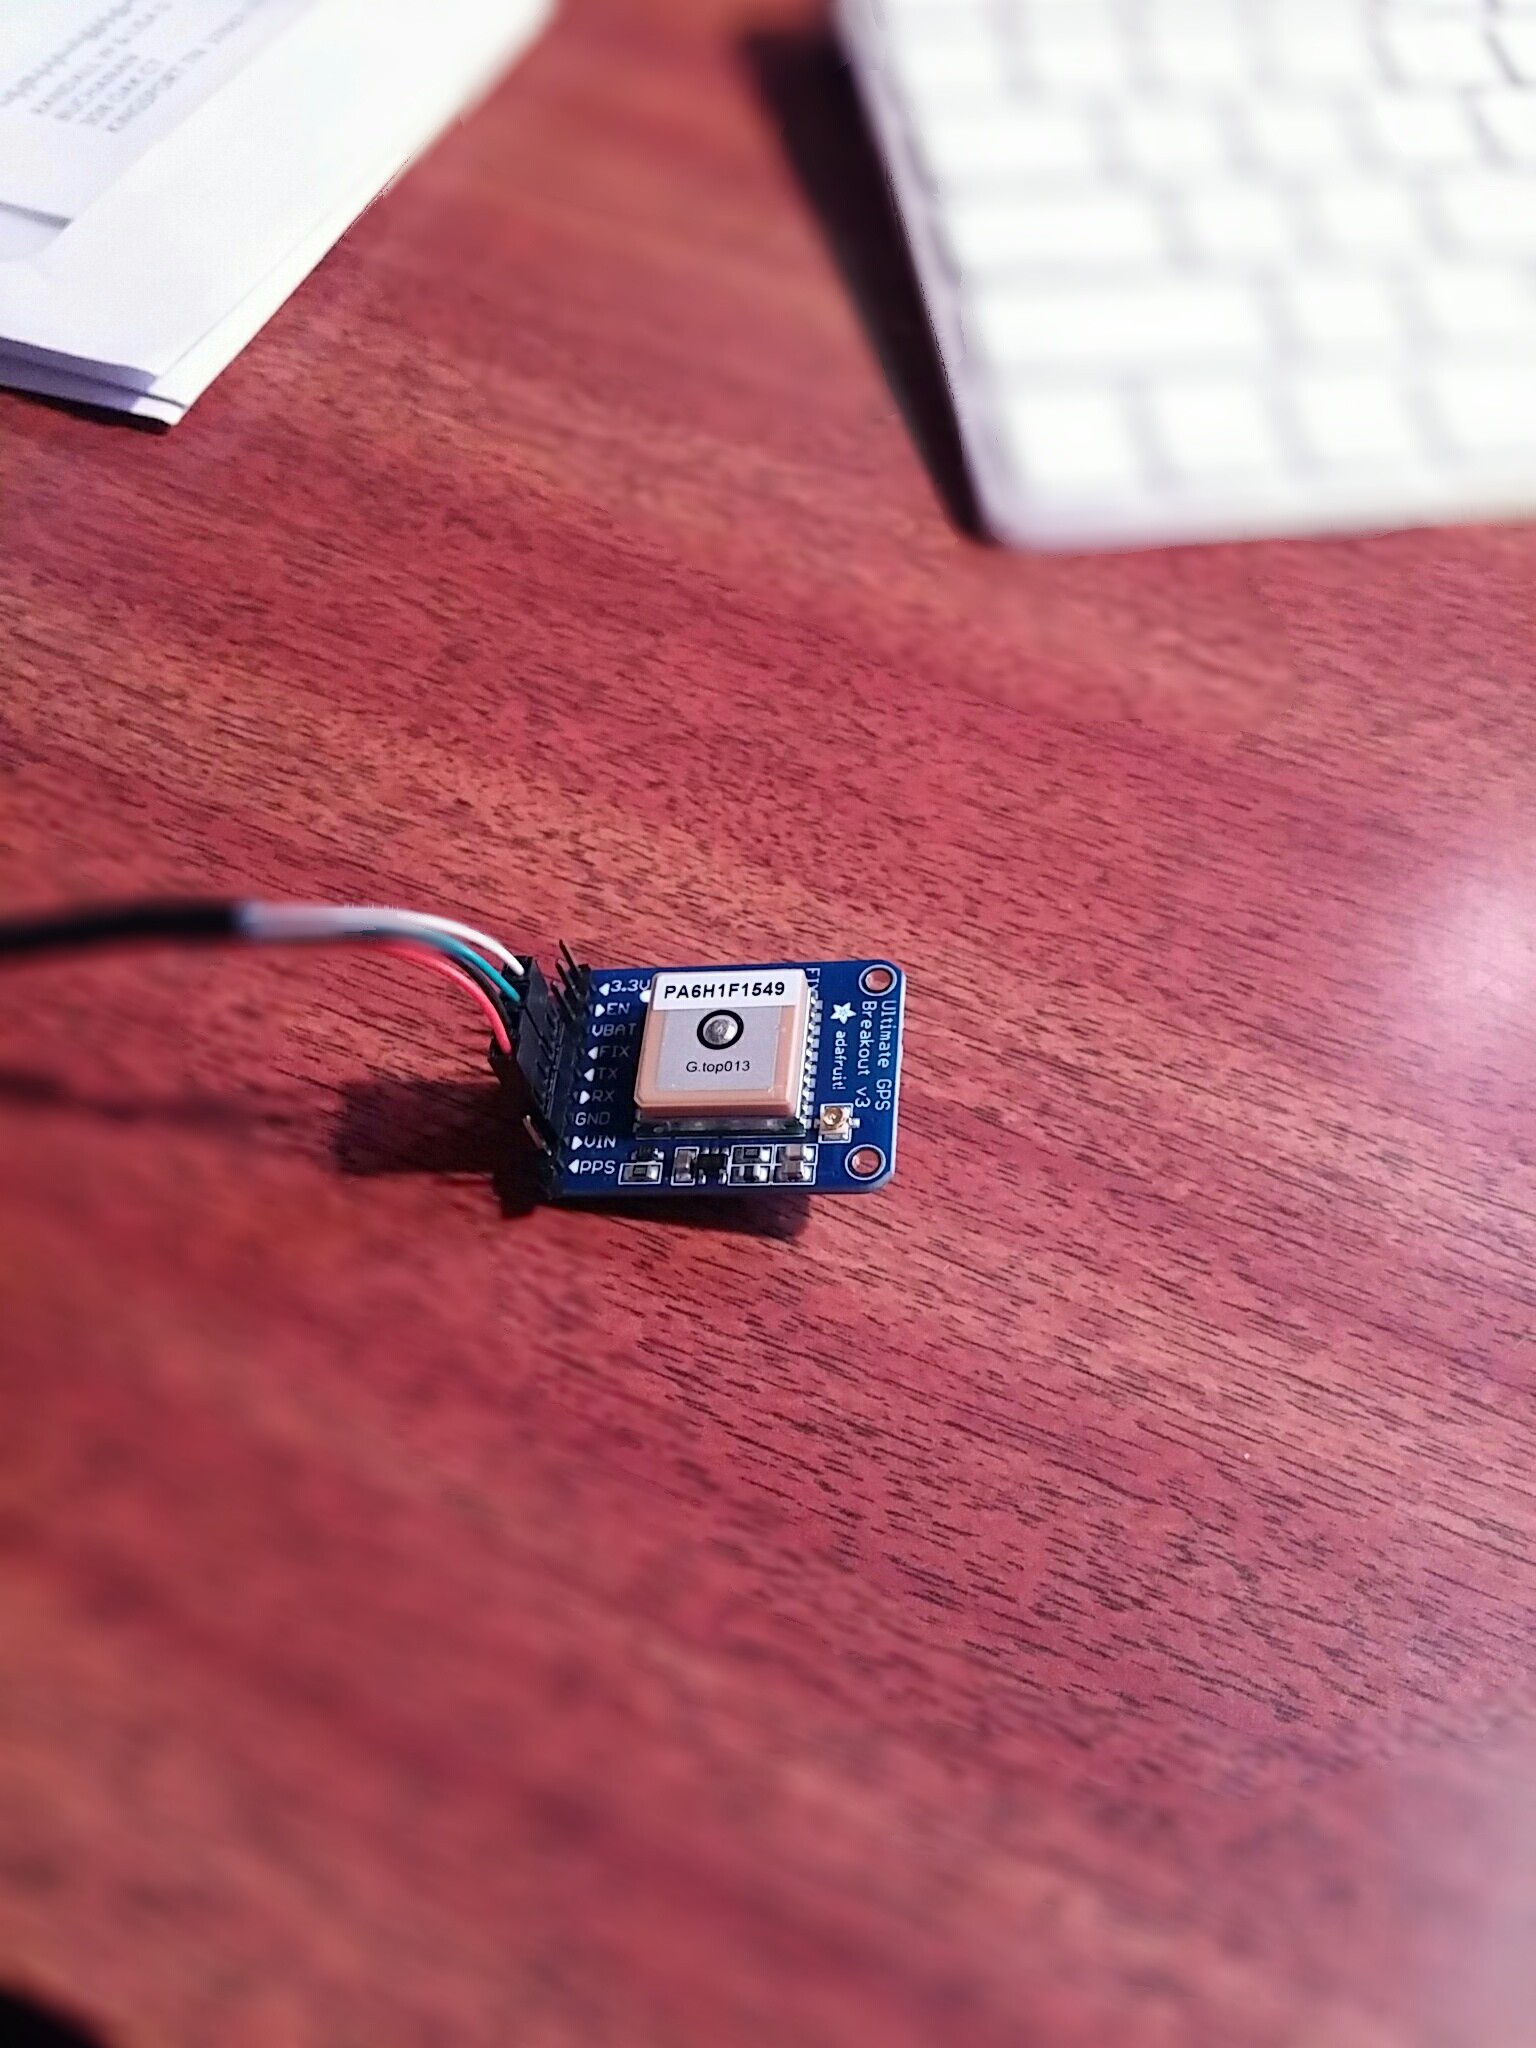
    The most important component of any weather balloon: the GPS. Adafruit's offer of a decently cheap, power efficient, yet powerful GPS module caught my eye.

    I used a gpsd daemon along with a complementary python library to read the data from it.

    Since I used a usb cable to connect to the GPS, it was naturally given an entry under

    /dev/ttyUSB*
    The problem being that I had a usb 3g dongle as well as 2 usb webcams also being randomly assigned a number after USB depending on how udev was feeling. And worse, I'd observed the data dongle sometimes changed itself depending on what mode it was operating in.

    To account for this I made a udev rules file that symlinked the GPS's actual device (based on its lsusb entry) to

    /dev/ttyUSBgps

    This seemed to be all well and good, I could start gpsd, point it to that custom device and be sure it was the right one. Unfortunately, due to the dynamics of the 3g dongle mentioned above, the entry for the GPS could sometimes change after boot, and gpsd was not happy to have its device changed from out from under it.

    The solution, I admit, was not very tidy, but it worked. In the code I simply had the script restart the gpsd daemon with the new device (still symlinked to ttyUSBgps).

  • Barometer/Thermometer - MK1 Balloon

    Jonathan Buchanan07/22/2016 at 00:21 0 comments

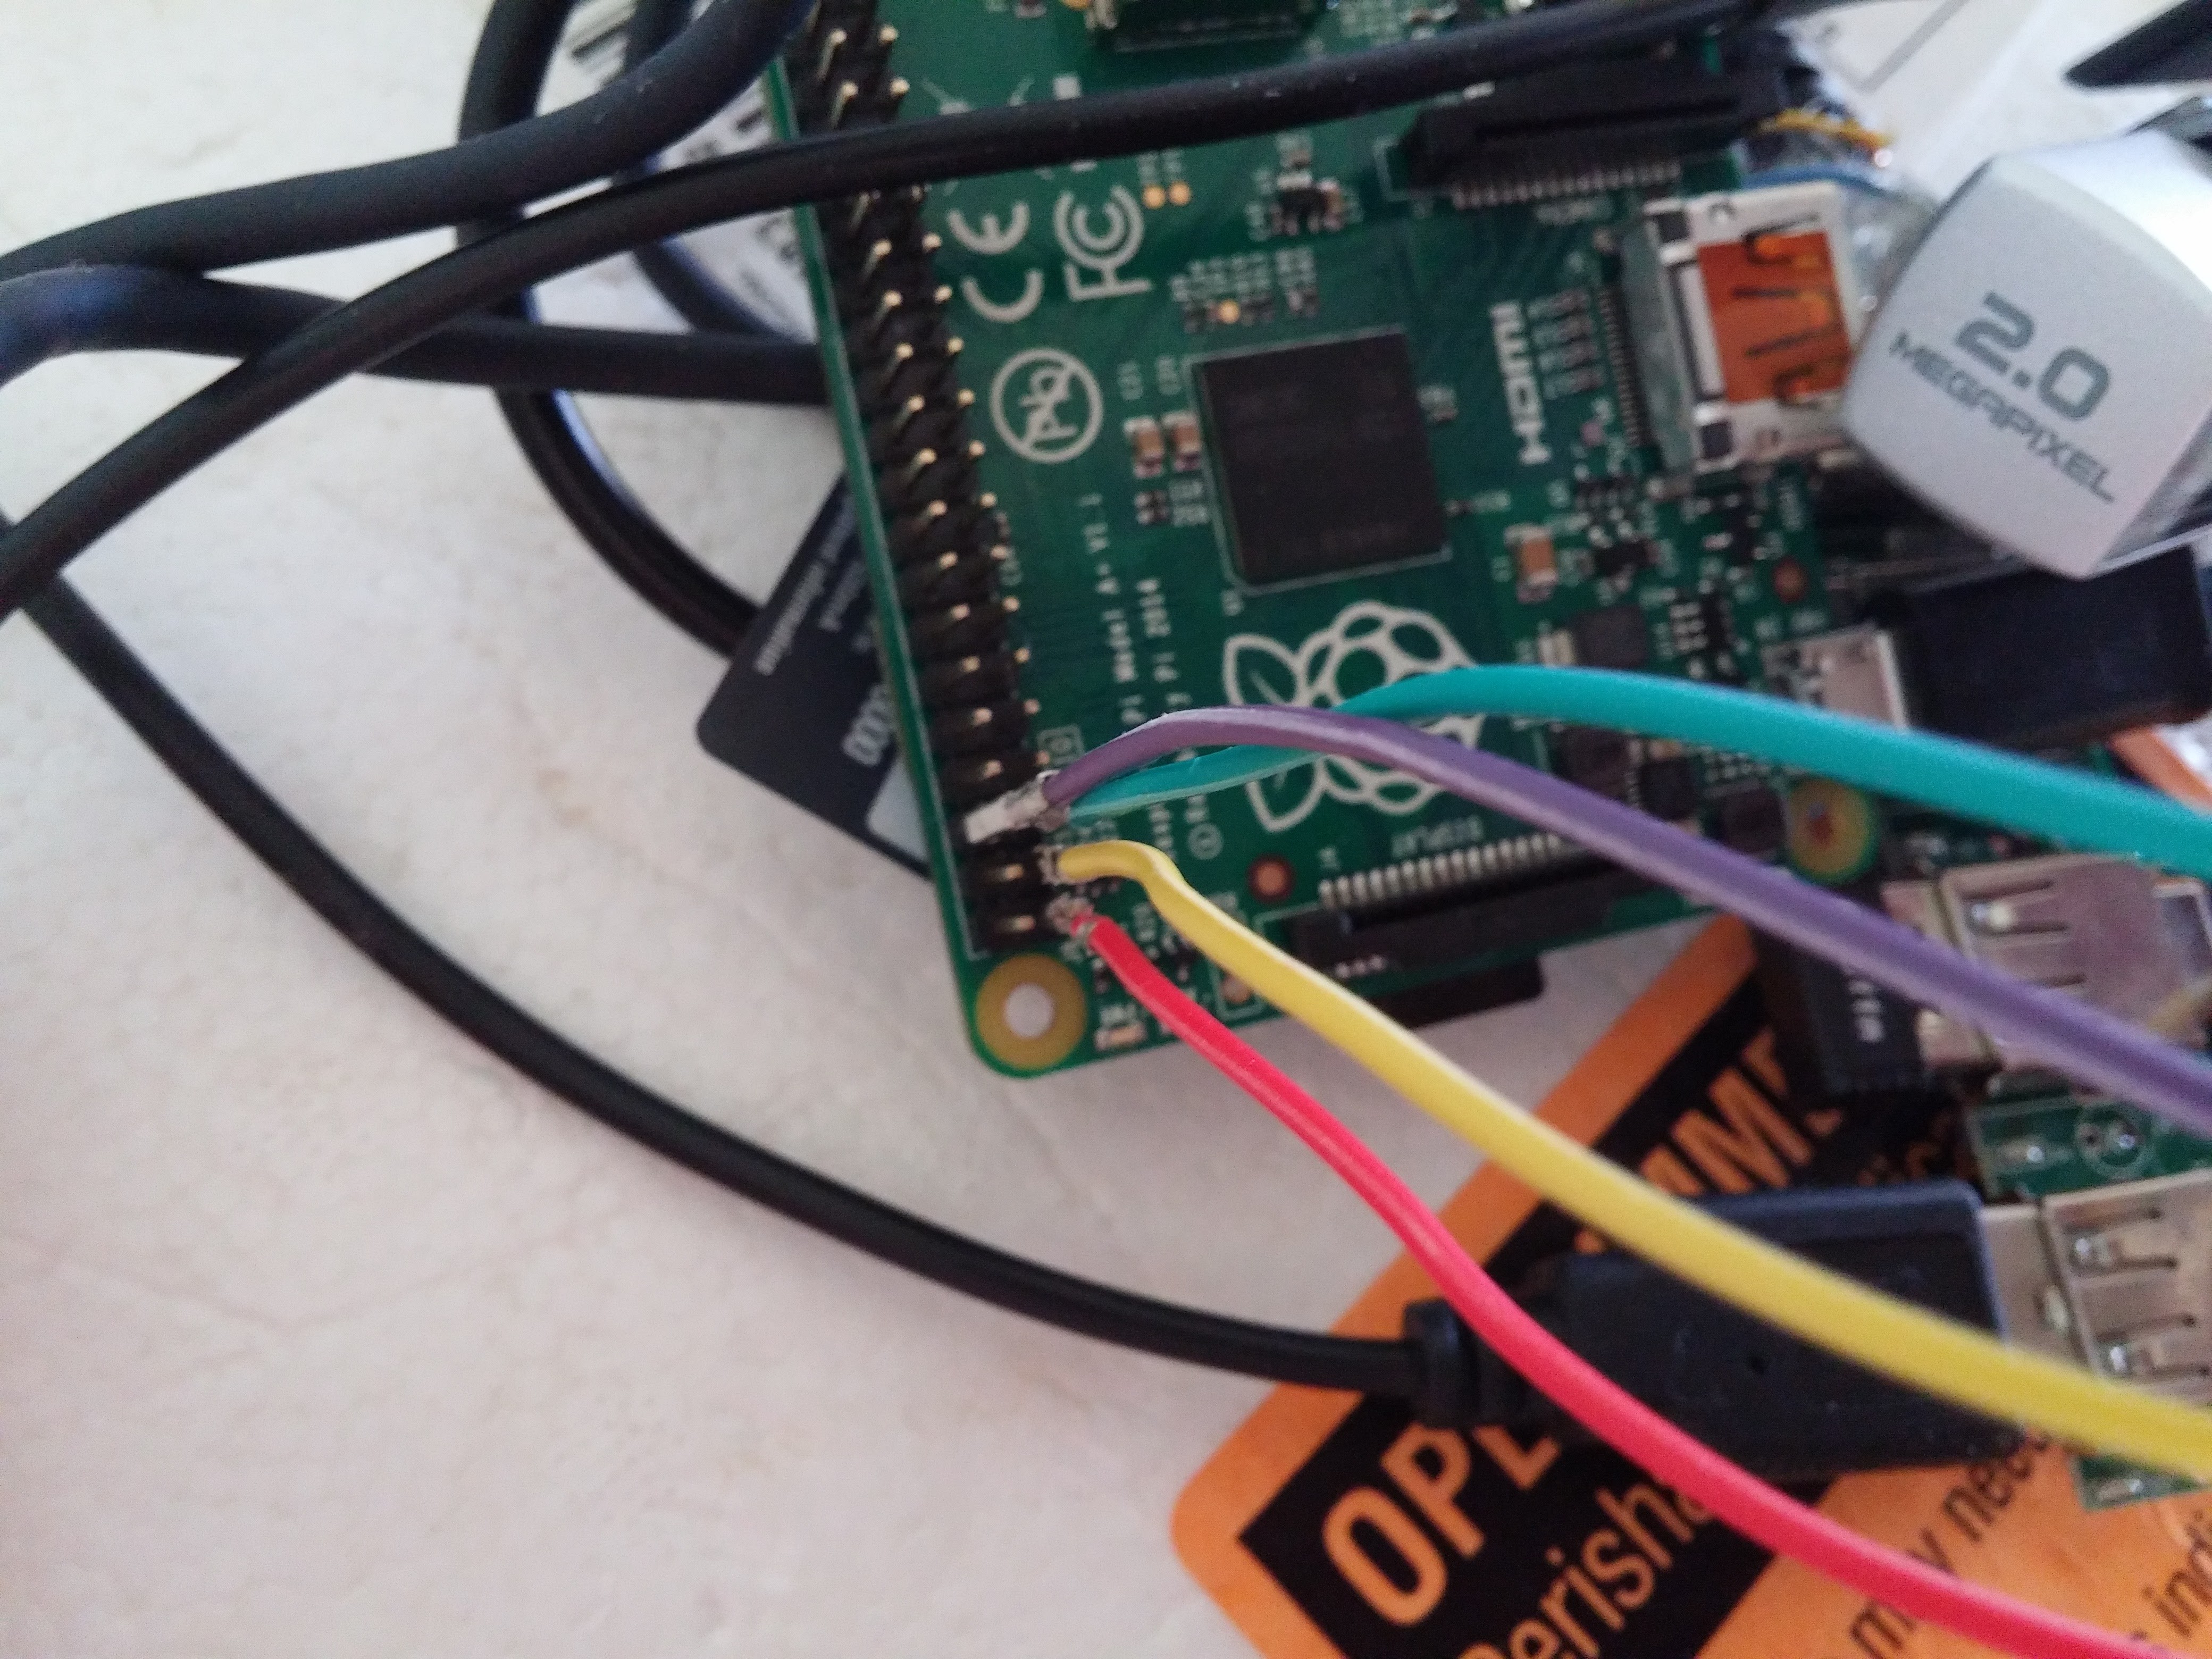
    Since I wanted the balloon to do more that just take pictures, I decided to add this neat little sensor that reads both pressure and temperature.

    It uses the I2C pins on the raspberry pi, and Adafruit has a python library pre made, so setup was a breeze.
  • Data - MK1 Balloon

    Jonathan Buchanan07/20/2016 at 15:42 0 comments

    After a bit of research on communicating with things very high in the sky, I concluded that I had two options:

    • Pay $300 for a 20mi radio
    • Cellular data

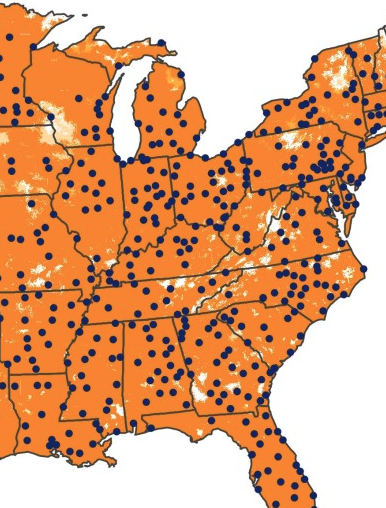
    The downside to using cell towers is that they have a maximum range of about 10,000ft from the surface (This is because cell towers are optimized for signals below them). The practical effect of this is that I would not be able to maintain constant telemetry for more than the first tenth of the altitude, as the balloon ought to go to upward of 80,000ft. That being said, AT&T's data coverage map of East TN and the surrounding area looked as if was practically guaranteed to land in cell tower range.

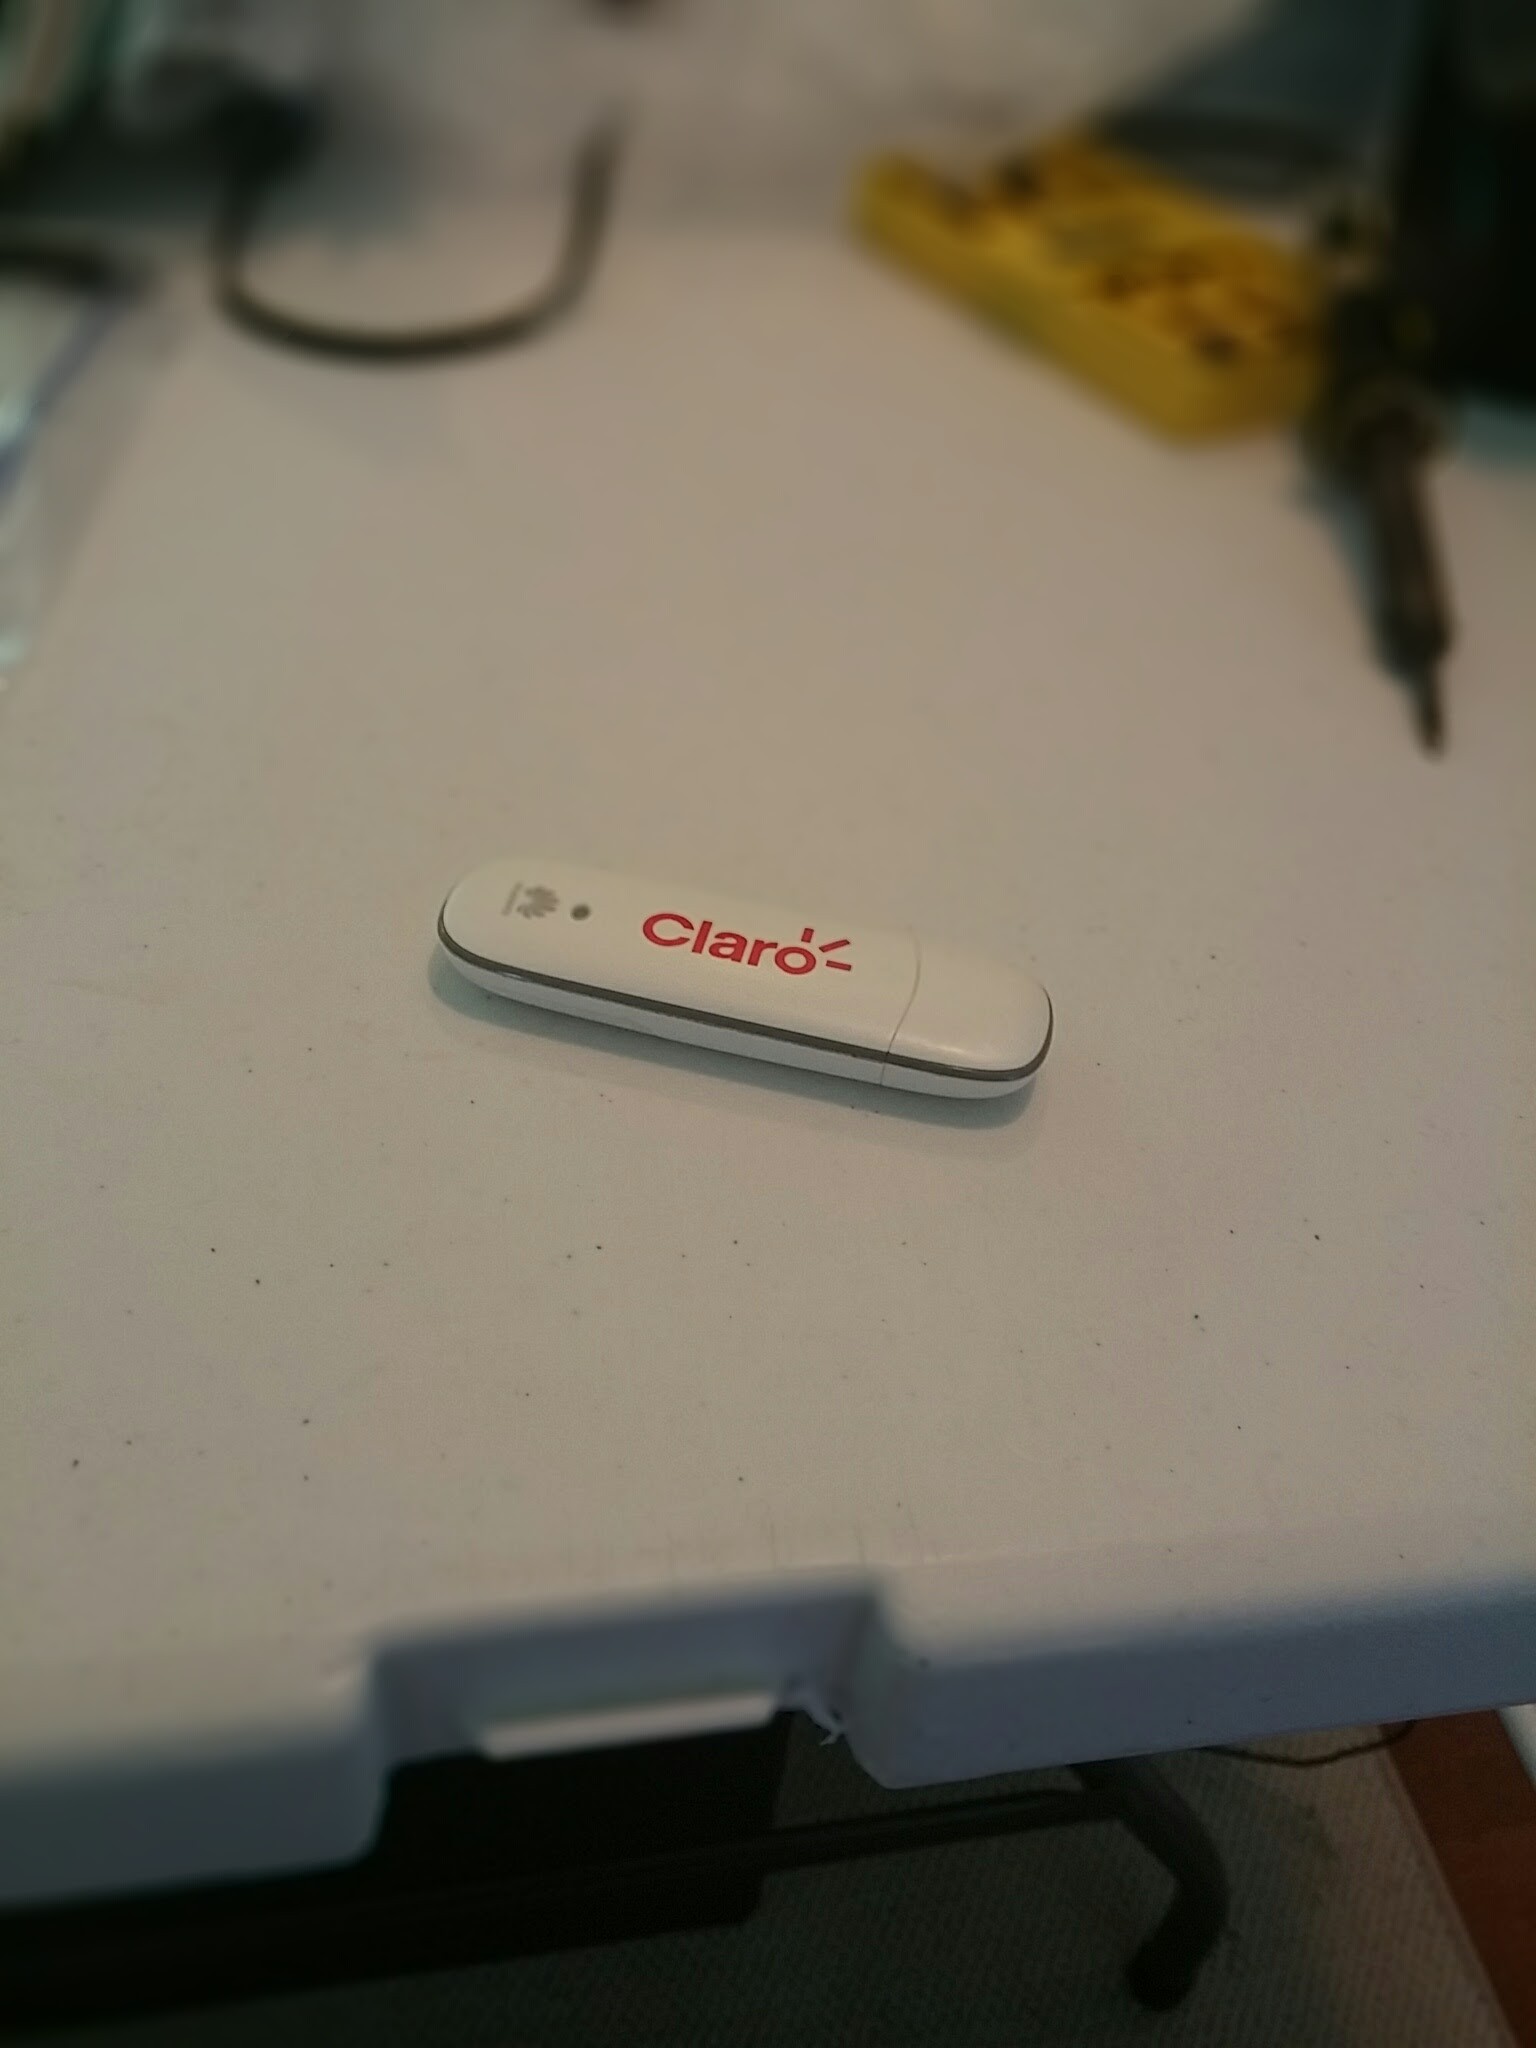
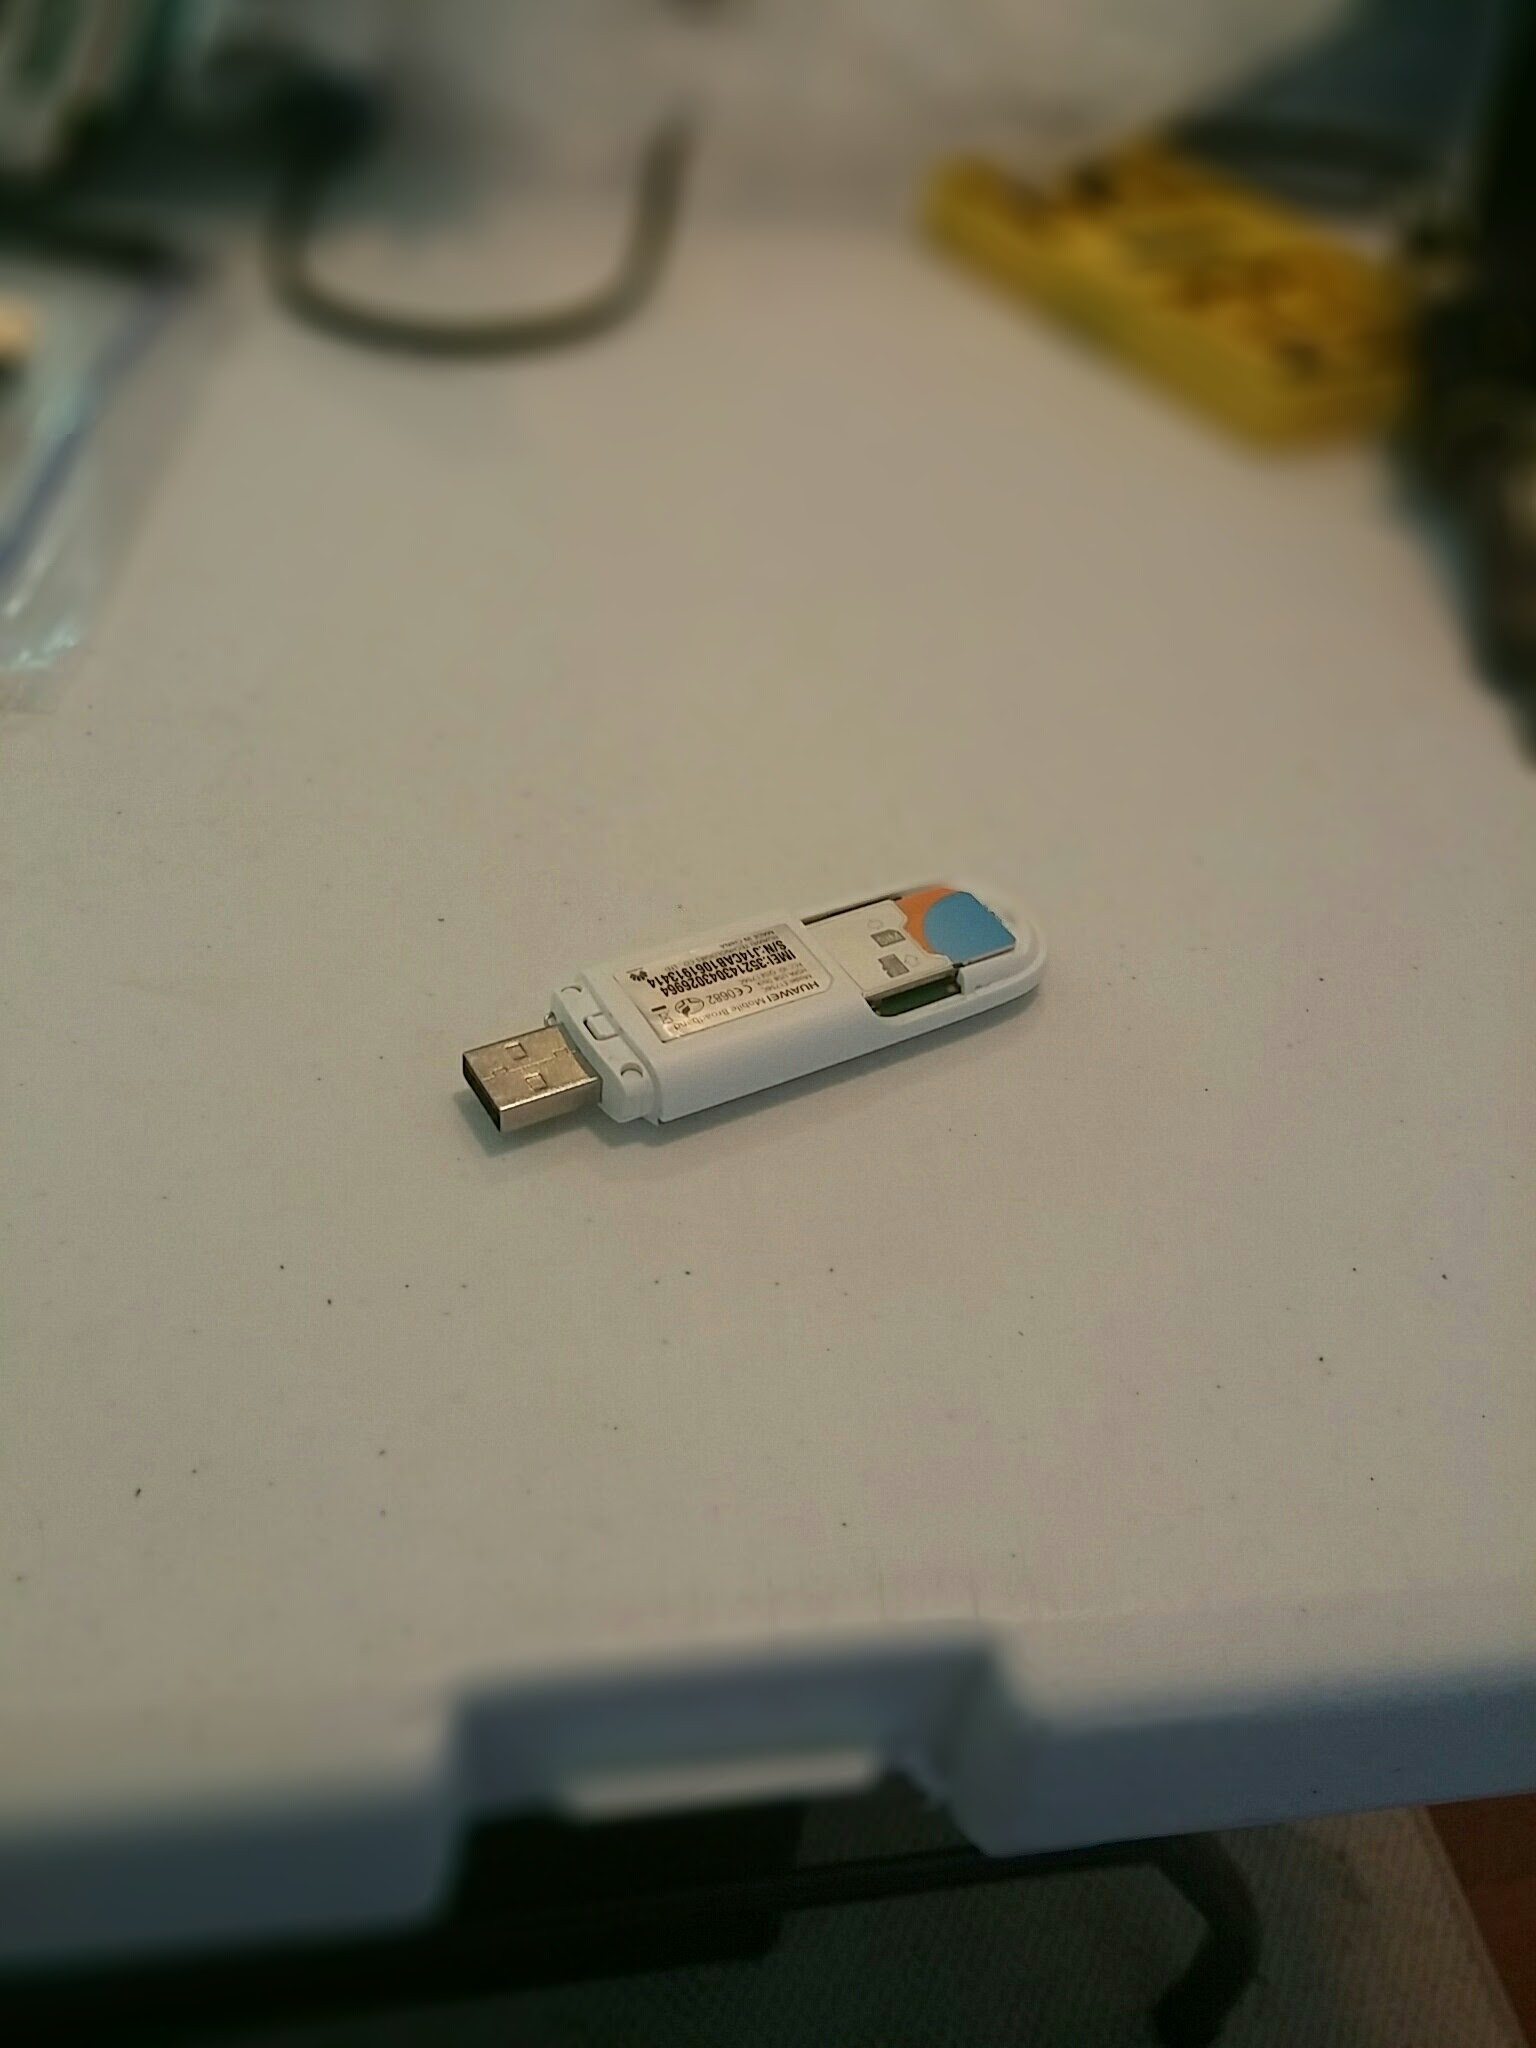
    So I got a cheap 3g dongle from amazon (see parts list).

    And after watching a number of representatives from a variety of providers stare with a mixture of disgust and confusion at my strange device, I finally found that AT&T was able to provide a sim card that would work.

    Once that was done however, I needed to pair the dongle with linux. To that end, I found a neat little program called sakis3g. With some tweaking of the config files (of both sakis3g and wvdial) I got it working very reliably.

  • Power - MK1 Balloon

    Jonathan Buchanan07/20/2016 at 15:19 0 comments

    As anyone who has ever done a project involving raspberry pis knows, the usb ports can only supply a limited amount of power. As a result, I needed to get power from somewhere else. It turns out that USB plugs are quite simple.

    They have a power, a ground, and two data connections. Since my battery has two usb ports,

    I was able to cut open a spare usb cable and connect the power lines from the battery to usb splitter and the data lines from the pi to the splitter so that the battery supplied power to the hungry cell data dongle and webcams but the pi could communicate with them.
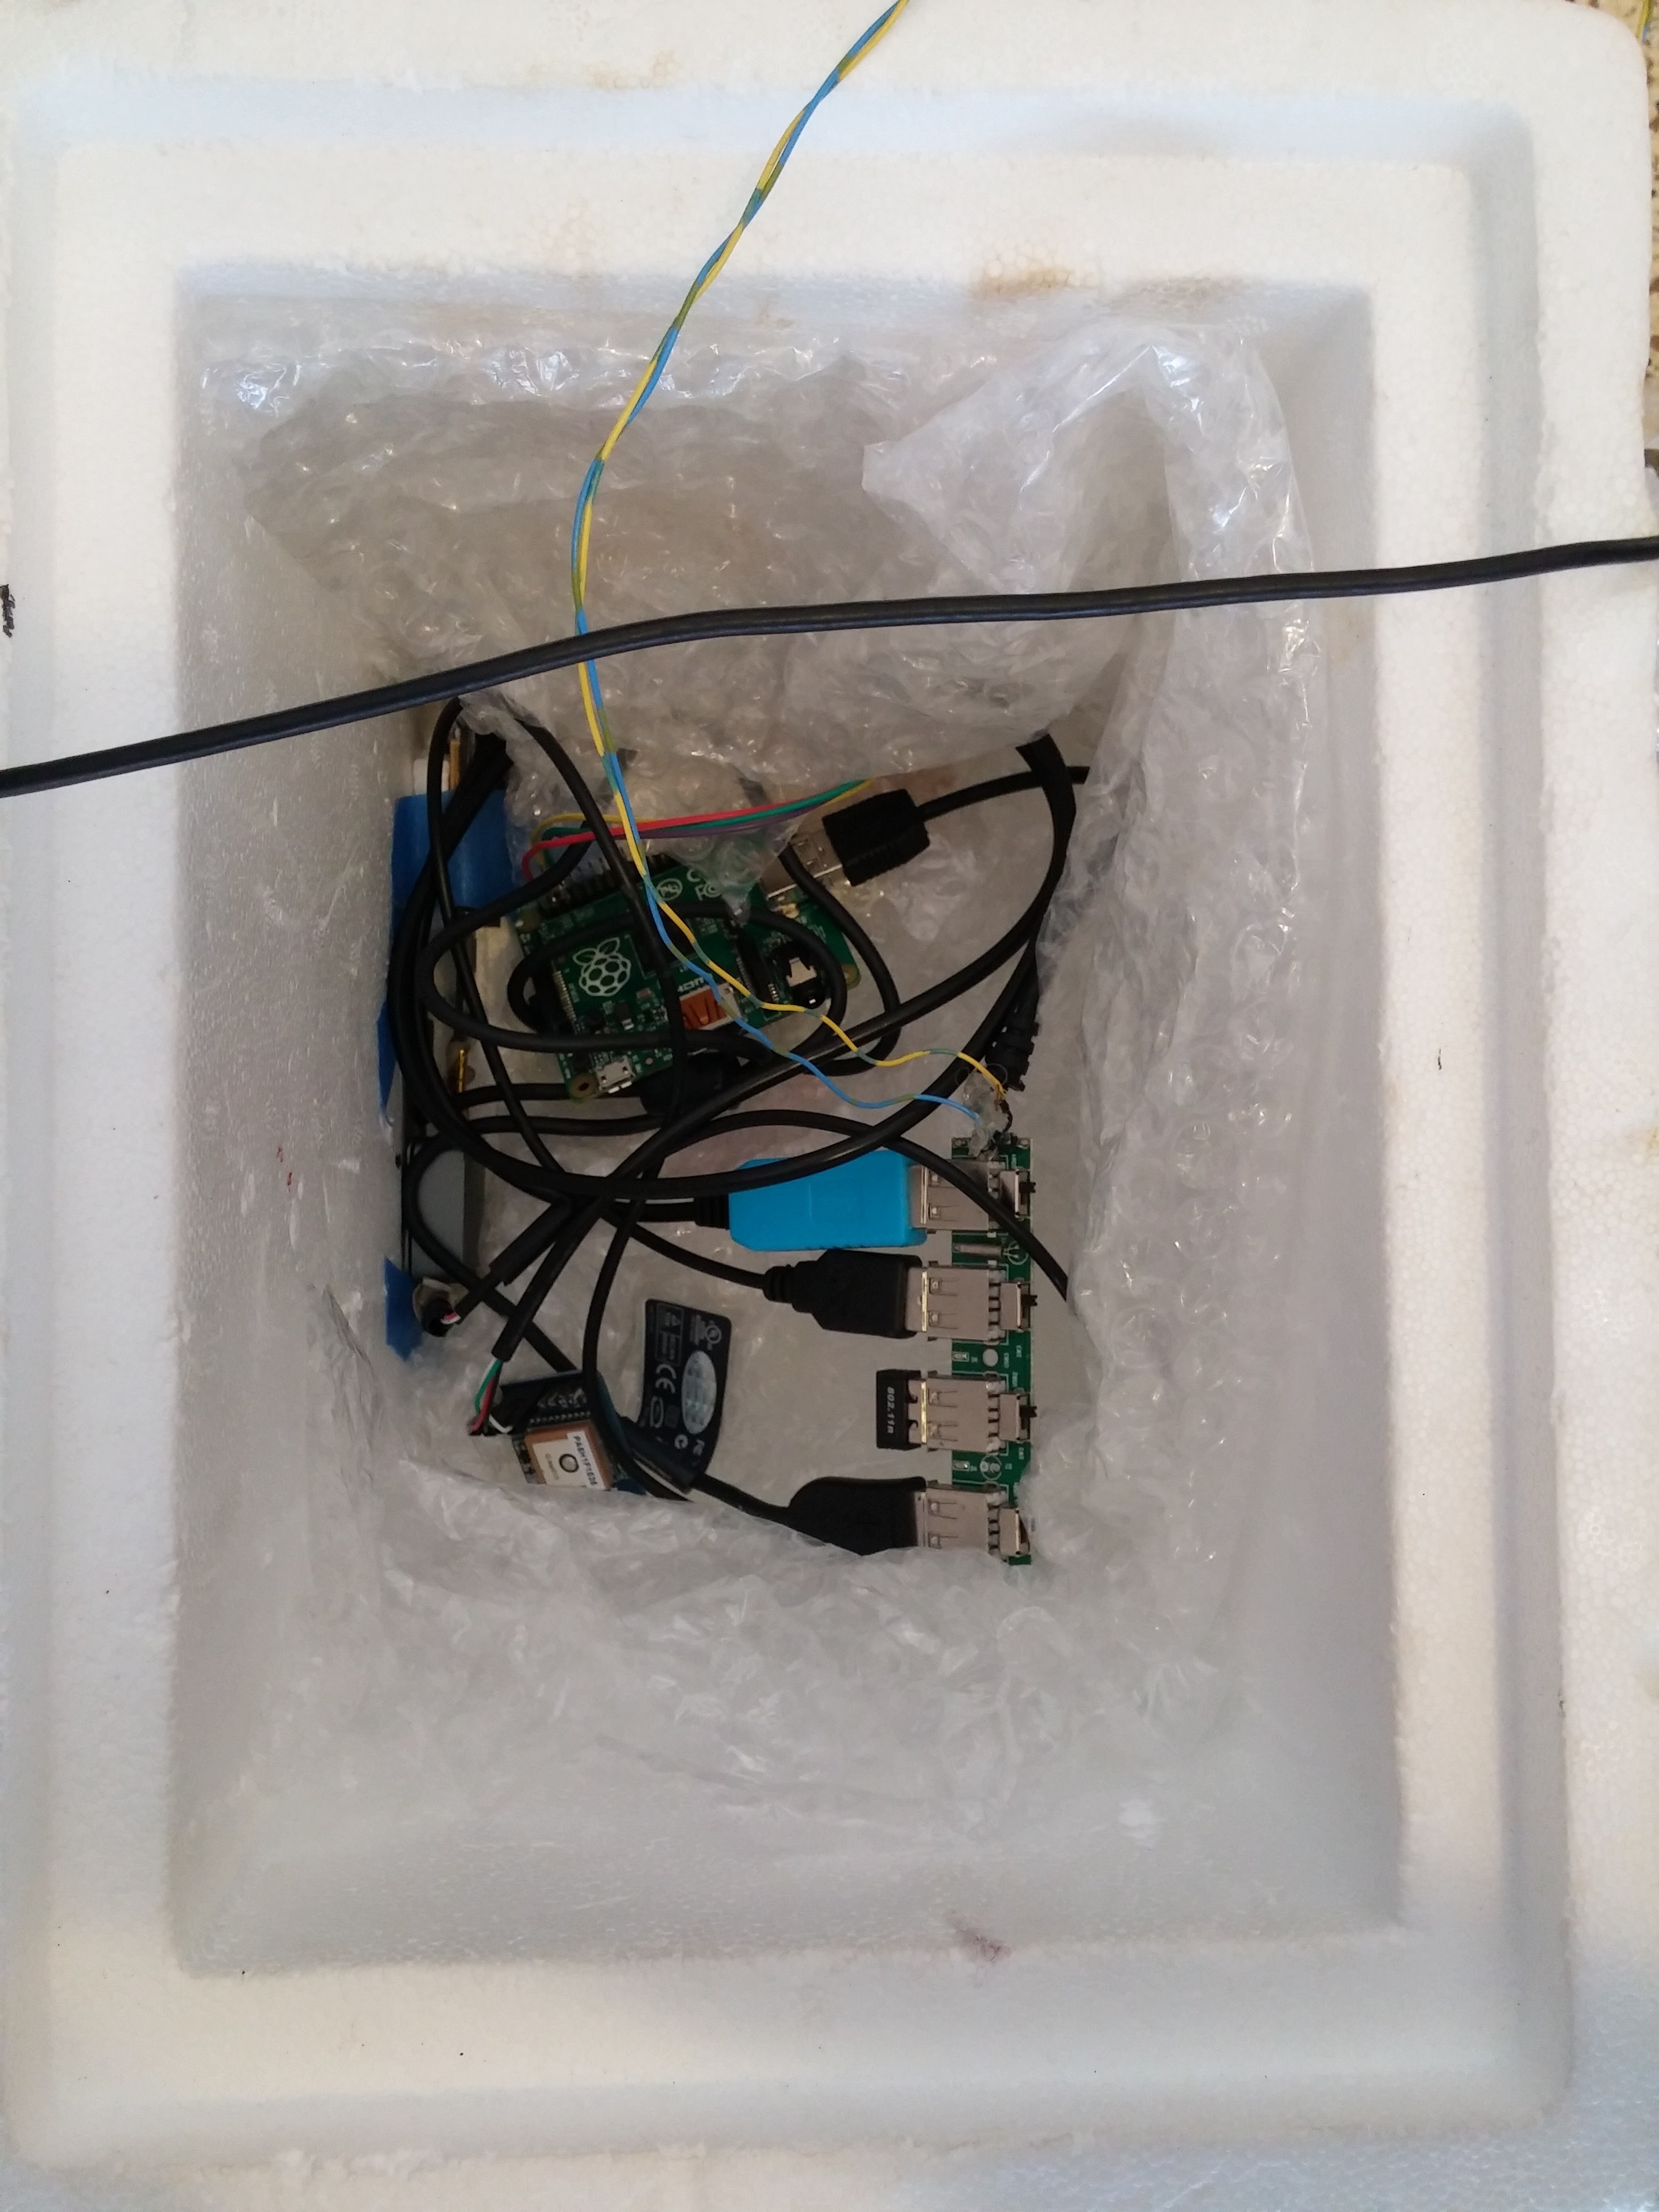
    I don't have a great picture of that rig, but you can kinda see it in this picture of the whole thing.

View all 8 project logs

Enjoy this project?

Share

Discussions

Similar Projects

Does this project spark your interest?

Become a member to follow this project and never miss any updates