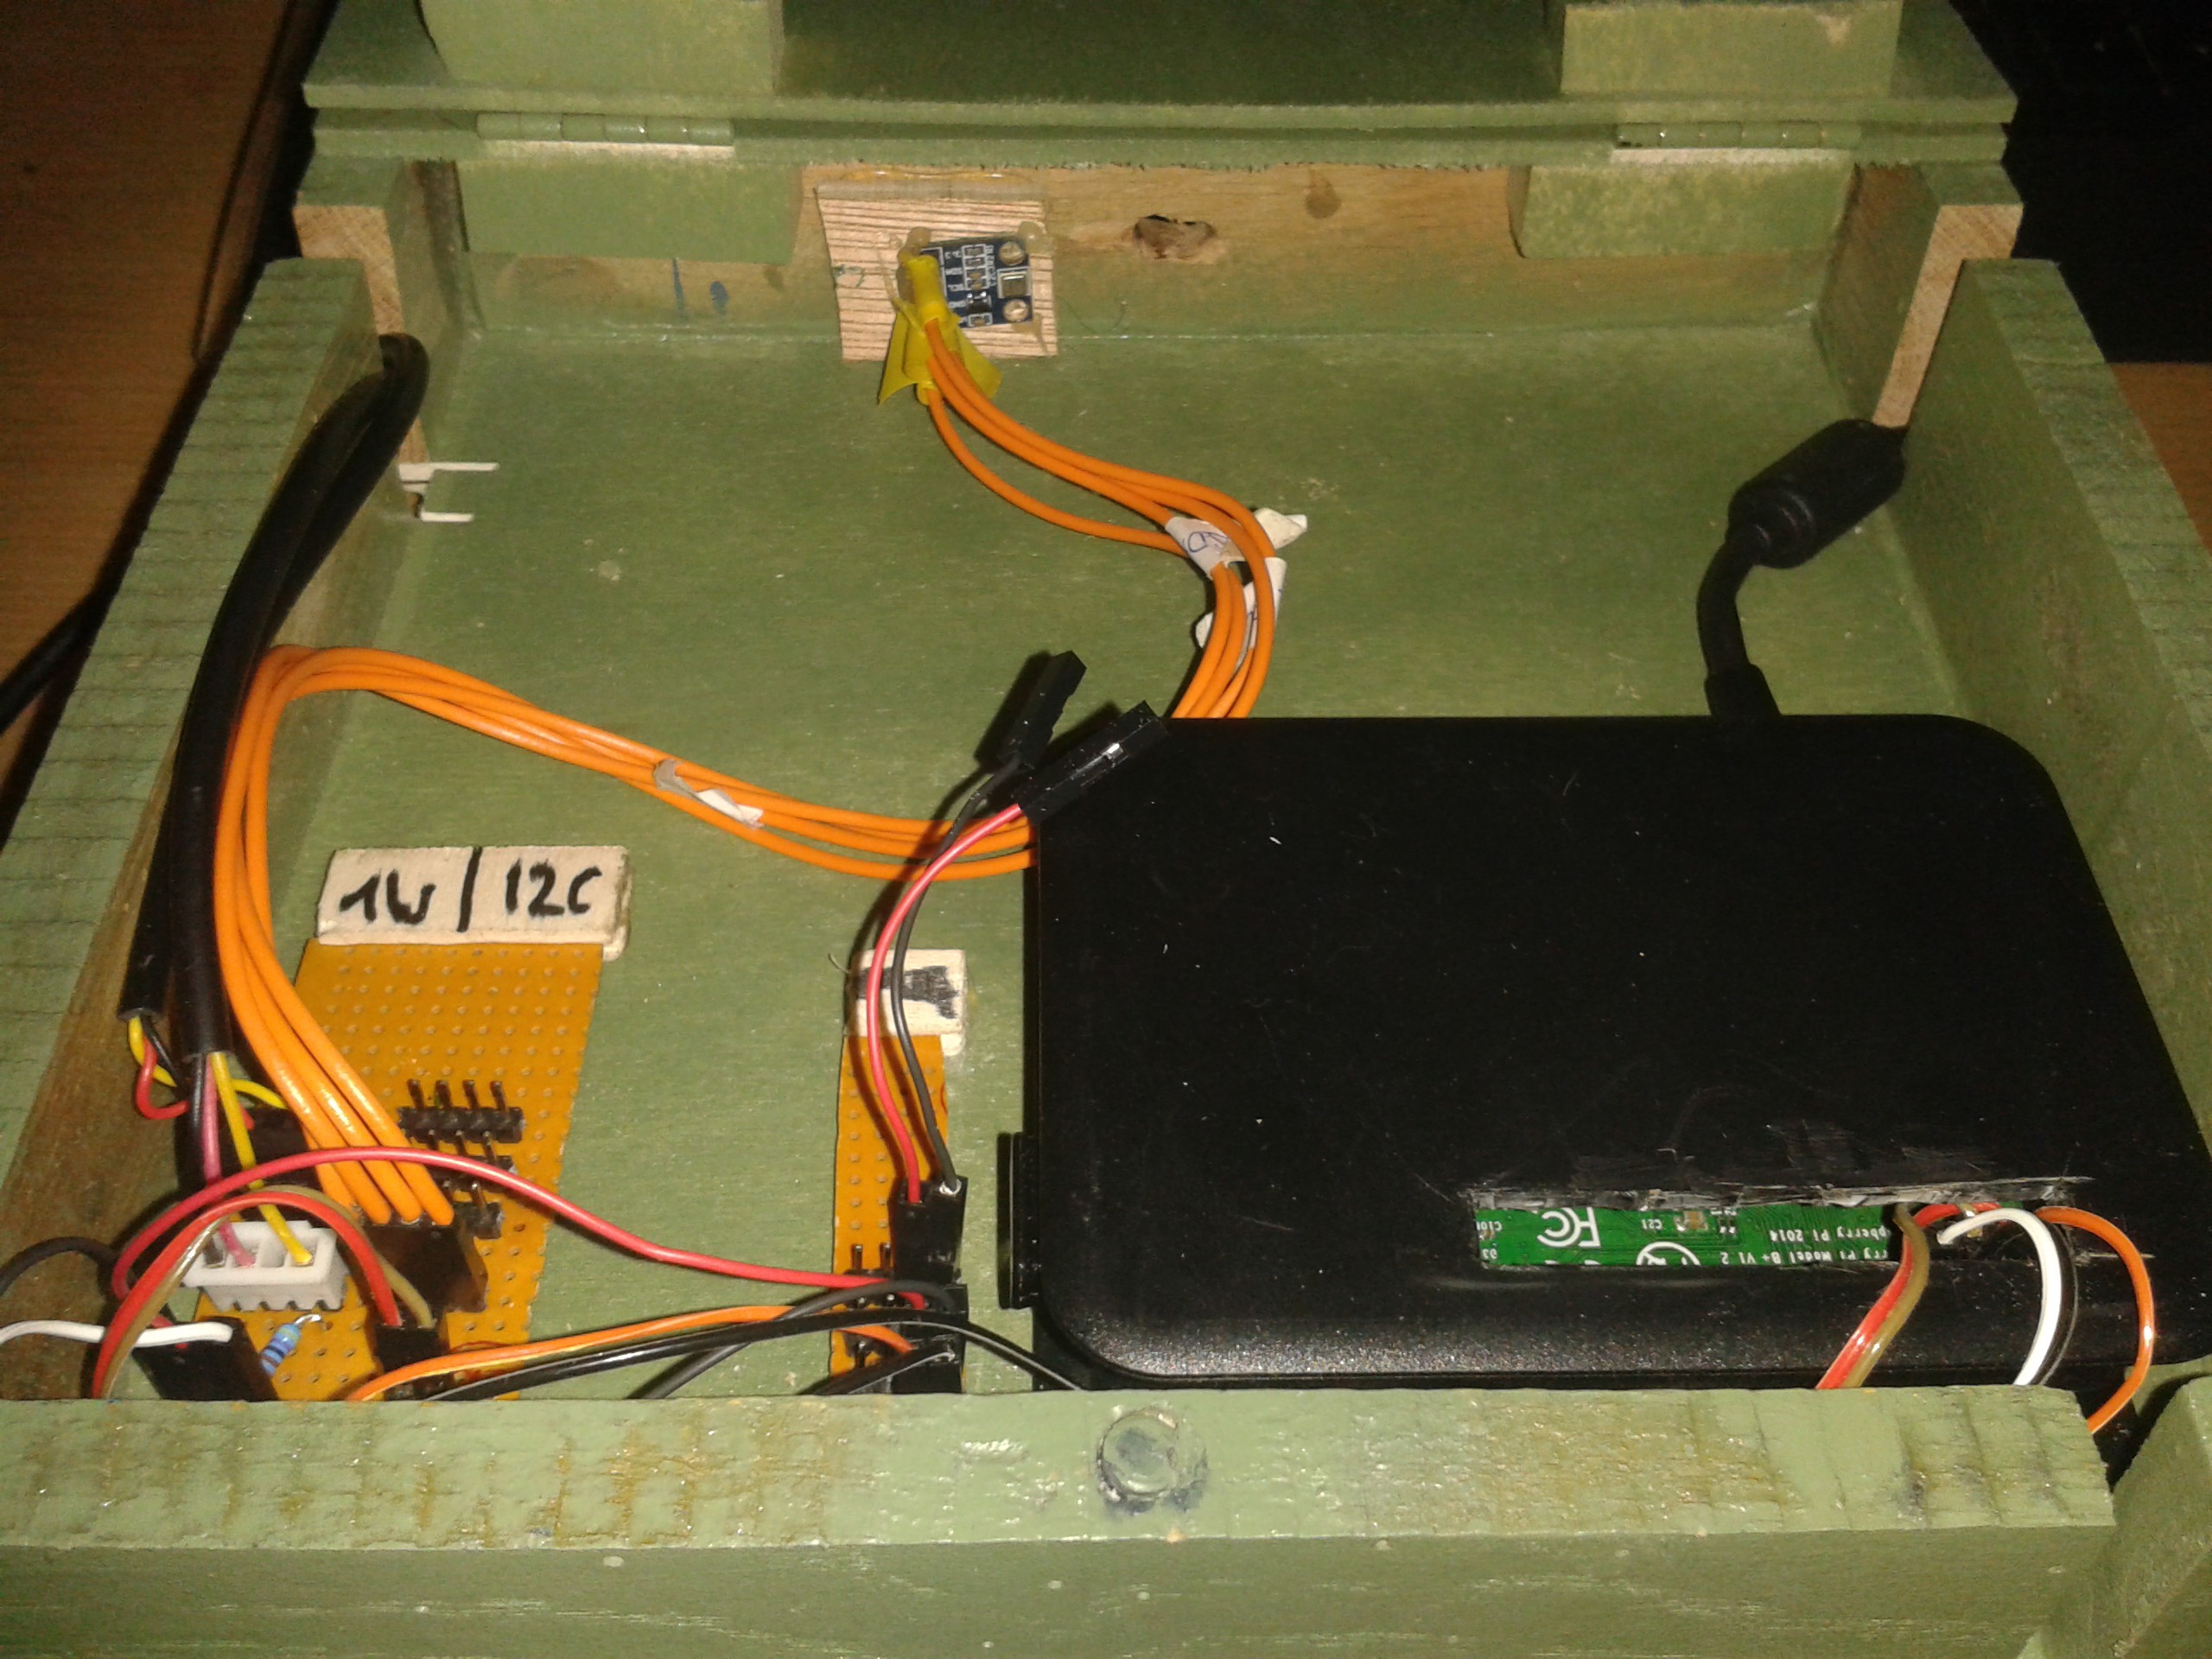
Today my goal was to integrate the parts i already have electronically integrated into the housing. The BMP085 pressure sensor stay inside the housing as it should not make any difference for (pressure) measurement whether it is placed inside our outside the housing - and here it is well protected and cables can be arranged permanently. The other sensor should be attached in a way to be able to unplug them - as the whole case is attached via magnets to the board permanently mounted in the greenhouse. This way it is easy to take the PI and all components besides the sensors in house for analysis / further development whereas the sensors can be permantently attached to the greenhouse and only cables will have to be unplugged.
To the left you see the 1W (with two sensors attached) and I2C (with the BMP085 attached) adapter boards - on top the BMP085. I also added a power adapter board (the small one next to the PI) to be able to drive other components with GND / 3.3V (the two open wires are 3.3V / GND to be used for the DHT11 which is not yet integrated). It is equipped with 4 headed pins to be able to supply 5V and 12V through the spare pins at a later stage.
I'm still thinking of adding other connectors for the sensors outside the case - that would be a next step.
To the right you see the USB power supply cable for the PI which when used in the greenhouse is feed by the battery pack / solar panel.
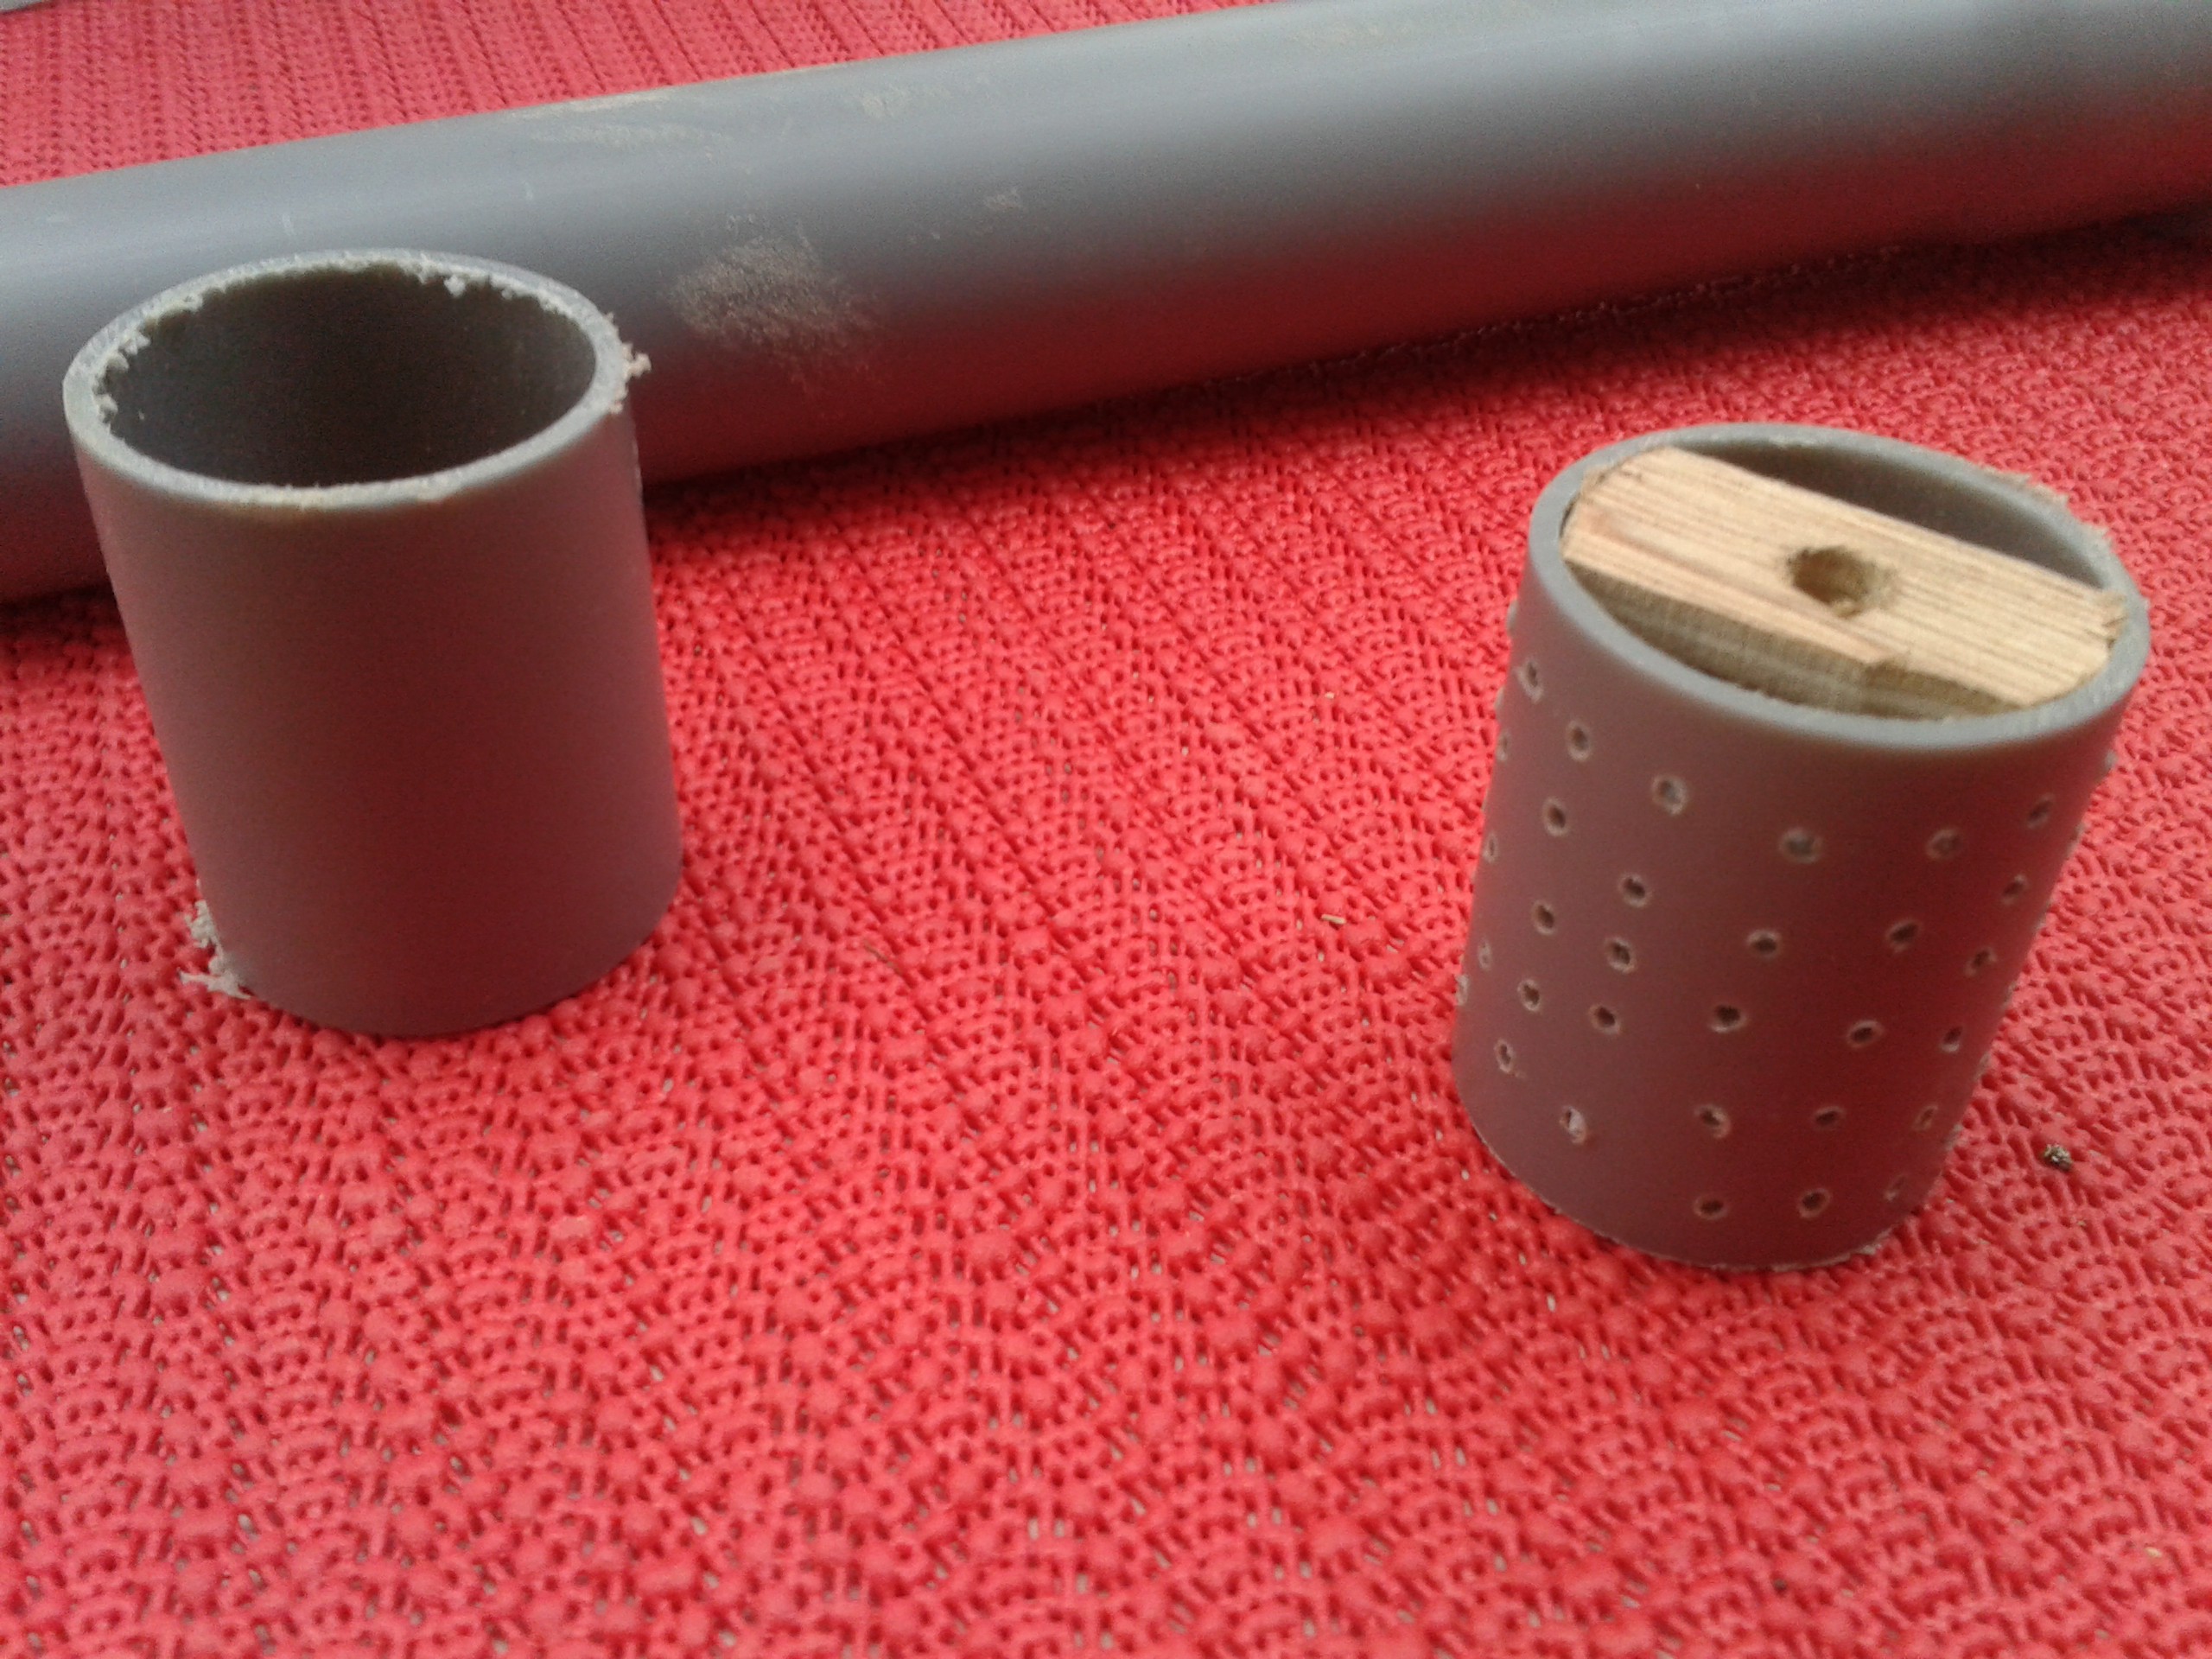
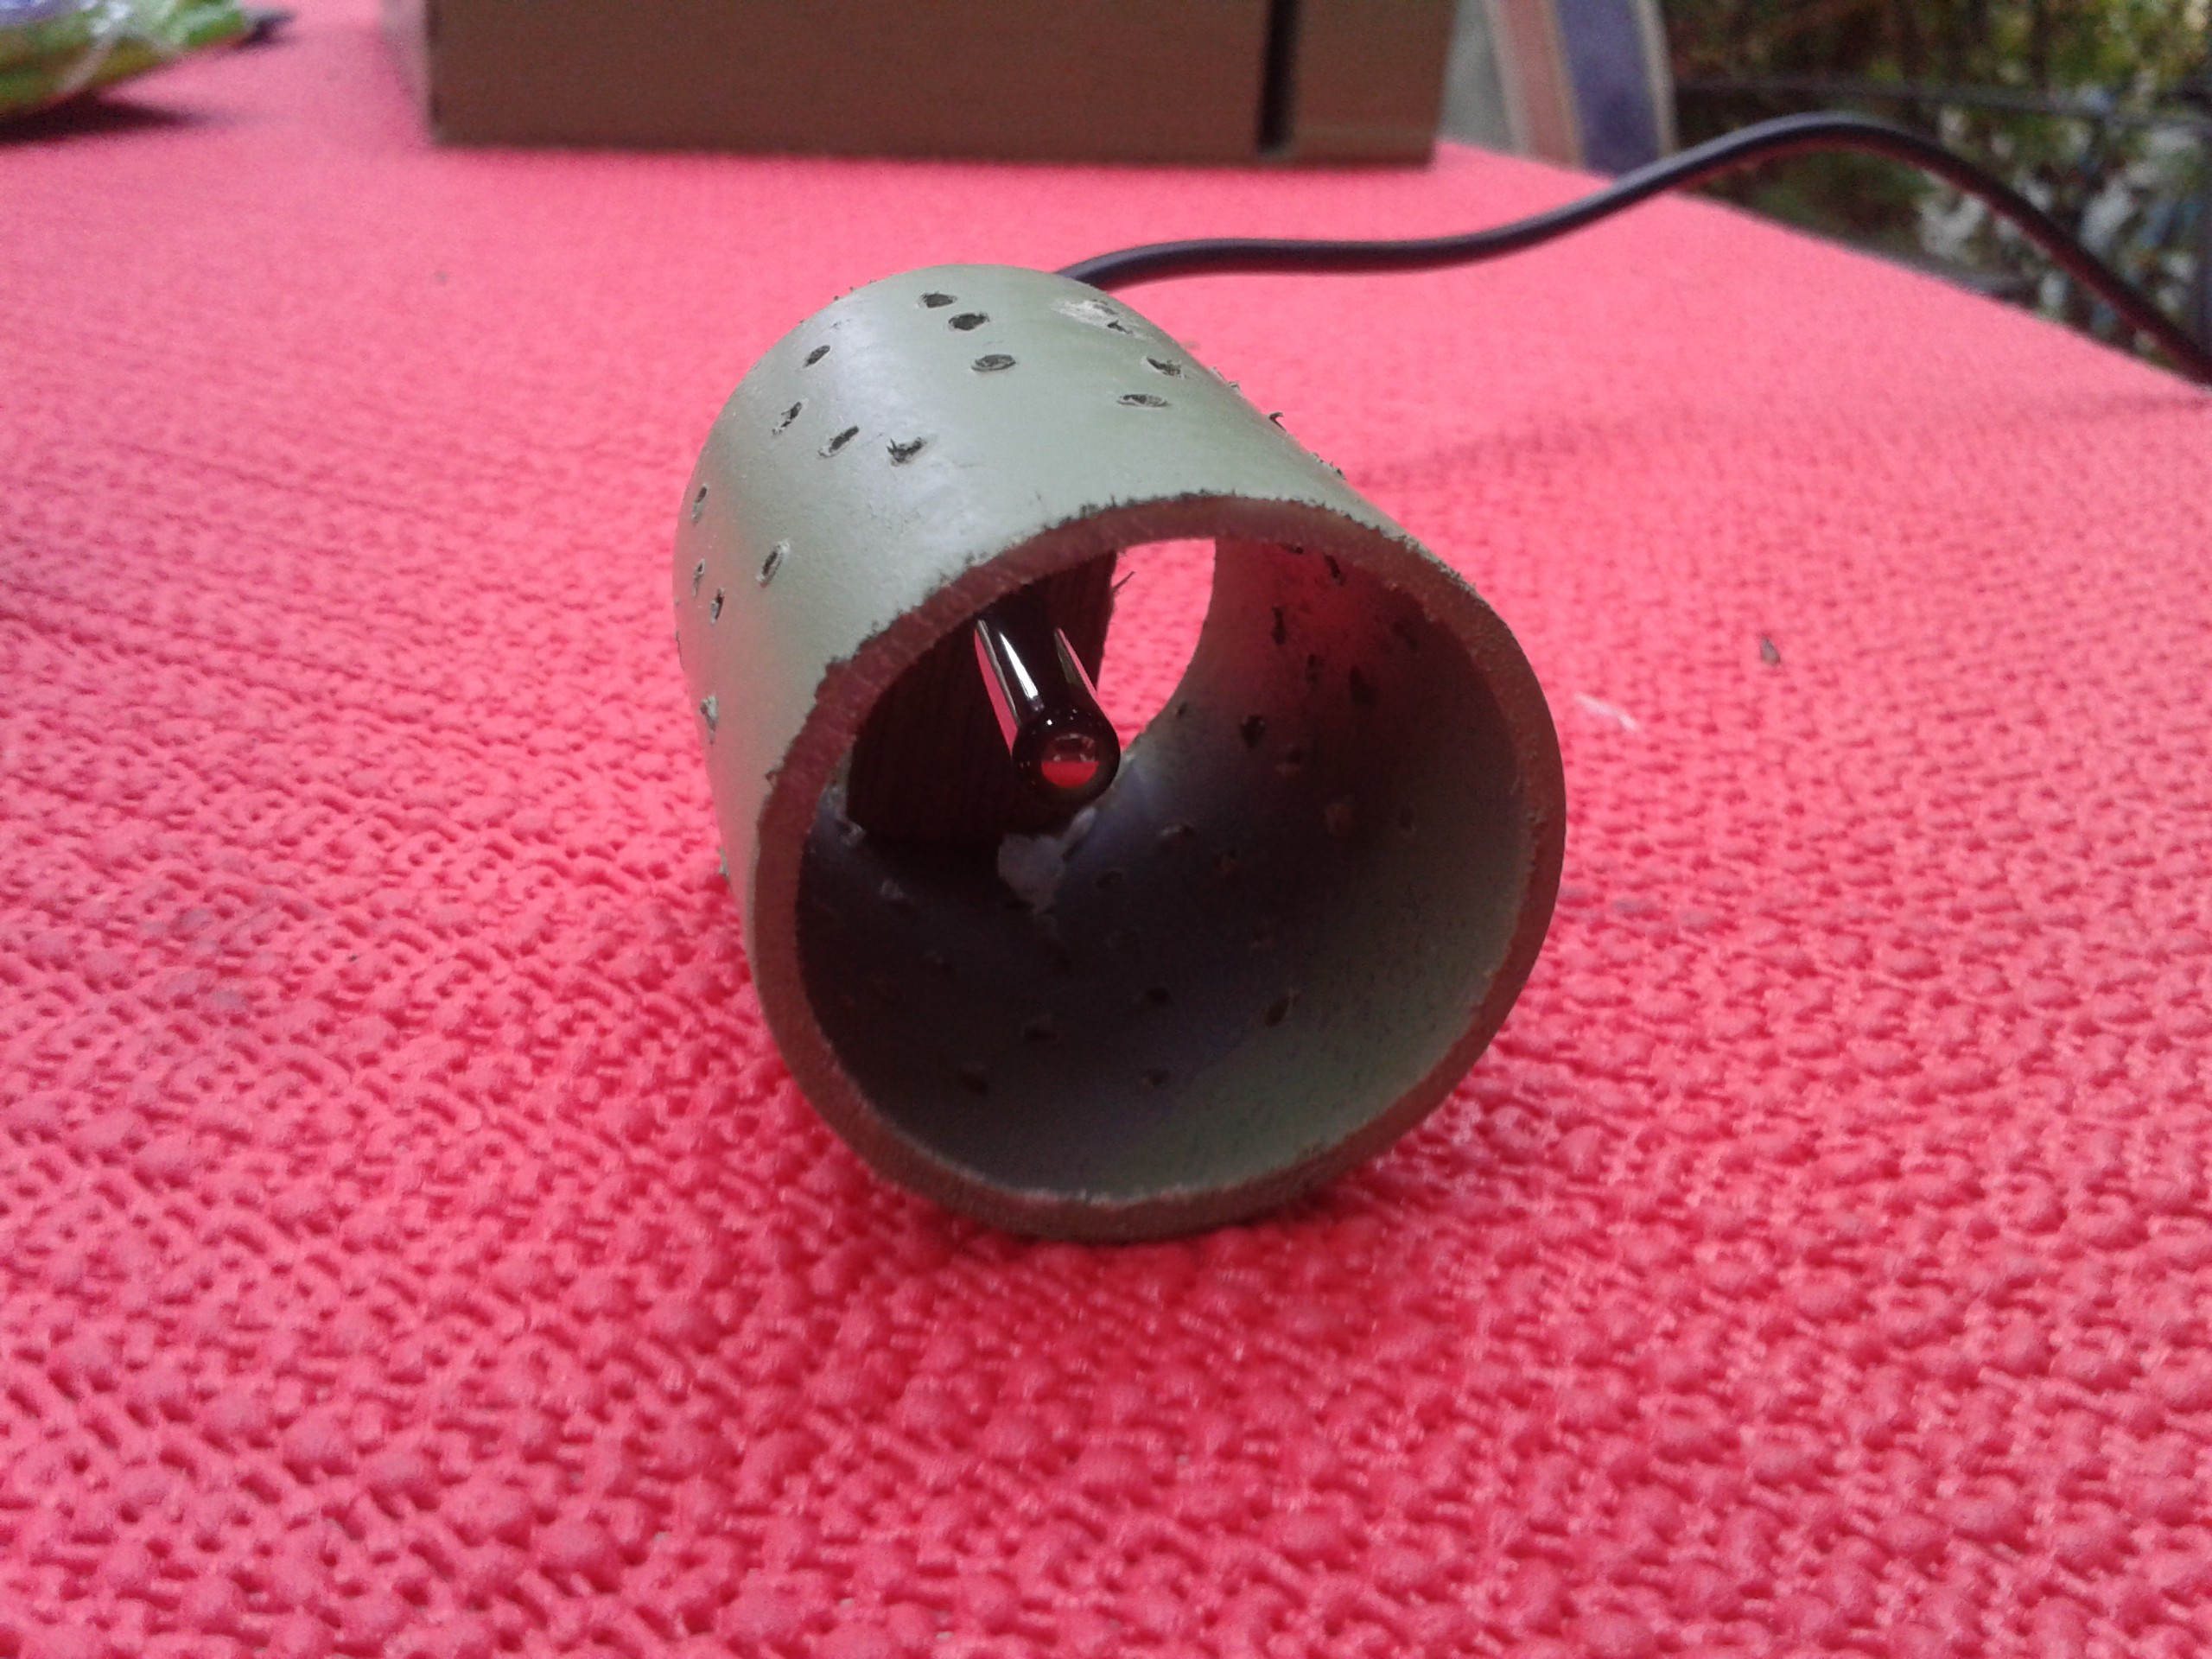
Also i made somee progress with DS18B20 mounts. They tend to react to direct sunlight quite directly - to avoid this i decided to put them in a covering housing - blocking (most of) the sunlight but allowing the housing to "breath" . So i went to the next shop and got myself PVC pipe (4cm diameter), cut it to the right size, drilled some holes into the PVC pipe and put a piece of wood to hold the sensor (with a drilling hole in the middle) which i glued with hot glue.
The result after applying a little bit of paint loks like this:
So still a lot of work to do but there is some progress :-)
 DotPiDot


Discussions
Become a Hackaday.io Member
Create an account to leave a comment. Already have an account? Log In.