-
Electronics encasing for greenhouse ready
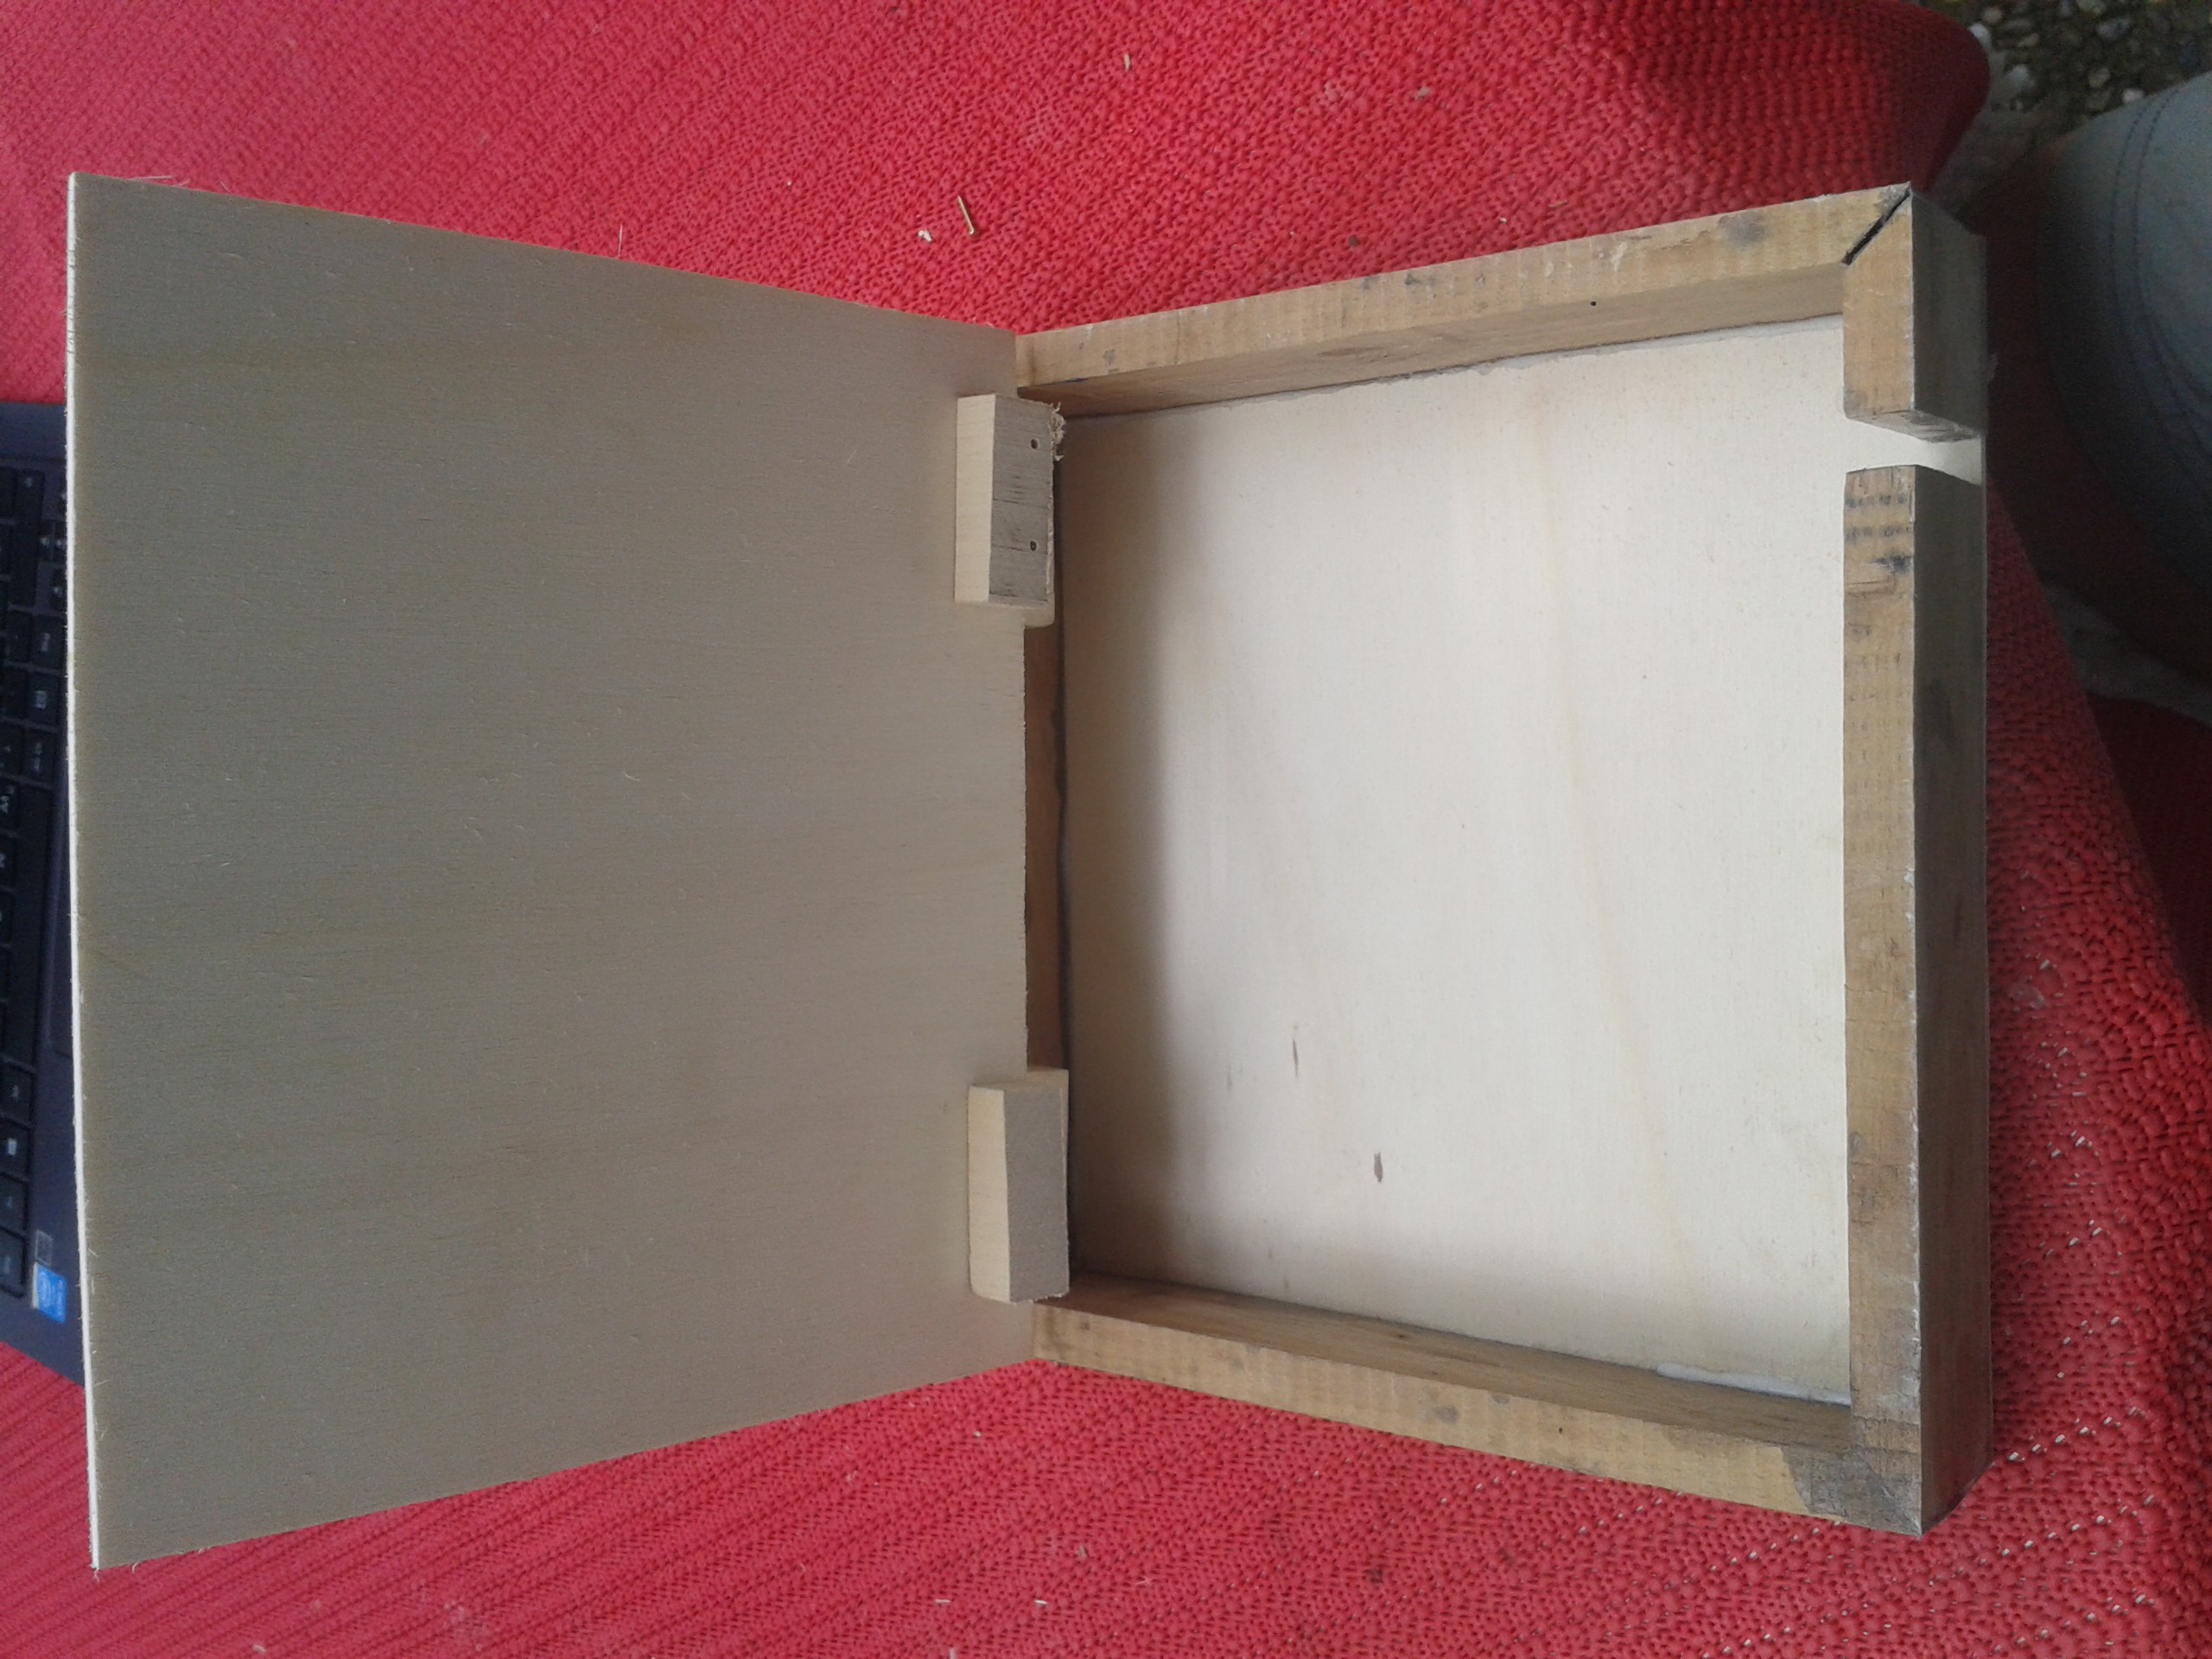
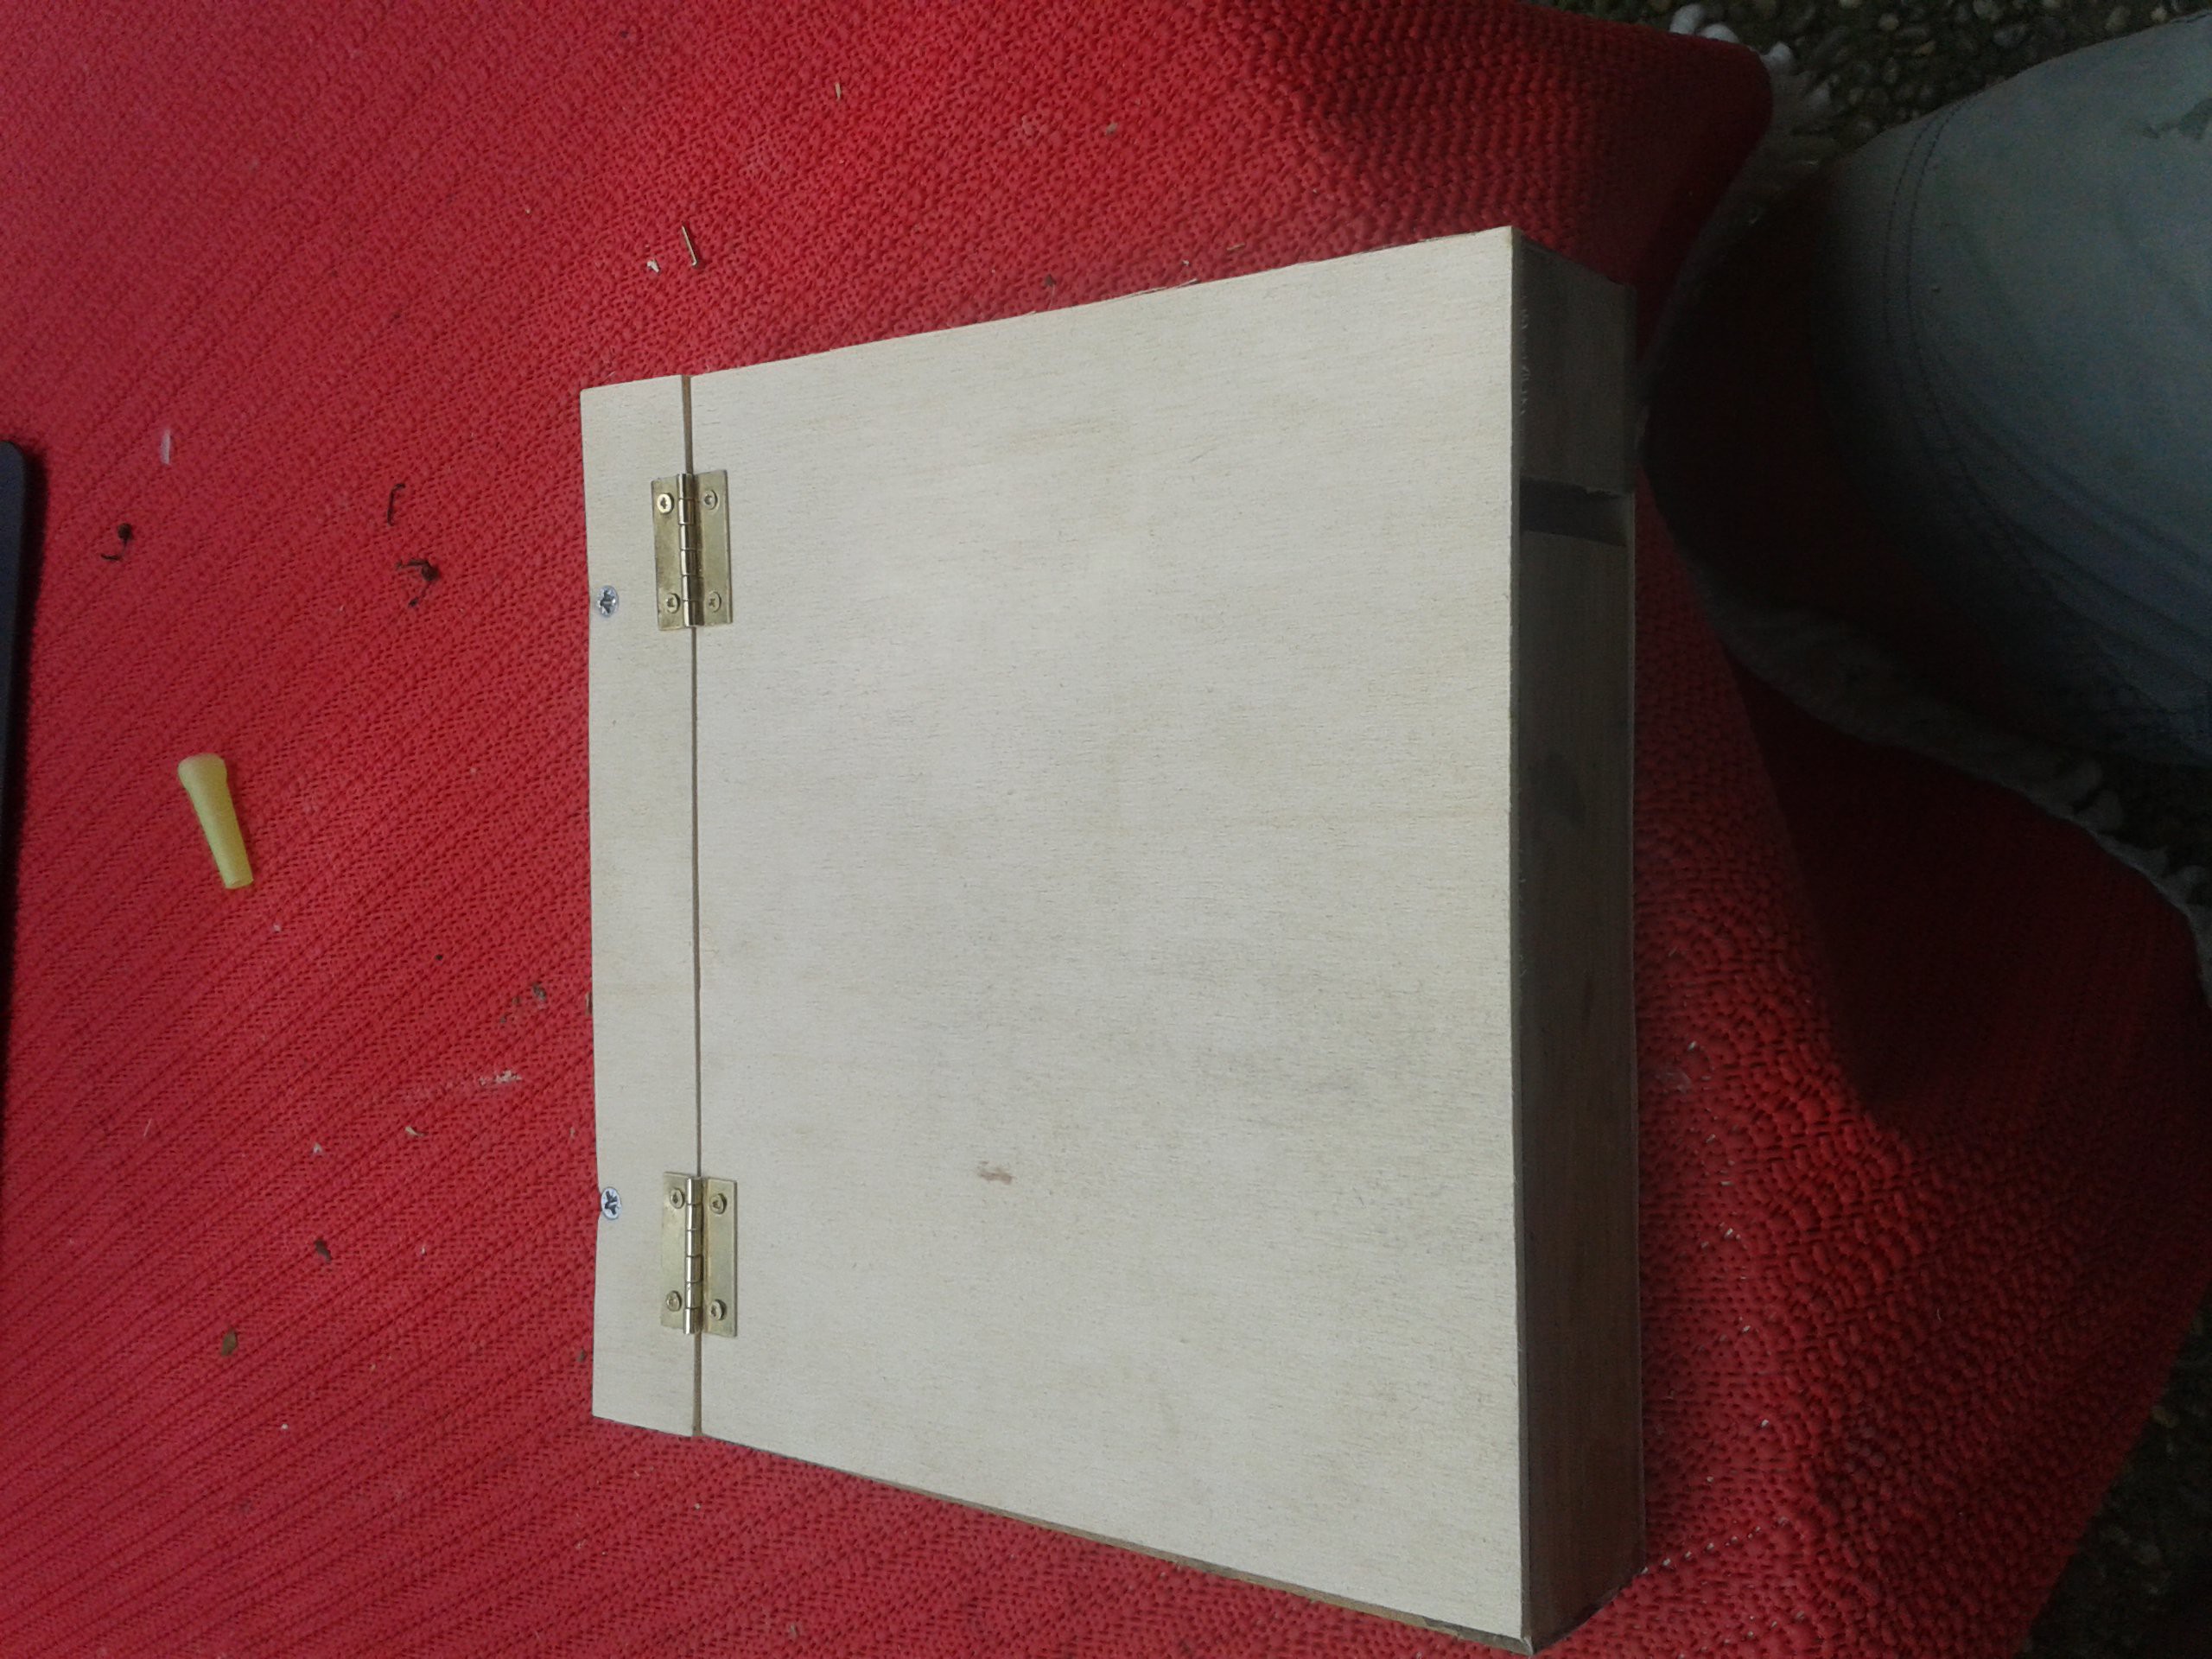
07/24/2016 at 12:35 • 0 commentsSo after some glueing, sawing and usage of scrapwood the 20cm x 20cm ecasing for the electronics (Pi and Sensor adapters) is ready
![]()
A small cable outlet is already integrated but we will see - maybe this will needs extension.
And with closed lid...
![]()
-
Housing - and some parts arrived
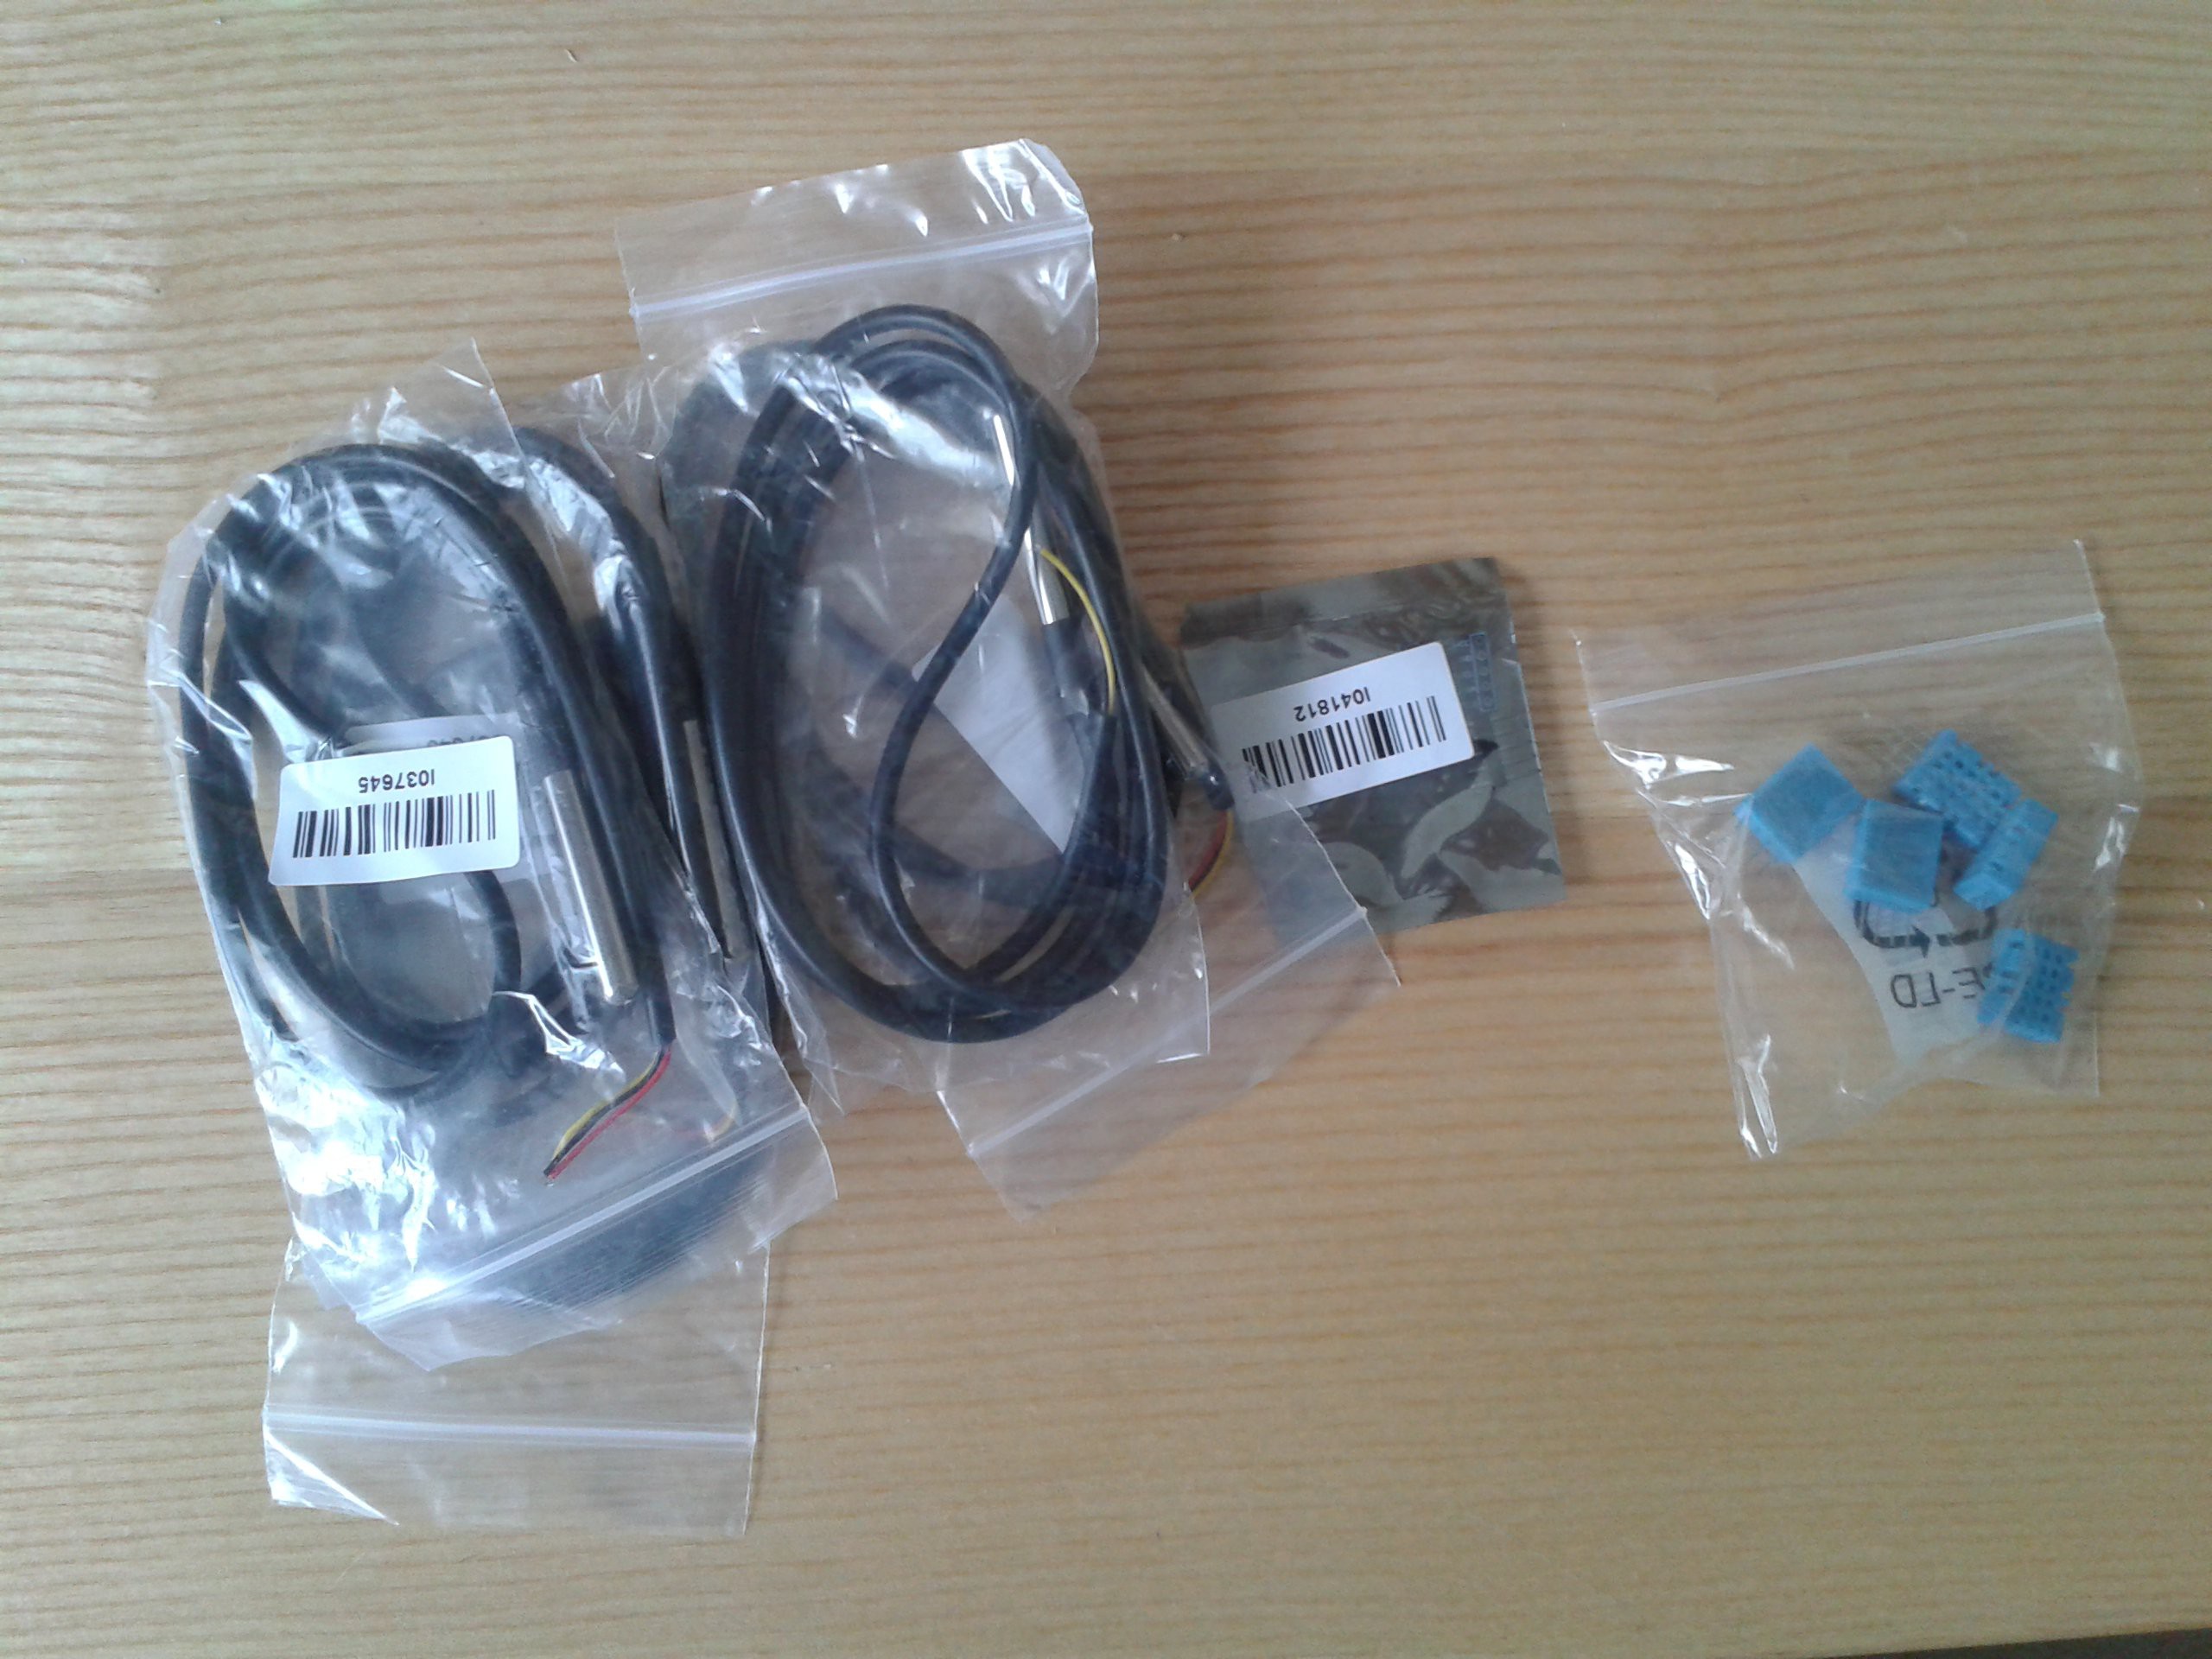
07/24/2016 at 10:21 • 0 commentsDuring the week some parts (from China) arrived finally - some DHT11's (for humidity), a BMP85 (for pressure) and some additional D18B20 for temperature measuremenr. I'm planning to measure outside and innside temperature (under the rooftop near the ground) and soil temperature as well.
![]()
But as i'm still wating for my Dupont femals to put together the connectors and the weather is so beautiful i decided to work on the housing for the electronics (the PI, the sensor adapters, maybe later an LCD display).
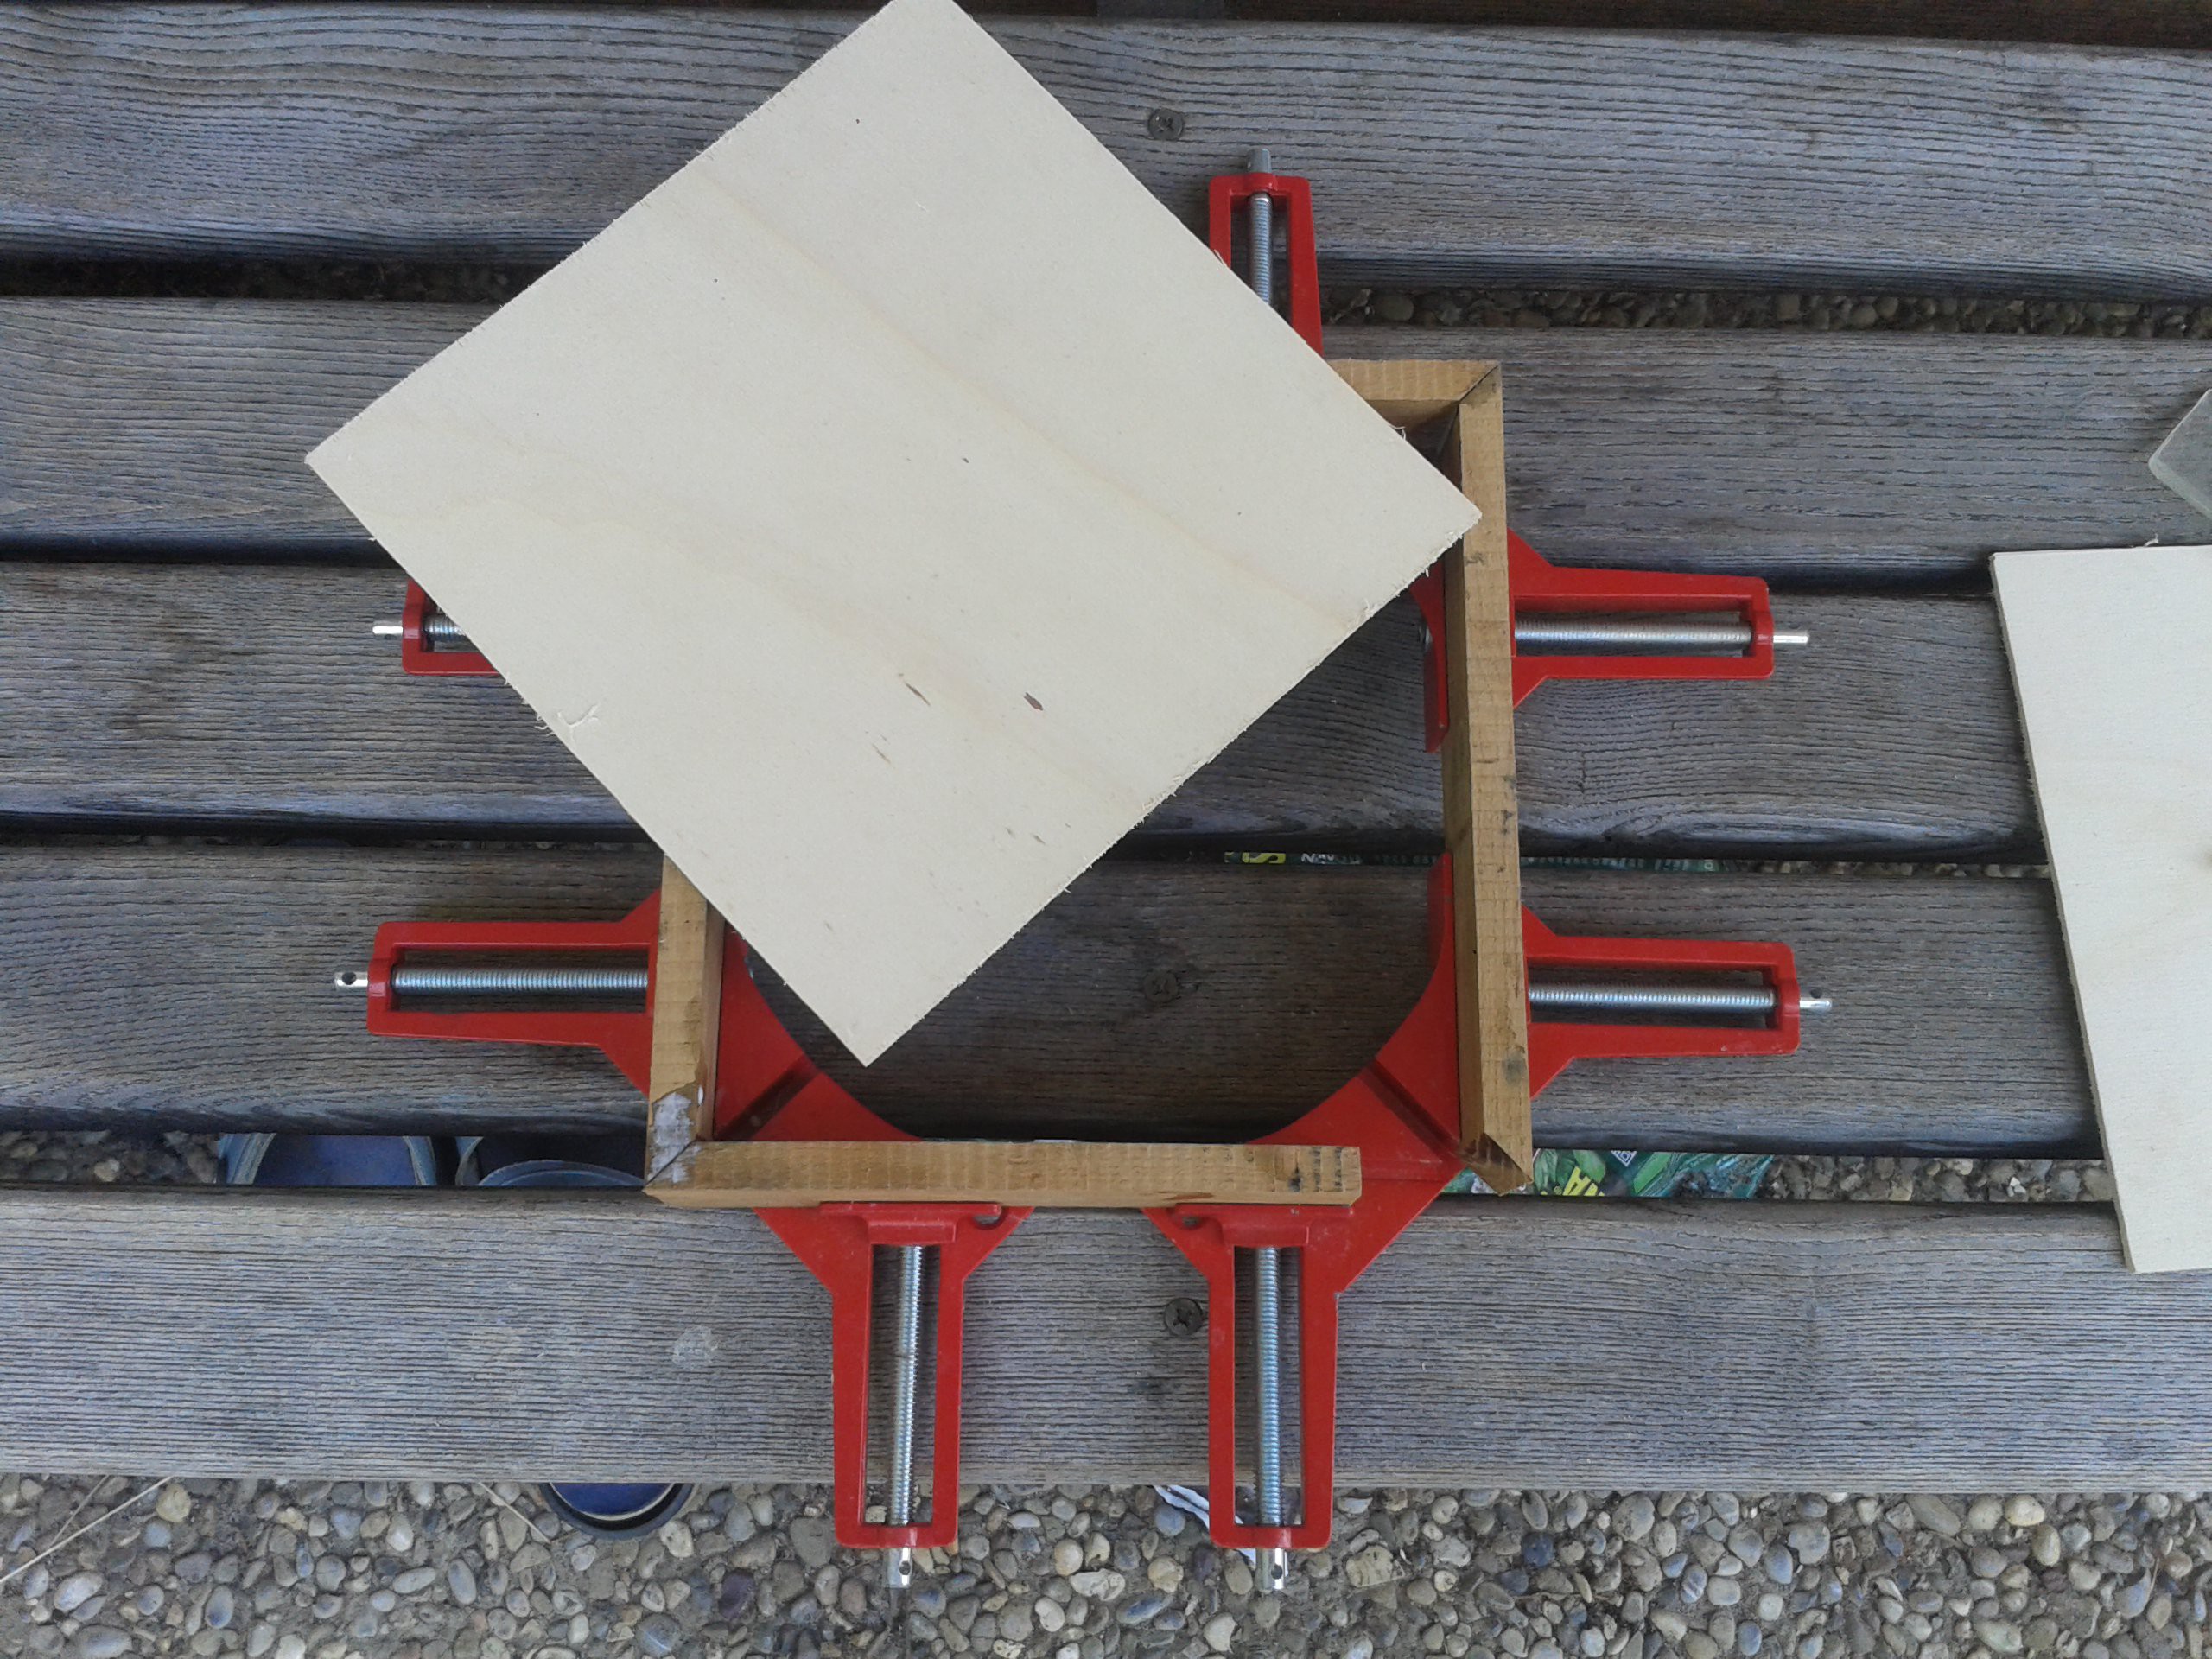
I took some scrap wood and made some 45Deg joints with the saw, and a backside from plywood - i decided to go for 20 x 20 cm housing as it should give me enough space for forther extensions
![]()
The joints are just glued together and waiting to dry - later i'll mount them on the back plate. The front cover is not yet made...
-
1Wire / i2C adapter
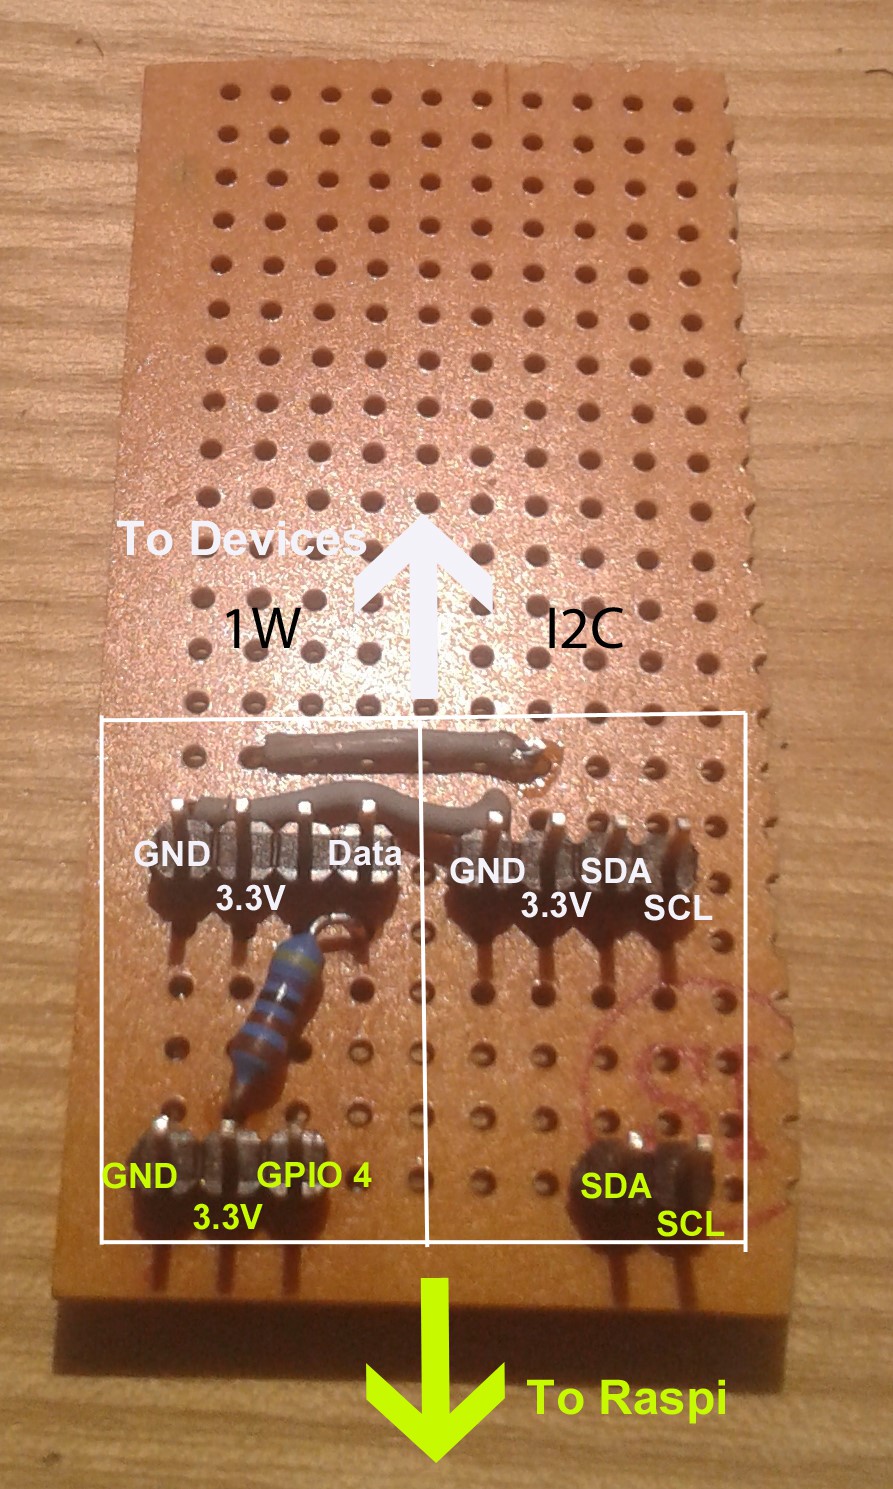
07/19/2016 at 20:32 • 0 commentsAfter the power installation was done and working i started to think about how to connect the sensors i had in mind to the Raspi. It should be easy to connect / disconnect and allow at least eight sensors (each - 1W and I2C). So i came up with this simple adapter design additiona pinhead connectors will be added in a row on the device side. On the left side i have built the 1W side with a simple pullup resistor 4.7KOhm to the data pin (GPIO4), 3.3V and GND
![]()
On the right side i built the I2C adapter - the GND and 3.3V i connected from the 1W side + SDA and SCL connectors. That is it - the 1W was tested with a DS18B20 sensor which proved to be working...
-
Connecting the solar components...
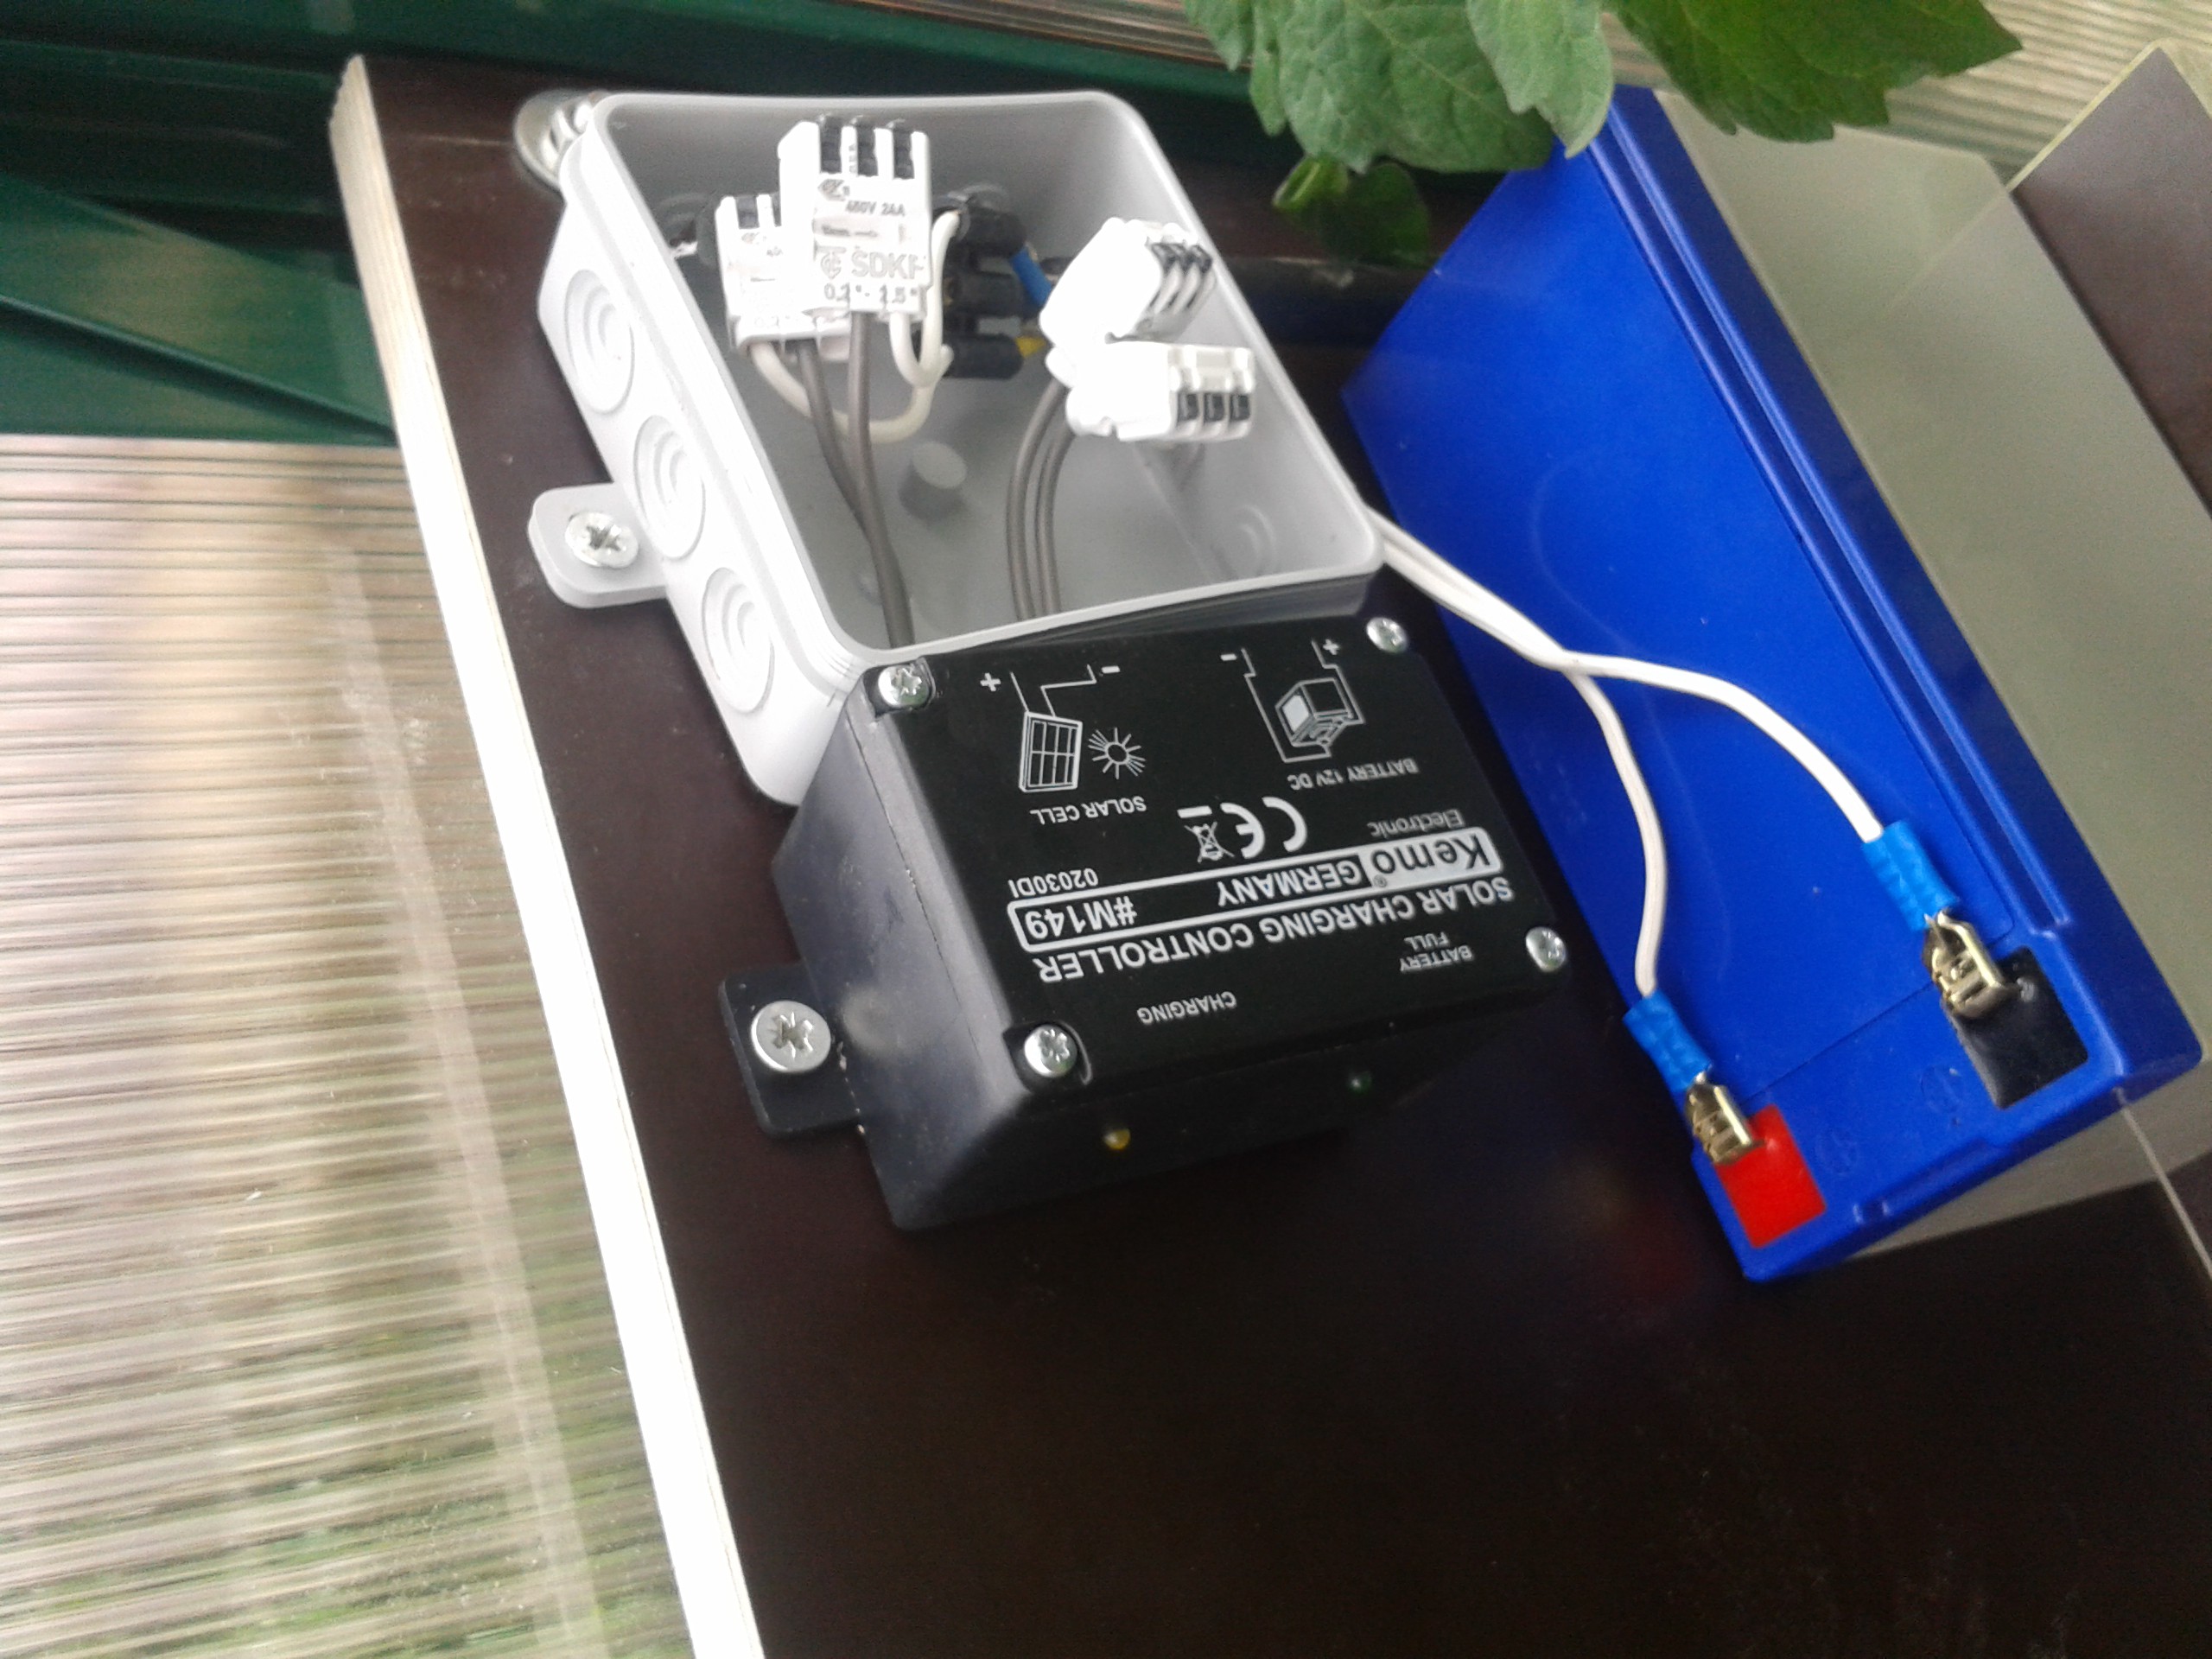
07/19/2016 at 19:15 • 0 commentsSo i had to connect the battery pack, the charger and the 12VtoUSB converter. I found a left over junction box and got myself some PCB connectors to join the incoming cables fromthe solar panel, the solar charger and the battery pack
![]() Some leftover plywood (in fact it is special water resistant plywood) was put together with some screws to hold the components - i'm still missing a housing as unluckily in the greenhouse we have quite high humidity and potentially (even though the roof should be water tight) some spill water might hit the devices. So still an area for improvement here...
Some leftover plywood (in fact it is special water resistant plywood) was put together with some screws to hold the components - i'm still missing a housing as unluckily in the greenhouse we have quite high humidity and potentially (even though the roof should be water tight) some spill water might hit the devices. So still an area for improvement here...Anyhow the setup did work (the charger indeed indicated via LED that it was charging the accu pack) and the USB did work. Most important was the voltage measuring device to make sure that Plus / Minus was all connected correctly (as indicated on the battery and charging device). The connectors for the batter i made up from some car supply connectors i still had left over. Even though a crimp device would be necessary to correctly connect i used s standard pliers to crimp the connectors (it works well so far as)
-
Mounting the solar panel
07/19/2016 at 19:08 • 0 commentsSo as outlined in part I of my journey and after a quick delivery of ordered parts i had to solve the question how do i connect all these parts. I still found that i had a few meters of electrical outdoor cable (suitable for being digged to the ground) and started to think where to mount the 47cm x 34,5cm solar panel.
![IMG-20160703-WA0002]() Option
1 would have been to mount it on the roof of the greenhouse – but then
the sun would be blocked out at this part of the greenhouse – and
therefor potentially the advantage of this hard gained plant growing
space. So it would be better to put it next to the house where it would
be out of the way and would get enough sunlight…
Option
1 would have been to mount it on the roof of the greenhouse – but then
the sun would be blocked out at this part of the greenhouse – and
therefor potentially the advantage of this hard gained plant growing
space. So it would be better to put it next to the house where it would
be out of the way and would get enough sunlight…Hmm – thanks to me dad we had a solution – there was a left over pole from a clothes line – about 2m high and not beeing used for anything at all. The ideal candidad for putting the solar panel on top, next to and behind the greenhouse – my dad solved the mounting by using some metal and a self made wooden holder to mount the pole to the fence.
The wire i attached to the solarpanel not in the ideal way – i could not get the solar connectors (MC-4 or something) but i did not want to order those and wait again another week. So i just soldered them to the solar panel (and left room for improvement), drilled a hole in one of the acrylic glas panels of the house at the backside, put the cable through and sealed the hole with some silicon paste (which was a leftover of the greenhouse building action – another story for another day…) to keep out water and cold air. I quickly measurement with a voltage meter (measure points were the blank unmantled wires) and the voltmeter showed 20.4V at full sunlight – so this part worked out well and as expected…
Also in professional live the outdoor cable would have to be digged in up to 80cm below surface – to avoid it getting damaged by temperatures below 0. But as i had just finished the greenhouse and closed all the wholes i could not be asked to dig an 80 cm deep channel and pass through the (concret) foundations of the greenhouse just to get the cable in – so as i only had to cover 50cm’s of outdoor way to the hole in the greenhouse acrylic panel i decided to put it just there and cover it with a piece of cable channel later (professional electricians will kill me i guess – another area of improvement which i know about…).
Now i had to solve the part on where to put the charger, battery, 12vtoUSB converter and the raspi (which would need some additional interfacing to the GPIO’s, sensors, fans, etc. later on) – so i needed space for extension…
As i usually only spend time on the weekend and this one came already
to an end (there are some other things to do as well) this had to be
taken care of next week
-
Solar power component...
07/19/2016 at 19:06 • 0 commentsObviously the first thing which i needed to solve was: how do i power the raspi – the greenhouse has no access to general power (110V / 220V) – yet …
And the second thing : of course the Raspi and the Greenhouse should go online – i’d need network connection to be able to check the status and to potentially remote control some functions (in the faaar future – yet i still did not think on how and what )
First things first – so back to the power problem: The easist thing would have been to attach it to general power – but that would have meant a loooot of digging (at least of few meters of cable in the ground)- also i’m not an electrician and i would have to deal with 220V, additional fuses,etc… That sounded not very much like a hobbiist project and also not what i was aiming for…
Another solution had to be found and i started to dig for alternative power sources – obviously the first thing is solar power – mainly electricity would be needed during the day (when there is hopefully enough sunlight available) to run fans, but of course the Raspi should run 24h a day. So clearly i’d need a battery powerful enough to let the whole system survive at least one night and get recharged with the daylight of the next day.
So i started to look around at my favourite shopping site – Amazon – what is available, if it is in my hobbiiest bugdet and what i’d need on top. After a lot of surfing on the web and digging out my knowledge from my (very basic) electrical engineering lectures i came out with the following shopping list (see components).
The overall invest was also still acceptable: 39.- Eur for the panel, 15.- Eur for the charger, 19.- Eur for the power pack and 10.- Eur for the 12V to USB converter (to drive the Raspi) made a total of round about 84.- Eur
So this would give me a solar panel (20W max power), a charging device (able to handle up to 72W charging power), a 12V power pack with 7AH (so fully charged it should store 72WH – if we run 12h on battery it could deliver 6w constantly). This should do for the beginning.
To set this up i’d need to decide where to put the panel, how to get all devices connected and where in the greenhouse to put the electrical stuff (high humidity is a regular situation in a greenhouse)…
Greenhouse Pi
Solar powered Raspberry Pi measuring greenhouse environmental data and driving some actors
 DotPiDot
 Some leftover plywood (in fact it is special water resistant plywood) was put together with some screws to hold the components - i'm still missing a housing as unluckily in the greenhouse we have quite high humidity and potentially (even though the roof should be water tight) some spill water might hit the devices. So still an area for improvement here...