Close
0%
0%

uTopiaPrinter (SLA)

An resin 3D Printer working with LCD and UV LED's.

Similar projects worth following
Some months ago I released SLAcer.js an Open source web based slicer for SLA printing and now I would like to offer a simple, complete and reliable solution to build an SLA printer at home.

Basically there are two very common techniques for SLA printing : DLP and LASER. Personally I find it unfortunate to monopolize a beamer for a printer, so no DLP here. Laser? why not but it is complicated to implement, (and dangerous), so no laser.

What remains? A more recent technique is to use a nacked LCD panel as slide and UV LEDs to cure the resin. Hmm not bad! No overpriced equipment, possibility to recycle old screens, simple to implement... Ok! we'll go with that.


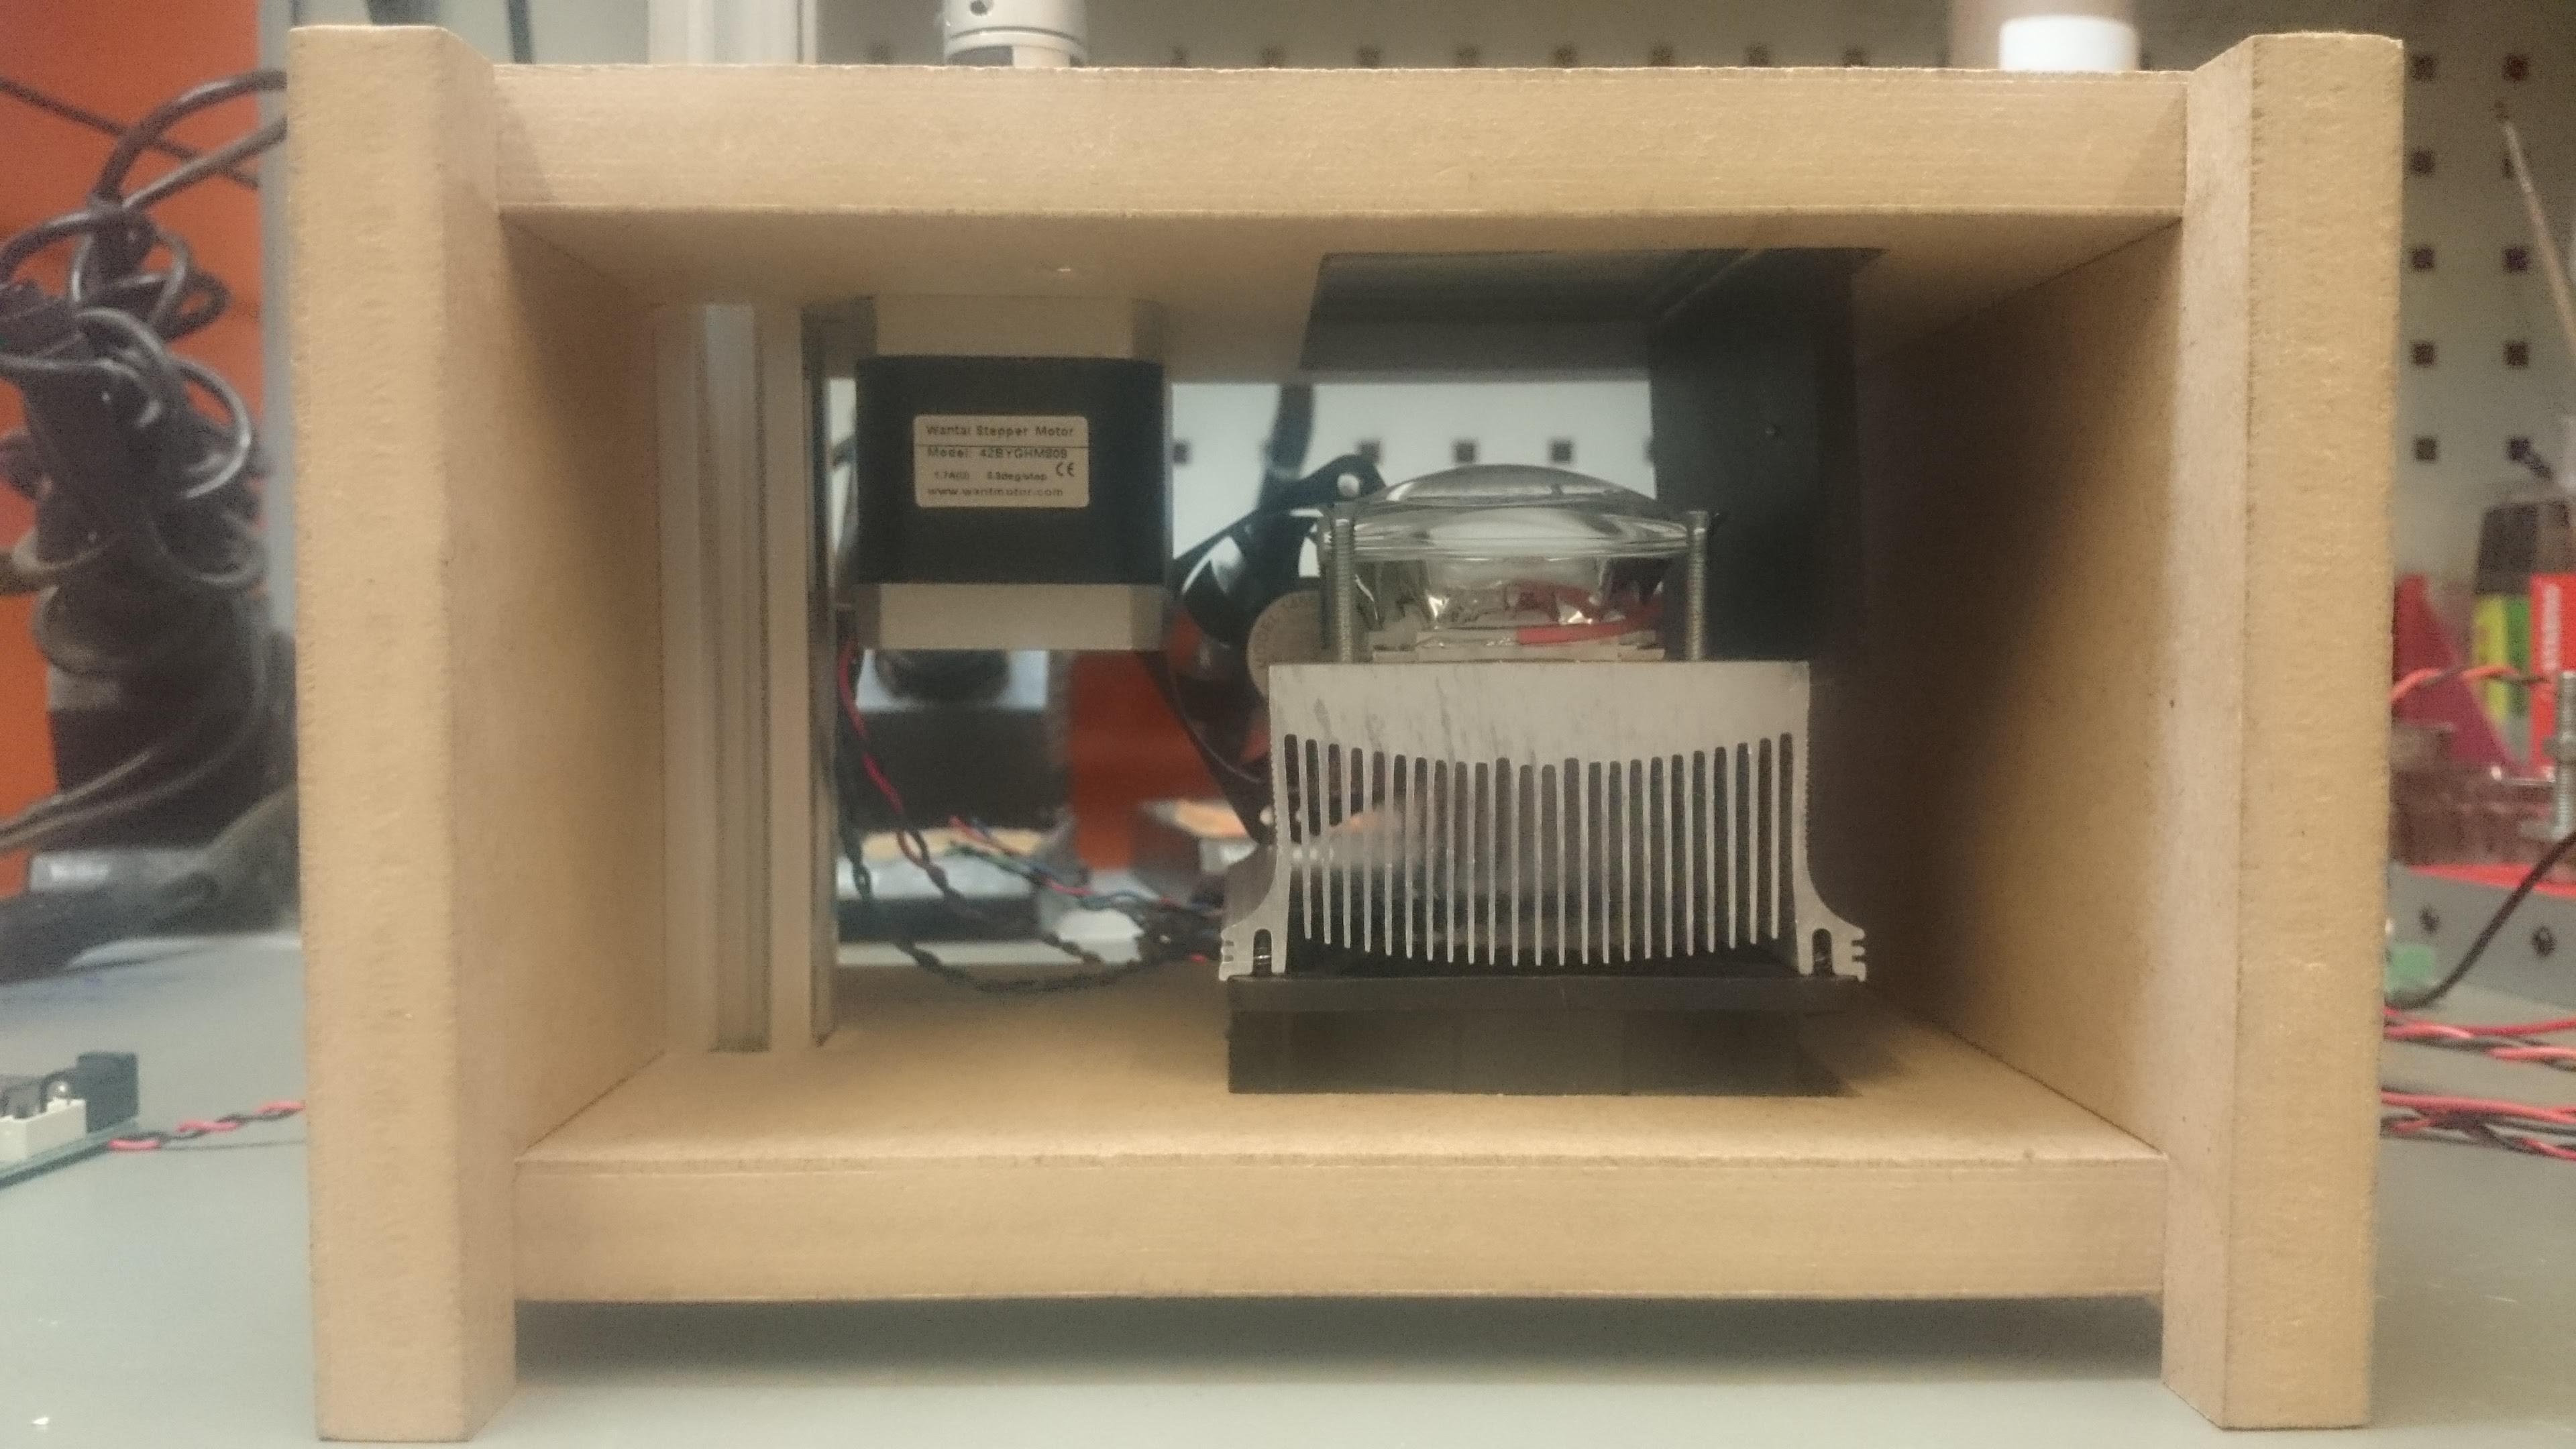
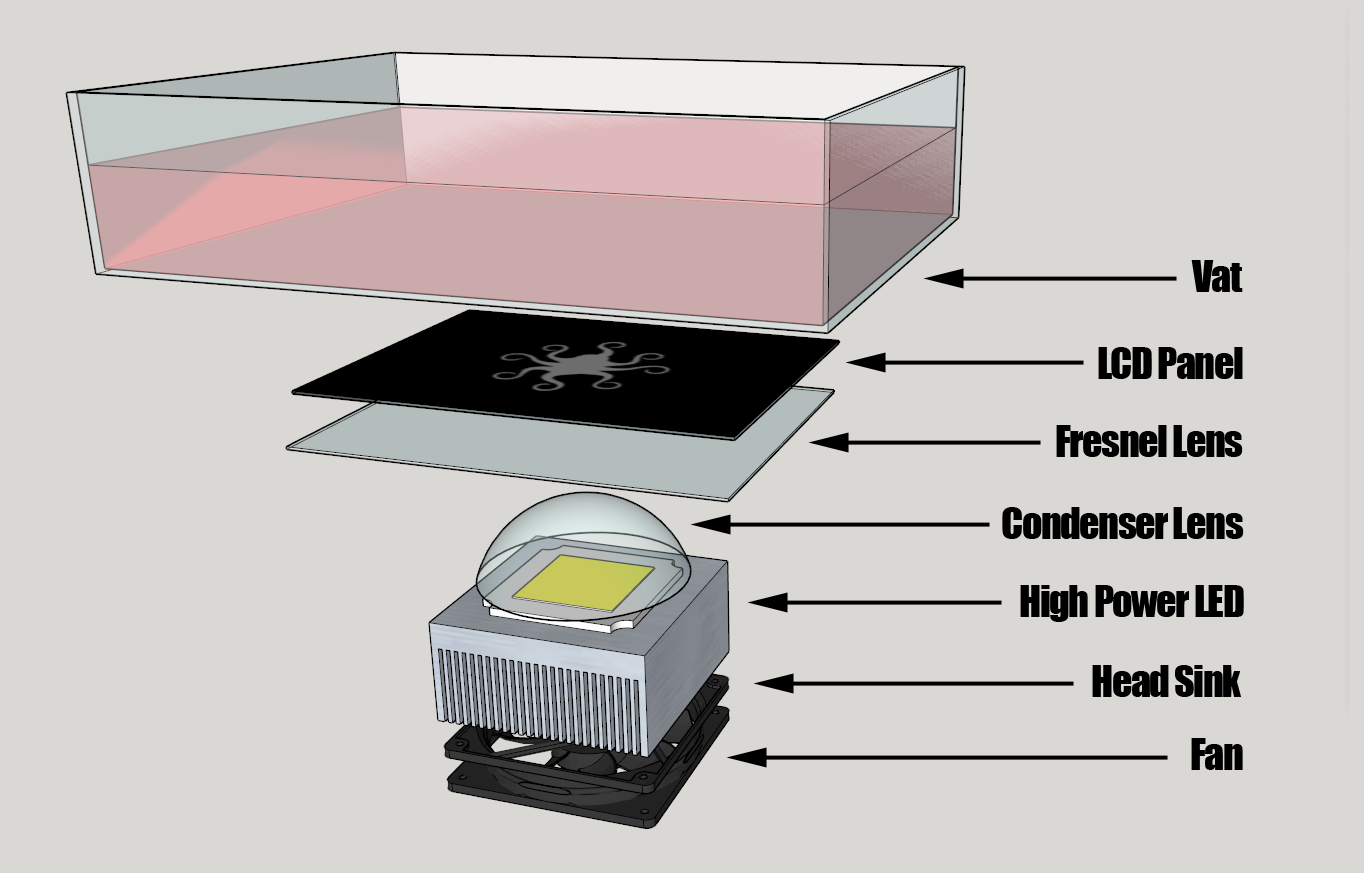
Single LED setup (small screen)
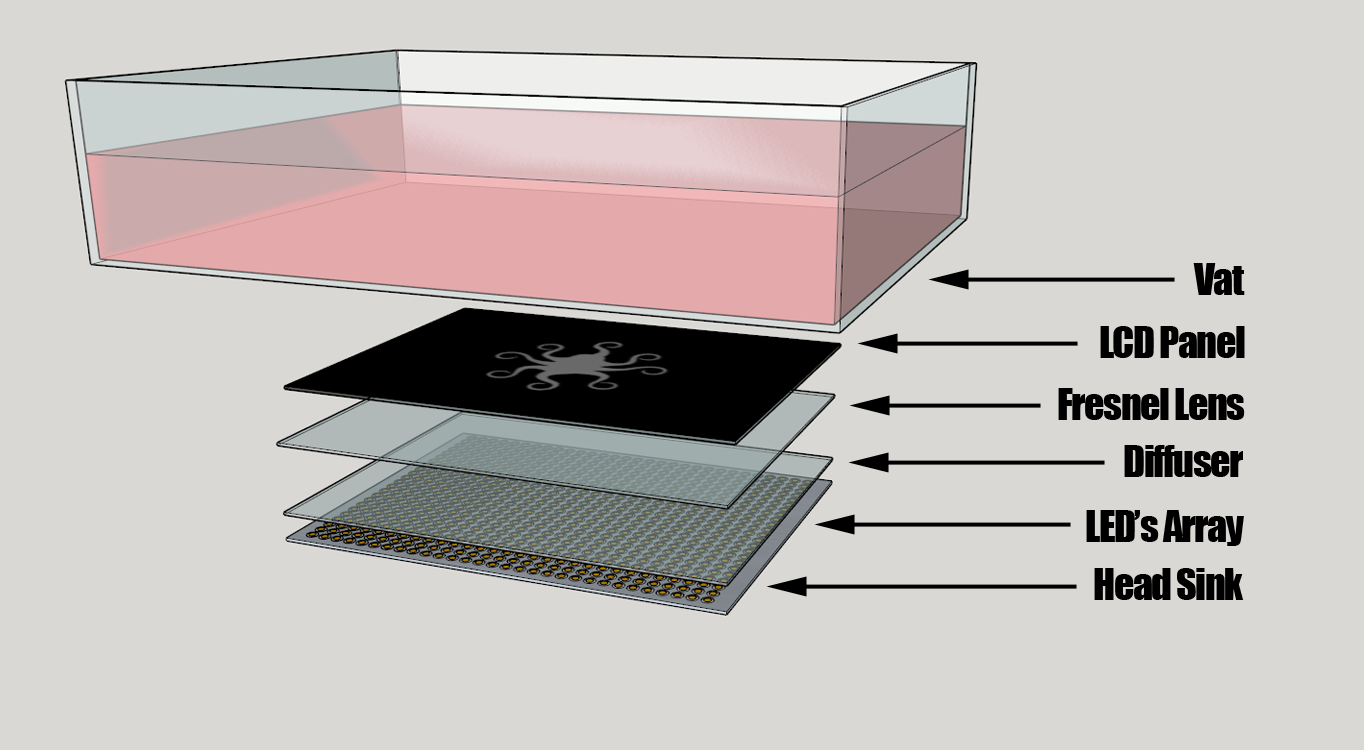
LED's array setup (medium/big screen)

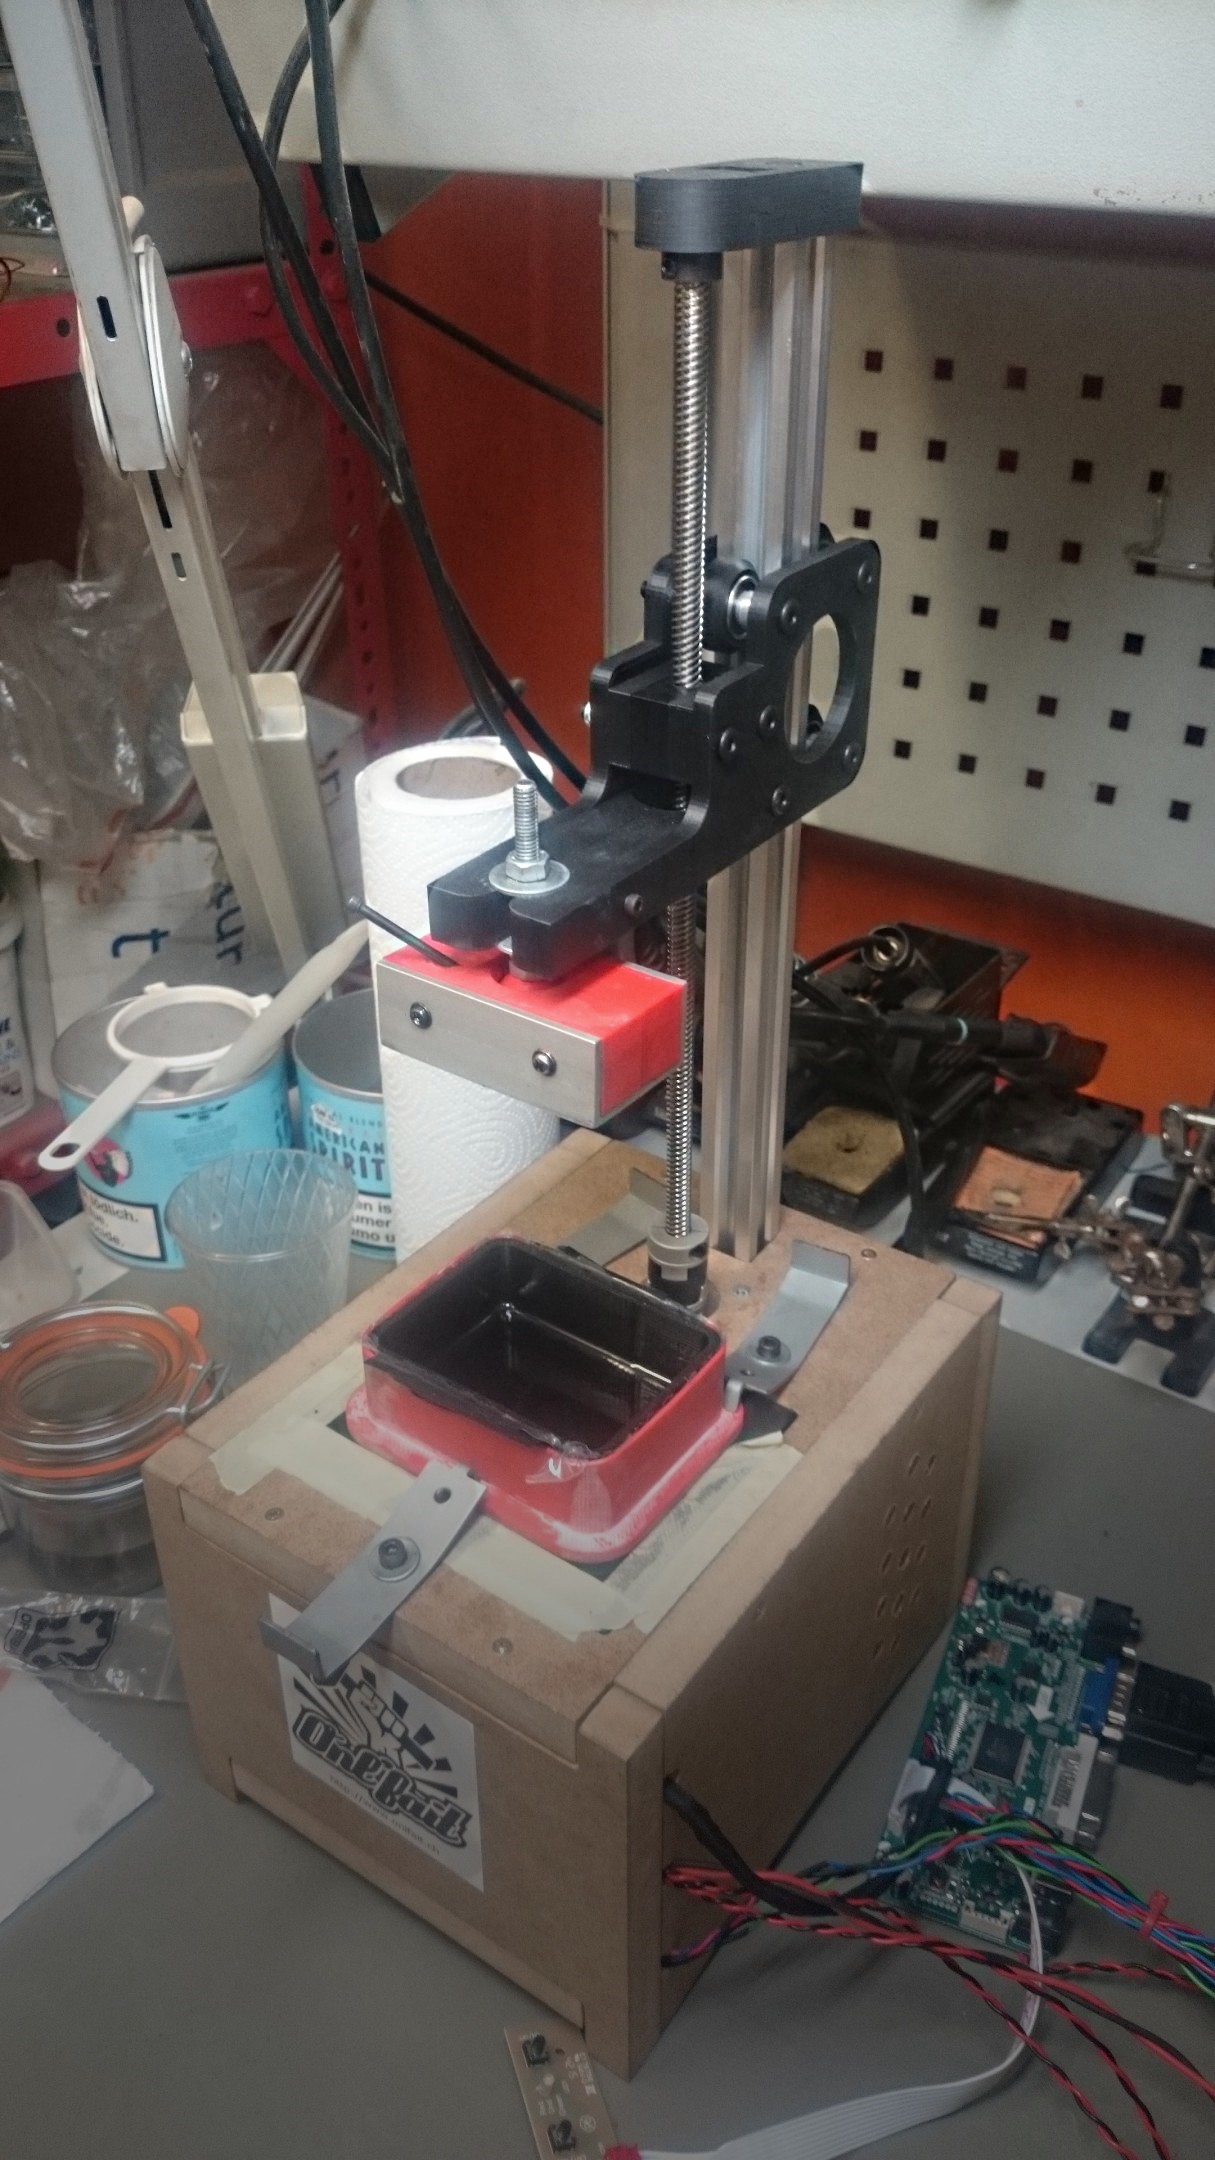
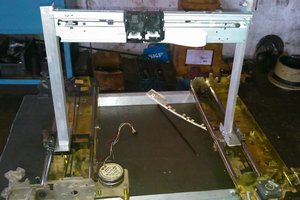
Prototype

SketchUp project : Download


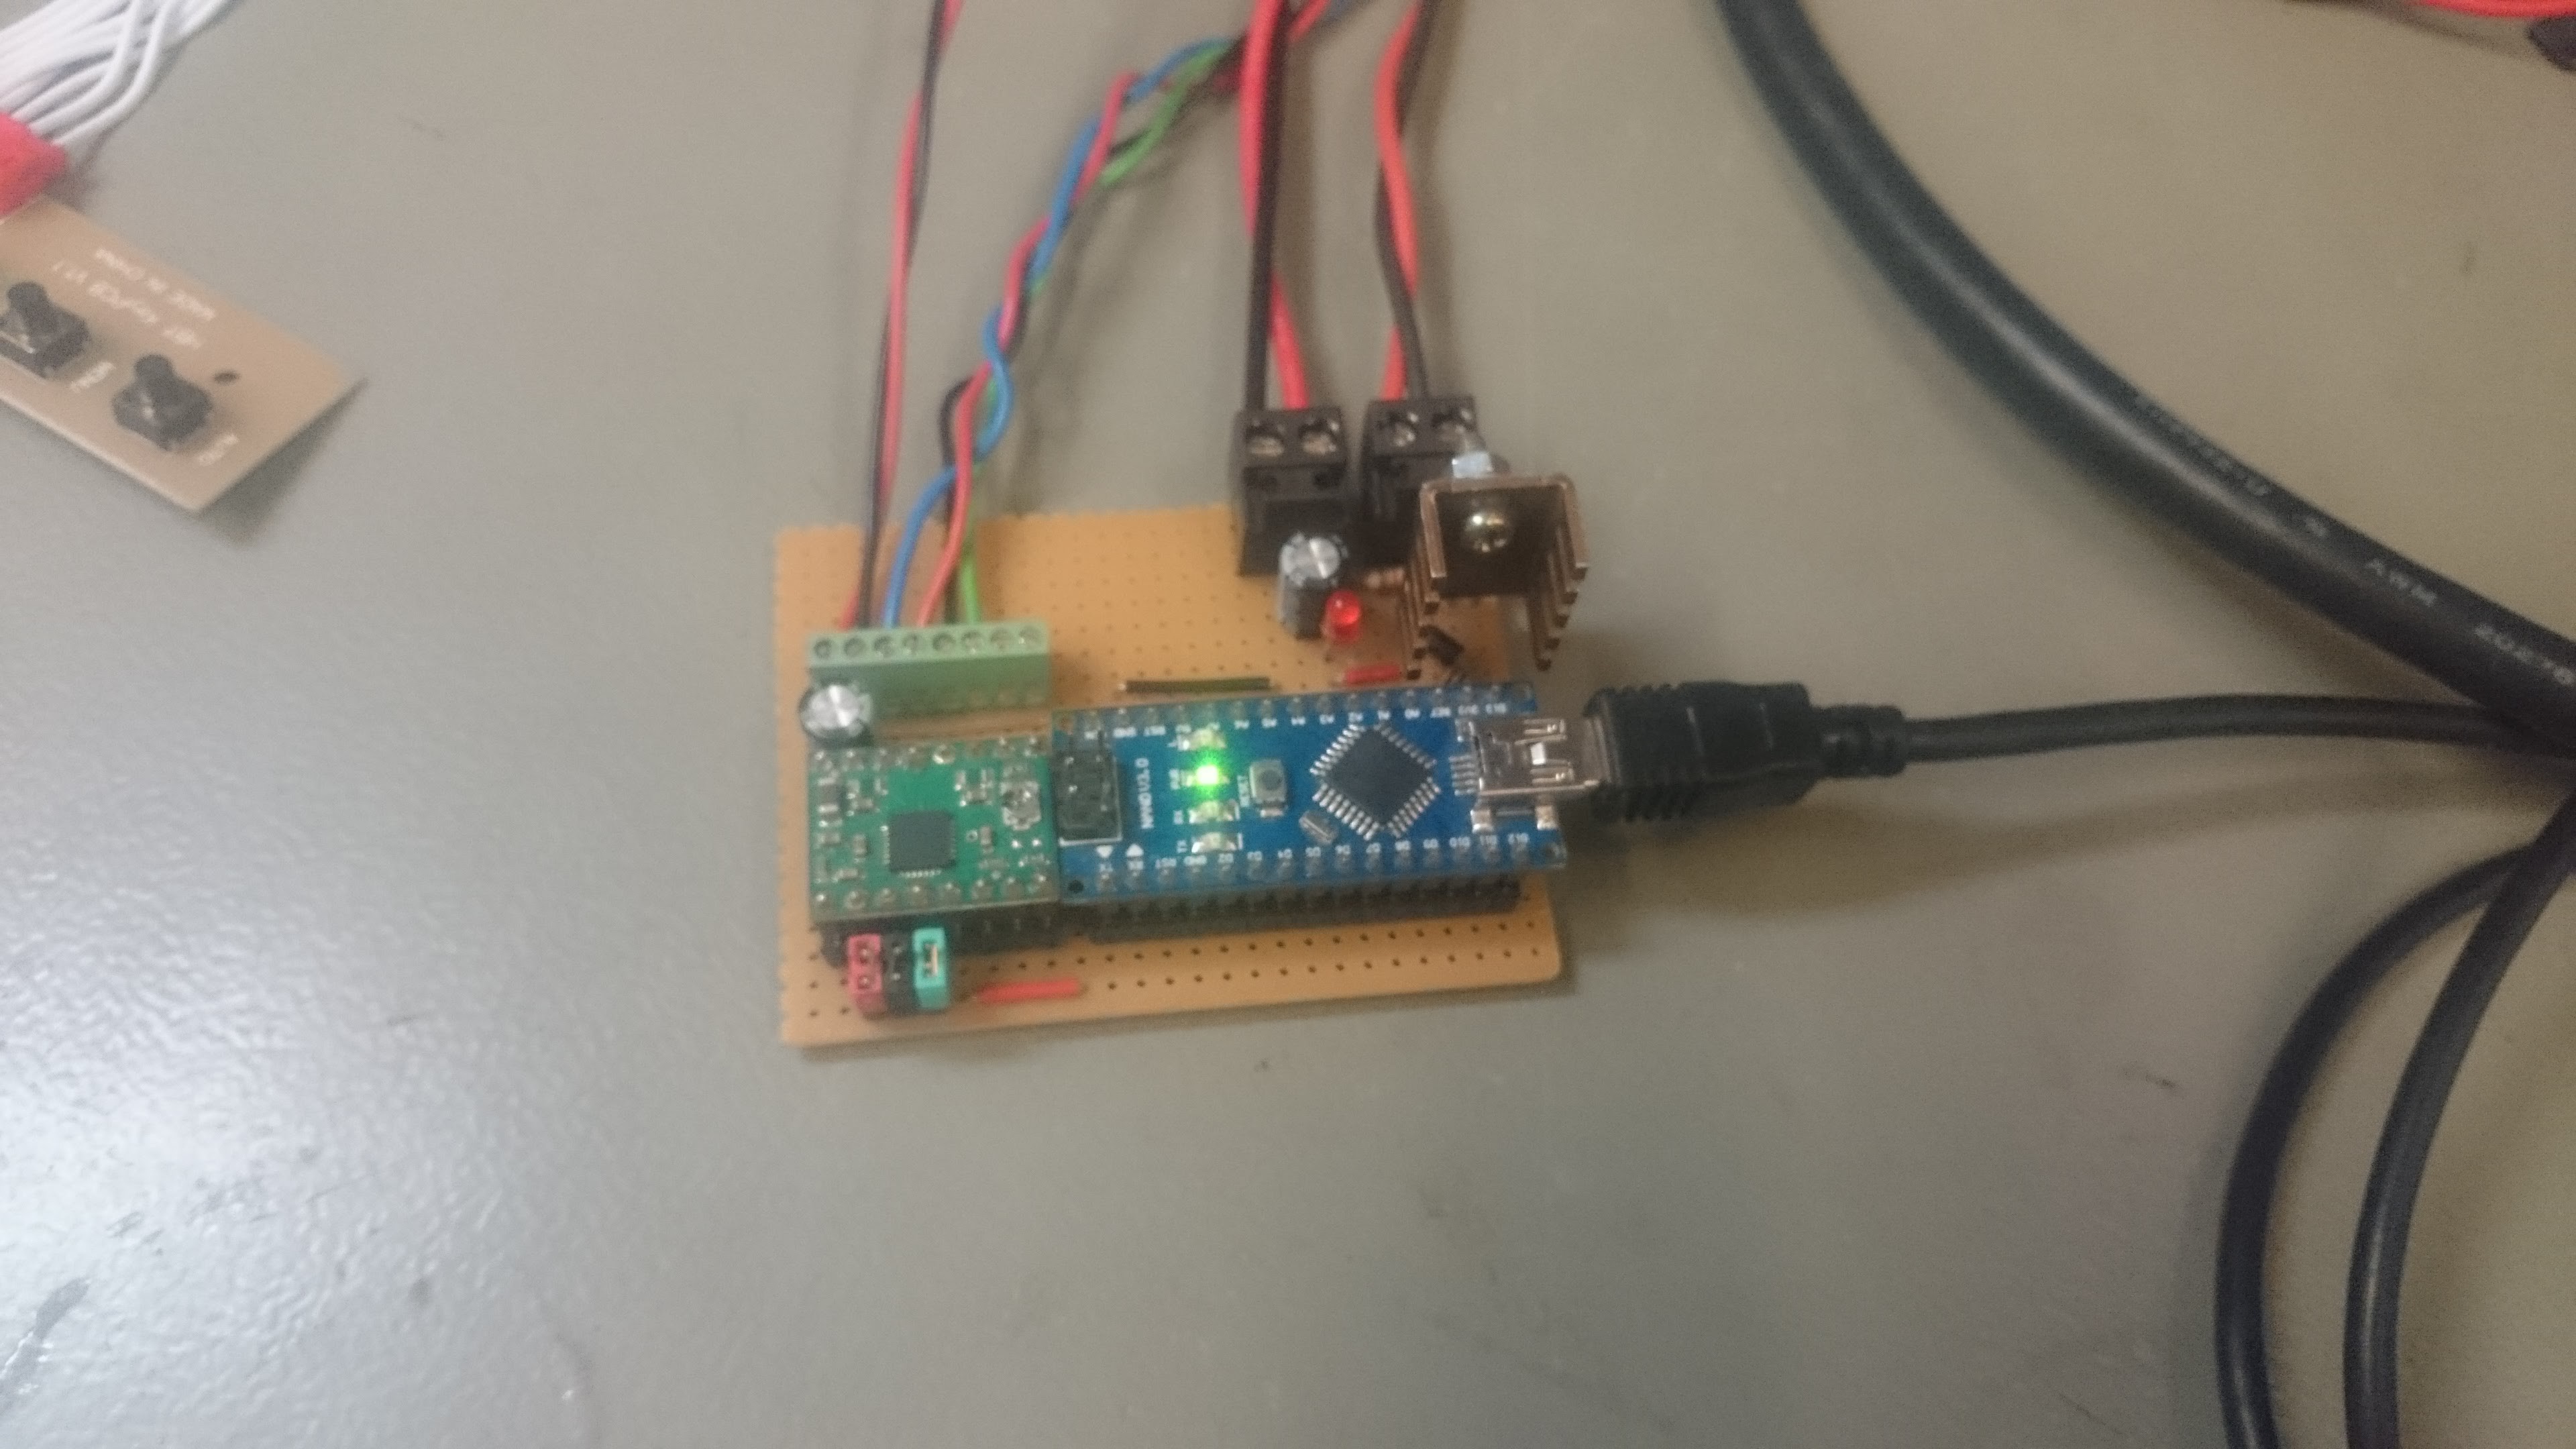
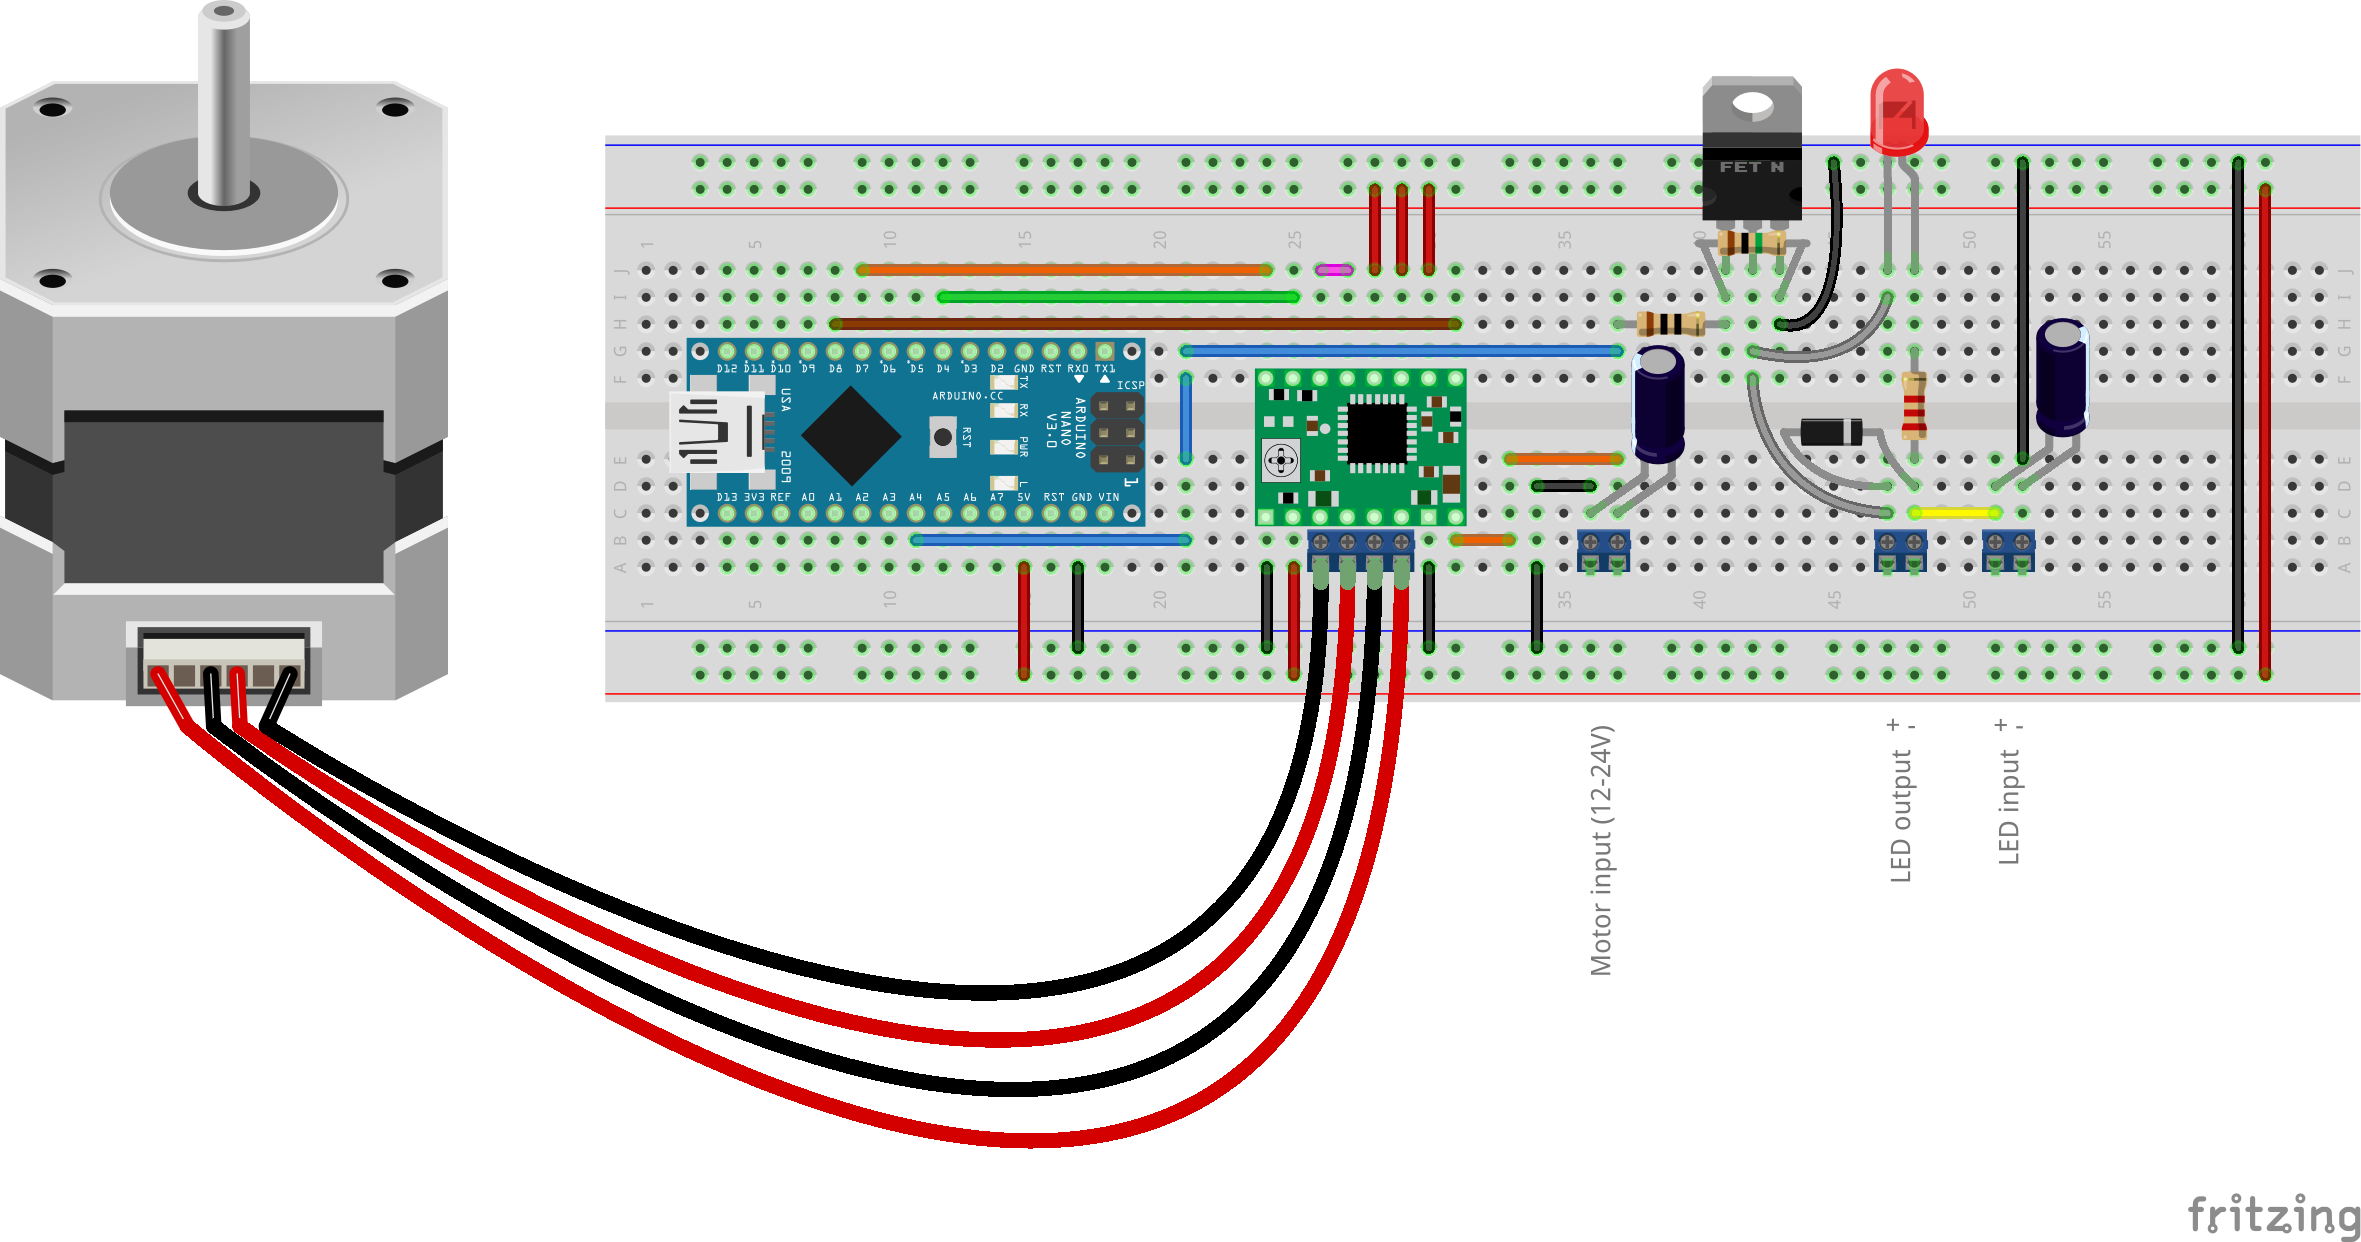
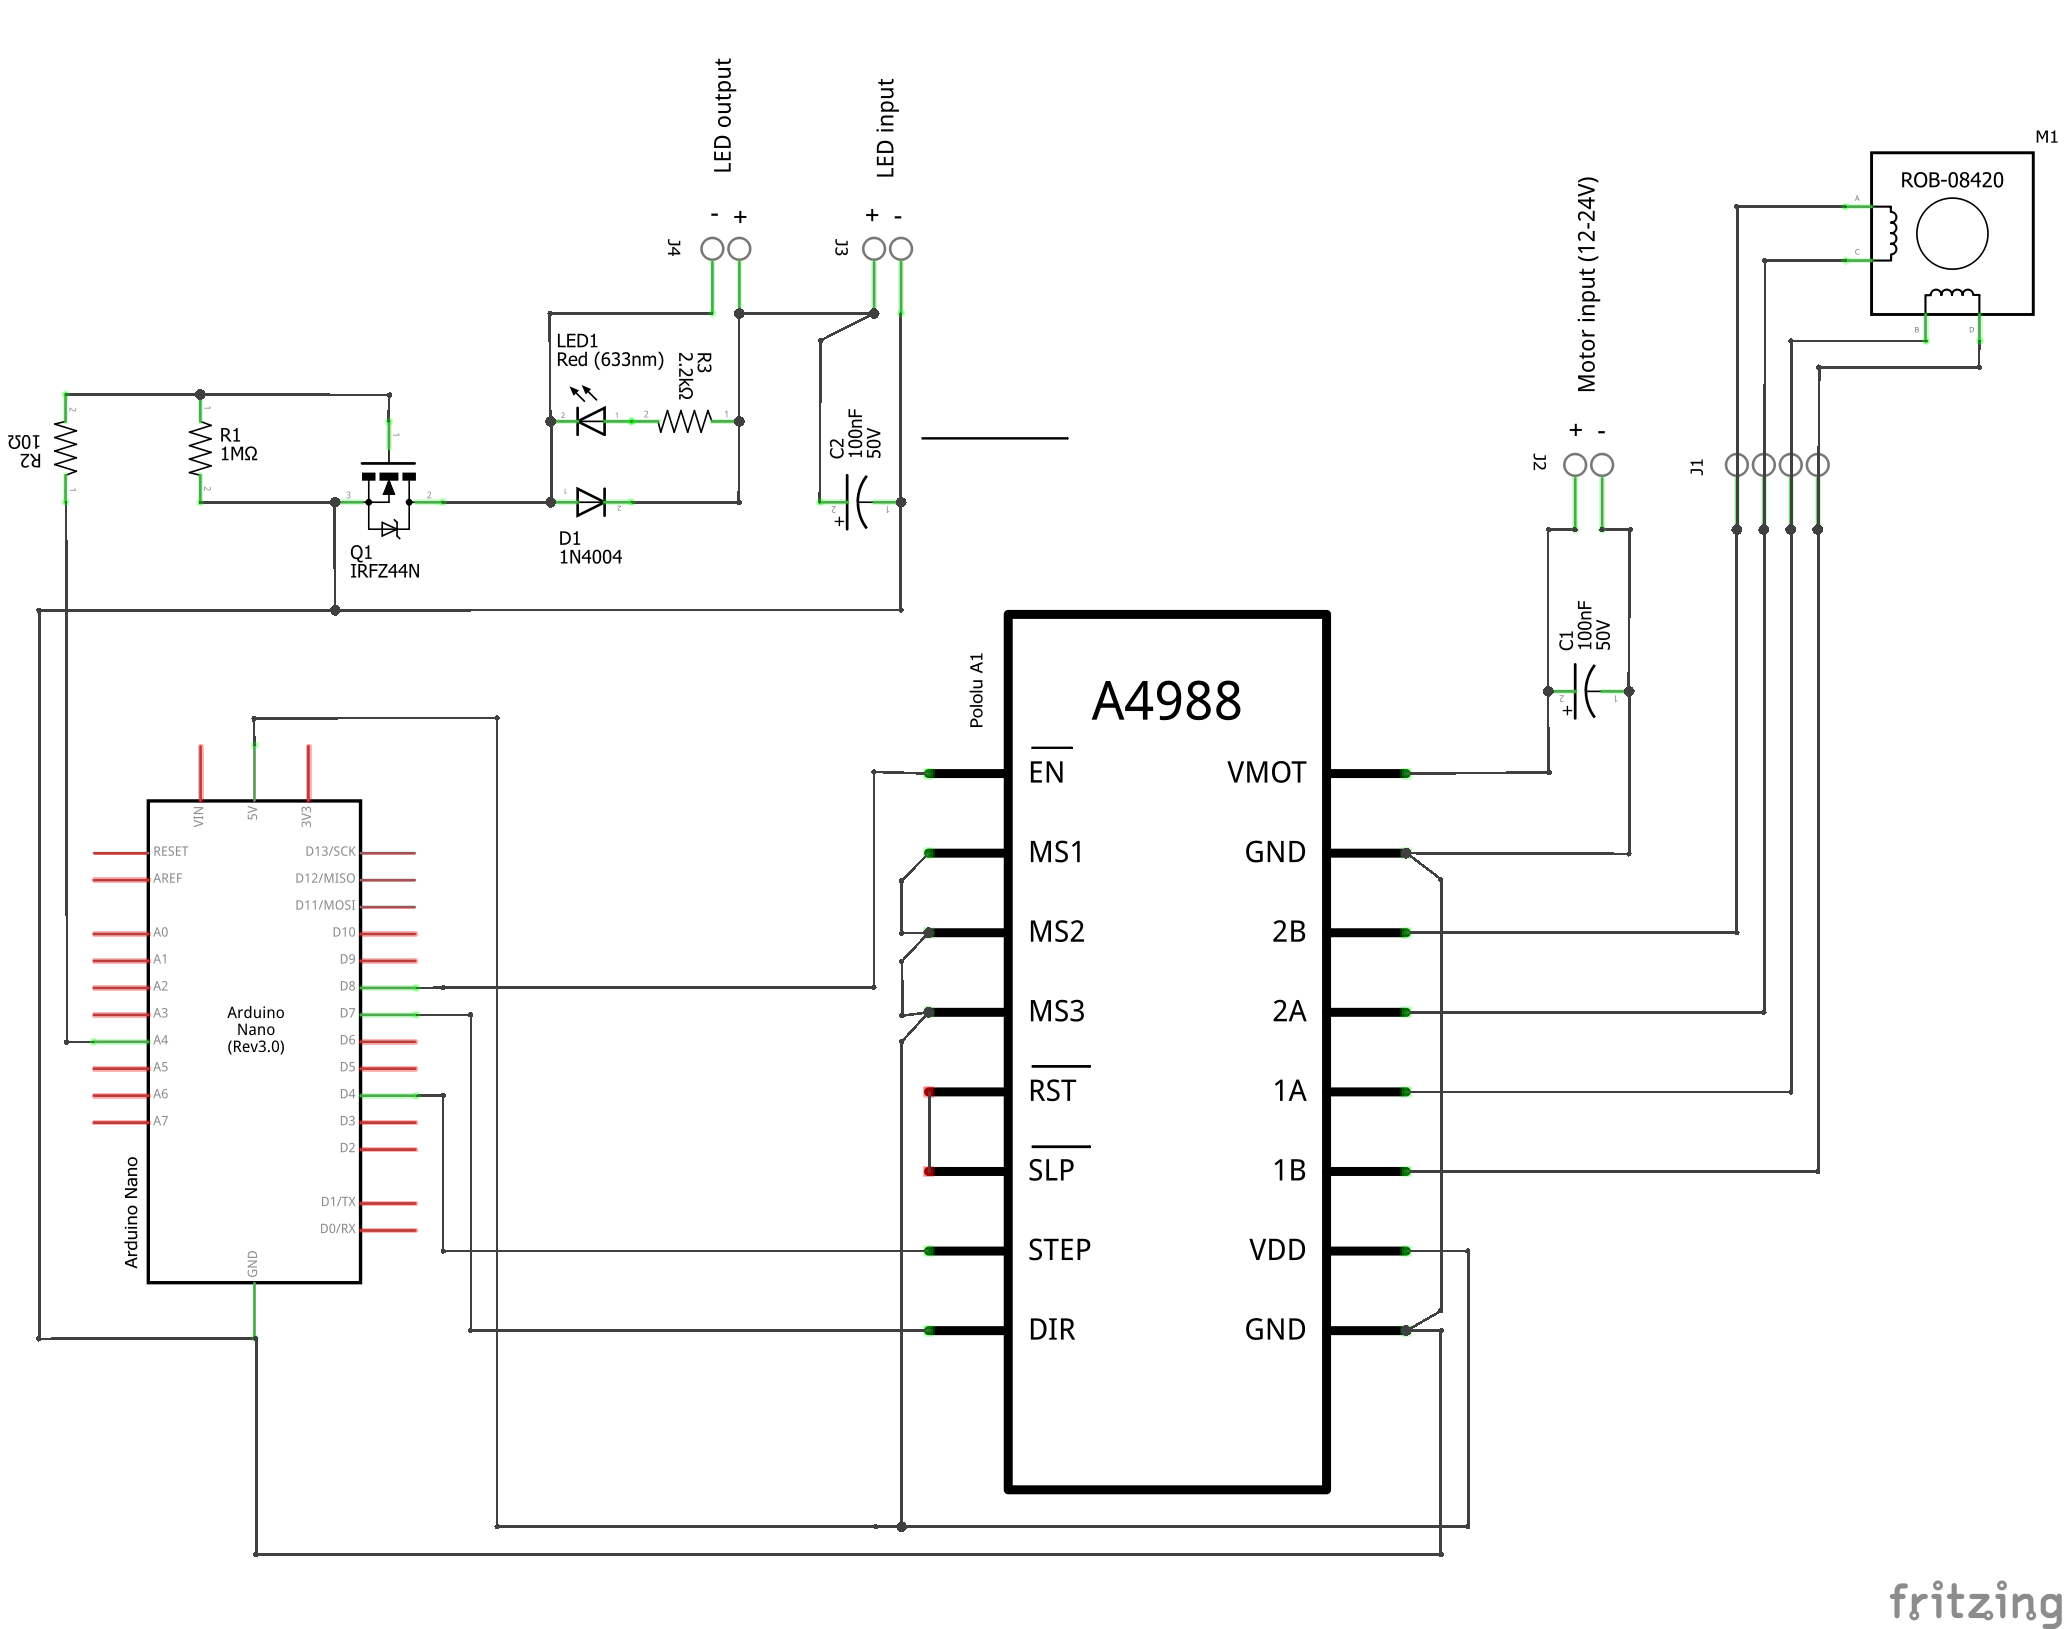
Electronics

Simple electronics based on an Arduino board with Grbl firmware.


Software

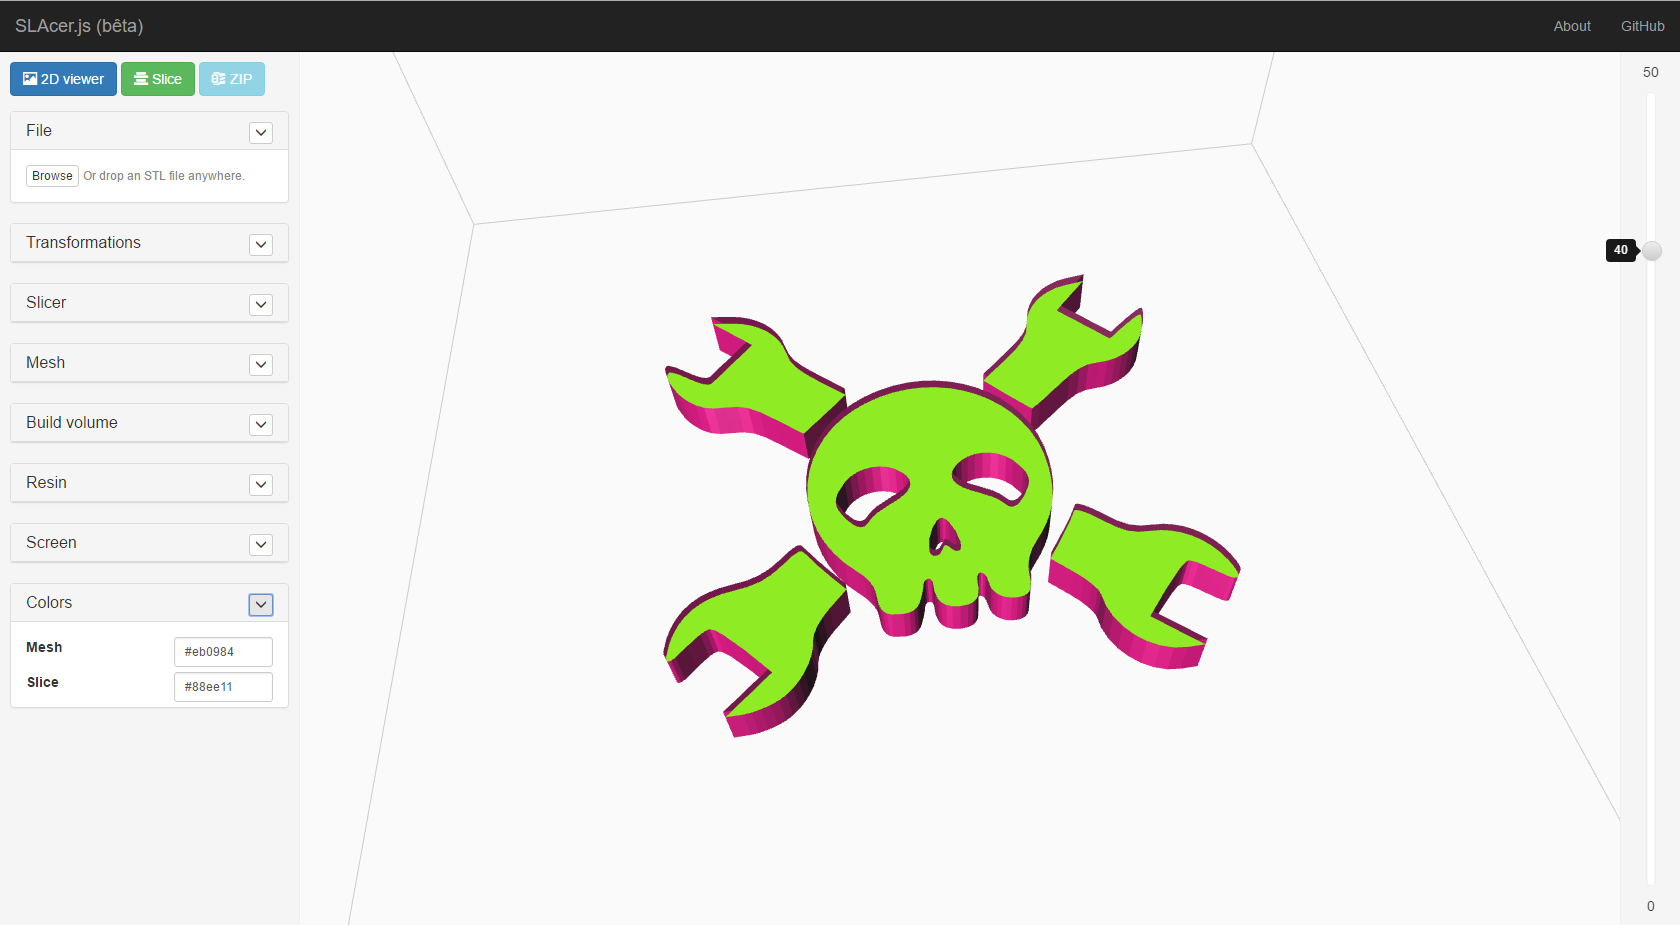
- Slicer : http://lautr3k.github.io/SLAcer.js/
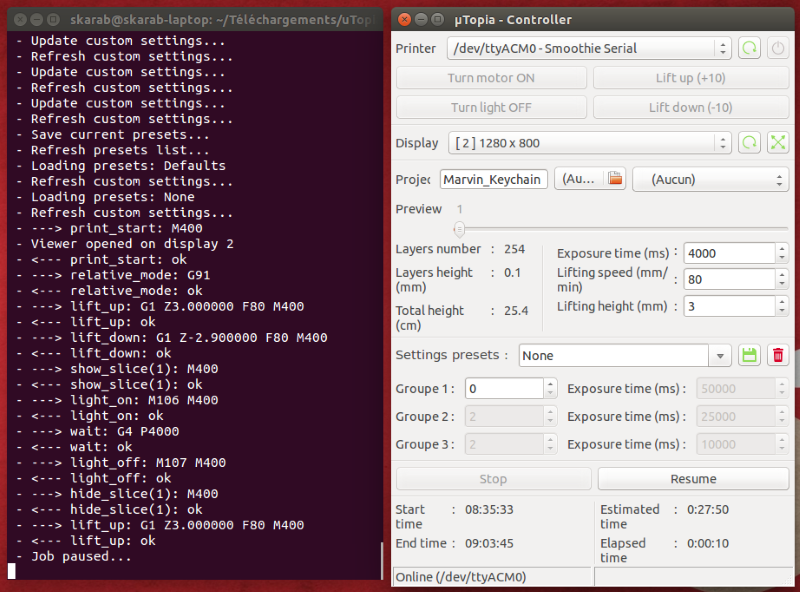
- Printer Controller : https://github.com/onlfait/uTopiaController

µTopia_v0.1.skp

Sketchup project : LightBox_v0.1 ZAxis_v0.1 BuildPlate_v0.1 FlexyVat_v0.1

SSEYO Koan Play File - 3.38 MB - 07/24/2016 at 11:17

Download

uTopiaBoard.fzz

Fritzing project. Need help to do a better board and shematics... I am limited with electronics. Thank you for your indulgance.

fzz - 25.54 kB - 07/24/2016 at 08:29

Download

  • 1 × HDMI VGA DVI Audio LCD controller board + 3.5inch PD035VX2 640x480 LCD panel seller : chinatobby2011 (ebay)
  • 1 × 50W UV LED (395nm) + Driver seller : electronic.alice (ebay)
  • 1 × Teflon FEP Film (0.127mm thick) seller : http://projectsinterestsandetcetera.com/store/#FEP-Film
  • 1 × Stepper motor (Nema 17)
  • 1 × Arduino (Nano)

View all 8 components

View all 6 project logs

  • 1
    Step 1

    Controller board

    I am limited with electronics. Need help to do a better controller board and shematics.
    Thank you for your indulgance.

    Fritzing project : Download

    Bill of Materials

    Amount Label Type
    1 Arduino Nano Arduino Nano (or compatible)
    2 C1/C2 Electrolytic Capacitor [50V] [100nF]
    1 D1 Rectifier Diode [1N4004]
    1 J1 Screw terminal - 4 pins
    3 J2/J3/J4 Screw terminal - 2 pins
    1 LED1 Red LED [3mm]
    1 M1 Bipolar Stepper Motor [nema17] [0.9°]
    1 Pololu A1 Pololu A4988 (or compatible)
    1 Q1 Basic FET N-Channel [IRFZ44N]
    1 R1 1MΩ Resistor
    1 R2 10Ω Resistor
    1 R3 2.2kΩ Resistor

View all instructions

Enjoy this project?

Share

Discussions

isenmike wrote 08/03/2022 at 07:45 point

Sorry to dig up such an old project.  Elegoo recently started putting Fresnel lenses into their MSLA printers to collimate the UV.  It had been the first I'd heard of a Fresnel lens used this way in an MSLA LCD printer, but here they are in the "setup" illustrations you posted six years ago.  Are those your illustrations?  Did you actually install a Fresnel in the uTopia Printer?  (I didn't see one in the component list, couldn't confirm either way from the photos.)  An often-ignored weak point for so many of the budget printers on the market these days seems to be the quality of the UV source; I'm curious about the types of solutions out there for structuring the UV, and how well they work in practice.  My understanding of Fresnels is that they don't typically give great precision for imaging applications; but I wonder if that applies in this case, or if it does then to what degree it depends on the quality of the lens and how cost-efficient it may or may not be to use higher-quality lenses.

If you have thoughts or any resources on the topic, I'd be very curious to see them!

  Are you sure? yes | no

glgnstc93 wrote 04/26/2018 at 14:04 point

Hello All,

could you please tell me how can you provide uniform light?I mean, if we print full table for same model, can we get same weight for all(like are the weight of print in the corners is same weight of print in the middle?)

  Are you sure? yes | no

Jasongodbout wrote 12/04/2019 at 04:04 point

In laboratory we use a diffuser but it's to small for 3d printers you can try stencil-film:
https://www.youtube.com/watch?v=rRaZd_OxKVU

  Are you sure? yes | no

akshayagg009 wrote 12/23/2017 at 19:23 point

Hi, which firmware is used in Arduino ? is it Marlin or Soomthie 

  Are you sure? yes | no

slevoacagheorghe wrote 04/12/2017 at 11:03 point

Hello,
I am new in this domain and i have a curiosity, how is sticks the part on the table?
Sorry for bother you.

  Are you sure? yes | no

yassinelessawy wrote 01/27/2017 at 06:44 point

may i ask how did you make the UV pass through the Lcd Panel, 

From what i know lcd panels don't pass UV 

  Are you sure? yes | no

msilvagibin wrote 10/14/2016 at 19:26 point

Sebastian already tried, Display 7 ...At070tn92 -

TFT 800,480.

PS: Yesterday I called my 100w uv led almost went blind .rsrs 

  Are you sure? yes | no

msilvagibin wrote 10/10/2016 at 19:25 point

Sebastian, you know if this works with screen ipad 3? I have here led uv 400nm 100w.

  Are you sure? yes | no

Sébastien Mischler (aka skarab) wrote 10/11/2016 at 05:16 point

I do not know ... We have to try.

  Are you sure? yes | no

newbie wrote 10/09/2016 at 19:56 point

How exactly do I need to connect UV LED driver ?

Driver out to LED input or driver in to LED output ?

  Are you sure? yes | no

Sébastien Mischler (aka skarab) wrote 10/11/2016 at 05:11 point
Hi @newbie,
From the LED driver output to "LED input" and the LED wires to "LED output".

  Are you sure? yes | no

msilvagibin wrote 10/07/2016 at 12:07 point

Hello

 
Sébastien stopped the project?
Just get some parts for my printer.
retina display ipad 3, led 100w 400nm, LED driver.


I am following your project and would like your support and possible!
my email is msilvagibin@gmail.com

  Are you sure? yes | no

Sébastien Mischler (aka skarab) wrote 10/08/2016 at 07:20 point

Hi msilvagibin,

The project is not stopped, but I have not much time to work on it now. I try to open a FabLab in my city and work on several other Open-Source projects at the same time...

  Are you sure? yes | no

rafffel1 wrote 09/23/2016 at 18:15 point

Nice project .

Thinking about the screen why not use an old android phone that you can display and control remotly (need to open the phone in half for correct usage but can be a cheap alternative to a LCD + Driver (and regarding for LG G3 with broken digitizer for <50€ for an ~500DPI would be a great deal) i am going to look into my old nexus 4 for see if i can do something

  Are you sure? yes | no

bulior wrote 09/13/2016 at 21:36 point

Great job, nice to read and to get informations for my project! 

Which Resin do you use for this? 

  Are you sure? yes | no

geometra.gaspari wrote 08/15/2016 at 19:34 point

Only one thing in the last project you use a fresnel lens but where you buy it? and under the lcd that you use you remove only the backlight or all the films?

  Are you sure? yes | no

Sébastien Mischler (aka skarab) wrote 08/16/2016 at 05:41 point
I removed all (amovible) filters on the LCD. 

The fresnel lens can be found on ebay. Try to find fresnel with a focal the closest to the distance between the LCD and the LED.

  Are you sure? yes | no

NecDET wrote 12/04/2016 at 12:20 point

Hi Sebastien,


Would you please let us know how could you remove LCD filetres,
There is one aluminyum filtre back of LCD.
In order to get full visible LCD screen
We must remove but it is well stick on lcd !!

Is there any solution

  Are you sure? yes | no

geometra.gaspari wrote 08/15/2016 at 19:33 point

Hi,

thanks for reply, yes we can collaborate together for best result! :) Give me your contact so we can speak for new project! This is my email geometra.gaspari@live.it

  Are you sure? yes | no

[deleted]

[this comment has been deleted]

Sébastien Mischler (aka skarab) wrote 08/16/2016 at 05:45 point
I'm not sure I understand. Why complicate things by adding a mobile element? In addition, the exposure time will be longer.

  Are you sure? yes | no

geometra.gaspari wrote 08/14/2016 at 20:59 point

Hi to all,

i'm working on my 3d sla printer, i see this project and i'm entusiastic for your:
LED's array setup (medium/big screen)
I want to use an ipad 3 display retina for my printer..
Is possible to know where i can buy the components please?
- correct fresnel lens
- correct diffuser
- correct leds array

- correct head sink

I need to remove only the backlight panel or also the films under the lcd after remove the backlight?

best regards

  Are you sure? yes | no

Sébastien Mischler (aka skarab) wrote 08/15/2016 at 15:19 point

Sorry I do not have all information at this time, you have to test by yourself. I have made only one prototype. The next (with LED array and 5.6"LCD) is coming soon with the rest of the instructions and more details. 

Be patient (or do it yourself), I do this in my spare time. 

P.S: Contributors welcome :)

  Are you sure? yes | no

[deleted]

[this comment has been deleted]

Sébastien Mischler (aka skarab) wrote 08/03/2016 at 06:18 point
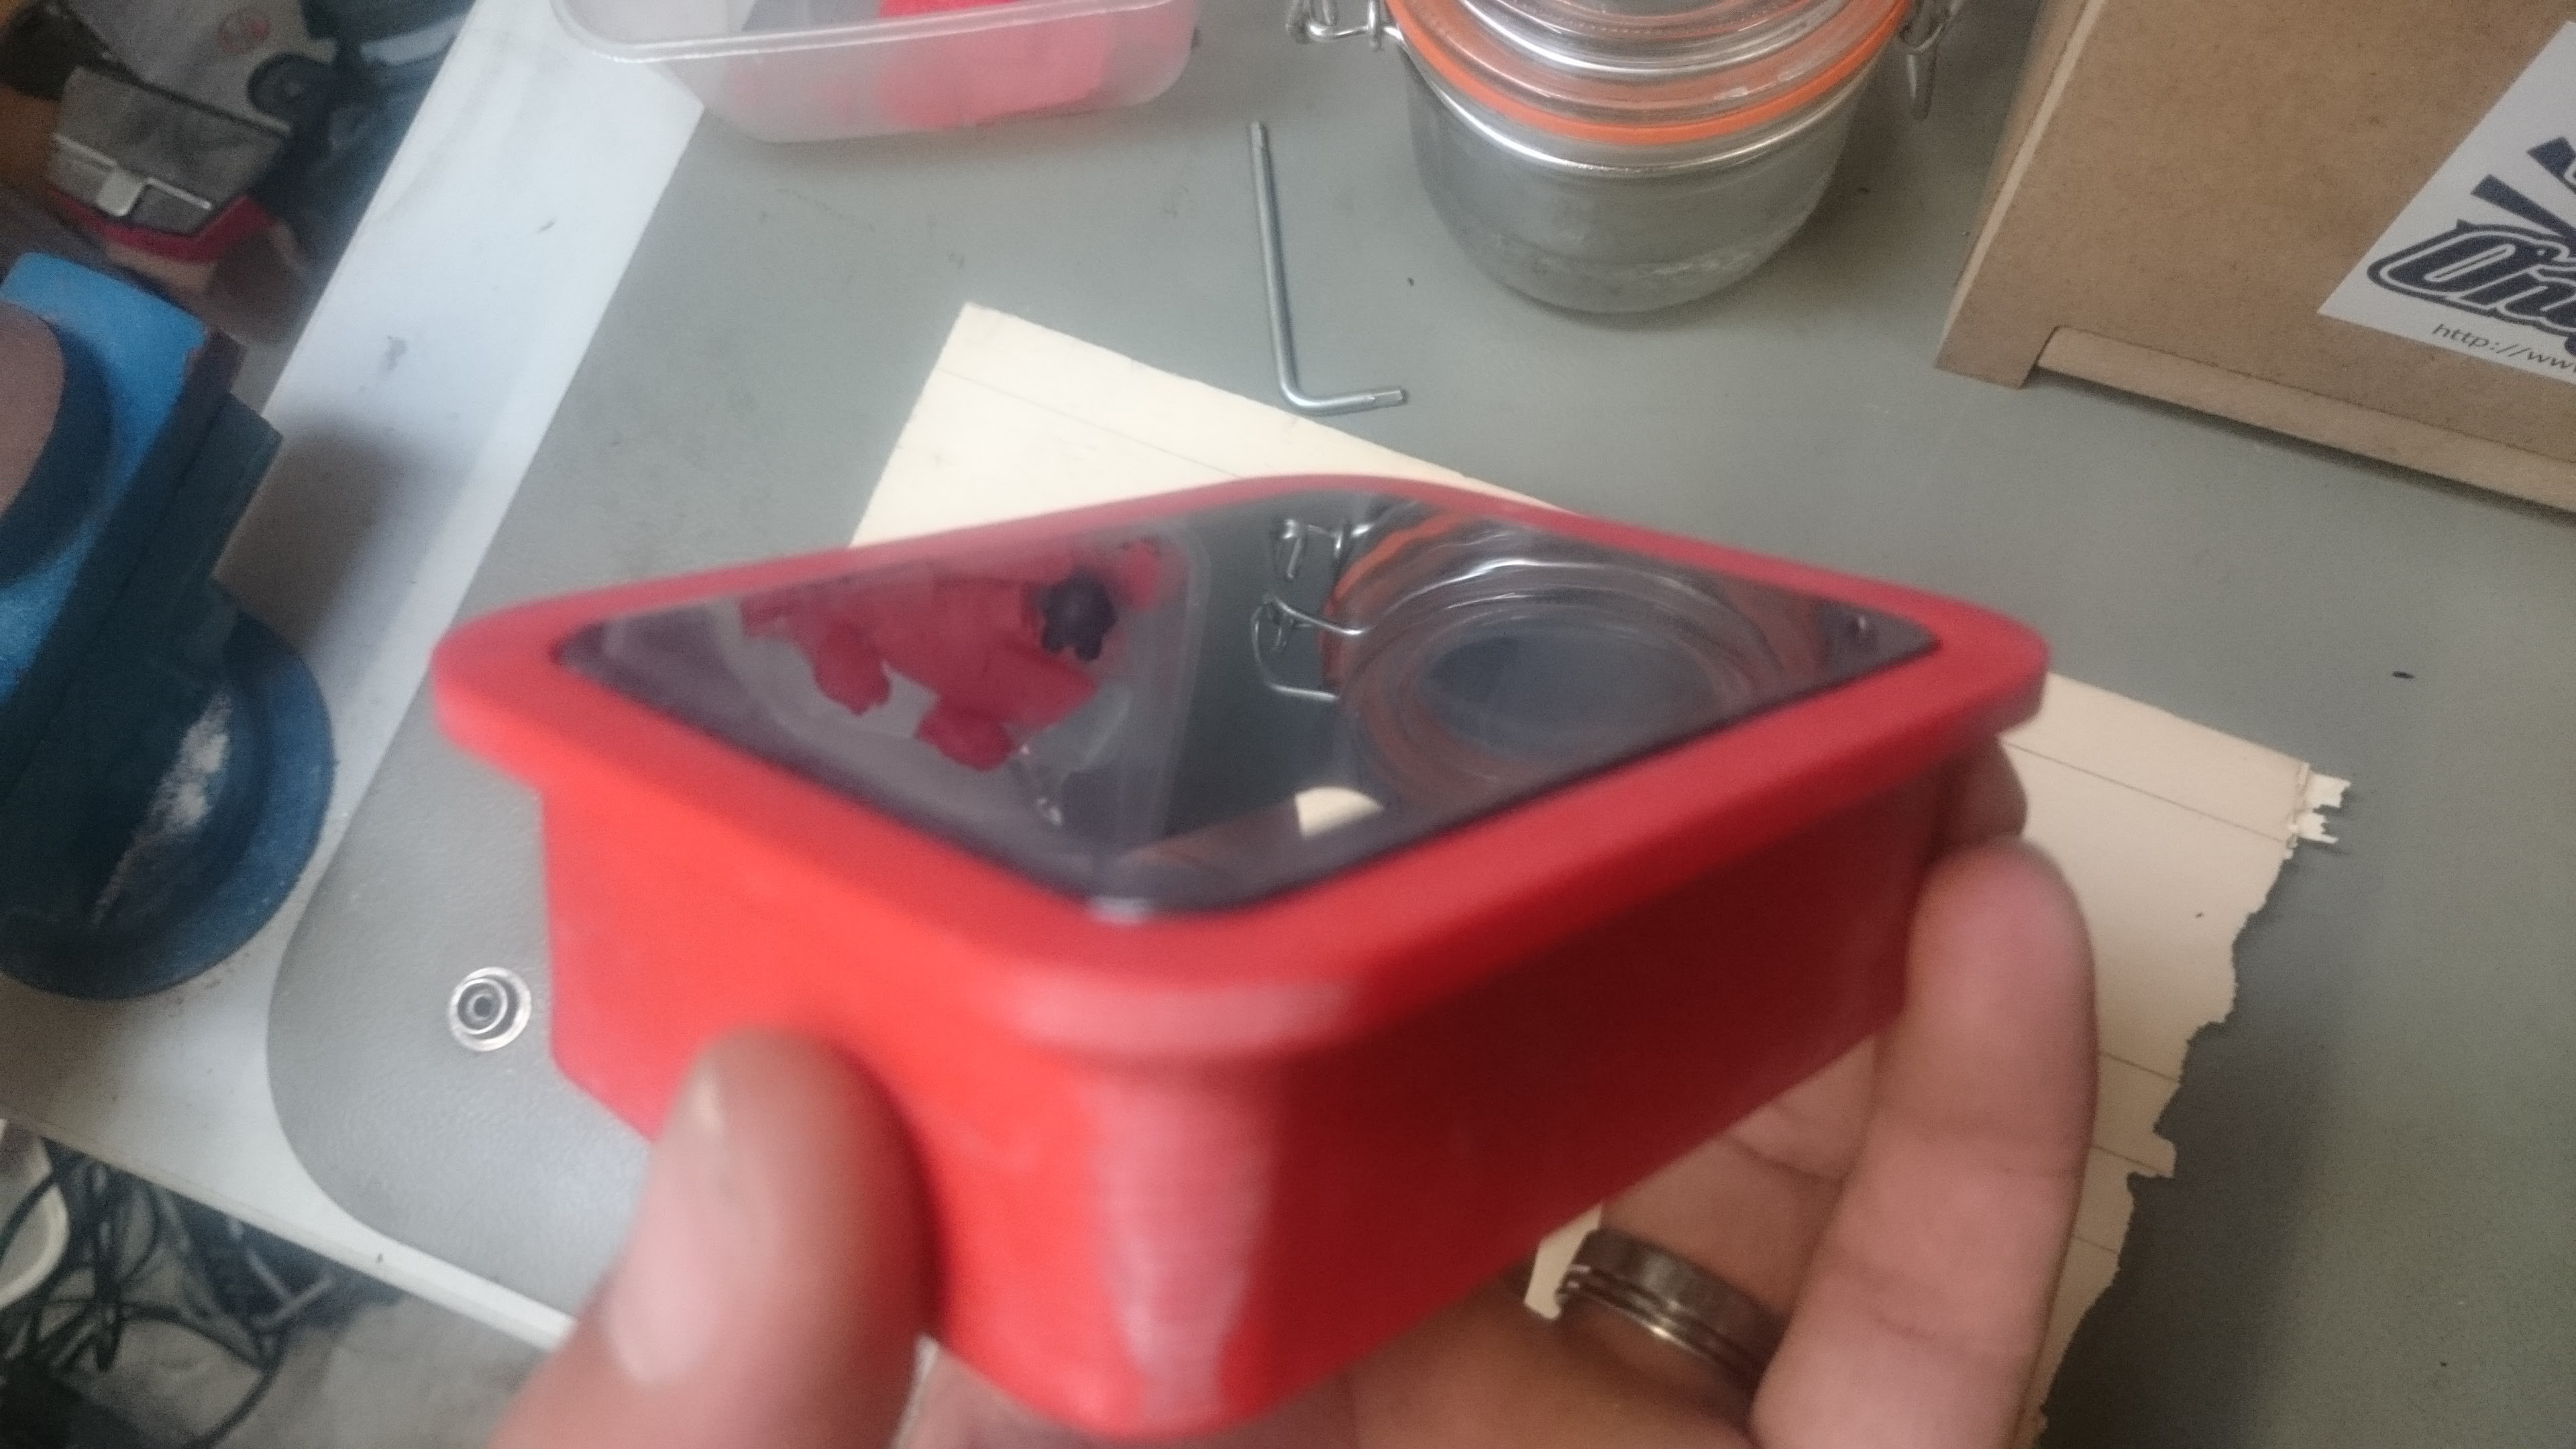
The OLO is a gadget at ~600$ (99$ + ~500$ for the phone) powered by AA batteries and working with visible light resin... the curing time is long and your phone must  be in airplane mode with wifi and alerts turned off ! Definitely not for professionals... and BTW not Open-Source.

  Are you sure? yes | no

tankapotamus wrote 04/15/2017 at 08:12 point

You're being a bit dramatic! A used smartphone is only $100-$200 for a last gen high end Android. You can get a perfectly  usable  mid tier last gen for under  $100. 

  Are you sure? yes | no

msilvagibin wrote 07/30/2016 at 12:08 point

I am amazed at their dedication , was seeing a material using retina iPad screen using UV 400nm to 420nm with 5% absorviçao it would be a little more per layer cure time .

  Are you sure? yes | no

msilvagibin wrote 07/30/2016 at 01:53 point

Hello why not use ipad screen?

  Are you sure? yes | no

Sébastien Mischler (aka skarab) wrote 07/30/2016 at 06:44 point
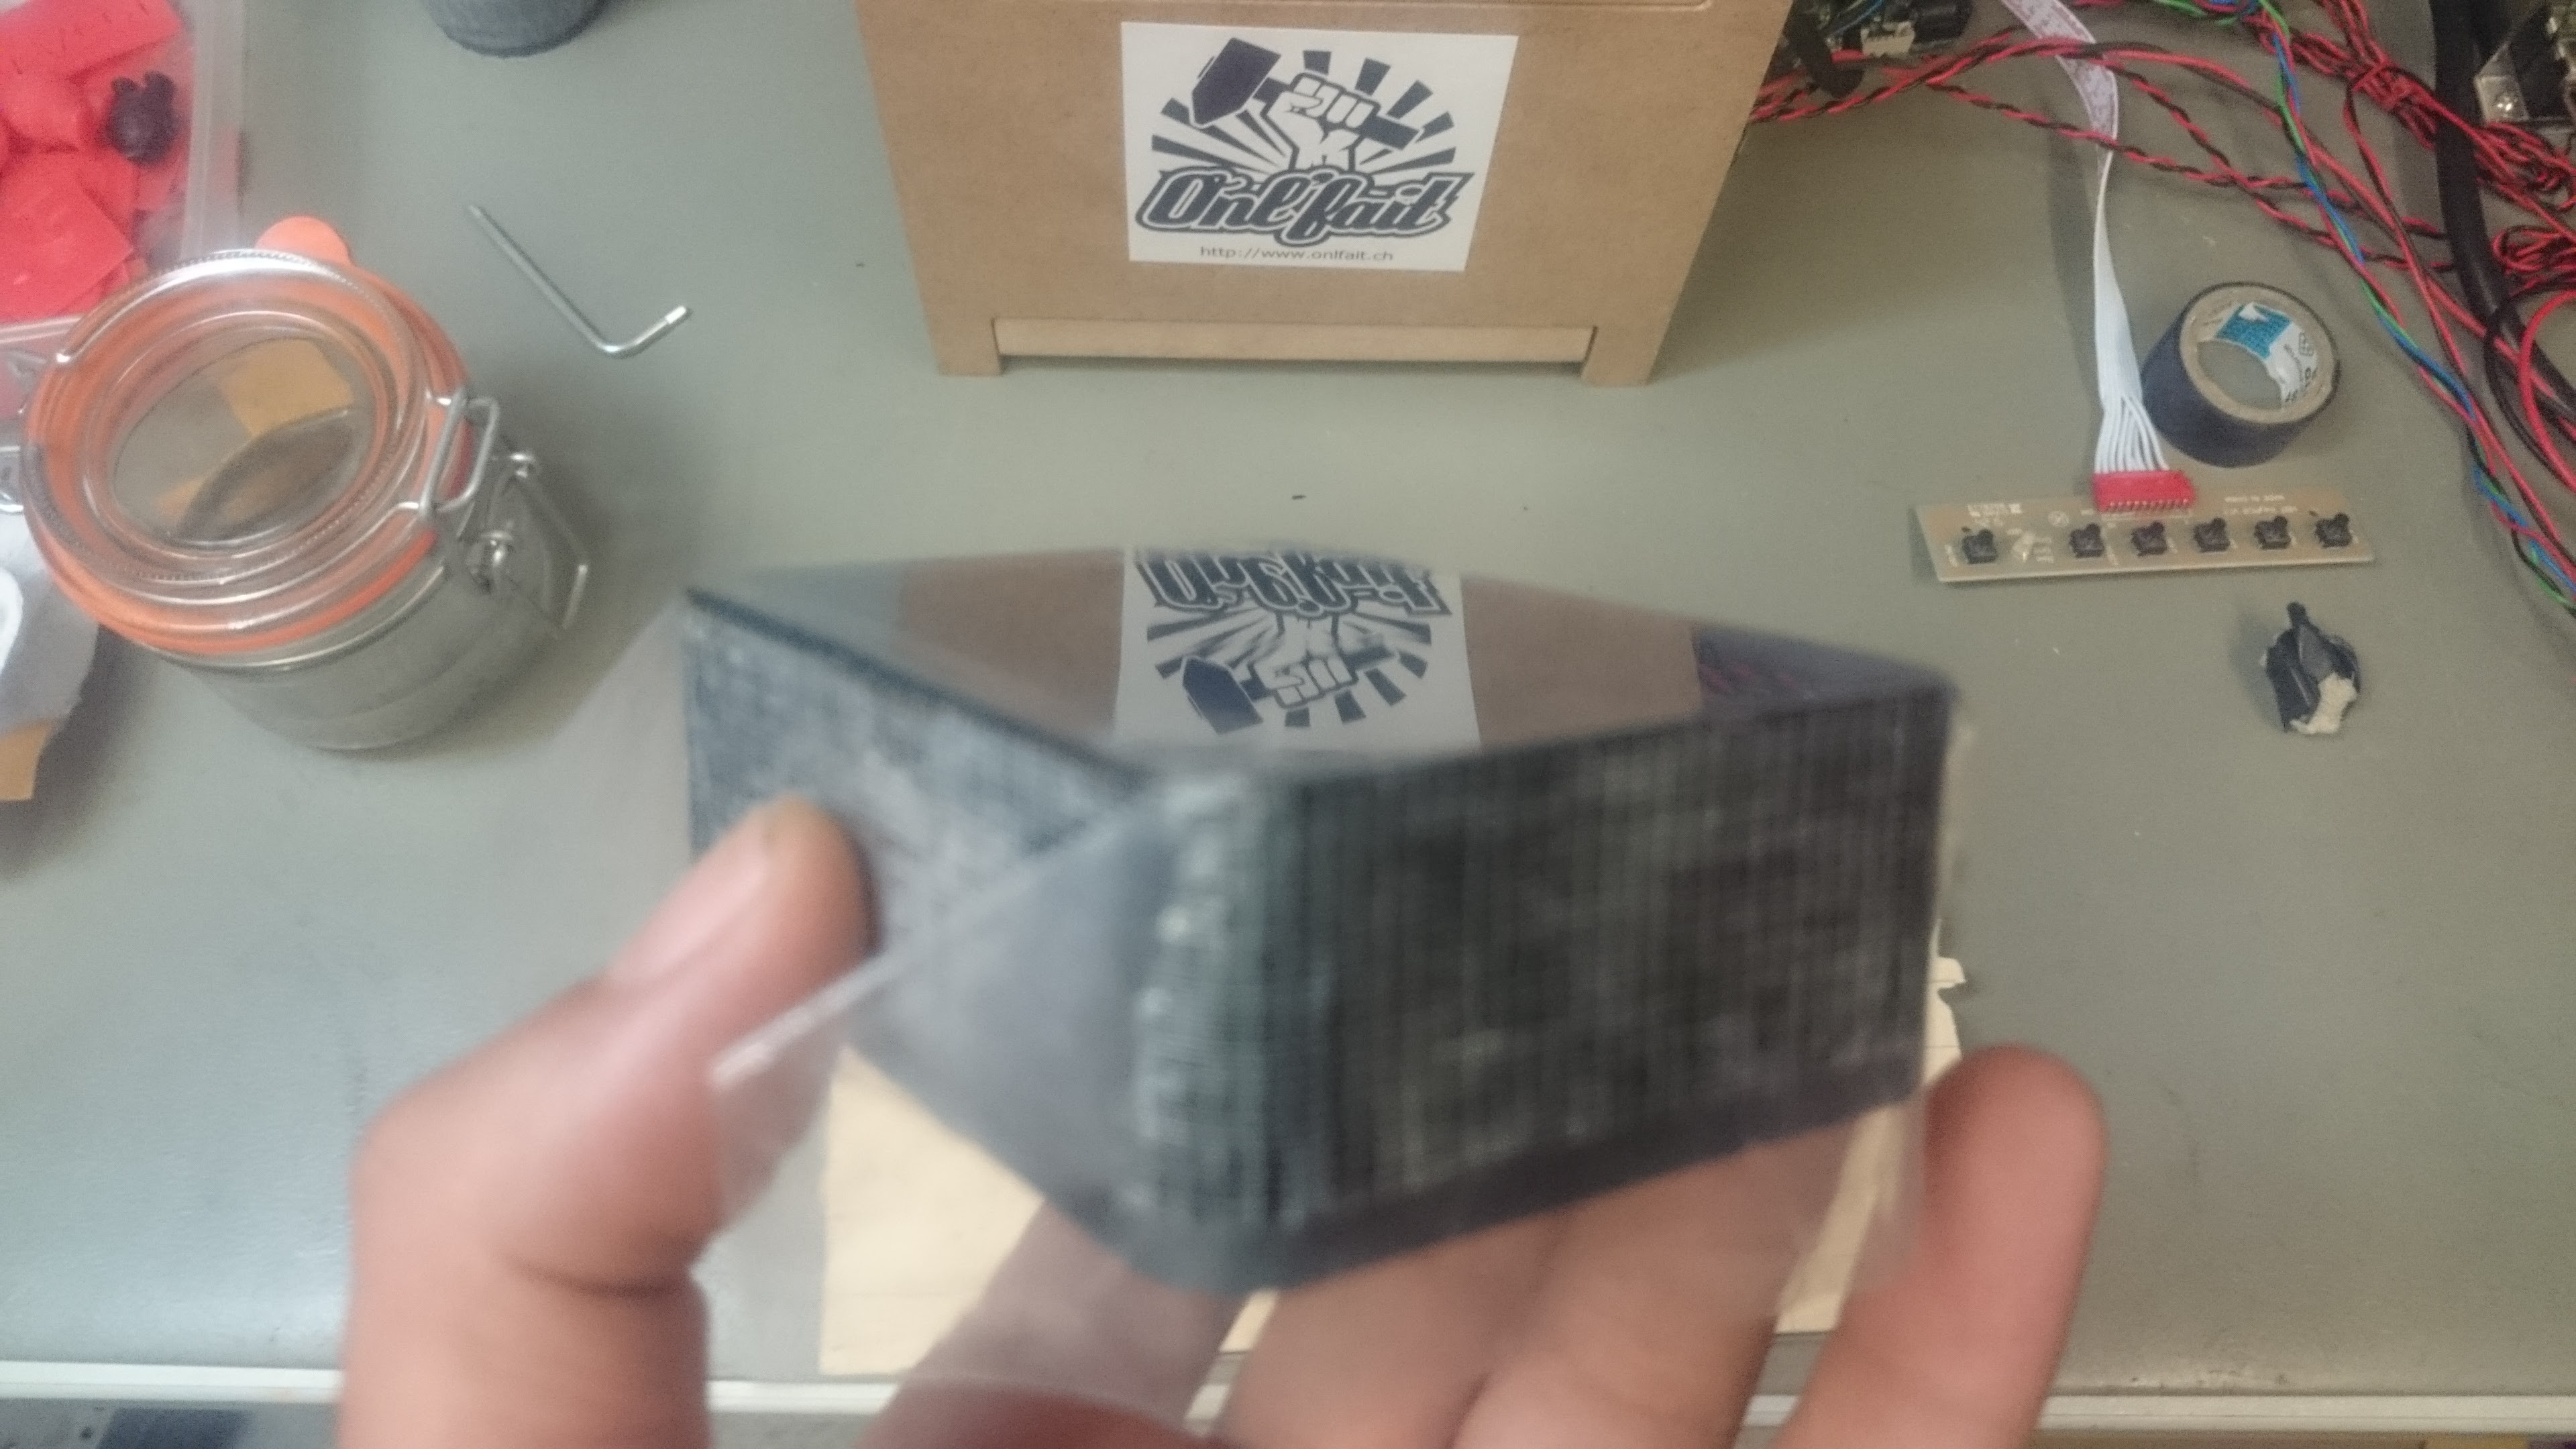
That because I have several old LCD I want to use [https://goo.gl/photos/CBWuzQbK6VCCLjp67]. But you can use whatever you want. This project is more a concept than a finished product, a bit like the RepRap project, anyone can make improvements.

  Are you sure? yes | no

Jim Shealy wrote 07/27/2016 at 14:35 point

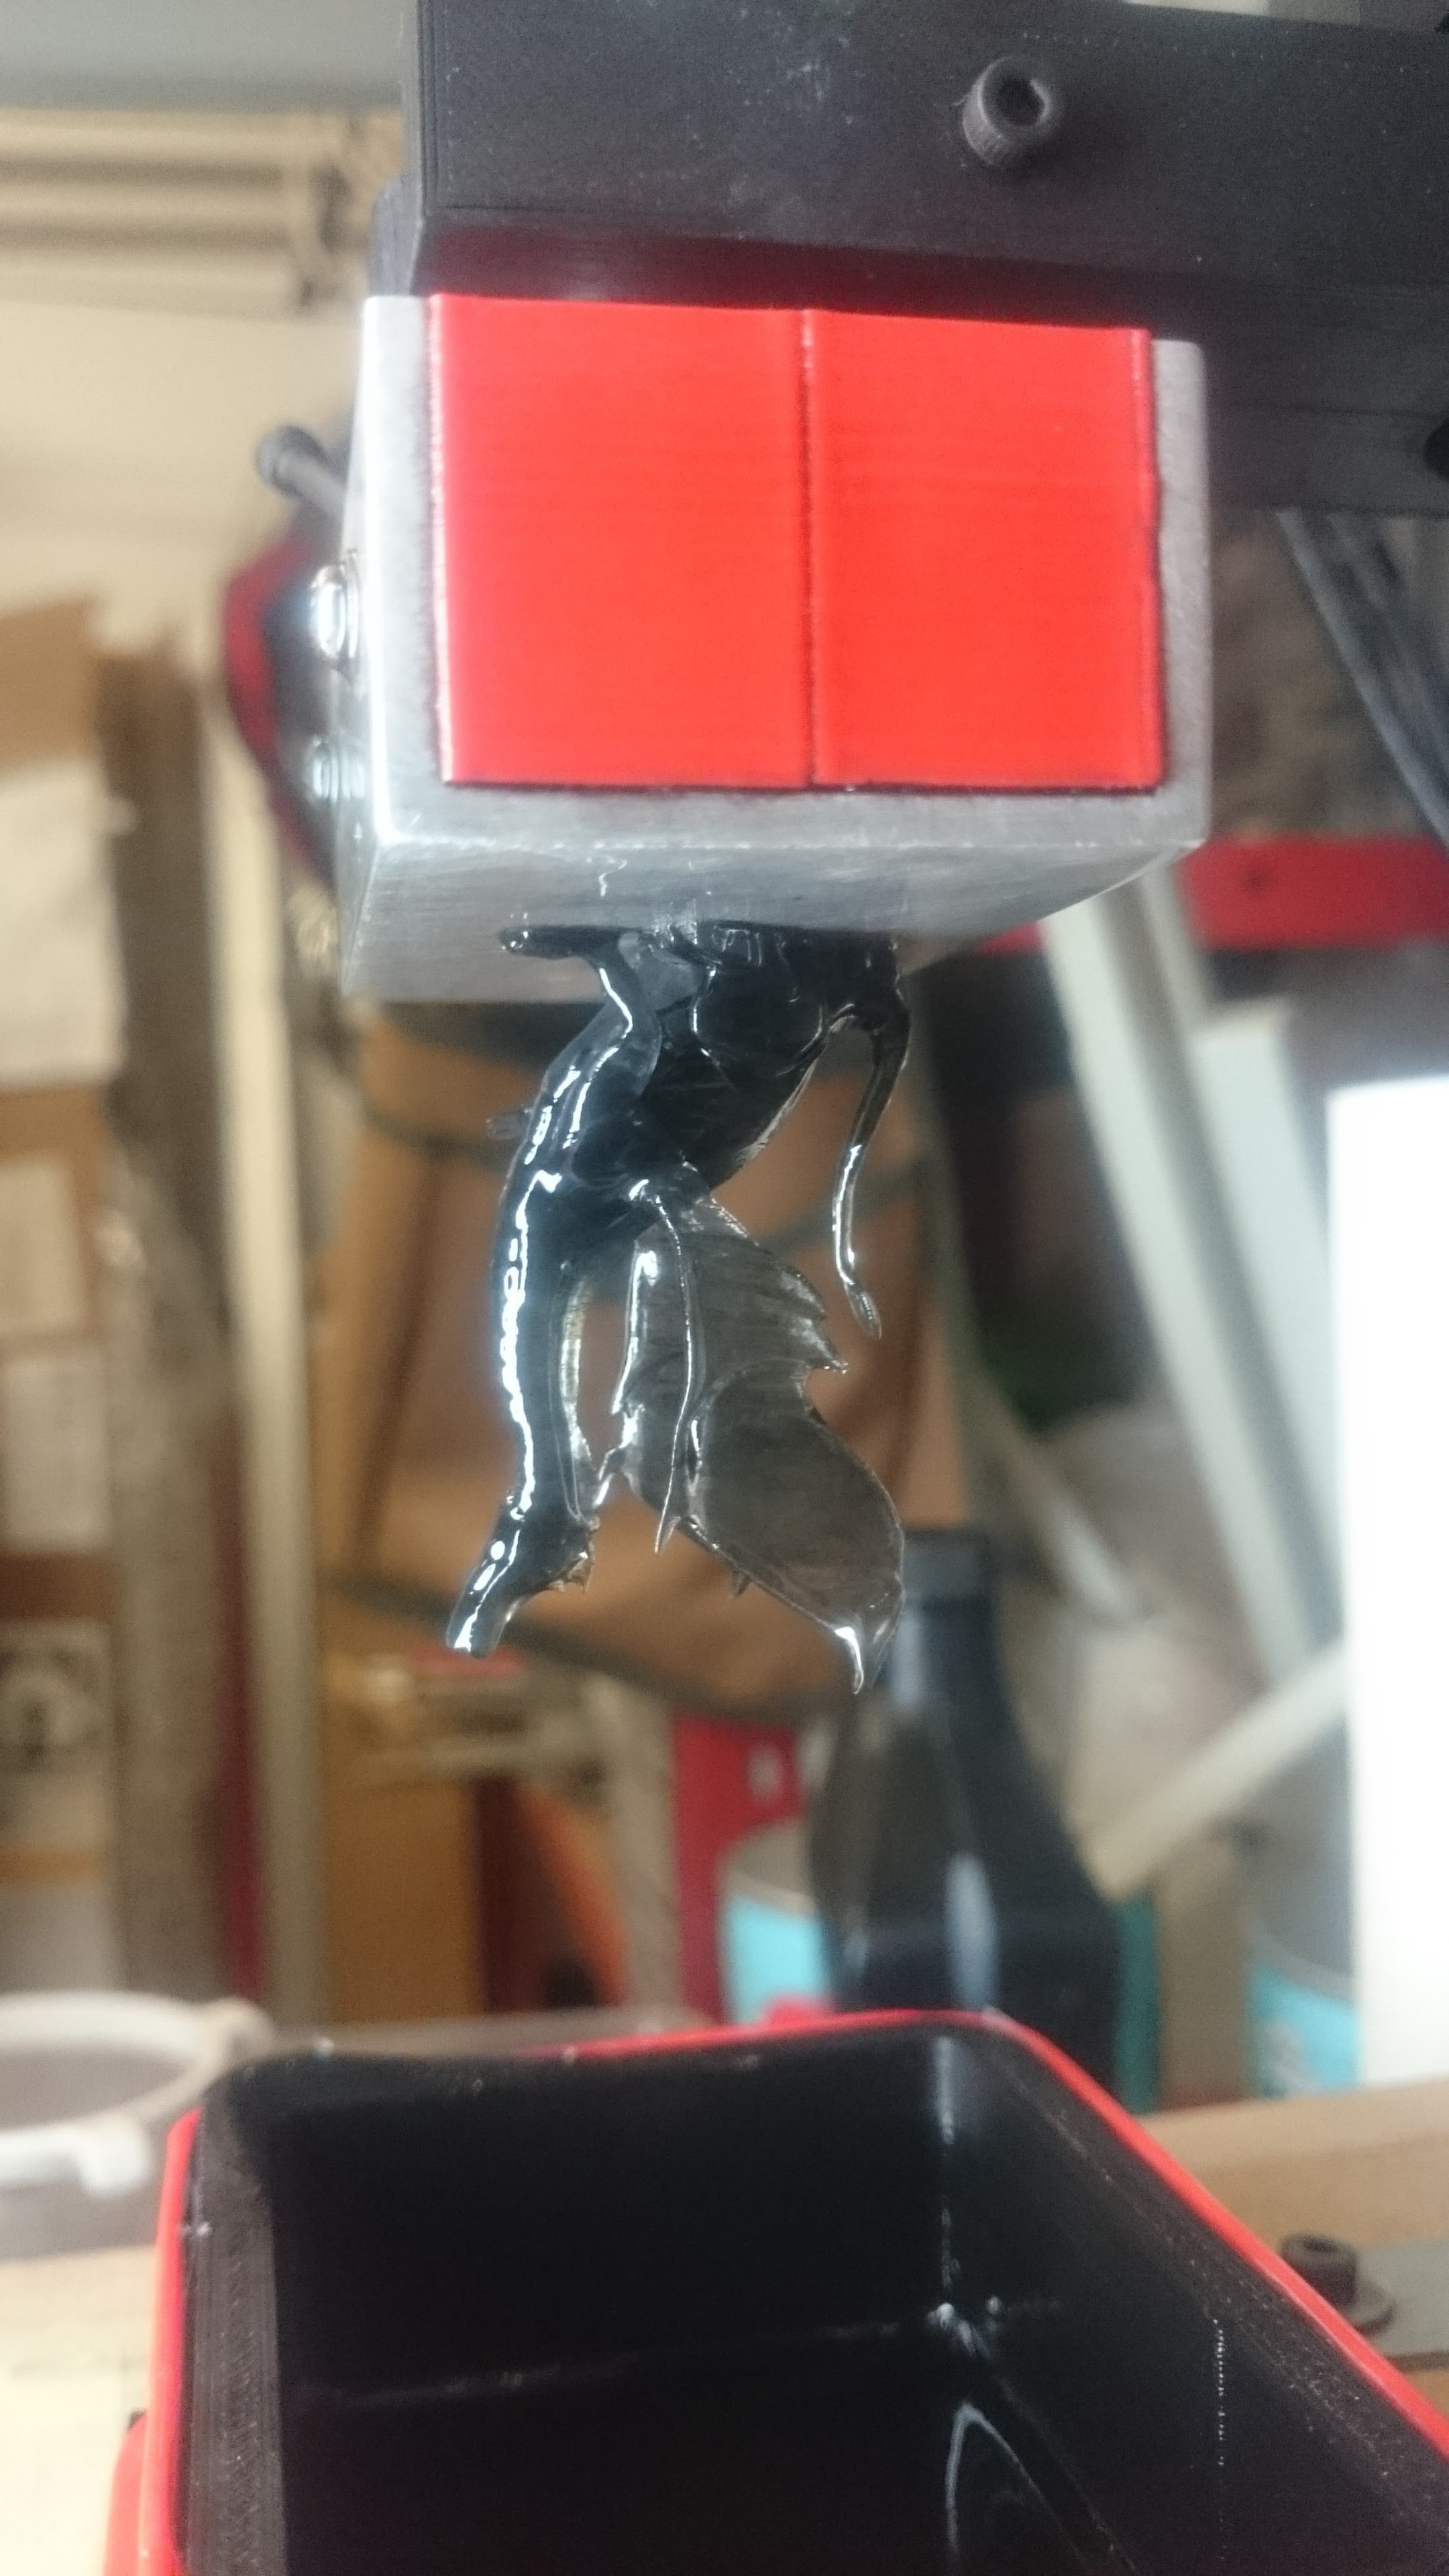
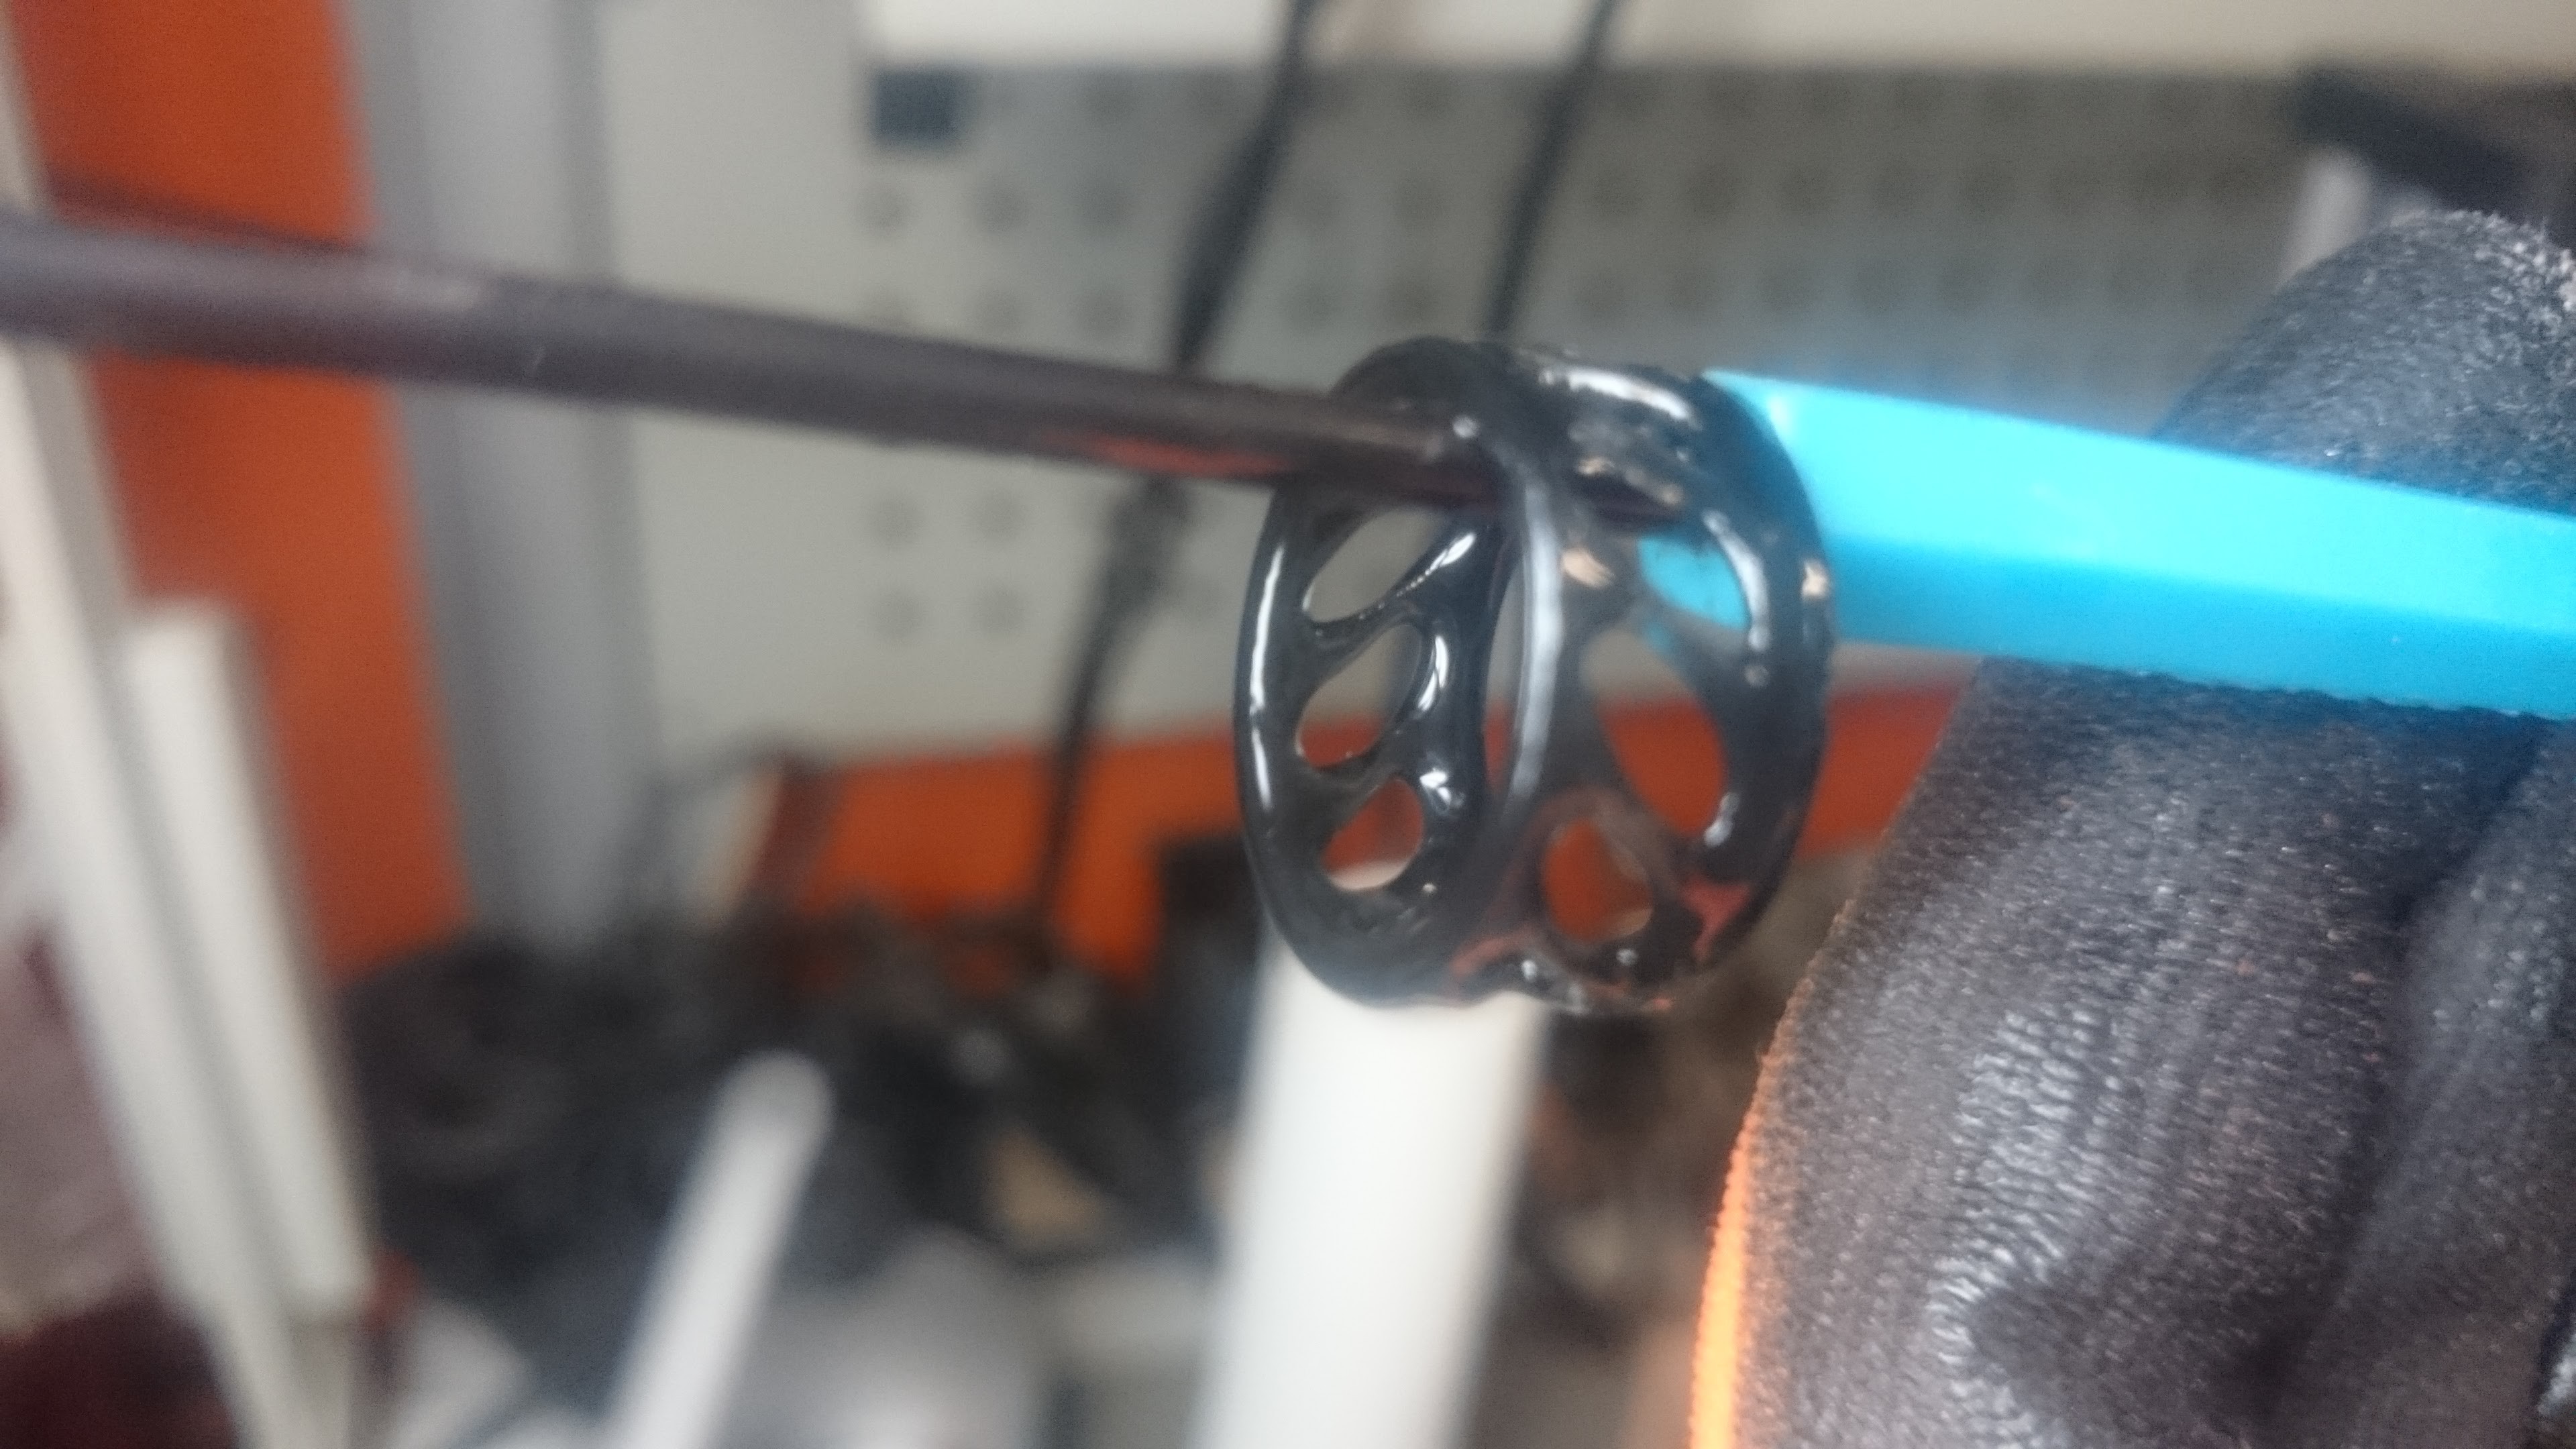
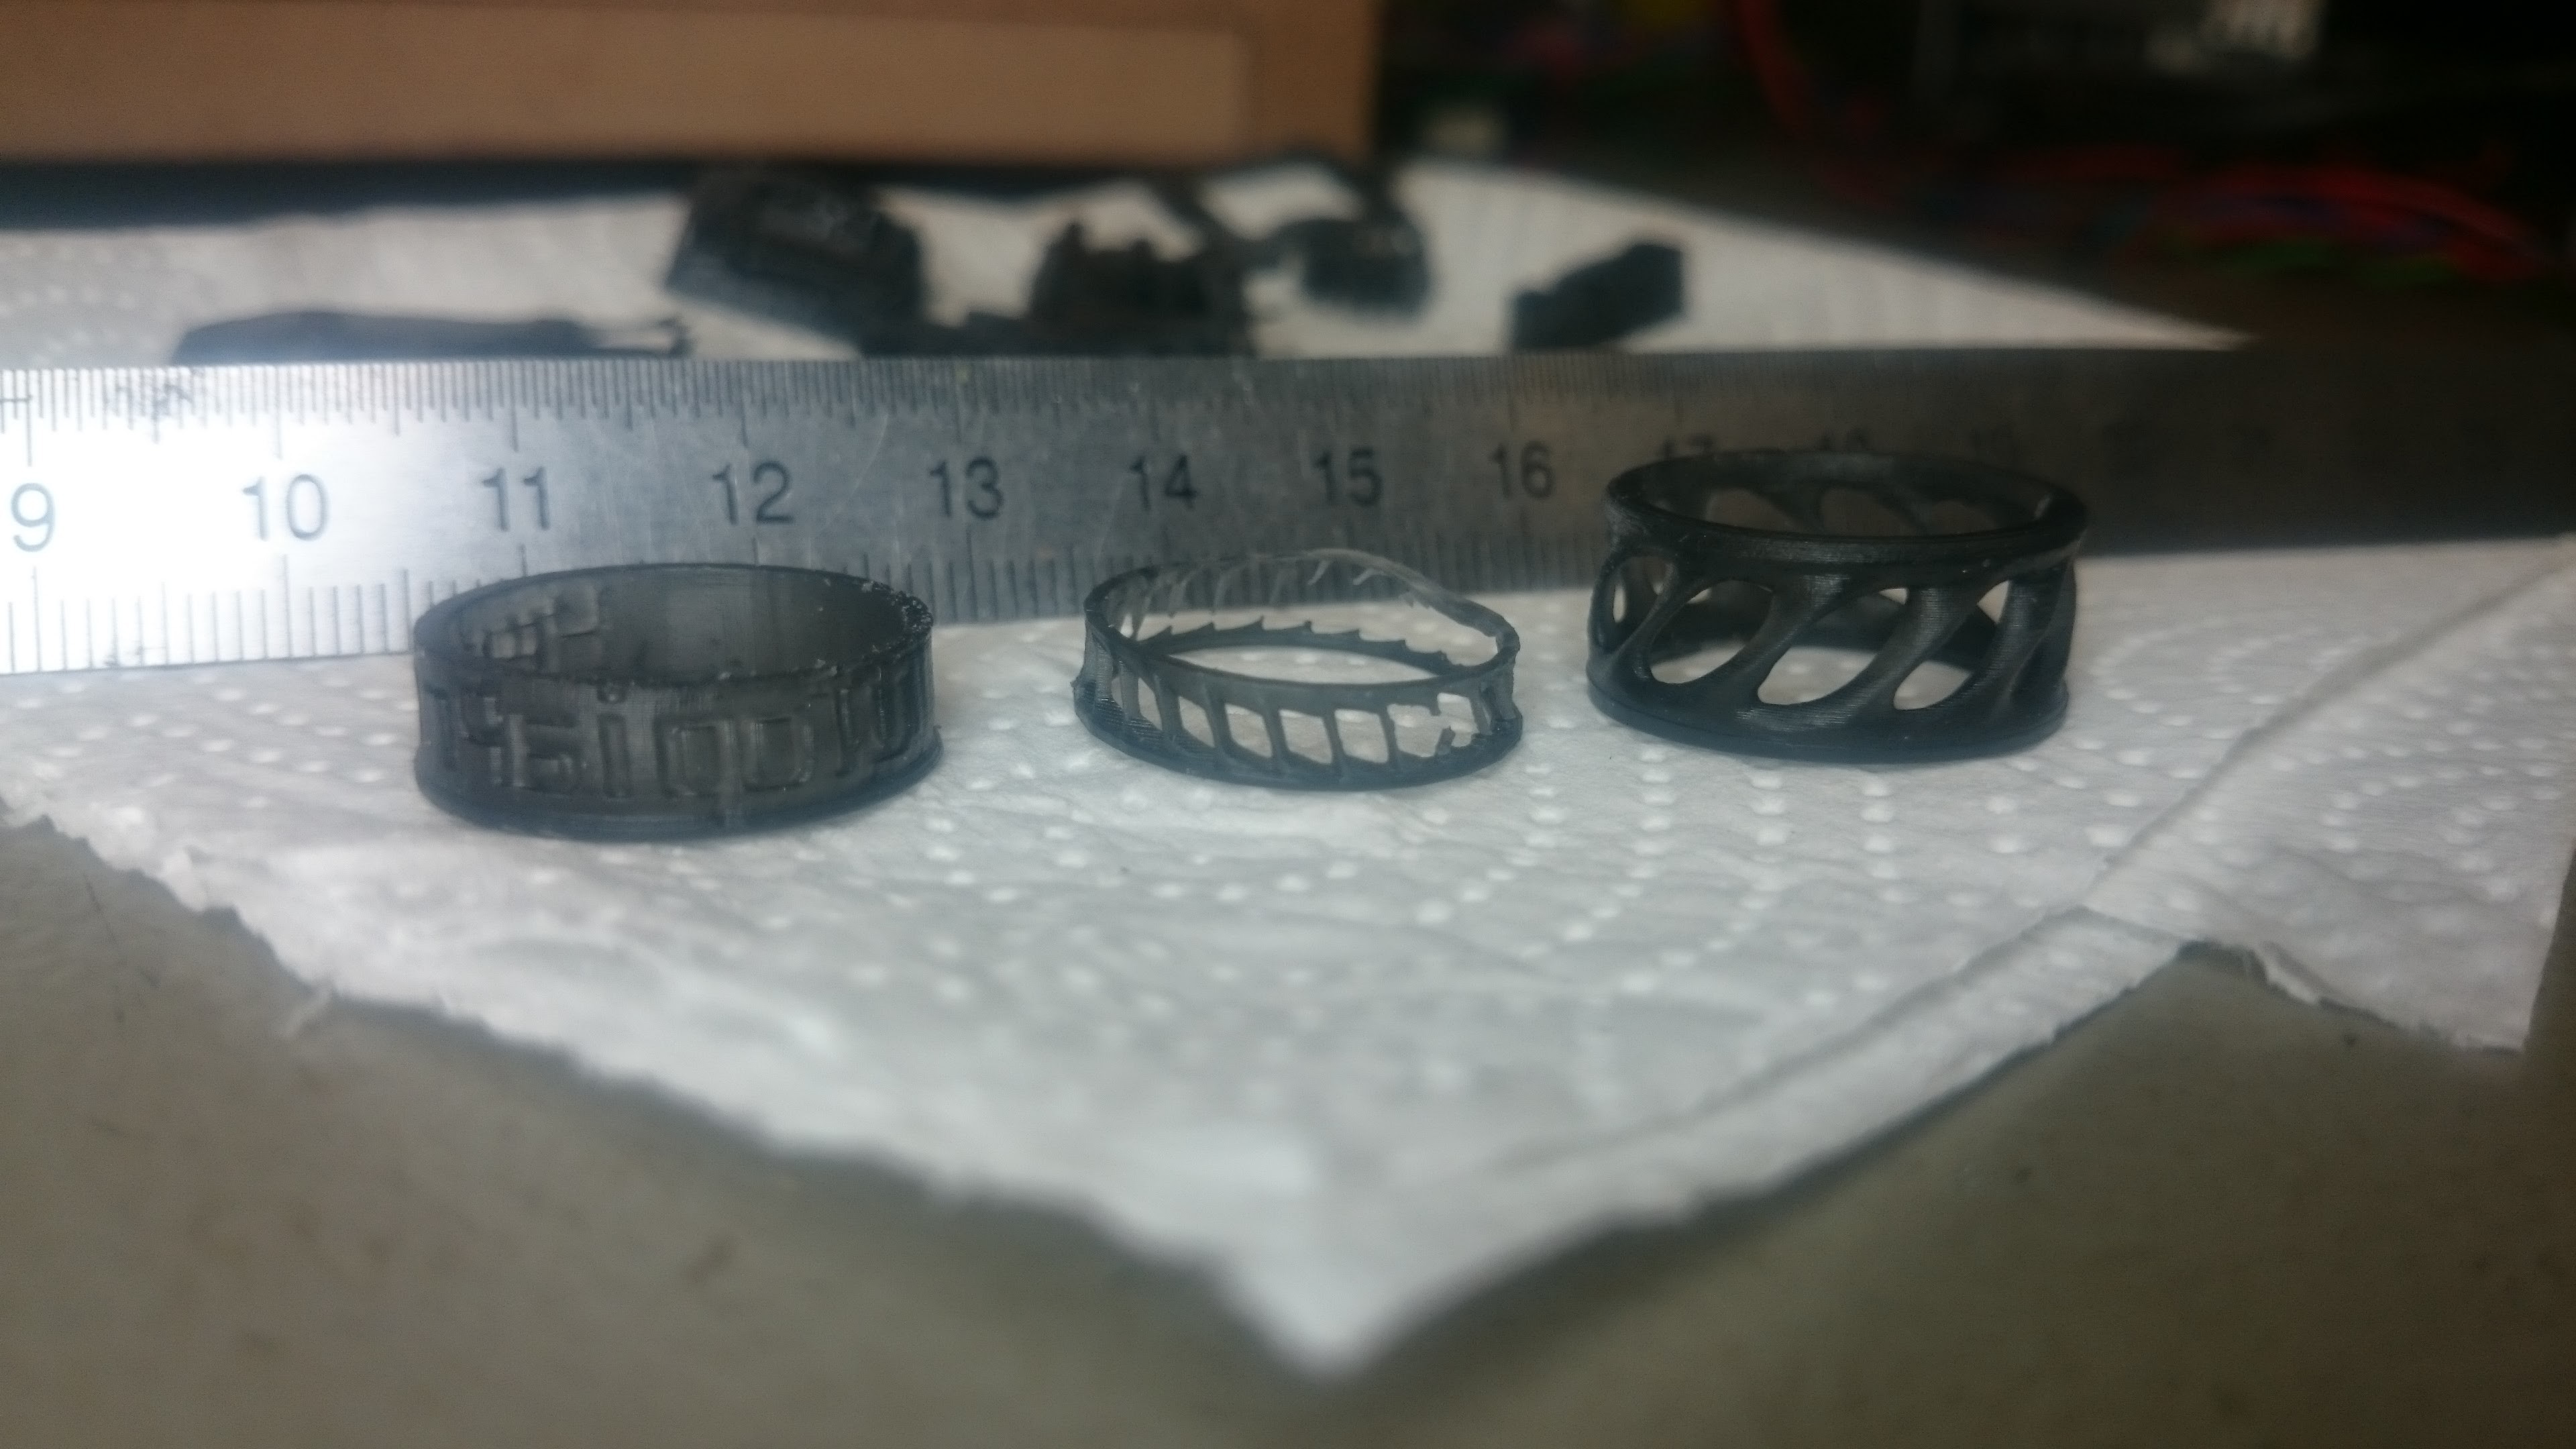
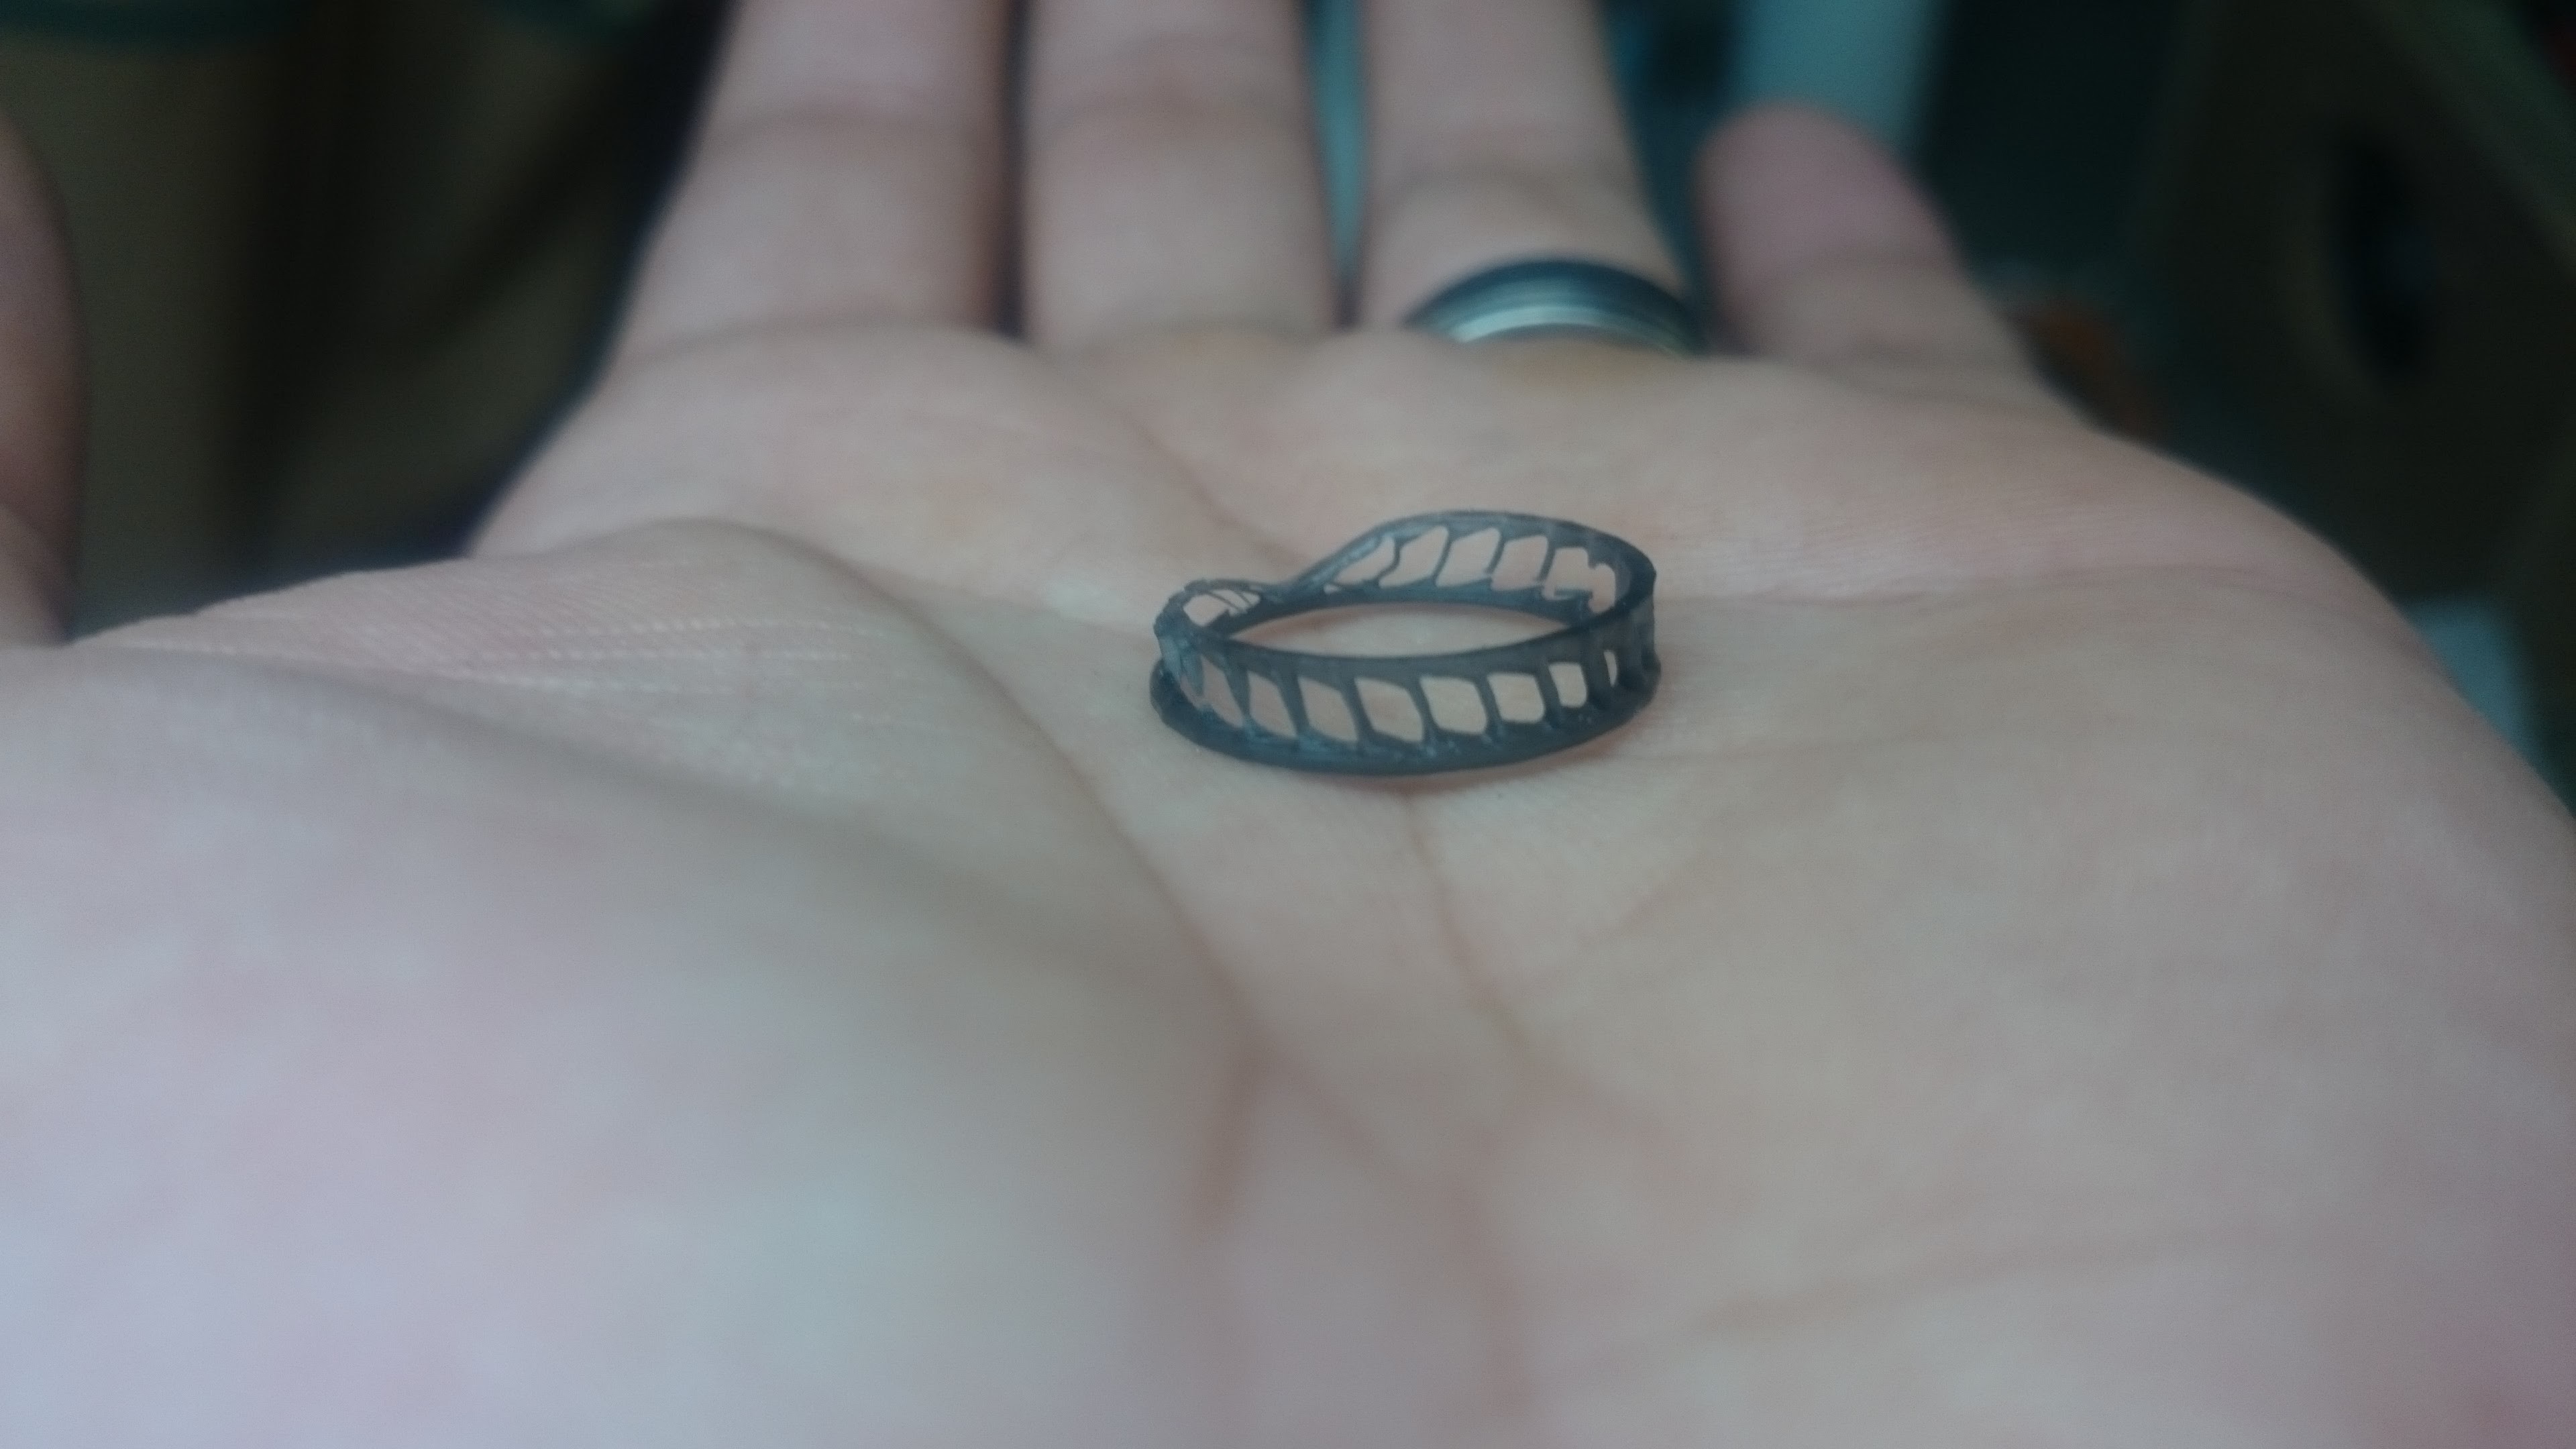
Do you have any pictures of cleaned (but not otherwise post processed) parts? I'm curious what the results look like!

Also, what was the motivation behind making your own slicer? Have you looked into NanoDLP? it uses a raspi, and can take care of all the slicing, motion, and projection. All you need to do is add the motor controller. (I've had a lot of luck using it with a projector, and it's convenient to not tie up a computer, or accidentally interrupt a build when printing)

  Are you sure? yes | no

Sébastien Mischler (aka skarab) wrote 07/27/2016 at 15:58 point
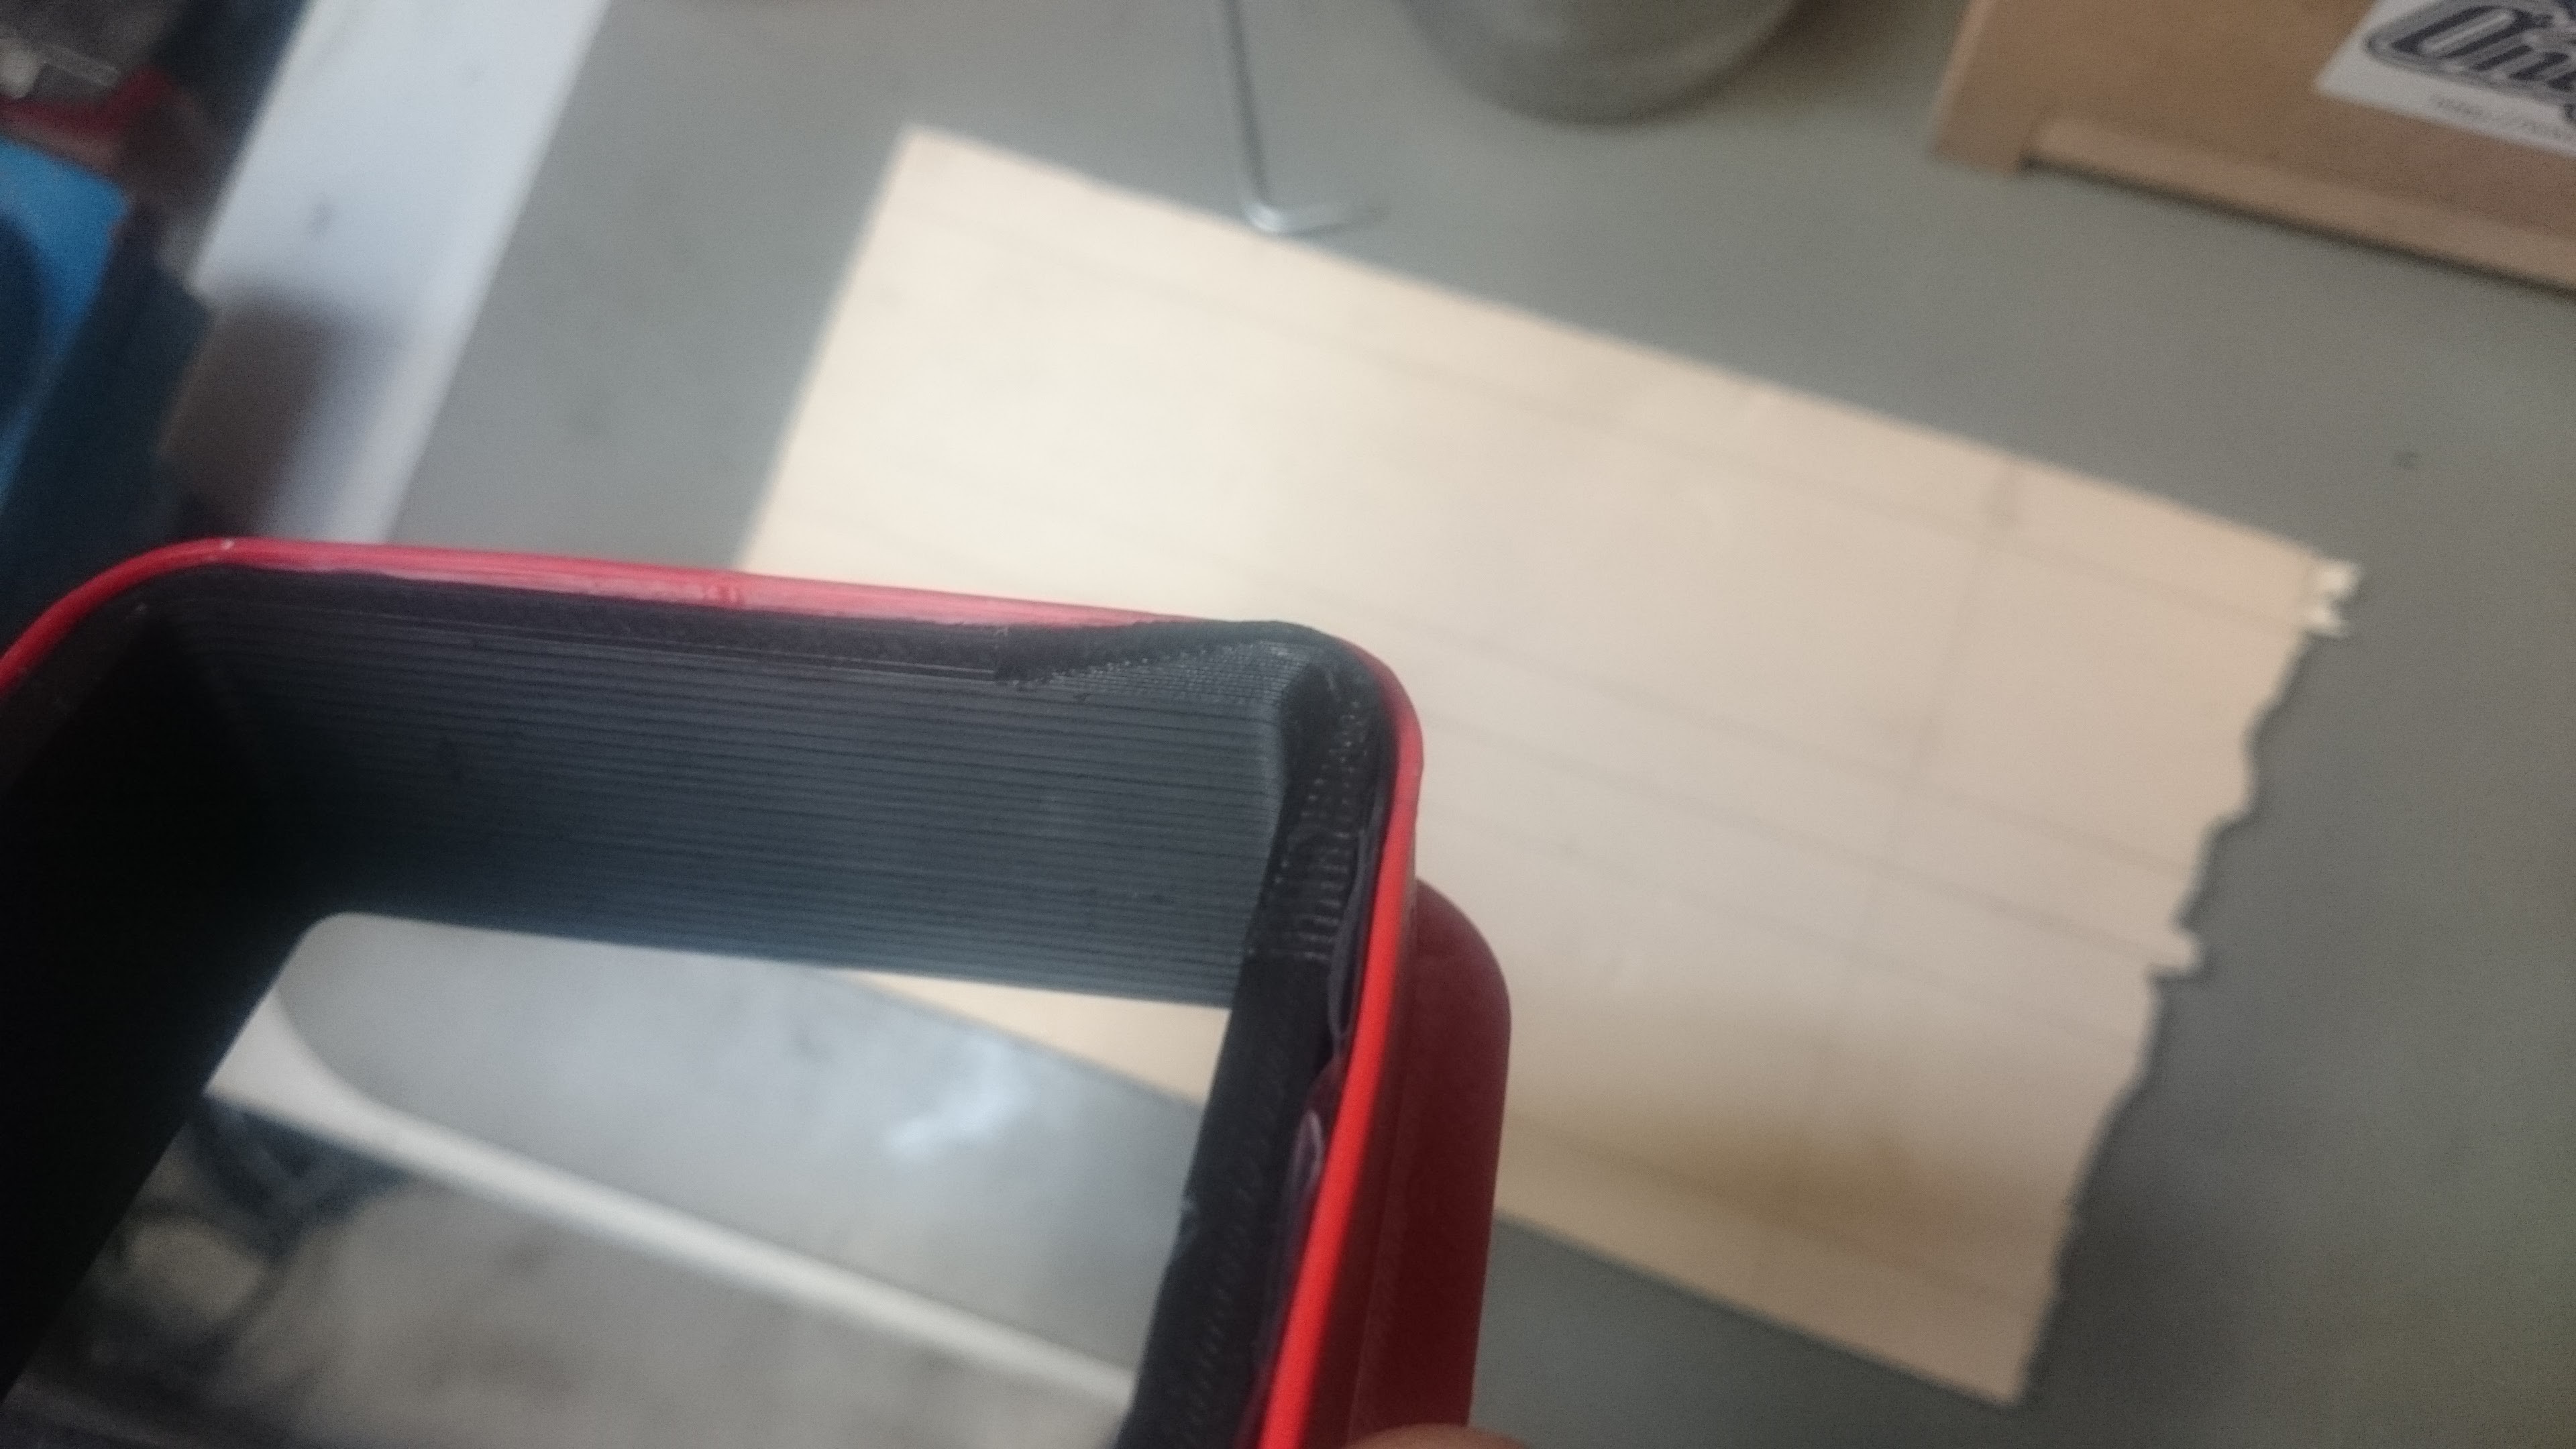
Sorry I do not have many pictures of finished parts, some one in the gallery : https://hackaday.io/project/12791/gallery#019e9a1922dcc0d8d0d3e338b3948e11 (but more will come soon).

Three reasons for the slicer : First to learn; Second for the fun; Third I contribute to the SmoothieBoard project (http://smoothieware.org/) an Open Source Hardware CNC controller board with an embedded web server, so no need to rpi or anything else, just upload SLAcer.js (js + html) on the server and you have a standalone machine that is accessible through a web interface.

P.s: I apologize for my bad English.

  Are you sure? yes | no

r.e.wolff wrote 07/25/2016 at 10:21 point

Maybe I'm an old fart.  normal desktop displays used to come out to around .25mm per pixel.  I'm not used to the displays for phones that have high res and small size. .1 mm sounds like it might be almost enough. What layer-height are you using right now? Could you slice more layers and go to a more continuous process? at 10 FPS you'd get 70 times higher Z-resolution than what you have now....
For the resolution... I did the math and got... 5.6*25.4/sqrt(1280*1280+800*800) = .09423381153256540211 the same answer as you. 

If you strip the RGB filters, you should be able to get 3840x800 resolution by the way. Awkward to have non-symmetrical resolution., but better than .1x.1.. 
Have you checked that the polarisers, and the lenses work at UV wavelengths? I guess you have: "it works"... :-) 
(But if the lens absorbs 80% of the UV, you can get a 5x print time improvement.... )


  Are you sure? yes | no

Sébastien Mischler (aka skarab) wrote 07/25/2016 at 15:38 point
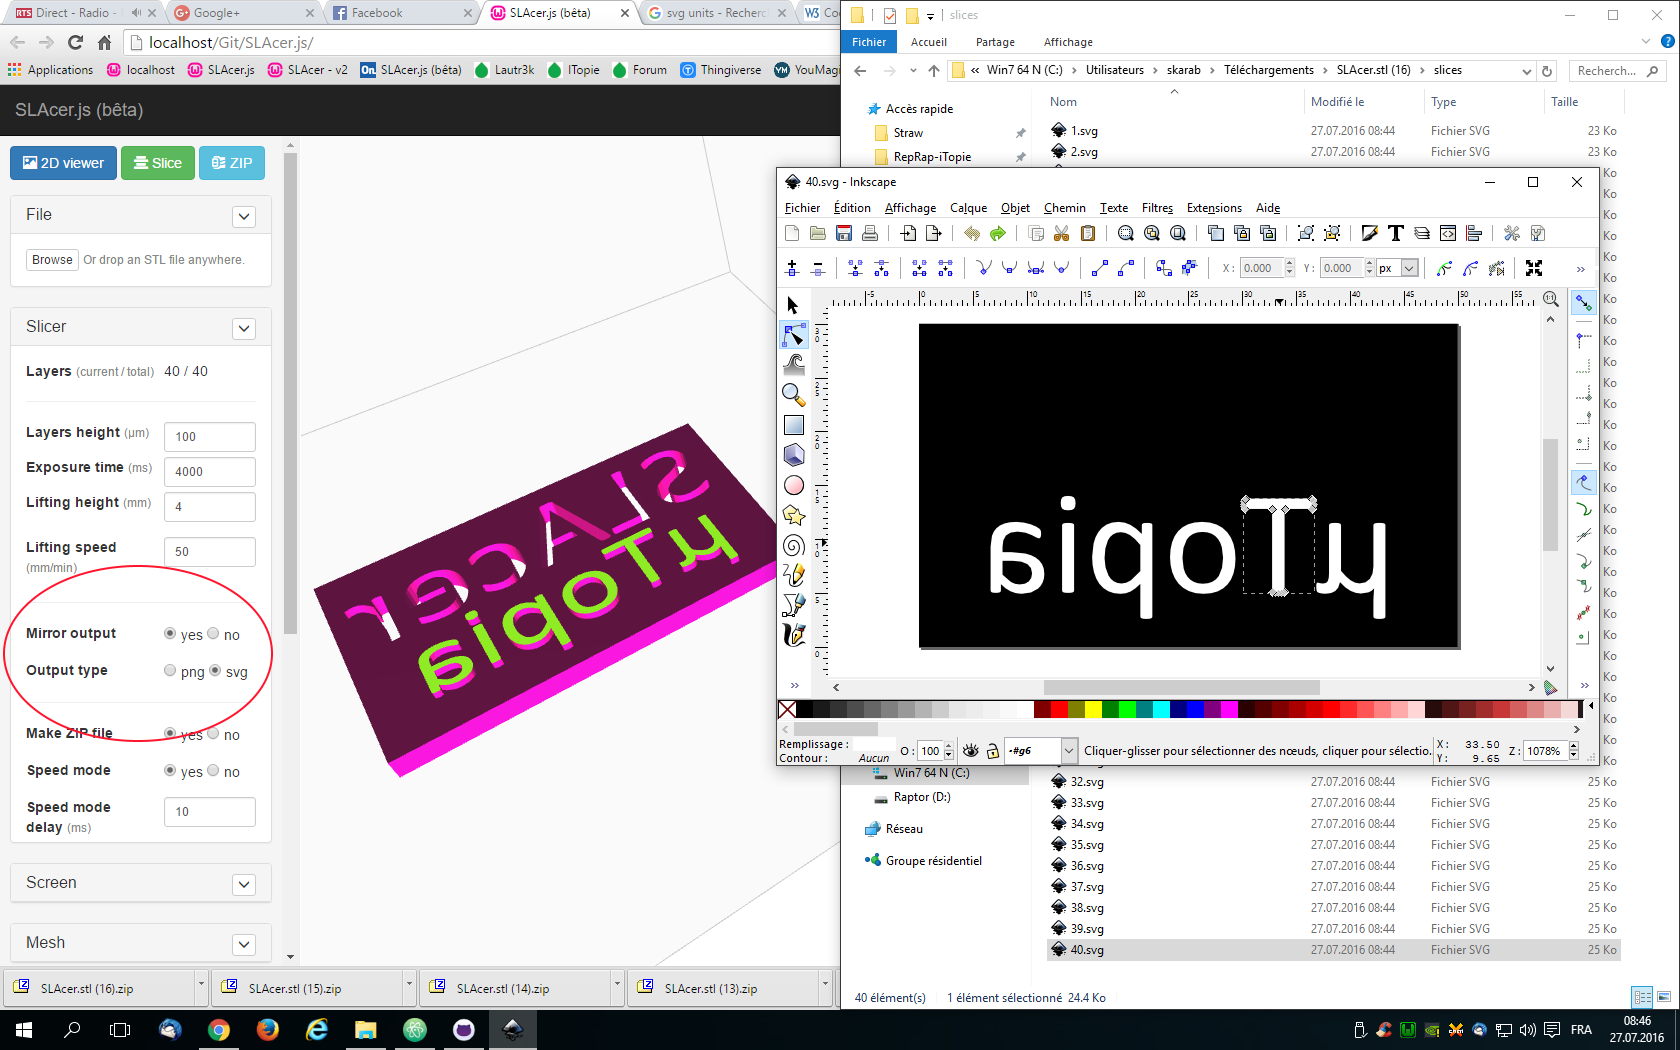
For now just tested at 0.1mm, but the Z axis resolution is 0.00125 mm/step with 1/16 microstepping. 

To be honest, I have not tested the proportion of uv captured by the lens. But I'll will test soon without the condenser to see if it makes a difference.

  Are you sure? yes | no

r.e.wolff wrote 07/25/2016 at 16:42 point

To be sure: I don't THINK that it absorbs 80% of the UV, but it COULD be. We humans are more or less used to "something is opaque" or "something is transparent" and that we have a good idea about which is which. But we have absolutely no intuition for wavelengths "outside our sensory bandwidth". For example I know that glass is opaque for 10 micrometer infrared. 

Haha! ~10 FPS nicely translates to 1 microstep per frame... The amount of data that your slicer needs to produce however is enormous! (If my estimate is good, about 9 FPS results in the same exposure time as now). 

See 4:30 for an example of a counter-intuitive IR transparency. (the title and the woman in the preview frame are clickbait. No naughty parts are seen in the video :-) ). 

  Are you sure? yes | no

Sébastien Mischler (aka skarab) wrote 07/30/2016 at 11:56 point
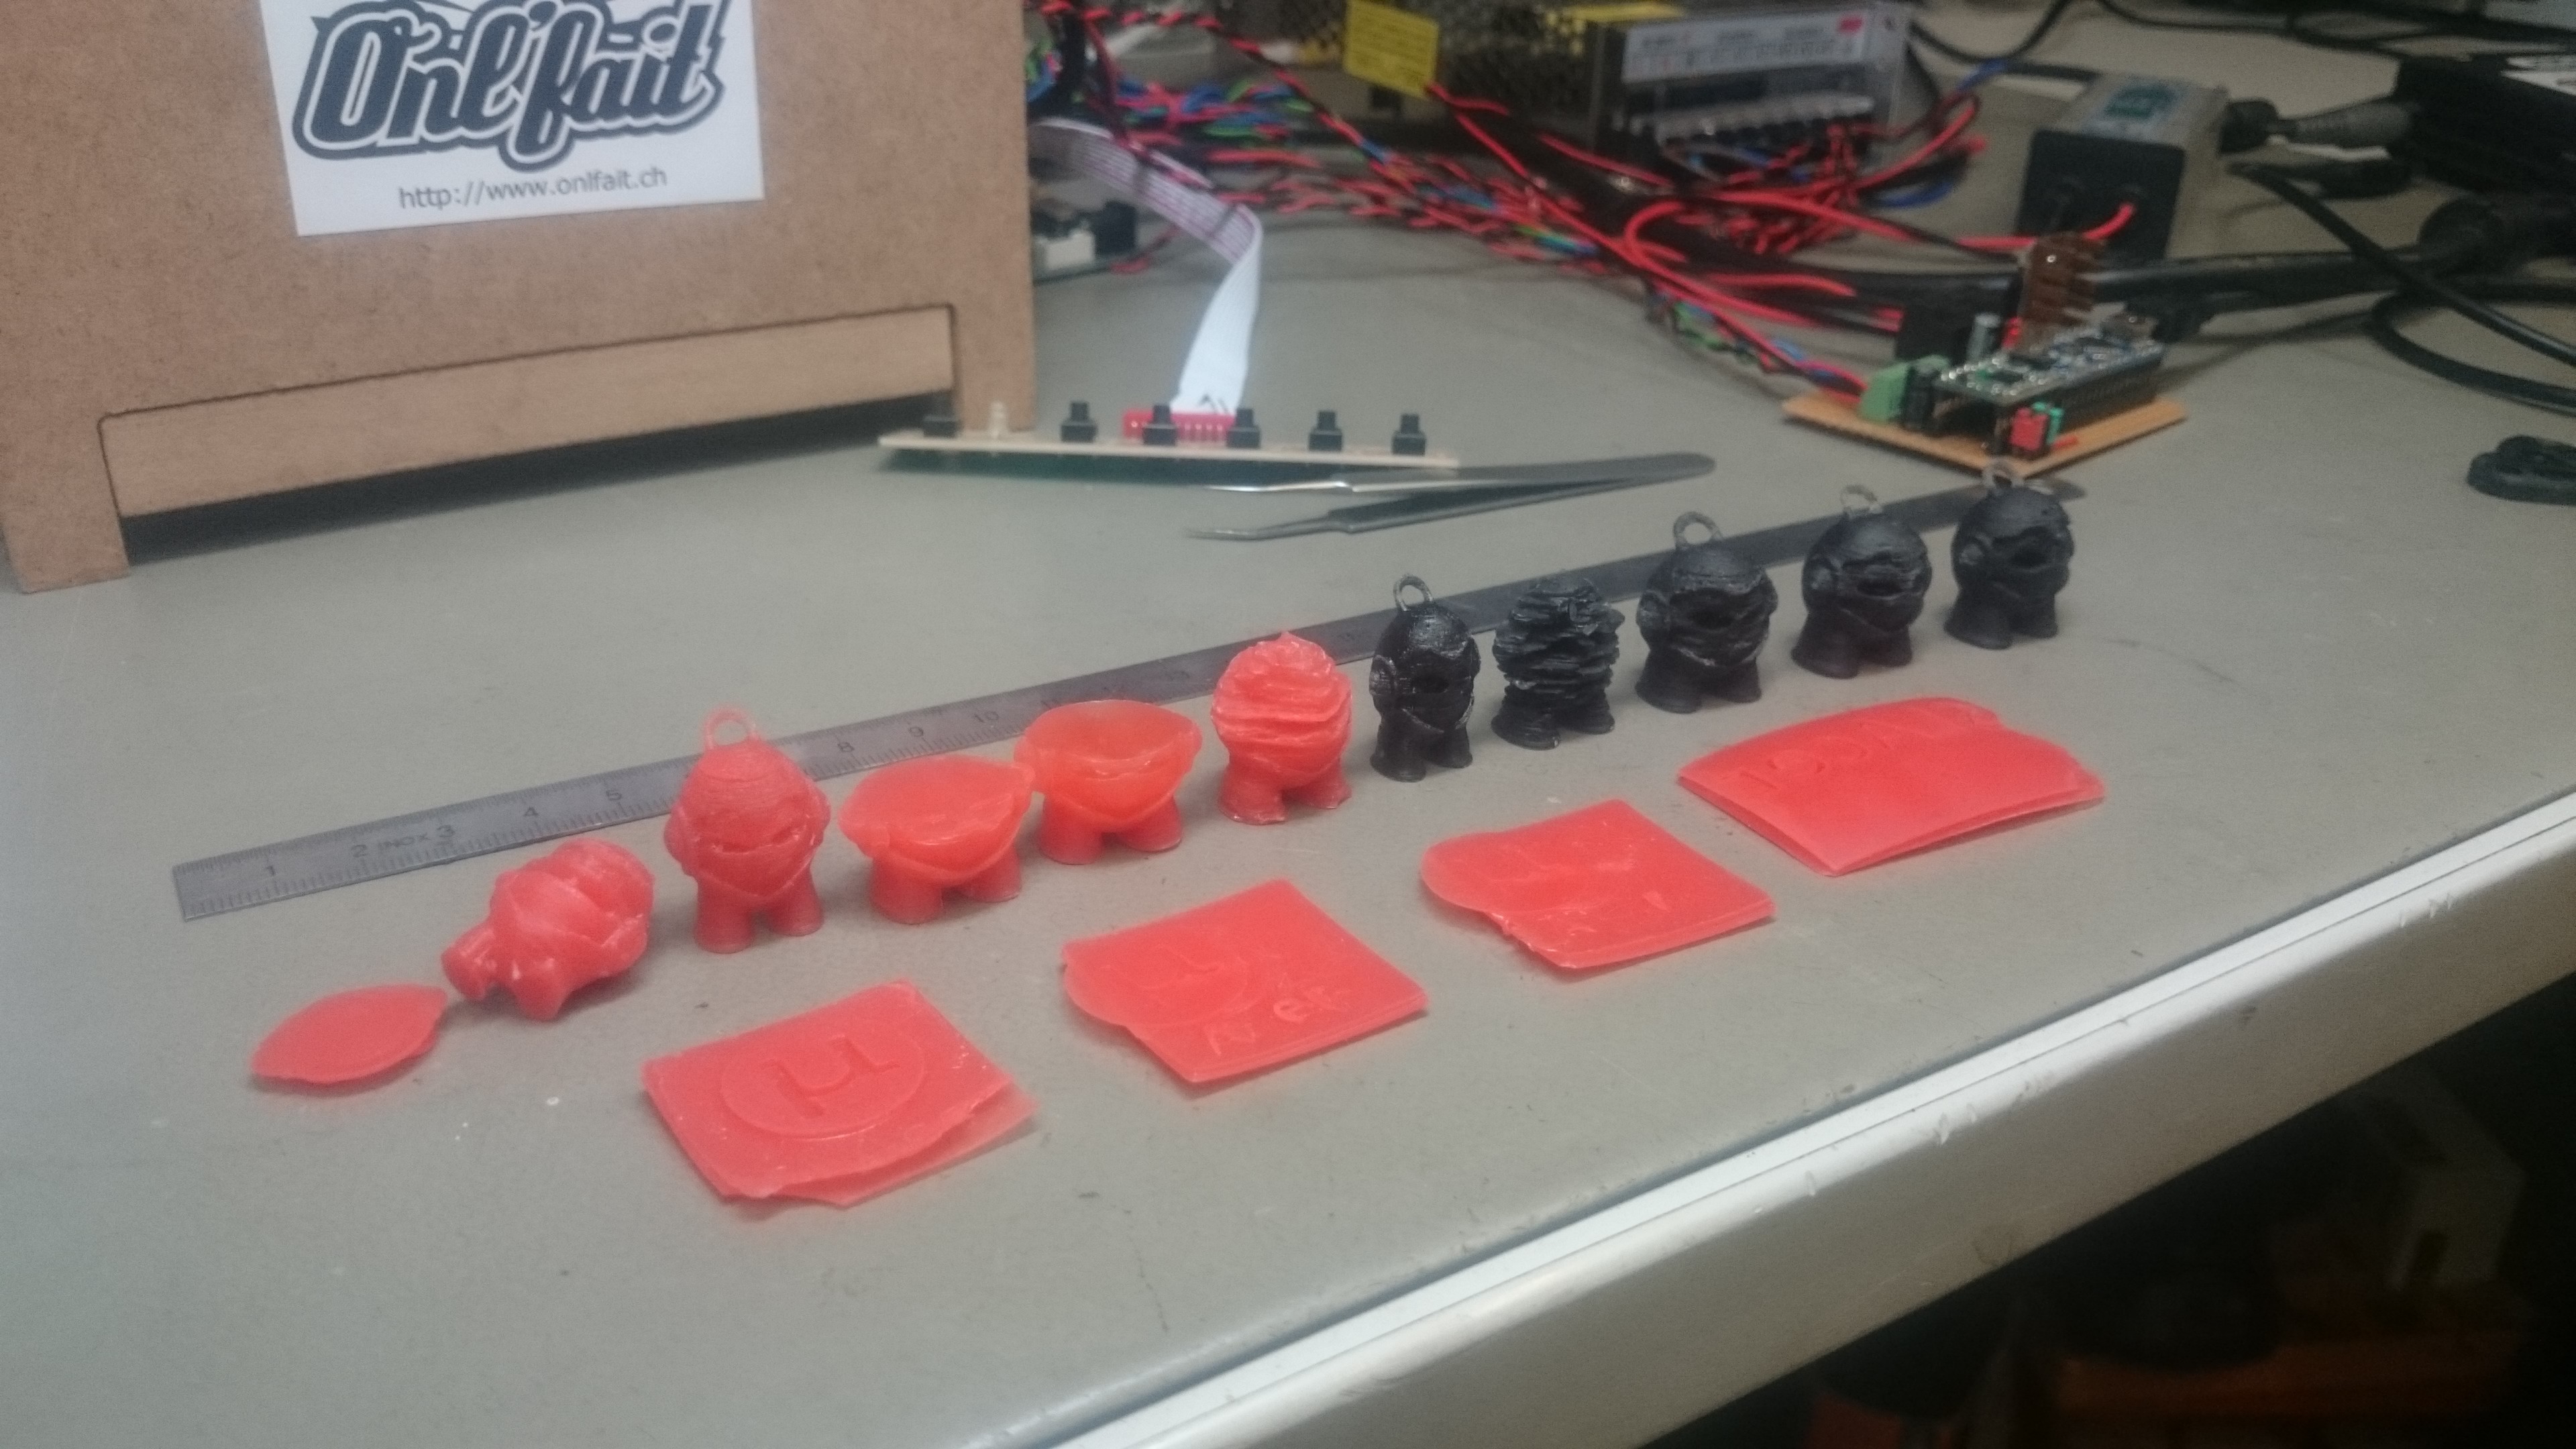
@r.e.wolff Just tested without the condenser lens and the result is not great... apparently the lens does not filter UV.

  Are you sure? yes | no

Similar Projects

Does this project spark your interest?

Become a member to follow this project and never miss any updates