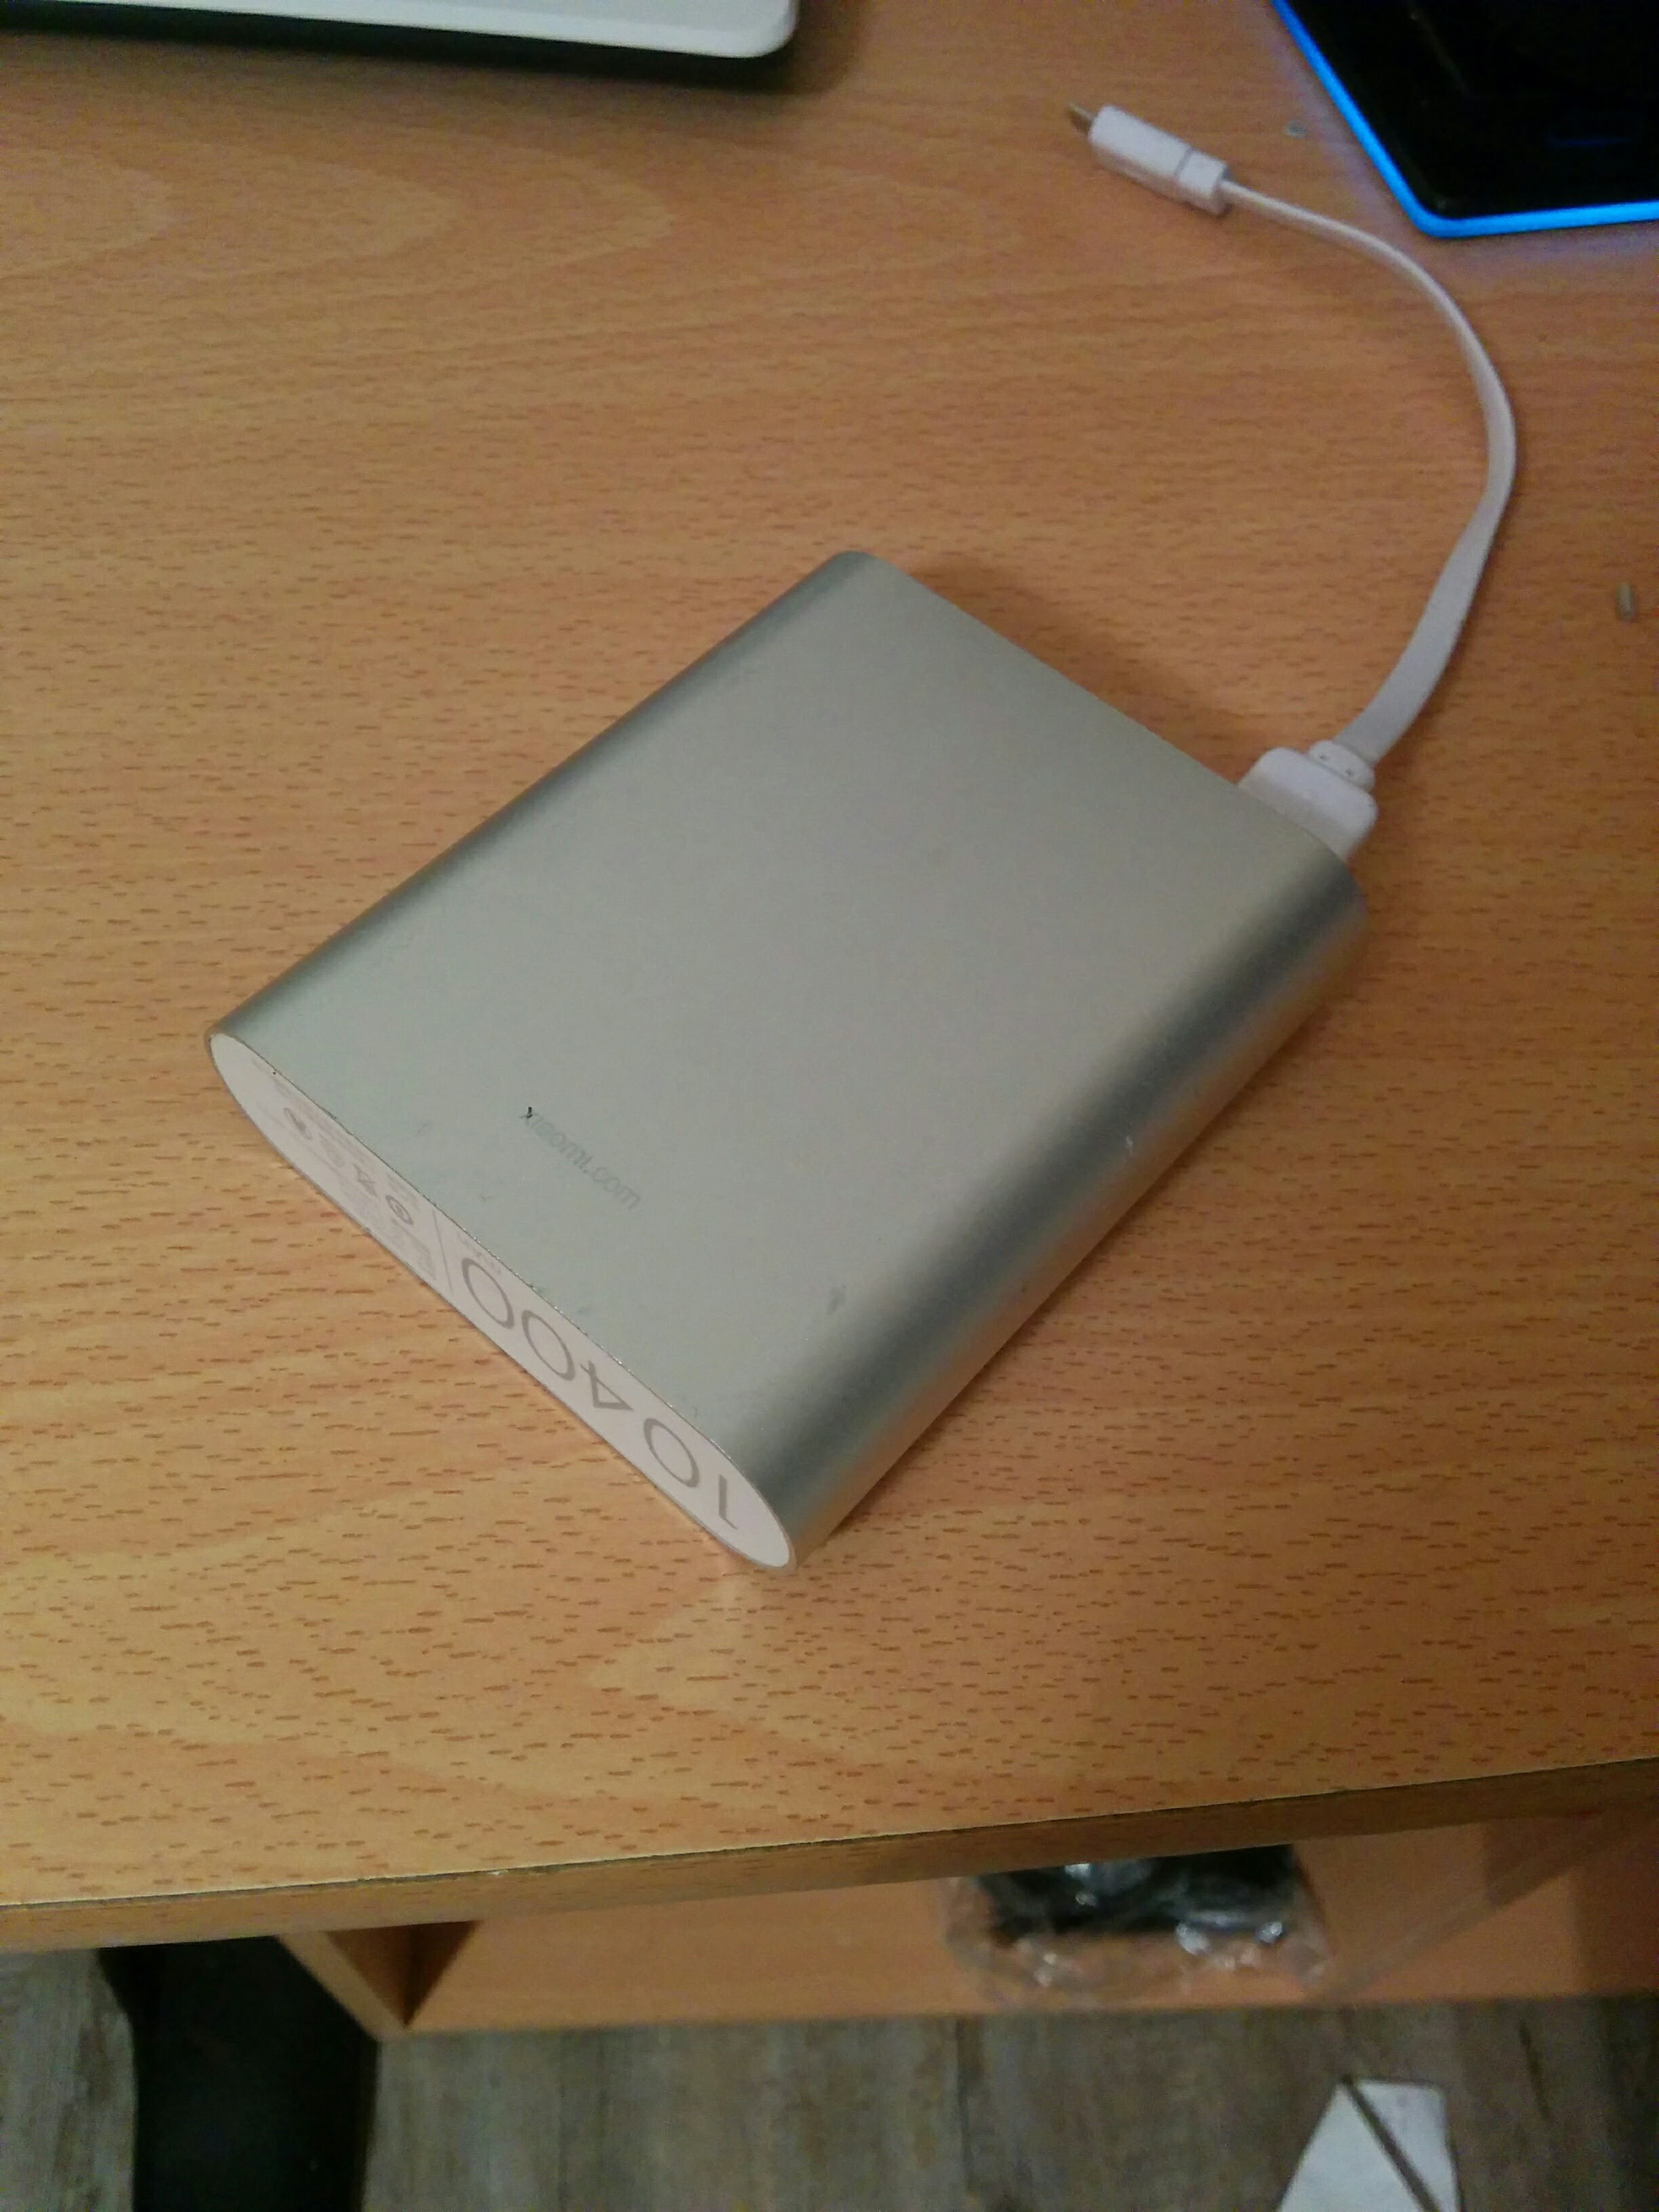
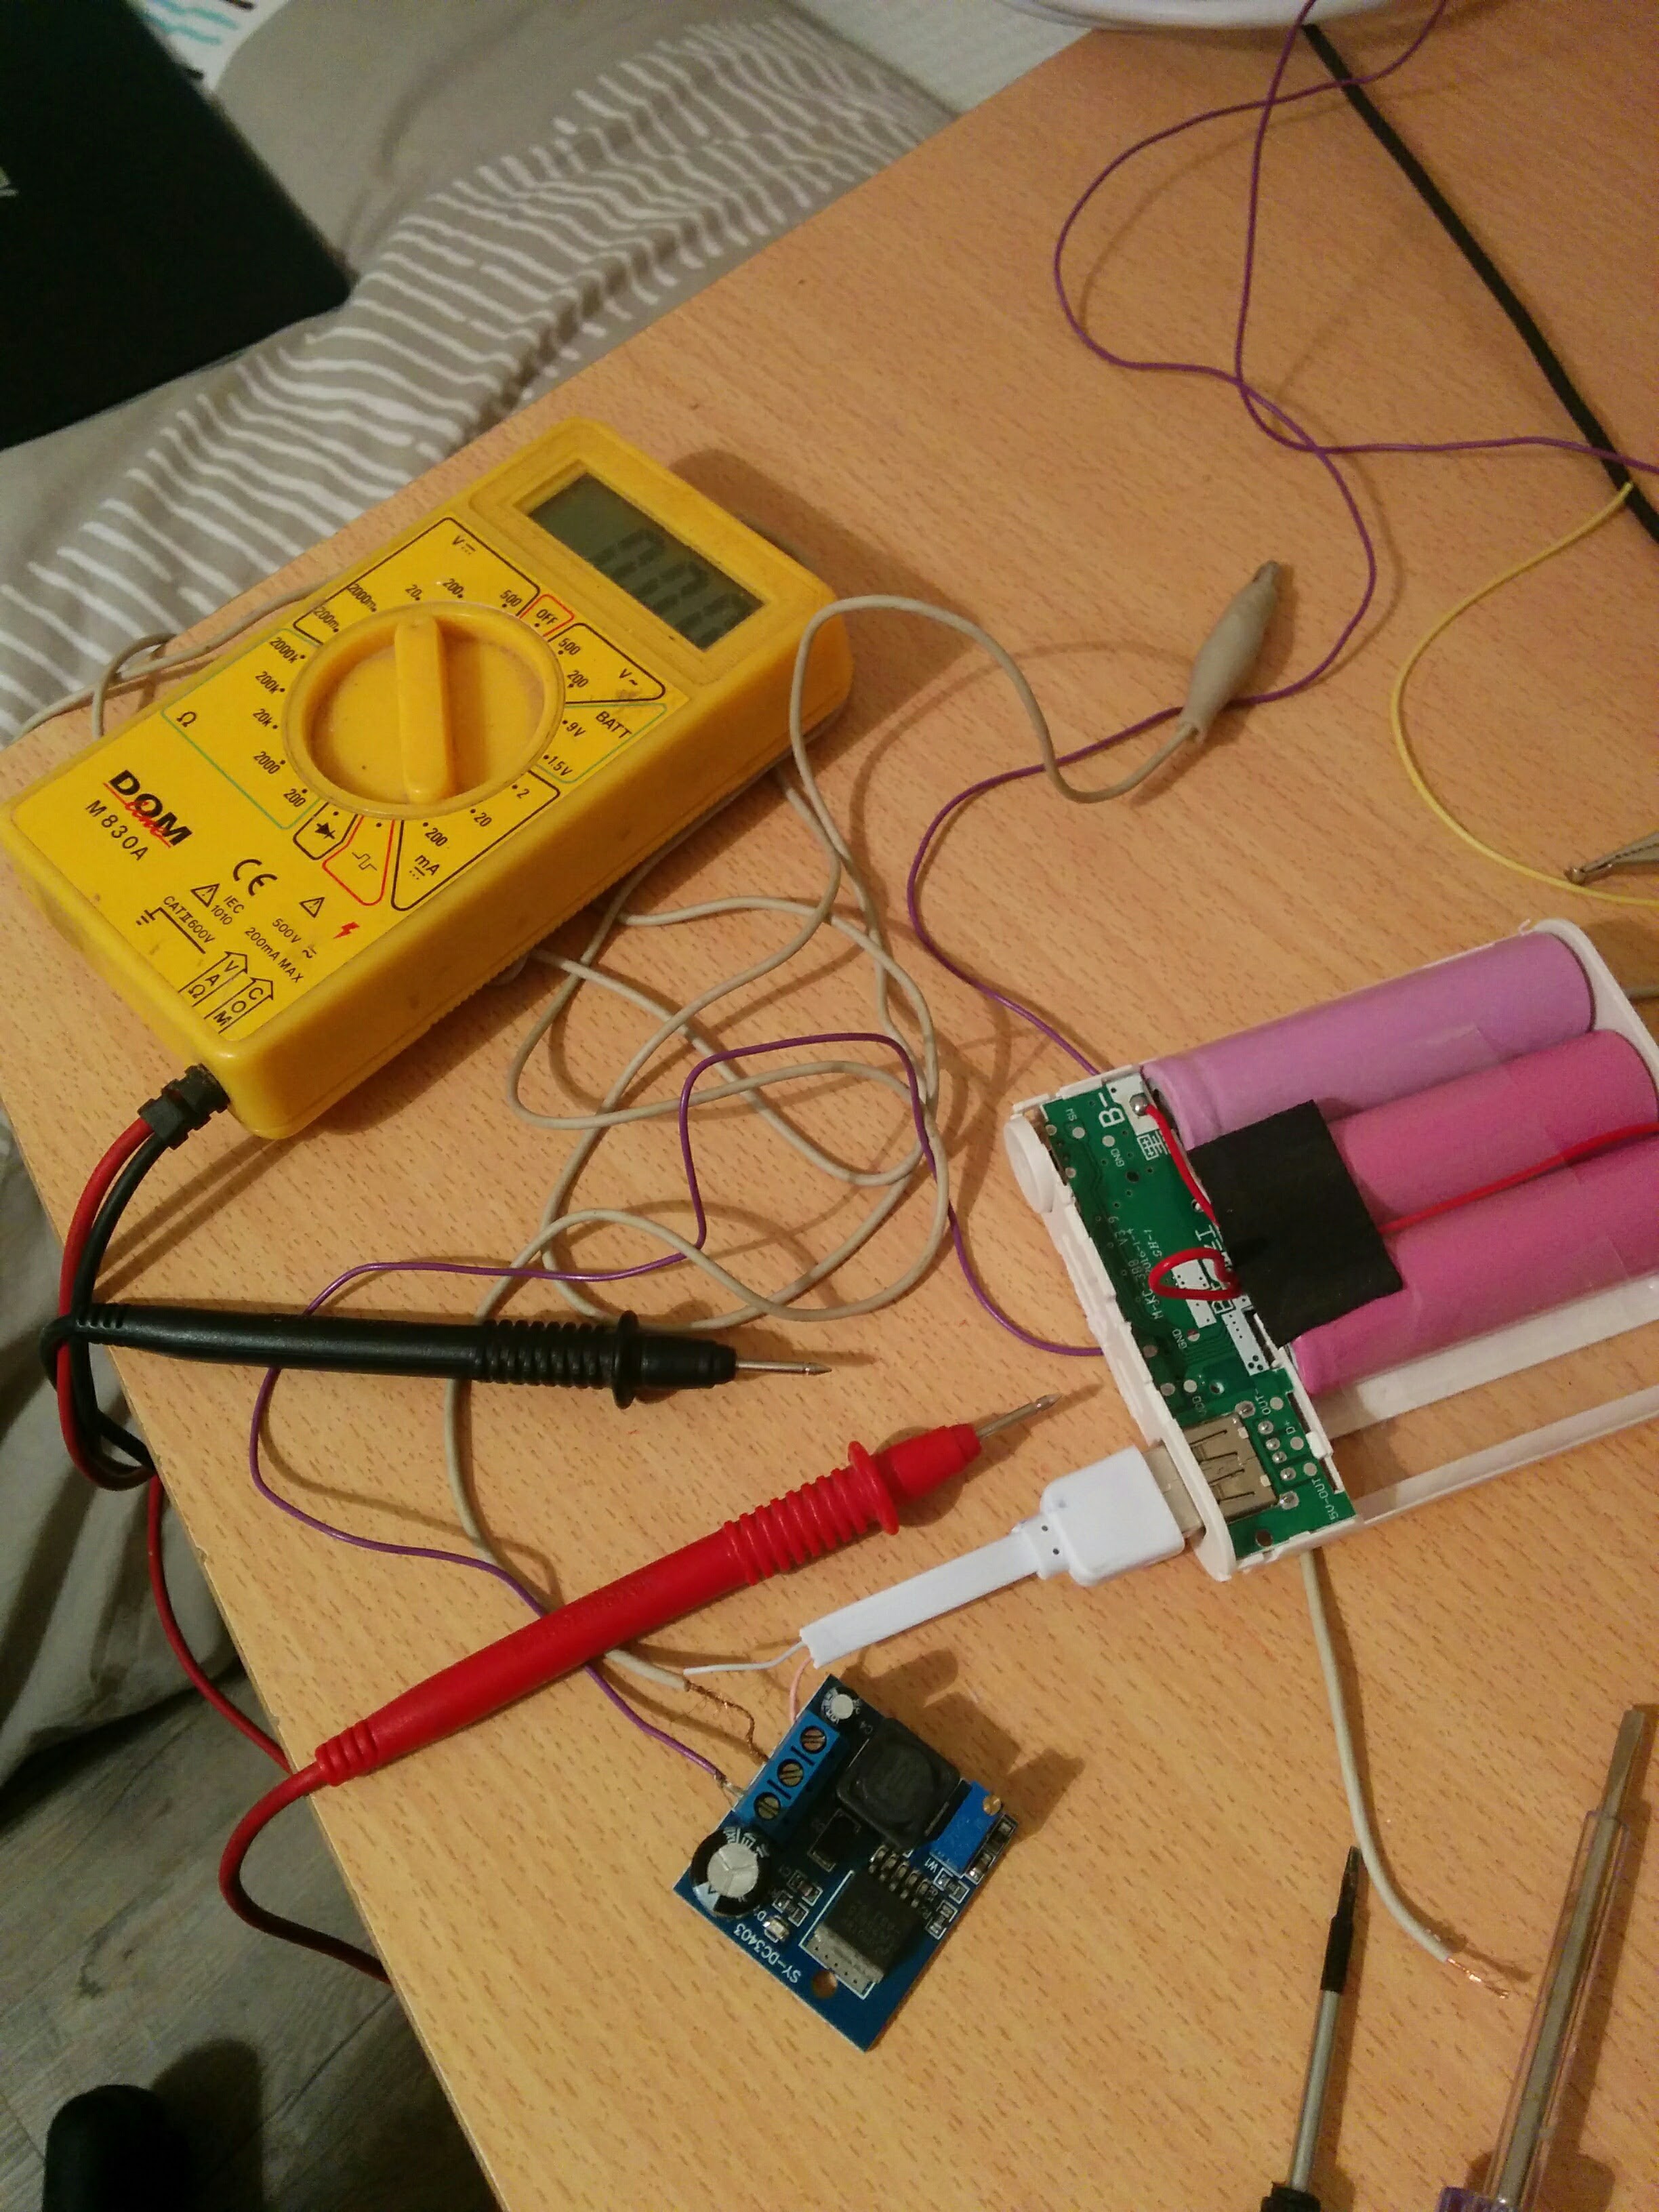
This project is just beginning. I don't know how I'm gonna show you all what i do, but i know that i'm gonna have fun, and headache.
Worklog of my first project : making a game console with a raspberry pi 2
To make the experience fit your profile, pick a username and tell us what interests you.
We found and based on your interests.
This project is just beginning. I don't know how I'm gonna show you all what i do, but i know that i'm gonna have fun, and headache.
To play retro games in the raspberry pi, you need a simple system to wire the button.
That's why i used Recalbox. Tutorials are in Recalbox's website.
Then when you finished making the recalbox sdcard, turn on the raspberry pi and wait 5 minutes (take a coffe :p ). The system is creating the good recalbox (depending of your raspberry pi model).
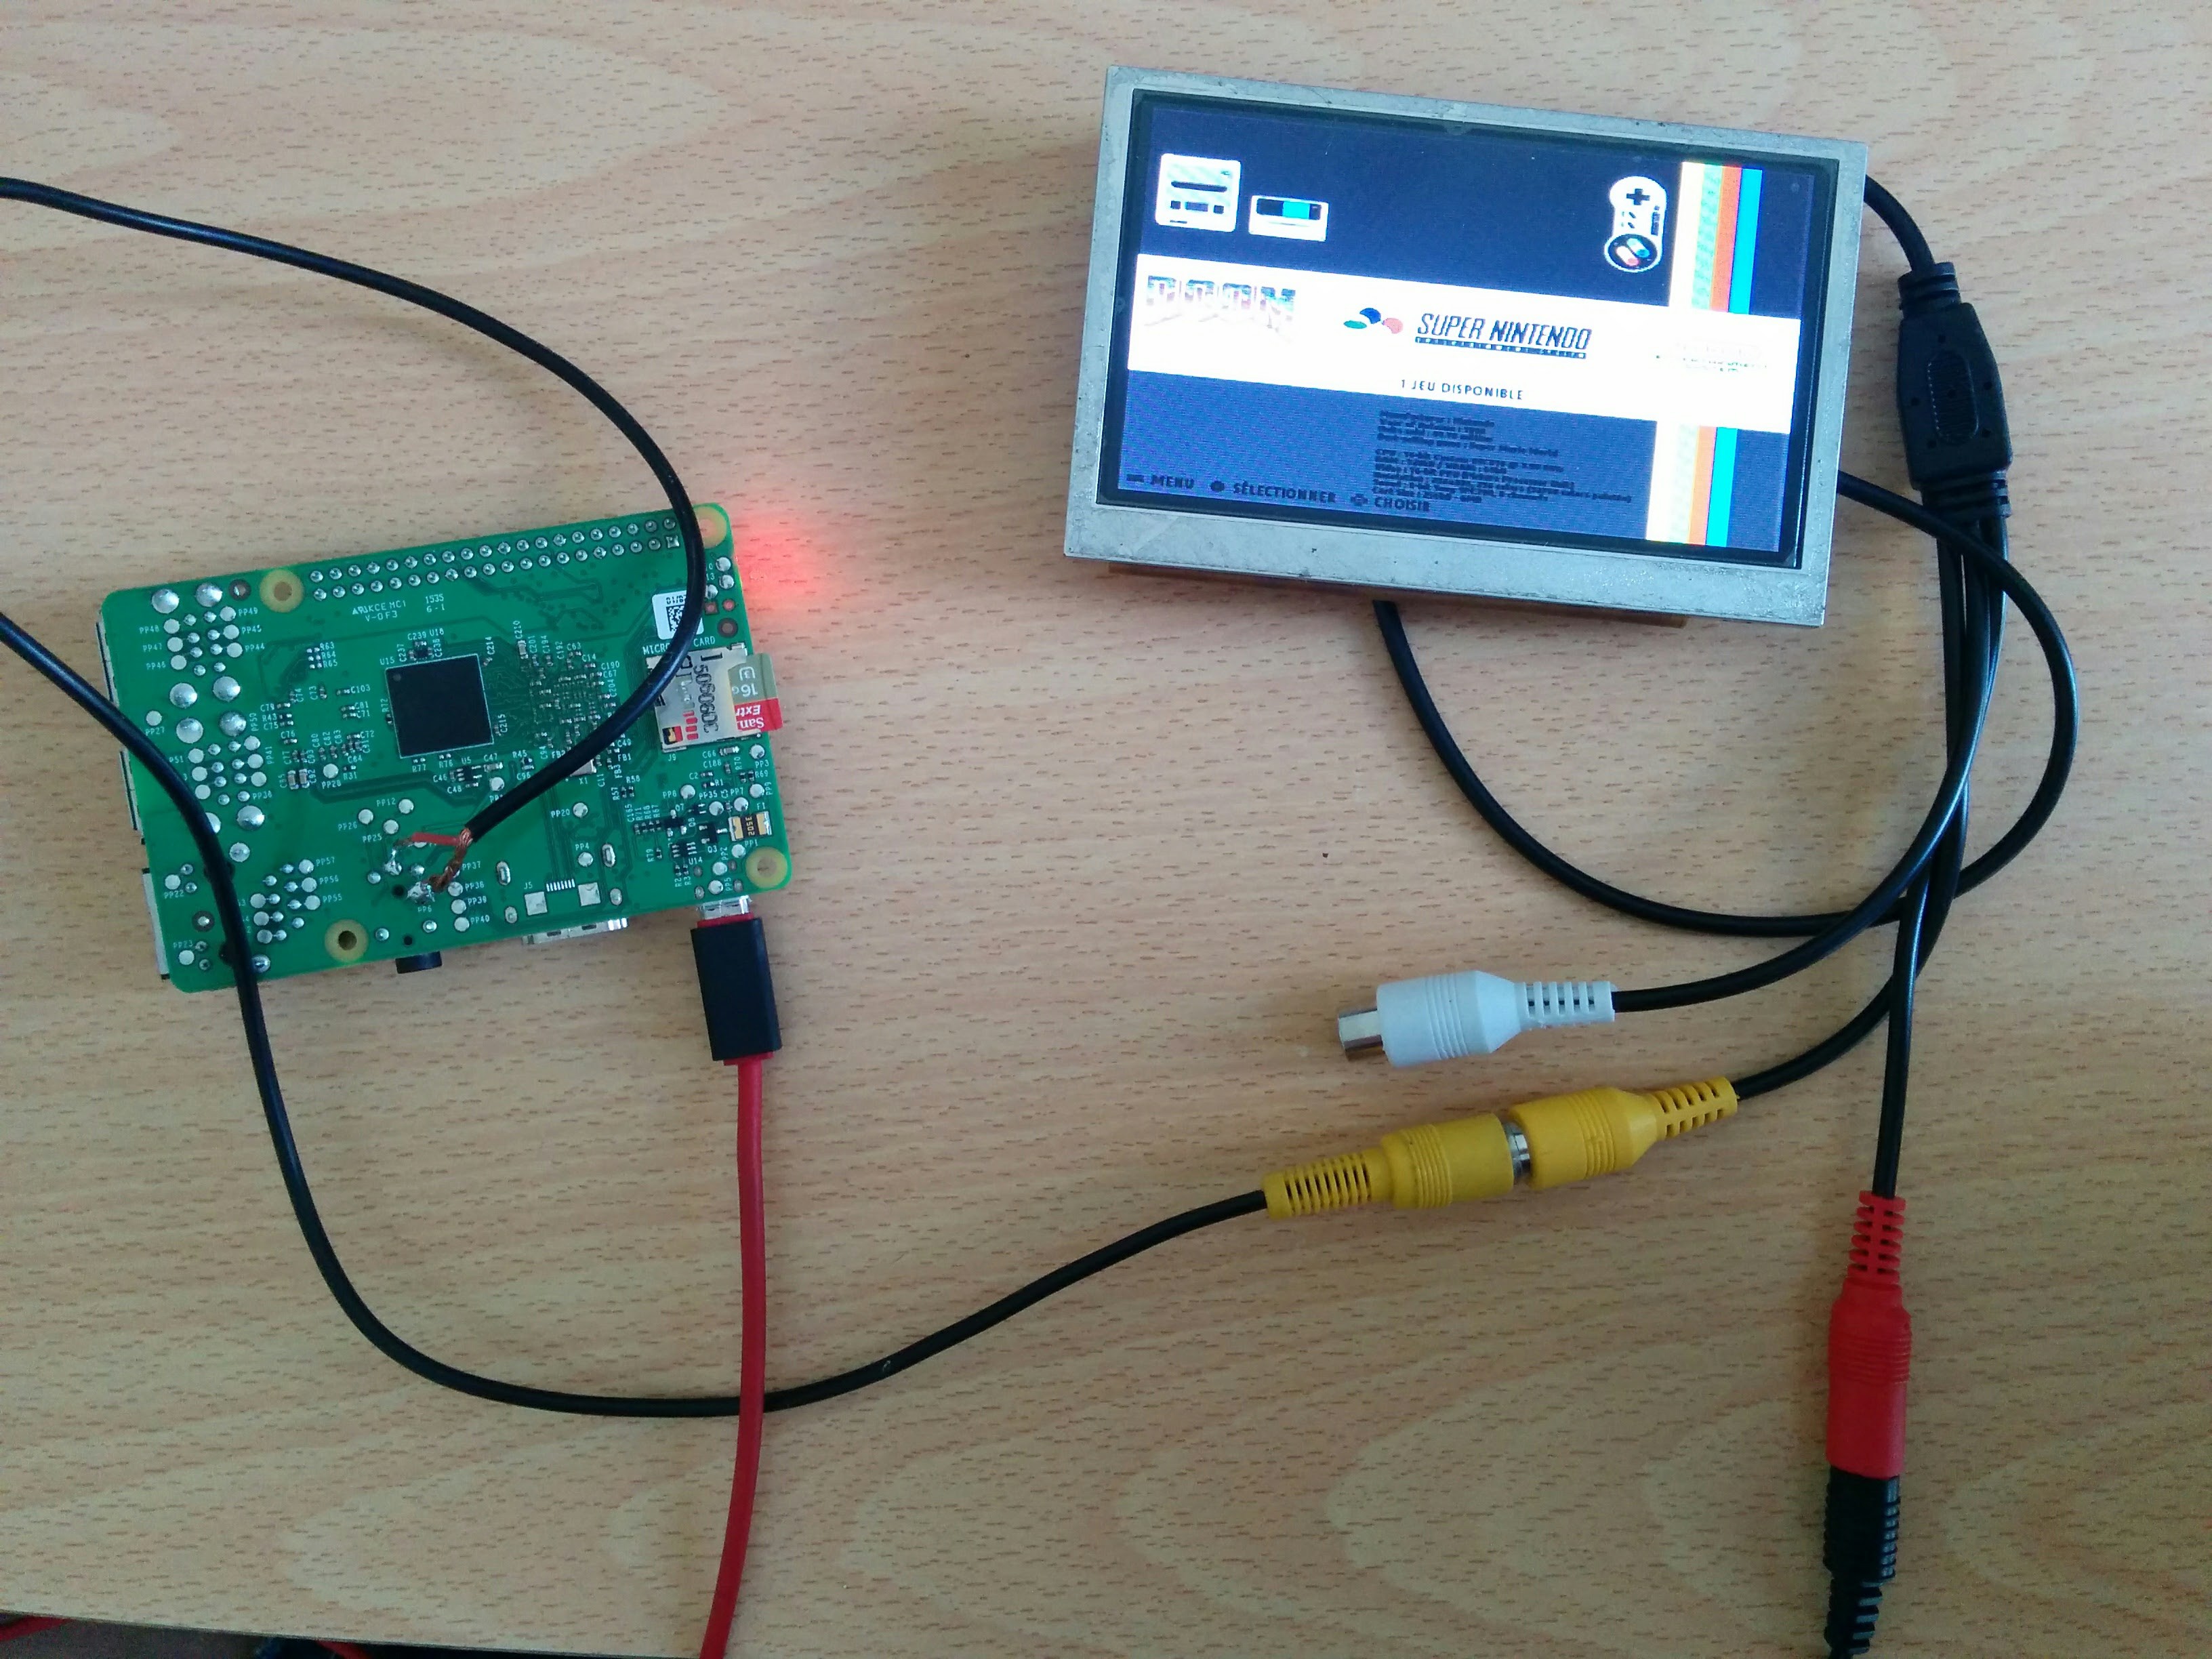
When it start, you can see something like this :
my config.txt (for the scale and more) :
Just a thing to know :
The share folder can have some bug (for me with the 4.0.0-beta-4 version of recalbox).
If the games you add aren't display when you turn on read bellow.
To access this folder, you MUST TURN ON the raspberry pi with recalbox, and add roms by the local network, or ftp, something like that.
If you don't do this, it would really add the games. I don't know why.
In fact, a lot of people will injure me after that, but i know some other will love this post.
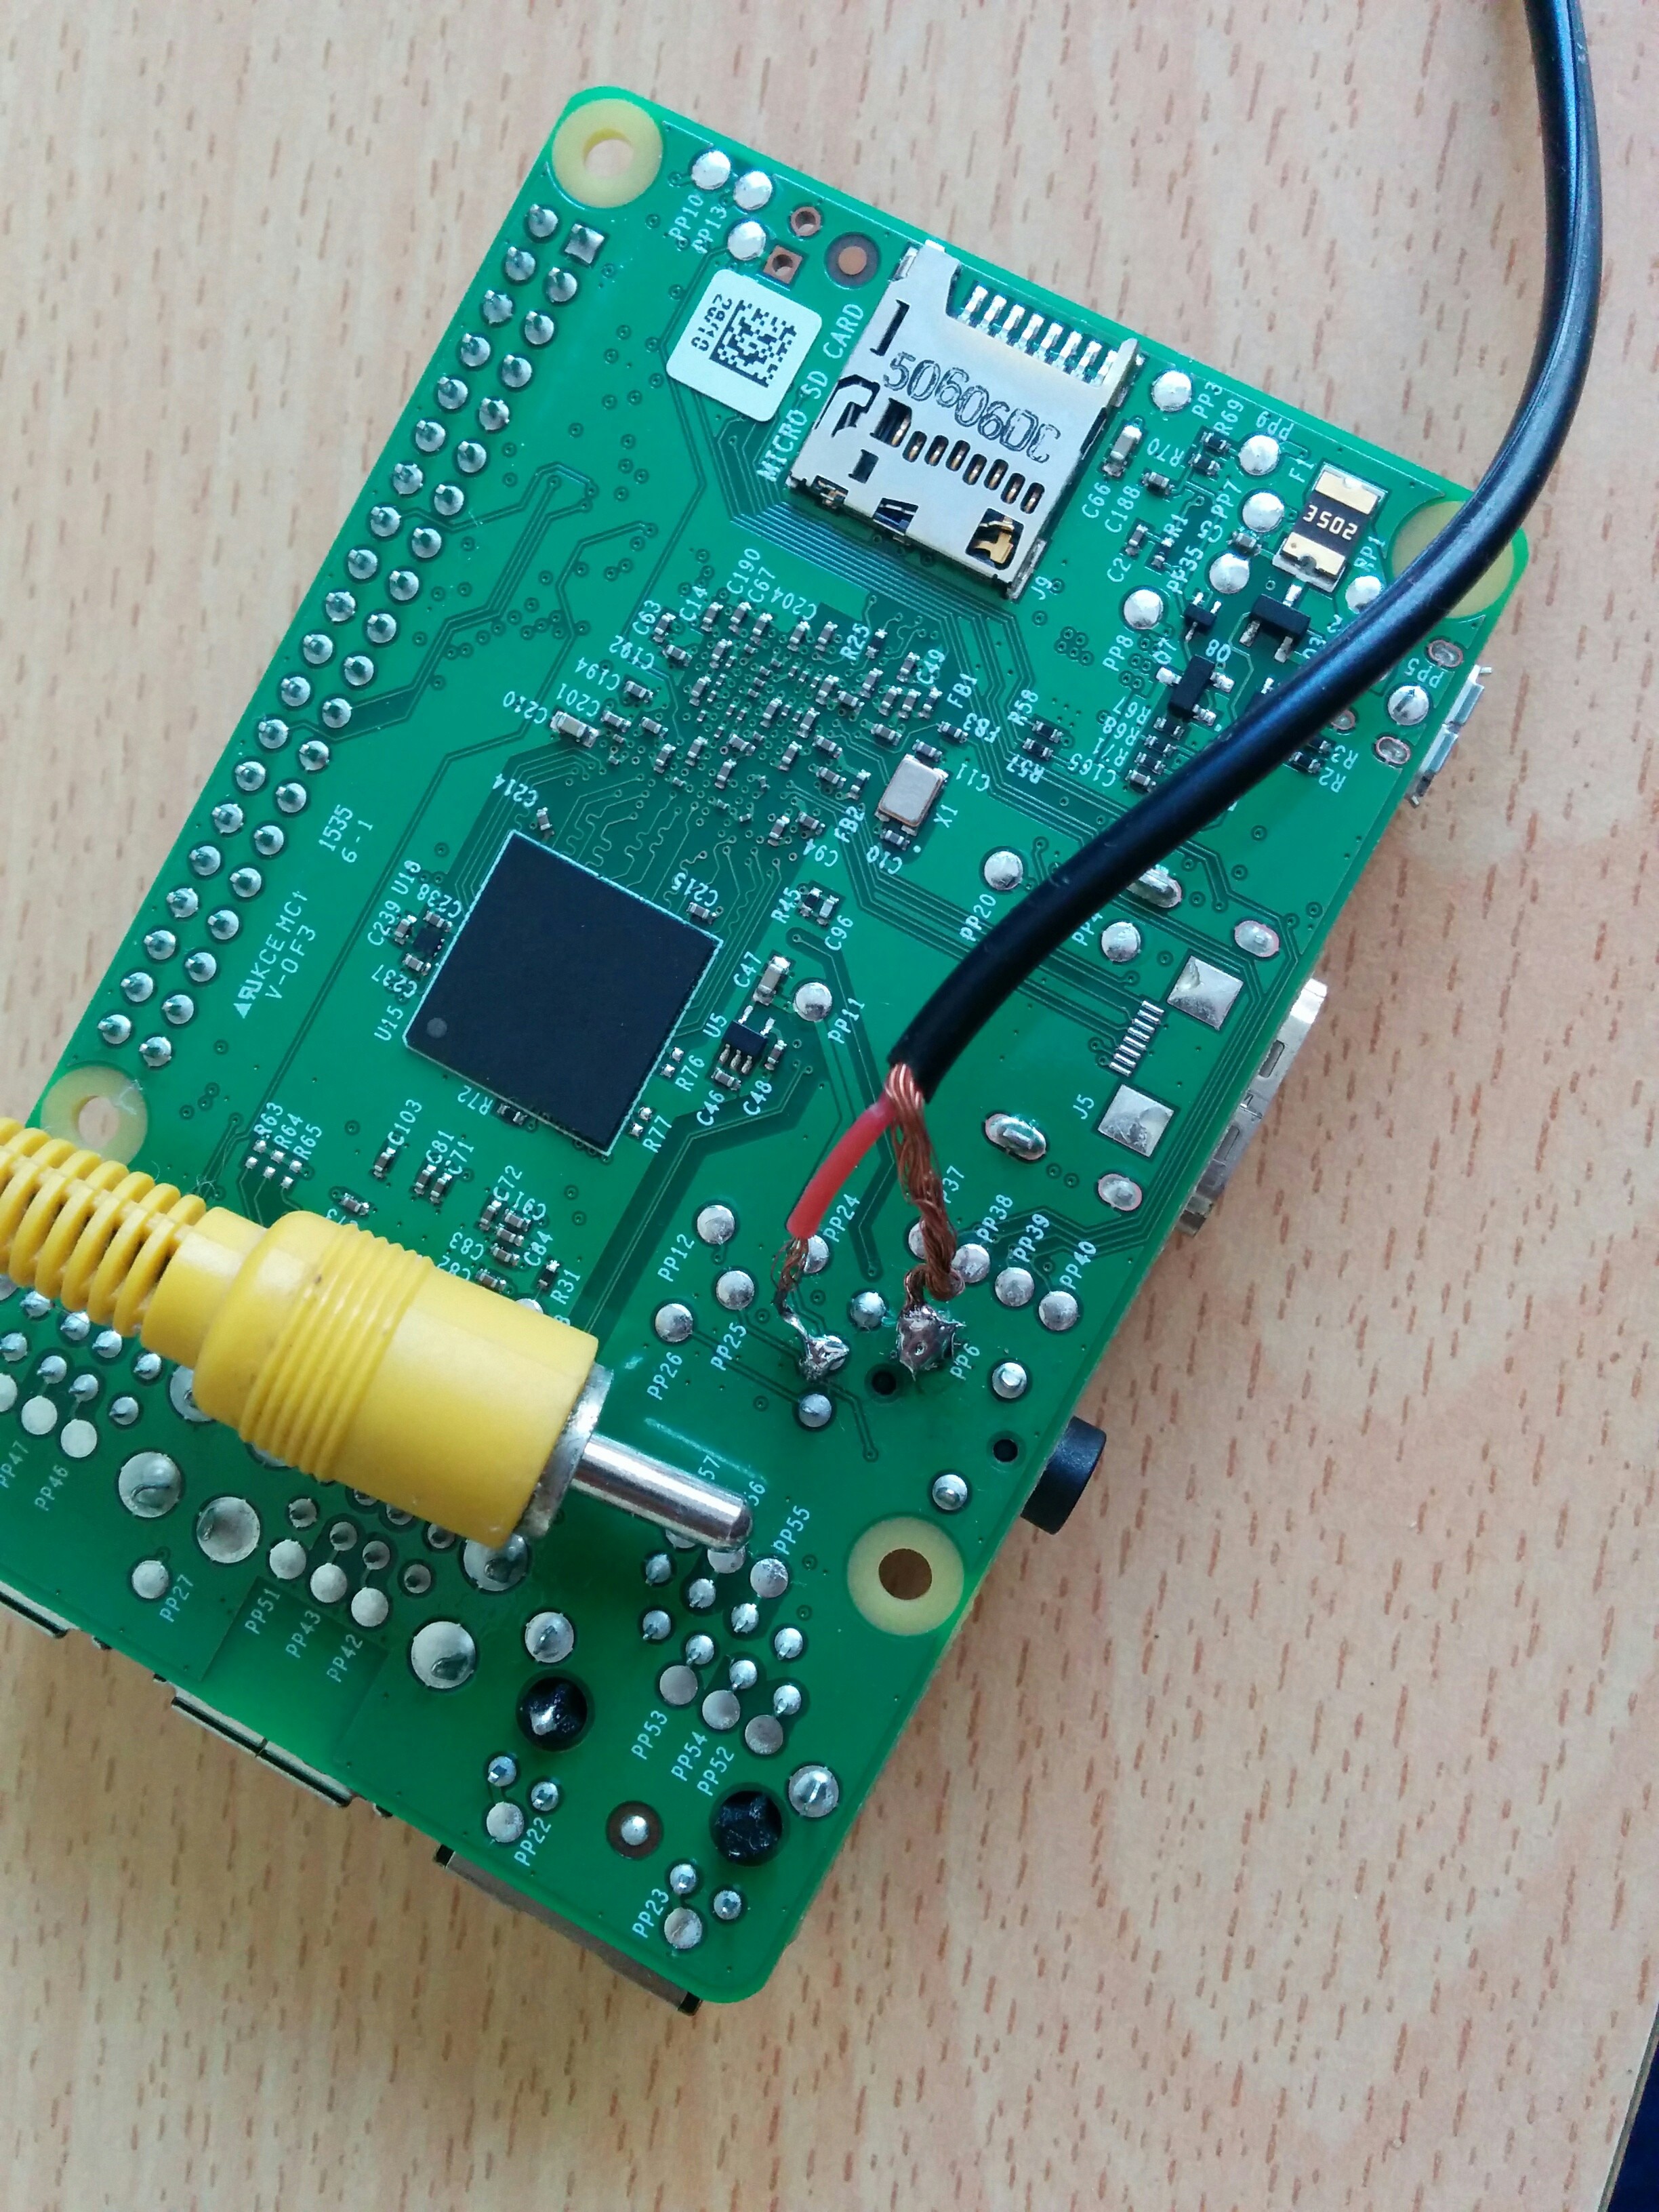
I soldered a cable to my raspberry pi 2. Yes i did it.
(more details here : http://www.instructables.com/id/Raspberry-Pi-2-Quick-n-Easy-RCA/step4/Alternate-Method/ )
With this, all you have to do after is to make your raspberry display the system with the composite display (no hdmi).
My config.txt (in the raspberry sdcard boot partition) :
(comment links are dead)
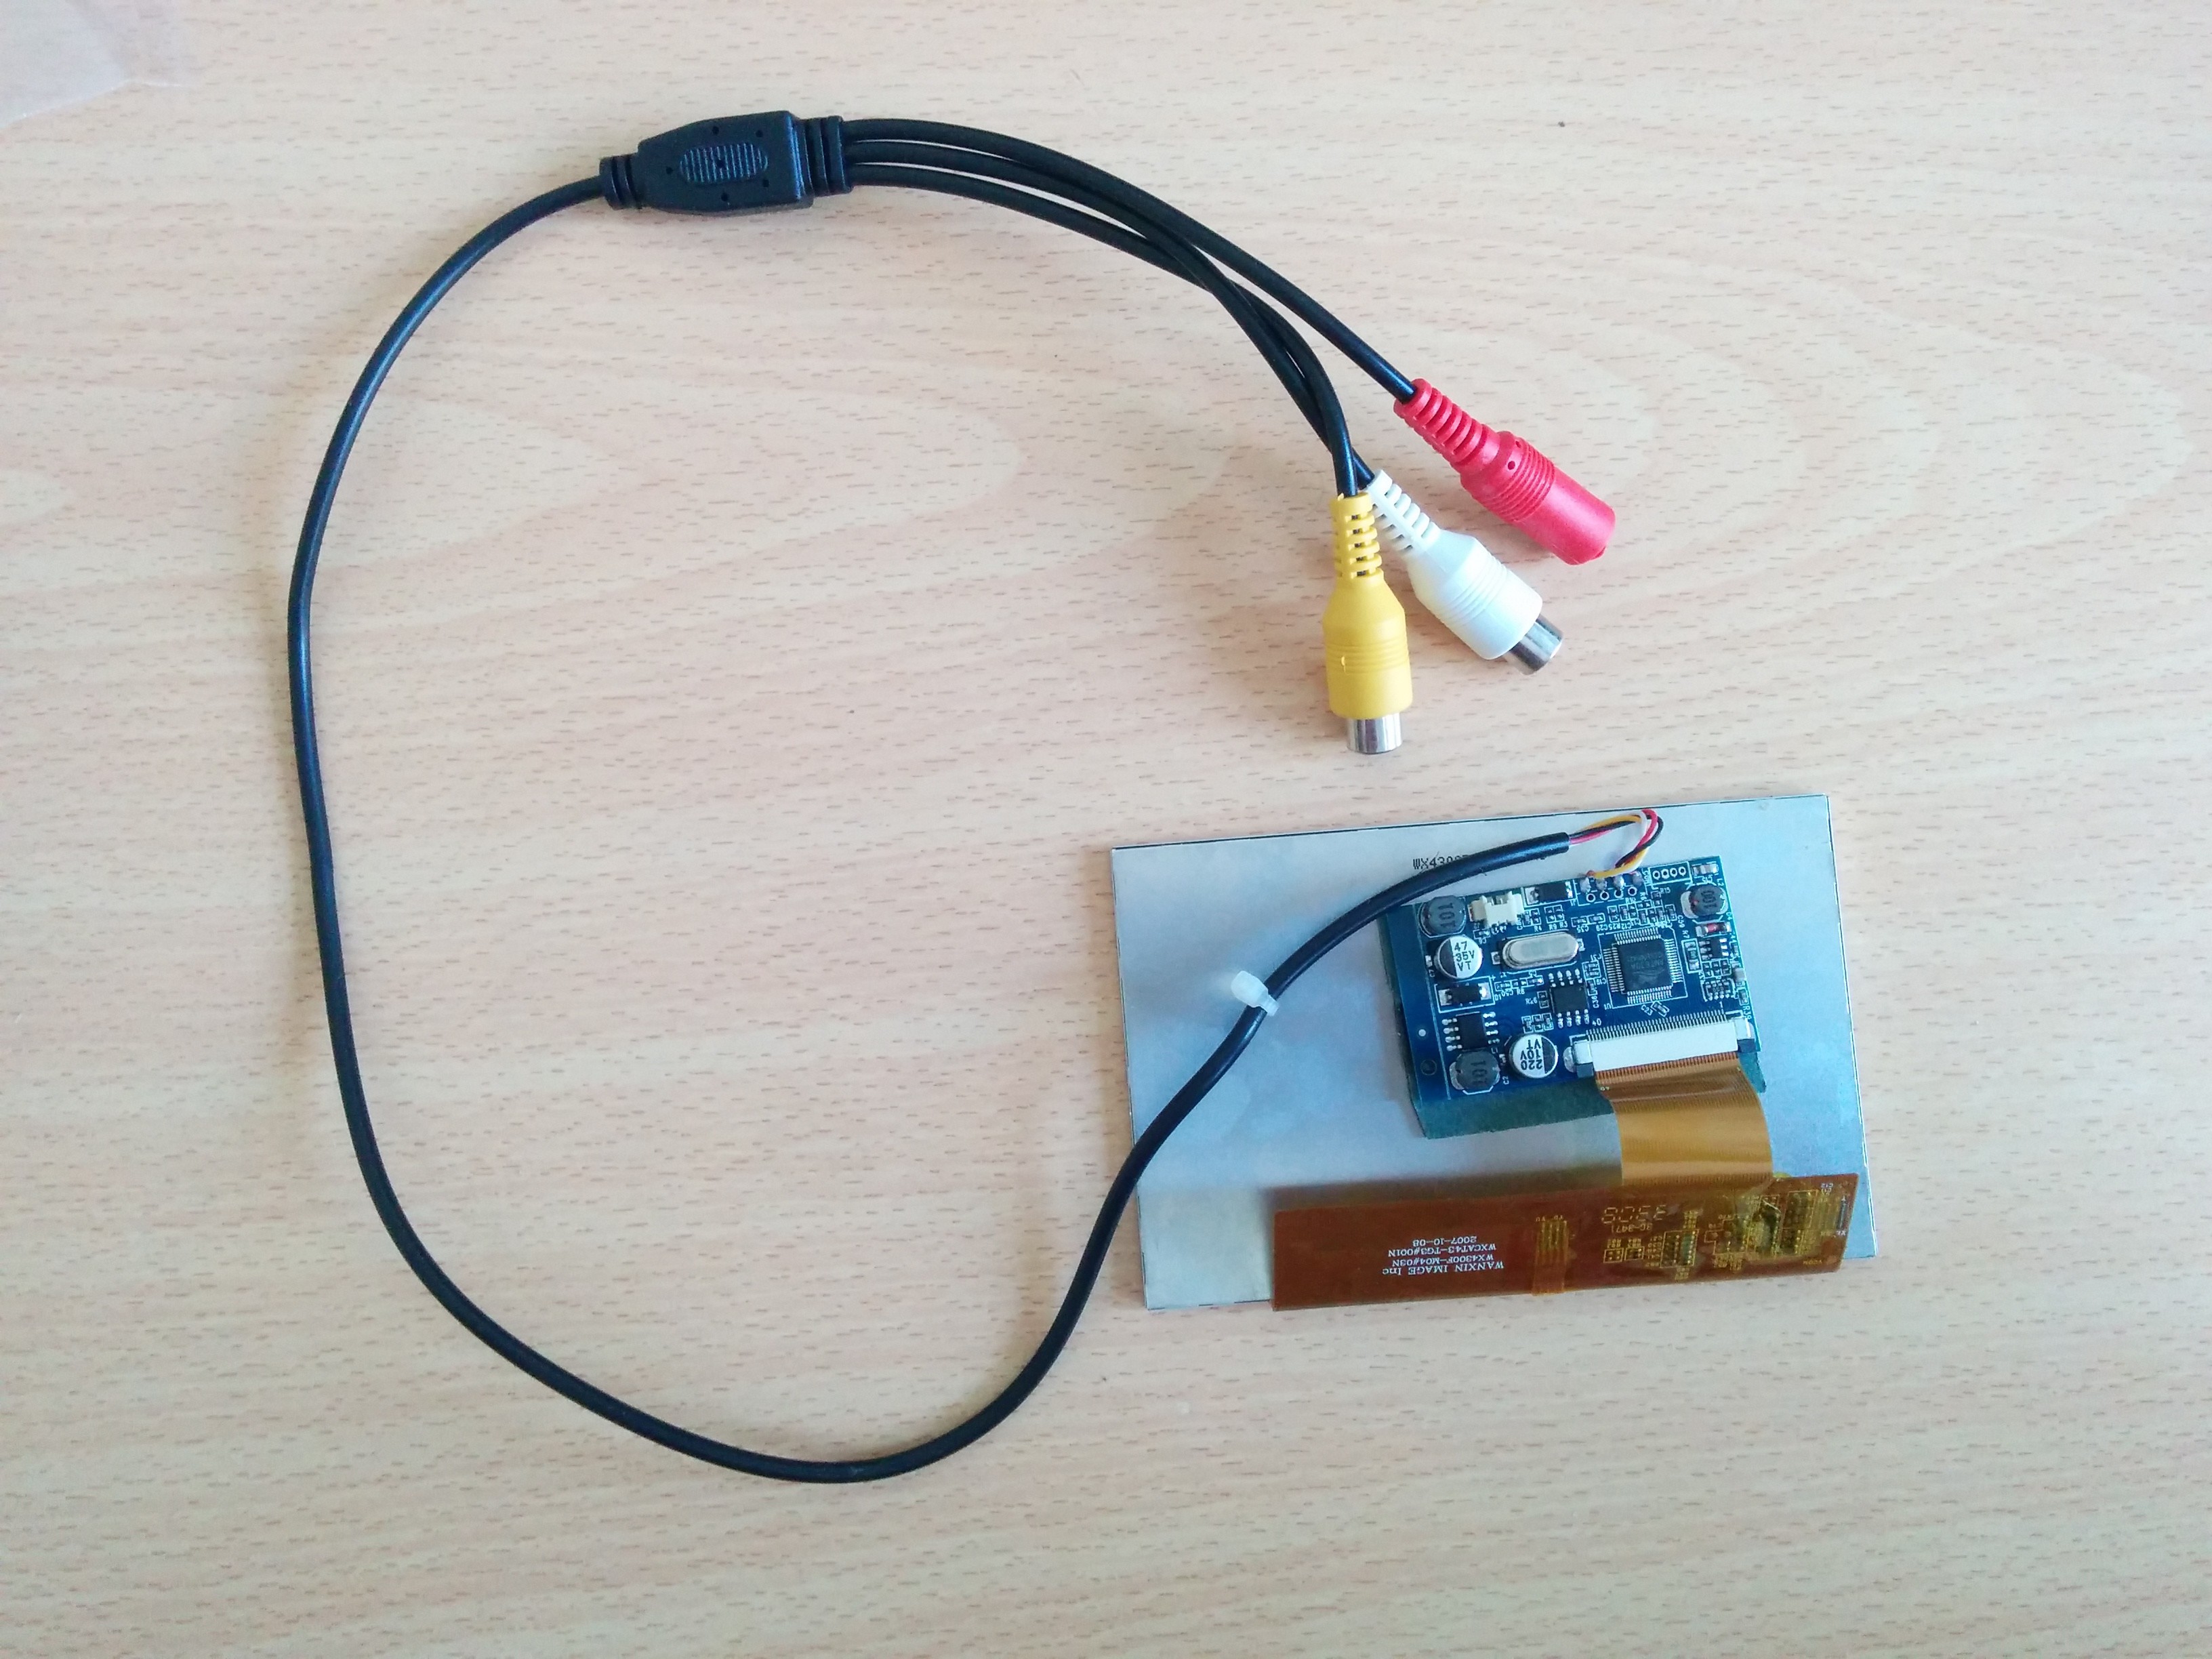
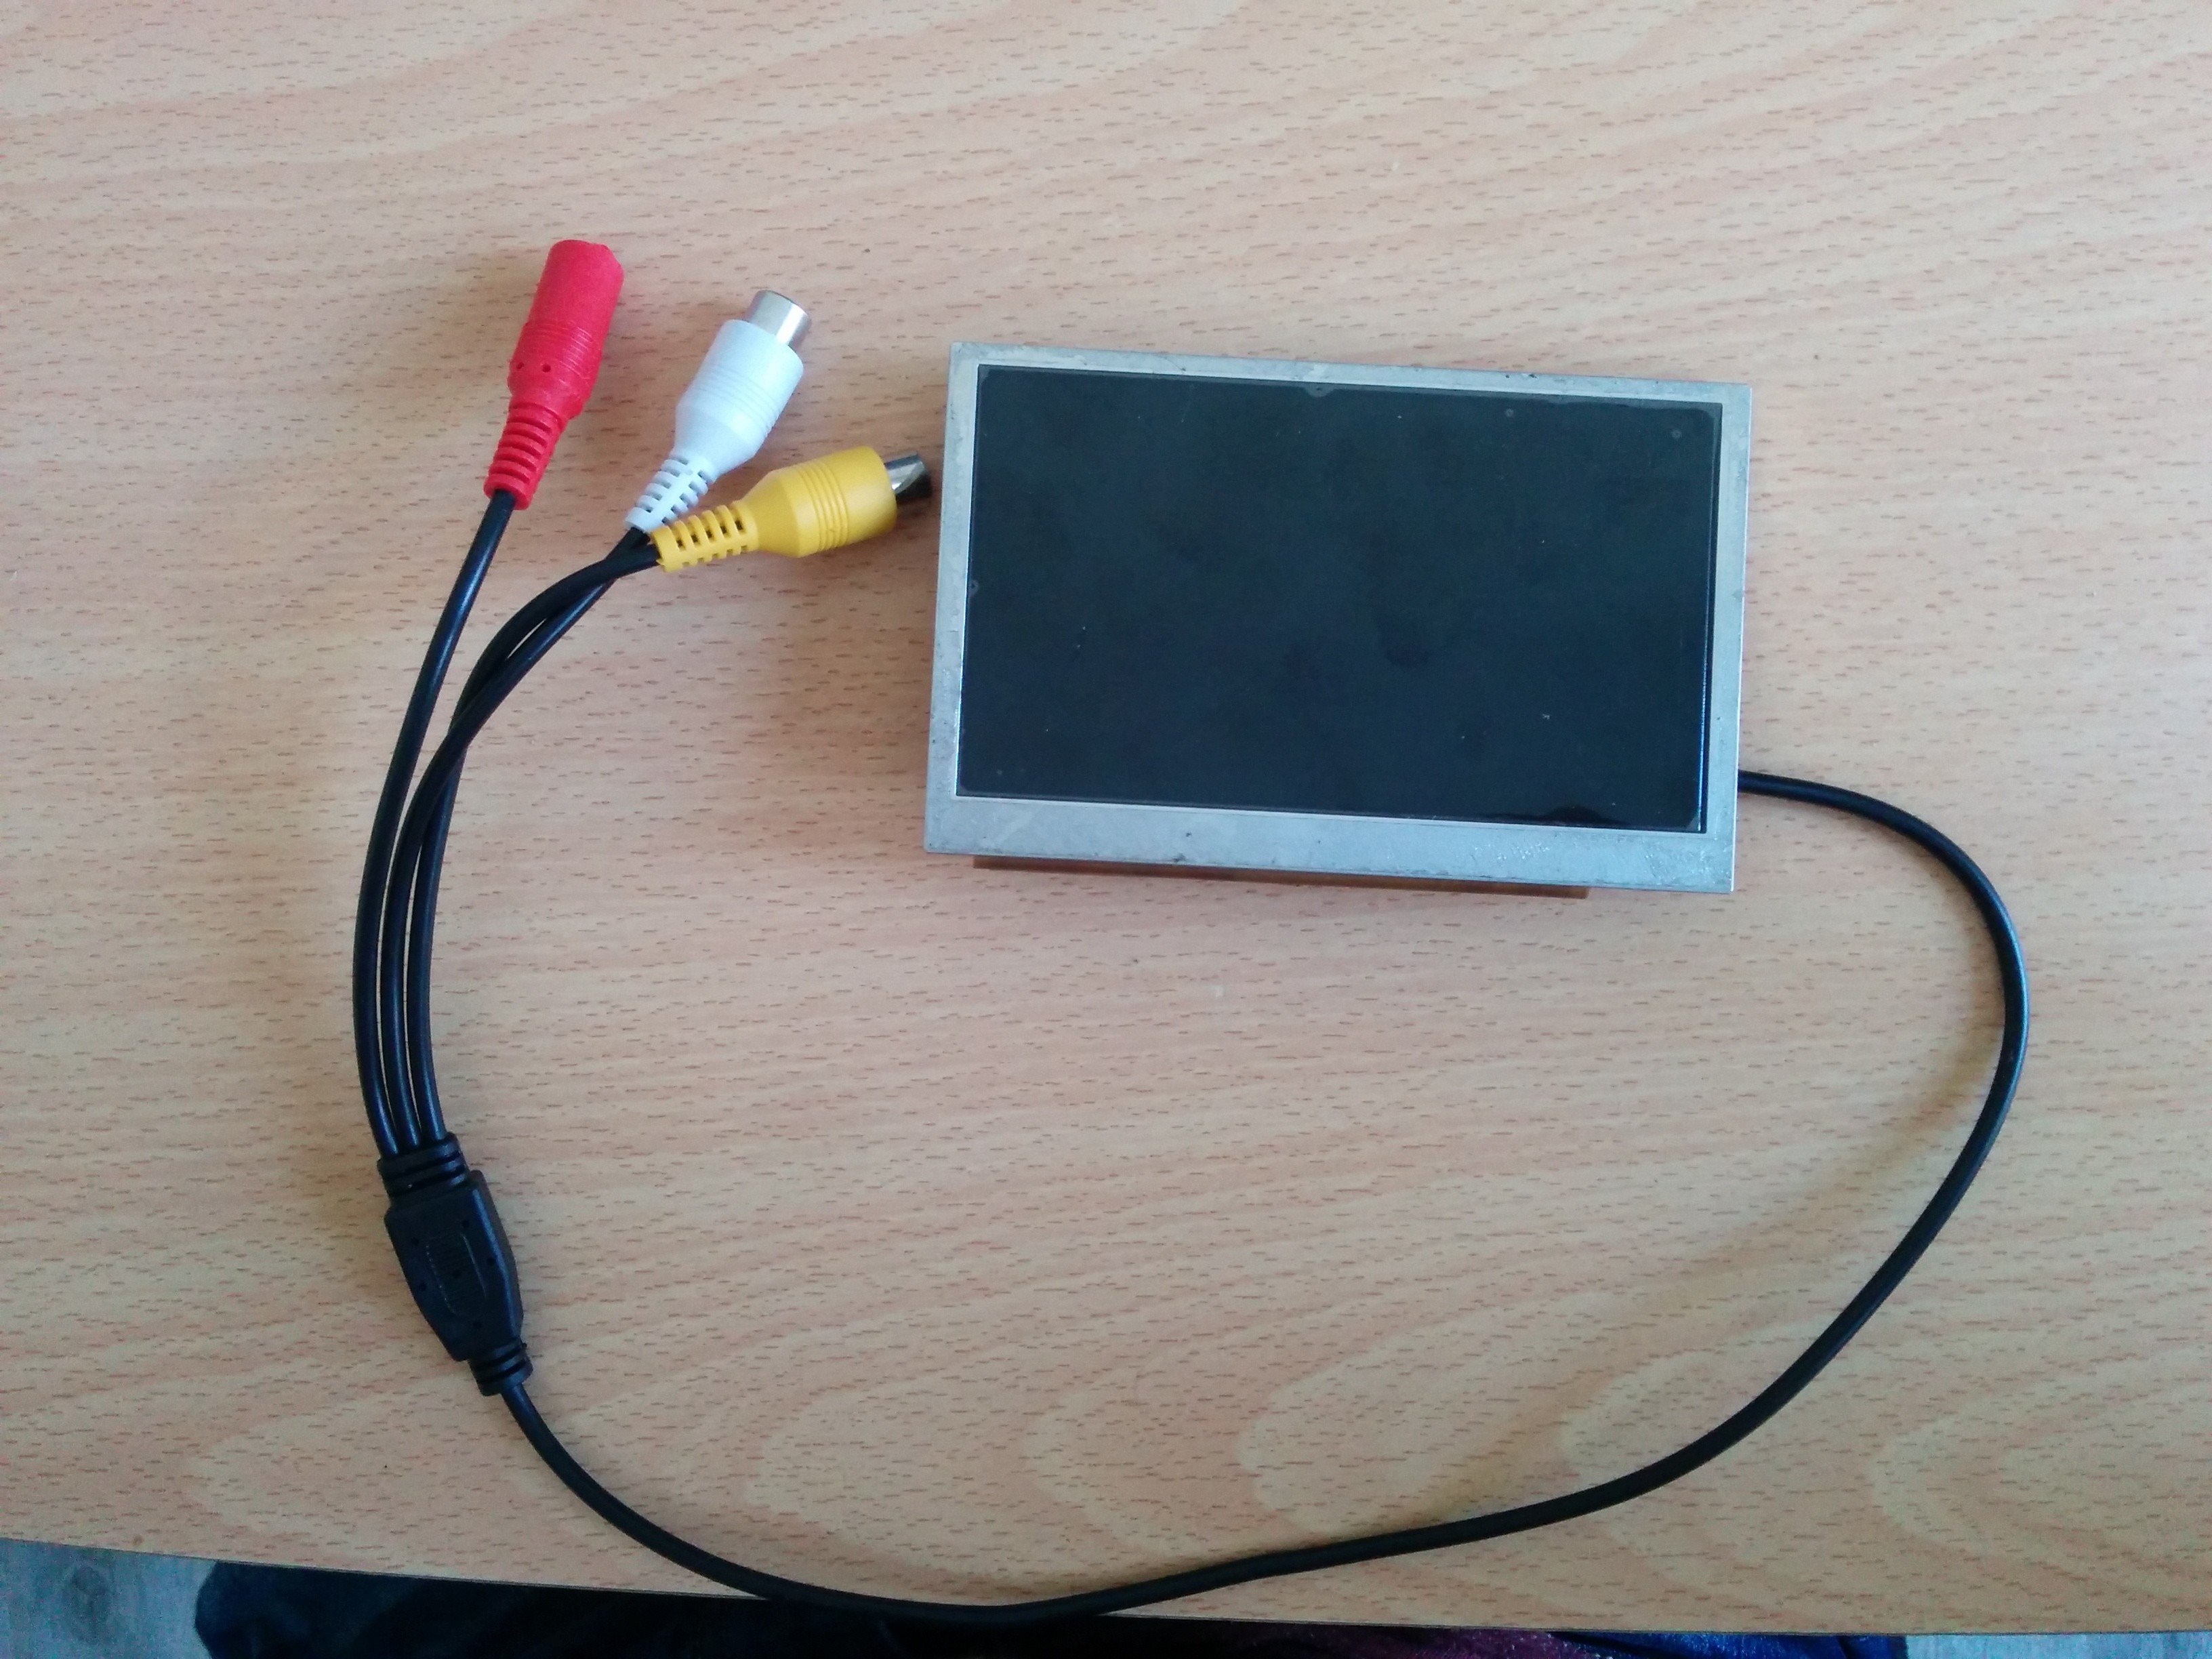
I buy a 4.3 tft lcd screen. I take it from a reversing camera for cars (more details in the components list). The resolution isn't so bad. Anyway, old video games doesn't have 4K resolution. I keep the cable, it's usefull to test the circuit.
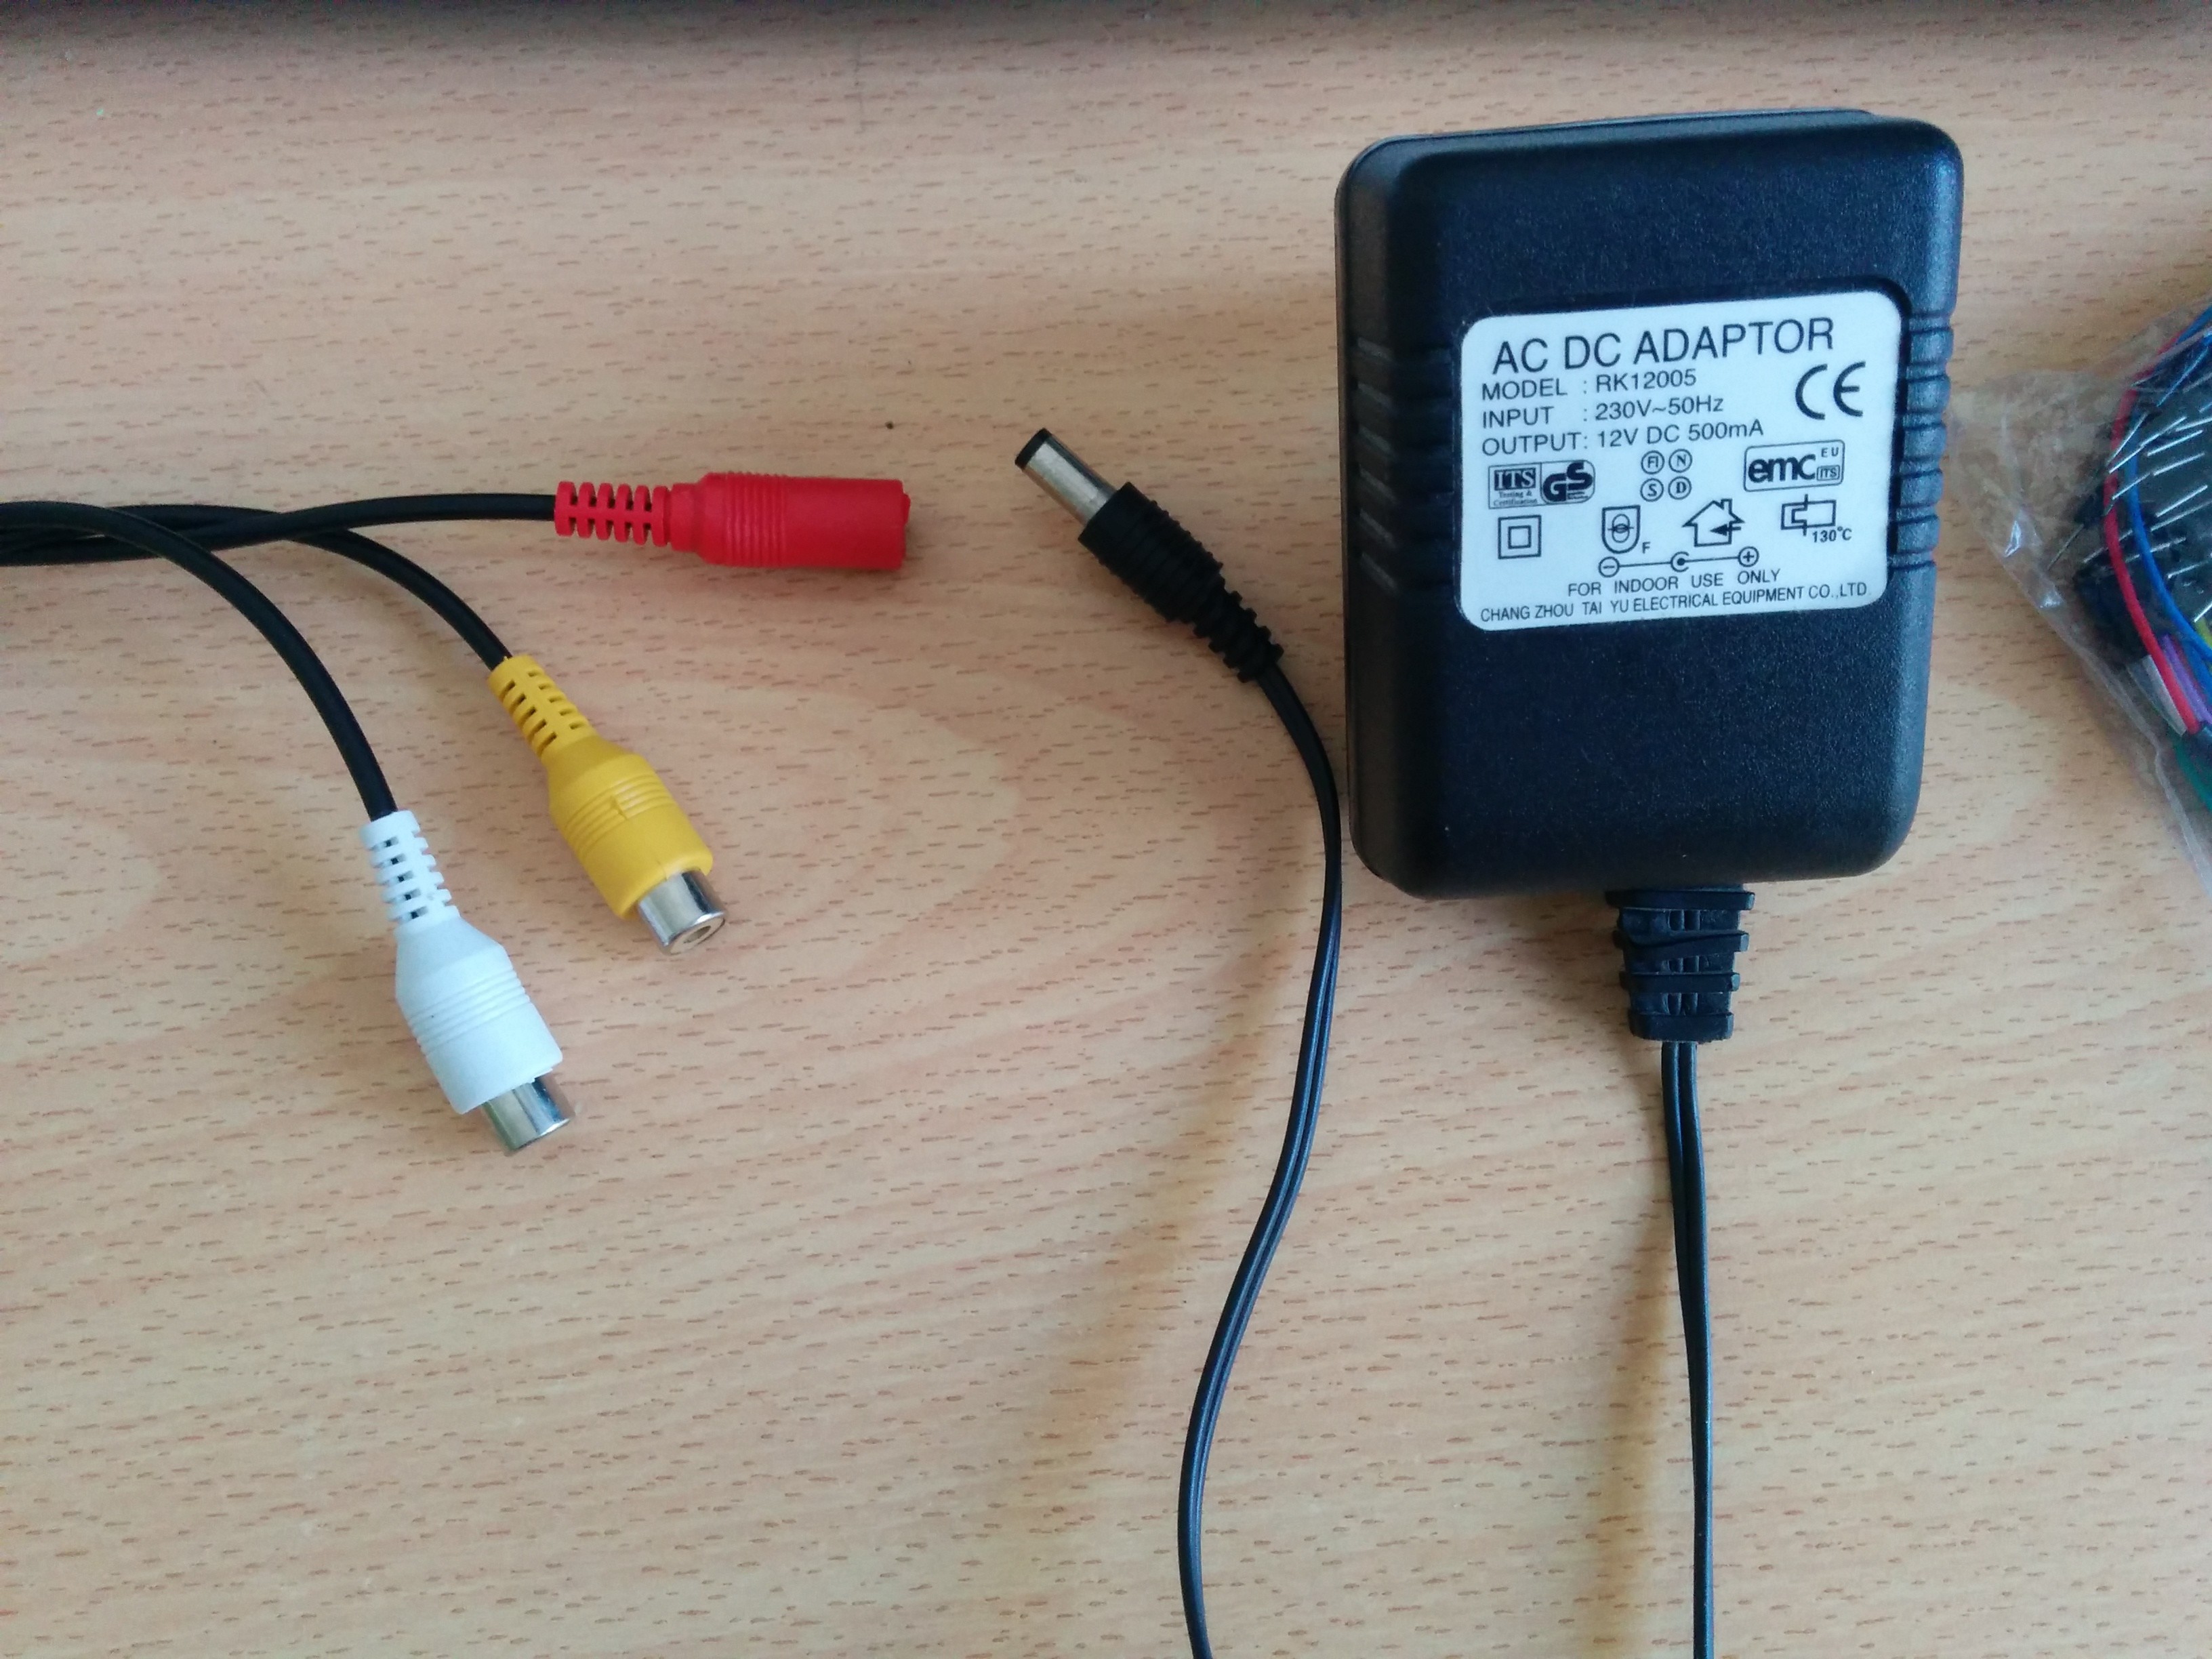
A thing to know : you have 3 cables. Red for the alimentation, yellow and white for the composite signal.
Screen power supply : 9-12V.
I found an AC DC Adaptator (from an old alarm clock). You can also use an Universal adaptator, or a lot of battery to test the screen.
The last thing to know : the screen turn on ONLY IF YOU ENTER A SIGNAL IN COMPOSITE (and the power supply to of course).
I said it.
Create an account to leave a comment. Already have an account? Log In.
Become a member to follow this project and never miss any updates