When I first started this project in early 2013 I knew there were two main components at the heart of this system: the ATmega32U4 microcontroller and some sort of pressure sensor that I could attach a vinyl tube to.
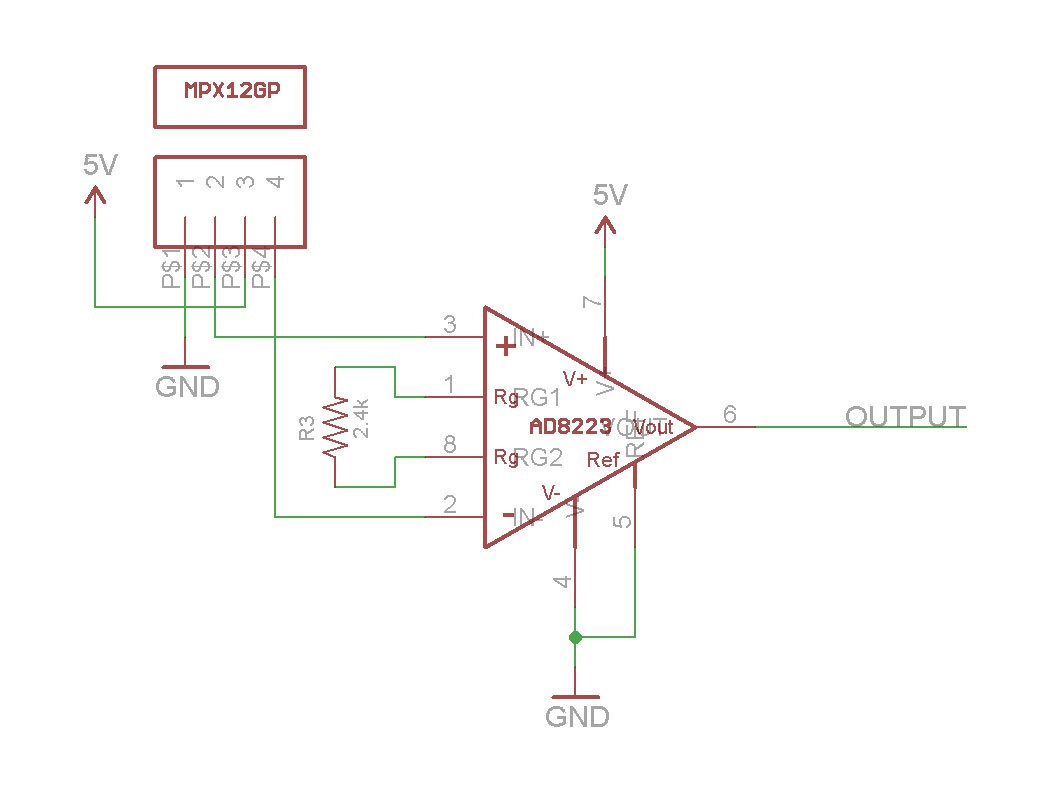
Through lots of googling and small insights gleaned from obscure forum posts, failed projects and random comments on other air pressure-based projects I eventually stumbled upon the MPX12GP pressure transducer from Freescale.
I saw that it's output voltage was only between about 0-55mV (proportional to the air pressure on the sensor), which is below what the ATmega32U4 ADC can reliably read, so I needed a way to amplify the signal to be "loud" enough that the microcontroller could read it.
To do this I used an instrumentation amplifier (the breadboard-friendly INA122) tuned to transform the tiny voltage (0-55mV) to be more in the range of 0-5V so that the built-in ADC could figure out air pressure based on the voltage read at the appropriate analog input pin.

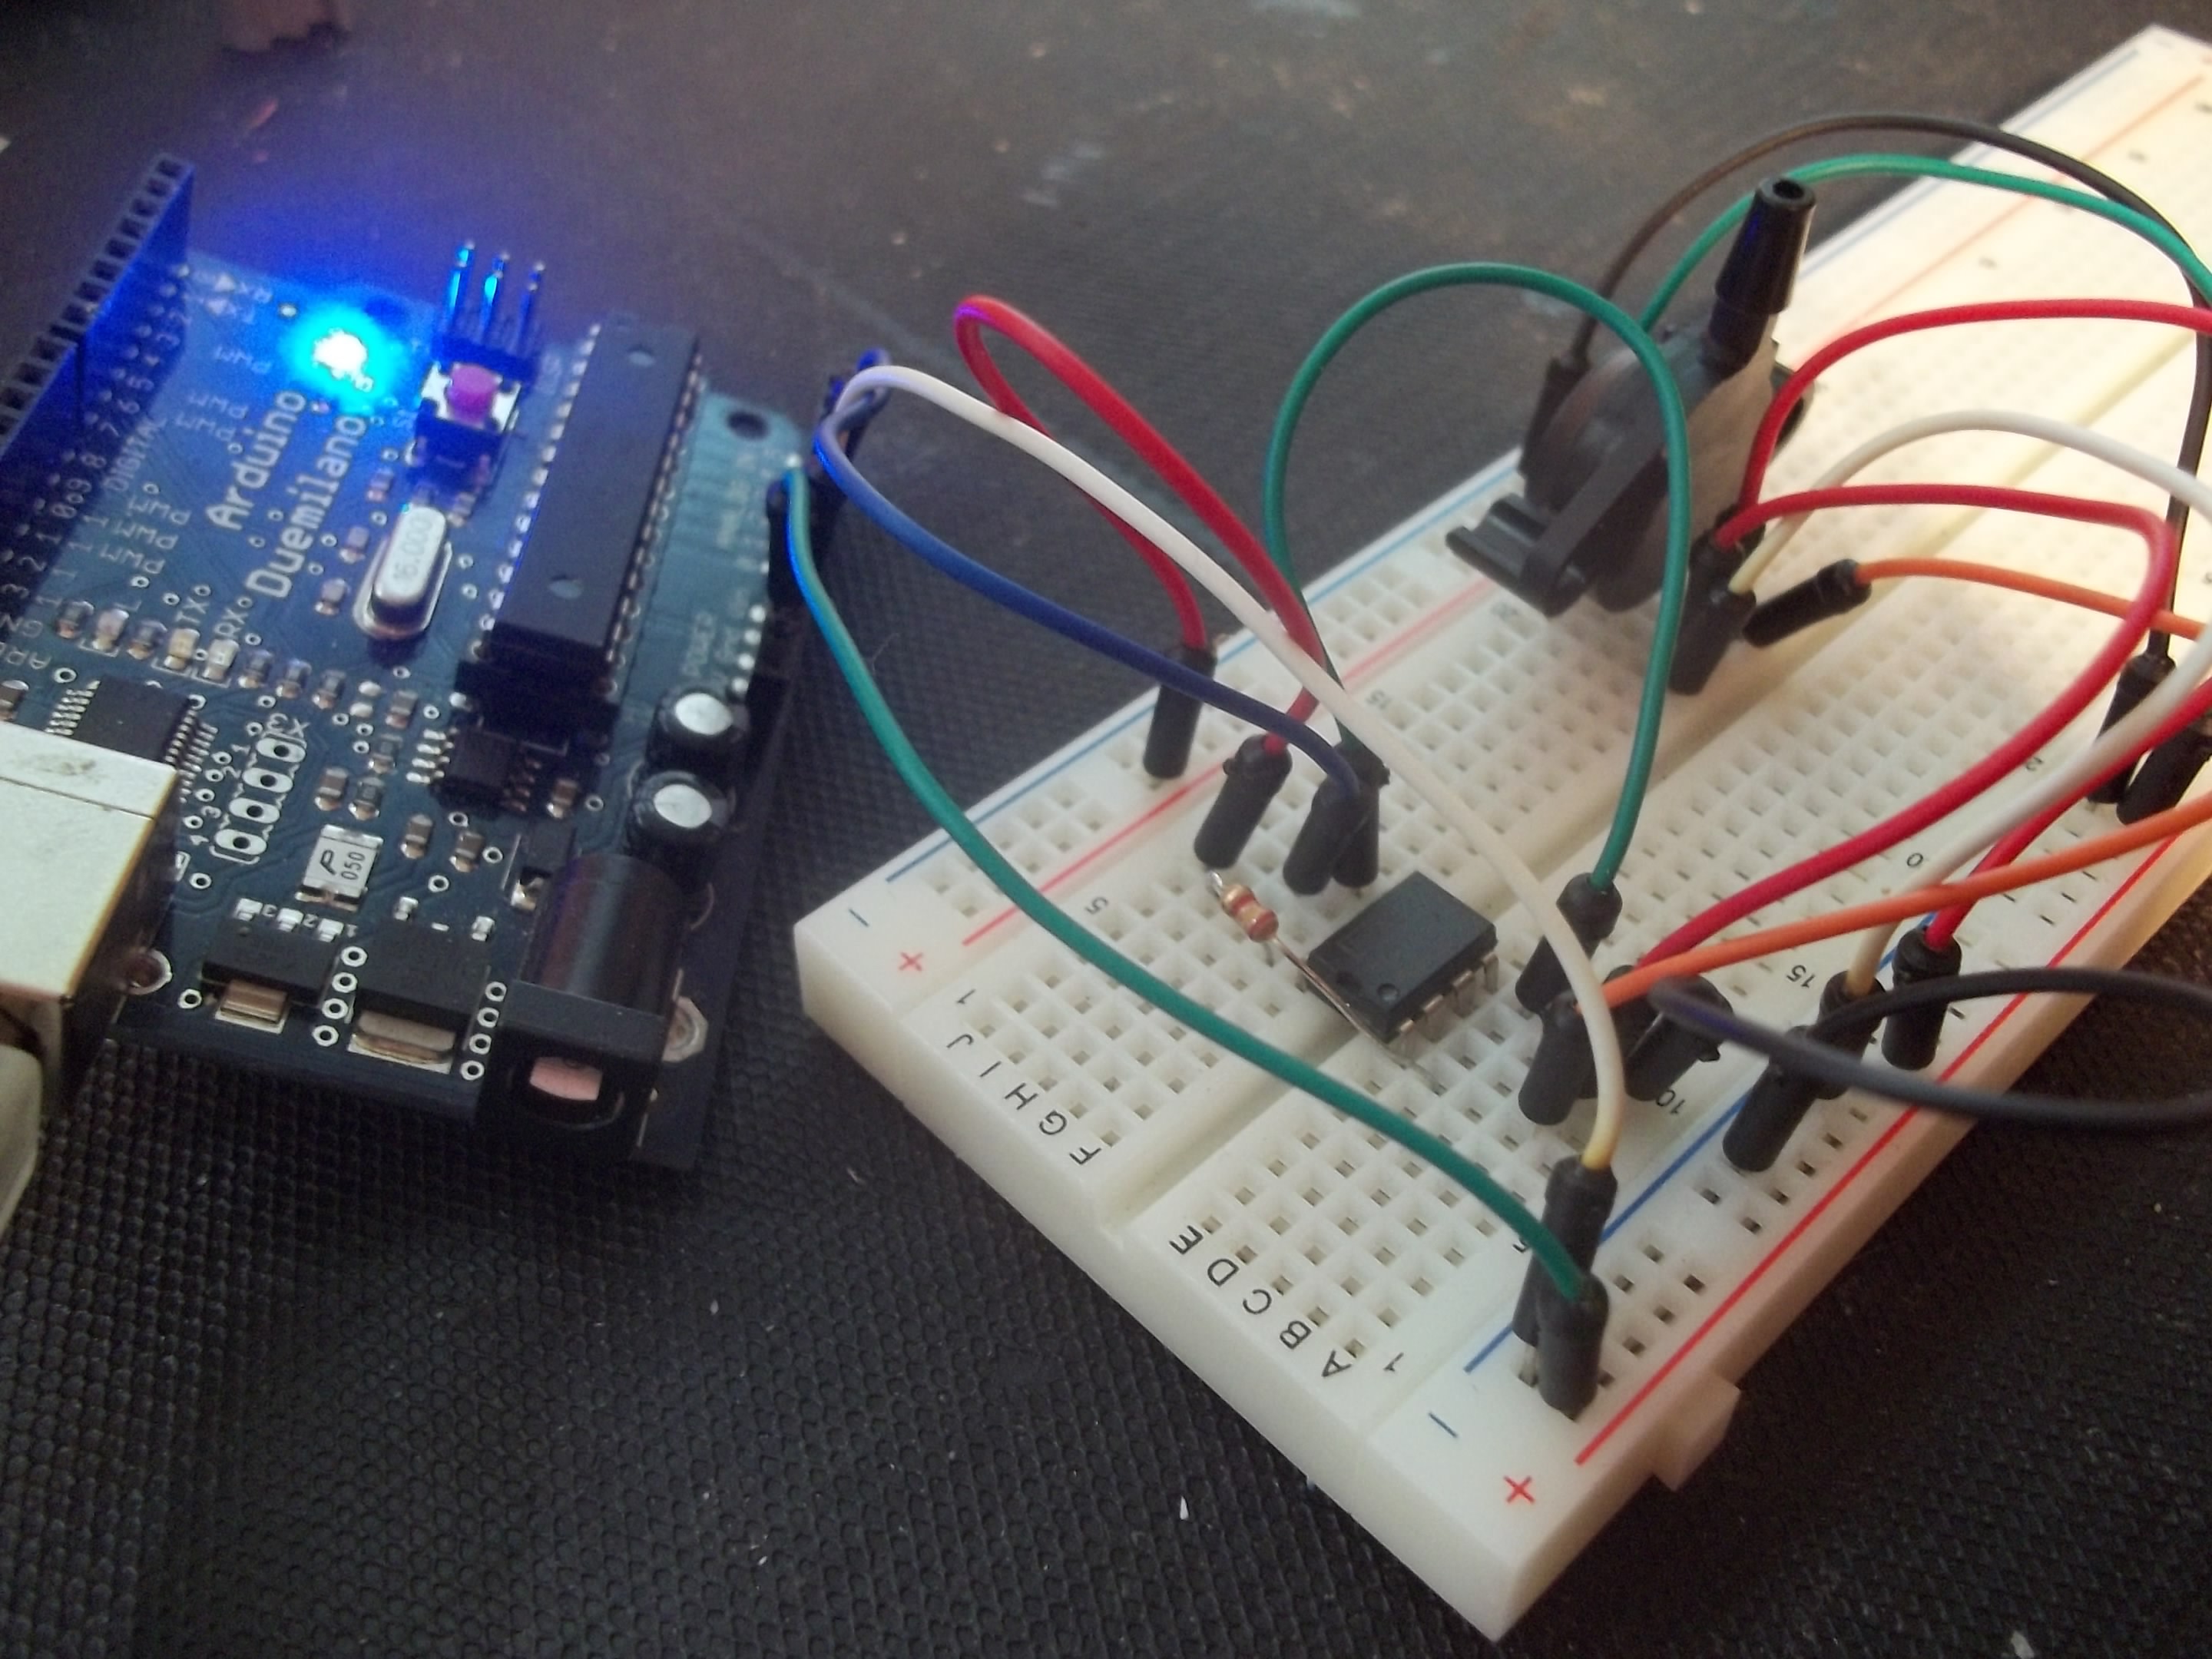
I assembled my circuit on a breadboard and hooked up the output of the instrumentation amplifier to an Arduino's analog input pin, which was programmed to simply take a reading on the pin and send that value to my computer over serial.

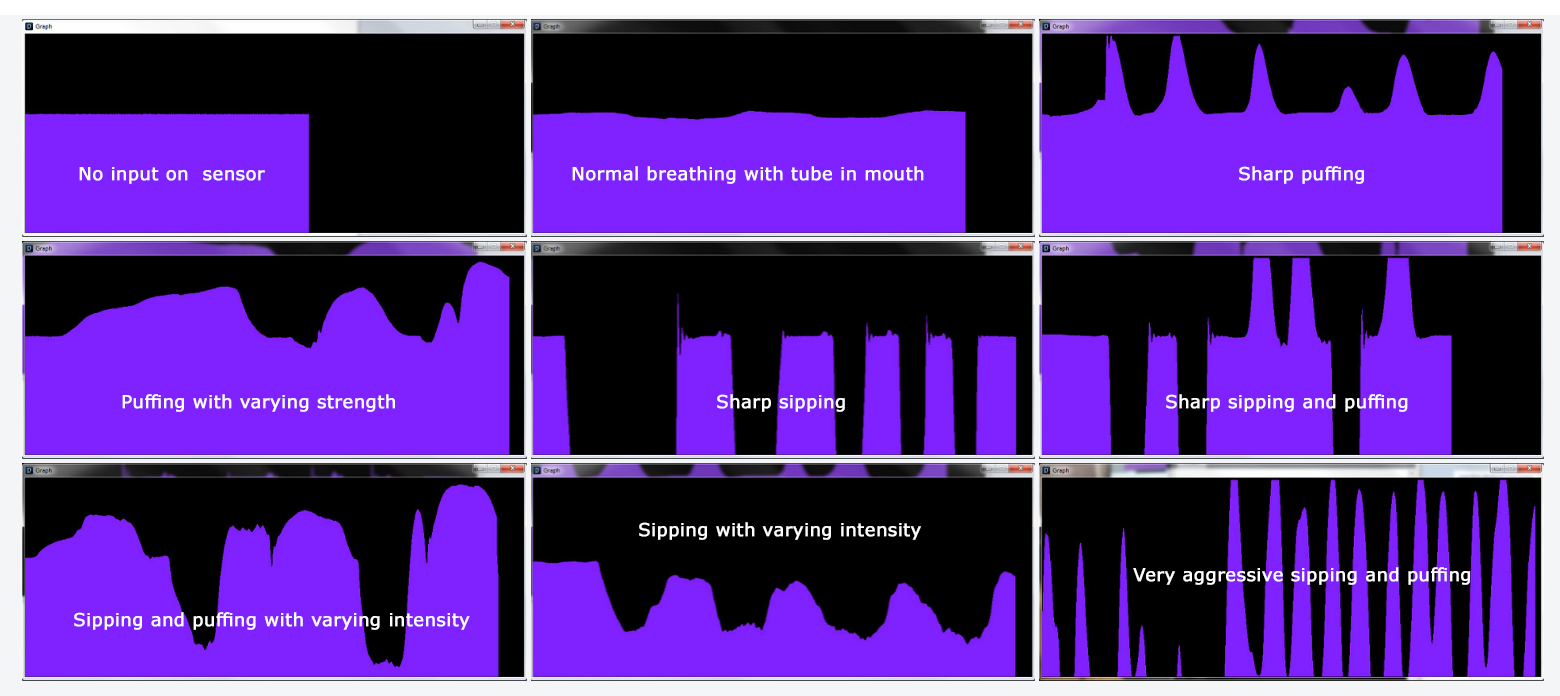
I then put together a little sketch in Processing that plotted the values coming in from the serial connection onto a rolling graph allowing me to visualize the output of the sensor in real-time. I think the new Arduino IDE includes a serial graphing tool, but at the time I had to do it the "hard" way!
What I found right away was that when there is no input on the sensor the output voltage hangs at around 1/2VCC, which in this case would be around 2.5V. By blowing air into the sensor (i.e. a "puff" or positive air pressure) the voltage went up in proportion to how hard I blew. Sipping on the tube (i.e. negative air pressure) made the voltage go down.

For me this was a very successful experiment and motivated me to stop thinking about just simple keypresses and mouse clicks and start thinking about more creative and expressive uses for this system. The stability of the signal and the ease of varying the intensity of your sips and puffs really blew me away, so I knew I had to do some weird stuff in the future!
Given how well the tests went I felt there were two obvious next steps: building out more robust firmware and putting together a prototype PCB. Both of which I will discuss more in future build logs!
 Jason Webb
Discussions
Become a Hackaday.io Member
Create an account to leave a comment. Already have an account? Log In.