This project has several components, each of which might potentially be its own project:
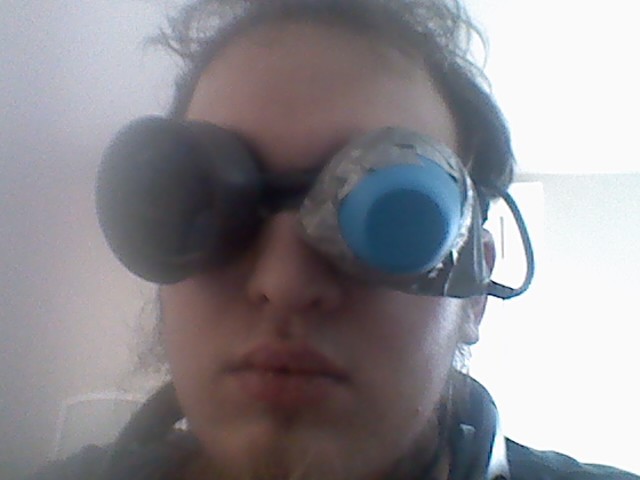
1) The modded monocular head-mounted display/goggles
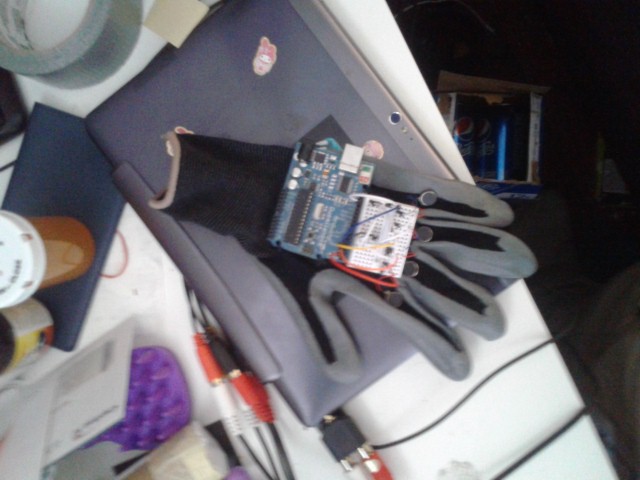
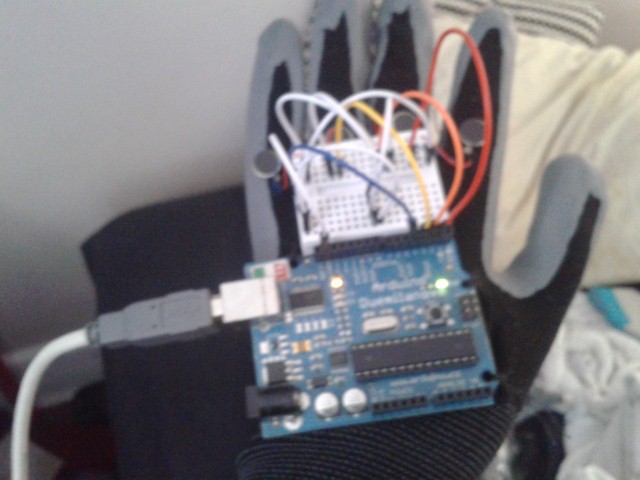
2) The haptic glove interface
3) The dehumidification mechanism for the goggles
4) The software stack for implicit learning (via both goggles and gloves)
While this wearable computer is general-purpose, it's explicitly intended to be useful for always-on passive implicit learning. Building on Georgia Tech research into implicit haptic learning (using a glove augmented with vibrating motors to train muscle memory for learning to play the piano), I'm building a vibrating glove and a mechanism for automatically programming the pattern of impulses from a variety of sources (starting with midi files -> piano keyboard fingerings, and text files -> twiddler finger configurations). On the other hand, I am using my clone of JWZ's 'xsublim' program to constantly prime myself with random wikipedia and rosettacode articles. I additionally have a speech-enhanced speed-reading program and a ZigZag-based information organizer.
While the goggle-based mount for the HMD looks cool and is fairly structurally stable, there's a major problem with fogging (because I sweat a lot, especially with warm electronics strapped to my skull), and so I will probably need to build a dehumidification system. I believe that I can make a solid-state system for pumping air through using a selectively sealed heat sink and a peltier junction, but this is currently only on paper.
I initially intended to use a 'cobbler pi' for interfacing to the haptic glove. However, I switched prototypes to a more flexible glove and decided to dedicate an arduino to the task. Because of this, I should be able to use the Pi to program it and allow the program to run independently on the glove (for midi input, and possibly for other configurations); furthermore, I can program the glove and power it externally to use it when I am not using the other parts of the computer. Additionally, with this I gain a bunch of nice ADC pins, with which I can read resistive bend sensors or other analog instrumentation, then pass along these readings to the Pi over FTDI.
 john.ohno

 Ryo Mukai
 Howie
Howie
 Guy Dupont
 John Forsyth
- A video no more than 2 minutes long on YouTube (or Youku).
- A link to your video on your project page. This is done by editing your project (edit link is at the top of your project page) and adding it as an "External Link"
- At least 4 Project Logs
- A system design document
- Links to code repositories, and remember to mention any licenses or permissions needed for your project. For example, if you are using software libraries you need to document that information.
There is a couple of tutorial video's with more info here: http://hackaday.com/2014/07/26/4-minutes-to-entry/
Good luck!