Time has come to put everything in a box, and then to put a box in a trashcan :-) Of course, it has to be quite strong box, trash isn't handled with care. But first we have to organize our components efficiently - we have to draw a floor plan. Easier said than done, because there is no or little data on dimensions of our components, so we had to measure and draw them all by ourselves. You can find these drawings in our github repository in .dxf format, drawings are millimeter based, and can be viewed or edited in any CAD software (e.g. LibreCAD).
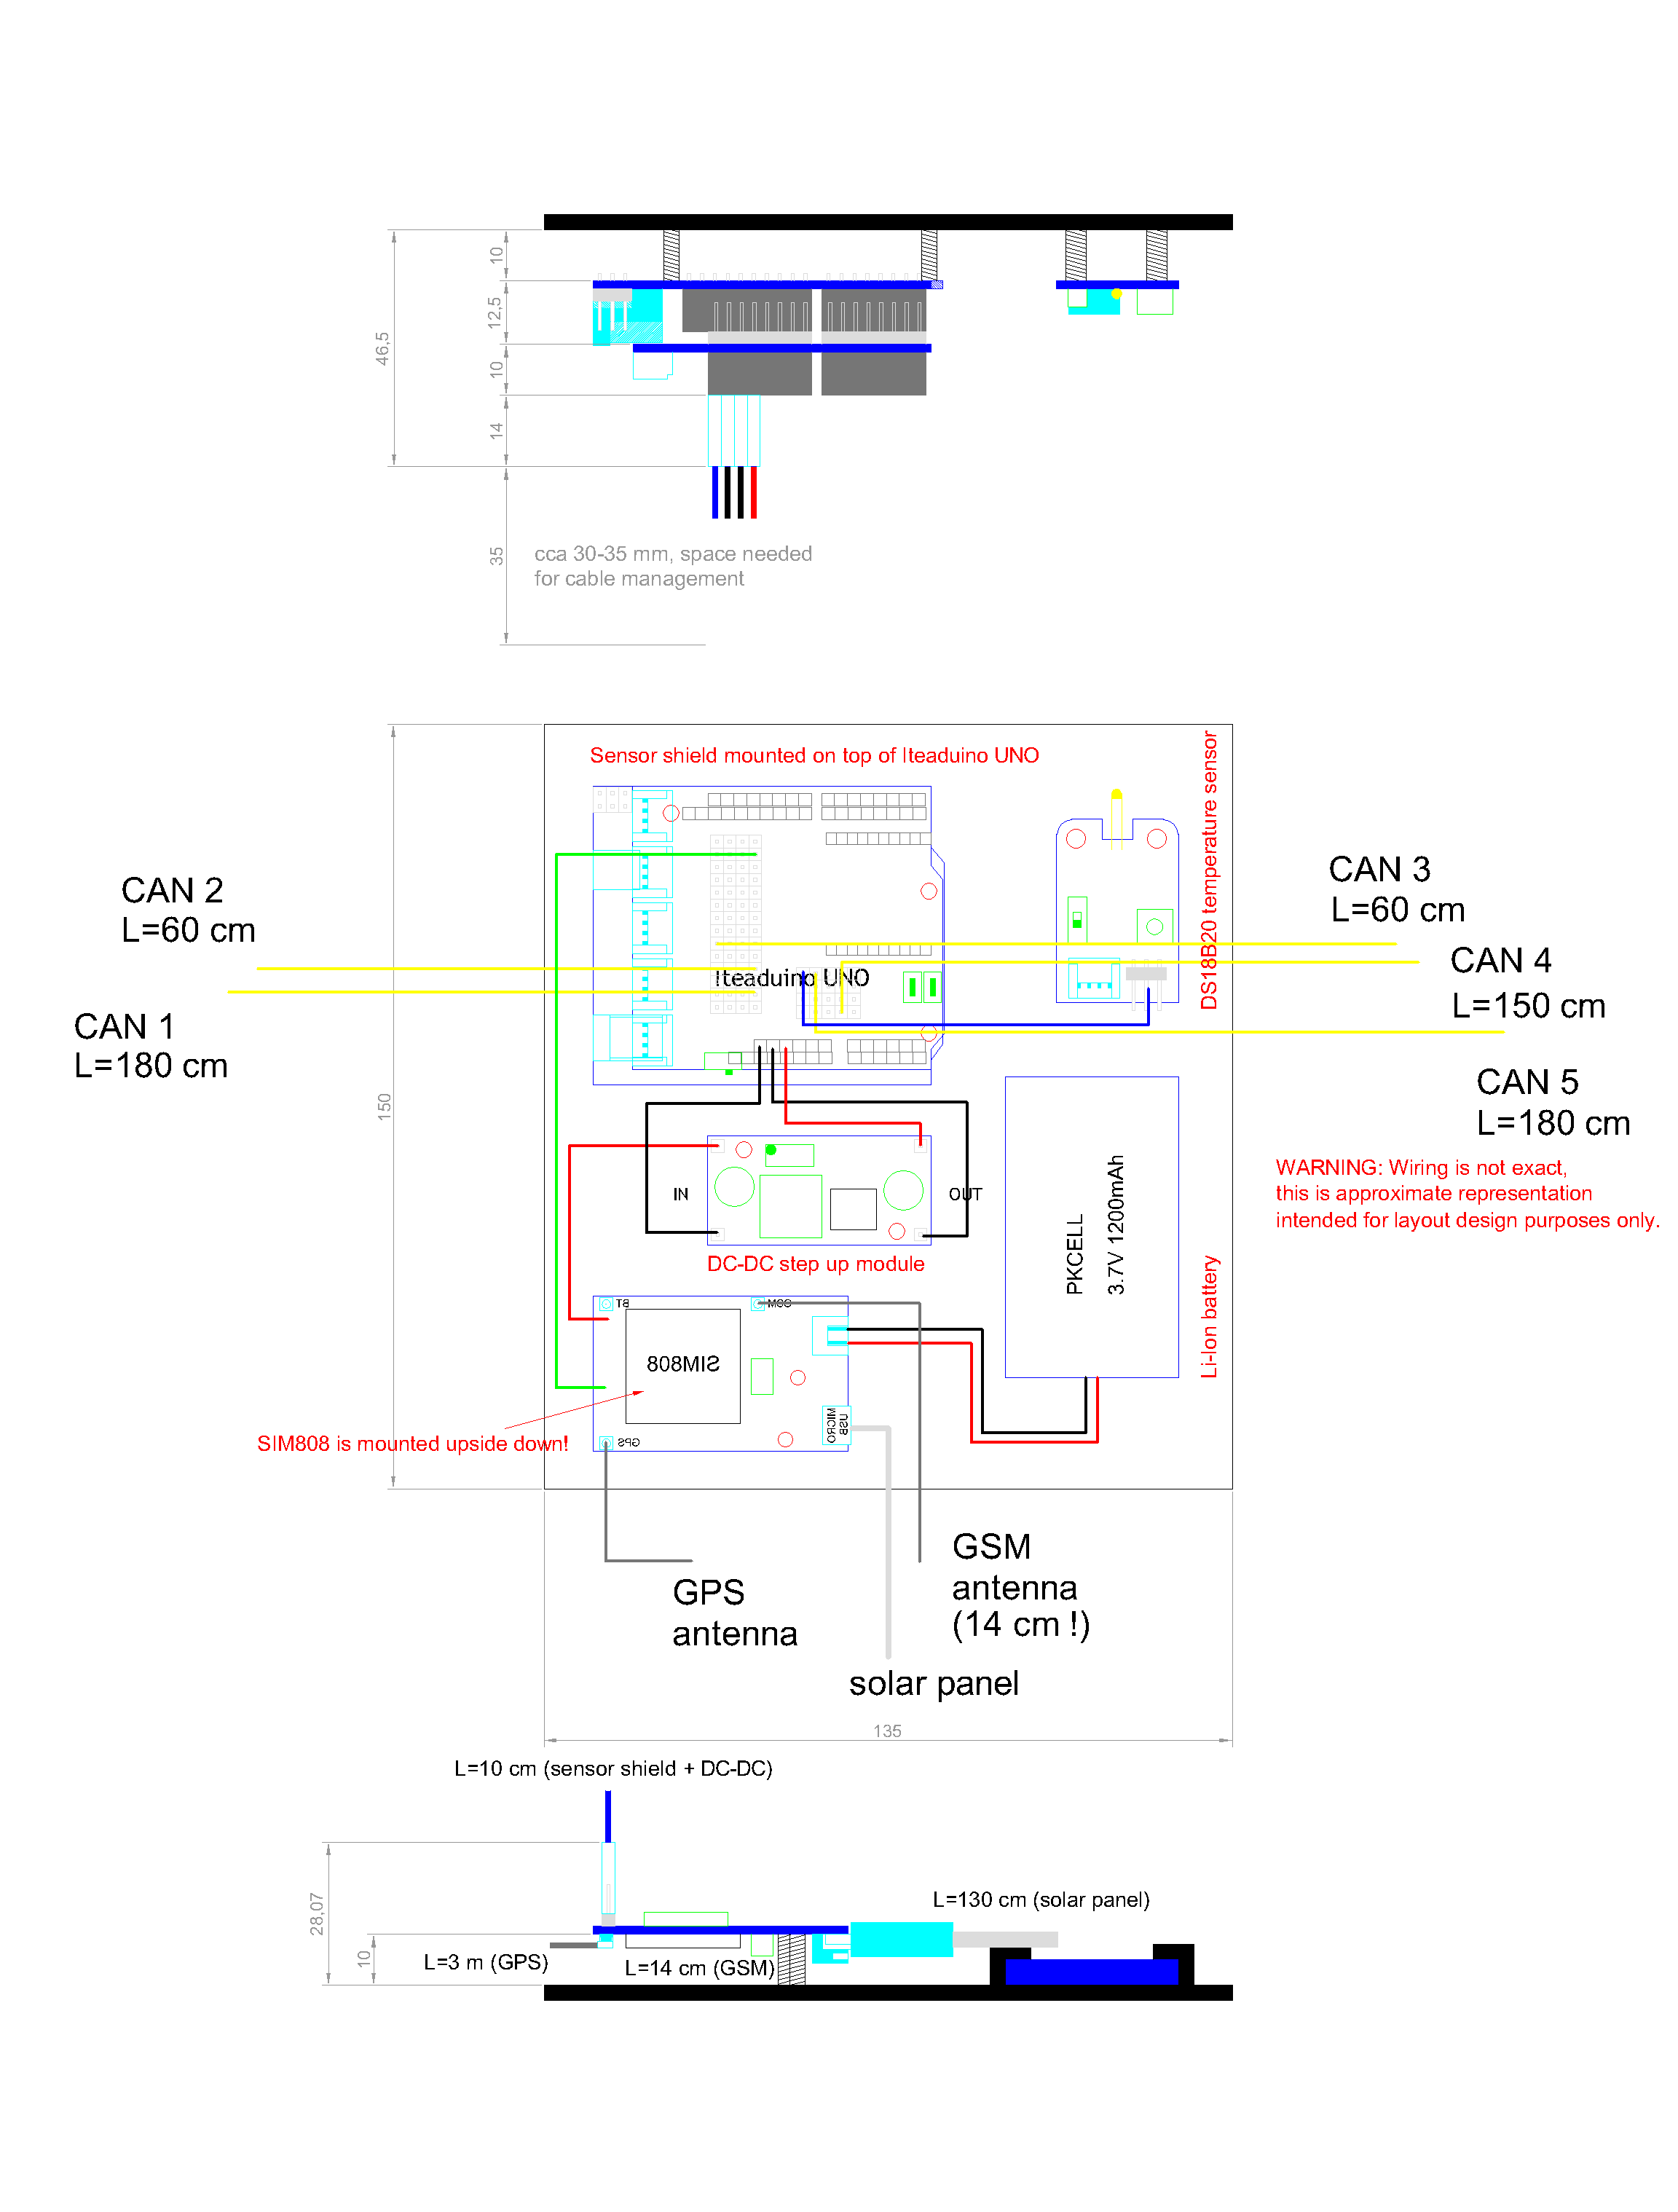
Finally, we can make our controller box floor plan, and after some arranging and re-arranging we came up with this (you can download .pdf version from project files - EcotronControllerBoxEN.pdf):

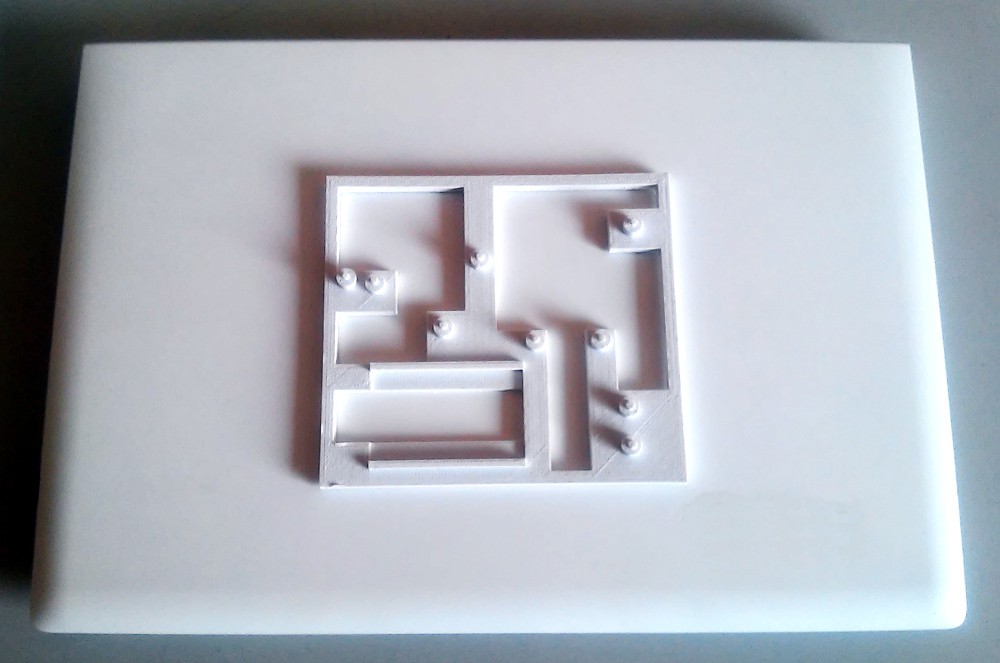
Now we just have to check if this is going to work: quick import to SketchUp, removing everything but mount plate and mount hole positions, adding 3rd dimension to the model, putting some holes in mount plate to speed up printing, export to .stl file, import to Slic3r, export to SD card, putting the card in a 3D printer (Prusa i3, with build volume 200x200x180 mm), and one hour and 49 minutes later there it is:

Our test mount plate, ready to be used! This picture shows it on top of 15.6" notebook just to give you a sense of scale, we won't be putting notebook in a trashcan ;-)
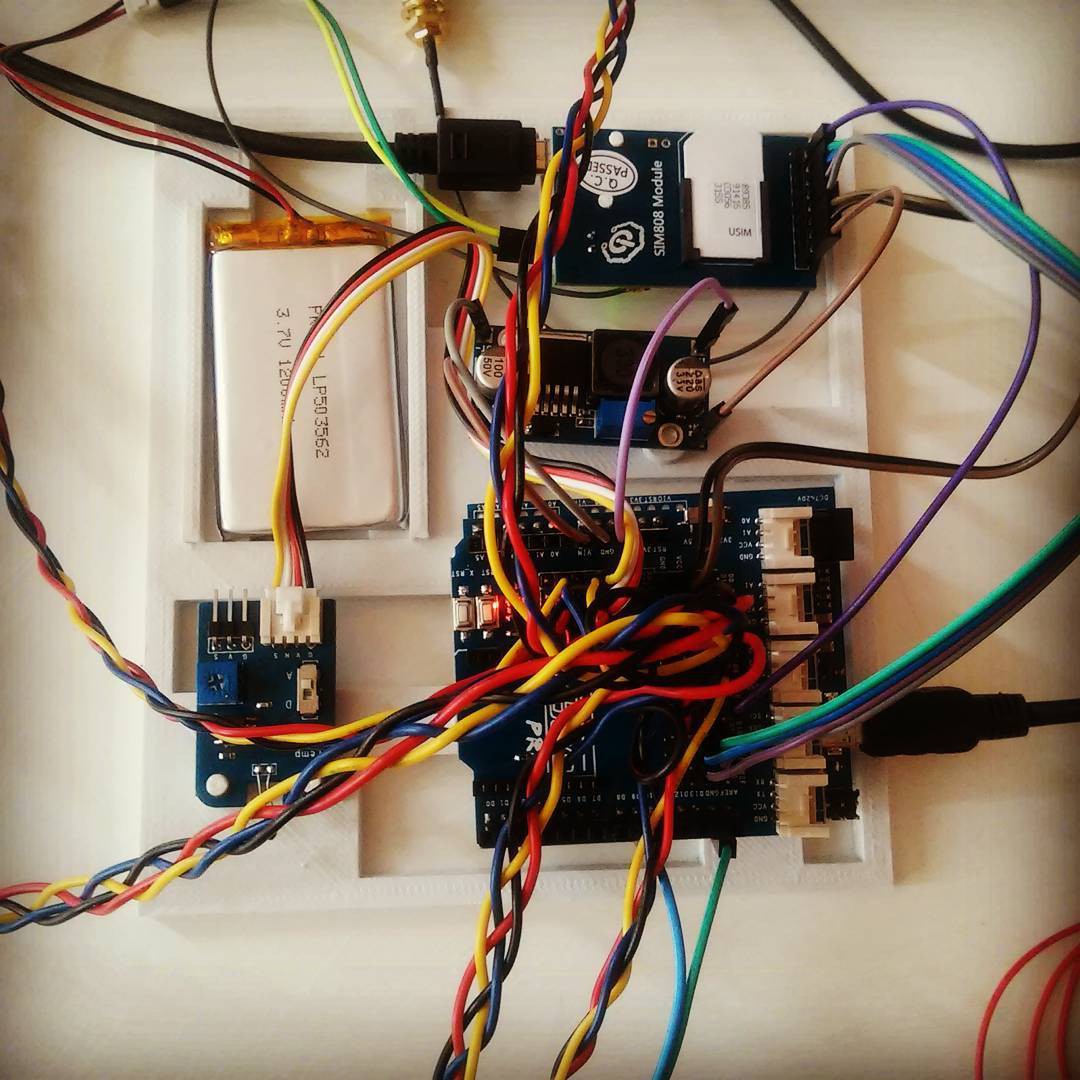
So, finally, we put all the pieces together, and they fit! As you can see, our floor plan works, design of controller box can begin. Of course, five small boxes have to be made for HC-SR04 housing, but that is a much easier task.

 Tomislav Preksavec
Discussions
Become a Hackaday.io Member
Create an account to leave a comment. Already have an account? Log In.