How it Works
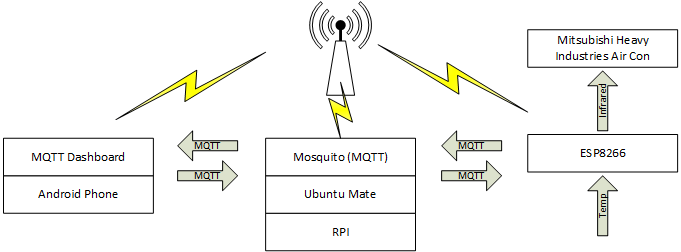
Essentially the ESP8266 has a temp sensor that reads the temp in the baby's room periodically, this reading is reported via MQTT to Mosquito. The phone has a generic client I got from the Google store configured to subscribe to these messages. The Client also is configured to be able to send MQTT messages to control the aircon. The ESP subscribes to the control messages, and sends appropriate IR signals to the Aircon to make the adjustments.
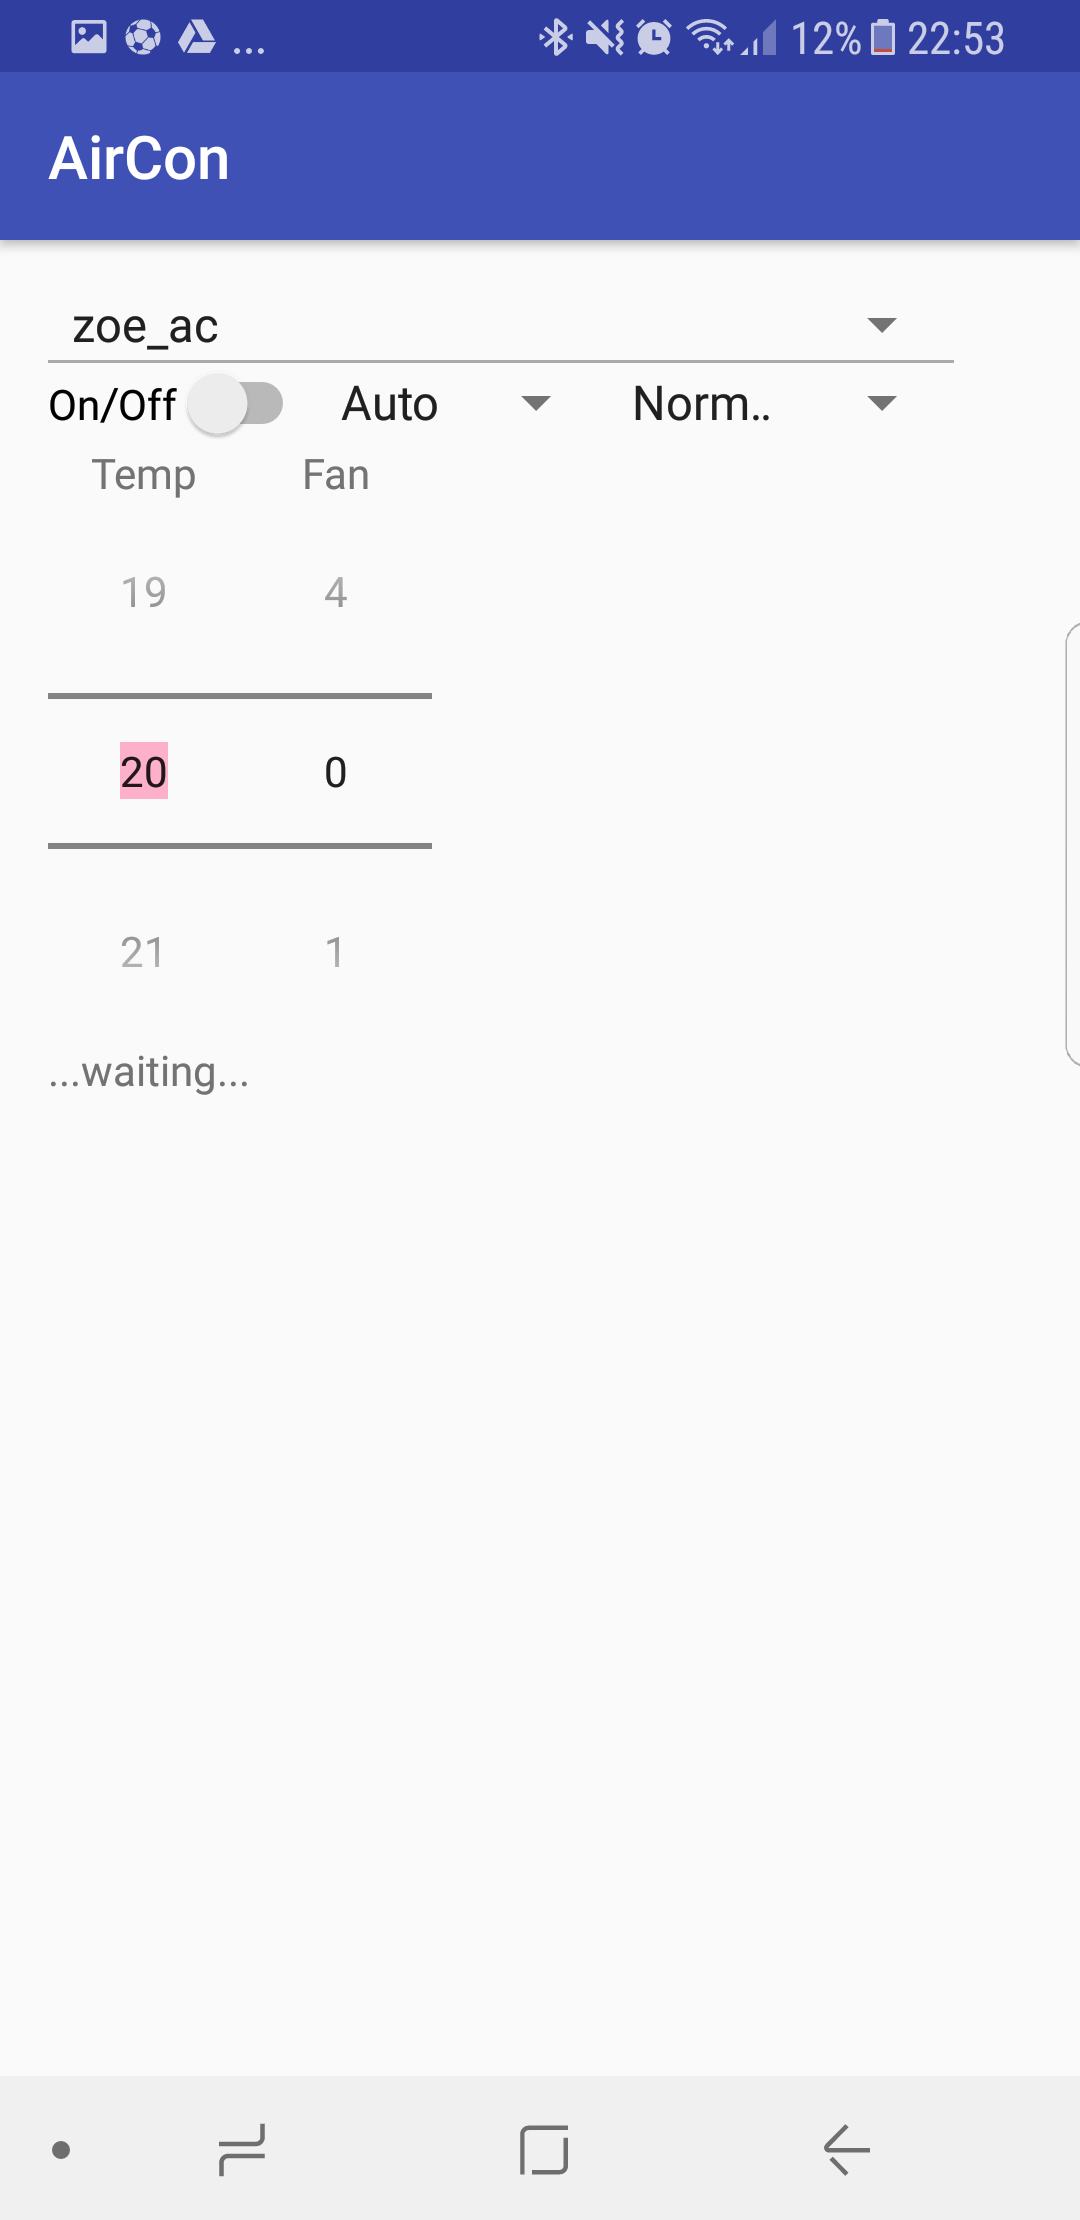
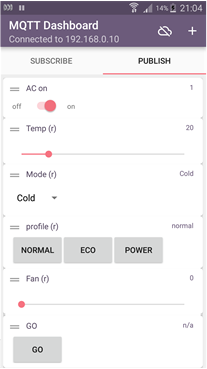
Android MQTT Client
Air conditioners use HVAC signal, which means they are state based not event based. The entire state of all settings are sent each time any commands are sent. Unfortunately the available MQTT clients do not deal well with HVAC - controls are bound to one value and thus event based. This means until I have enough time to write myself a HVAC MQTT client for Android, I will have to maintain state somewhere else in the system. At the moment the ESP maintains this state, in a somewhat clunky manner. Settings are send one at a time, but applied as a group once the "go" command is sent. This is not great form a user-ability perspective, and order of commands is important.
Mosquito MQTT Broker
I am using a completely vanilla Mosquitto install on a Raspberry Pi running Ubuntu Mate (https://mosquitto.org/). I literally have not configured it all beyond installing it. Note I have not implemented SSL/TSL and am not exposing it to the internet.
ESP8266
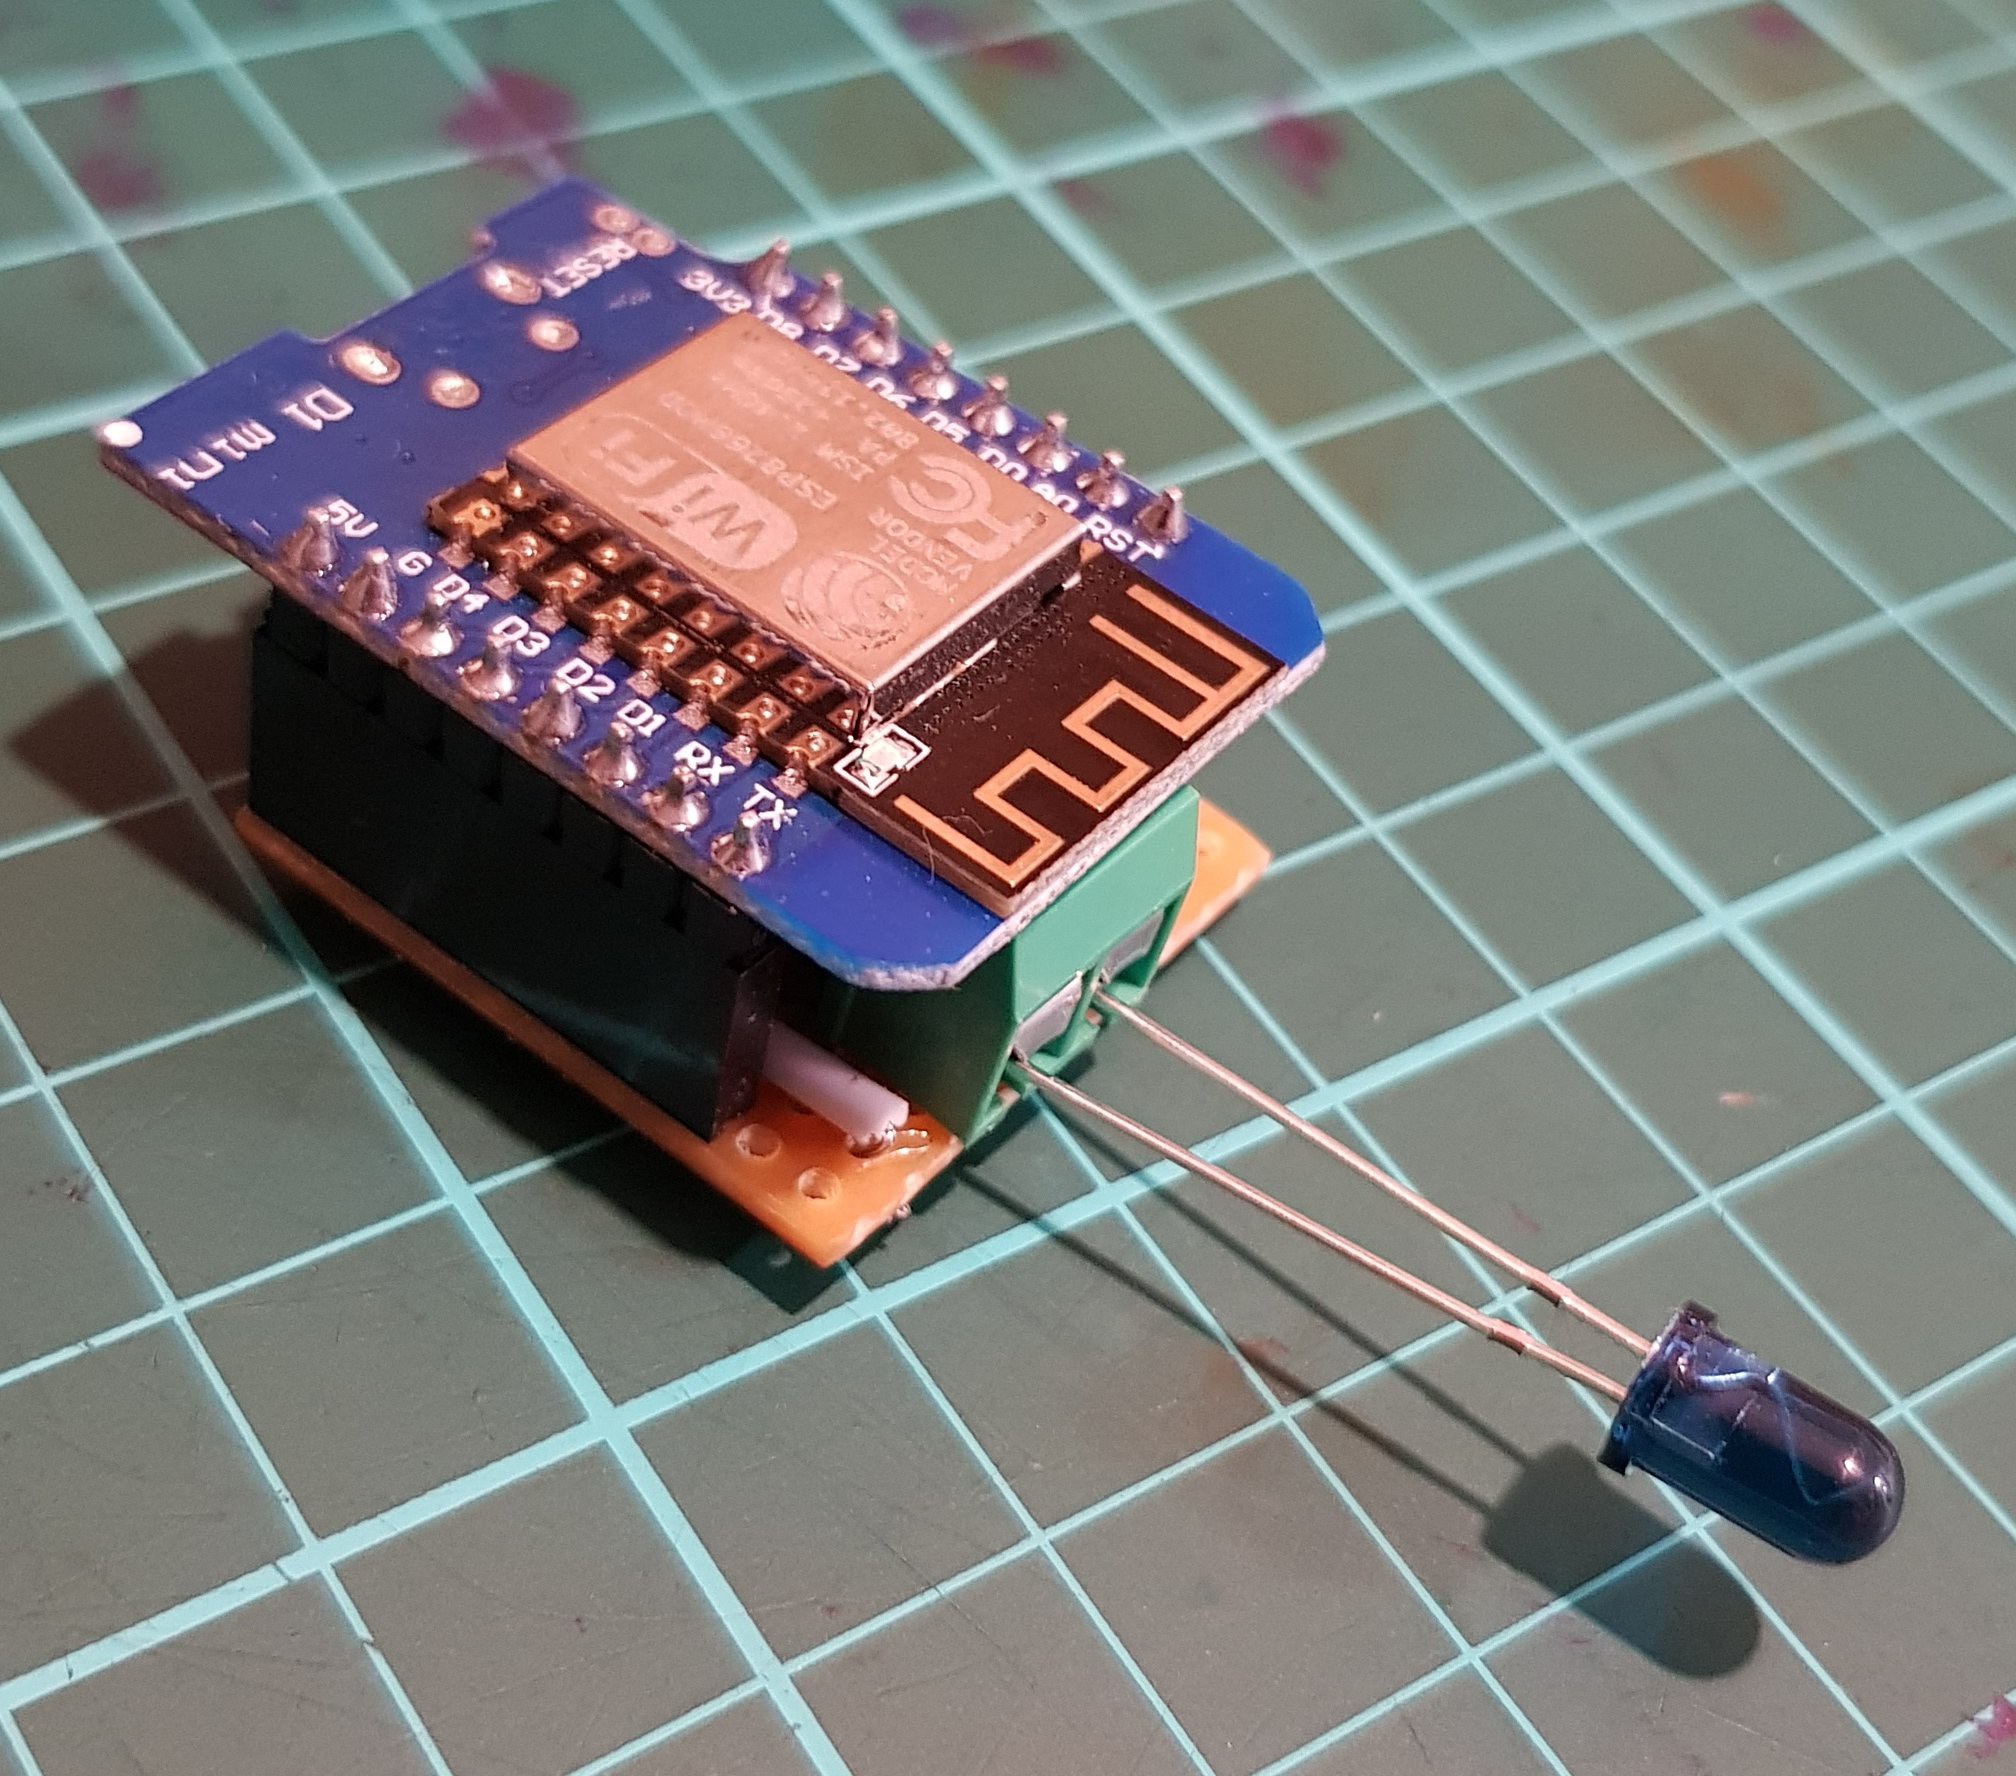
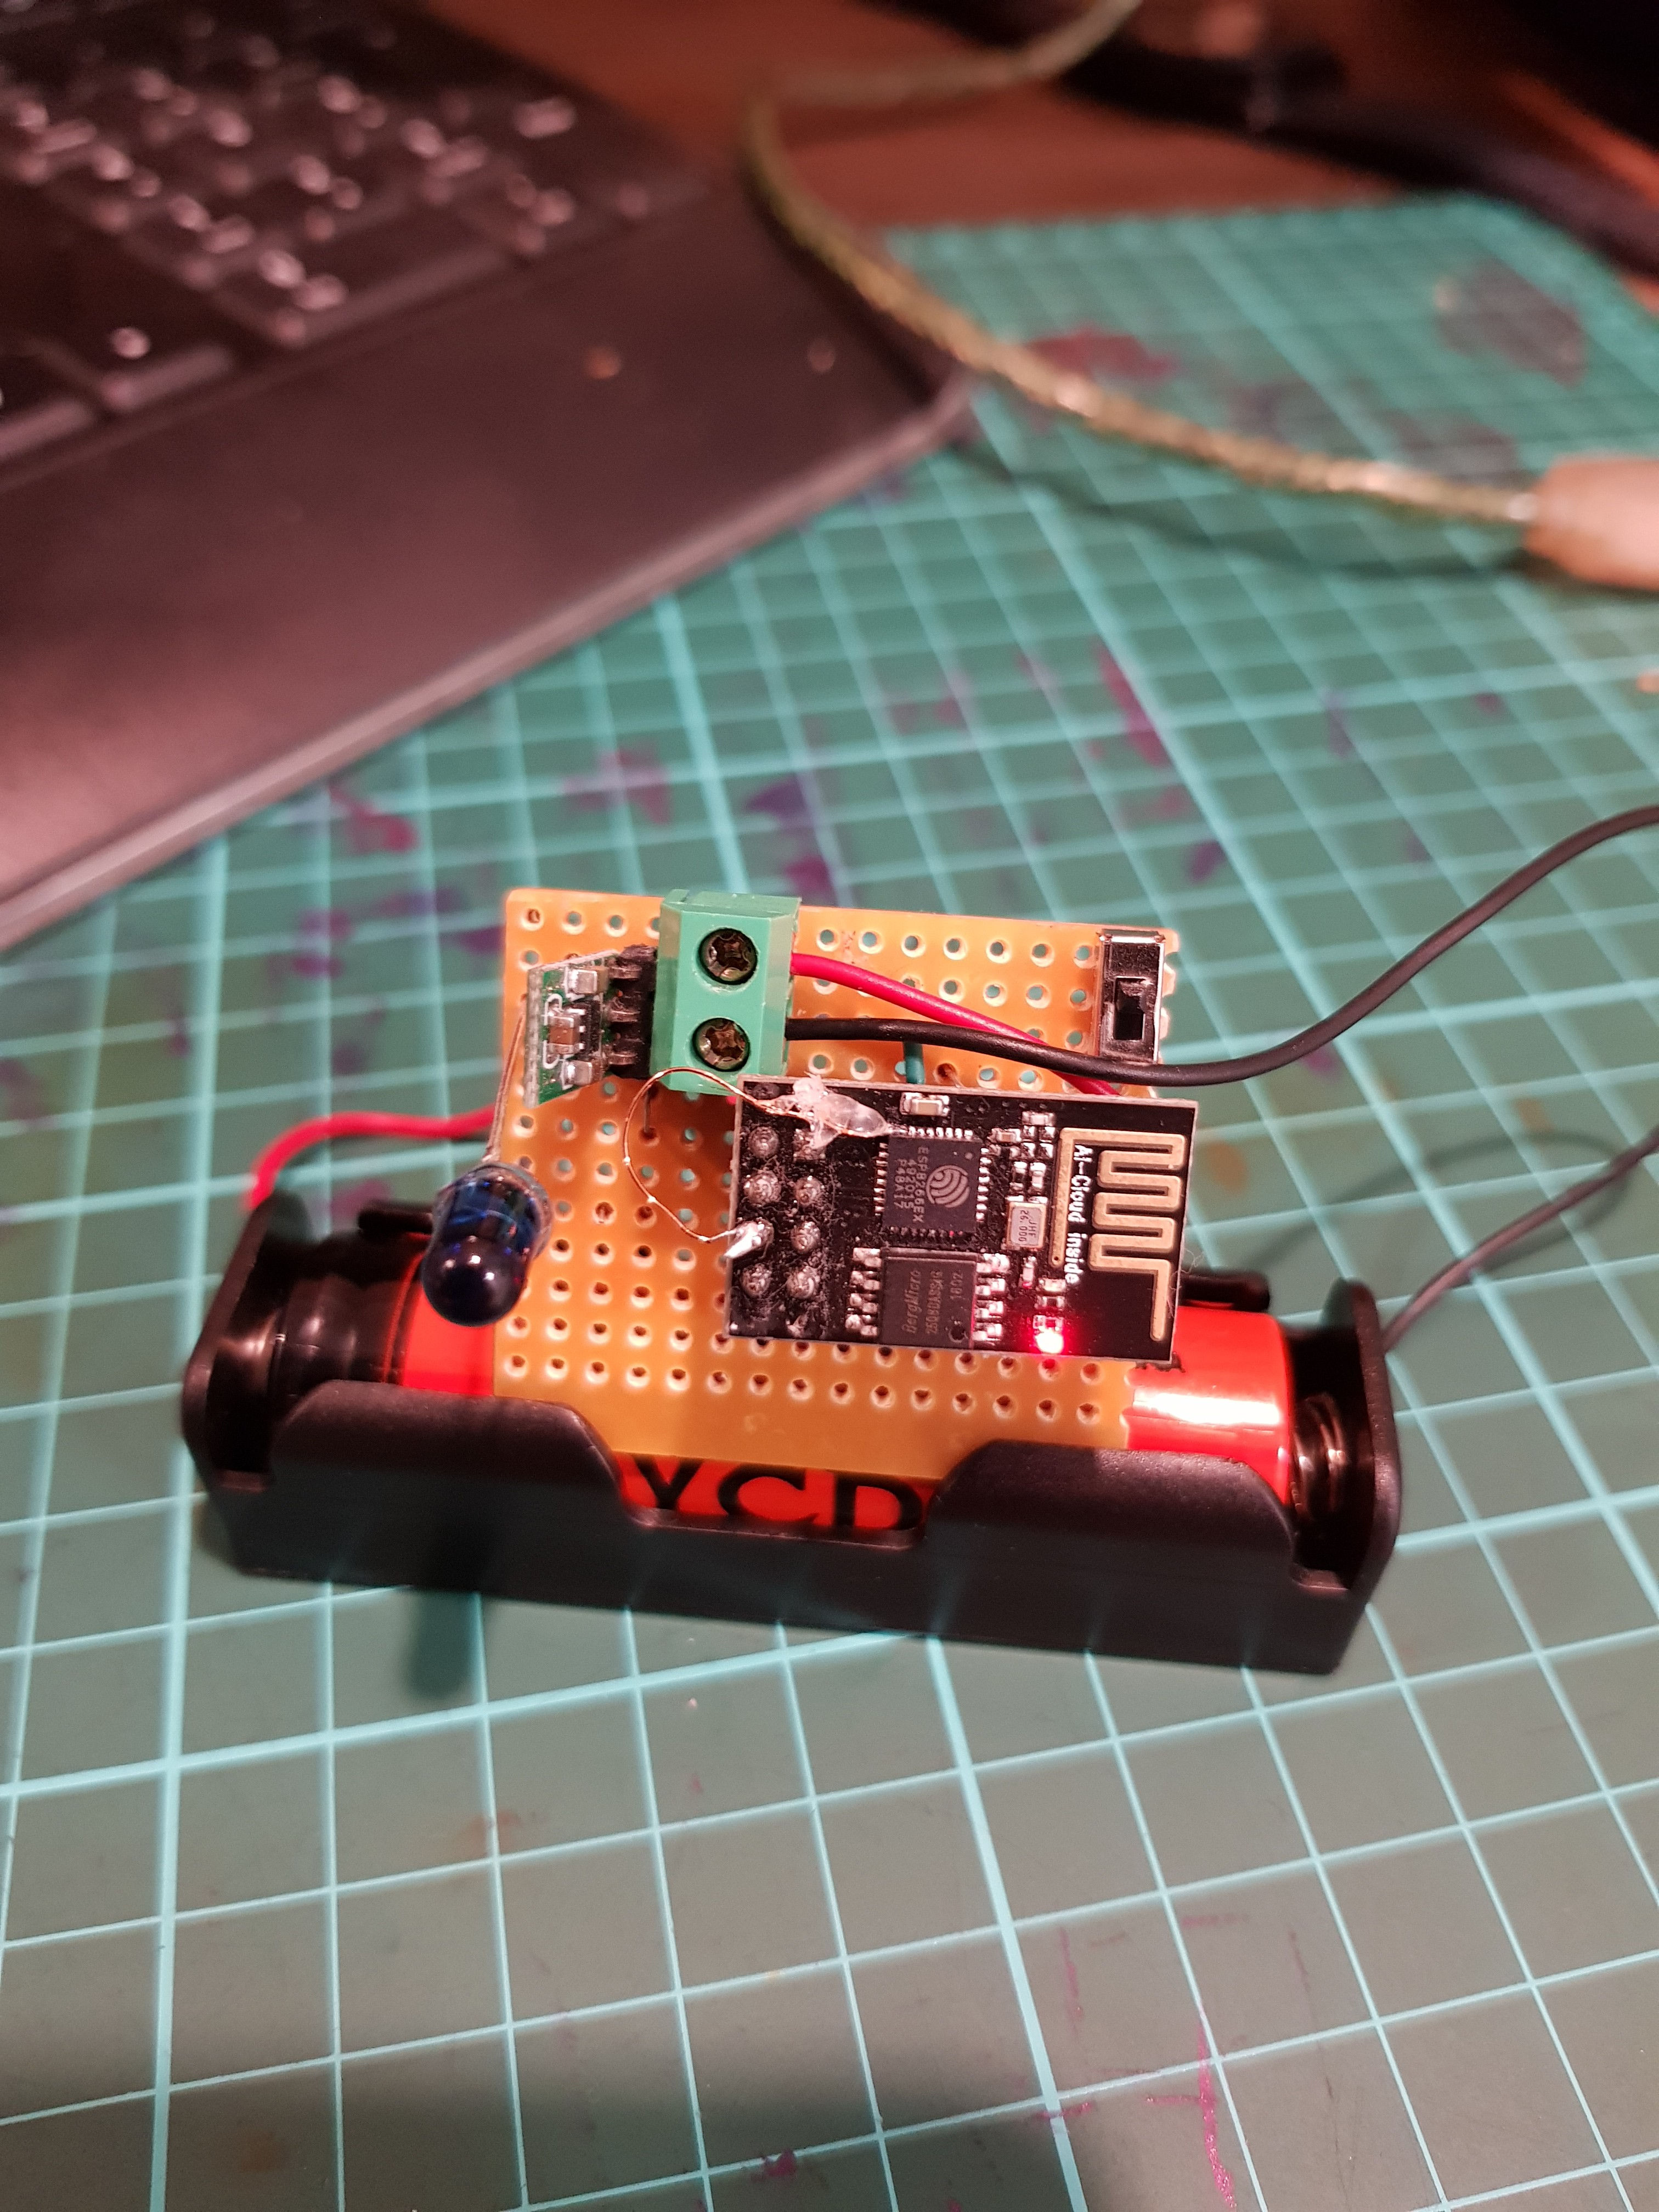
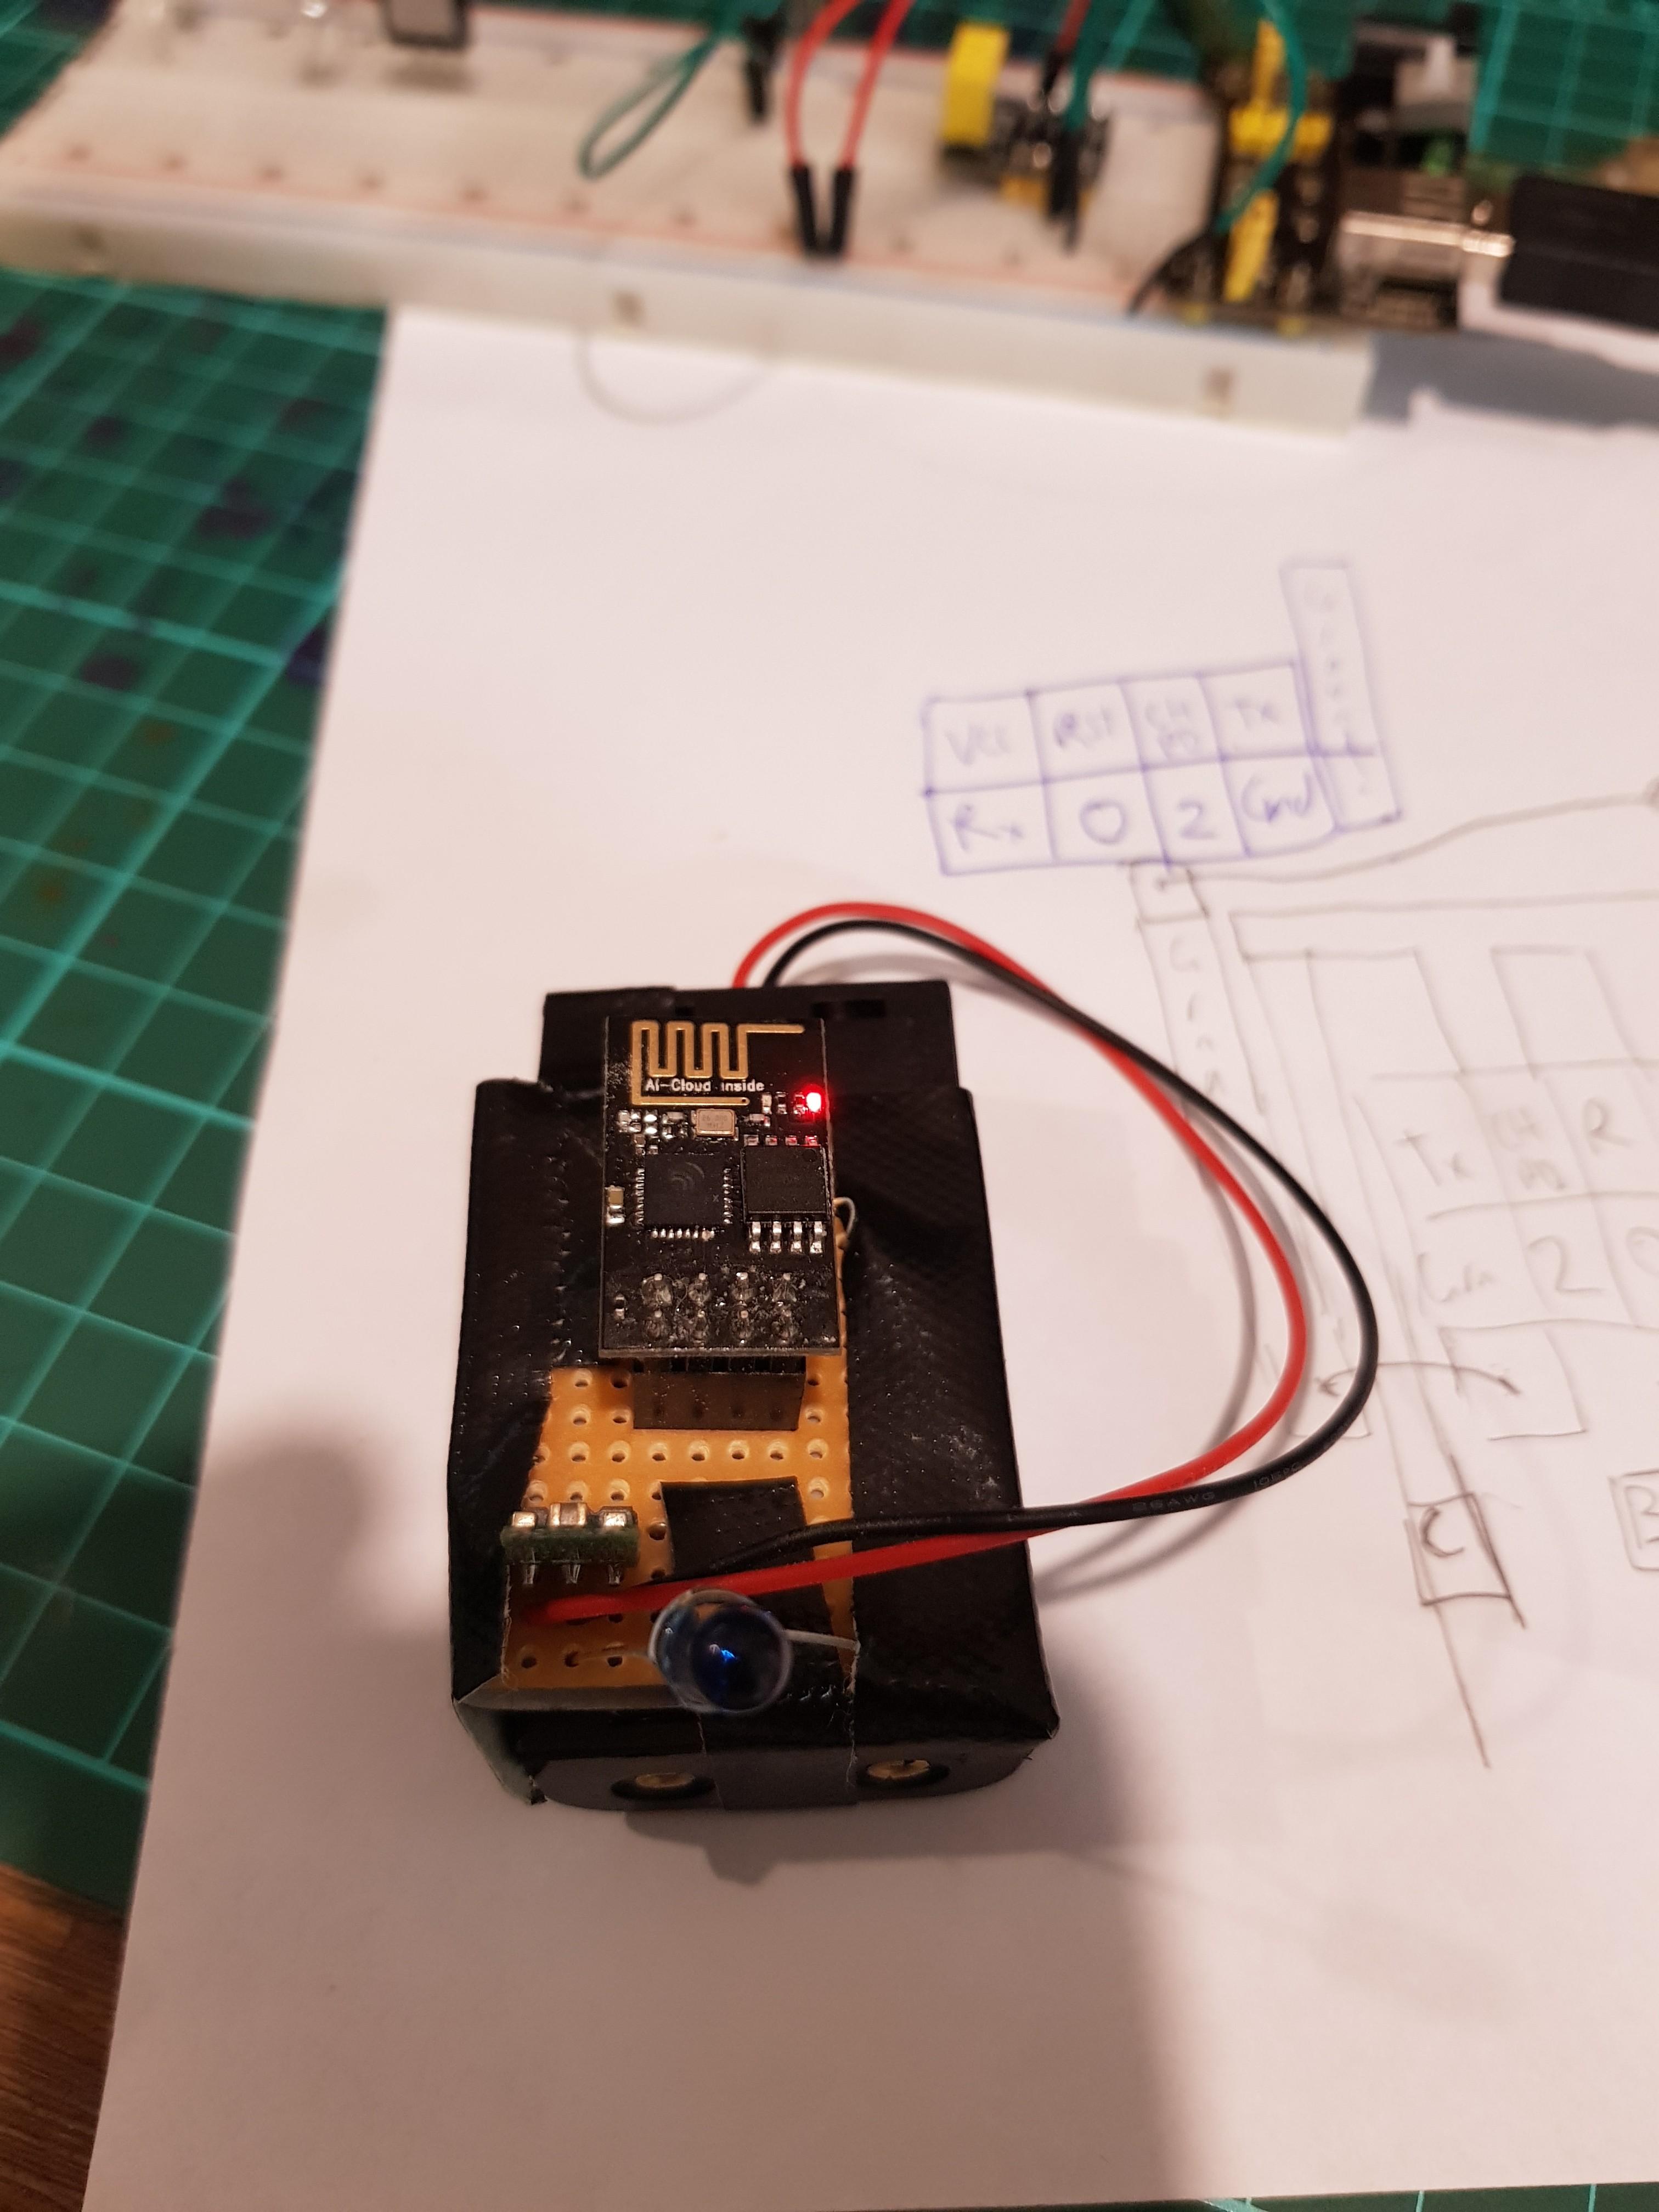
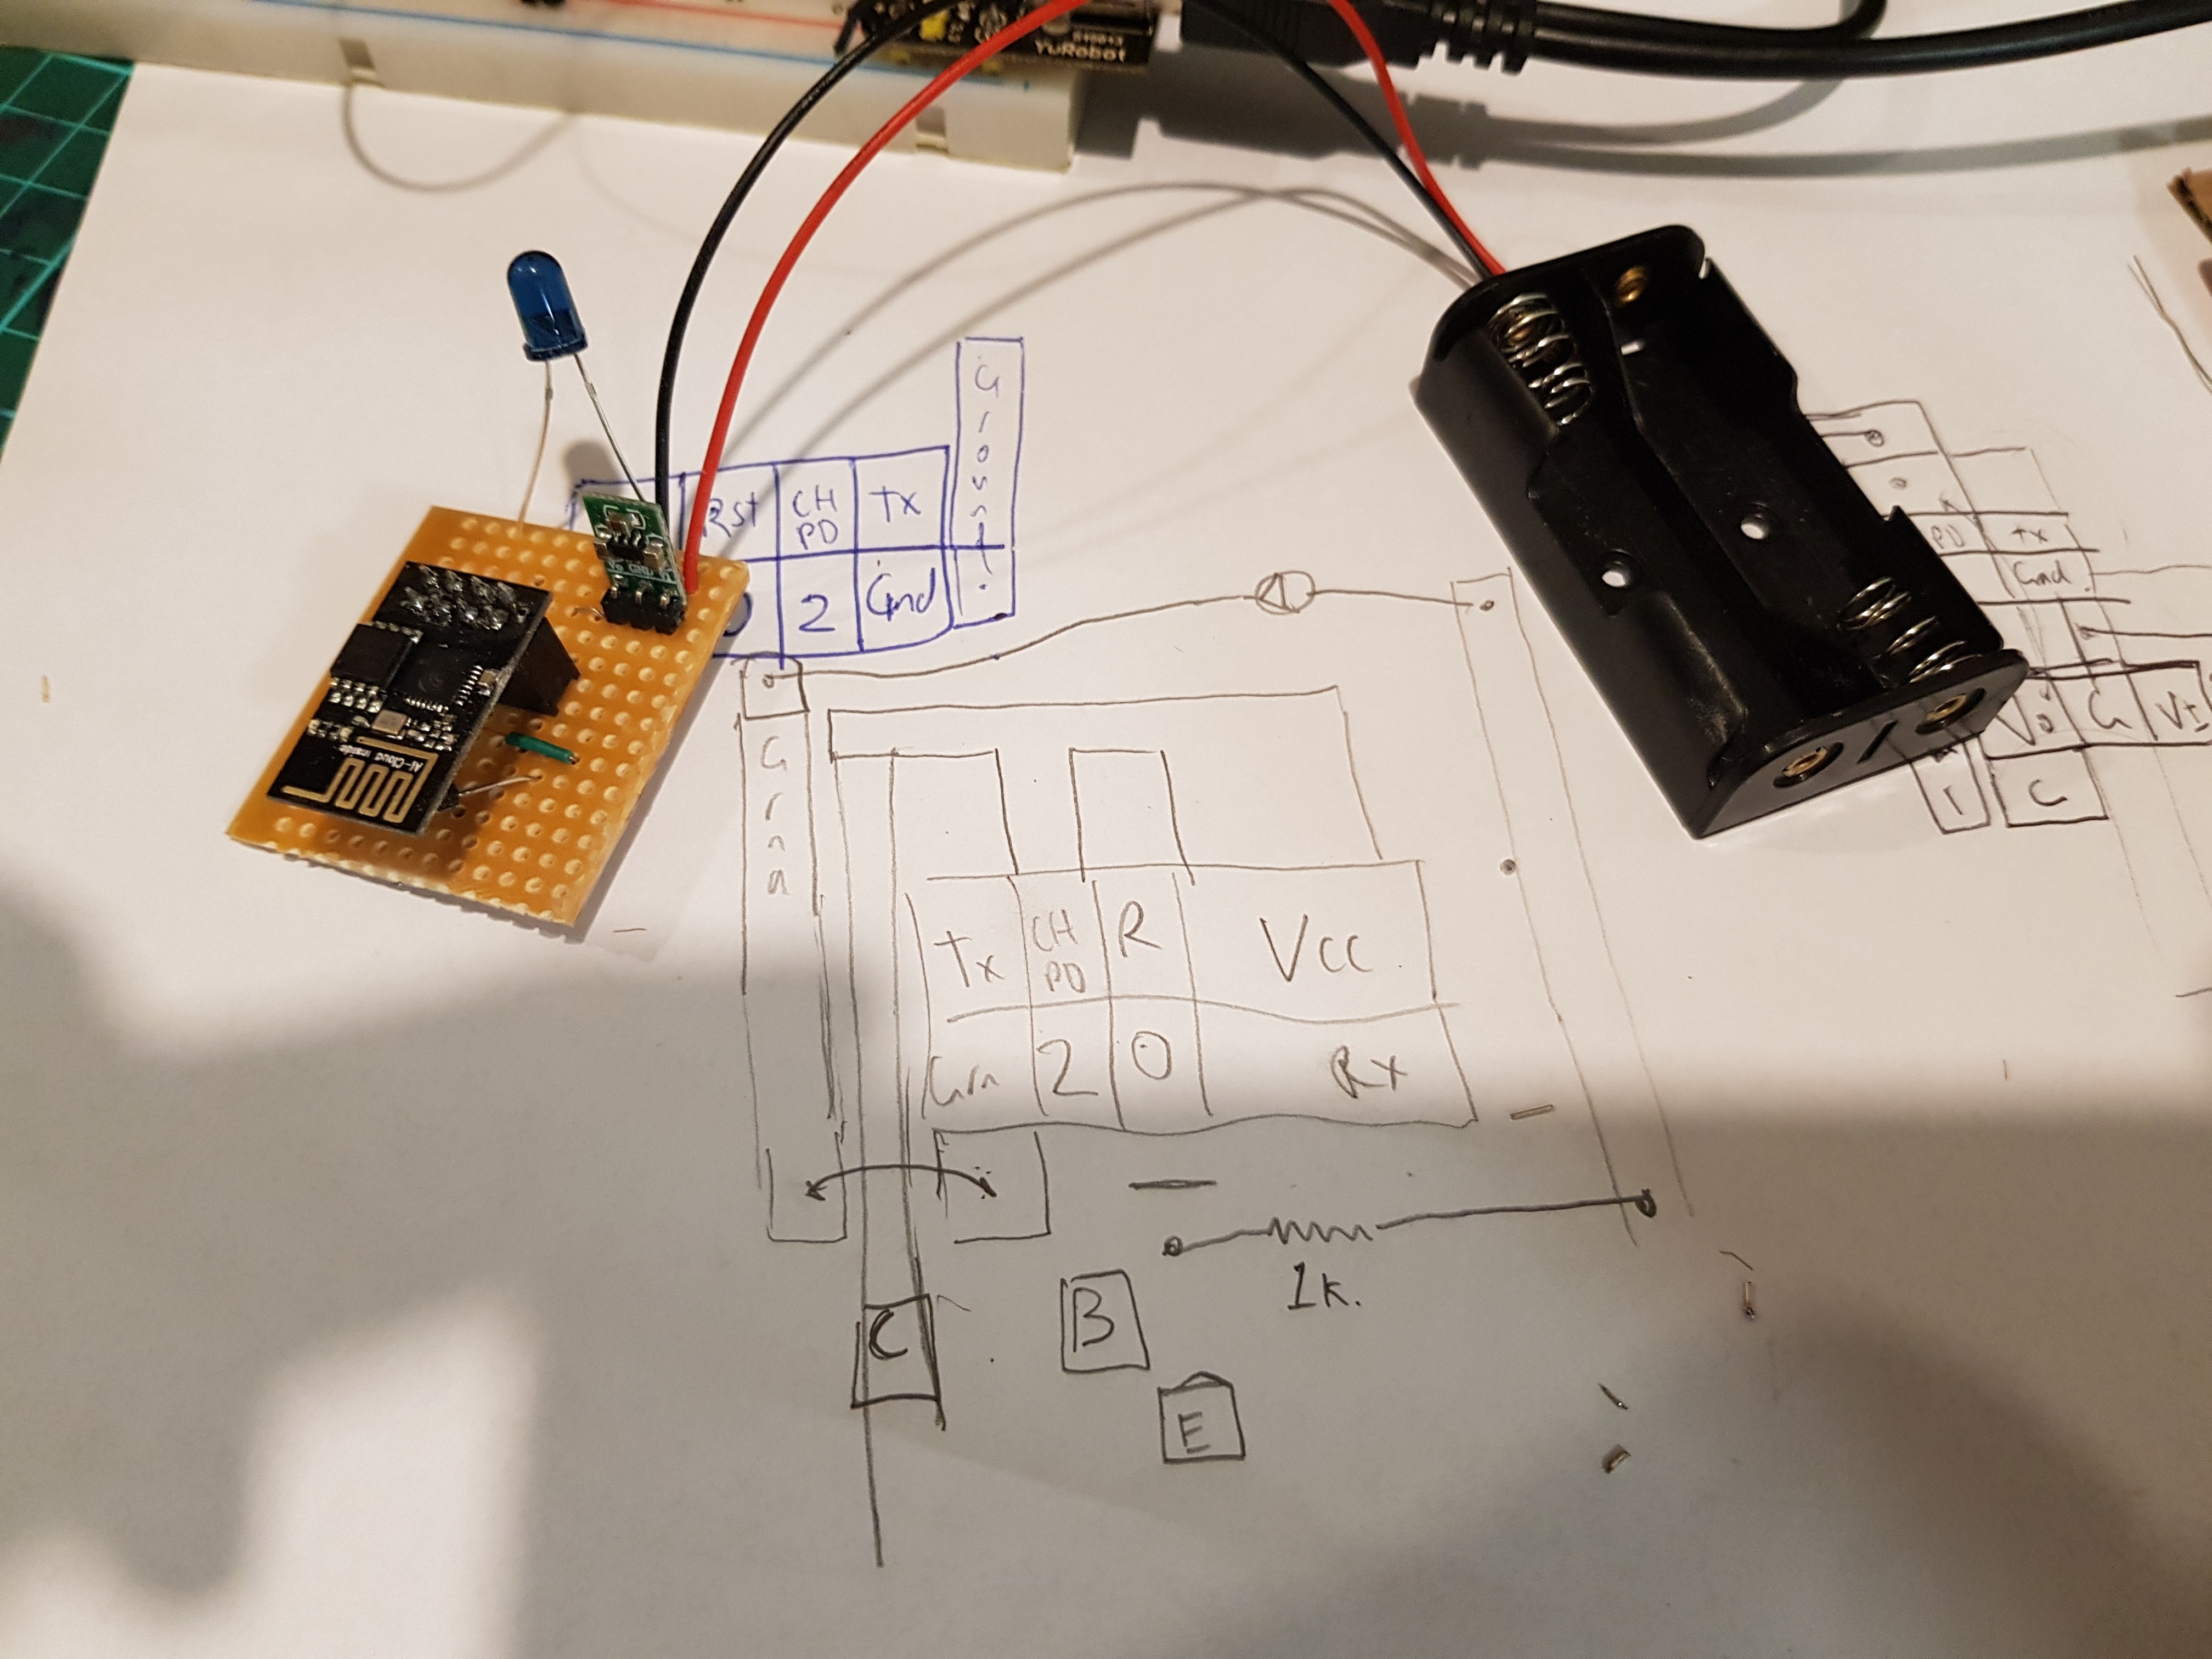
The circuit is based on a nodeMCU ESP-12e, it is a simple setup with a DHT22 sensor and an IR led with resistors. It sits on top of the Air Conditioner head unit, and the IR led is taped next to the IR receiver, and the Temp sensor is taped to the wall, at Baby level next to the cot. Previously I had an elabrate setup with a 12v battery, and a switching transistor, however I got better results with the taped IR led. The setup runs off a small usb powerbank that I know is pretty inefficient, I have orders some battery clips and voltage regulators and would like to improve the power usage.
The code is relatively simple, it establishes a connection to my home WiFi, connects to the MQTT broker and subscribes to the relevant topics. Periodic the temperature is taken and a MQTT message is sent.
The air con unit uses a 19 Byte HVAC IR signal (see the attached files IR Map), so the ESP maintains a 19 value byte array that represents a valid frame. When adjustments to settings are received the relevant Bytes are updated and stored. When a "go" command is received the whole frame is sent to the air con via the IR led.
This is a little clunky, but it does work. I could improve the way it is handled, and may do so, but I'd prefer to improve the client so it can send HVAC frames to the ESP. This is definitely and area for improvement.
I also plan on using the chips deep sleep to wake up periodically, however I will need to research how to store state data to survive the reset, possible in RTC memory.
Decoding the Mitsubishi Heavy Industries IR signal
Initially I searched the net, to try to find someone who had already decoded the MHI IR signal, I even tried the Mitsubishi electric codes, but alas nothing worked. So I bit the bullet and bought AnalysIR (maker edition) and set about decoding the signal myself. A quick circuit with an arduino nano and an IR receiver and I was in business. I followed the process documented on the AnalysIR website, where a different button on the remote is pressed one at a time, and the changes between each frame highlighted. Through this process it was quite easy to decode the IR signal, and get it into hex values I could manipulate.
Next Steps
- Write HVAC capable MQTT Android client / or Raspberry PI hosted HTML5 client.
- Redesign ESP8266 circuit to save power, and include sleep and store data that survives
- Separate Temperature sensor into separate device
Credits
Upfront I want to say that I haven't really broken new ground, I've essentially stitched together a bunch of different blogs, youtube videos, tutorials, etc....
Read more »