Structure Changes:
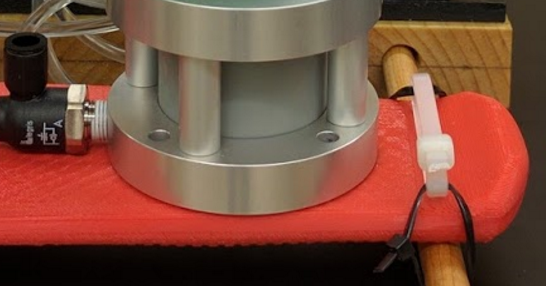
The structure has gone through a few changes with the addition of a new damper and hydraulics. The bottom of the foot was modified first to accommodate the new damper. The damper’s diameter was within the width of the bottom of the foot, so only six holes were needed to secure the damper to the bottom of the foot.
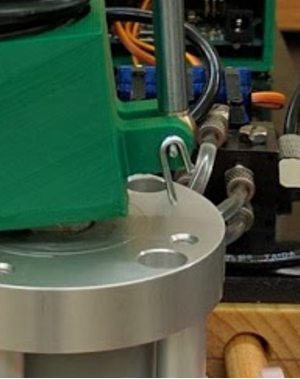
The top of the foot was sculpted to get rid of some unnecessary excess plastic and a mounting hole for the damper was added right underneath the bottom of the ball joint. Three mounting locations were added to the top of the foot for the hydraulics. Two mounts were added right above the hinge at the front of the foot while a third mount was added to the back of the ball joint block. The mounts had to be adjusted a few times to allow for proper clearance of the hydraulics through their entire range of motion.
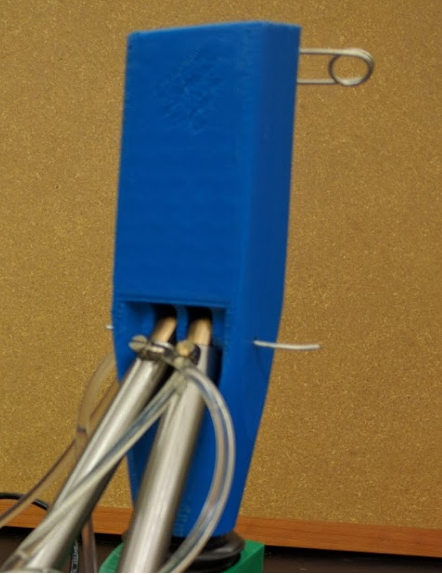
The biggest change was to the ‘shin’ or area above the ball joint of the foot. With the new damper fitting entirely below the ball joint, there was no need to have a hollow tube to encase the damper. The group made this solid with three mounting locations for the hydraulics. Printed into the bottom was a thread to allow the ball joint to be screwed into it. The idea behind the shape of the ‘shin’ was to allow for future components to be added (or mounted) onto it. These could include the hydraulic power plant (once it is scaled down to size), hydraulic reservoir, electronic components, battery, gait analysis microcontroller and more. The only future modification that would be necessary is the addition of an approved prosthetic joint at the top to allow the foot to connect to a prosthetic cup.
Damper Selection:
The damper was chosen exclusively for the following characteristics: dimensions, stroke, and damping coefficient. Because of the size and stroke constraints (the damper should have a damping coefficient in the range calculated, with adjustability as a bonus feature, an outer diameter smaller than the width of the foot below the ankle, should offer at least one inch of stroke, and should be less than three inches in overall length), we wound up purchasing a pneumatic piston.
To make the piston into a damper, a flow control fitting was added to the lower port (the exhaust port when in compression). Changing the damping coefficient is as easy as turning a valve now! This will allow the user to change the “squishiness” of the foot at will.
The upper port (the intake port when in compression) has been plugged to prevent unwanted mechanical fouling (dust, debris, liquids, etc.), and will add to the “springiness” of the damper.
Note: A filter should be added to the flow control fitting to prevent/reduce mechanical fouling!
The damper was tested by dropping weights on it. We chose a cluster of weights equal to the project specs (~178 lbs), and dropped it on the damper from a height of six inches to simulate a completely stiff person landing on a single leg after a short jump. The rig we used was designed to drop the weight as vertically as possible on the damper.
Test data indicates that at small loads (>100 lbs), the damper acts more like a spring. This may be overcome with further experimentation. Perhaps a different flow control device would be helpful. Another outcome was the implication that increasing the effective diameter of the damper (the piston diameter) improves controllability of the damping coefficient. Testing was done with and without a spring.
 Aractapod


Discussions
Become a Hackaday.io Member
Create an account to leave a comment. Already have an account? Log In.