Standalone Prototype
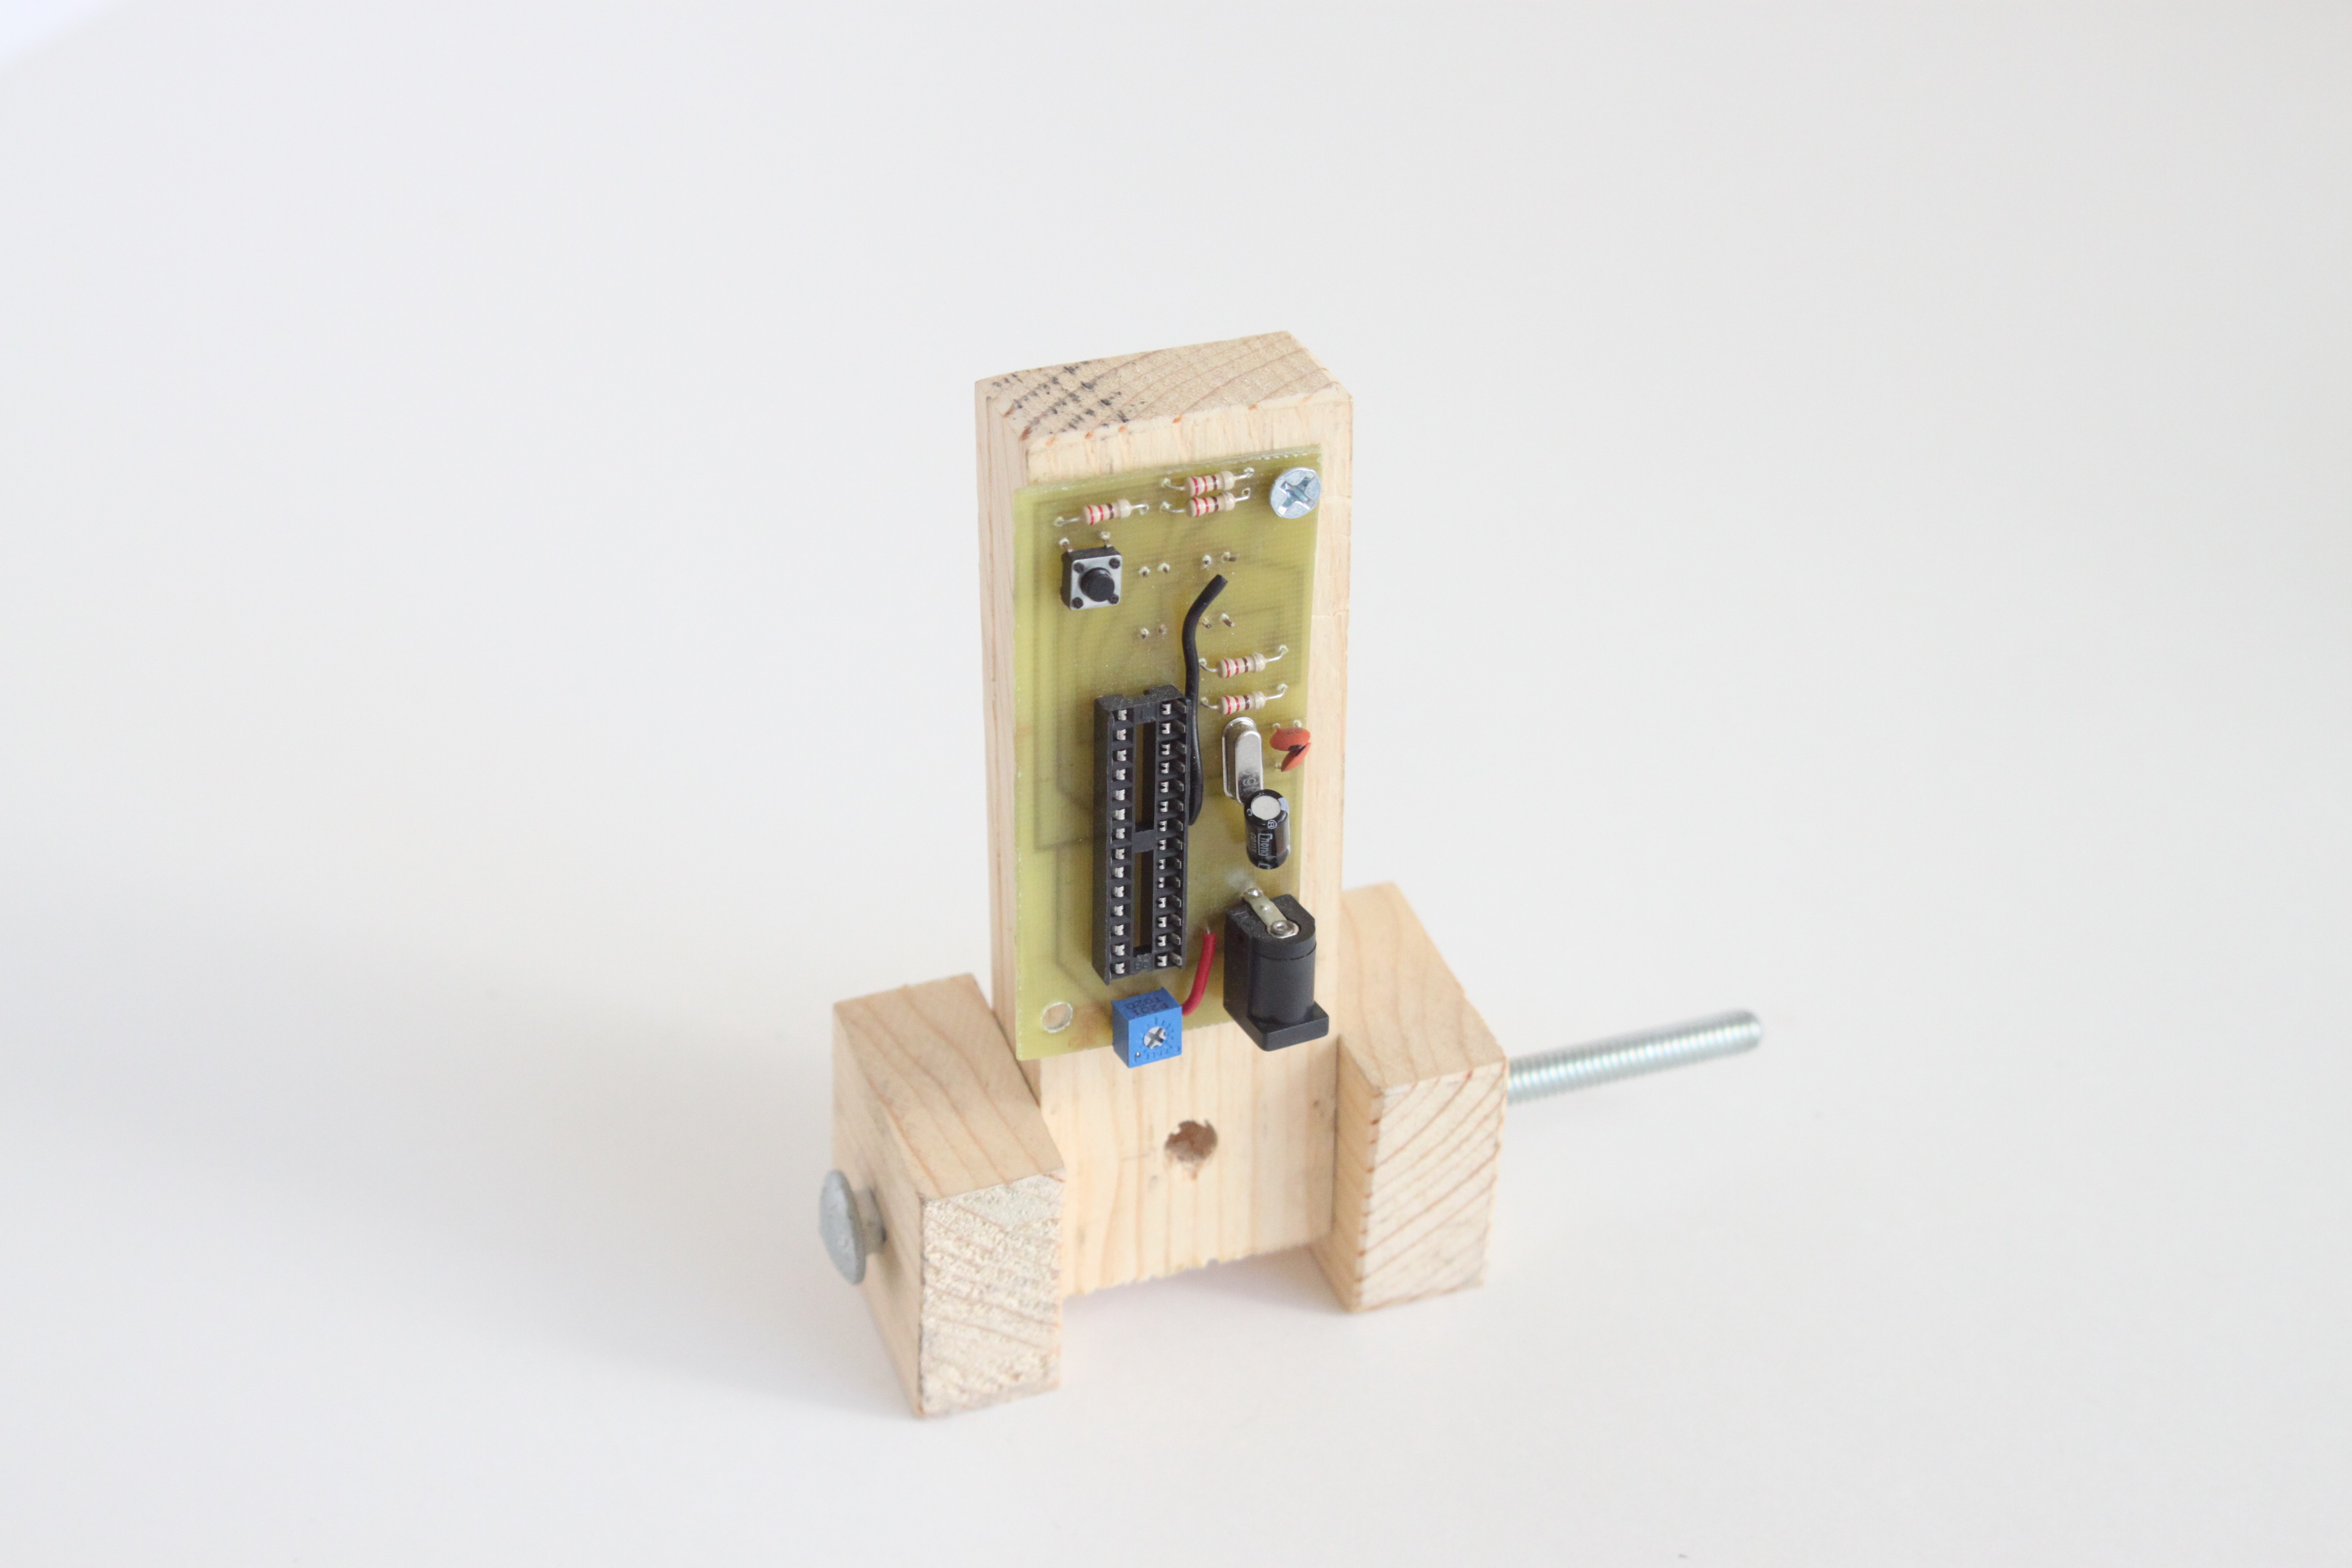
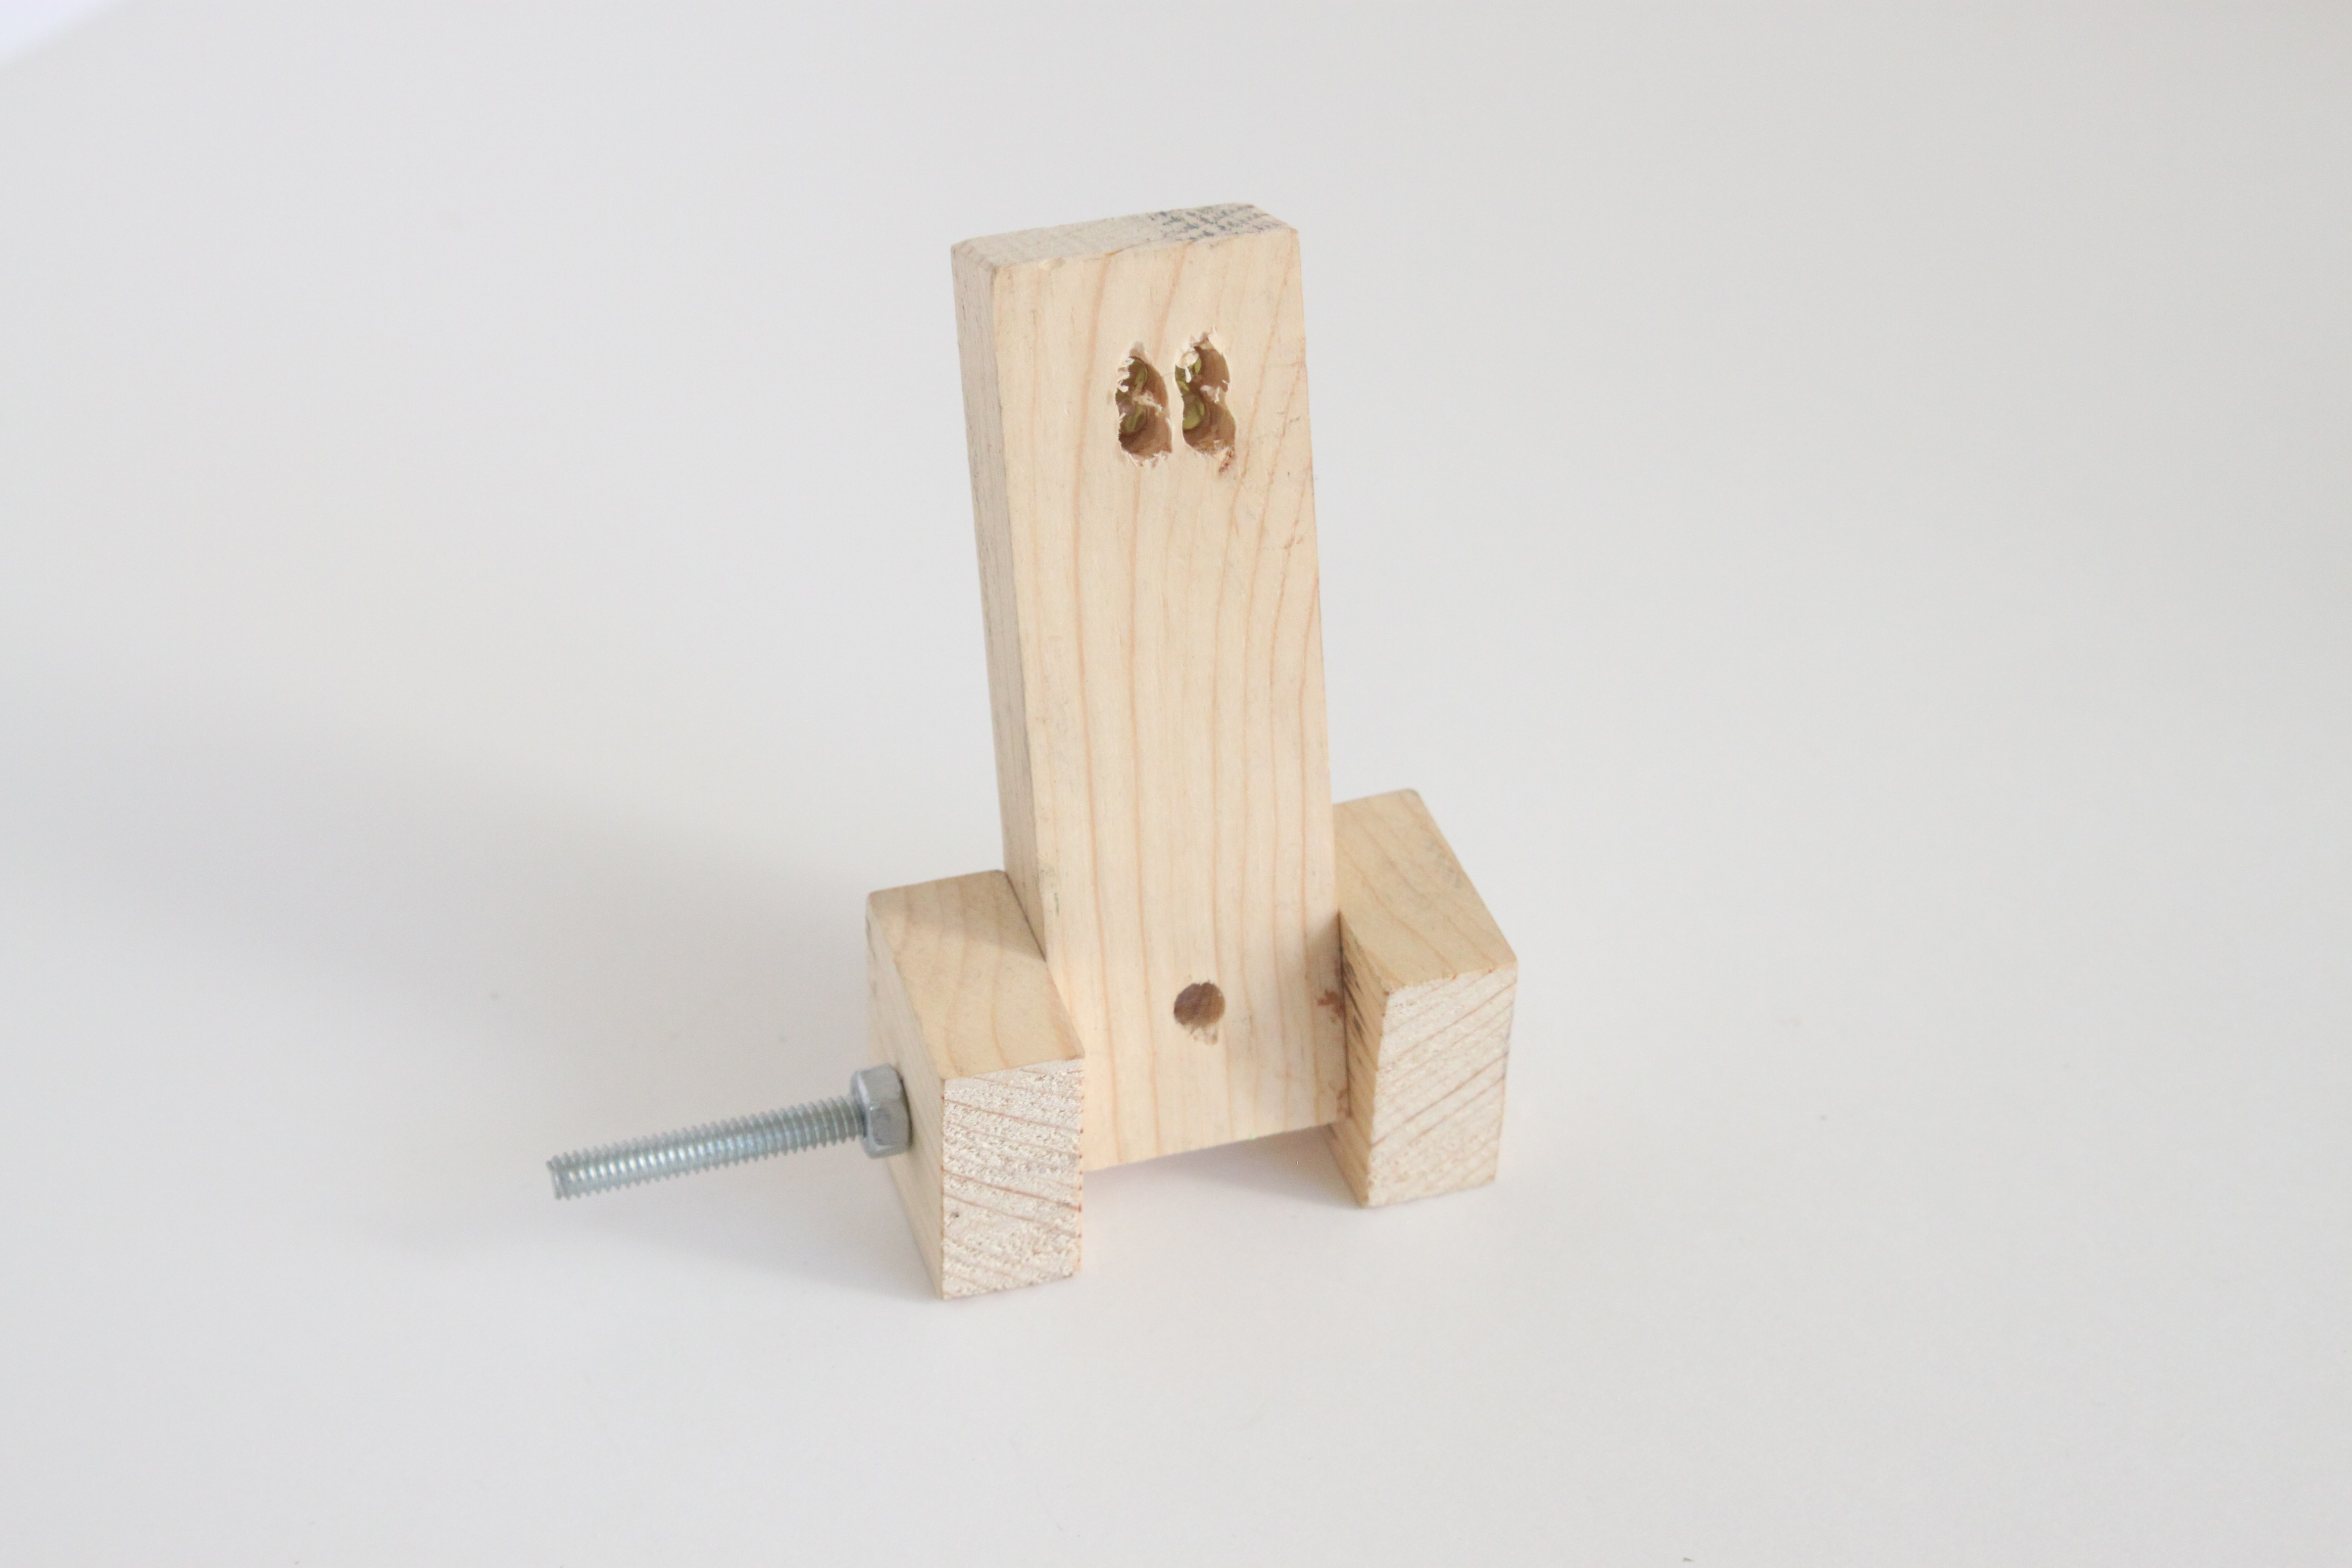
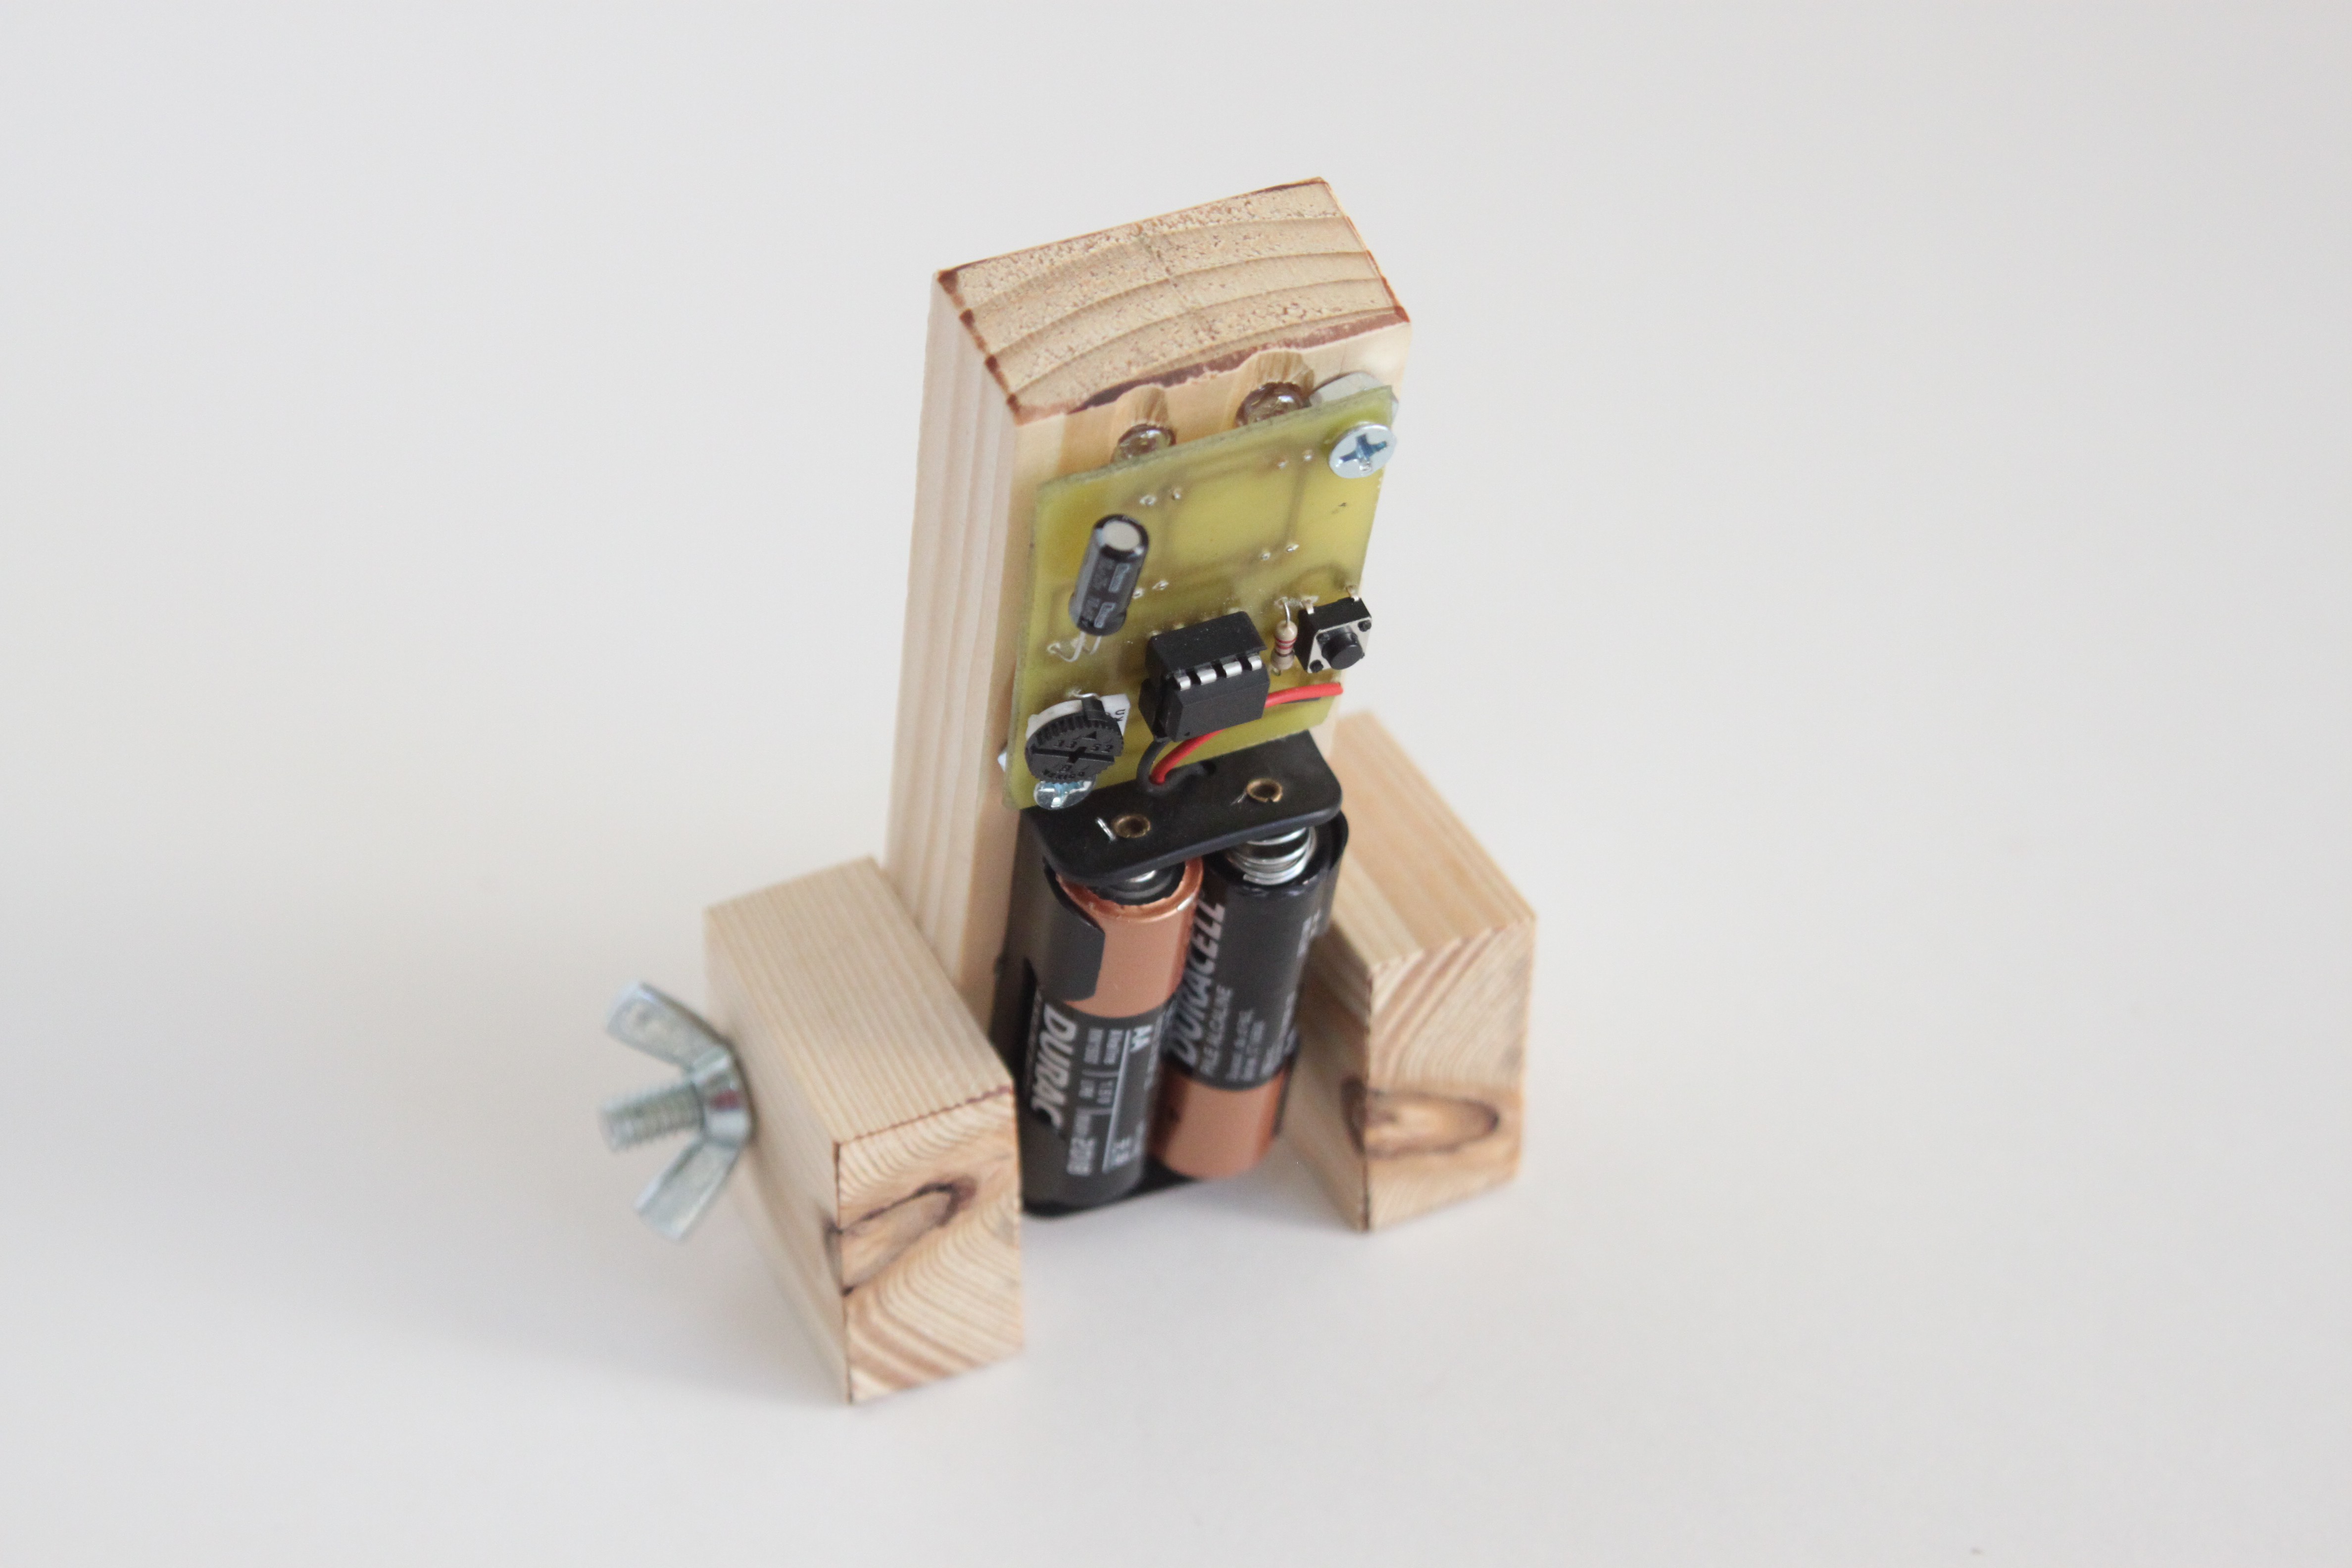
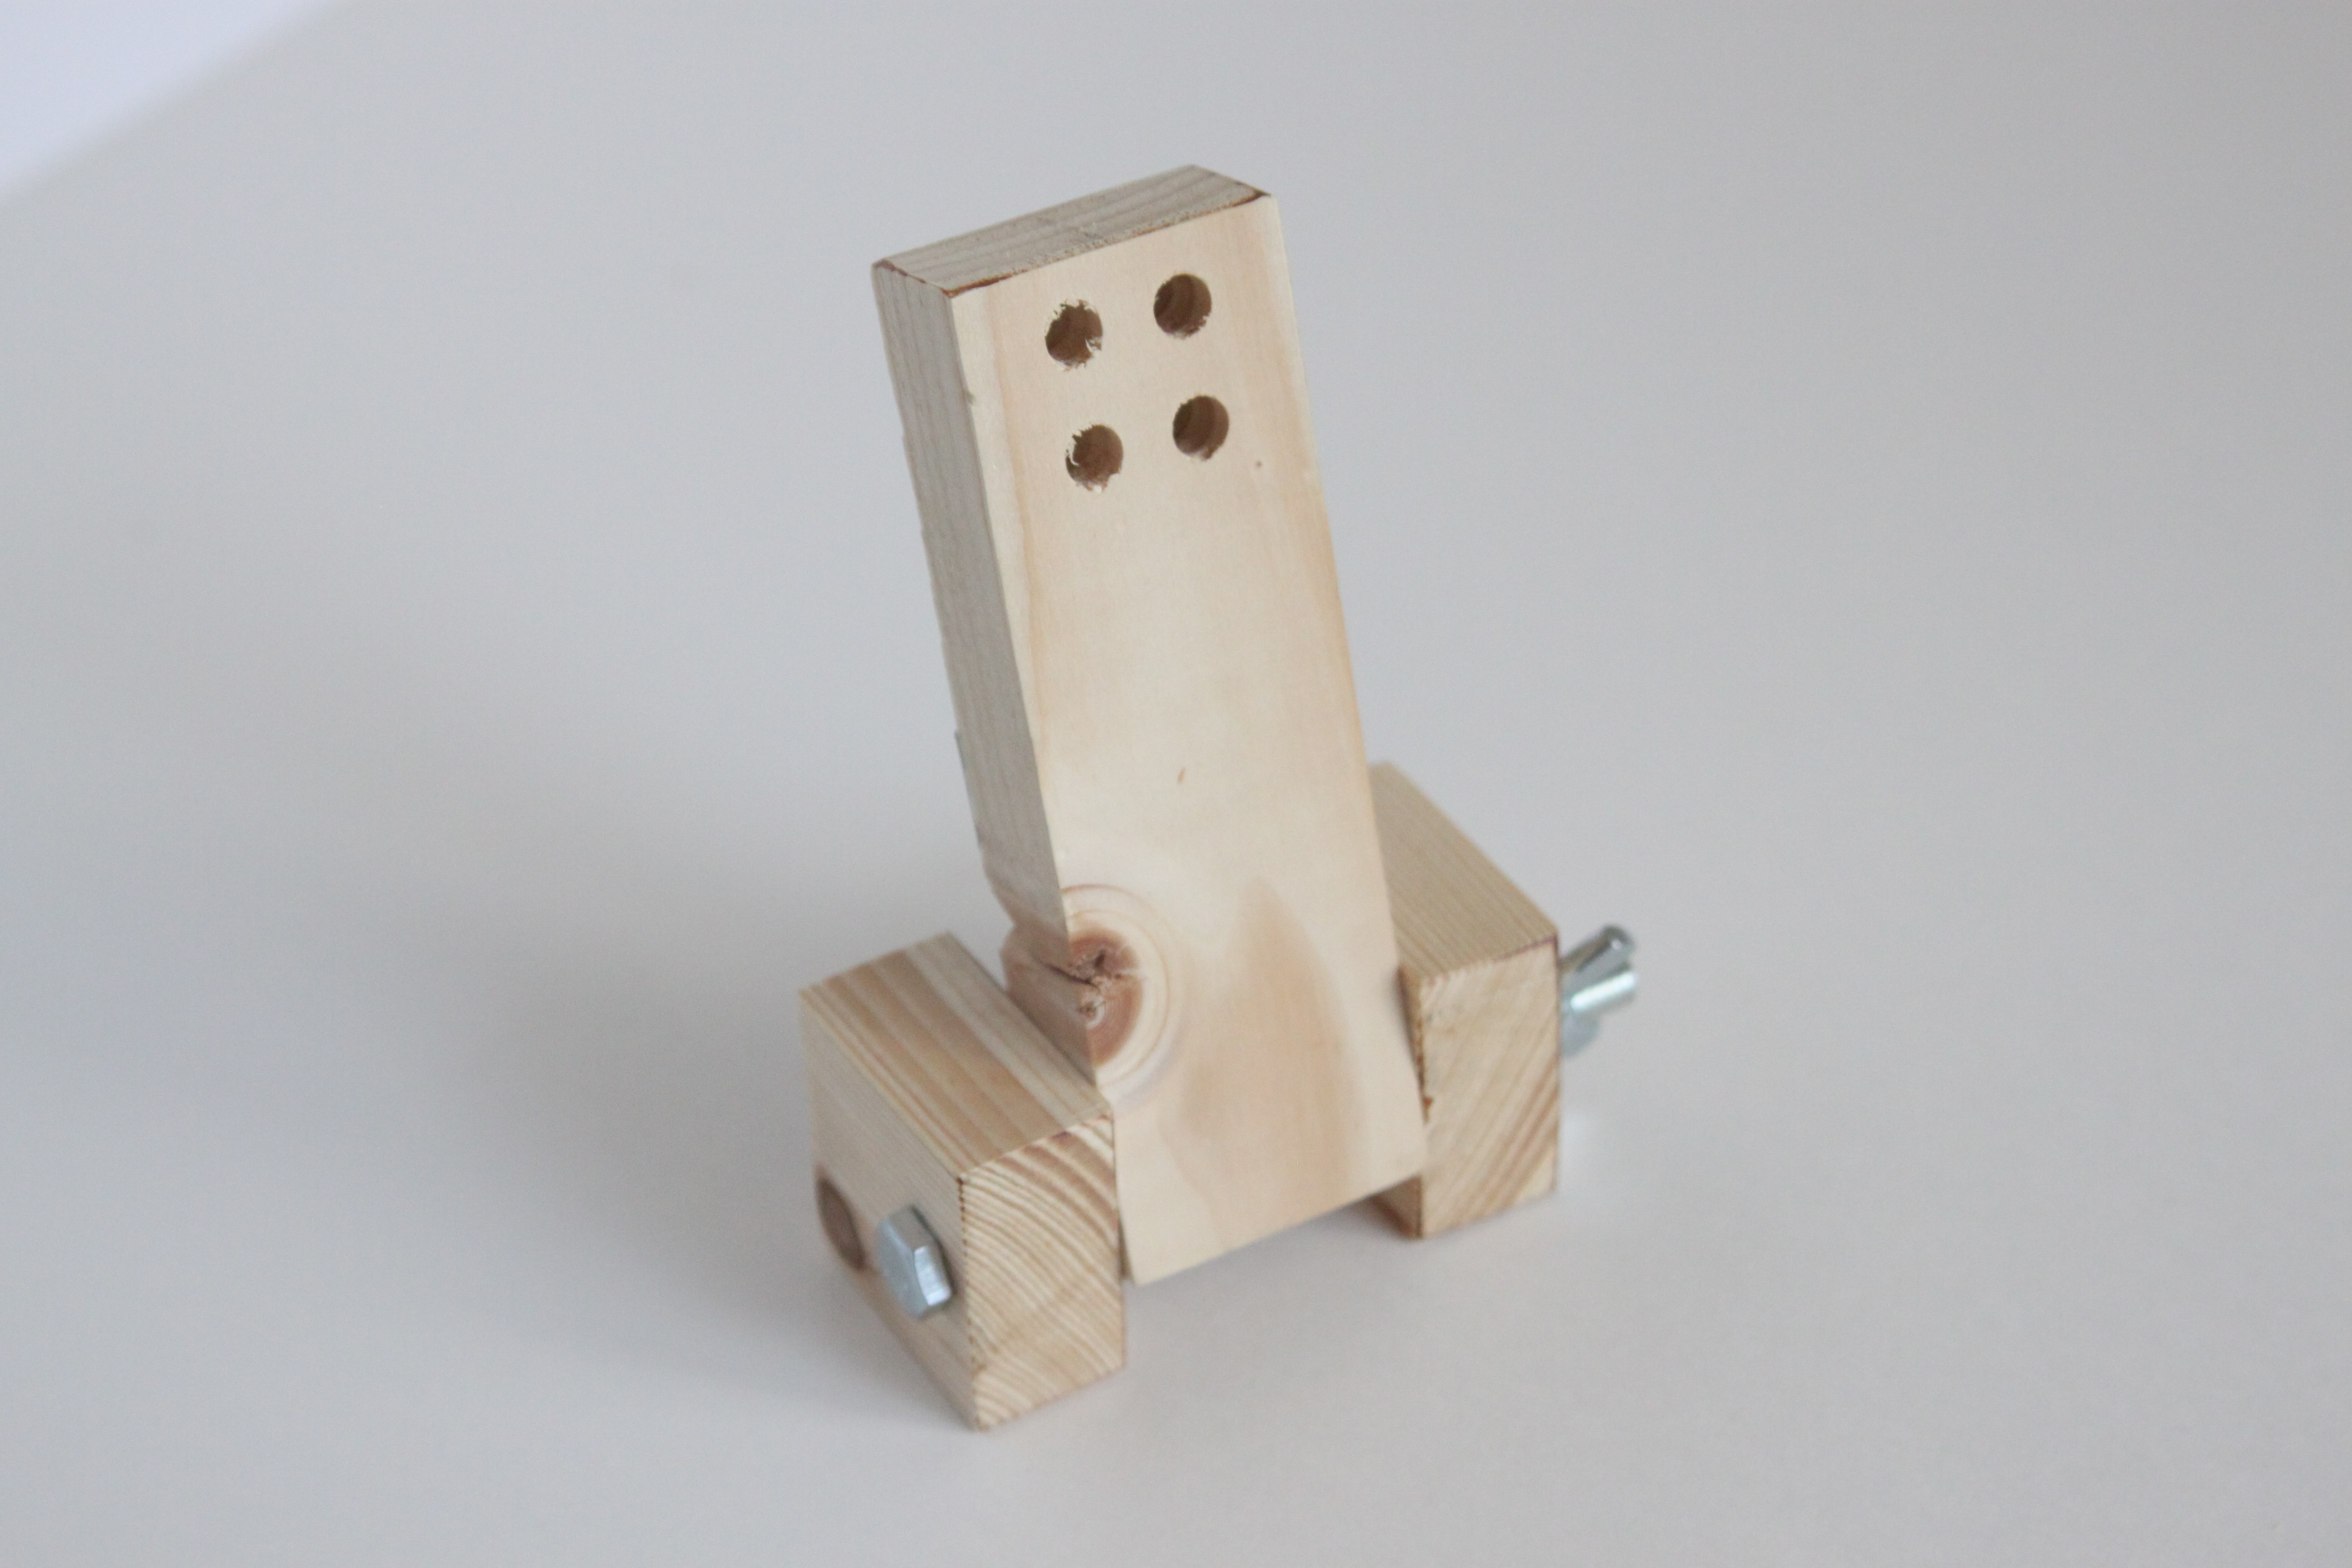
I liked the idea of the Sleep Sensei enough to acid-etch a circuit board for what I breadboarded. I drilled 4 (very rough) holes into my wooden base so that the LEDs would shine through, and had my first standalone prototype!
This prototype used an ATMega328, and it has a standard potentiometer to adjust the brightness. The button would allow you to switch between 4 durations of sleep coaching.
The First Decent-Looking Prototype
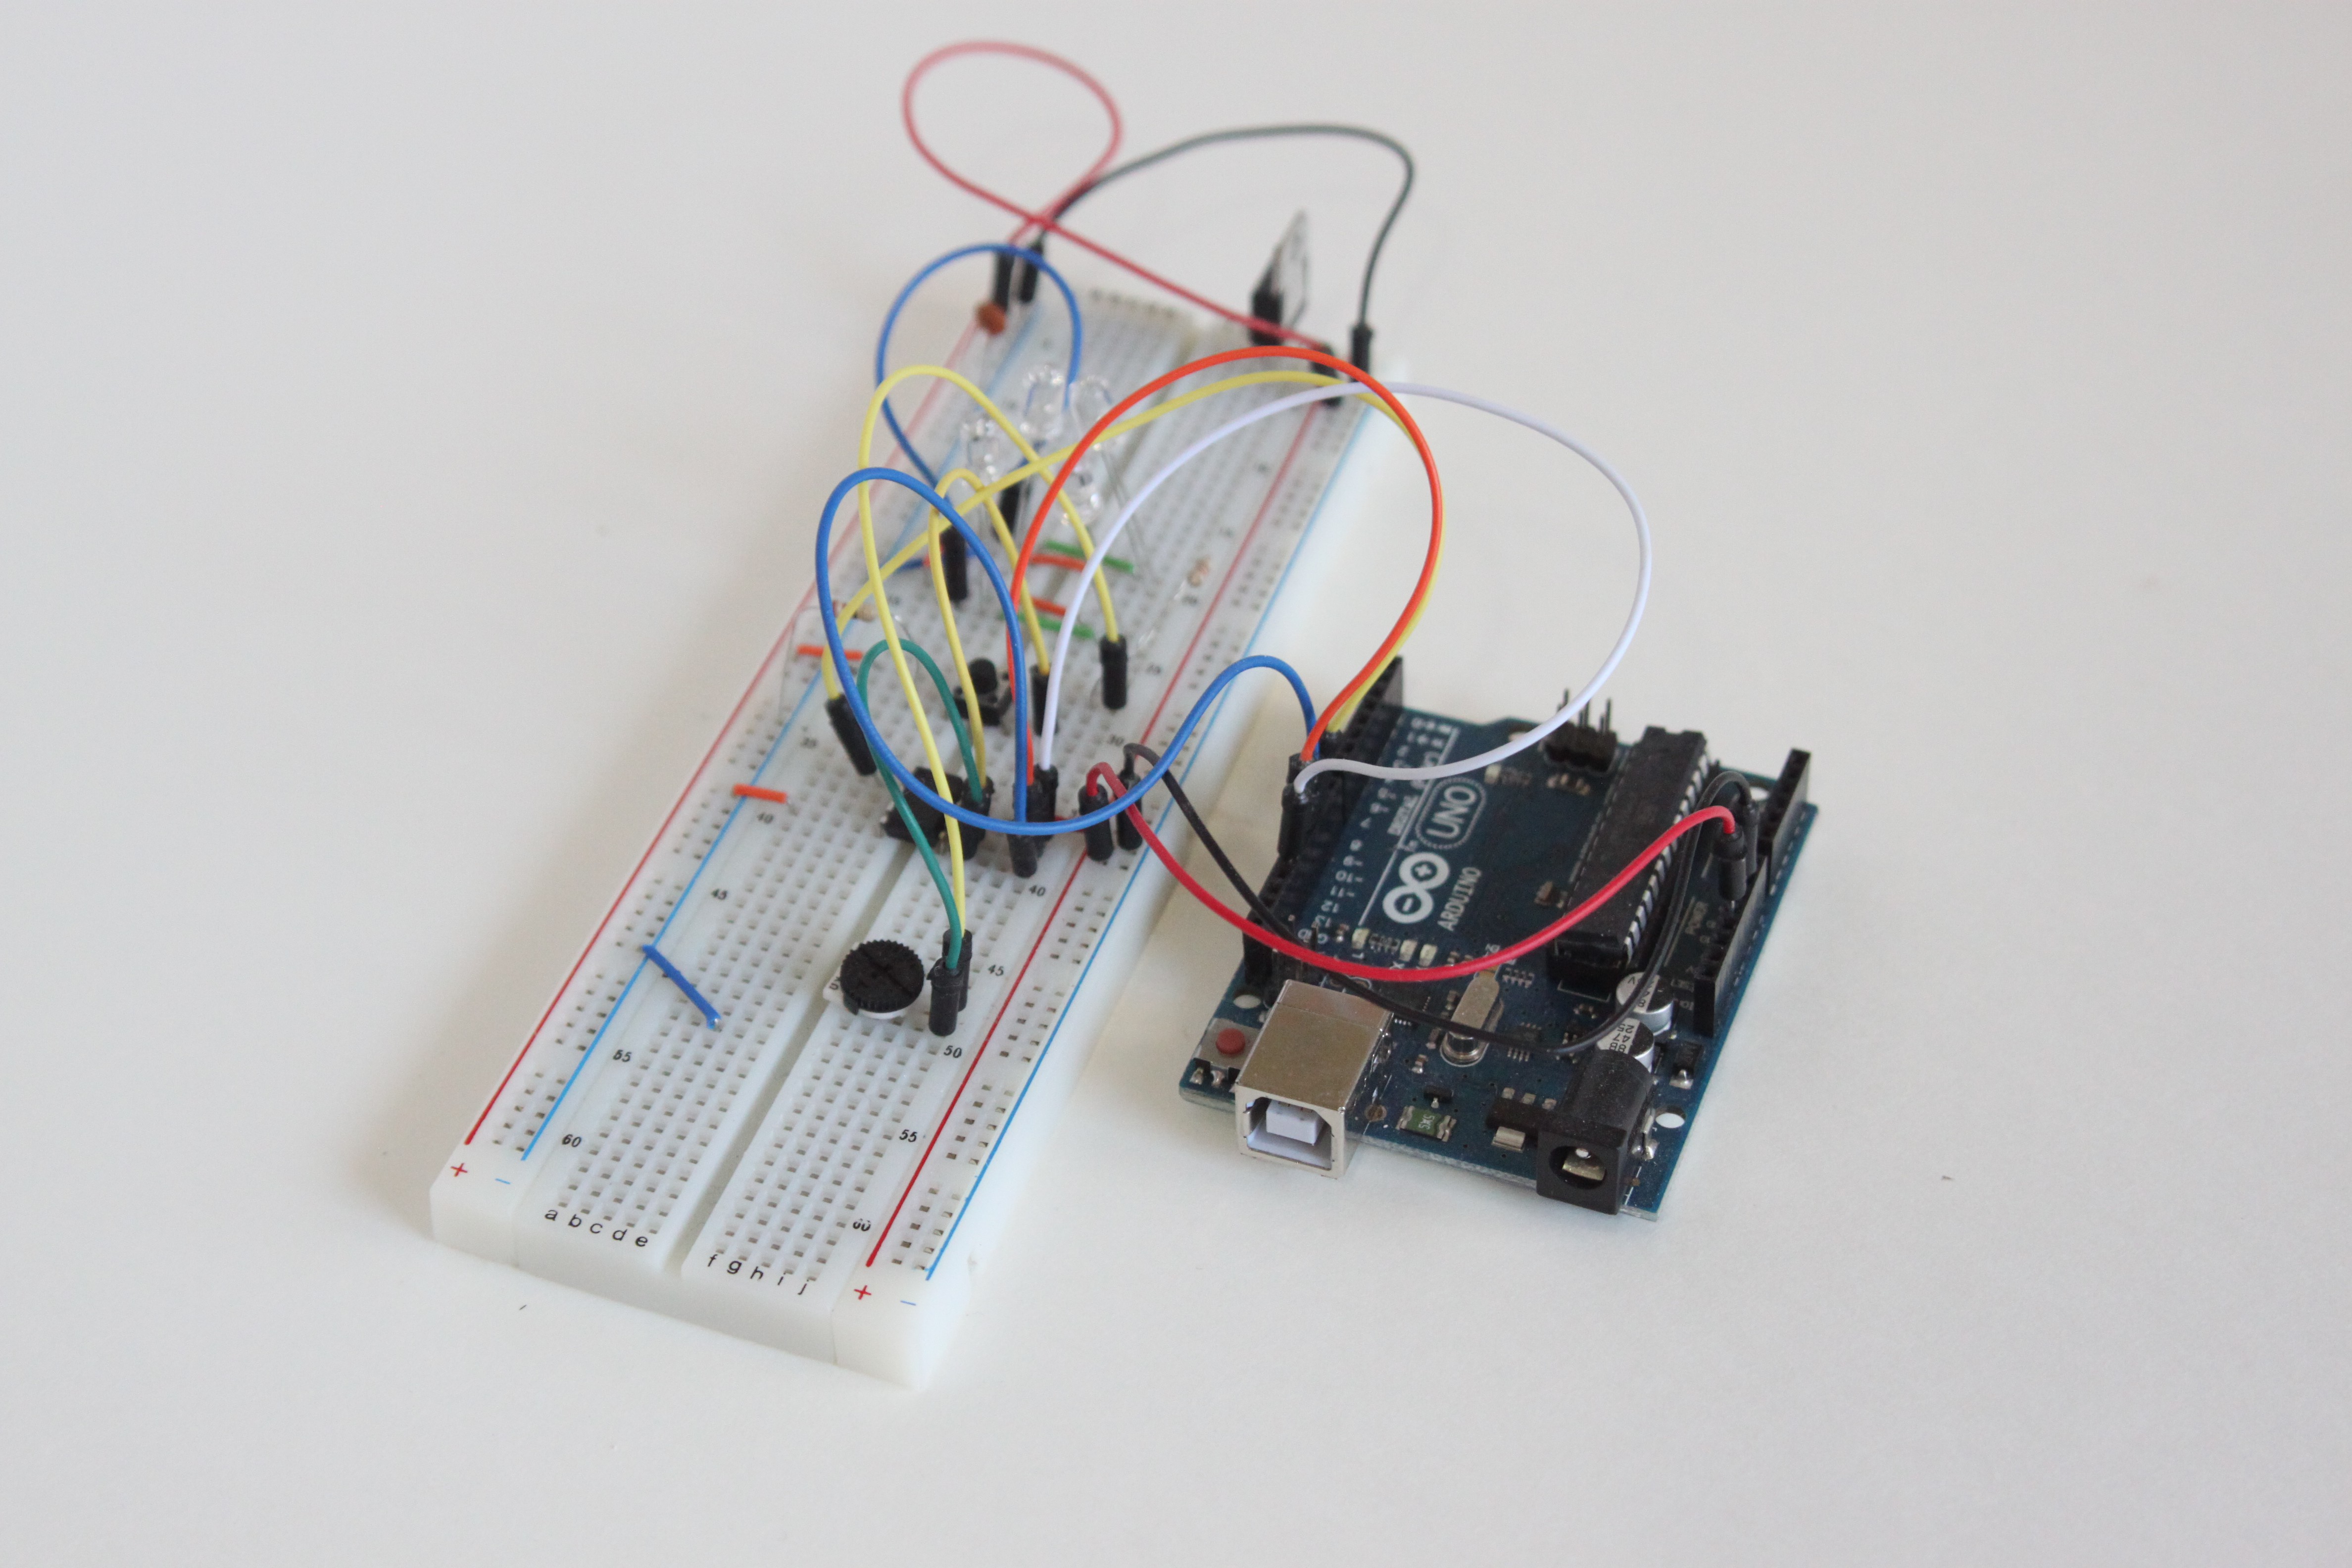
I ended up enjoying using my standalone prototype so much that I wanted to try to make more of these little guys to try on friends and family. I figured if it helped me fall asleep faster, it could help others as well! So I did some research and found out that I could program an ATtiny85 (much cheaper than the ATMega328) using Arduino, and whipped up a breadboard with all the necessary connections.
A challenge I had was timing, since the ATtiny85 was running at 8 MHz compared to the ATMega328's 16 MHz. So I had to add a couple multiplication factors in the code to have the breathing pattern match what I had tuned on the ATMega-based design.
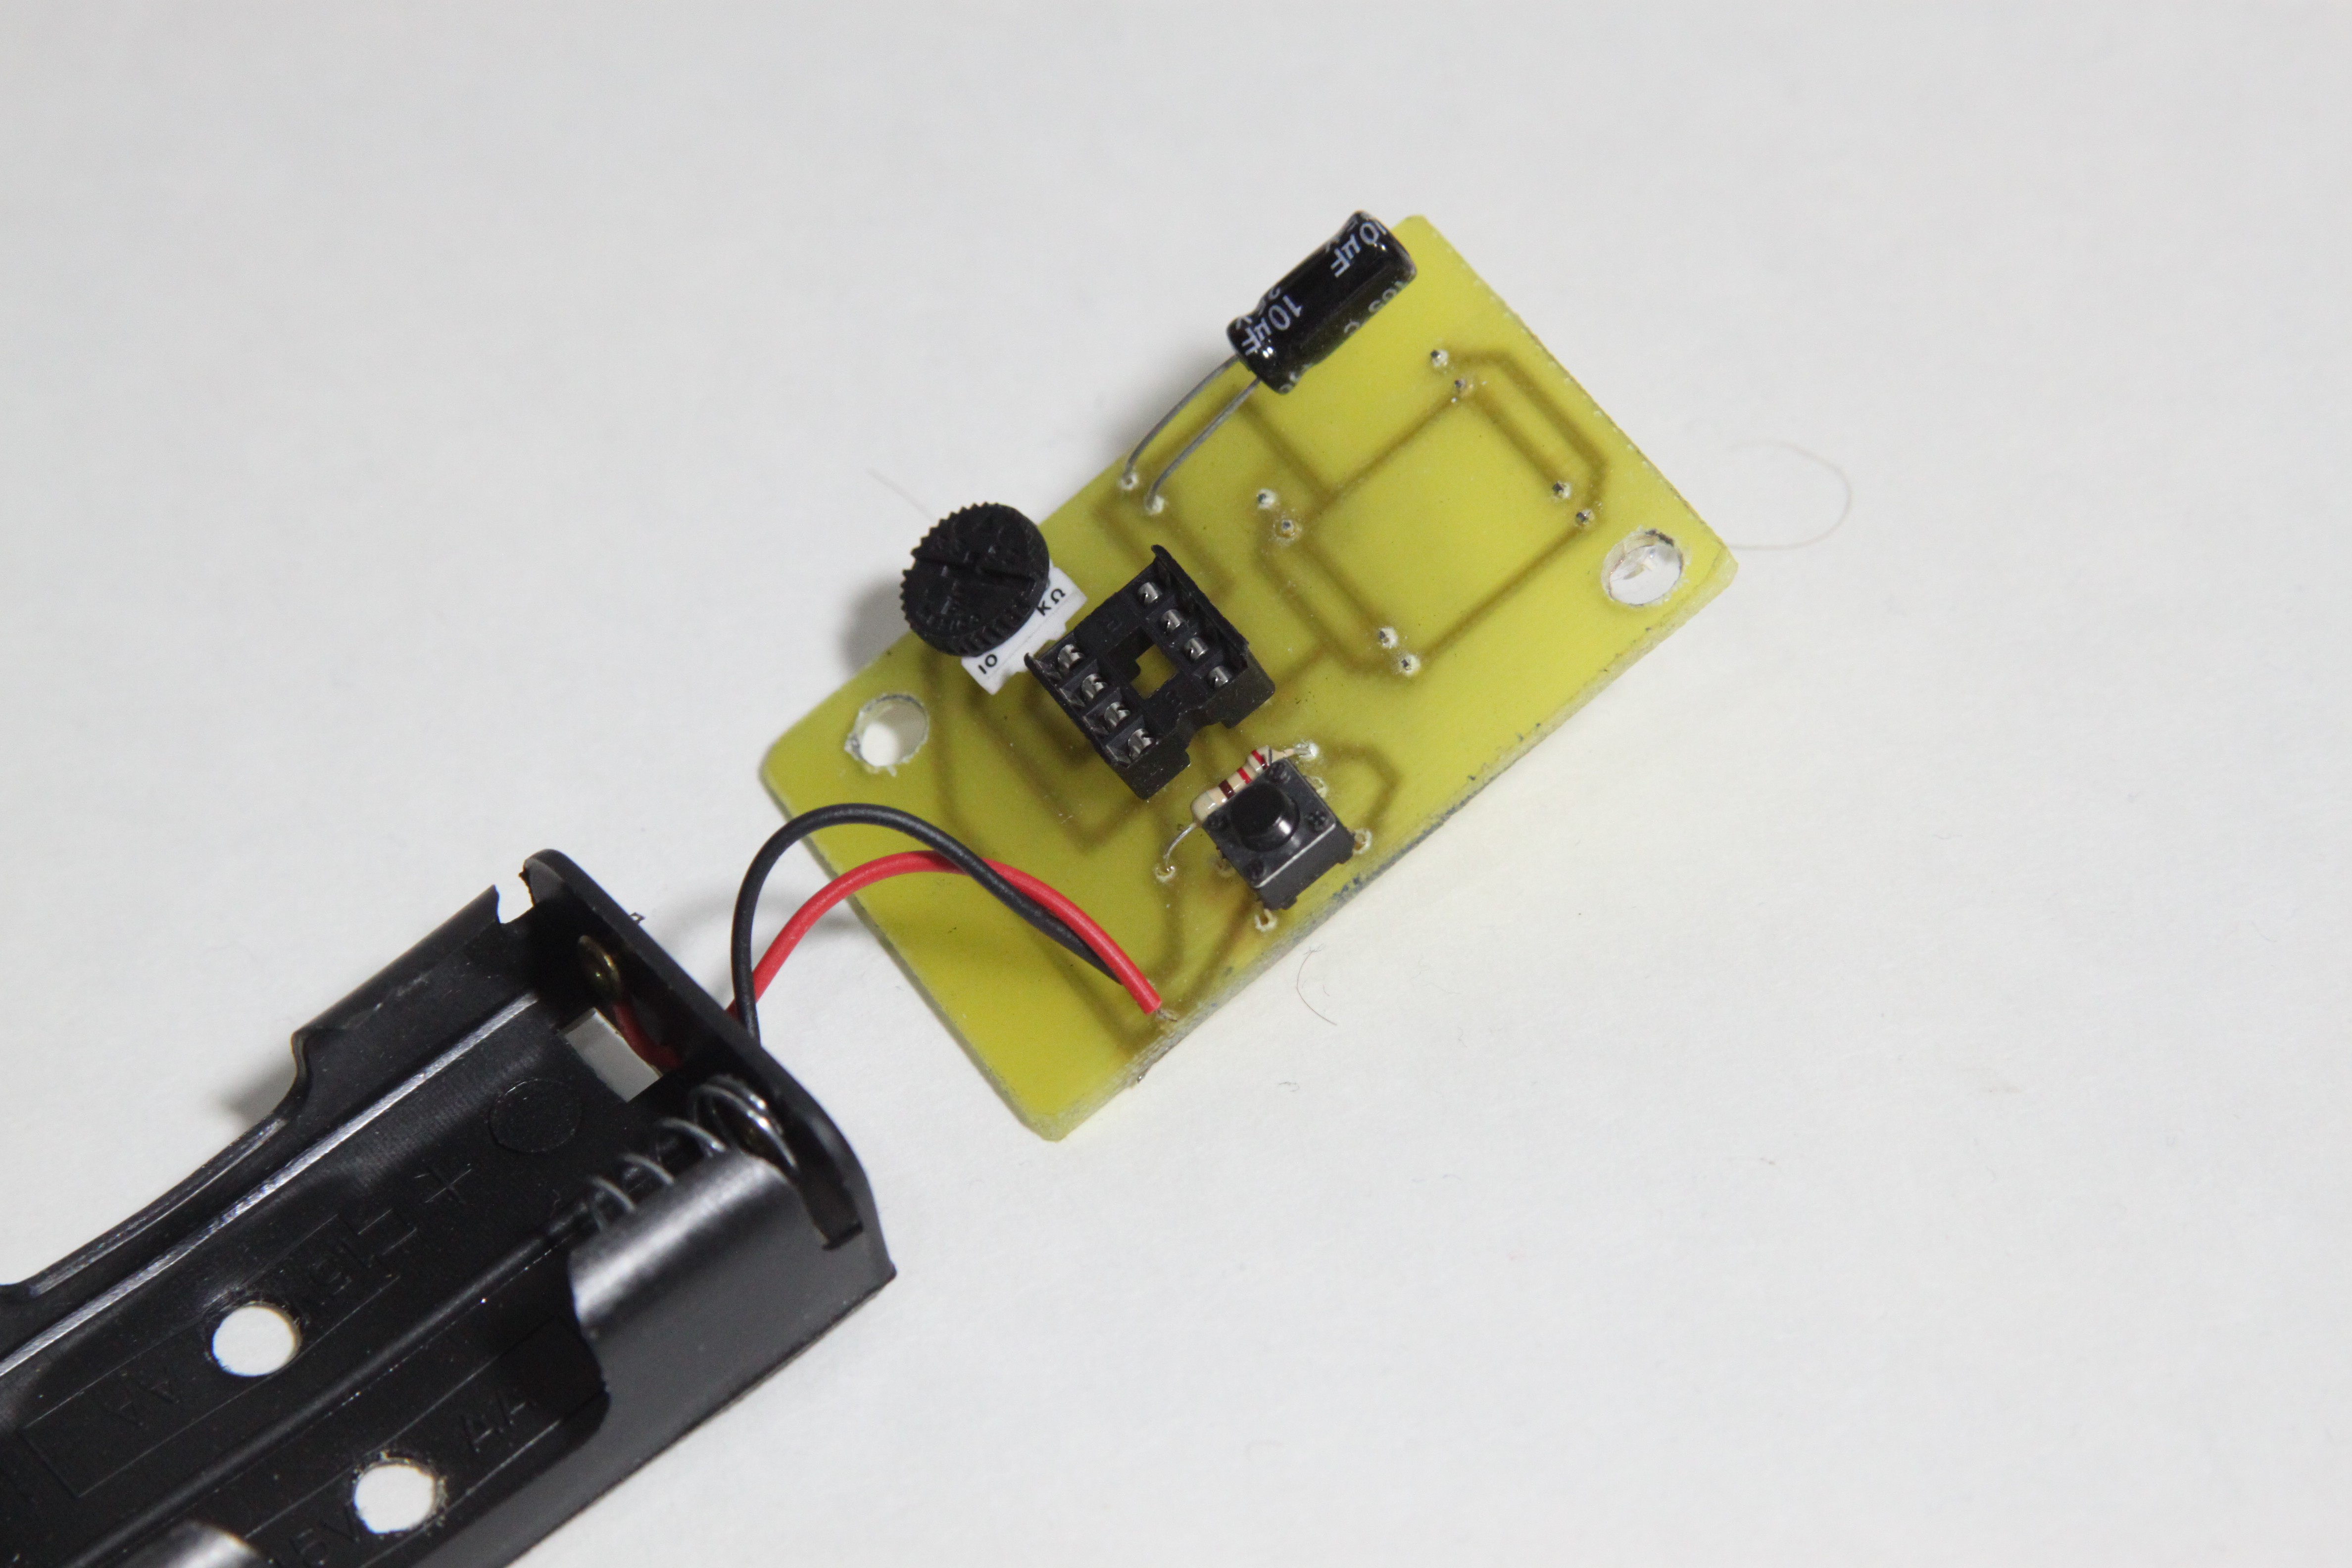
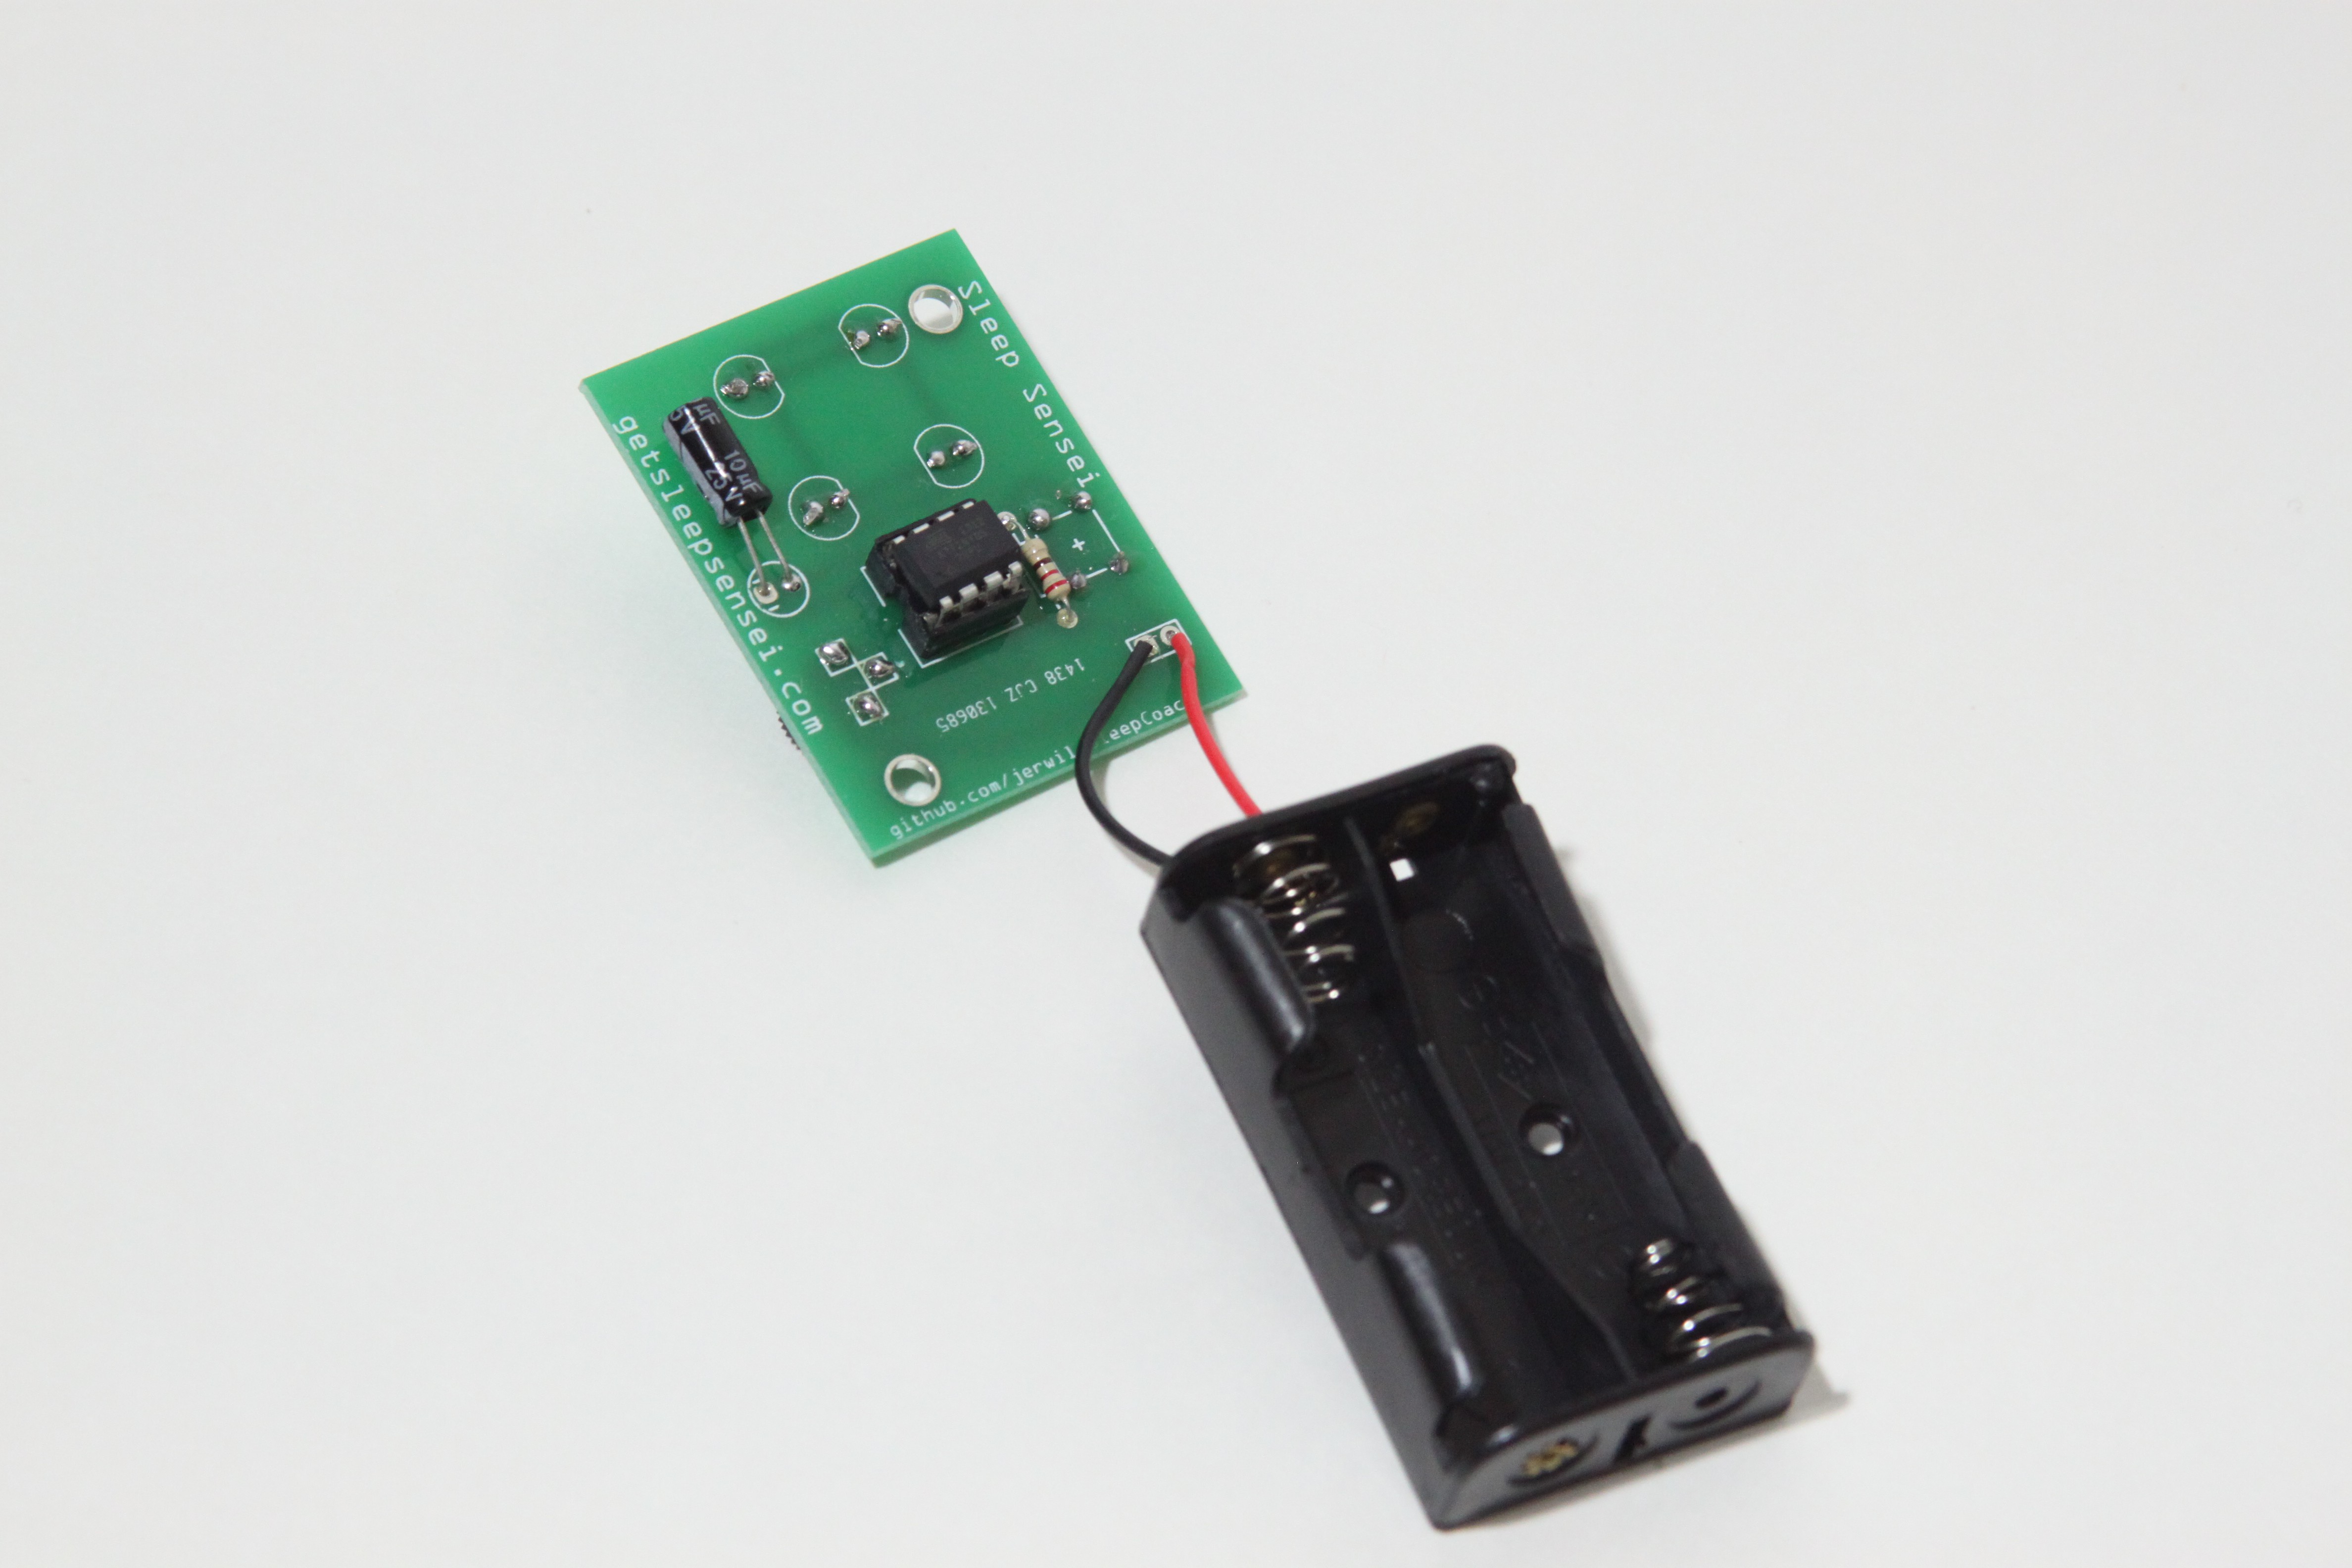
I then designed and acid-etched a new circuit board designed for the ATtiny85. I also found some nice thumb-wheel potentiometers on eBay which would allow for adjustment of the brightness without a tiny screwdriver! Here is what the prototype looked like:
I used this guy for a few weeks, and it was actually pleasant to use. This time I had red LEDs (since I had done some research), and a nice compact circuit board that wouldn't be too expensive to have professionally made. So that's what I did:
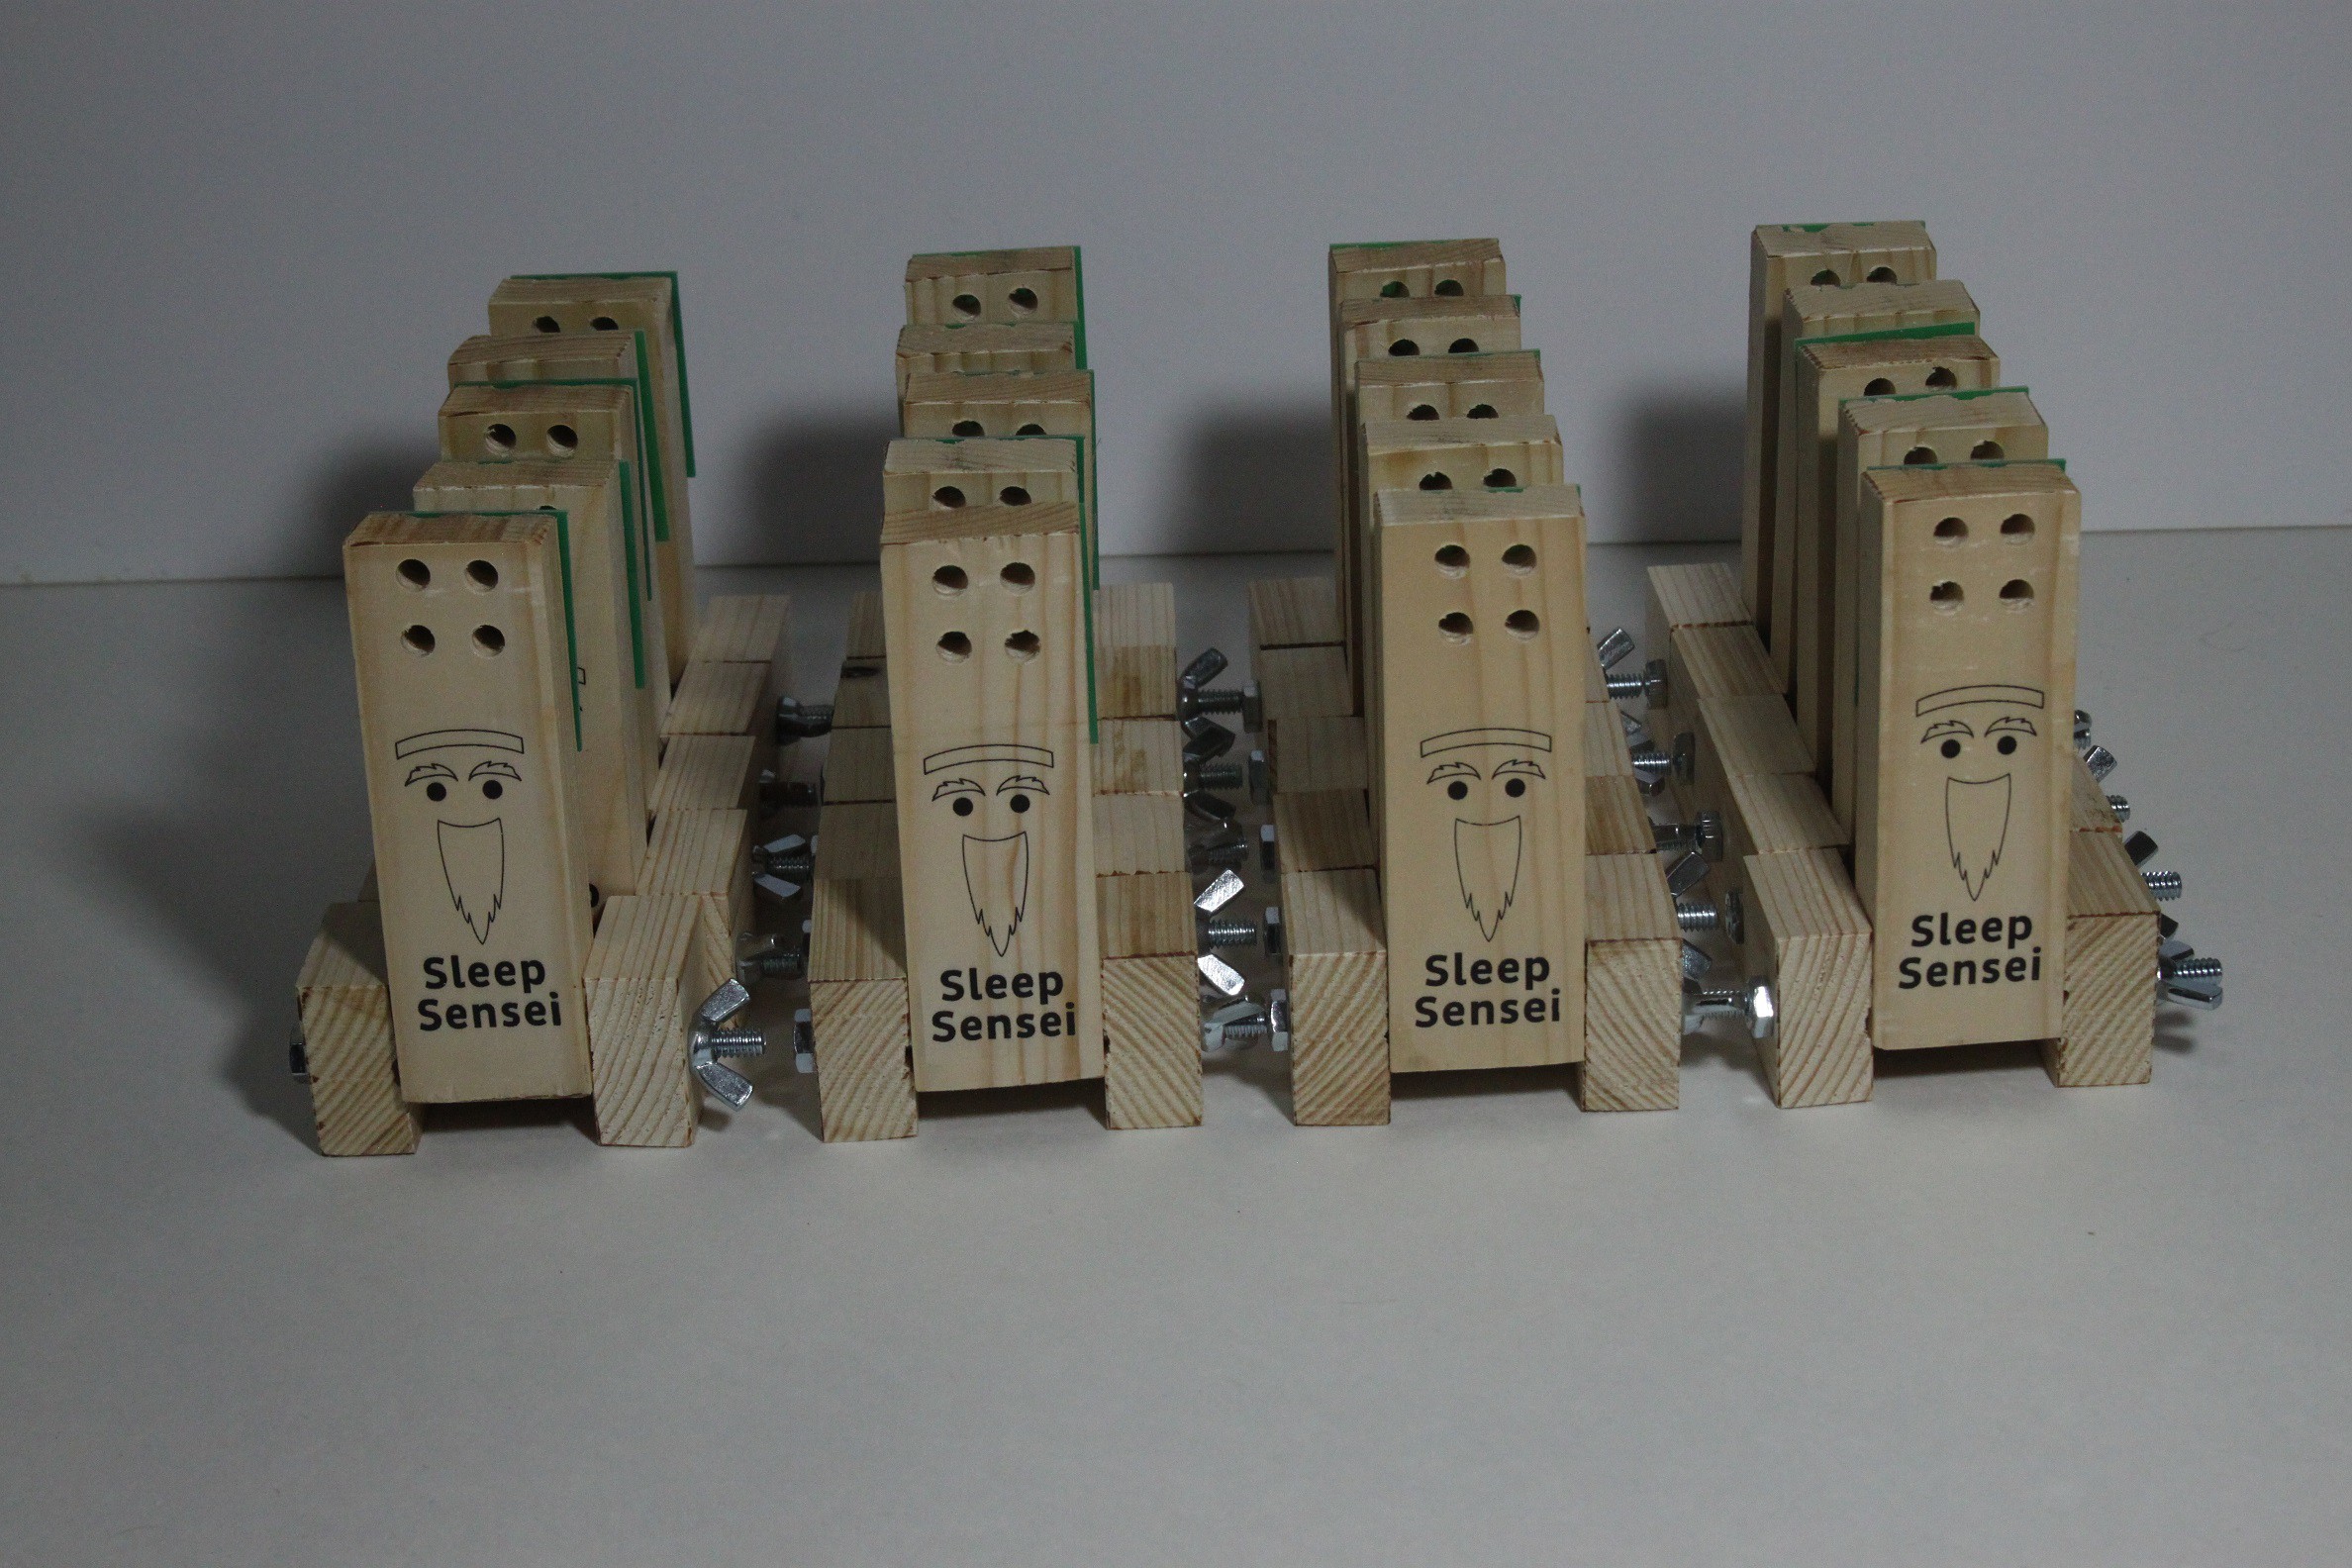
I then came up with a (terrible) logo for the Sleep Sensei and made a small army of them!
I wanted to test the product out in the wild and get feedback. More on that in the next log entry.
 Jeremy Wilson
Discussions
Become a Hackaday.io Member
Create an account to leave a comment. Already have an account? Log In.