Whilst waiting for the PCBs to arrive, I started on the software that will run on the Pi. This needs to read a sequence of still frames from the camera, convert them to a low resolution and then send them to the interface lollipop. For now I'll concentrate on the reading from the camera, and leave the interfacing part until later.
The final prototype will run headless, but during development I wanted a basic on-screen user interface that will allow the selection of some test patterns, and the ability to view the processed camera image in real time. As I'll be writing the software in C, I decided to use the very nice OpenVG library from Anthony Starks, which offers a quick way to draw text and graphics on the Pi independent of X:
A.J. Starks OpenVG library for Raspberry Pi
The images will be captured by using RasPiStill in signal mode. Every time we send SIGUSR1 to the raspistill process, it will save an image from the camera. The following techniques are used to improve the speed:
- The -bm flag selects burst mode, where exposure parameters are only set once, at the beginning of capture
- The -e flag is used to save the image in .bmp format, for quick reading without any CPU-based decompression
- To save in monochrome, we use "-cfx 128:128"
- The preview image is sized and positioned to fit in the allocated space on screen
- The saved image dimensions are set to 128x128 pixels
- The image is saved into a RAM disk and not on to the SD card (each saved frame is deleted as it's processed)
Using these techniques, the software can easily process 20 frames per second on a Raspberry Pi 2B, including the simple conversion down to 14x14 pixels. The limiting factor becomes the screen redrawing time. To improve the speed over the ajstarks library functions, the software implements a faster rectangle plotting function that reuses an existing path object, rather than creating and destroying a path for each plot. Similarly, the greyscale colours are cached and used repeatedly.
Rather than using system calls to identify the raspistill process, the software forks at the beginning and the child process becomes raspistill, passing the PID to the parent.
I've defined several test patterns in the software, which can be individually selected as an alternative to the camera image. There is also a basic function to stretch the contrast of the image, or to convert it to black/white only. The output window shows in real time the data that will be sent to the lollipop interface.
With the software running on the Pi, the screen output looks like the screenshot below, with some pretty pictures at the top, then the various test patterns that can be selected, and on the bottom the live preview from the camera and the actual output that will be sent to the interface lollipop:
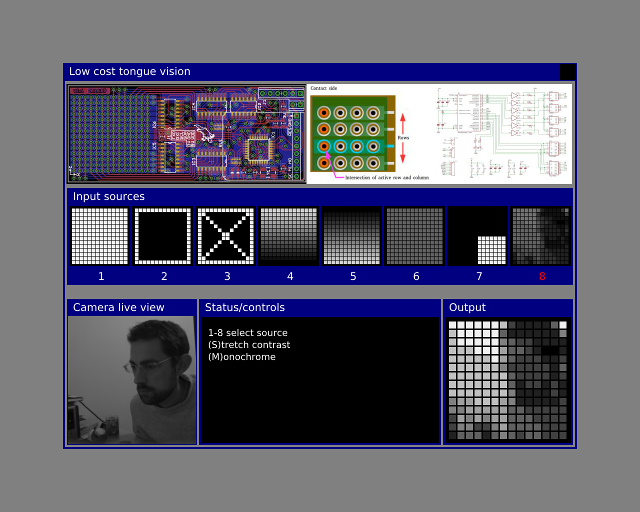
Test patterns 6 and 7 are animated, with 6 ramping up in brightness and 7 rotating around the centre point.
The C source and Makefile are available on github (MIT license):
Link to github repository for Raspberry Pi software
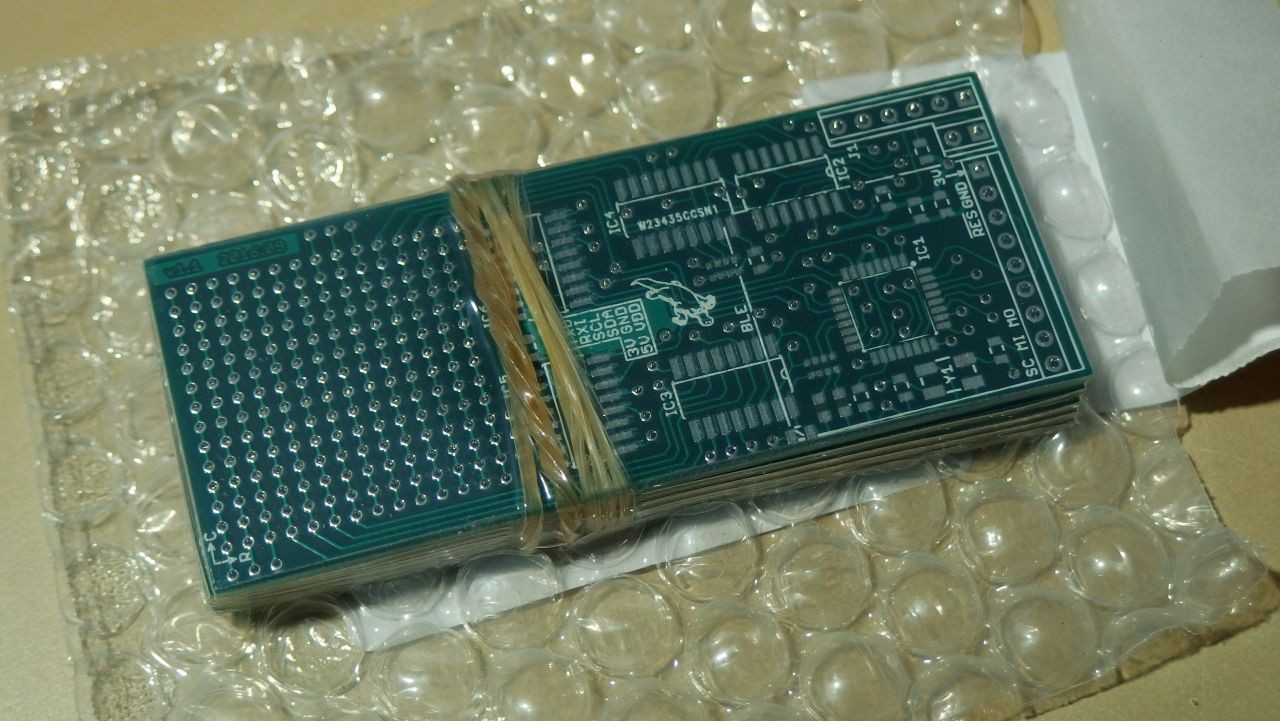
...and now the PCBs have arrived!
Discussions
Become a Hackaday.io Member
Create an account to leave a comment. Already have an account? Log In.