Infinity mirrors with programmable light displays are very popular, so I wanted to try something a bit different with this project. This is a fully analog project that lets you manually mix colours with separate red, green, and blue knobs. Part of my desire to do it this way was so my young niece could learn about colours and have fun controlling the lights herself.
Build Details
I found a nice little glass table-top table and was inspired to turn it into something cool. There are a lot of great infinity mirror tutorials out there so I won't go into a ton of detail, but I'll show a bit of the design process.
Preliminary Testing
Before building the table I first tested out the LED strip with some potentiometers to see how I would build the circuit. The pots I were using were all linear, which posed a bit of a problem. The LEDs in the strip would only turn on at about 7V, meaning that only about 40-60% of the knob turning range could be used for colour mixing. Not only was a lot of the knob range wasted, but it made it harder to achieve certain desired colours.
I knew this was a big problem so I thought I would order a few logarithmic pots to try out. I figured that with logarithmic pots I would be able to ramp up past the low voltages, leaving more of the knob range for colour mixing.
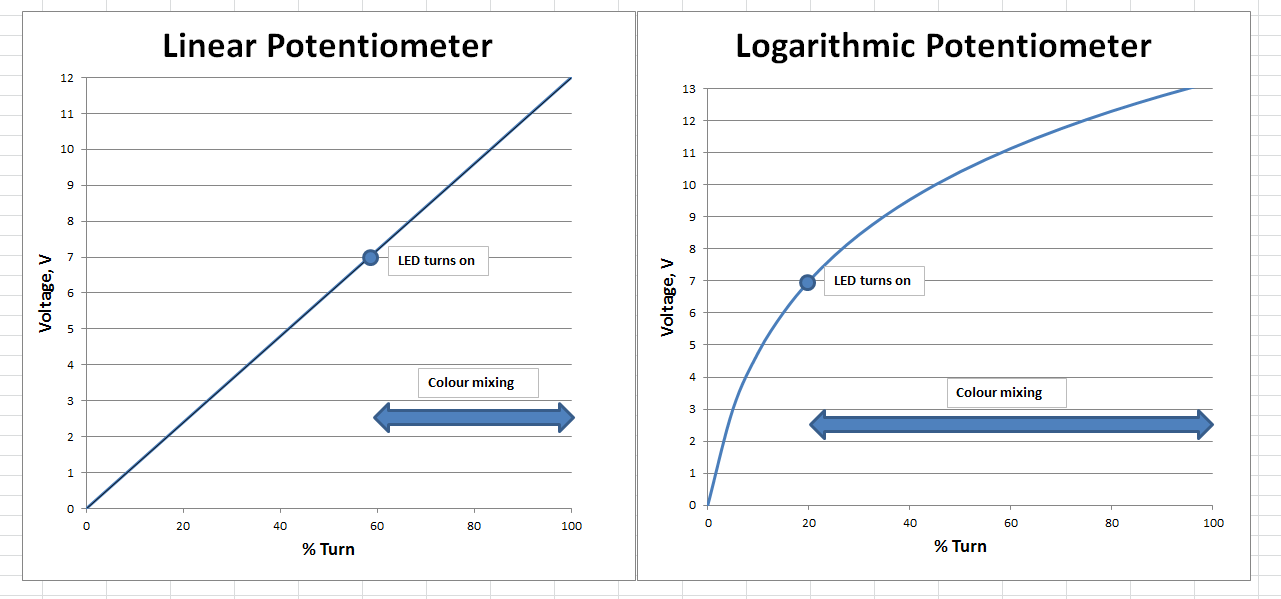
As you can see this really greatly improves the usable range of the knob, allowing for a greater range of colour choices.
Modifying the Table
I began by removing the tabletop and working on the base to start. Holes needed to be drilled for the 3 pots, and the power jack. I used dupont jumper cables and twist on cable connectors, so no soldering was required besides on the power jack.
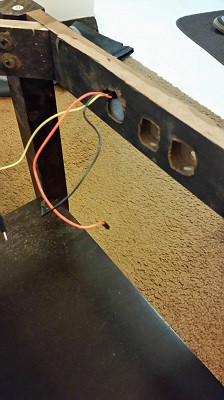
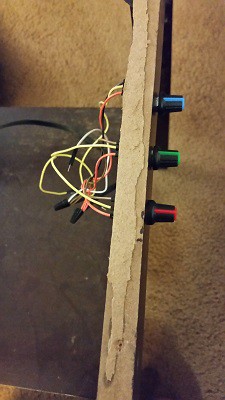
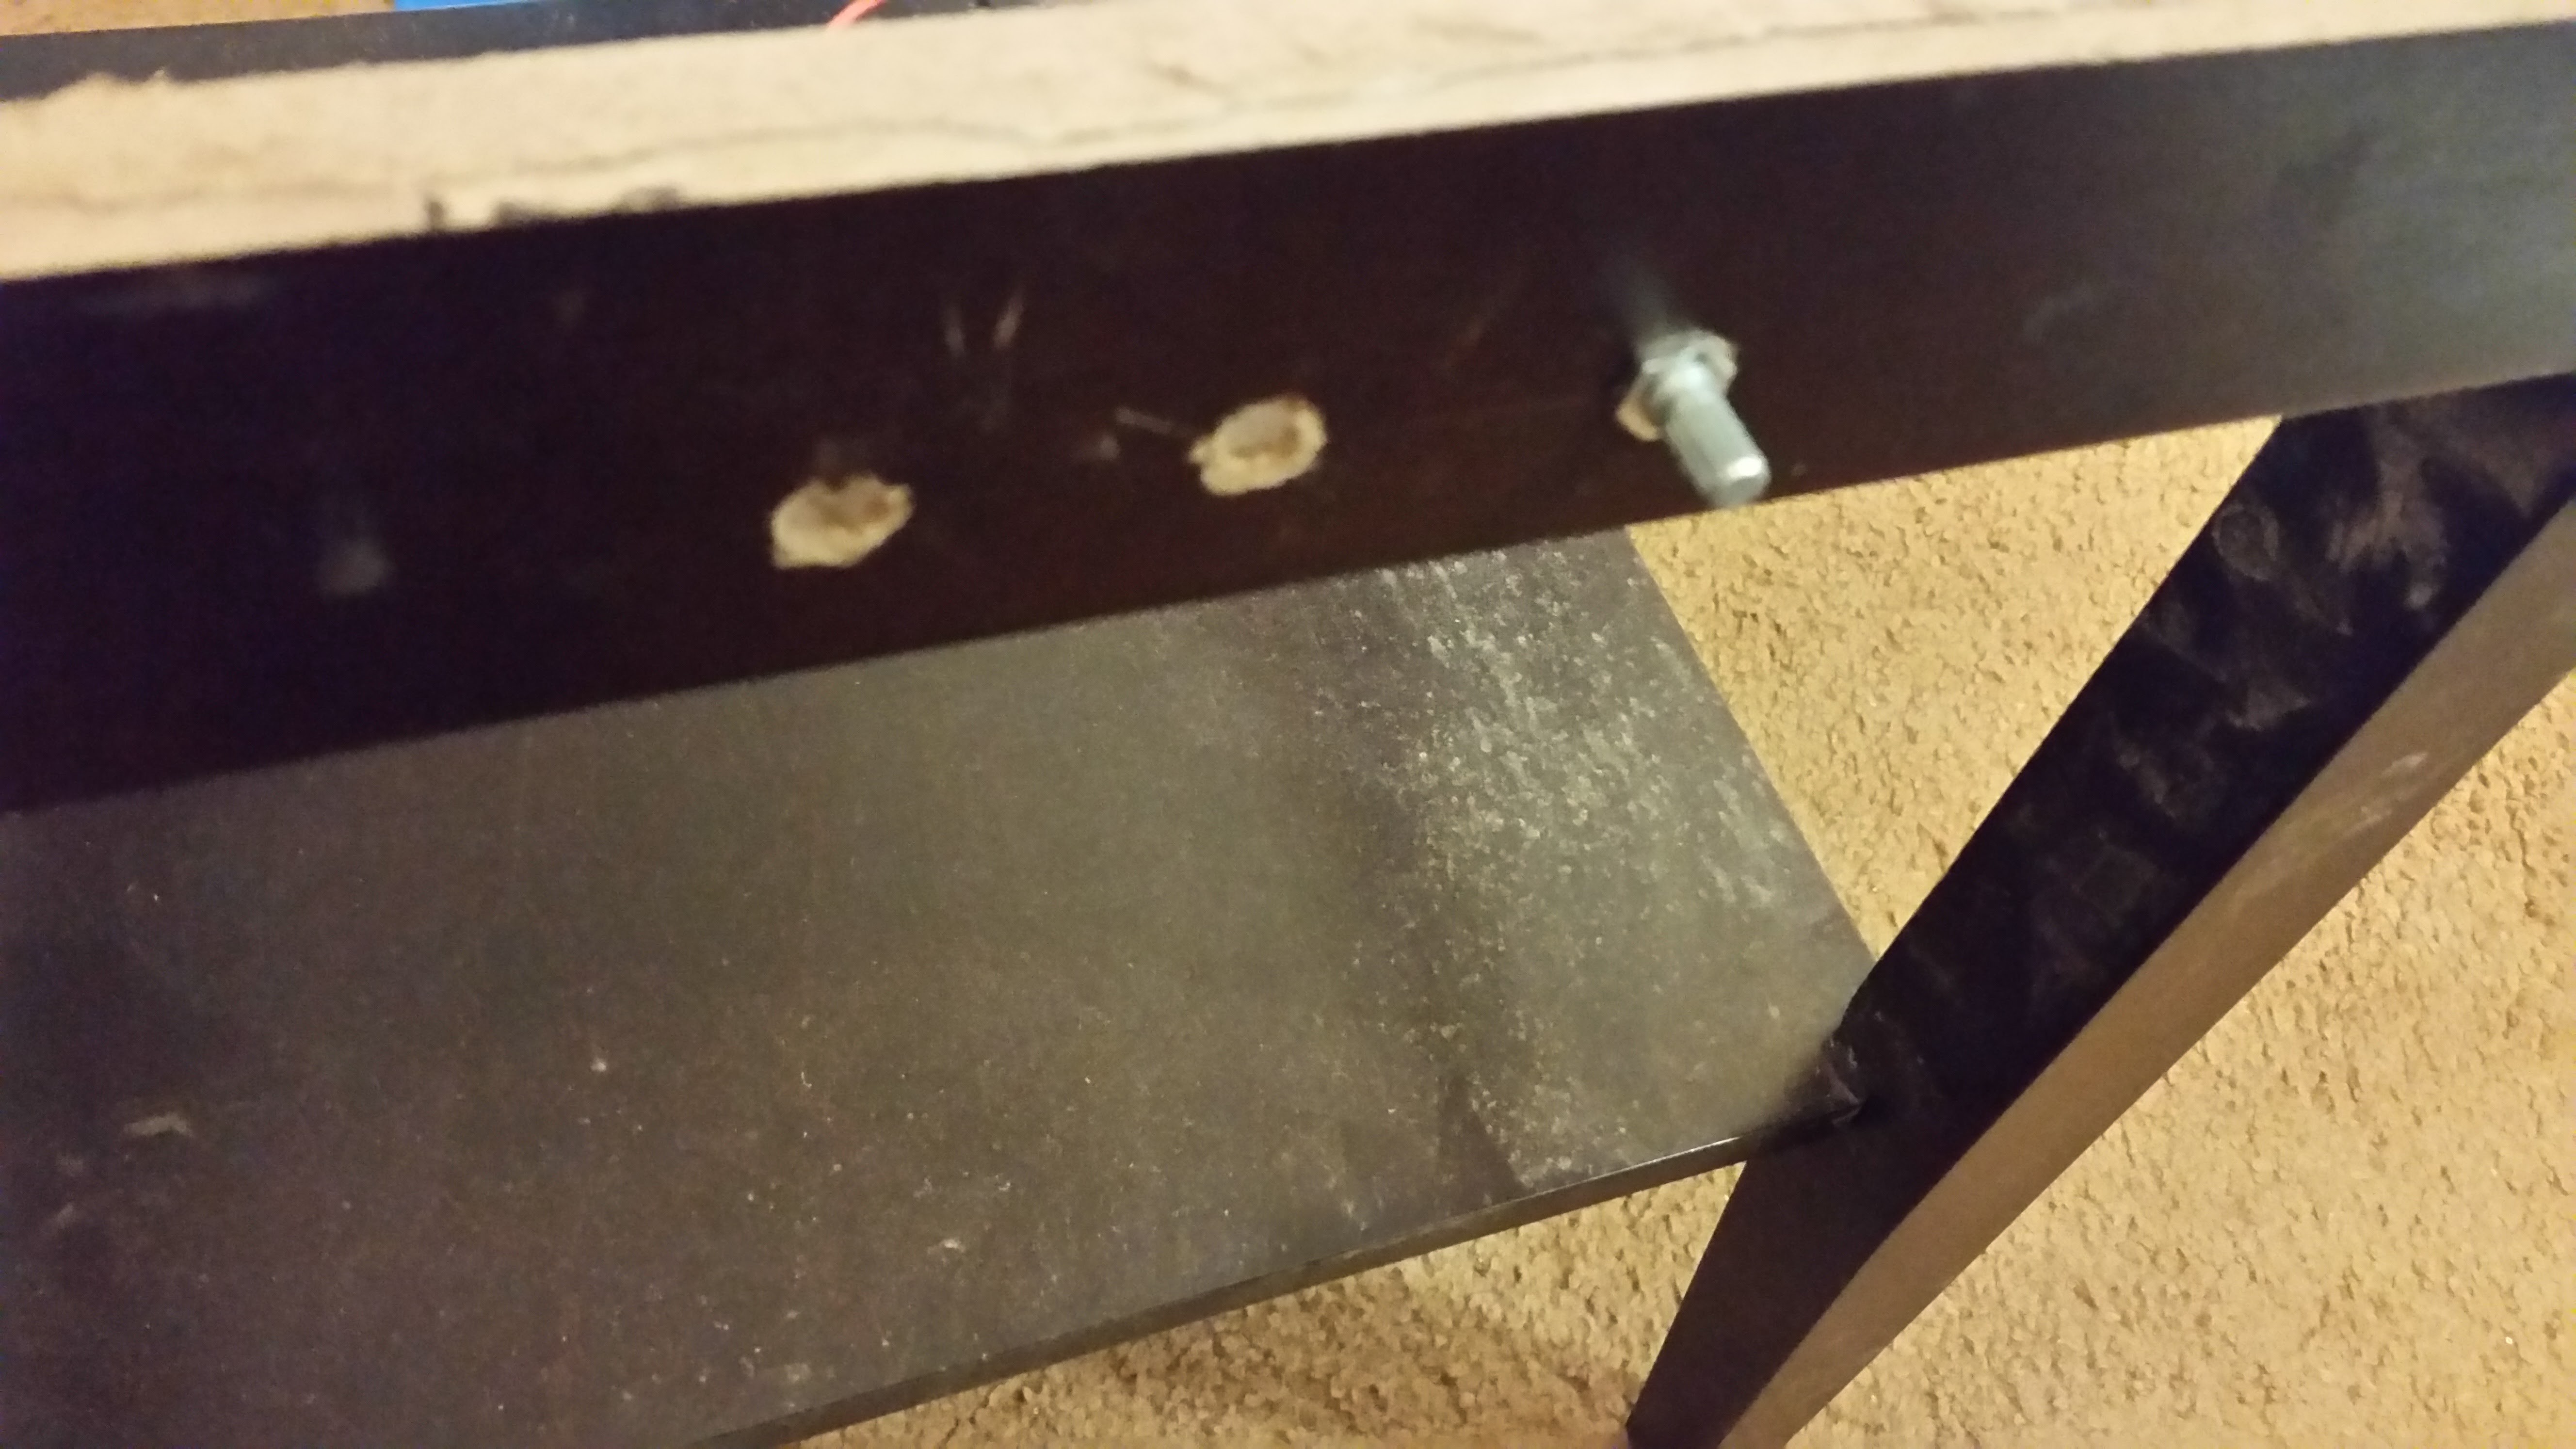
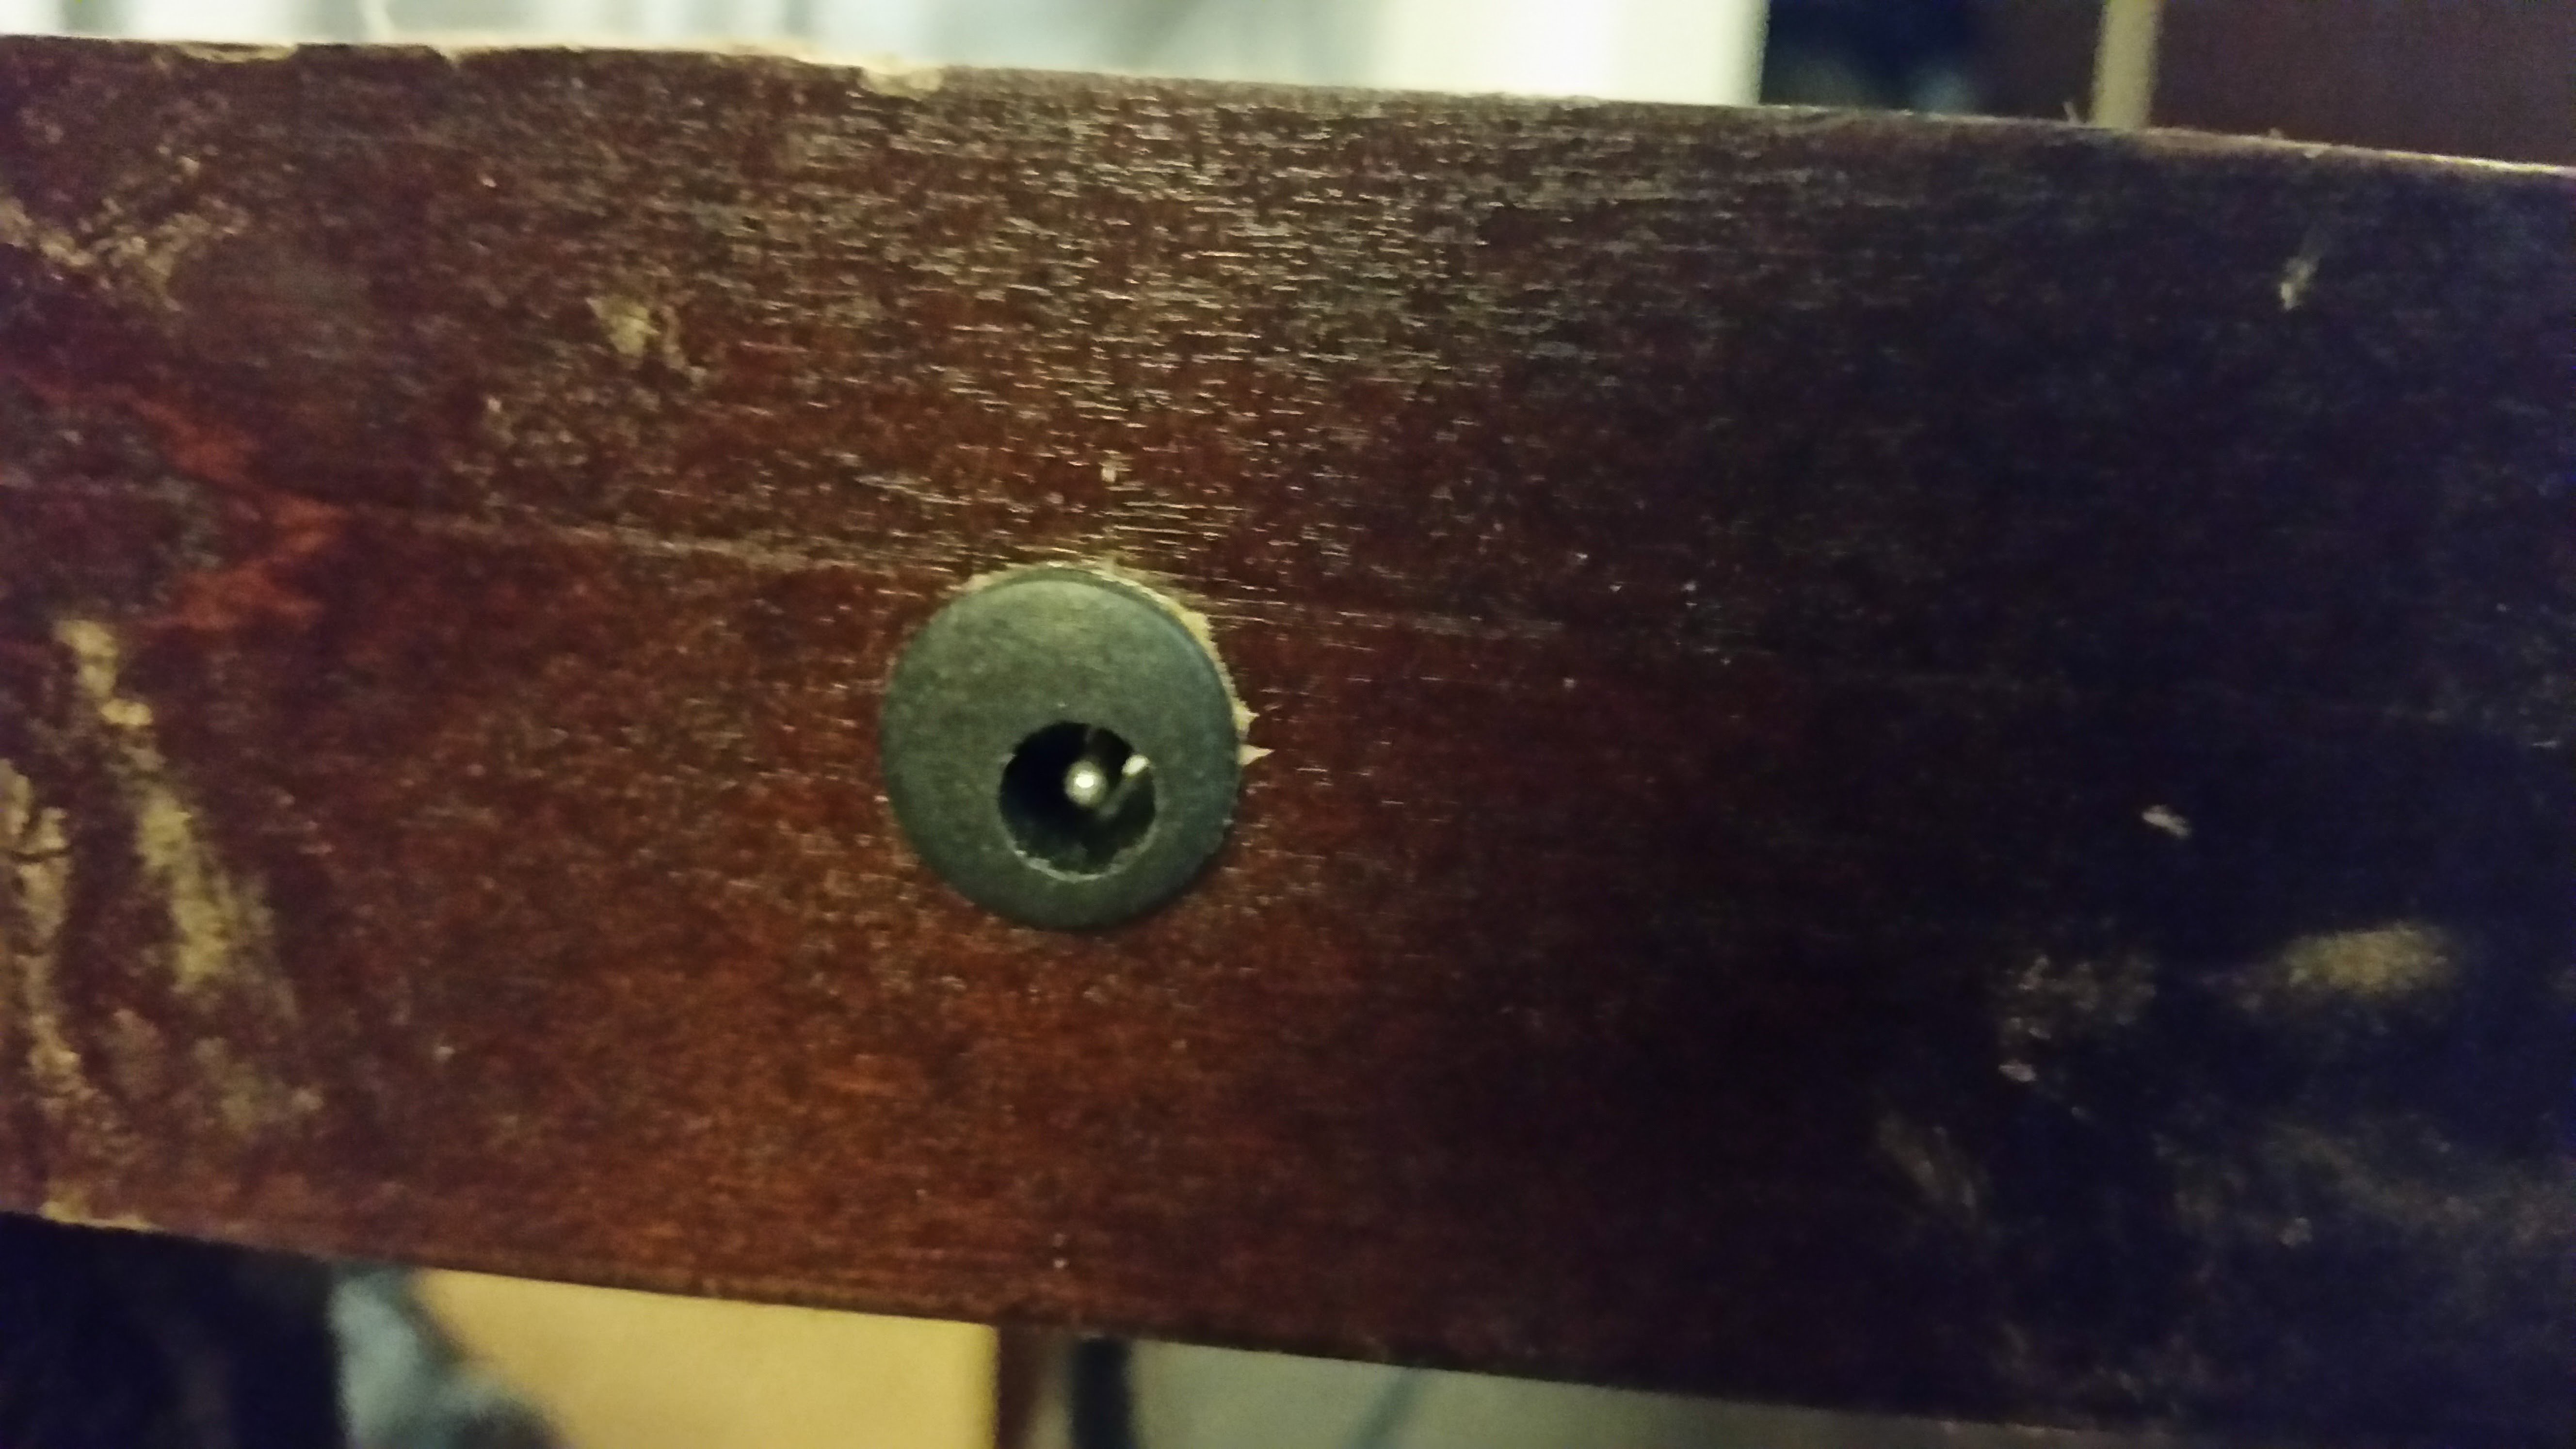
Table Top
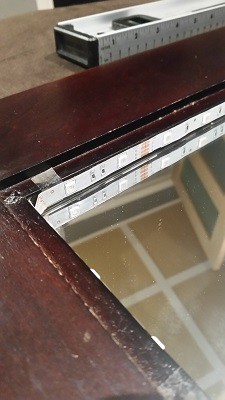
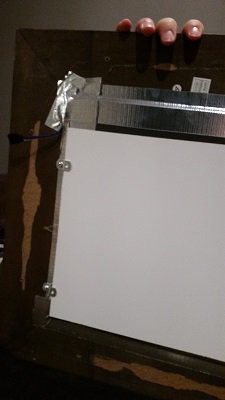
I started by placing the LED strip around the inside of the table top. Once that was in place, I affixed the mirror underneath supported by duct tape and metal pieces to hold it up. Next, I took the glass center of the original table and applied the 1-way mirror film to the bottom of it. To try to keep things waterproof, I applied some sealing glue to the little ledge that holds the glass up.
Putting it All Together
Once the table top was finished, I glued and screwed the table top back onto the bottom, and hooked up all the wires. I had cut out a piece of wood to screw onto the bottom of the table to hide all of the wiring. This can be seen in the above video. I plugged in the power and started playing. I was very happy with the result.
Since the top of the table was a little beat up, I decided to sand down the top and re-finish it. It would have been best to do this before adding in the hardware, but I was able to tape up the edges of the glass to protect it from the sanding. It wasn't a perfect job but it turned out pretty well.
Stop procrastinating and go make your own infinity mirror!
 Scott Clandinin
To solve your problem of reduced usable range of the potis you can just add a fixed resistor (or a trimmer) in series to the pot. Then you can use a log-pot with the other type of curve, which gives you a finer adjustment in the low range.