A big update with lots of pictures -- I've been building and testing many of the first revision sensor boards.
Watching the PWM of your soldering station's power supply!
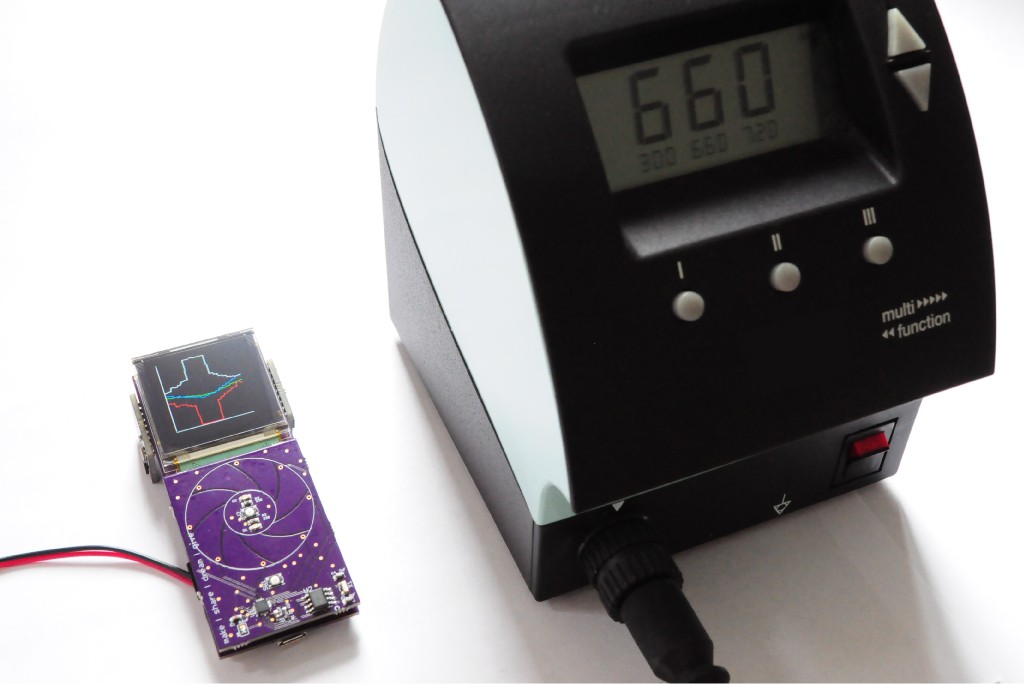
One of the things I remember most from building the Open Source Science Tricorder Mark 1 is that the moment I had it built and programmed -- around 2am, late one weekend, doing laundry at my parents house in the finest grad student tradition -- I immediately looked around for things to sense. The magnetometer visualization on the Mark 1 was always my favorite, and holding the Mark 1 up to a wall-mount power supply I was able to see the fields of the transformer bouncing back and forth, only moments after finishing the device. Definitely very cool, and very memorable. Years later we were hunting down some high magnetic fields in a mens washroom under an NMR lab at school, which is probably the second most memorable (and probably one of the most hilarious) moments of science I've had.
I decided that, with many of the Arducorder Mini sensor boards up and running, and a basic multi-series graph visualization plotting the x, y, z (RGB) and total (white) field strengths from the magnetometer, that it'd be interesting to place it near my heavy soldering station -- heavy from a big transformer in its base -- and see what we could see.
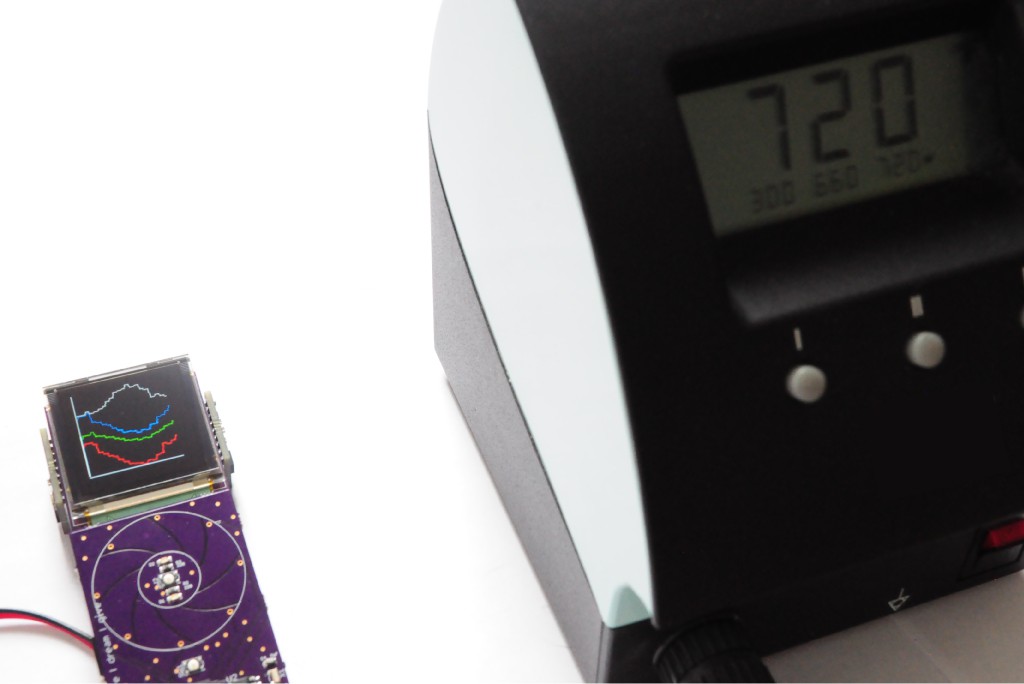
The solder station works by pulsing the heater on the soldering iron to keep it at a set temperature. When the internal temperature sensor reads the iron is too cold, it likely pours on the juice to keep it at a given temperature. The neat thing is that this appears to happen in discrete chunks of time a second or two apart -- looking at these two pictures, we can see a roughly sinusoidal magnetic field strength (white line) from the transformer -- my first guess is that this is that this is the 60Hz line frequency aliased by whatever the sampling frequency is of the magnetometer here (about 20Hz). But, in the first picture, something really interesting is visible -- the field strength suddenly shoots up for half a second, likely signifying that the soldering station has engaged the heater on the iron. Very neat to watch!
And here's a quick video I took while testing the magnetometer (and microphone -- the purple series).
Modular Sensor Boards
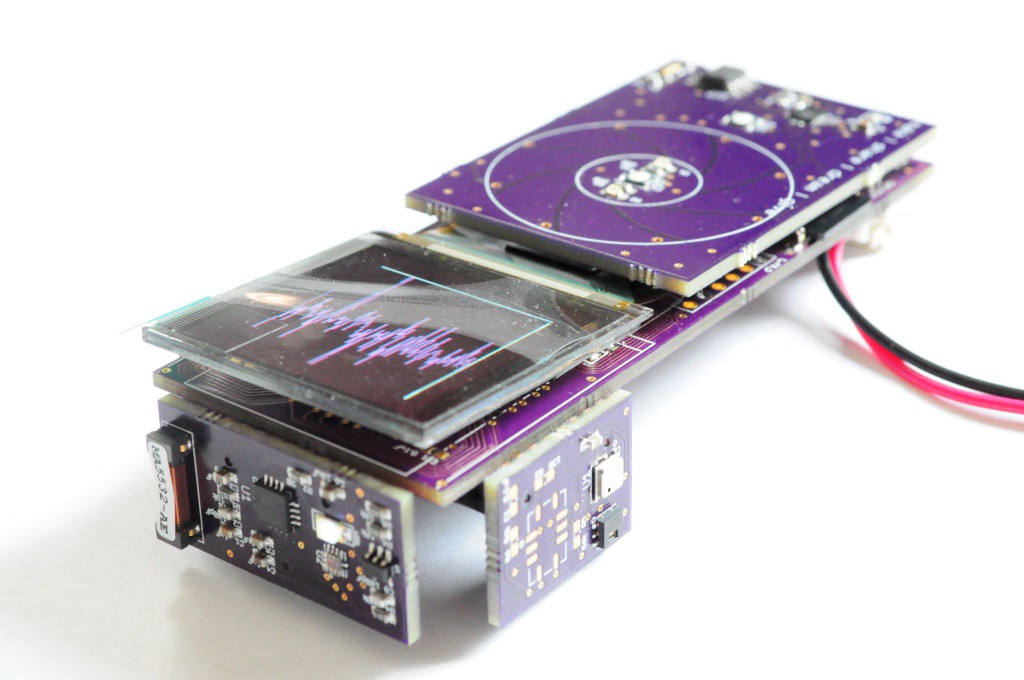
I try to make my mistakes cheaply, so recently I've been building as many of the first-revision boards to verify their functionality, and note any issues or modifications for the next revision. Pictured here (above) is the sensor board that contains the lightning, UV, and audio sensors (front), and the atmospheric sensor board that contains the atmospheric sensors like temperature, pressure, and humidity (right).
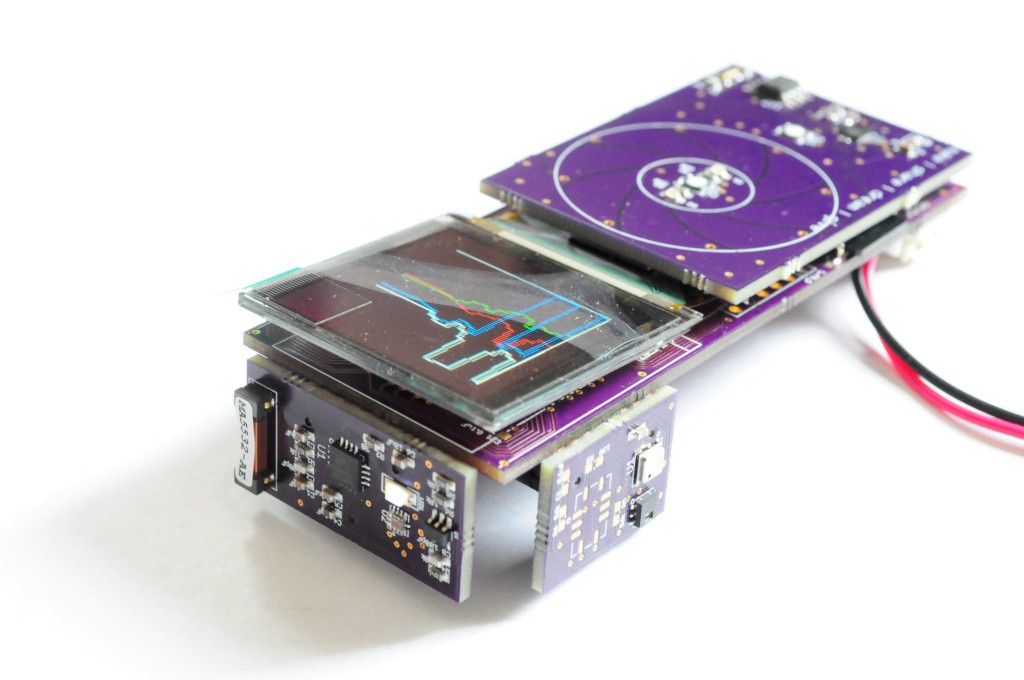
The same view, but here I've just waved a pair of piers that are slightly magnetic near the Arducorder Mini to show the simple multi-series graph widget. There's still a great deal to do on this widget, but it's a good start for easily graphing a few related sets of data, and the autoscaling feature means it's entirely hands free.
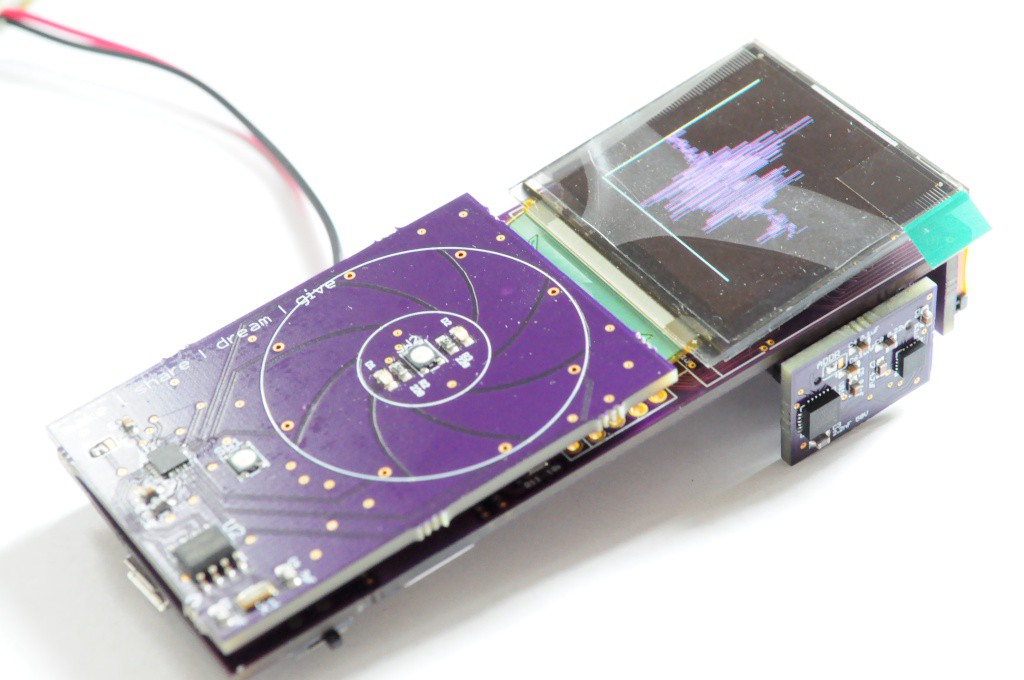
To verify the functionality of the microphone, I wrote something that would pipe the data to a graph, and started singing to watch the waveforms. (Actually, the first thing I did was to put on some music with a beat, put the Arducorder Mini up to the speaker, and see if I could watch both the audio waveform and the magnetic field from the speaker, but I think I'd have to look at the data a little closer or plot it overtop of each other to verify that the field strength changes were correlated with the audio amplitude). Still, very cool for something that's just starting!
The UV sensor also looks to be communicating okay, and the data changes when I place my hand over it, but it'll need a bit more work to verify the measurements. I didn't happen to have a storm handy to test the lightning sensor, but the breakout board I have seems to be particularly good at detecting whenever the air conditioner turns on, so I'll have to work with that until a storm rolls in. :)
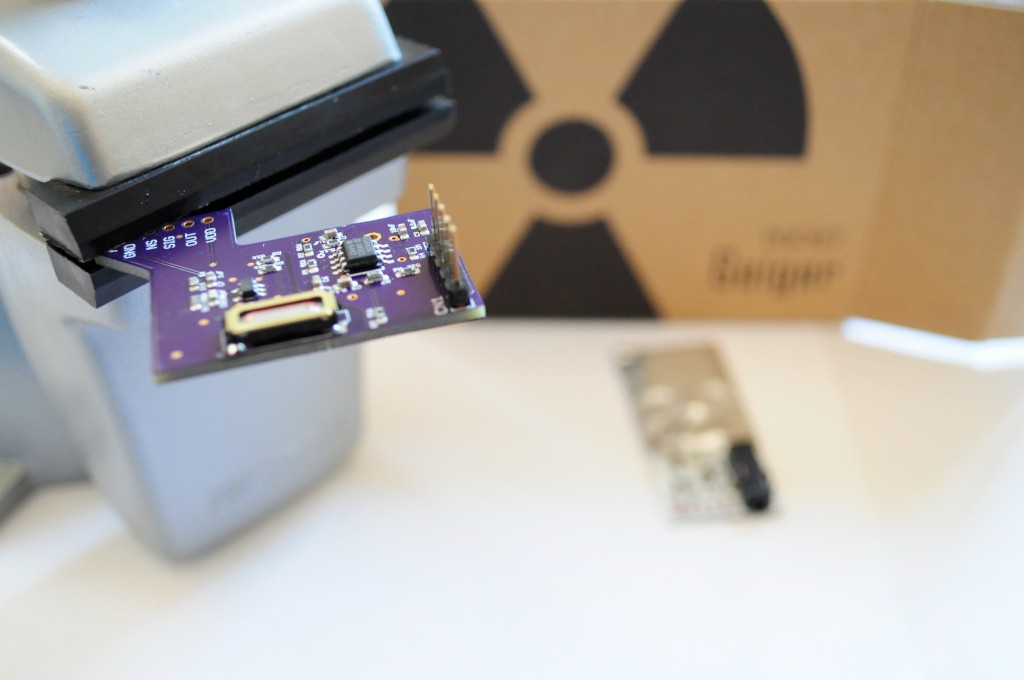
High-Energy Particle (Radiation) Detector Sensor Board
One of the biggest items on my open source science tricorder wishlist has been a high-energy particle detector, so I'm very happy to include the super-sensitive Radiation Watch Type 5 detector on the Arducorder Mini. The backpack board I've designed for it (above) includes the same external comparator that I added for the Open Source Computed Tomography (CT) Scanner project, so that it extends the range of the sensor to detecting lower-energy x-rays down to around 33keV.
This board also happens to house an extremely tiny speaker and audio amplifier so that the Arducorder Mini will be able to play back sound, which is one of the most popular feature requests I've had. The speaker is on this board for no other reason than that at 6x12mm it's still relatively large (compared to the other components), and space is at a premium on the motherboard.
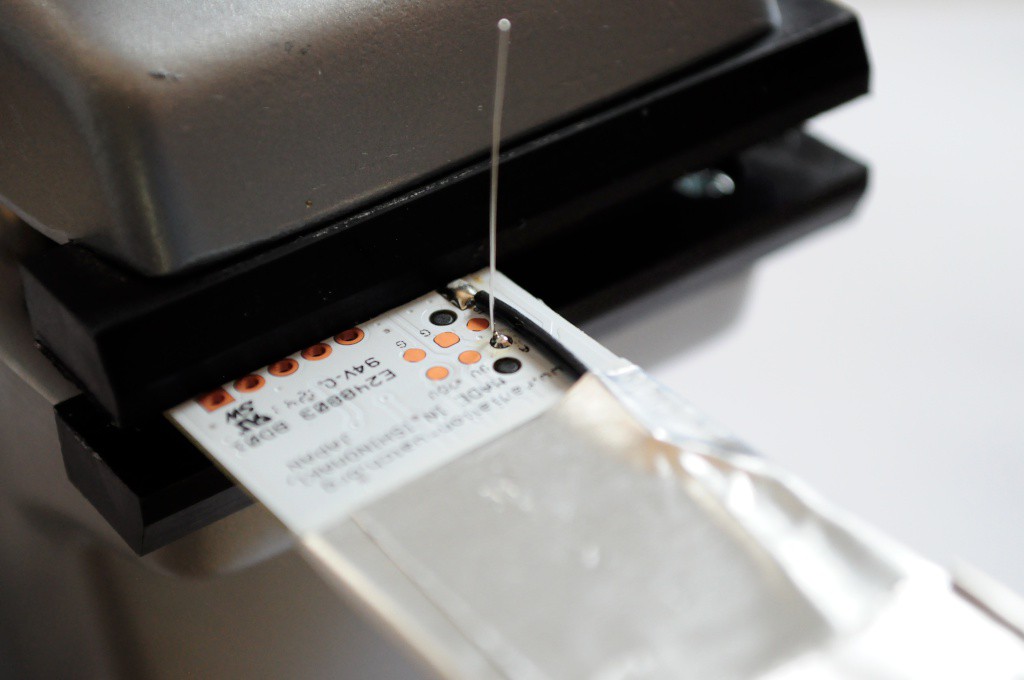
For the backpack to make the Type 5 extra sensitive, it has to take the raw amplifier output from a test point on the Type 5 and connect it to an anchor point (TP1) that's directly above on the backpack. There's a 5 pin header that has to be soldered, which gives access to the less-sensitive regular output of the Type 5, and the noise output, which senses vibrations (which means the sensor output is invalid).
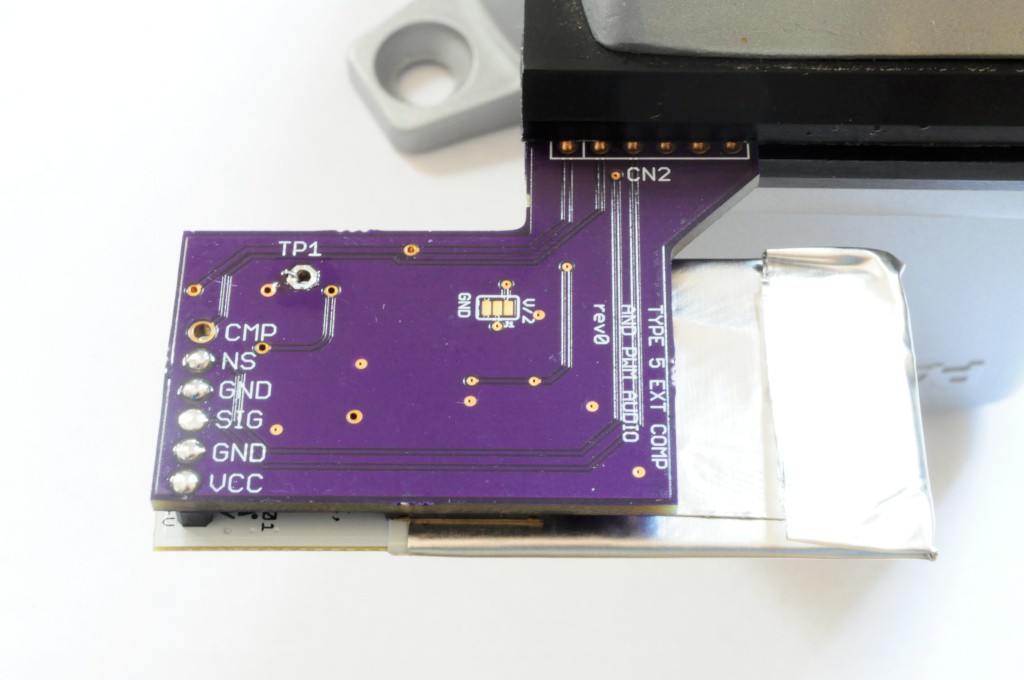
It all came together very well, and looks great!
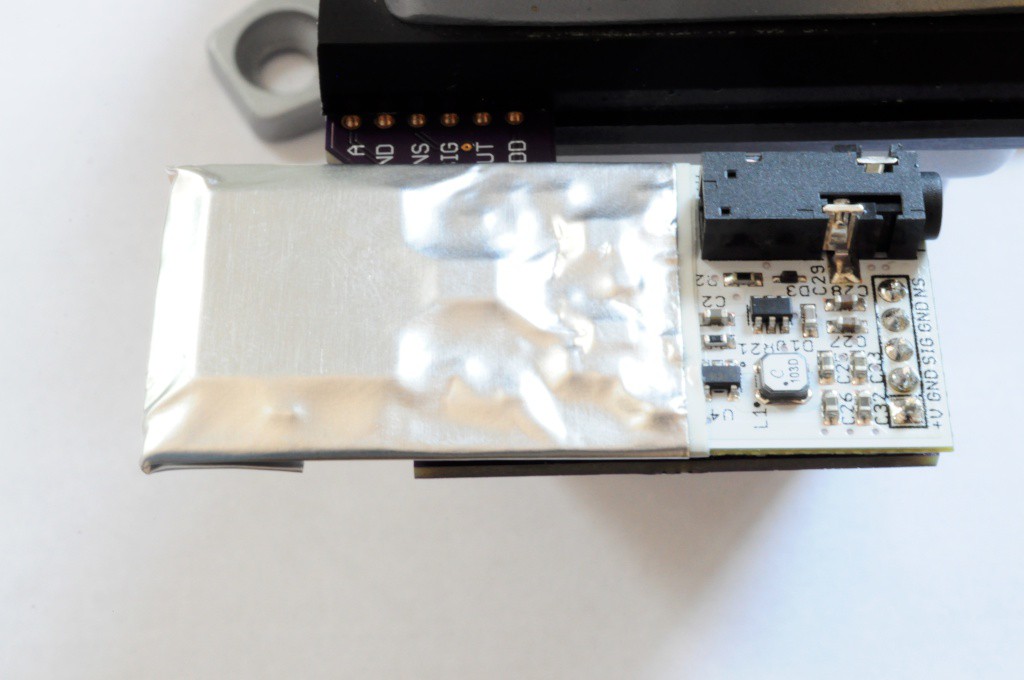
Though I'm still looking for the perfect connector that's polarized, locking, mechanically sound, and exactly the height that would keep the Type 5 one lithium-polymer-batteries height off the motherboard, I was able to test the Type 5 with some jumpers. The result was 5cpm using the regular output, and about 20cpm with the super-sensitive output, and both went up substantially when bringing a 1 uCi Cadmium radioisotope check source near the sensor. Looking great!
Cat!
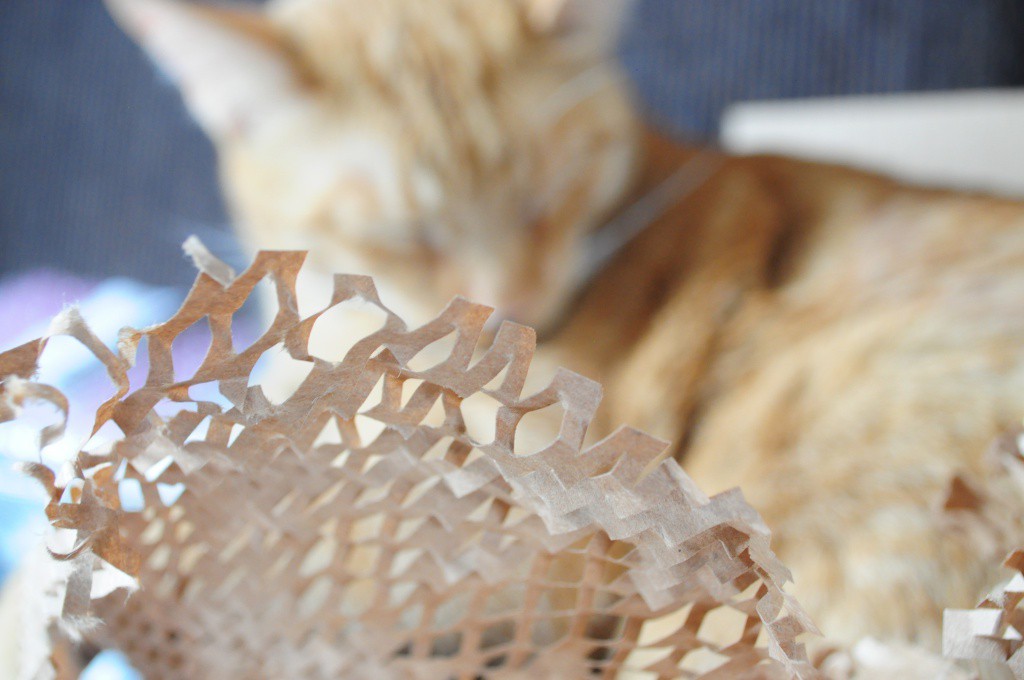
A brief interlude -- both of my cats love Digikey boxes, and usually race to sit in the cushy packing material. If they fits, they sits.
Lightning et al. Sensor Board
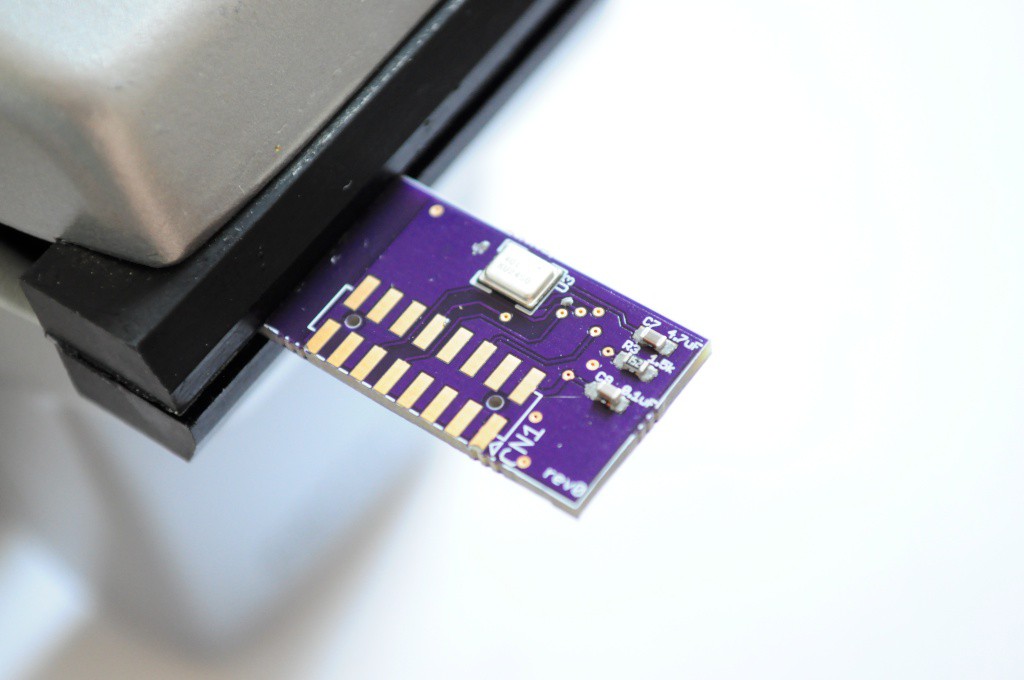
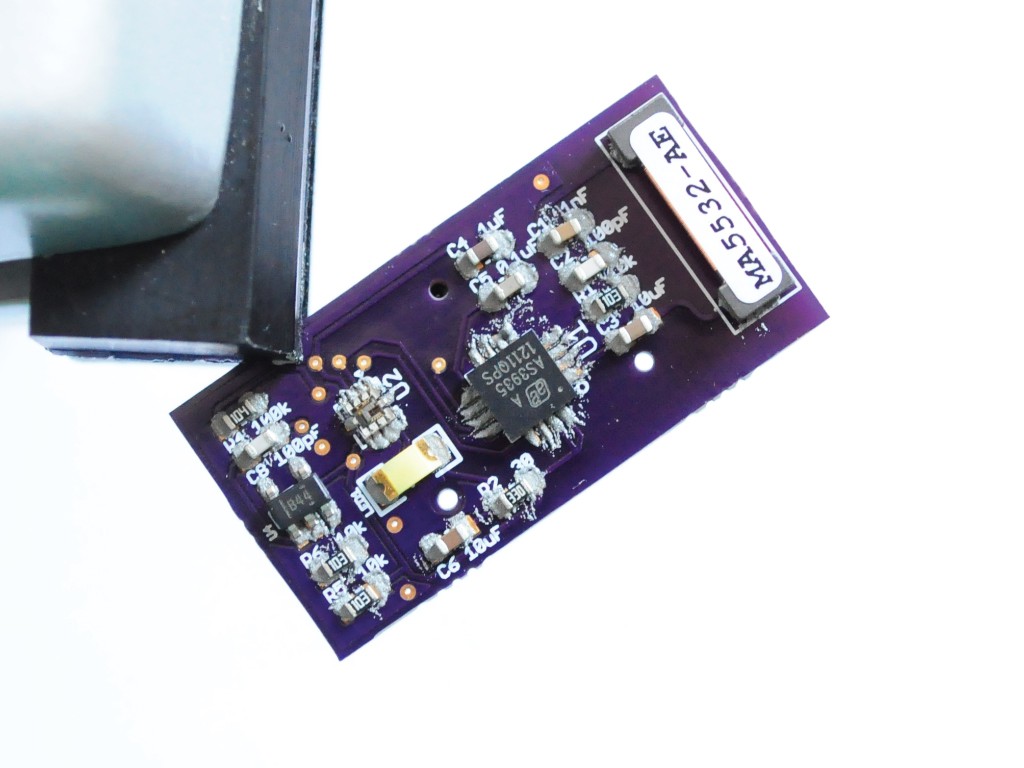
A few pictures from assembling the Lightning et al. sensor board, which contains the AS3935 Lightning Sensor from AMS, the SI1145 UV sensor from Silicon Labs, and the ADMP401 MEMS microphone from Analog (as well as an amplifier circuit). Above is the ADMP401, on the back (inner-facing)side of the board.
The tricky bit about the Lightning board isn't that it's double sided, but that it's double sided with leadless parts on both sides. I try to avoid this, usually putting all leadless packages on one side, putting the board through only a single toaster-oven reflow cycle, and then working through all hand-solderable packages on the other side. This wasn't easily possible with the lightning board, so I decided to give double-sided toaster oven reflow my first try.
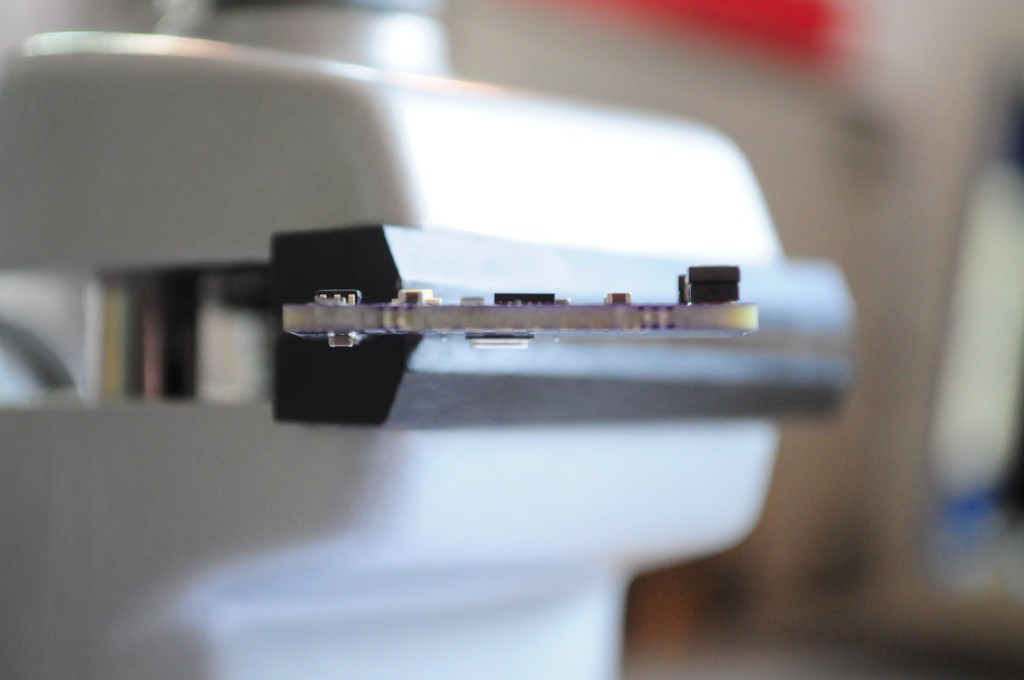
Here you can see parts on both sides -- most of them on the top, and the ADMP401 on the bottom.
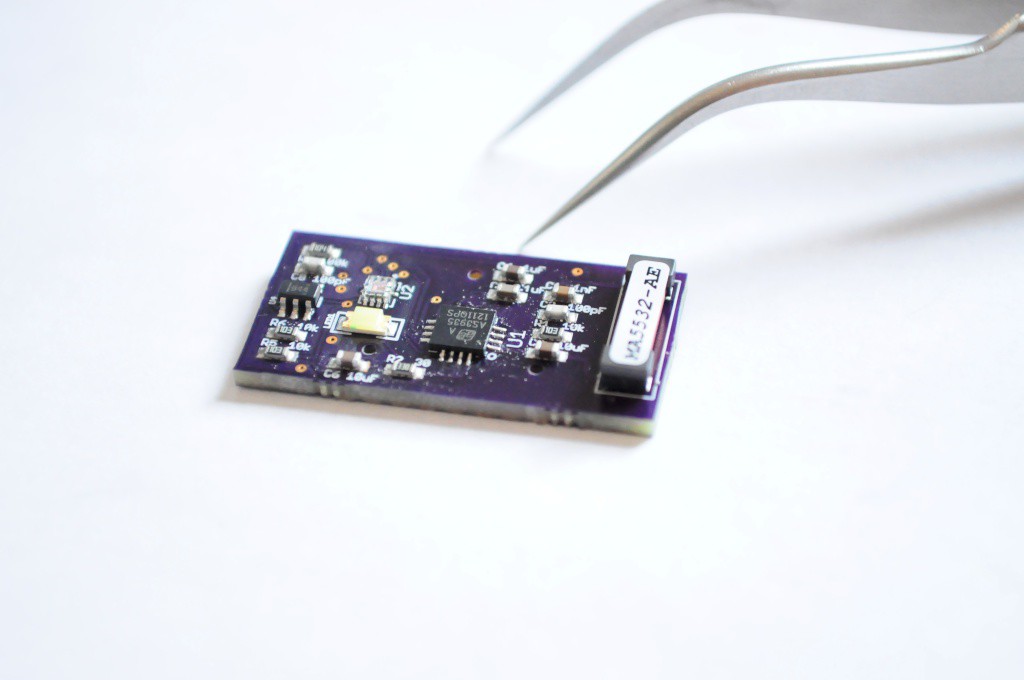
The double-sided toaster oven reflow worked famously. I populated and reflowed the ADMP401 first, and then populated and reflowed the top of the board (placing the board upside down on another PCB, so the heavy parts wouldn't fall off on the second reflow cycle),
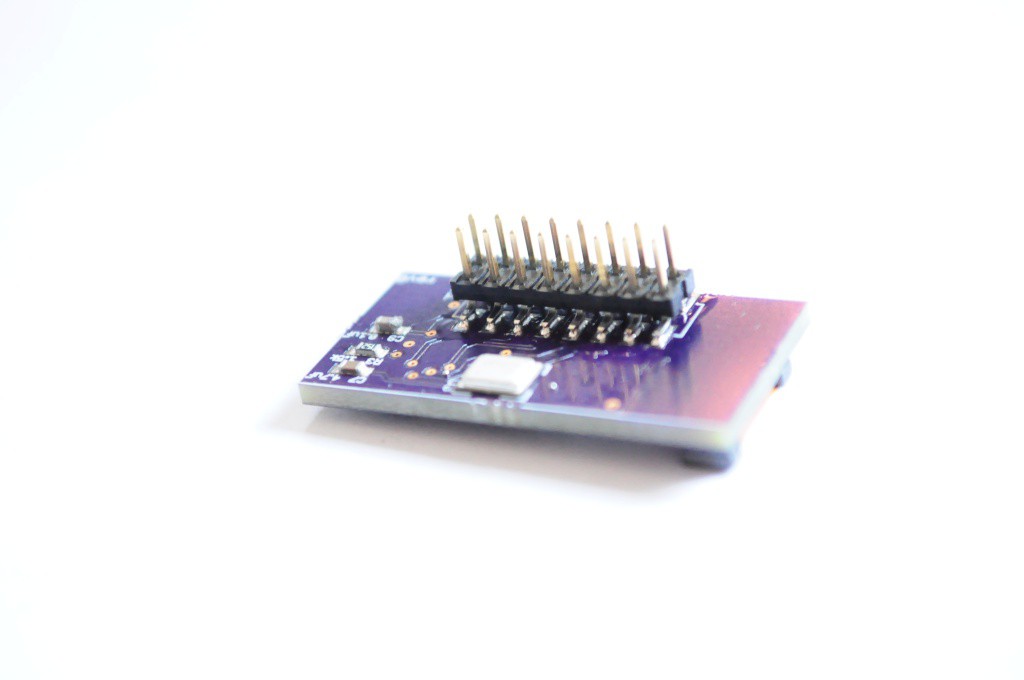
Looks beautiful!
Atmospheric Sensor Board

I also populated, but haven't had time to test, the atmospheric sensor board. While I populated the atmospheric temperature, pressure, and humidity sensors, I realized the the current draw for the MiCS gas sensor is more than the PIC32 pins can source, and that it needs a second revision with some mosfets to ensure that it won't blow up some of the IO pins on the microcontroller. This is exactly why I'm building these first revision boards as soon as possible -- to find out what I forgot as I was building them.
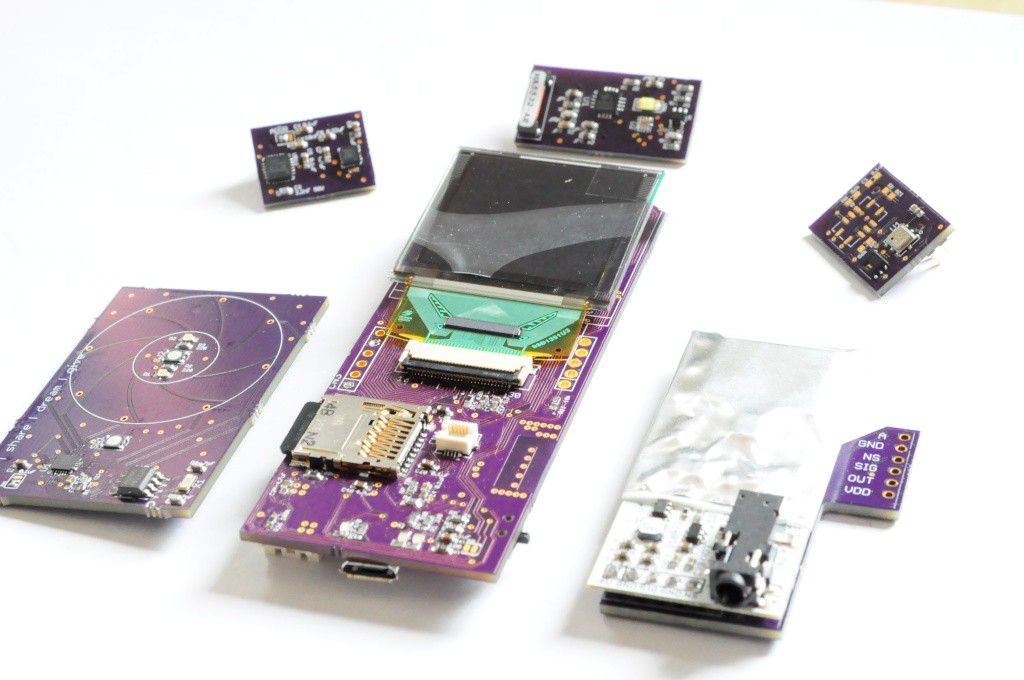
Modular Sensor Suite (6 of the 7 Arducorder Mini boards)
Above is a set of 6 (out of the 7 total) sensor boards. I still have to design the most exciting board, the spectrometer / thermal camera board, and wanted to hold off until I'd assembled the rest of the Arducorder Mini to get an idea of size constraints, and if I can redesign the open mini embedded spectrometer to make it even smaller, and reduce the thickness of the entire Arducorder Mini.
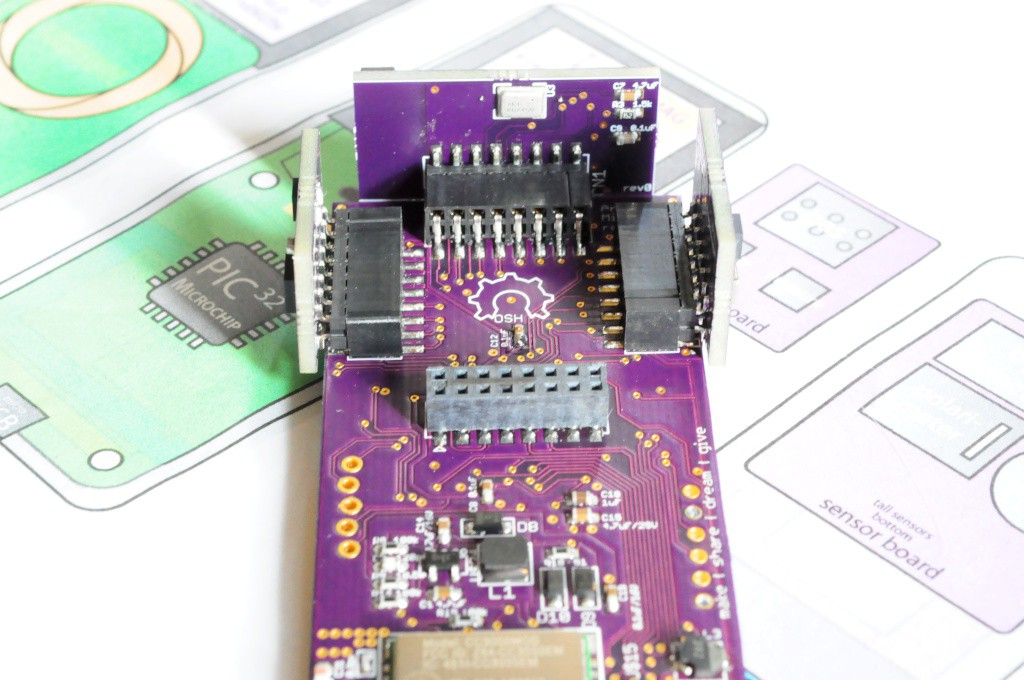
Here three of the modular sensor boards are visible, with the spot for the fourth -- the spectrometer/thermal camera board, still unpopulated. The connector for the high energy particle detector can be seen on the bottom right side.
Capacitive Touch Wheel Board
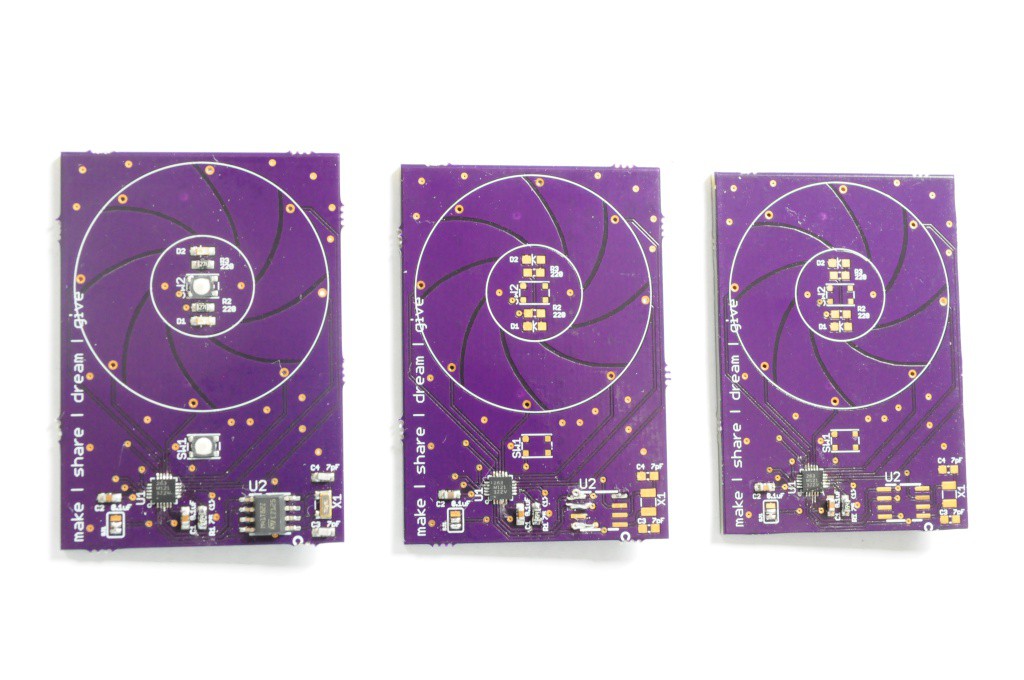
Last but not least for this update, I'm eager to begin working on the user interface, and have populated several of the MPR121-based capacitive touch wheel boards. Unfortunately while I've had success contacting the real-time clock on the touch board, I haven't had any luck contacting the touch sensor. I've built three of the boards without luck (two using toaster oven reflow, and a third hand soldered), and have double-checked the footprint, schematic, soldering, and code, without luck. I'm fresh out of MPR121 ICs and touch boards, so I've ordered additional boards, MPR121's from a different source (incase the chips were dead), and a breakout board to hand-wire to the capacitive touch wheel in the mean time.
Next Steps
There's been a great amount of progress recently, and my focus for the near-term is to verify the hardware, and send out any revisions that are necessary. While those revisions are out, and once the hardware is reasonably stable, I can start to really push on the design of the user interface. I've had lots of ideas for an simple and intuitive visualization interface for sensor data, so it'll be interesting to finally put code to practice.
Already the prototype Arducorder Mini feels wonderful to hold in your hand and walk around detecting things, so I'm very excited to see how it takes shape in the coming weeks and months.
Thanks for reading!
 peter jansen
Discussions
Become a Hackaday.io Member
Create an account to leave a comment. Already have an account? Log In.
Are you sure? yes | no
Are you sure? yes | no
Are you sure? yes | no
Are you sure? yes | no