Initially I cable-tied a 40mm fan to the end effector. It wasn’t cooling very well so I designed a fan duct to redirect the airflow. The first version improved the overhang performance but only from one side. Edges still curled on the opposite side to the duct. I revised the design to split the airflow in two and redirect it to either side. This helped to stop the uneven curling.
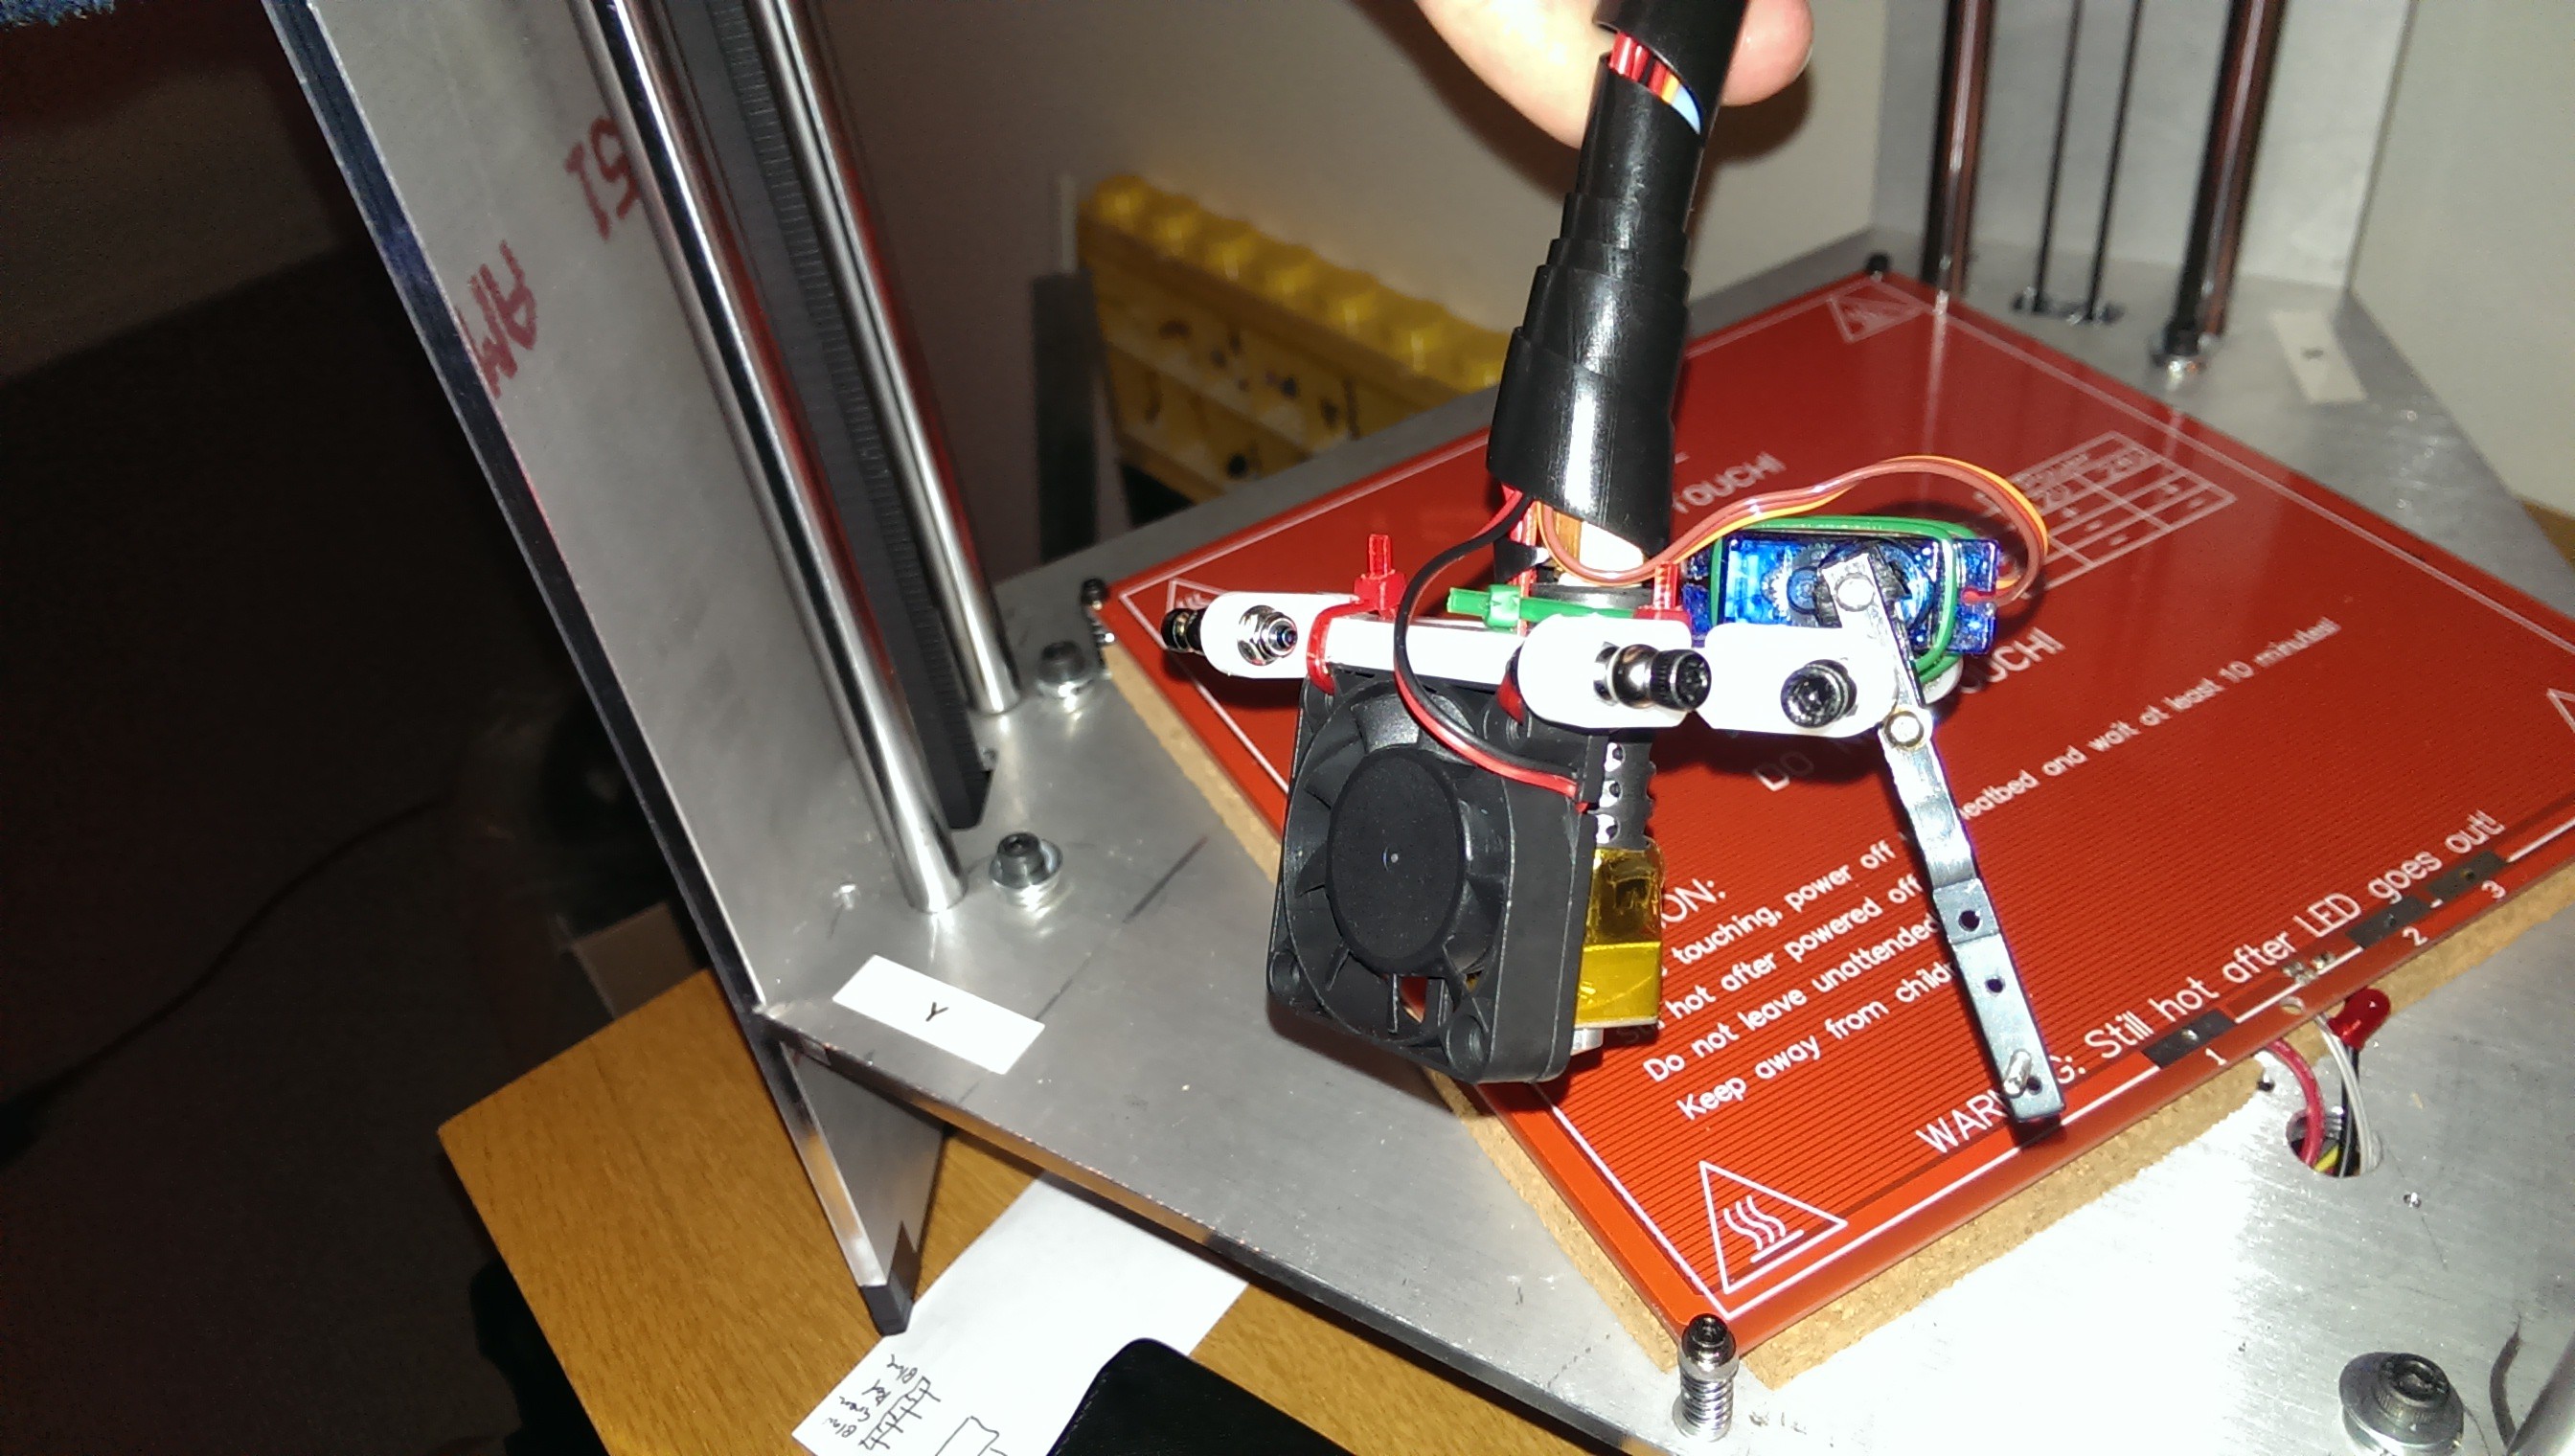
Original fan mounting
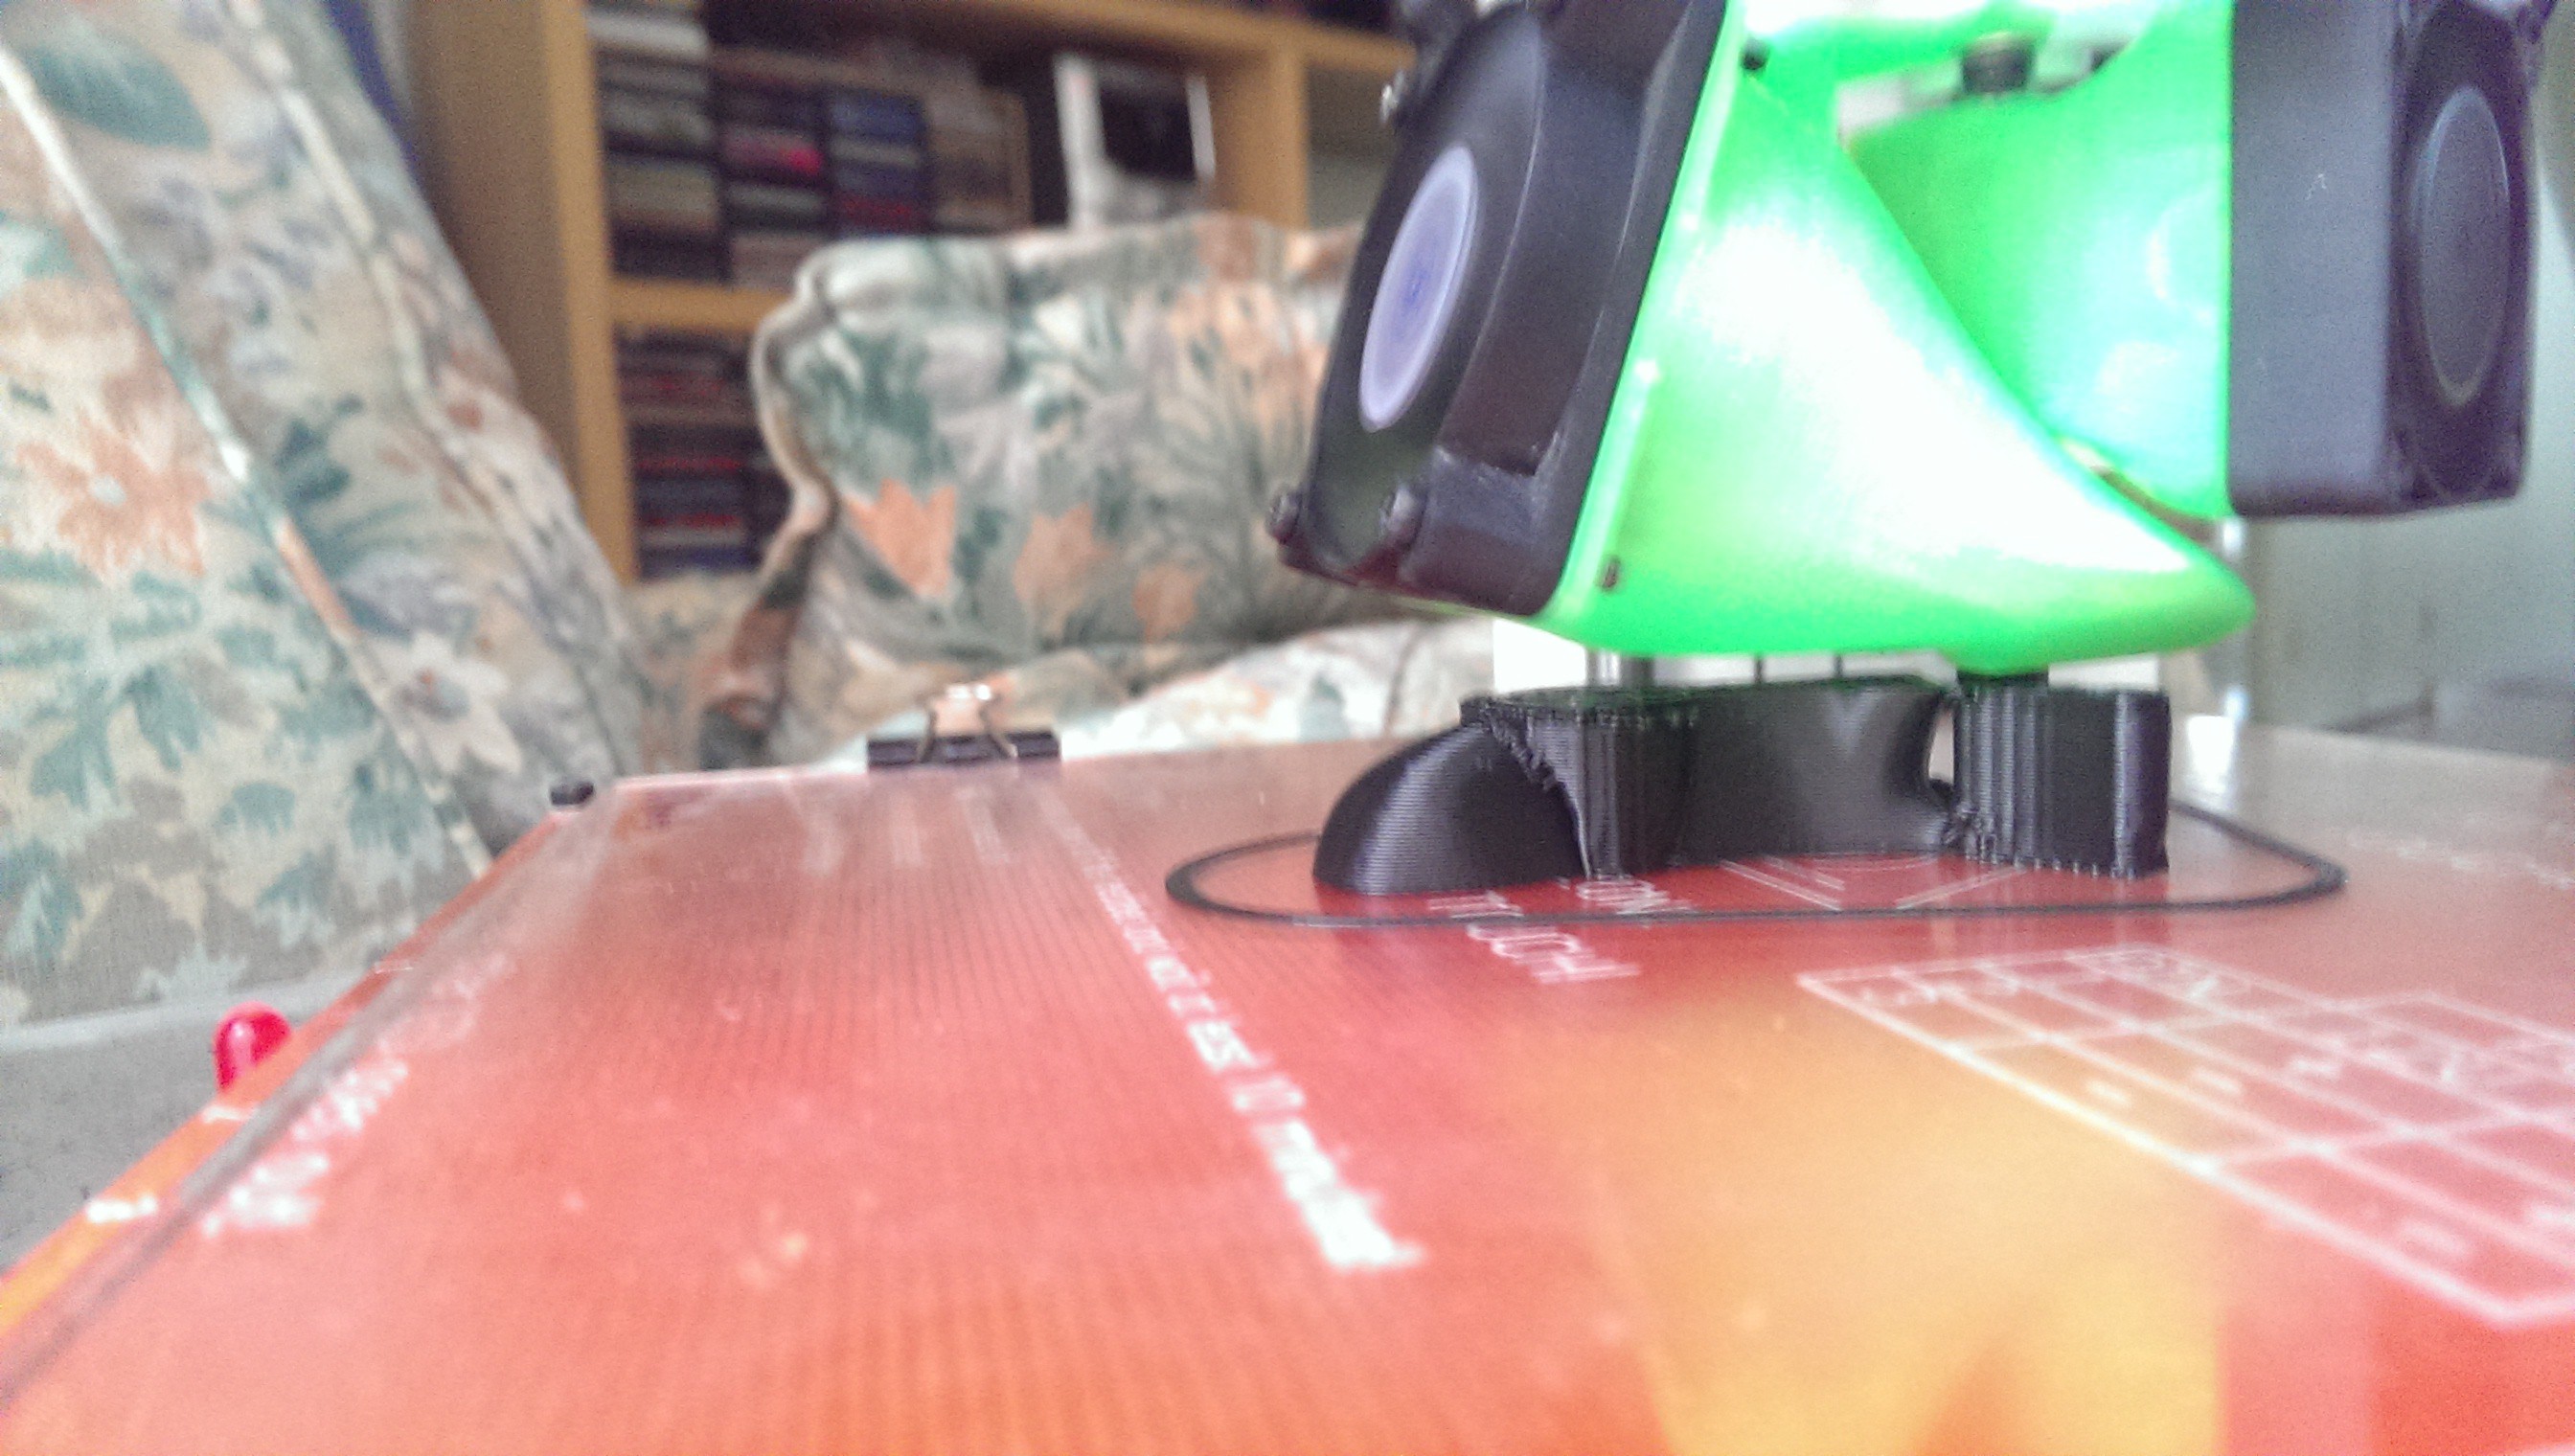
After I upgraded to the E3D V6 Hotend I used its included 30mm fan to cool the heatbreak fins. I then modified the duct to accommodate a larger, quieter 50mm fan sourced from an old 486 heat sink. The E3D fan was then upgraded to a larger 40mm fan on a printed adapter.
The heatbreak fan was tied to an always-on 12V supply and the larger cooling fan was connected to a spare MOSFET for dynamic speed control. Cooling worked well and produced excellent overhangs.

Fan duct generations
Cooling fan and heatbreak fan
Discussions
Become a Hackaday.io Member
Create an account to leave a comment. Already have an account? Log In.