Before committing to a large block of wood (and the milling time required to cut it) , I wanted to do a few test blocks to properly get the right parameters for tooling, materials, finishing, etc.
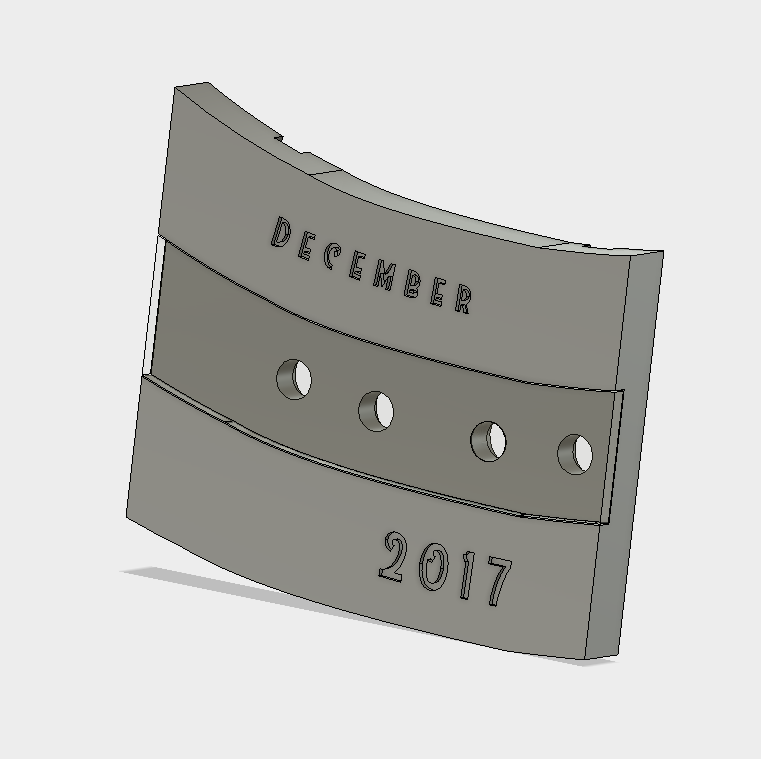
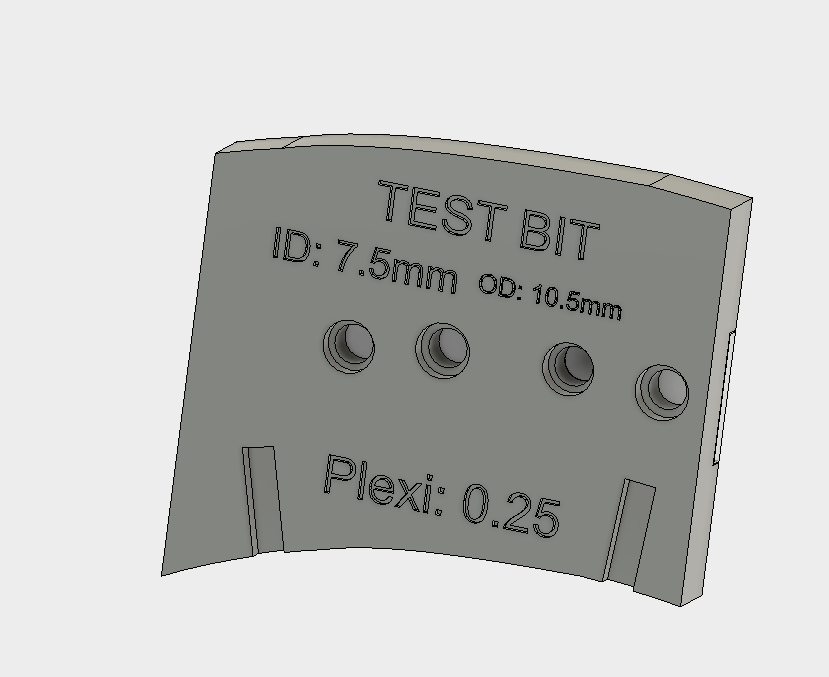
The idea with the first one was to check the different machining processes - would the 0.8mm endmill or the v engraver work better, size of the text be OK, make sure the edges come out clean, etc. A difference operation in Fusion gave me a small section that was going to tell me what I needed:


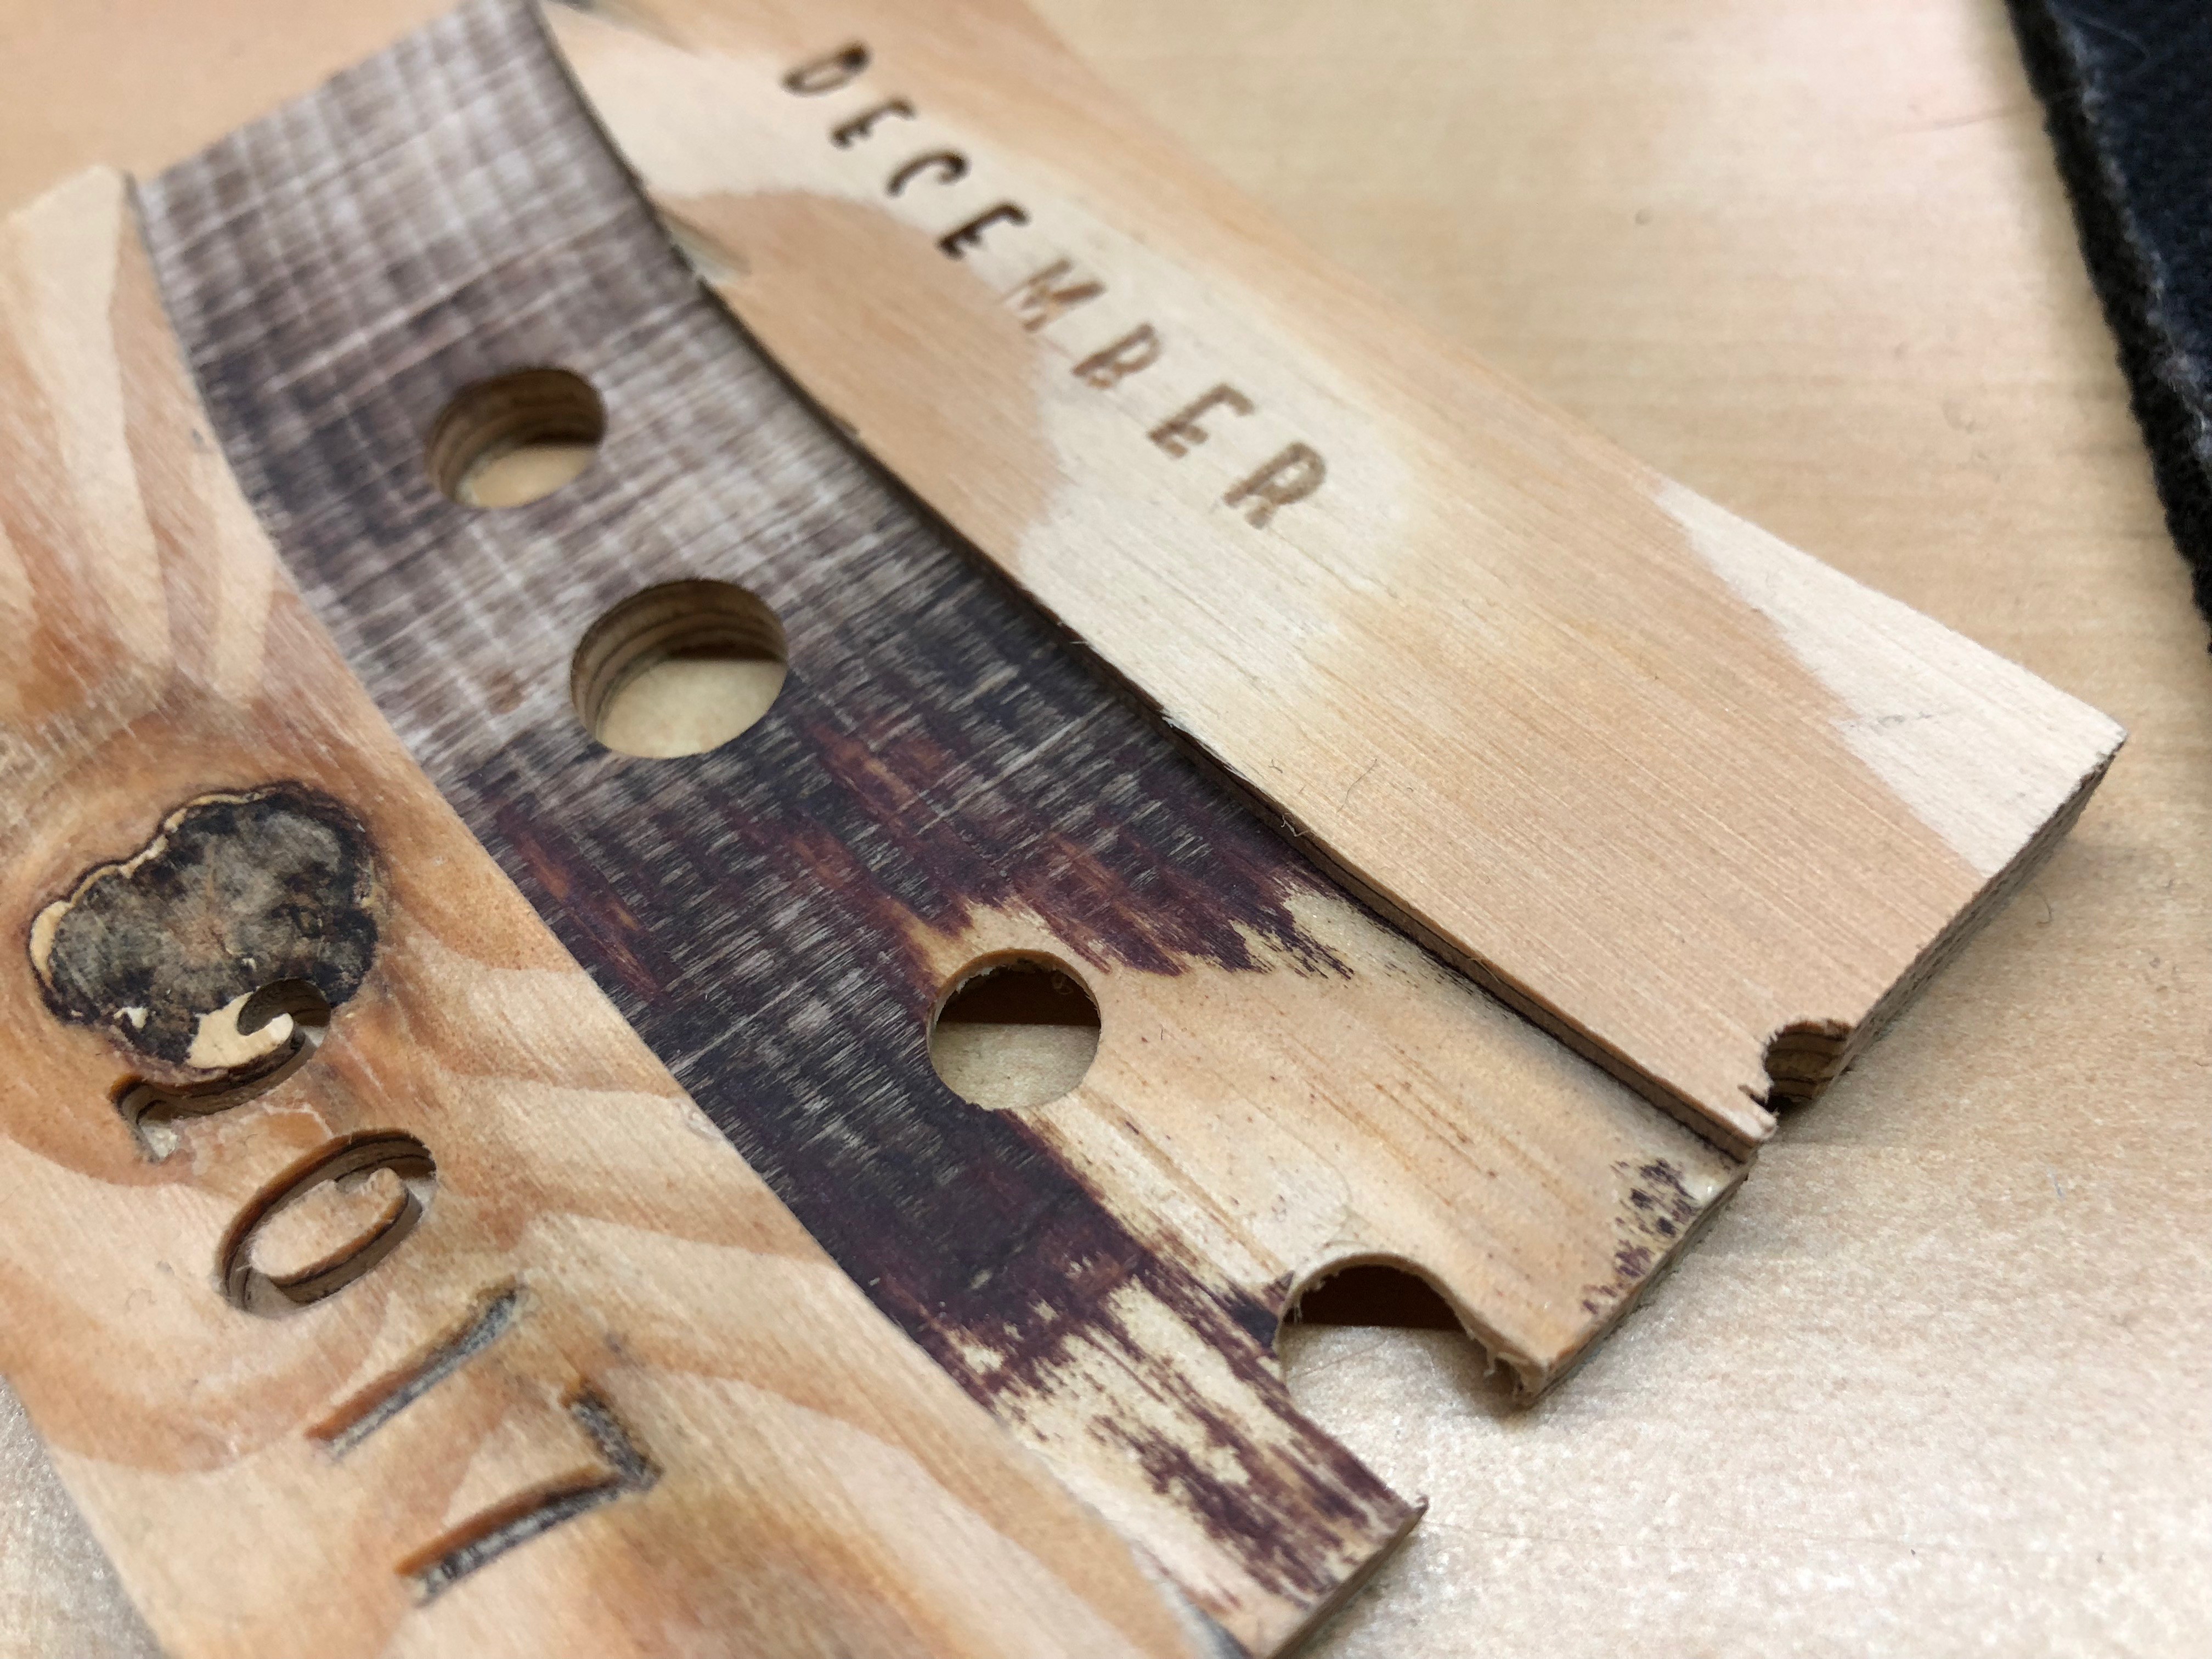
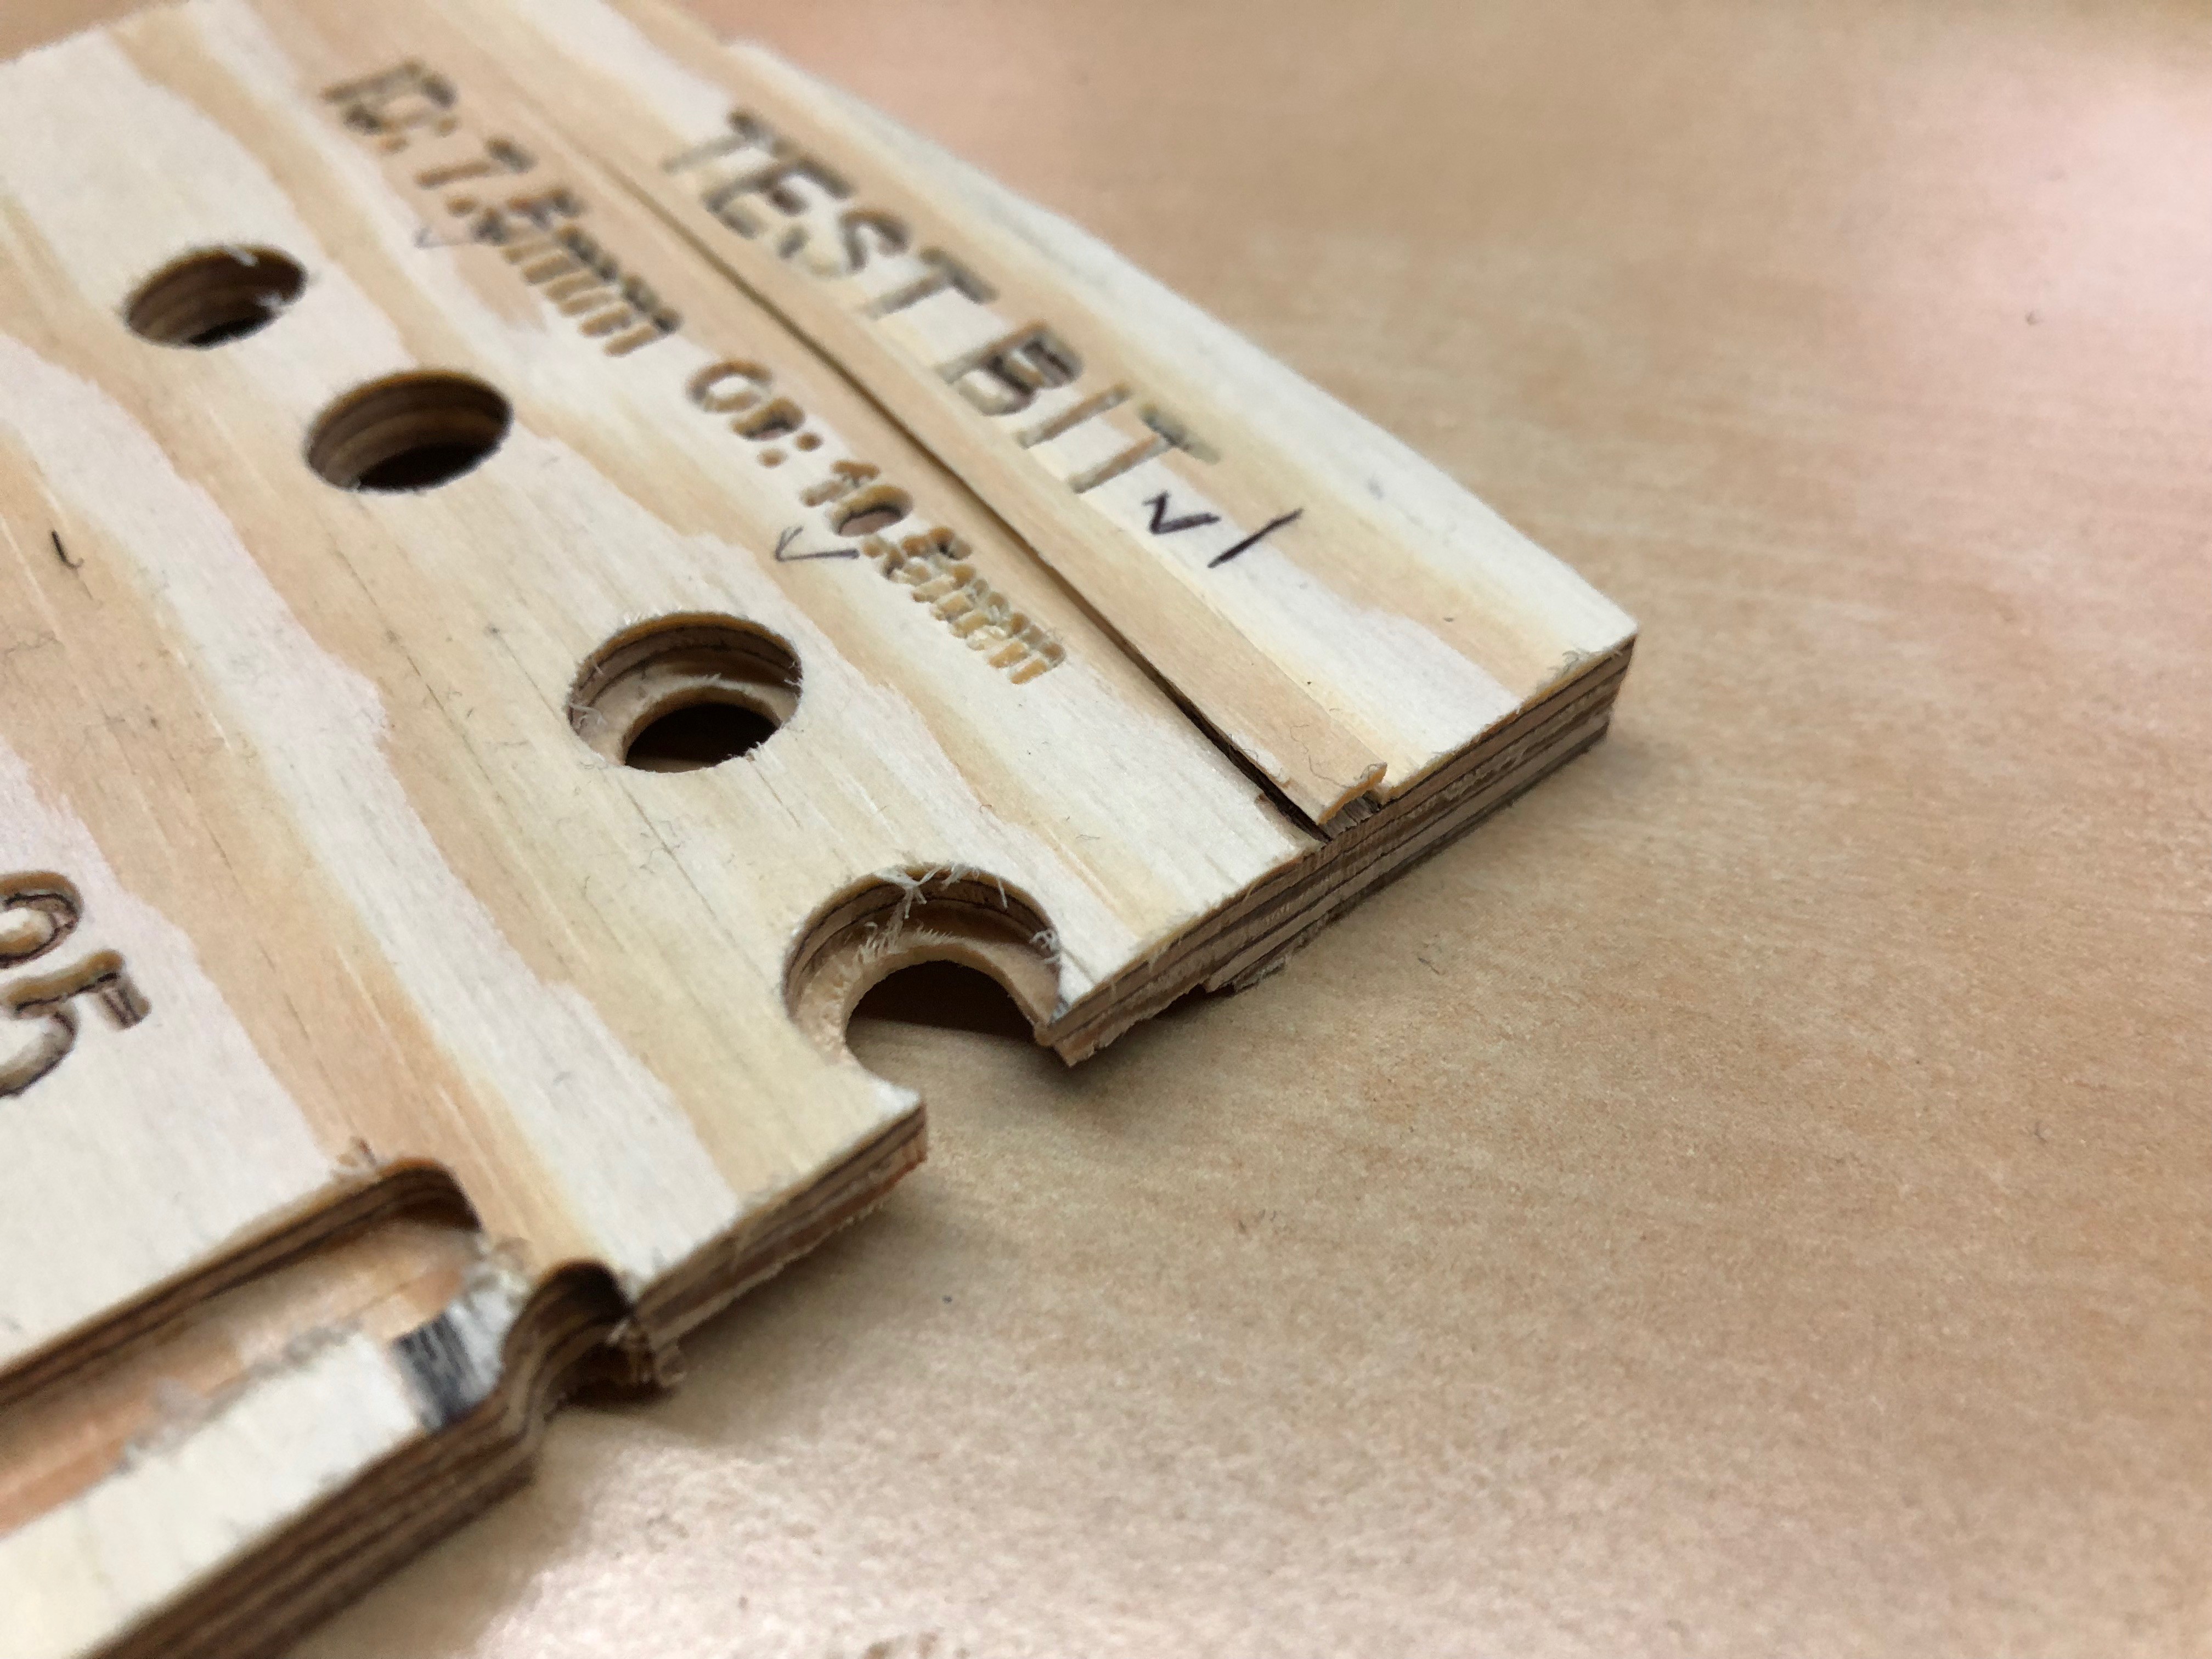
An hour of CNCing later at MakersLink, and I got this:


So what did I learn?
- The LED holes are the right size, no need to change.
- Plexiglass tolerance TBD - I still need to get the plexi.
- Packing Plywood is absolutely awful for this!
- The smaller text on the front side is way too small for the 0.8mm cutter. Also the engraving isn't as clear at either size, and again looks horrible in this material.
- Hitting the glue line for the plexiglass pocket gives a very 'interesting' pattern thats not consistent at all.
- Based on the above, and the struggles finding good quality plywood locally, its an easy decision to swap to MDF instead
- The cheap chinesium upcut endmills leave horrible tearout on the top surface. Part of this is due to the plywood, and part is due to the upcut format. Time to order some good quality downcut endmills instead.
- Do NOT forget to home properly when doing double sided machining!
 doigal
Discussions
Become a Hackaday.io Member
Create an account to leave a comment. Already have an account? Log In.