After the lessons from the first test block, it was time to get a sheet of MDF, which should be the final material that the light would be cut from.
A few other decisions were made after the original test block:
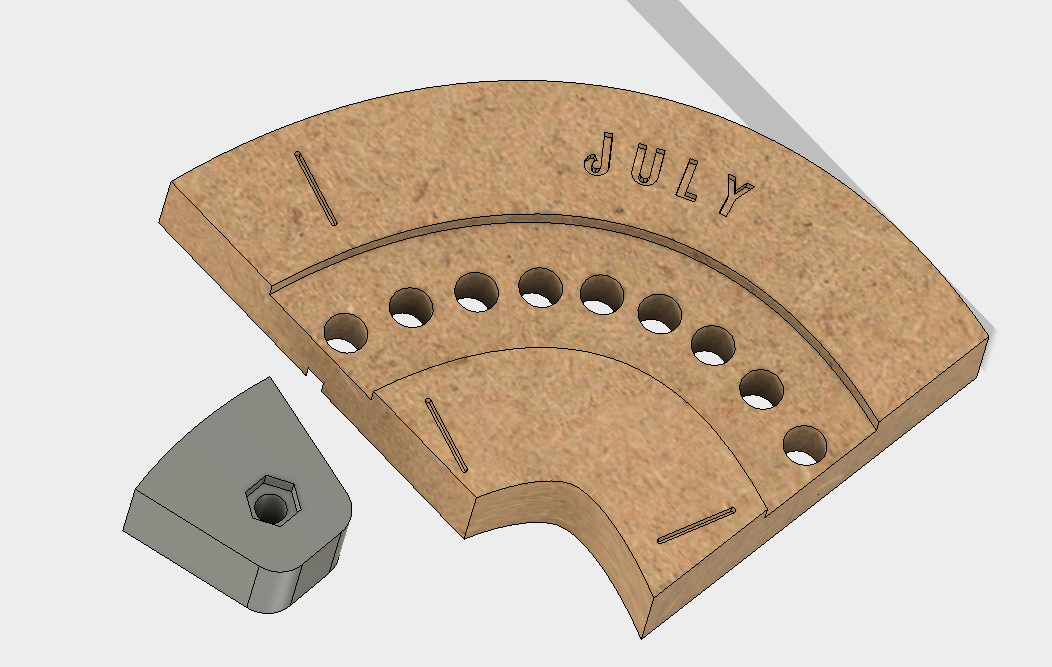
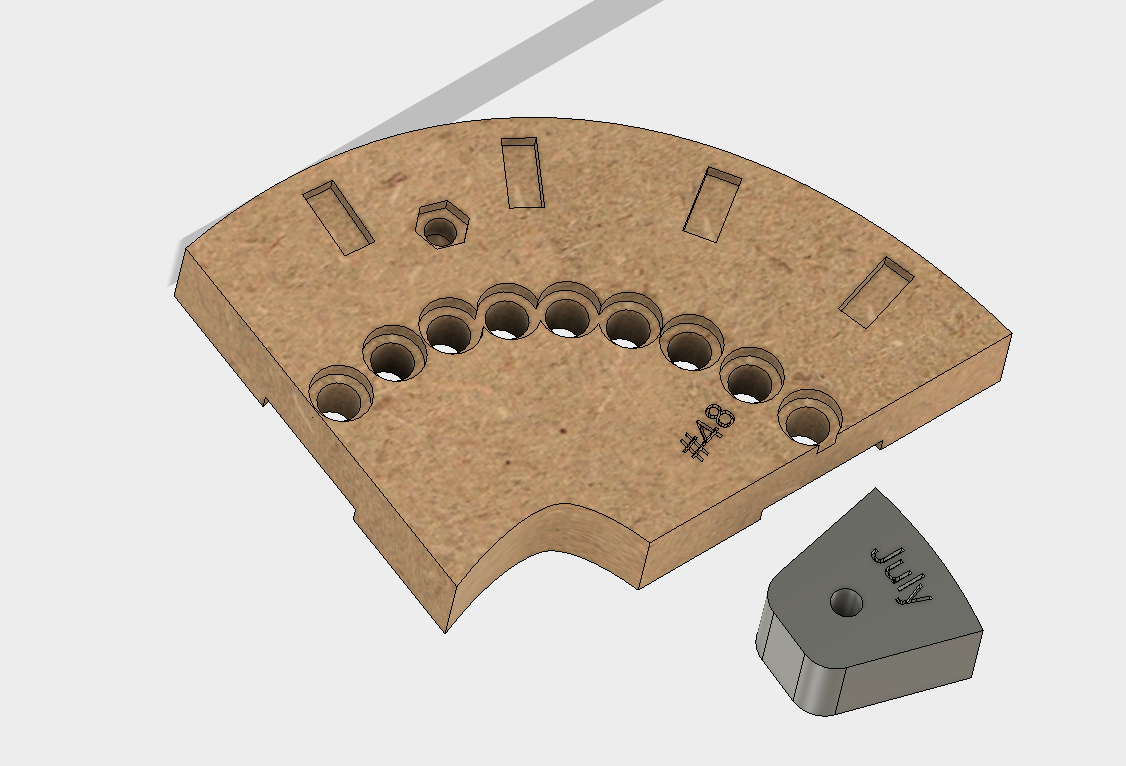
- The slots to hold ribs in case a side piece to stiffen the MDF were changed so that they didn't go to the edge. This was done in case its not required, it just gives me options for later on.
- A nut trap was added so an M5 hook could be added at 4 corners to hang the light
- All helper text on the back is to be engraved (done to save the 0.8 endmill and for reducing machine time)
- All text on the face side to be pocketed with the 0.8mm, as its clearer to read
And so after all the changes were made in the main model, a new test block (v2) was made in 360:


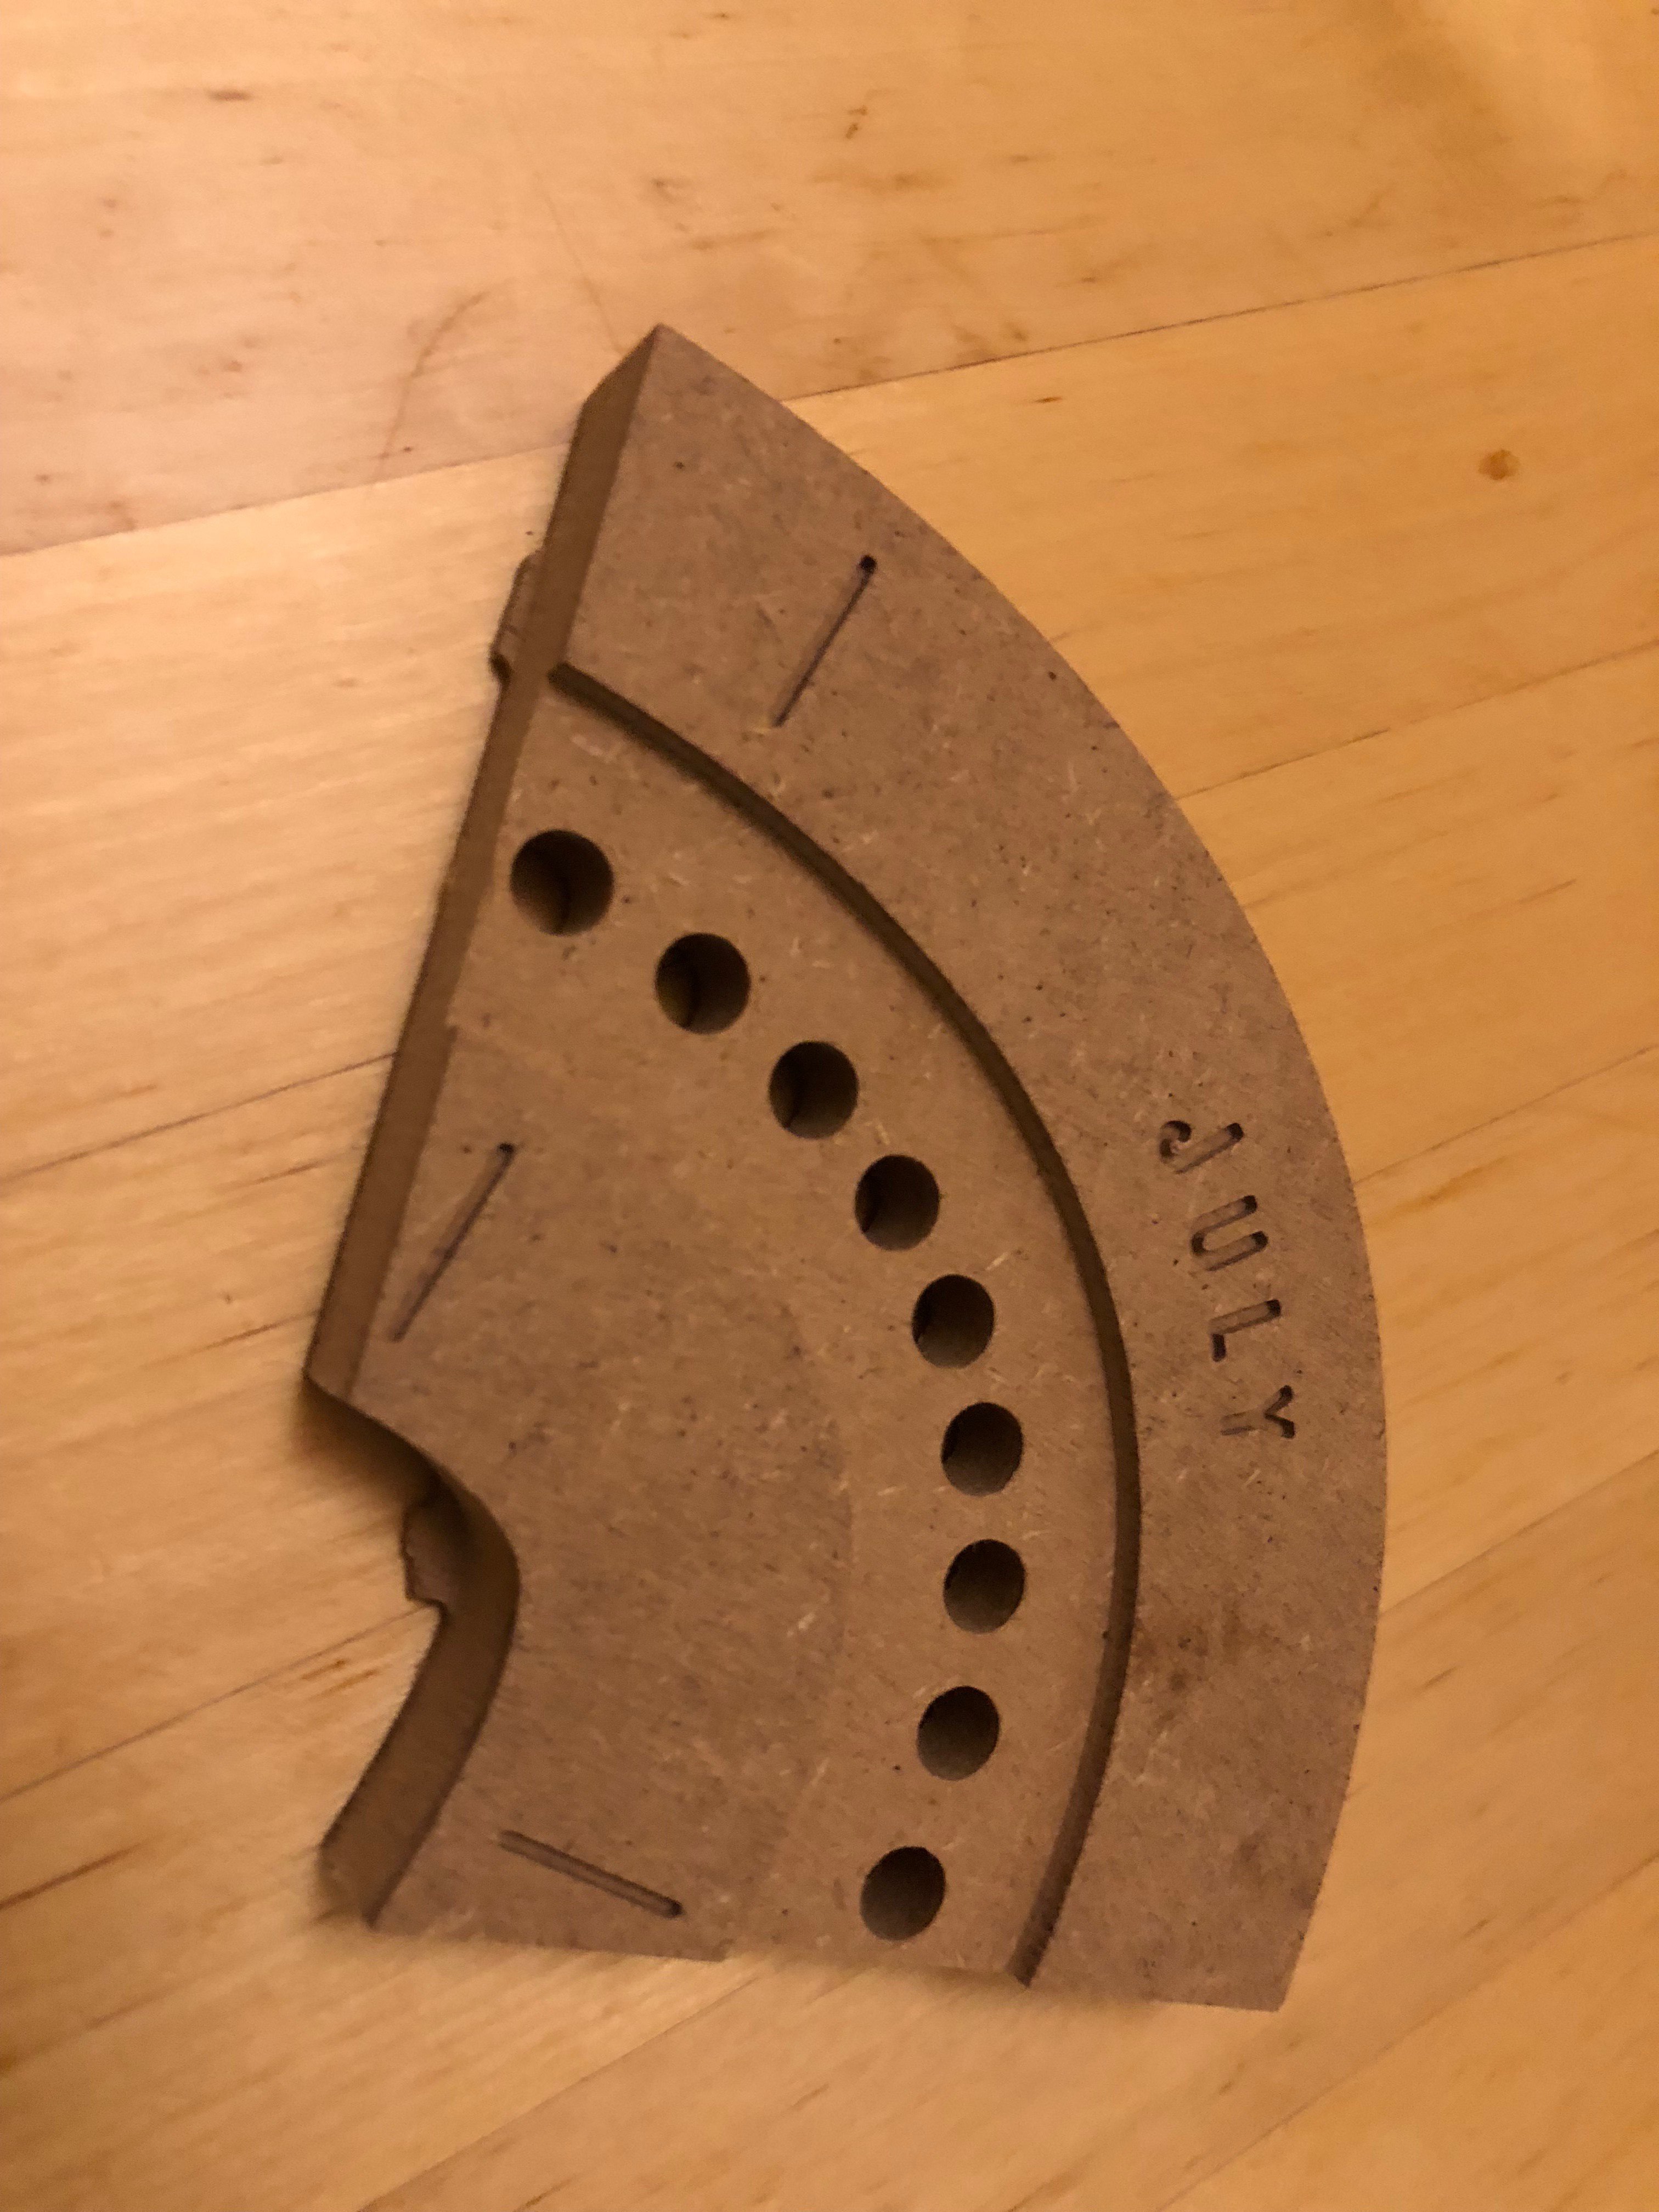
With the touch block for positioning this was much easier to get the double sided accuracy that was missing from the first block. The upcut endmills gave me nice clean edges as well, a good investment. Thankfully I had ordered spares, as a stupid mistake from me killed one of the 0.8mm ones.
I was really happy with the end result:

So moving forward:
- The Nut trap wasn't quite deep enough
- The plexi still needs to be done and checked
- Otherwise, time to do the big cut!
 doigal
Discussions
Become a Hackaday.io Member
Create an account to leave a comment. Already have an account? Log In.