Close
0%
0%

LifeFramework

A technology Framework to ease everyone's life.

Similar projects worth following
Within the subject of accessibility there is no magic bullet. Each individual has is capabilities and interests that are unique. Hardly can we mass produce a device that satisfies everyone needs. With this project we intend to create a framework easily adaptable to each individual necessity.
Another aspect of disabilities is that when they are associated with diseases or ageing they tend to evolve. So we want to create a system that will be easily adapted by less technical people. To achieve this, we will use a controlled natural language.
This system is not only about user interaction, but also about real world interaction. We will see how to create some devices that can be integrated and empower the individual with capabilities to act over the external world.

So, what it is all about?

The central core of the system will be an application that on one hand the user can interact with trough several sensors, like an eye gaze device, EMG sensor, voice, etc., on the other hand she can interact with external world controlling, for example, a power socket, an webcam, send mails, play music, etc.

To build up this system we will opt to use components that are easily and readily available through online stores. We will embody the spirit of the makers and build some of the modules using, mainly the Arduino platform, but we will also show how to interface with some commercial products. This option is justified by the fact that some biometric sensors require some level of accuracy and ergonomics that are not easily achievable by the DIYselfers. We will also try to build a system that is economically accessible.

Another aspect of this system is that it is modular. So, depending on the requirements of each individual, she can opt for some modules instead of others. With the examples that we will be demonstrating here, will also be possible to each one build up they own modules.
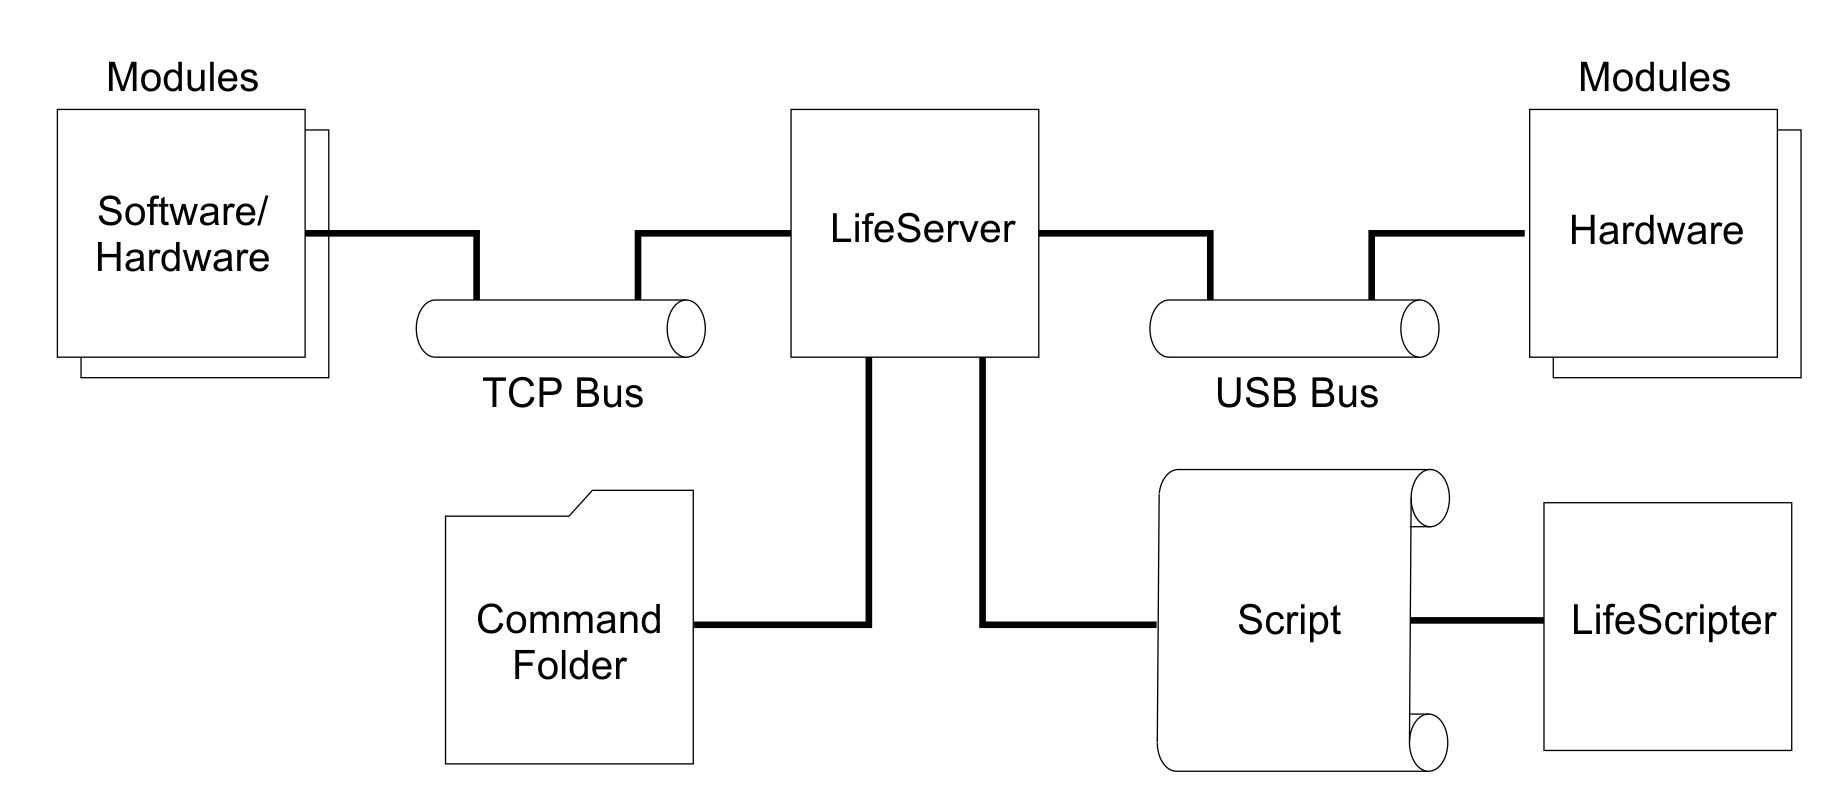
This project has one main module that is the server.

At the moment it is a windows console application but for final user deployment it should run as a service.

The service application listen to the peripherals that are supposed to interact with the server, and accordingly to a previous written script it will respond to events.

The communication with the modules can be done through USB or TCP. For this we will have to elaborate a protocol with which all system components can understand each other.

Some executables that do not require the complexity of a module will be treated as a command.

As the system should react as the requirements of the user there is a script written in a controlled natural language that the server interprets and executes as it receives the modules events.

The modules software will be release with GPL license. In case we use proprietary libs to interact with commercial hardware we will have treat it accordingly.

  • PlugAndLive (part 1)

    Carlos Oliveira10/03/2016 at 10:41 0 comments

    Now that we start to have a couple of modules, somehow we have to put them talking with the system.

    For that one of the modules requirement is that we have protocol to which all modules have to abide.

    This protocol that we will start calling PlugAndLive will have at least the following constituents: Presentation and Vocabulary.

    In the Presentation part the module announces its name to the server, so that the server can uniquely identify it.

    In the Vocabulary part, the module indicates which events and methods it responds to.

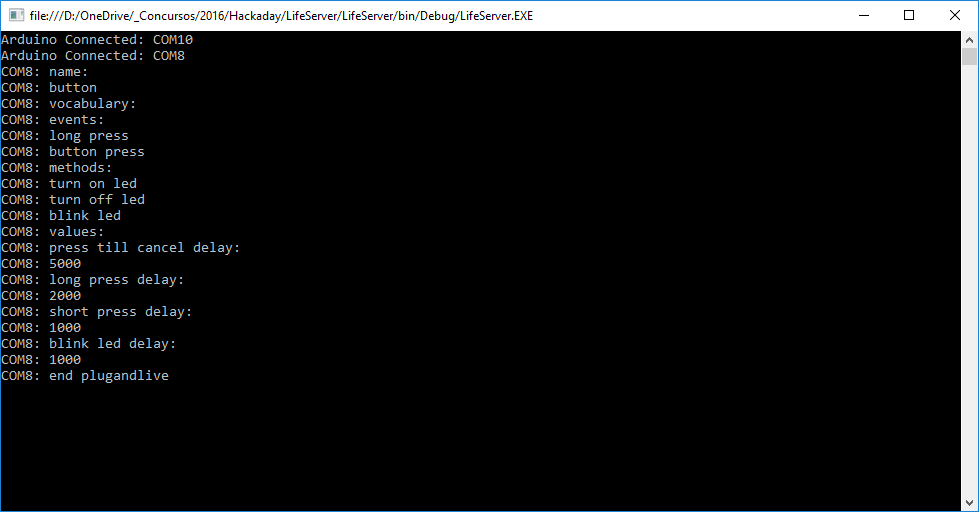
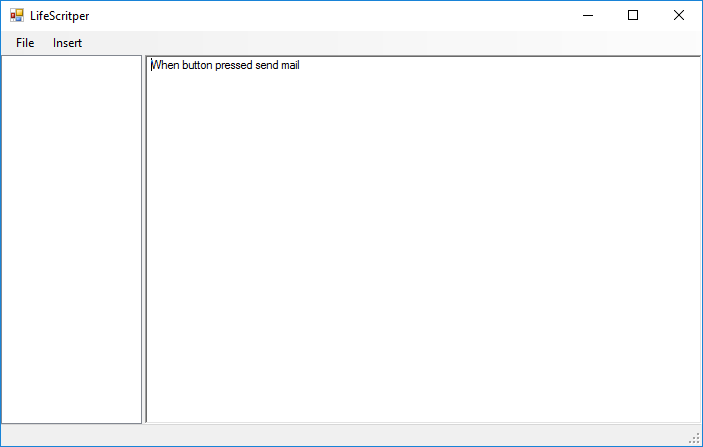
    As we can see in the following printscreen, the server enumerates all COM ports searching for connected arduinos and in case it finds one, it try to establish communication with the module.


  • Let's shed some light (Part 1)

    Maria João10/02/2016 at 10:00 0 comments

    One of the most commonplace in IOT and automation is the ability to turn on or off

    electrical appliances.

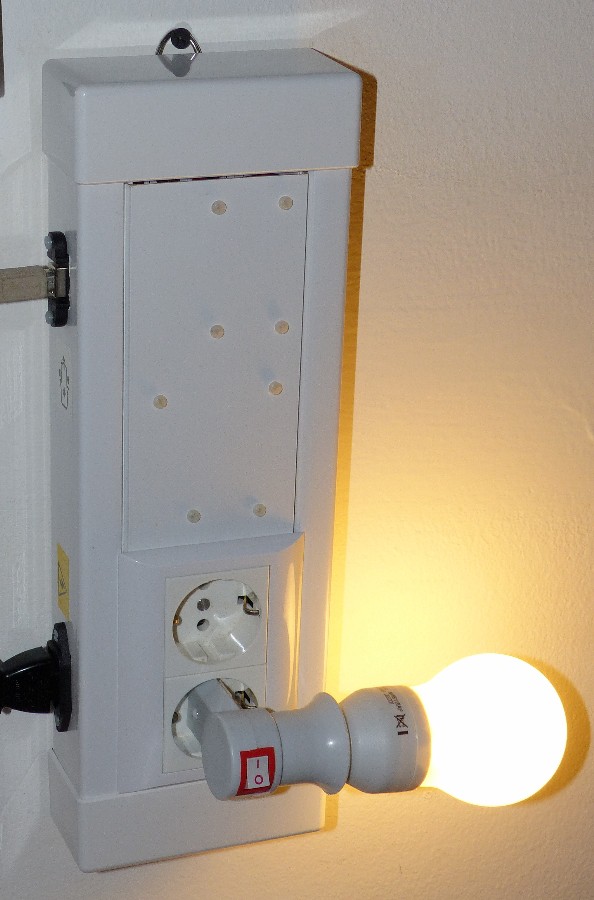
    So we had to create a module that could give the users of the system that power.

    But before we put our hands on it, a disclaimer:

    Dealing with electric power is dangerous, so do not do it unless you are 100%

    sure about what you are doing, and a word of caution: disconnect always the cable

    from mains power before messing inside the module.

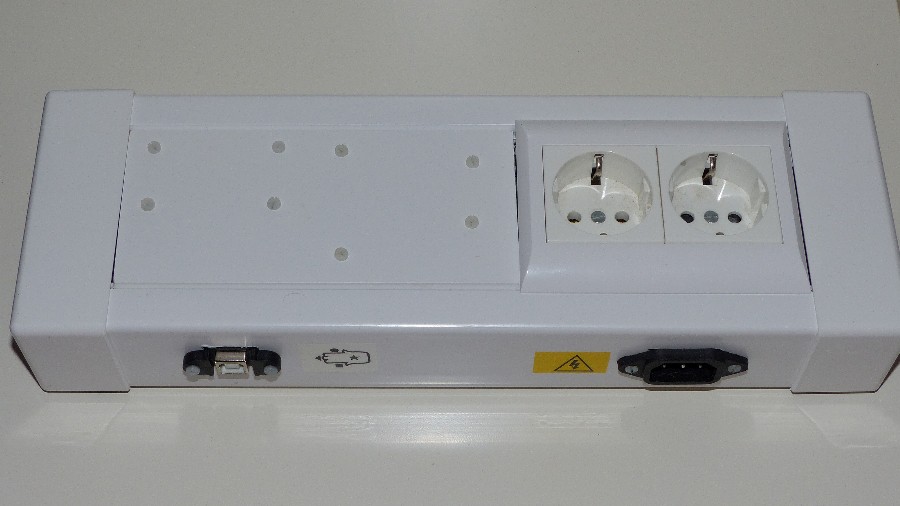
    For this project we are using a plastic case based system that is popular in Europe

    for delivering cabling systems inside buildings. Two of most common brands are the french

    Legrand and the portuguese Efapel. They are somehow compatible and in this particular

    assembly we are using elements from both brands.

    Legrand is more widespread and has power sockets that comply with standards for several countries.

    Once again, we try to have an assembly that is straightforward to build.

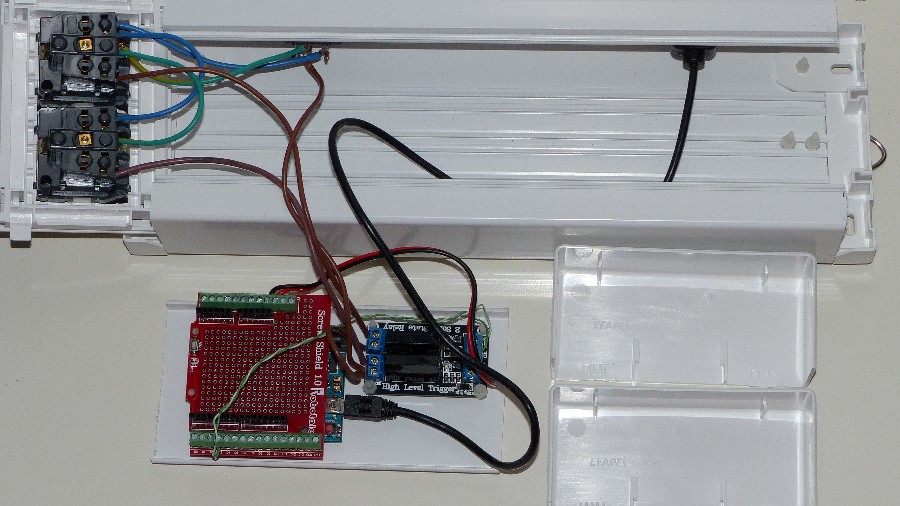
    The main components are an Arduino Uno and a board with a pair of solid state relays.

    They do not stand too much power (theese are rated 2A). So they can drive lights, but are not

    suitable for appliances that consume more power like heaters.

    Their advantage is that they do not produce electric interference when they are activated or

    deactivated. We plan to build another socket with electro mechanical relays, but for that we have

    to add some electromagnetic filter.

    Let´s shed some light (part 1)_I

    Let´s shed some light (part 1)_II

    Let´s shed some light (part 1)_III

  • It takes a big button to send an email (Part 2‏)

    Maria João09/28/2016 at 10:34 0 comments

    From the point of view of the software, to develop the solution, we are using Visual Studio Community Edition that can be freely downloaded and used for noncommercial purposes.

    To build up this configuration (push a button to send an email) it was created a command line executable that accepts some parameters and send an email.

    The application is still being developed and as we add more features will be adding more details in future logs, but for now we can say that for the purpose of this demonstration, we created a script inside the application that instruct the system that when a “button pressed” event is detected it will fire a command that will send an email.

  • It takes a big button to send an email (part 1)

    Maria João09/25/2016 at 18:17 0 comments

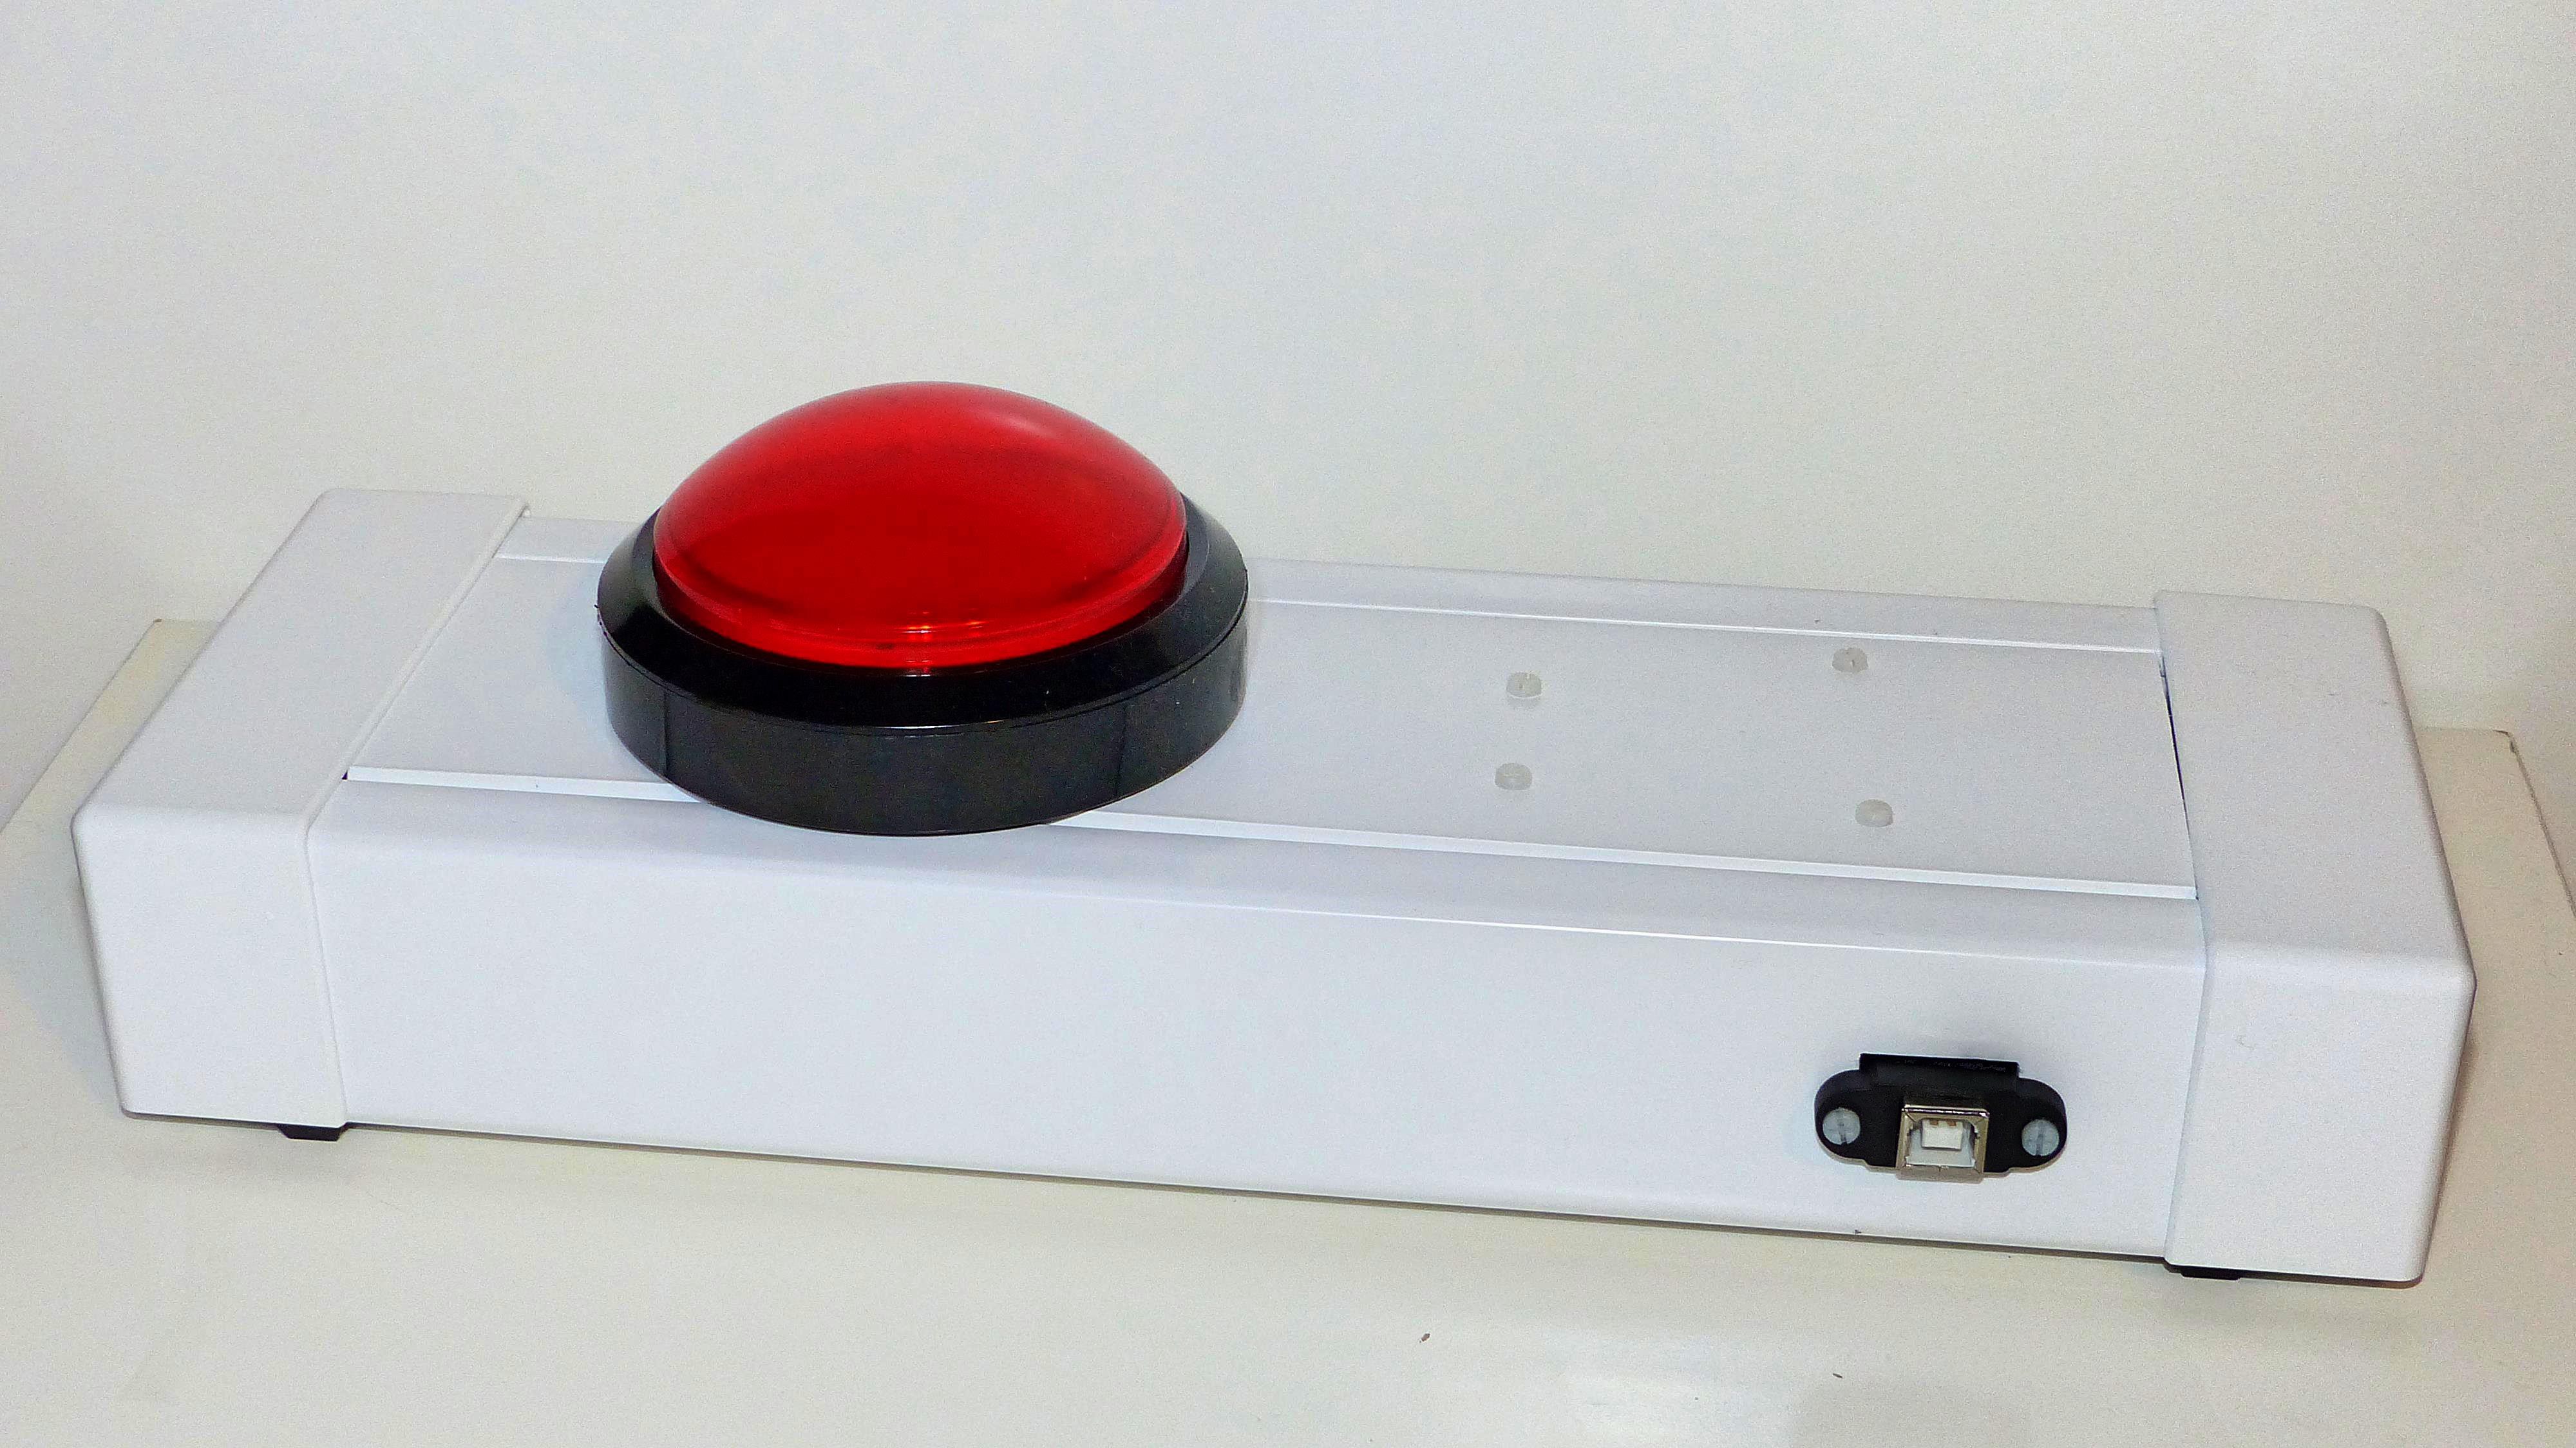
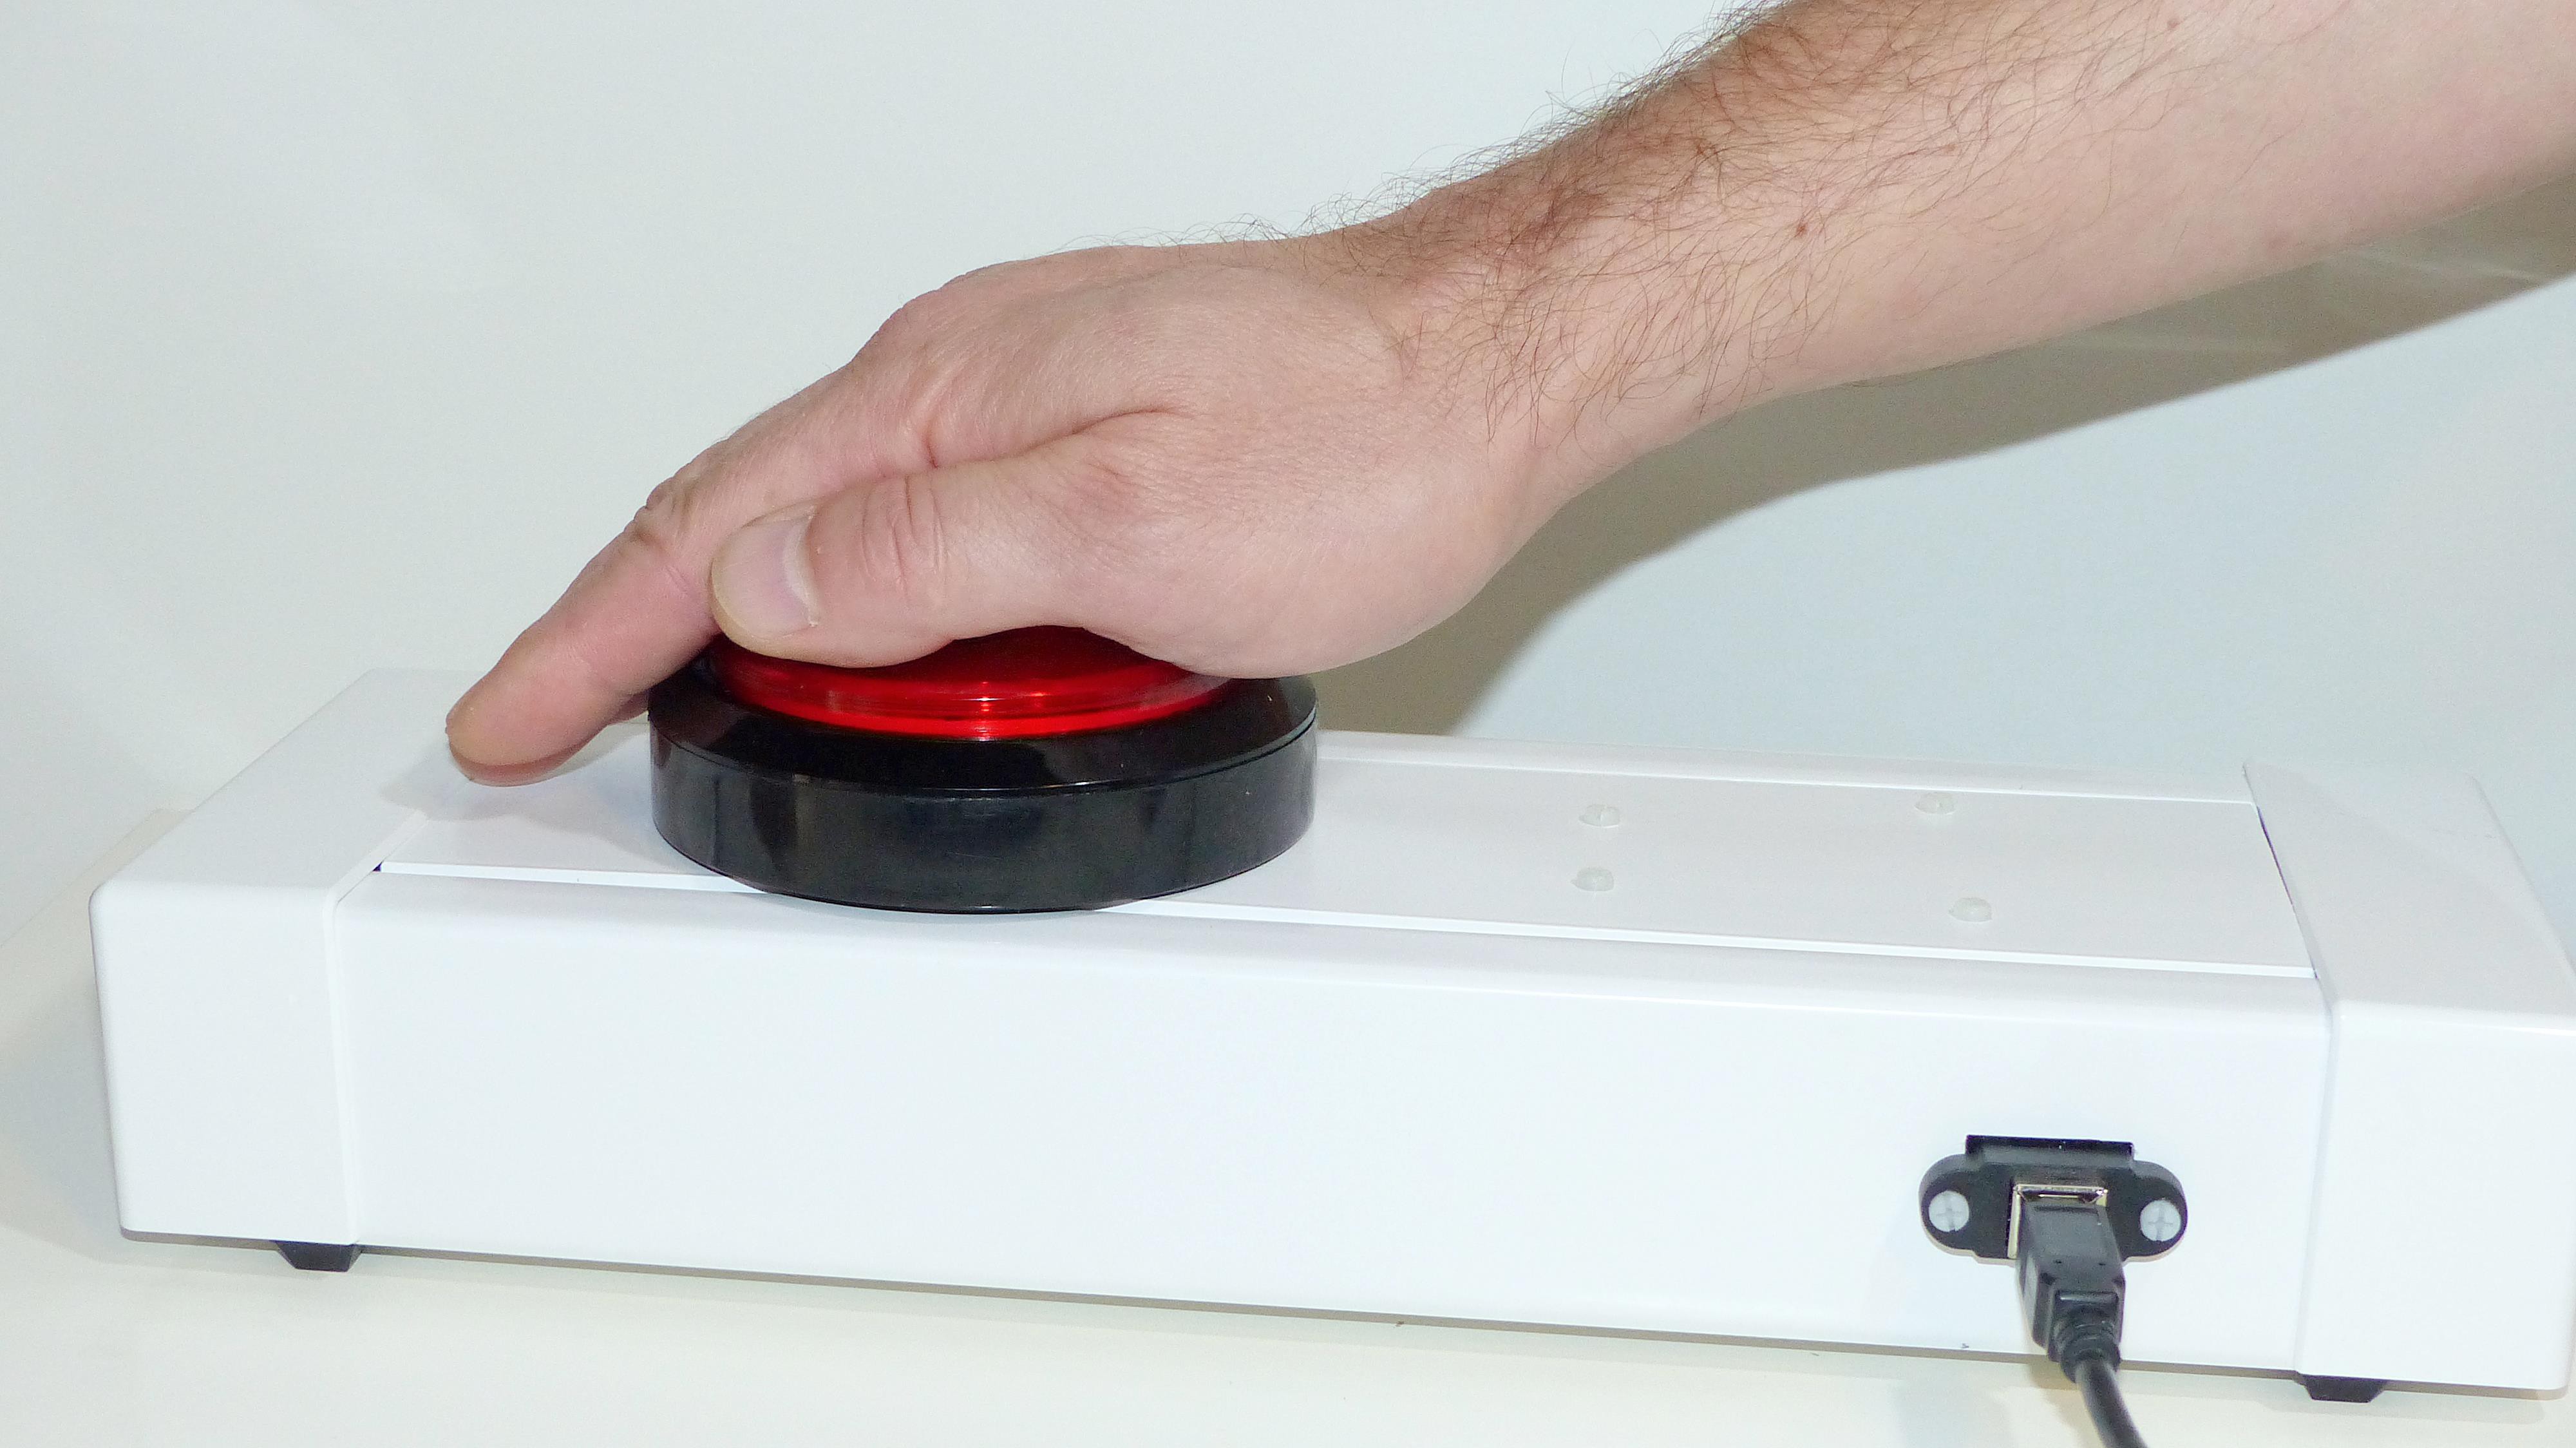
    In this first assembly, we will see how a user can interact with the system using a simple button.

    For that we will create a script that instructs the system to send an email when a button is pressed.

    We chose to use a big dome push button, because we have in our family a person that suffers from arthritis (or arthroses) and have trouble to press small buttons.

    In this construction (as in others that will follow) we will try to keep them as simple as possible.

    We chose components that are readily available and that require the minimum hassle to mount as possible.

    This setup will be done in two steps.

    In this log we will look at the hardware side, in a second log we will handle the software.

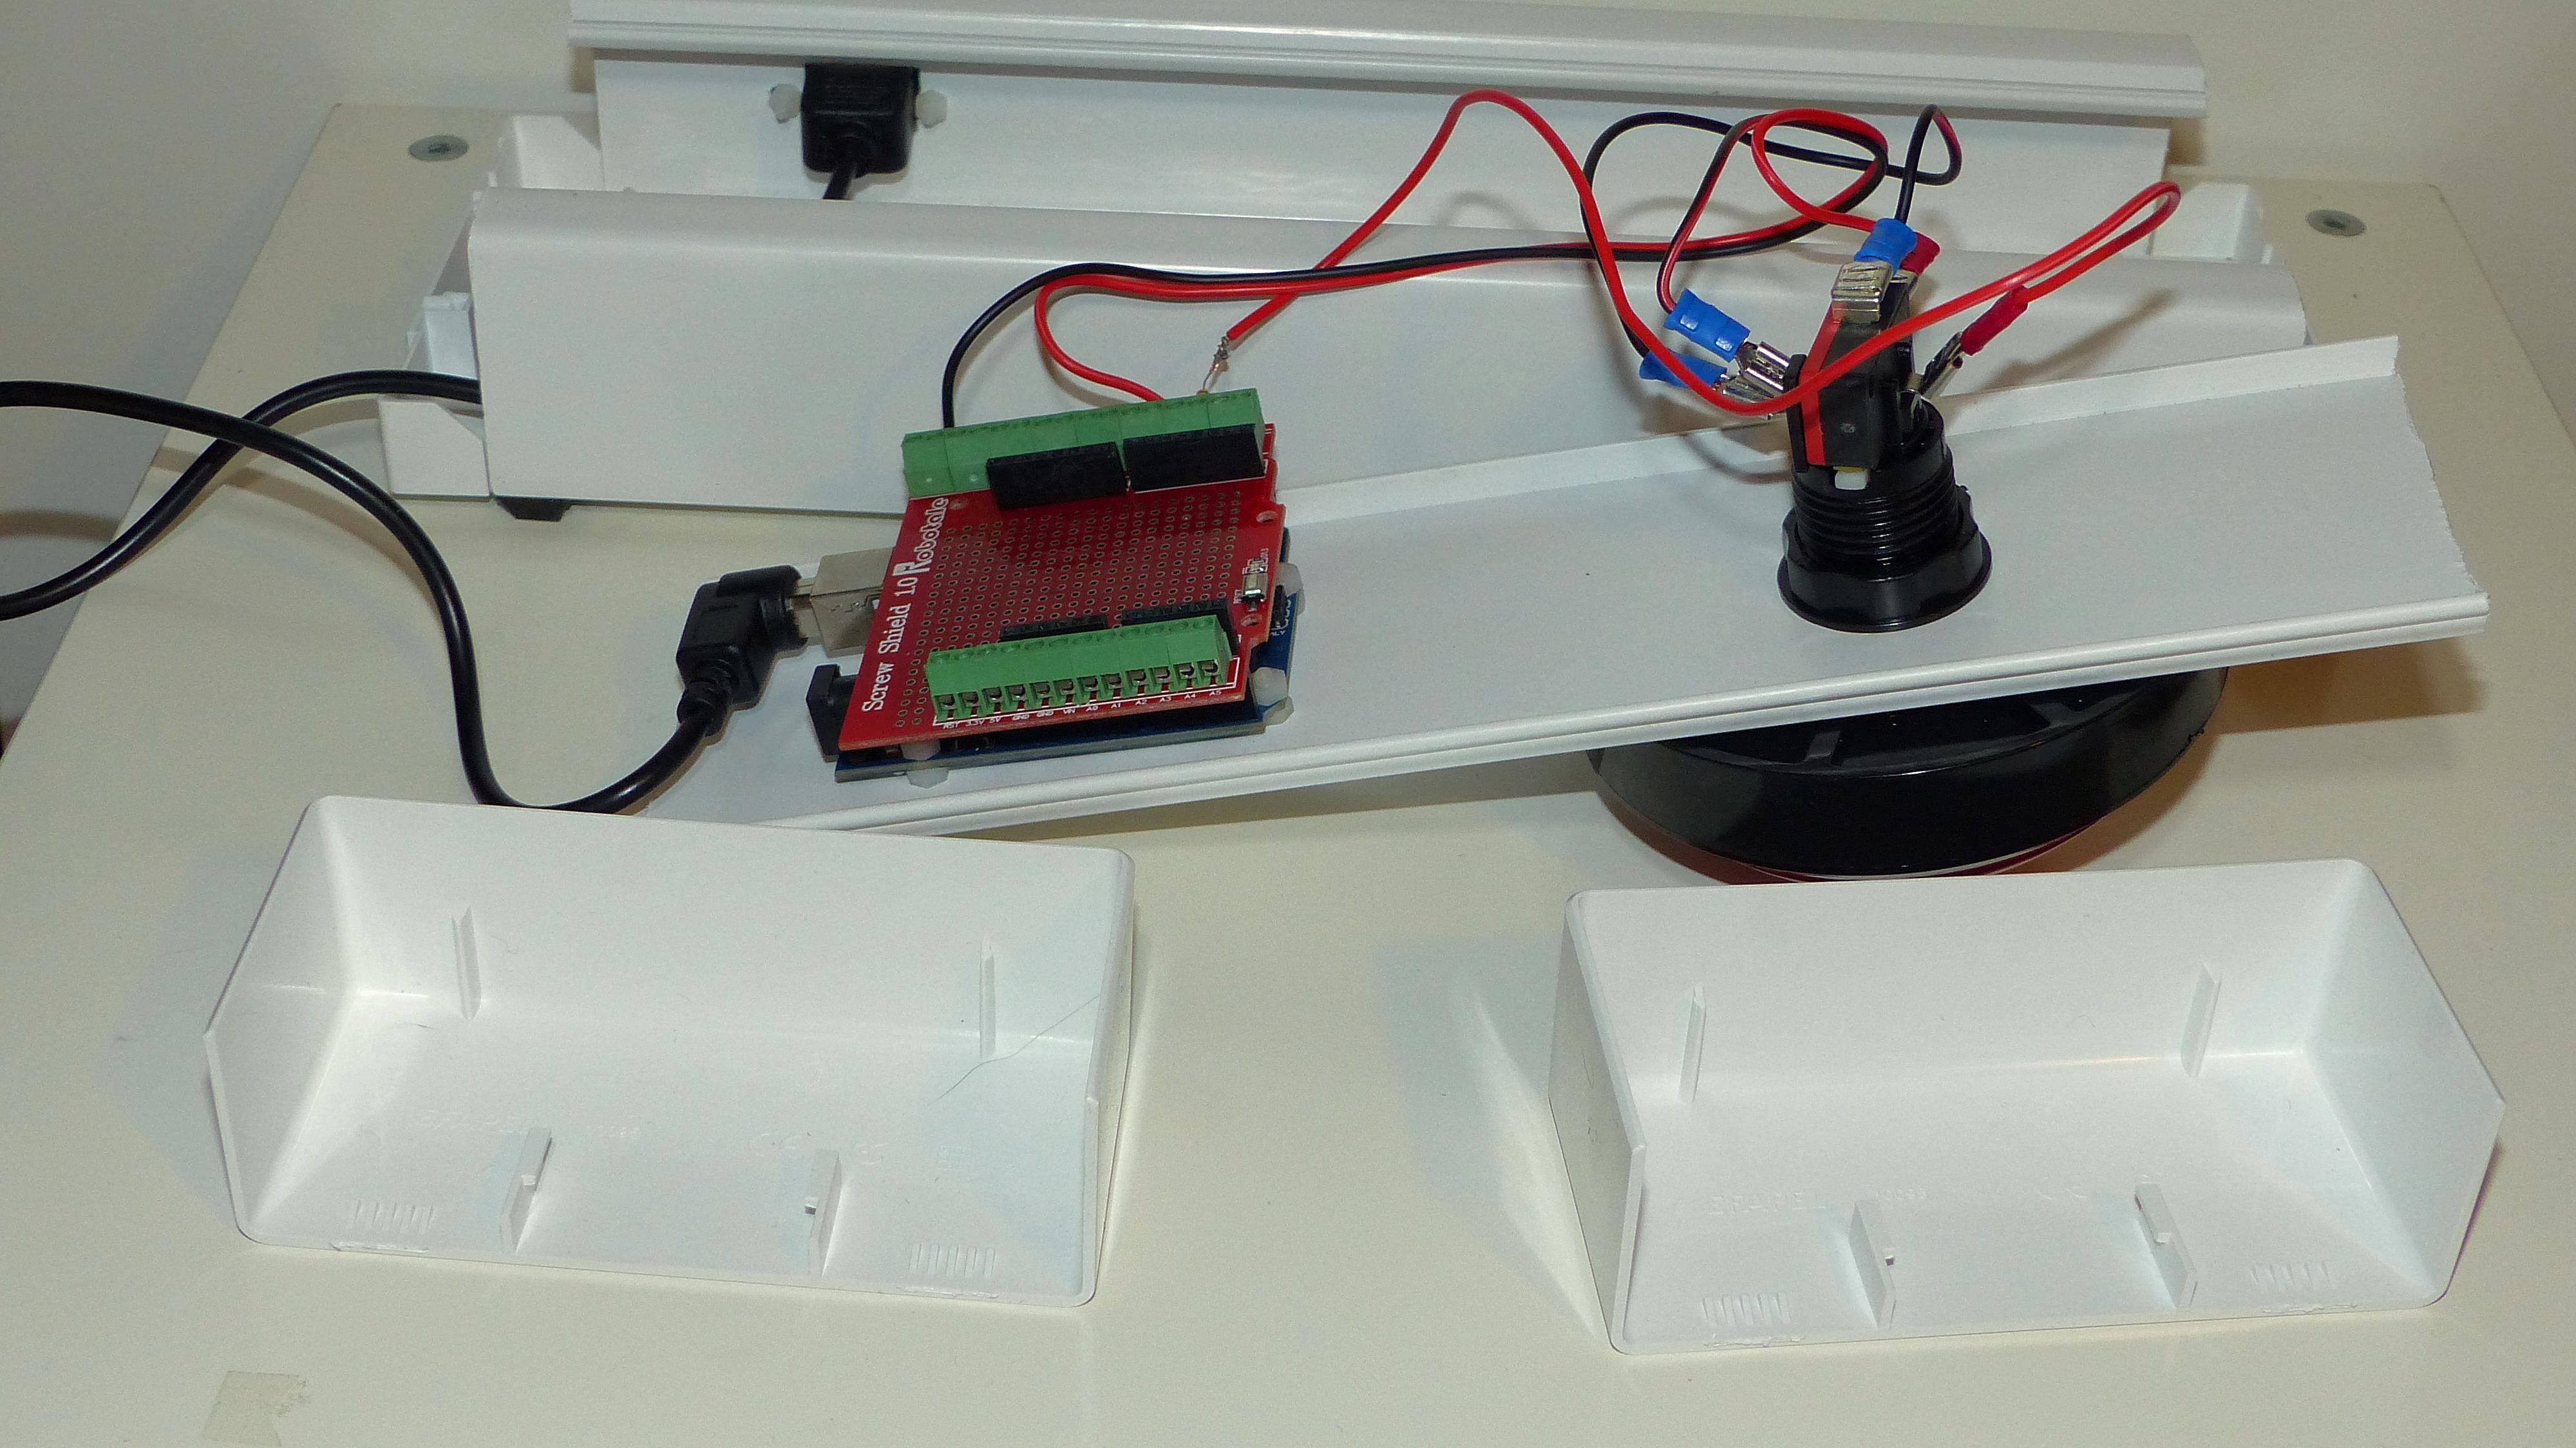
    The main components of this module is an Arduino Uno and a big dome push button.

    We will give a final touch mounting all the components inside a plastic enclosure.

    The skills required to build this module are the ability to drill some holes in the plastic case and soldering a resistance. This last is necessary because we want to give some user feedback and light up an LED that is built in in the push button.

    The tools required are a crimping tool, soldering iron and a screw driver.

    It is used a USB cable with a panel fixed socket so that we can close the enclosure and still communicate with Arduino.

    Big Button (part 1) I

    Big Button (part 1) II

    Big Button (part 1) III

View all 4 project logs

Enjoy this project?

Share

Discussions

Similar Projects

Does this project spark your interest?

Become a member to follow this project and never miss any updates