 David Scholten
Many compromises were made in the name of convenience
Power ratings, wireless relays, complex logic between the switches, charging from the back EMF generation of the motor - These things are gone. Once you sit down in a lab with only the parts you have, the tools you have and limited time, you need to choose what you are actually going to use this box for.
- The number of boost converters has been reduced from 10 to 7.
- There is no wireless control.
- The switches now directly control the current (no high current relays)
- The boost holder has been physically cut in half to allow for more room.
To summarise what's left:
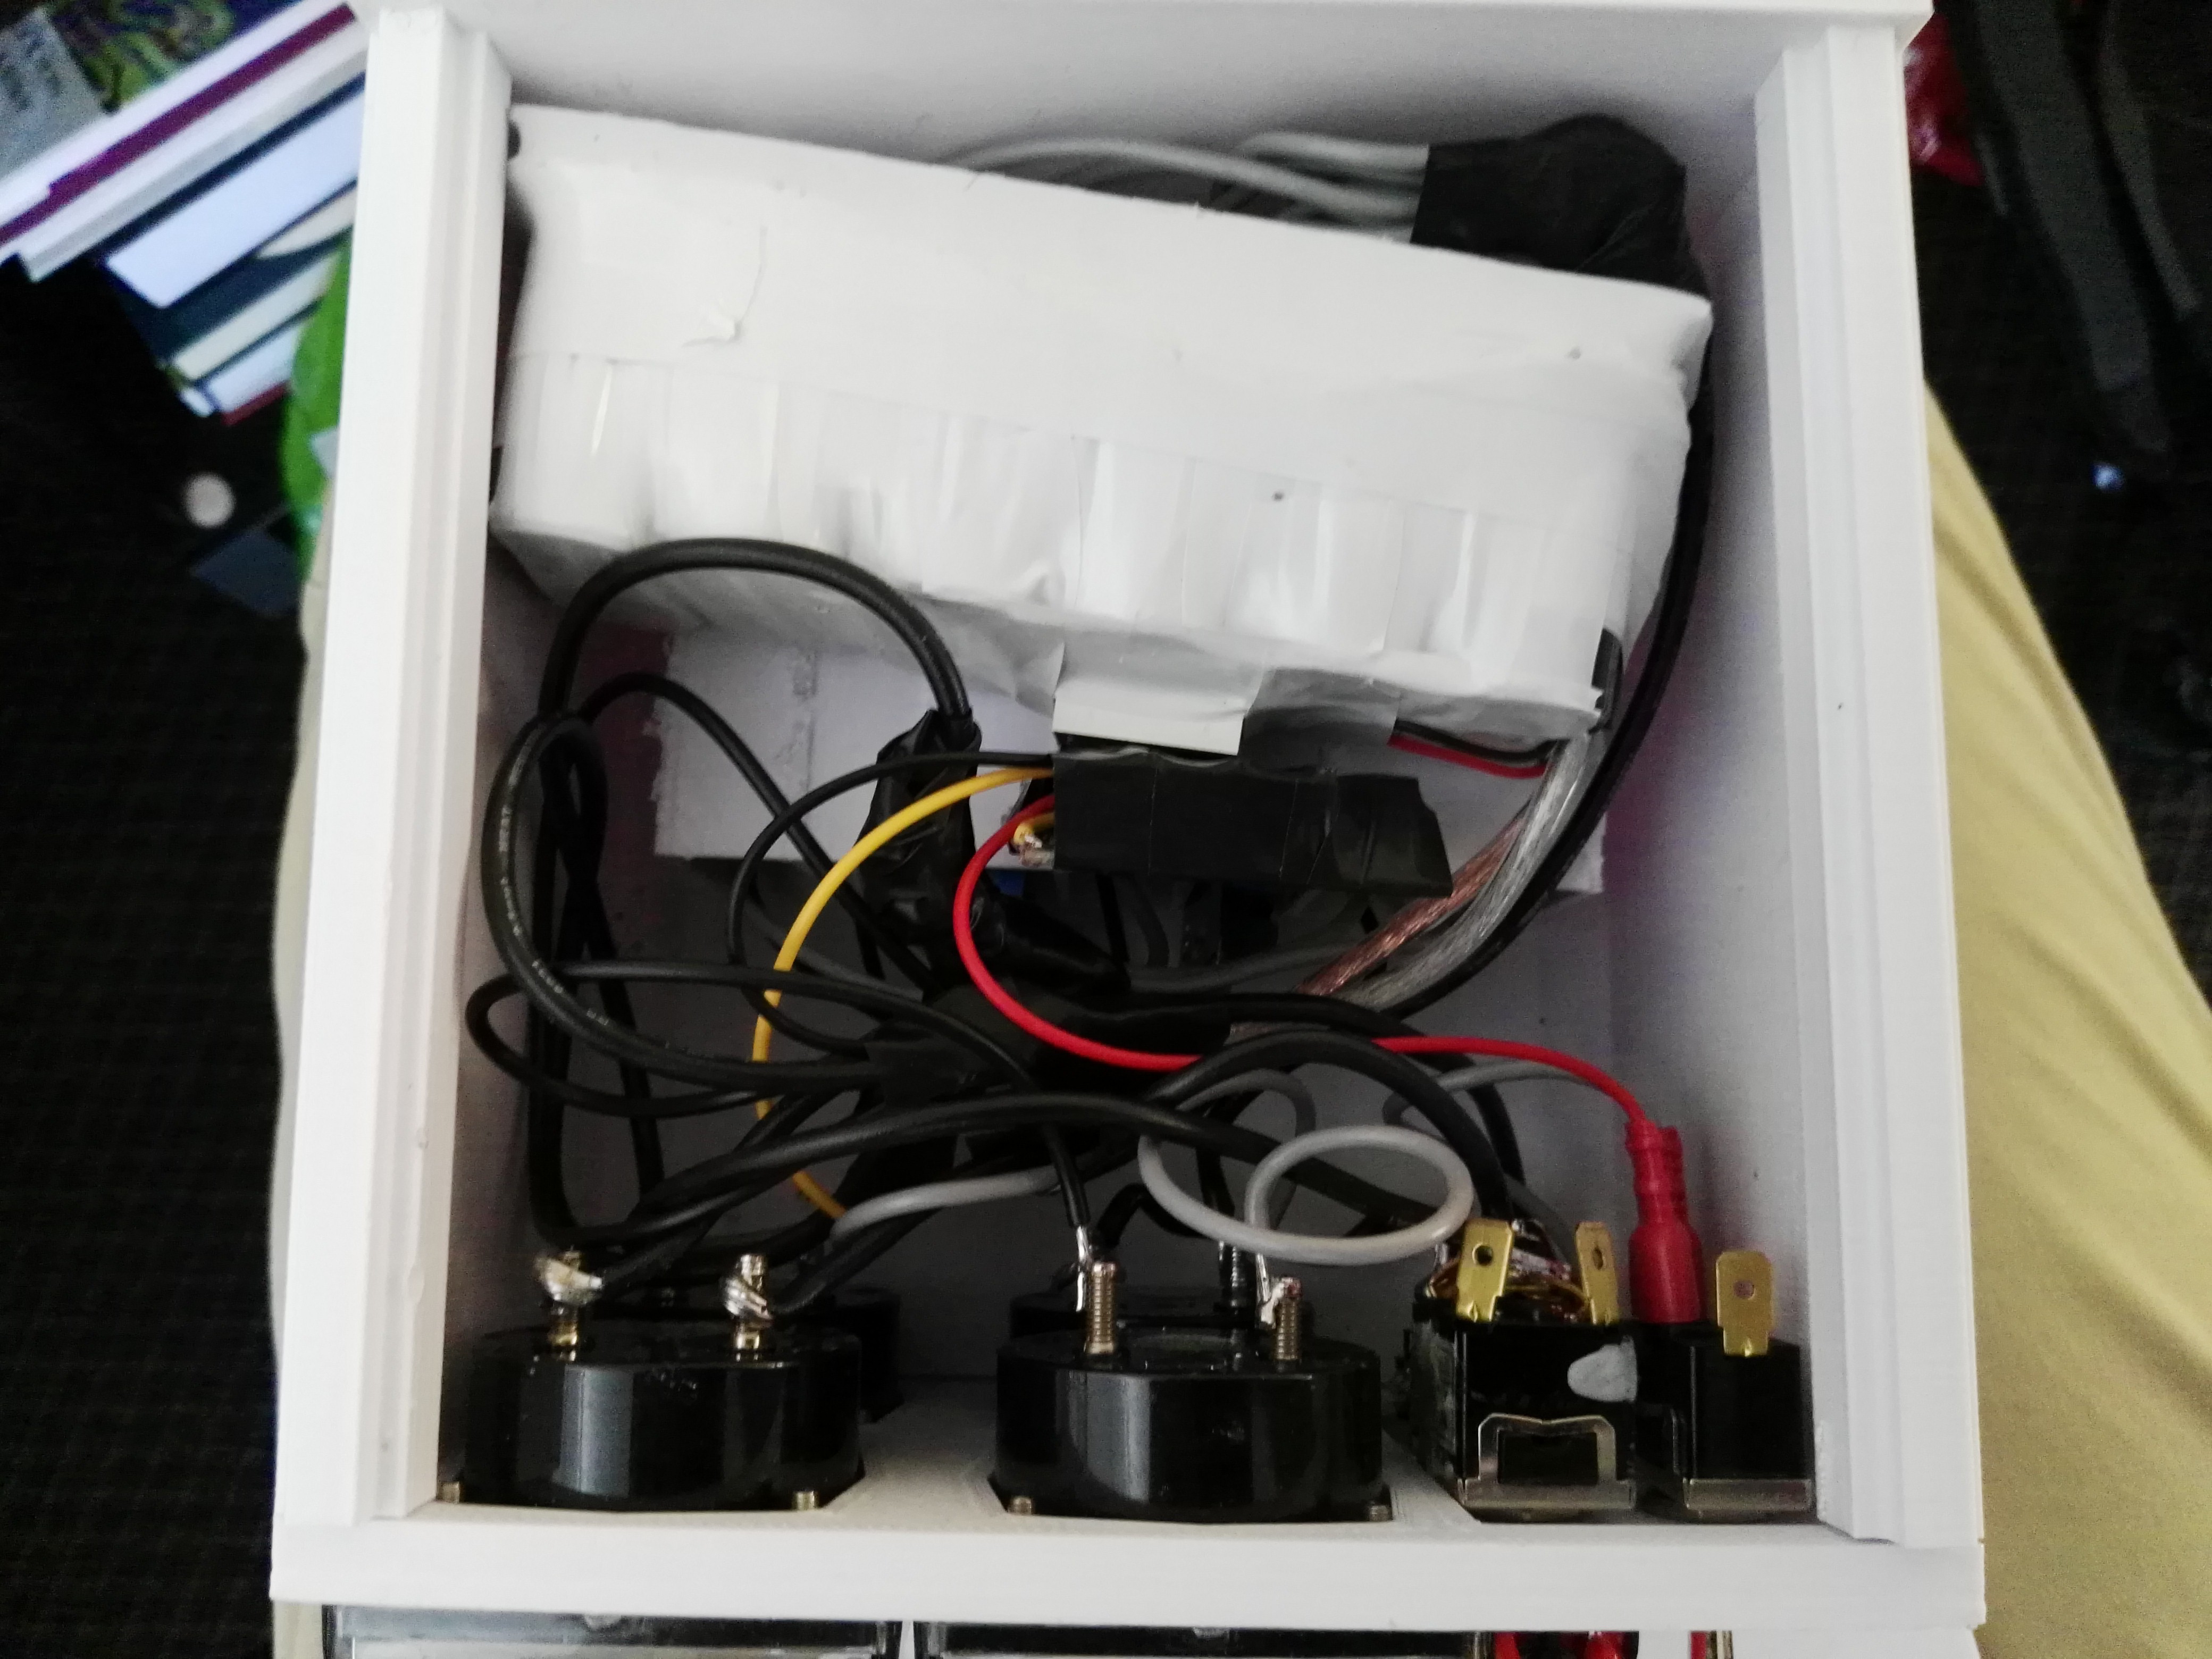
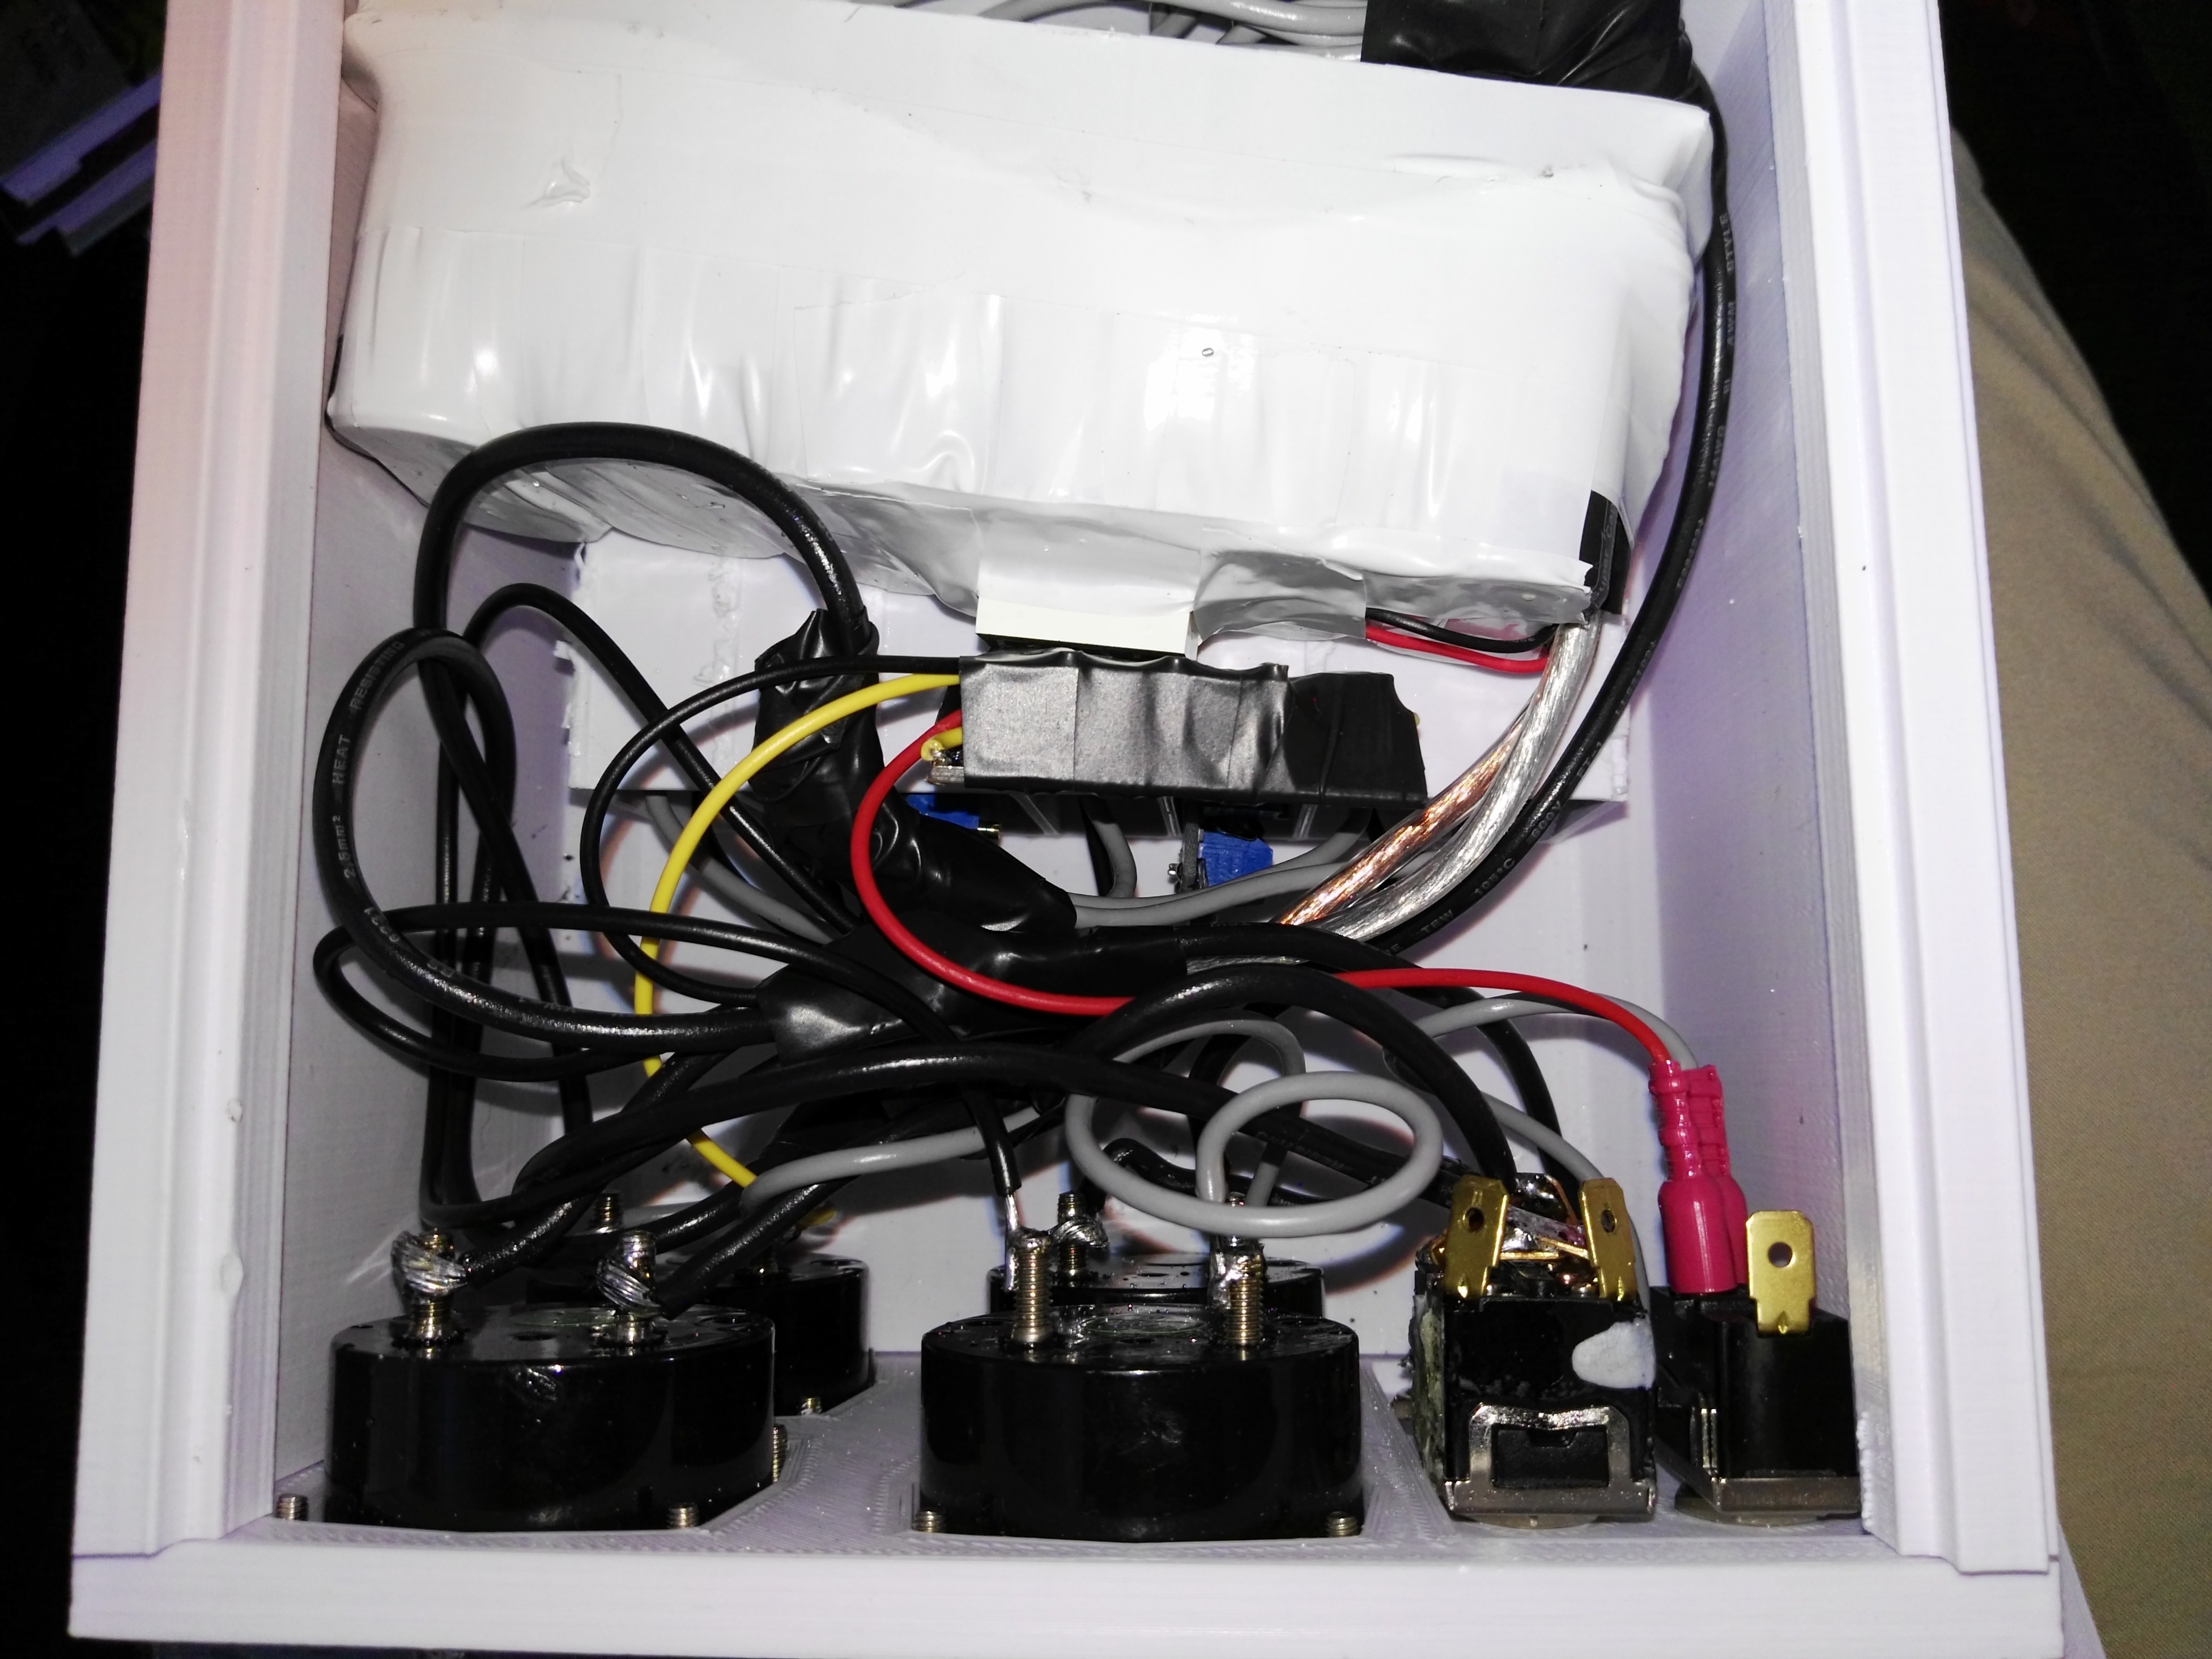
Power flows from the batteries (5-10 AAs) and into the boost/buck converter that then chargers the supercapacitors with a constant 0.6-0.8A. These banks of super caps are balanced by two parallel balance boards. The output of these caps then goes to 7 boost converters connected in parallel that then connects to the output. Of course, all of the switches and panel meters for displaying the status of everything important remain.
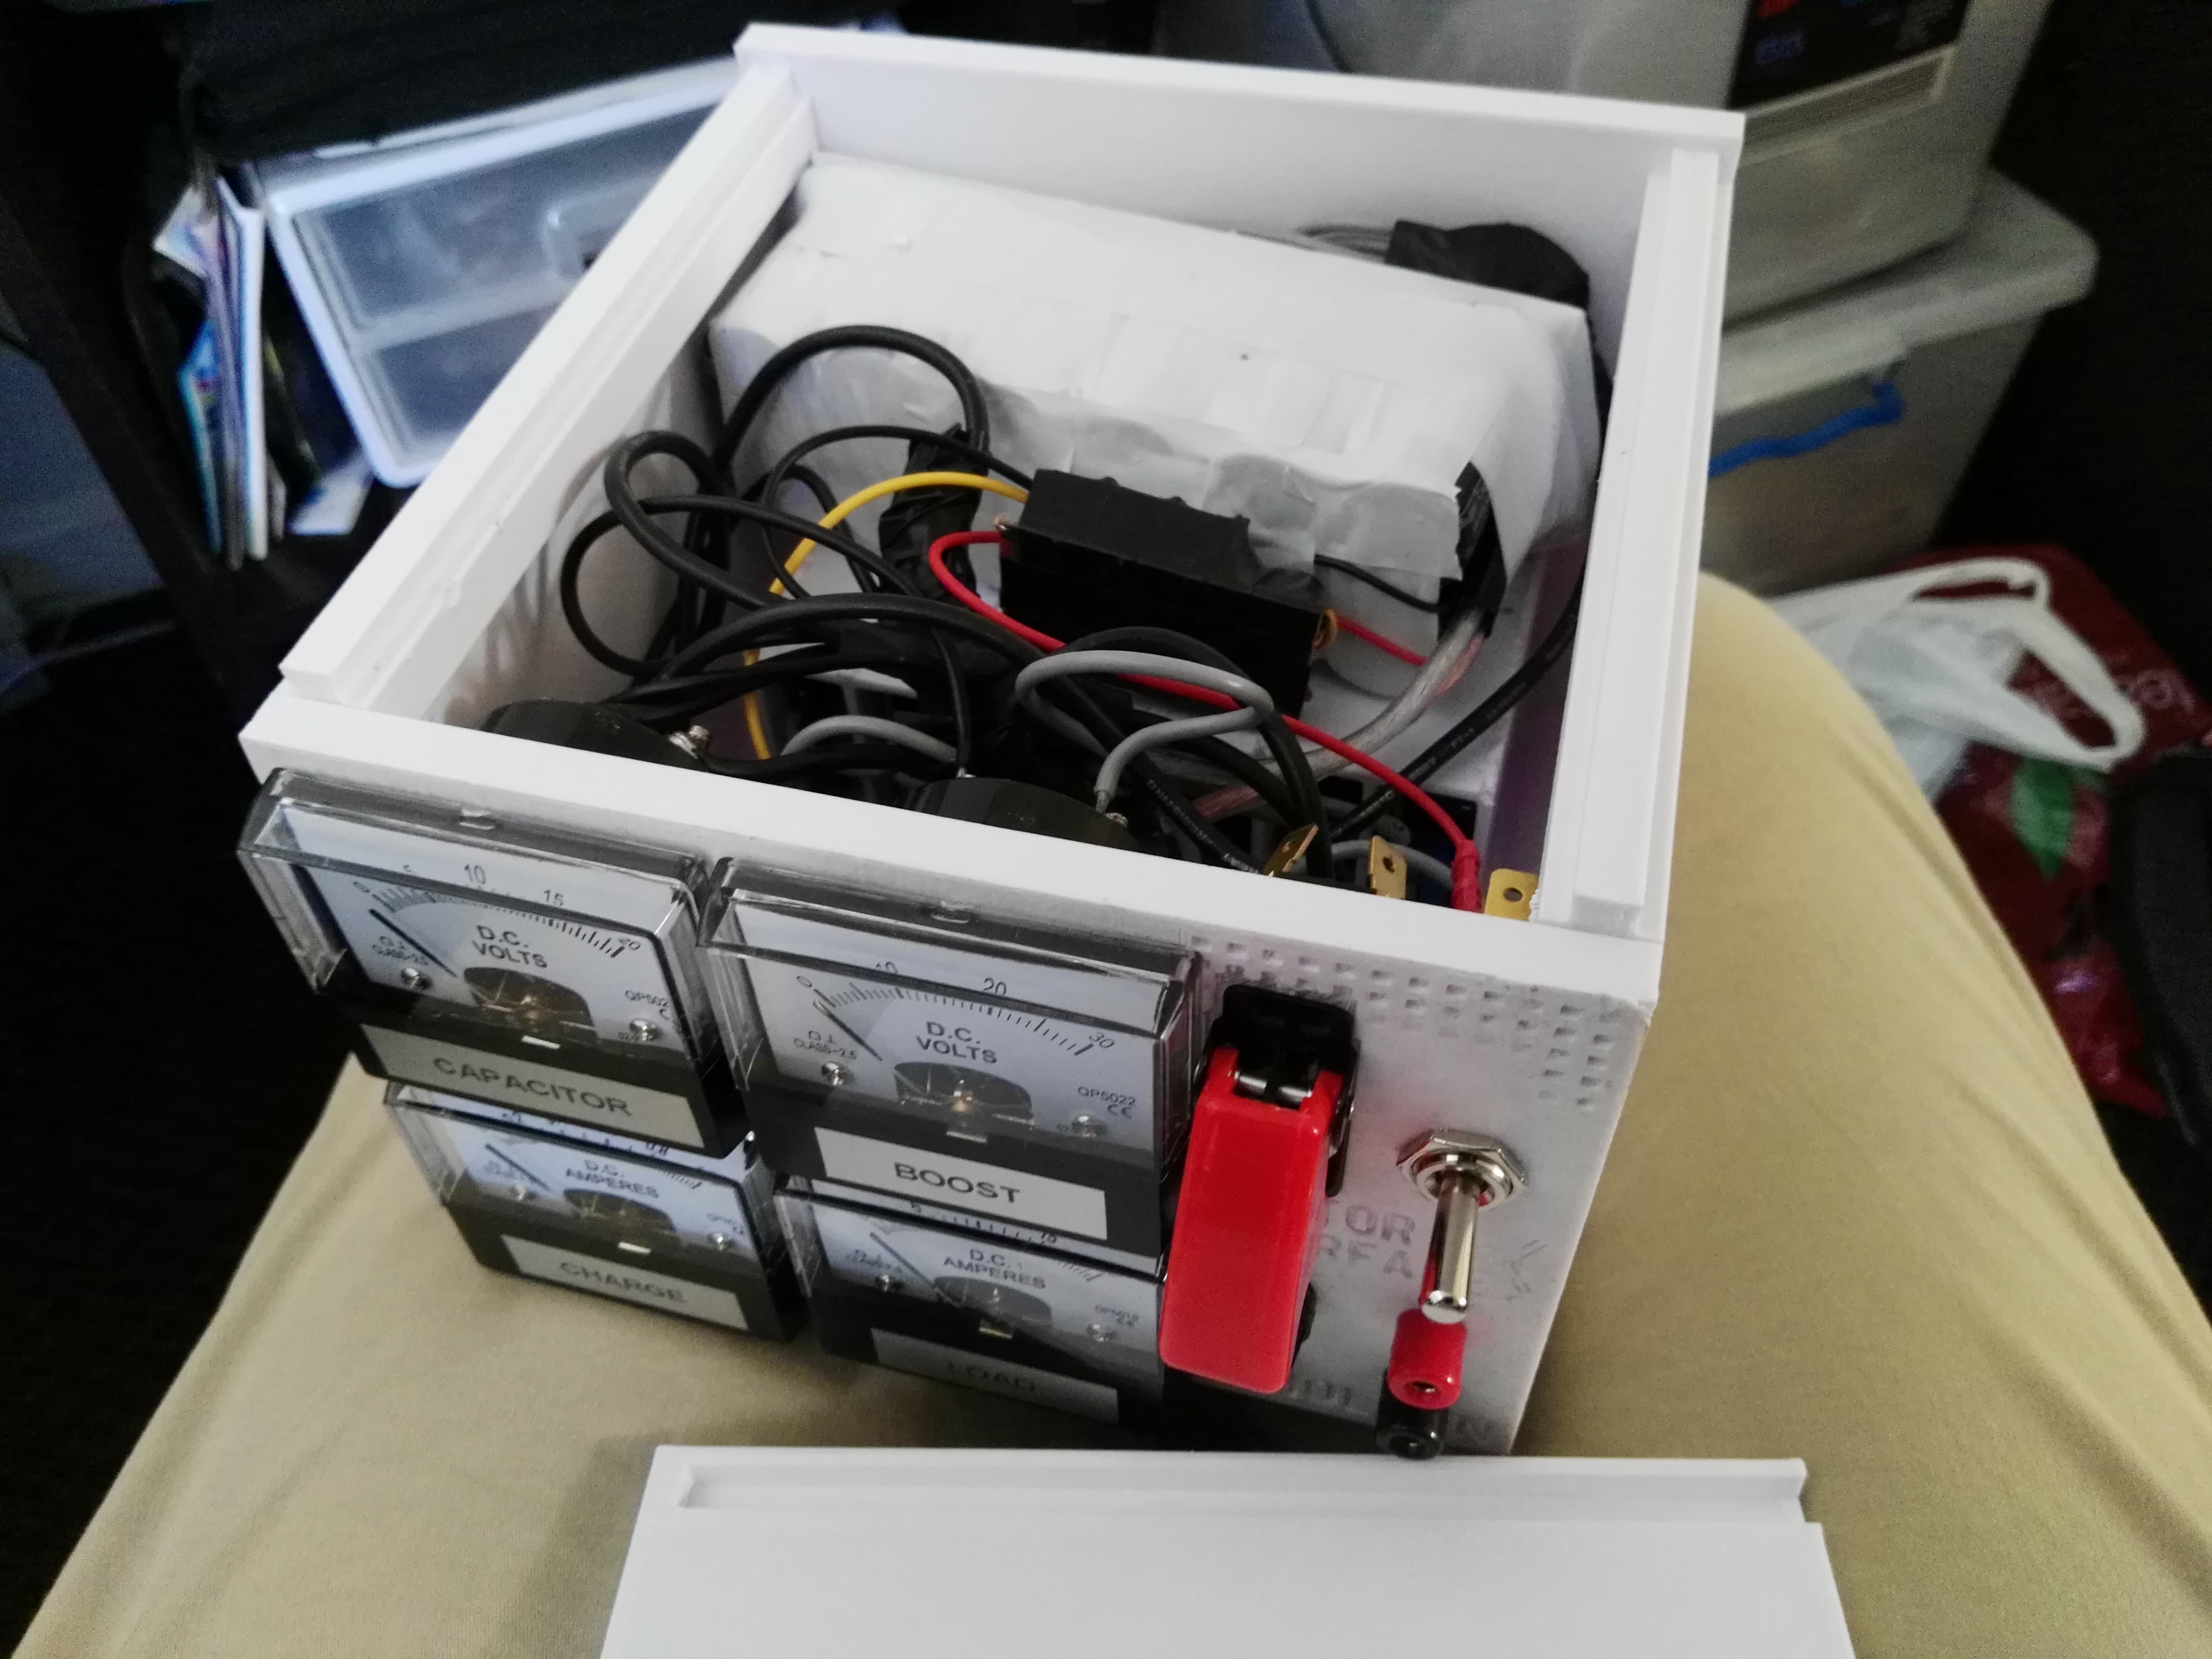
On top we can see the wrapped super capacitor bank, which is sitting on the 7 boost converters in the 3d printed holder. The boost/buck converter is floating freely wrapped in black tape:
Problems!
- I made a mistake with some grounding assumptions and the charging circuit is well and truly dead. However, it did its job successfully for quite a while. Another board is on the way!
- Due to my rushed solder job (don't judge) I overheated the contacts of 3/4 of the panel meters and internally de-soldered contacts. Luckily, when I paid my parents a visit, Dad suggested and carried out a fix that he was very familiar with (these panels are almost $20AUD each).
- I completely ran out of space due to the magnitude of the cables coming out of the 7 boost converters, which simply took too much room. As you can see, half of the box is filled with panel equipment and vacant space criss-crossed with wires. I believe I will have to make the battery mount external (glue it to the top lid). This is okay though as then I don't have to open the box again (there is leaded solder everywhere).
Discussions
Become a Hackaday.io Member
Create an account to leave a comment. Already have an account? Log In.