Everything seems to be arriving before it was due! What a stroke of good luck. Or, bad timing. I'm not sure which just yet.
I've replaced the prototype foam core mount with some thin particle board, many angle brackets, and some wood scraps (behind the particle board, in to which the screws are screwed). With it all together, the Dalek slips over top (just barely). There are still details to work out, but this is the rough layout with all of the base components, more or less:
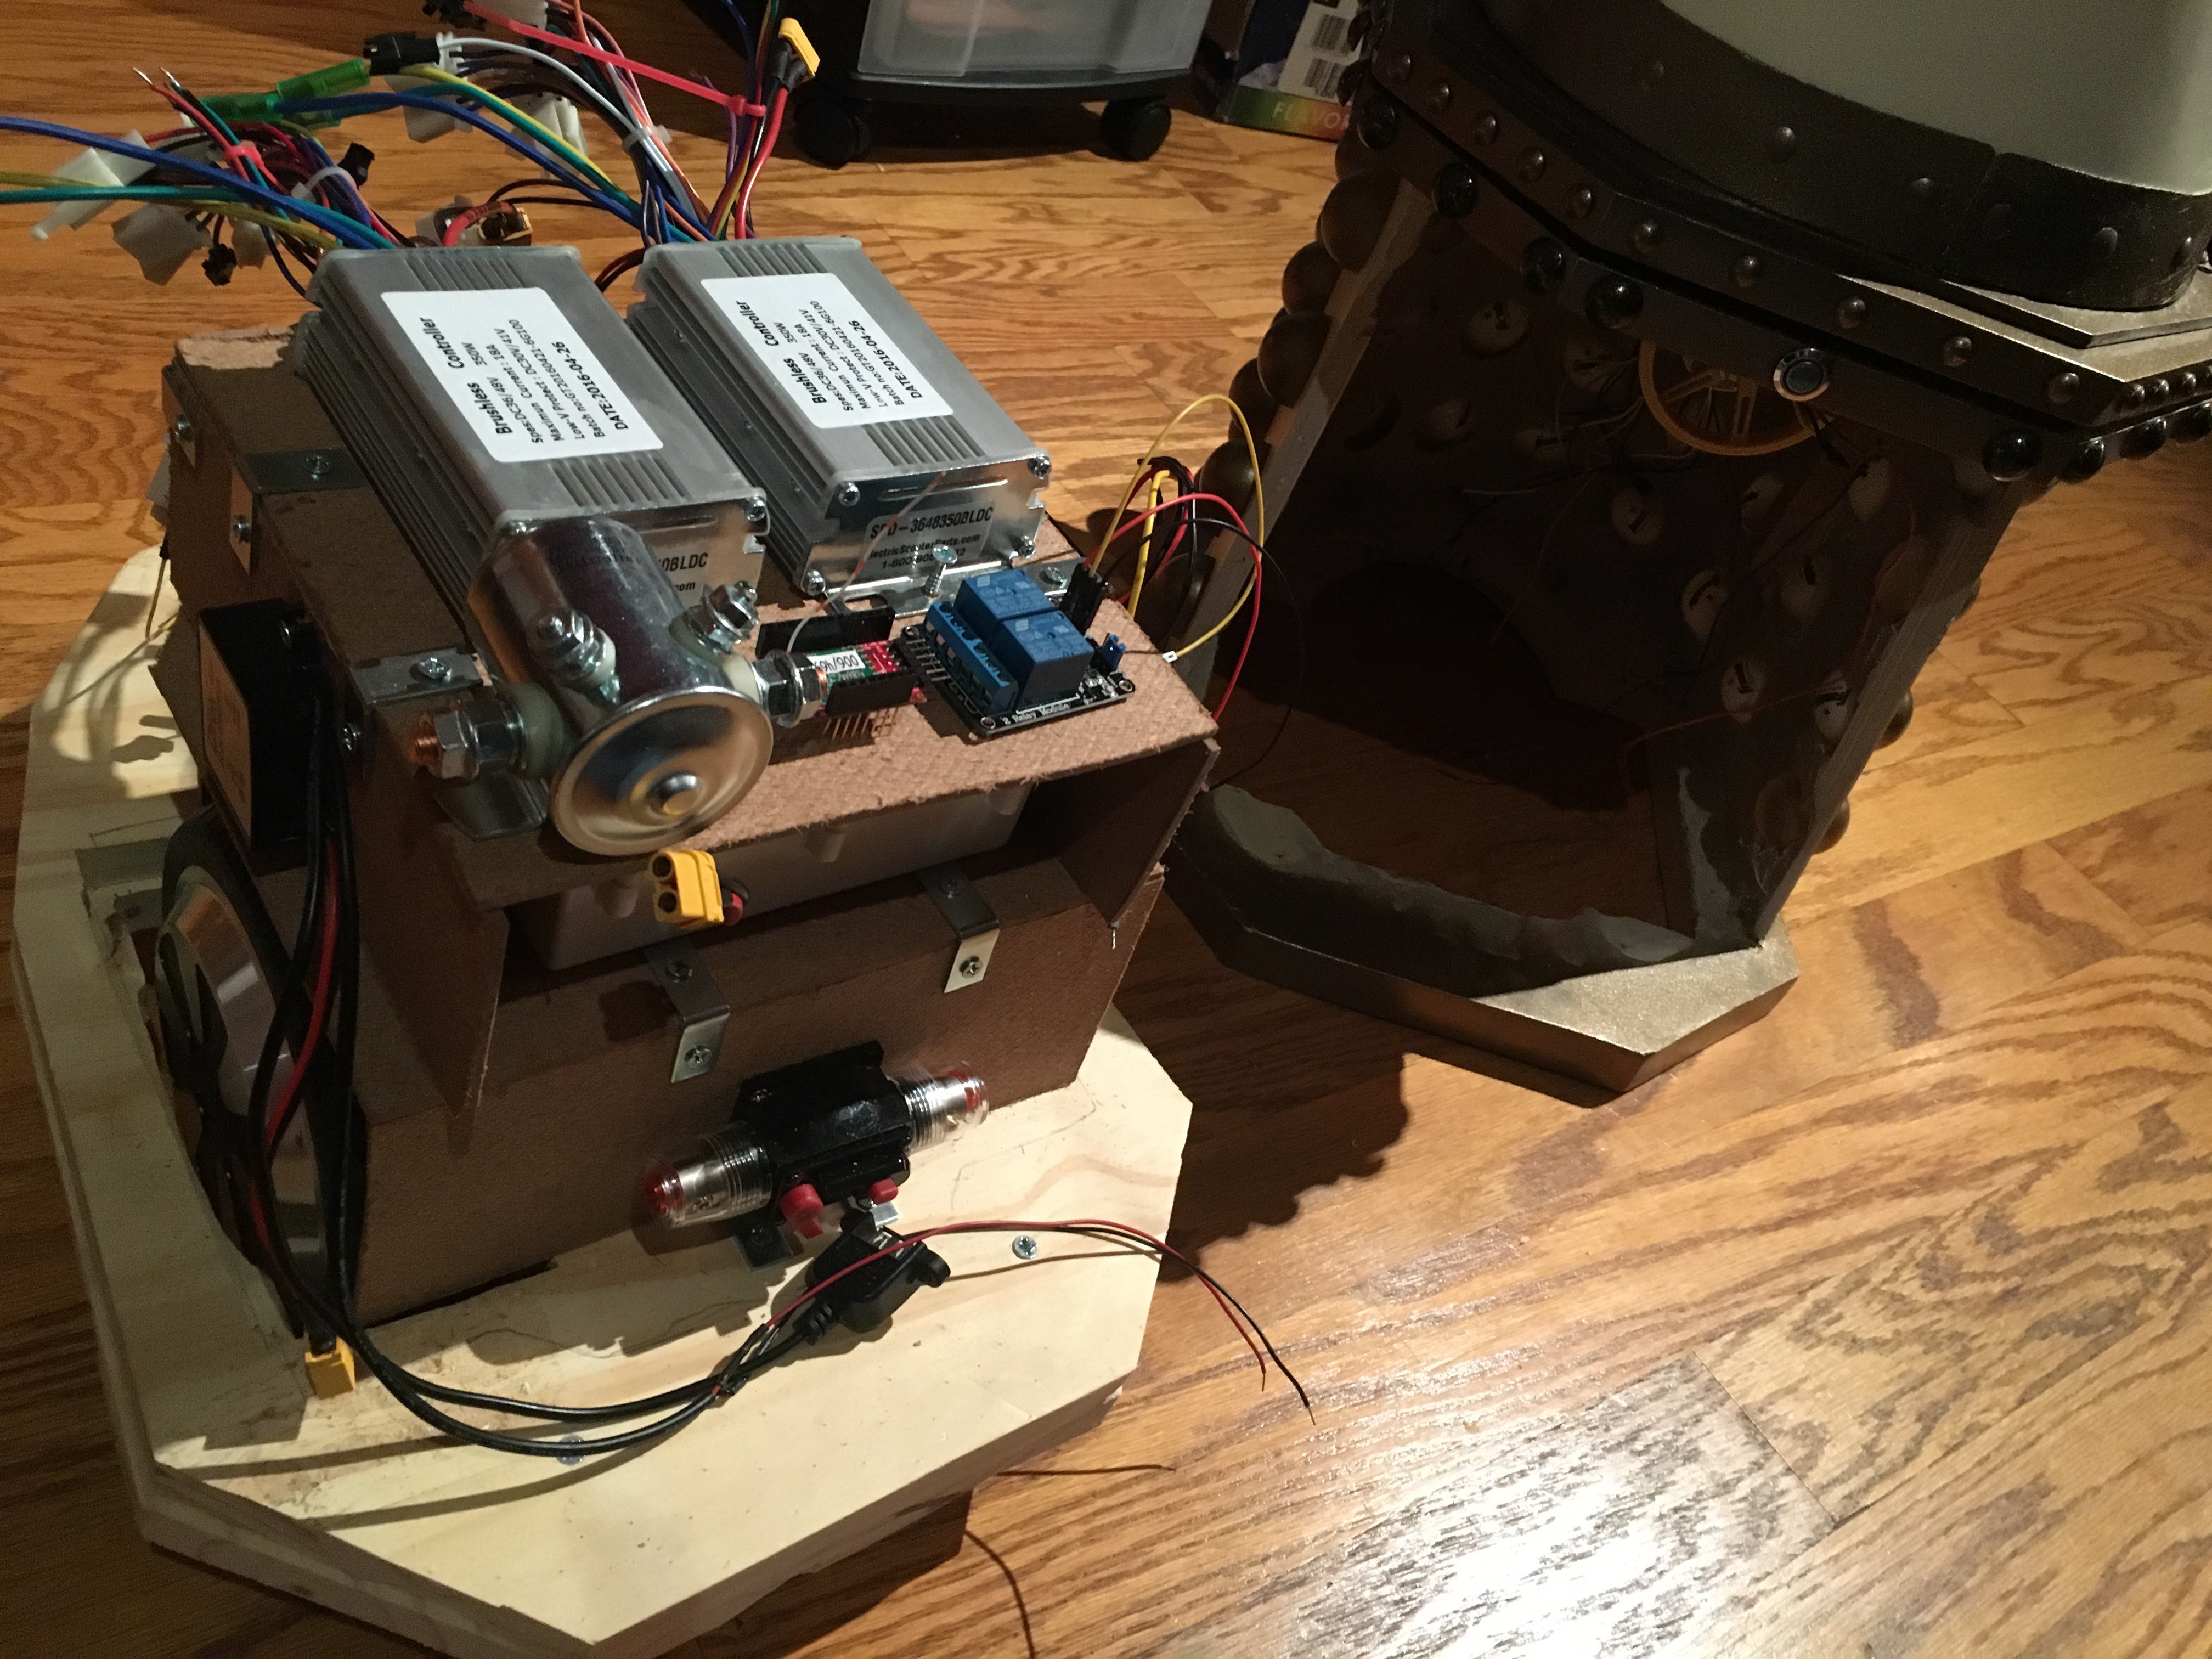
I say "more or less" because the round metal can is a 36v golf cart continuous duty relay, which I'm hoping to replace with a solid state relay; and the moteino is sitting there by itself, without the I2C Digital-to-Analog converters.
Now comes the gut-wrenching piece of the build: I have to take all of that apart, bond the base plates, do some woodworking cleanup on them, prime and paint them, replace the motors and their brackets (I found cheap replacements that I want to try out), and begin reassembling everything.
What, you don't believe that it fits? Okay, fine.
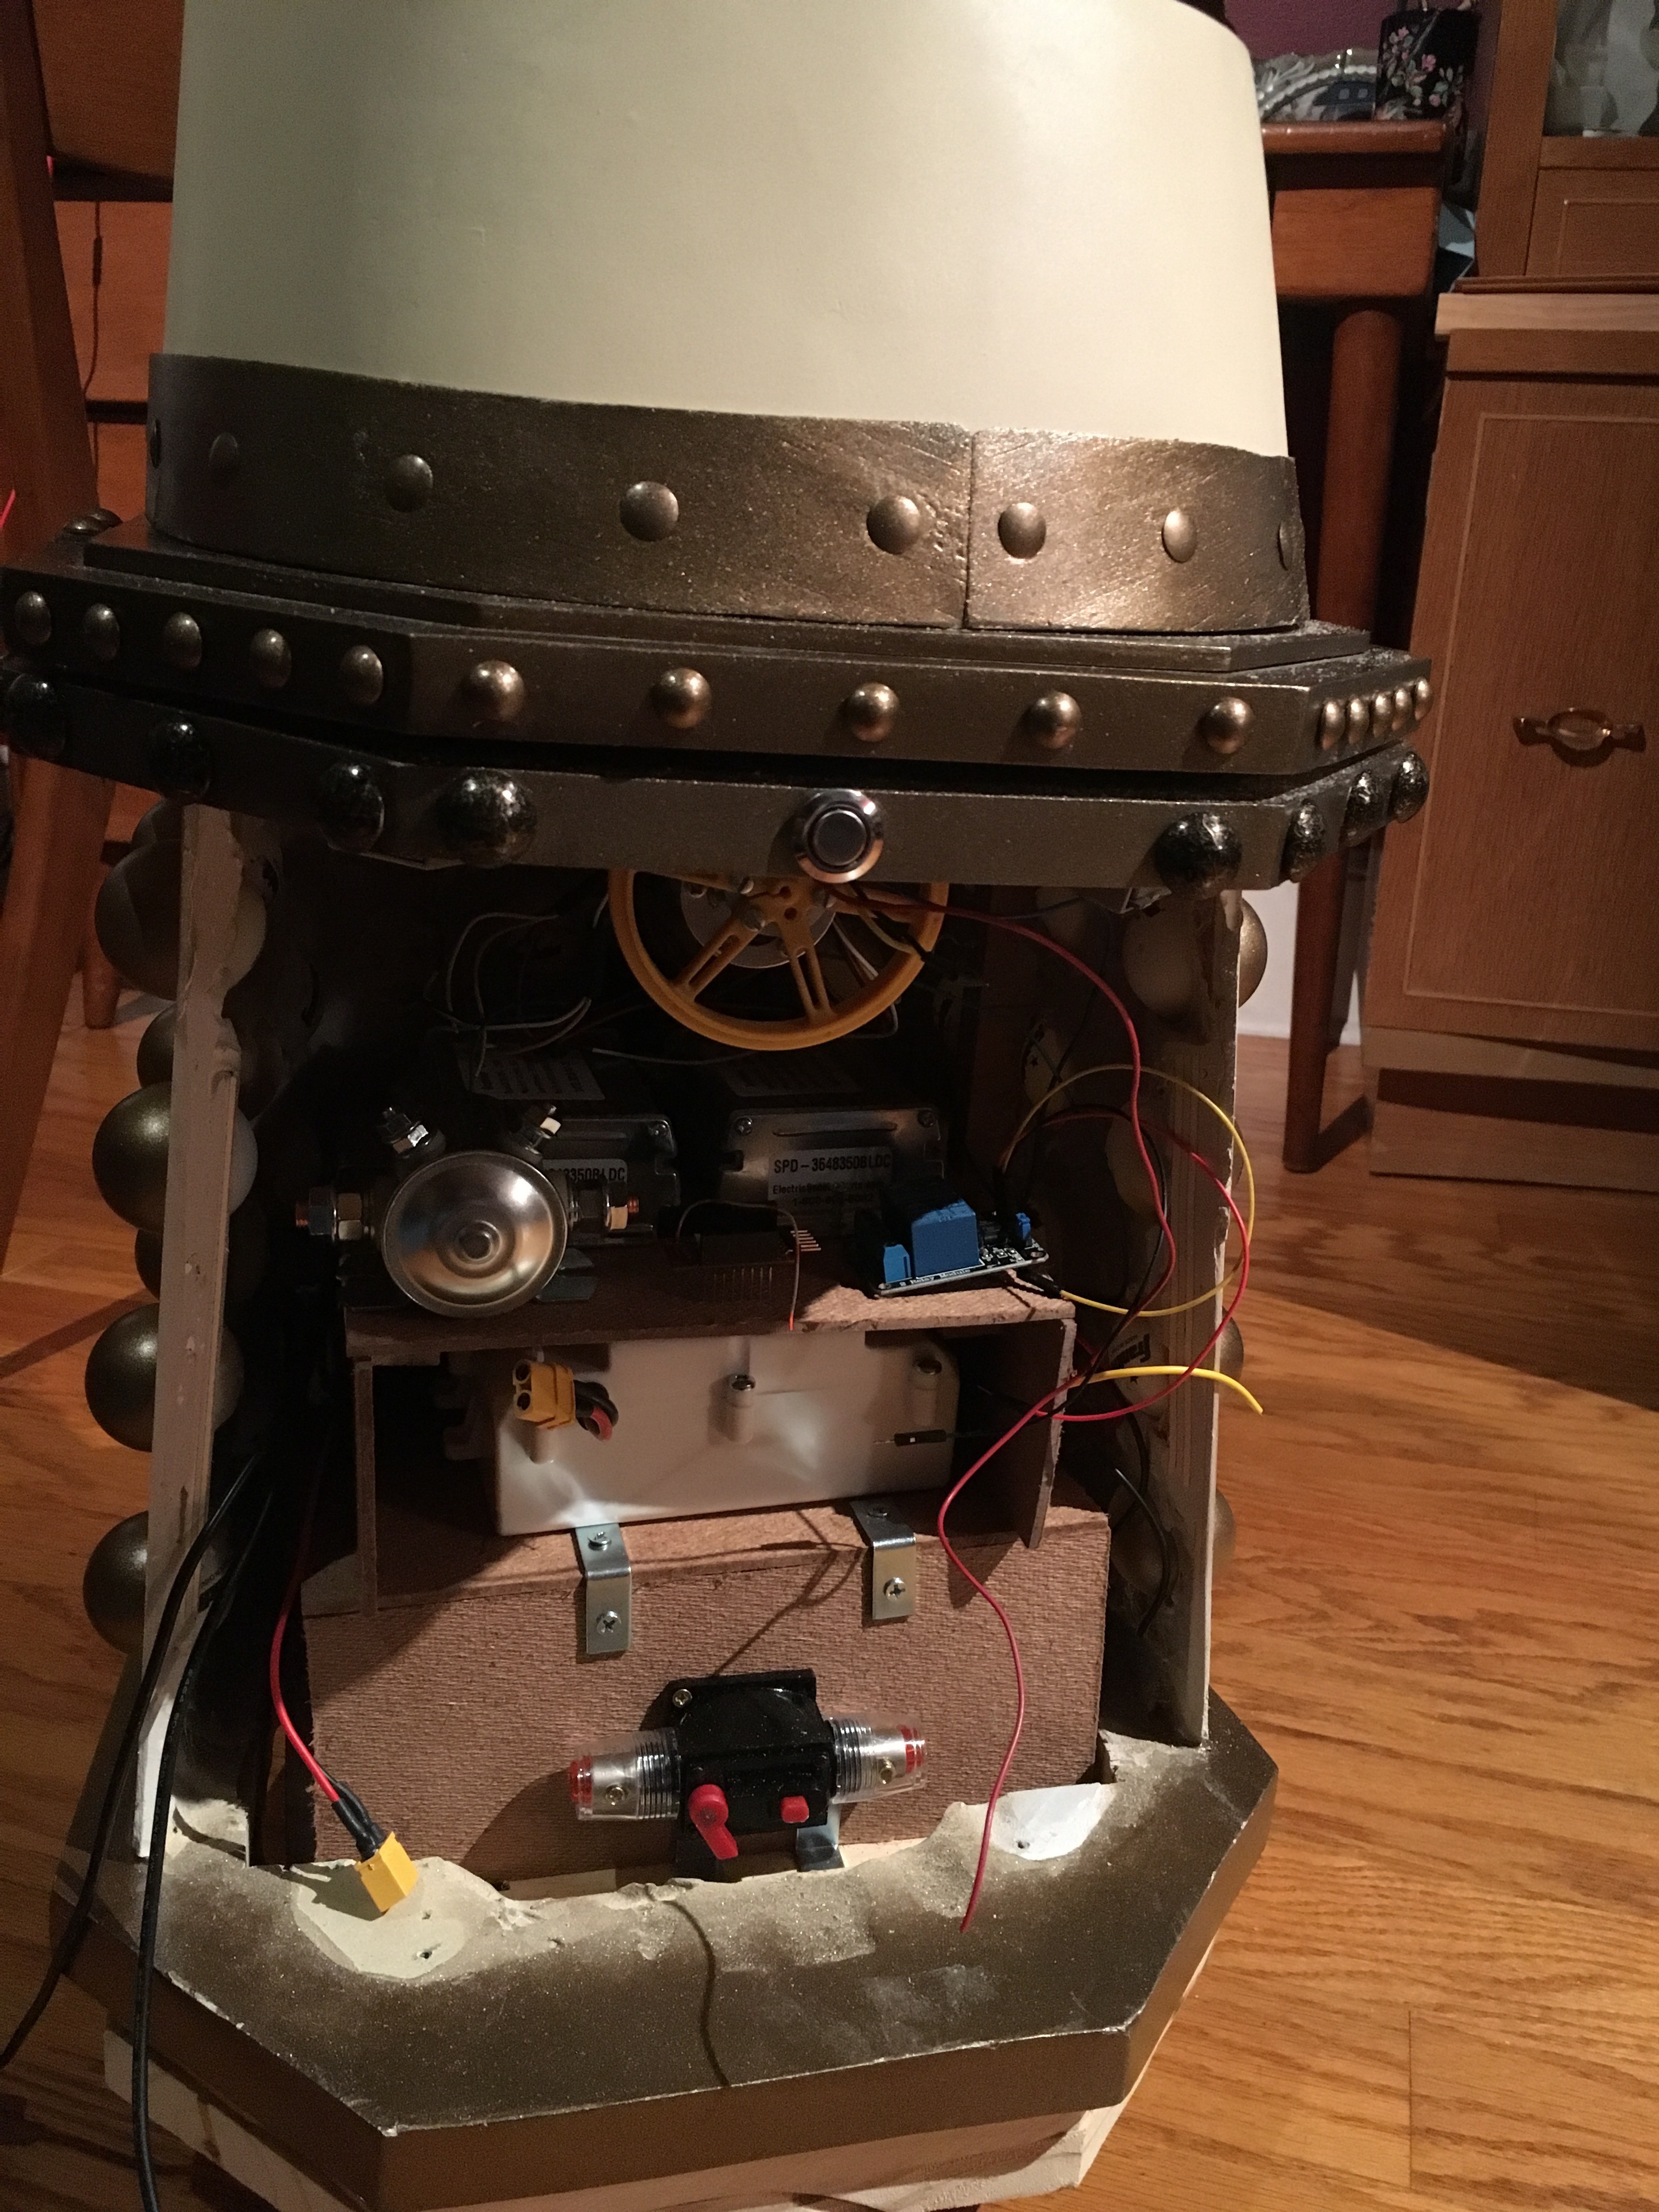
Just. Barely.
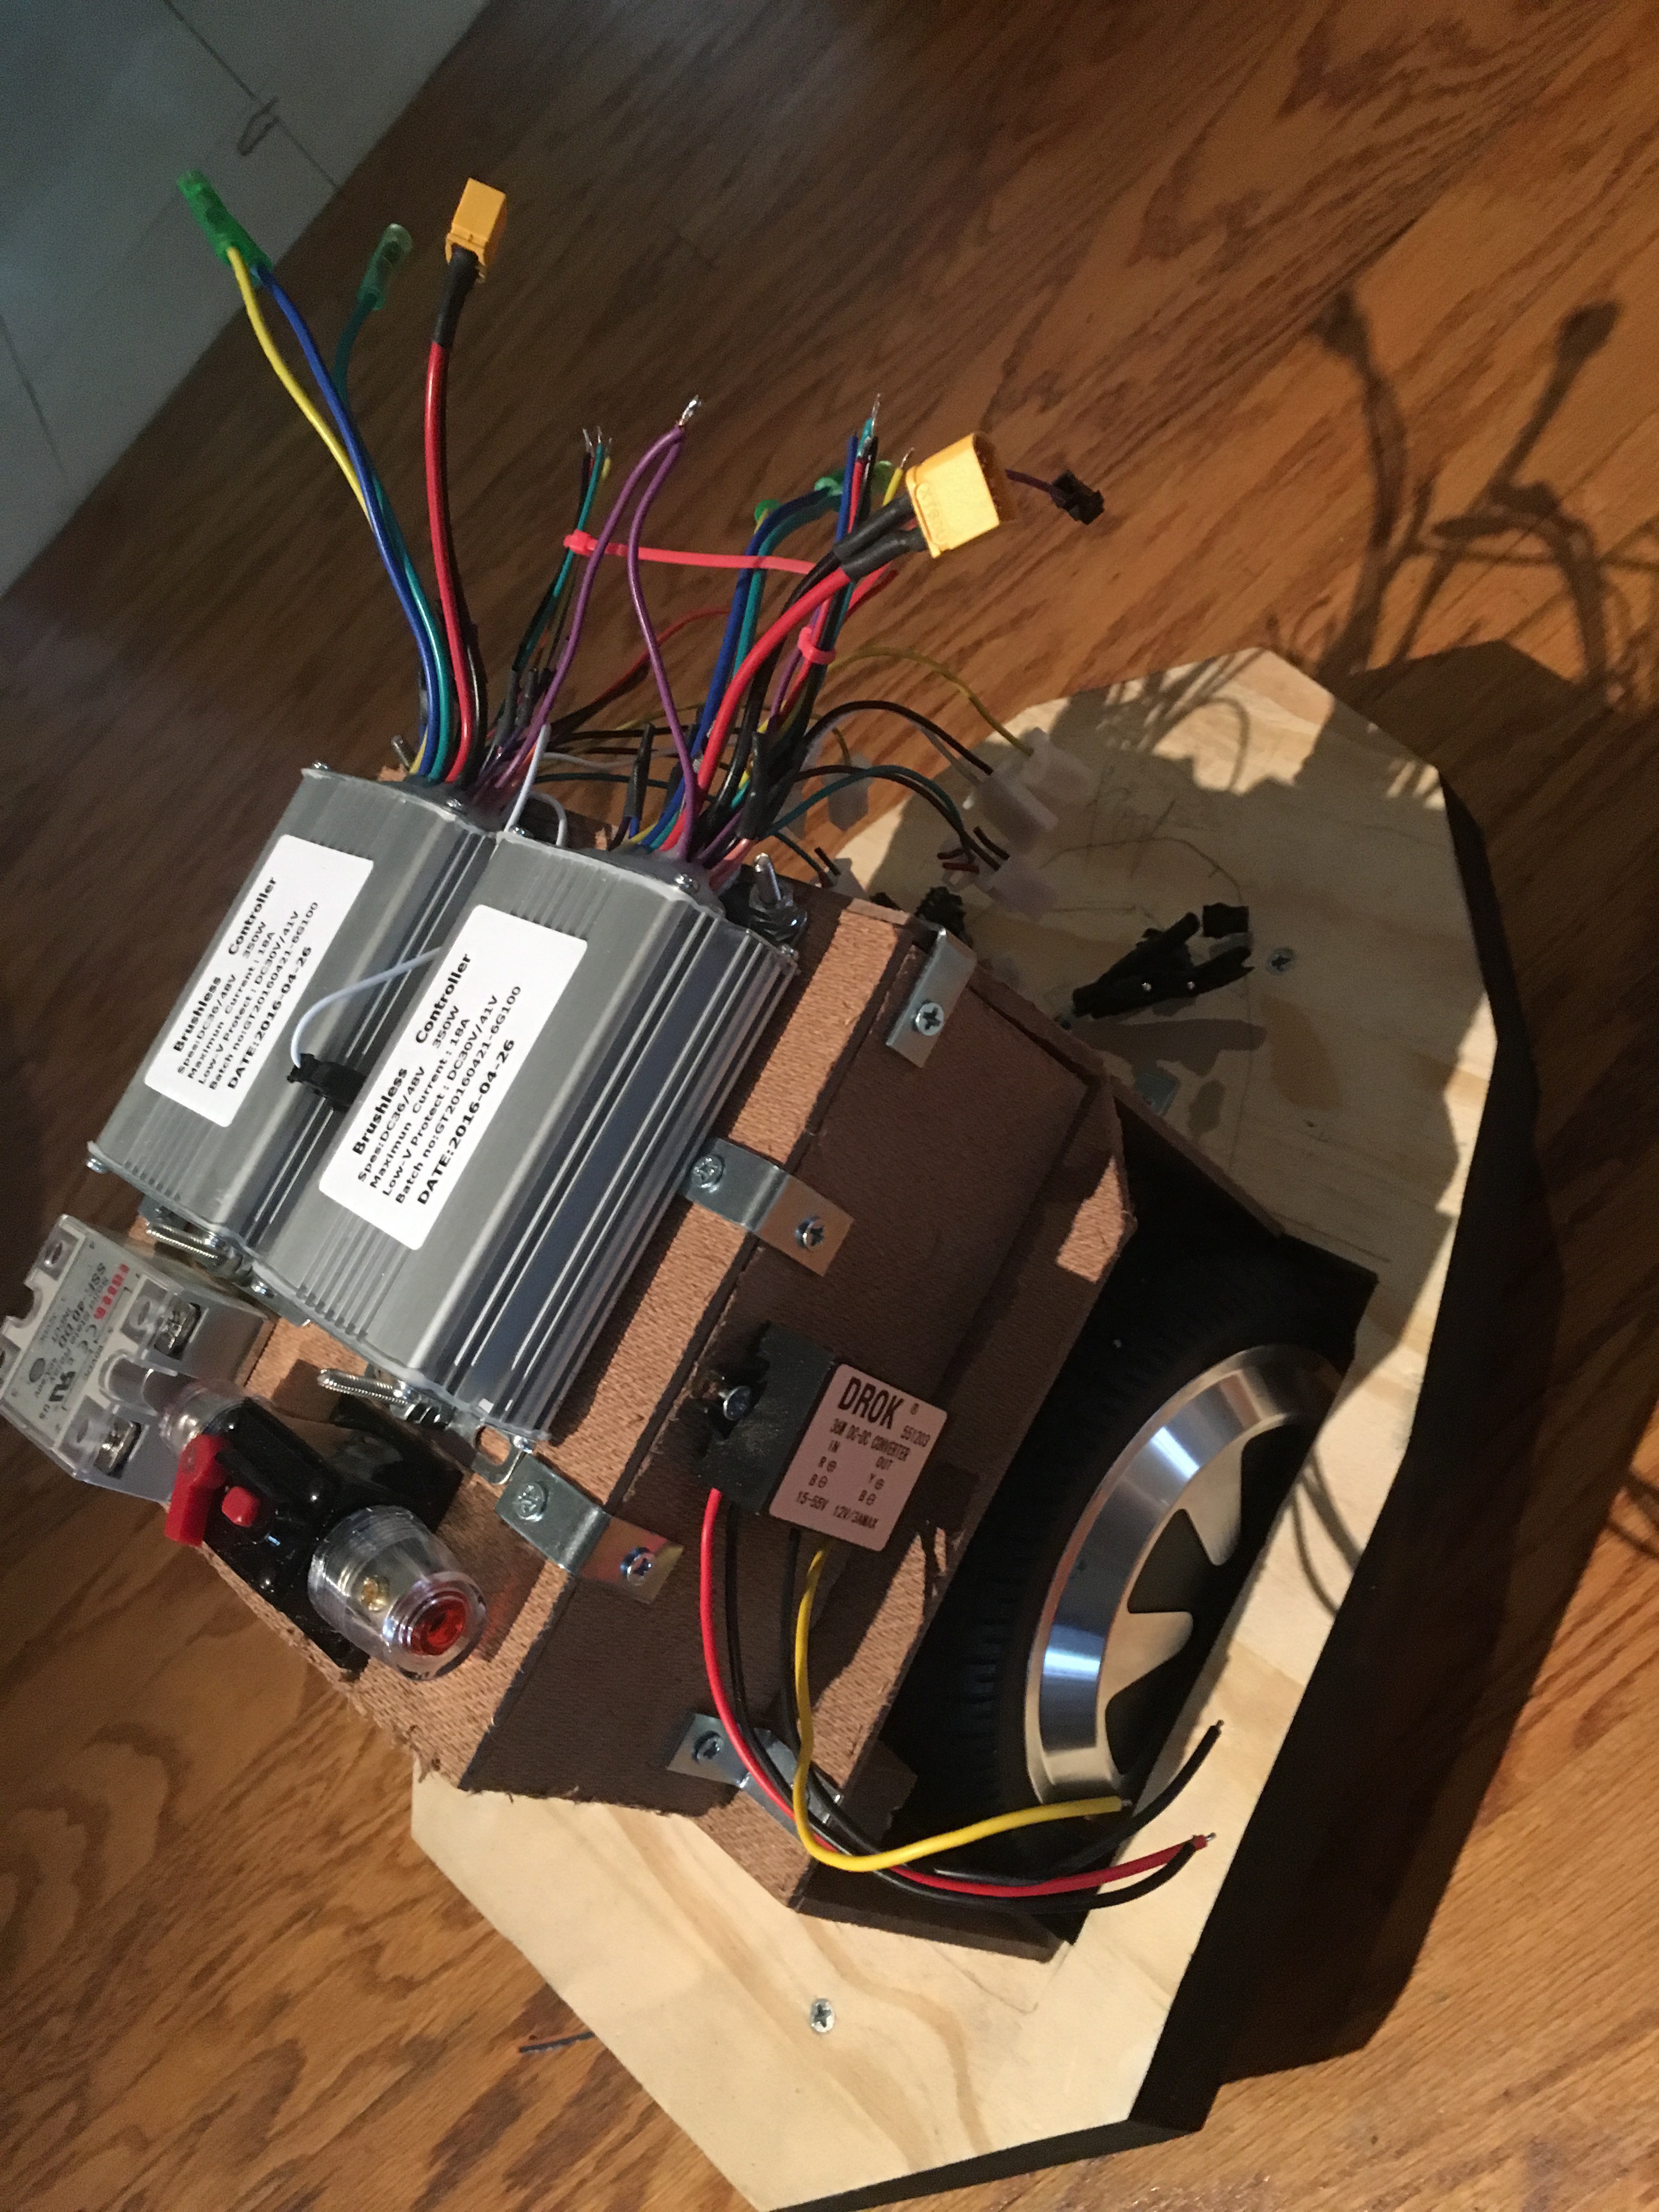
I'm planning to mount the shoulder motor controller board to the top of the base cavity, so it won't need space to mount to the base enclosure. I do have a little space to play with on the back, where the circuit breaker is; if I trim back the base plate a little I could move the 36-to-5v and 36-to-12v buck regulators (which are currently on the left and right outside edges of the battery compartment, out of sight here, but visible above the left tire in the first shot above).
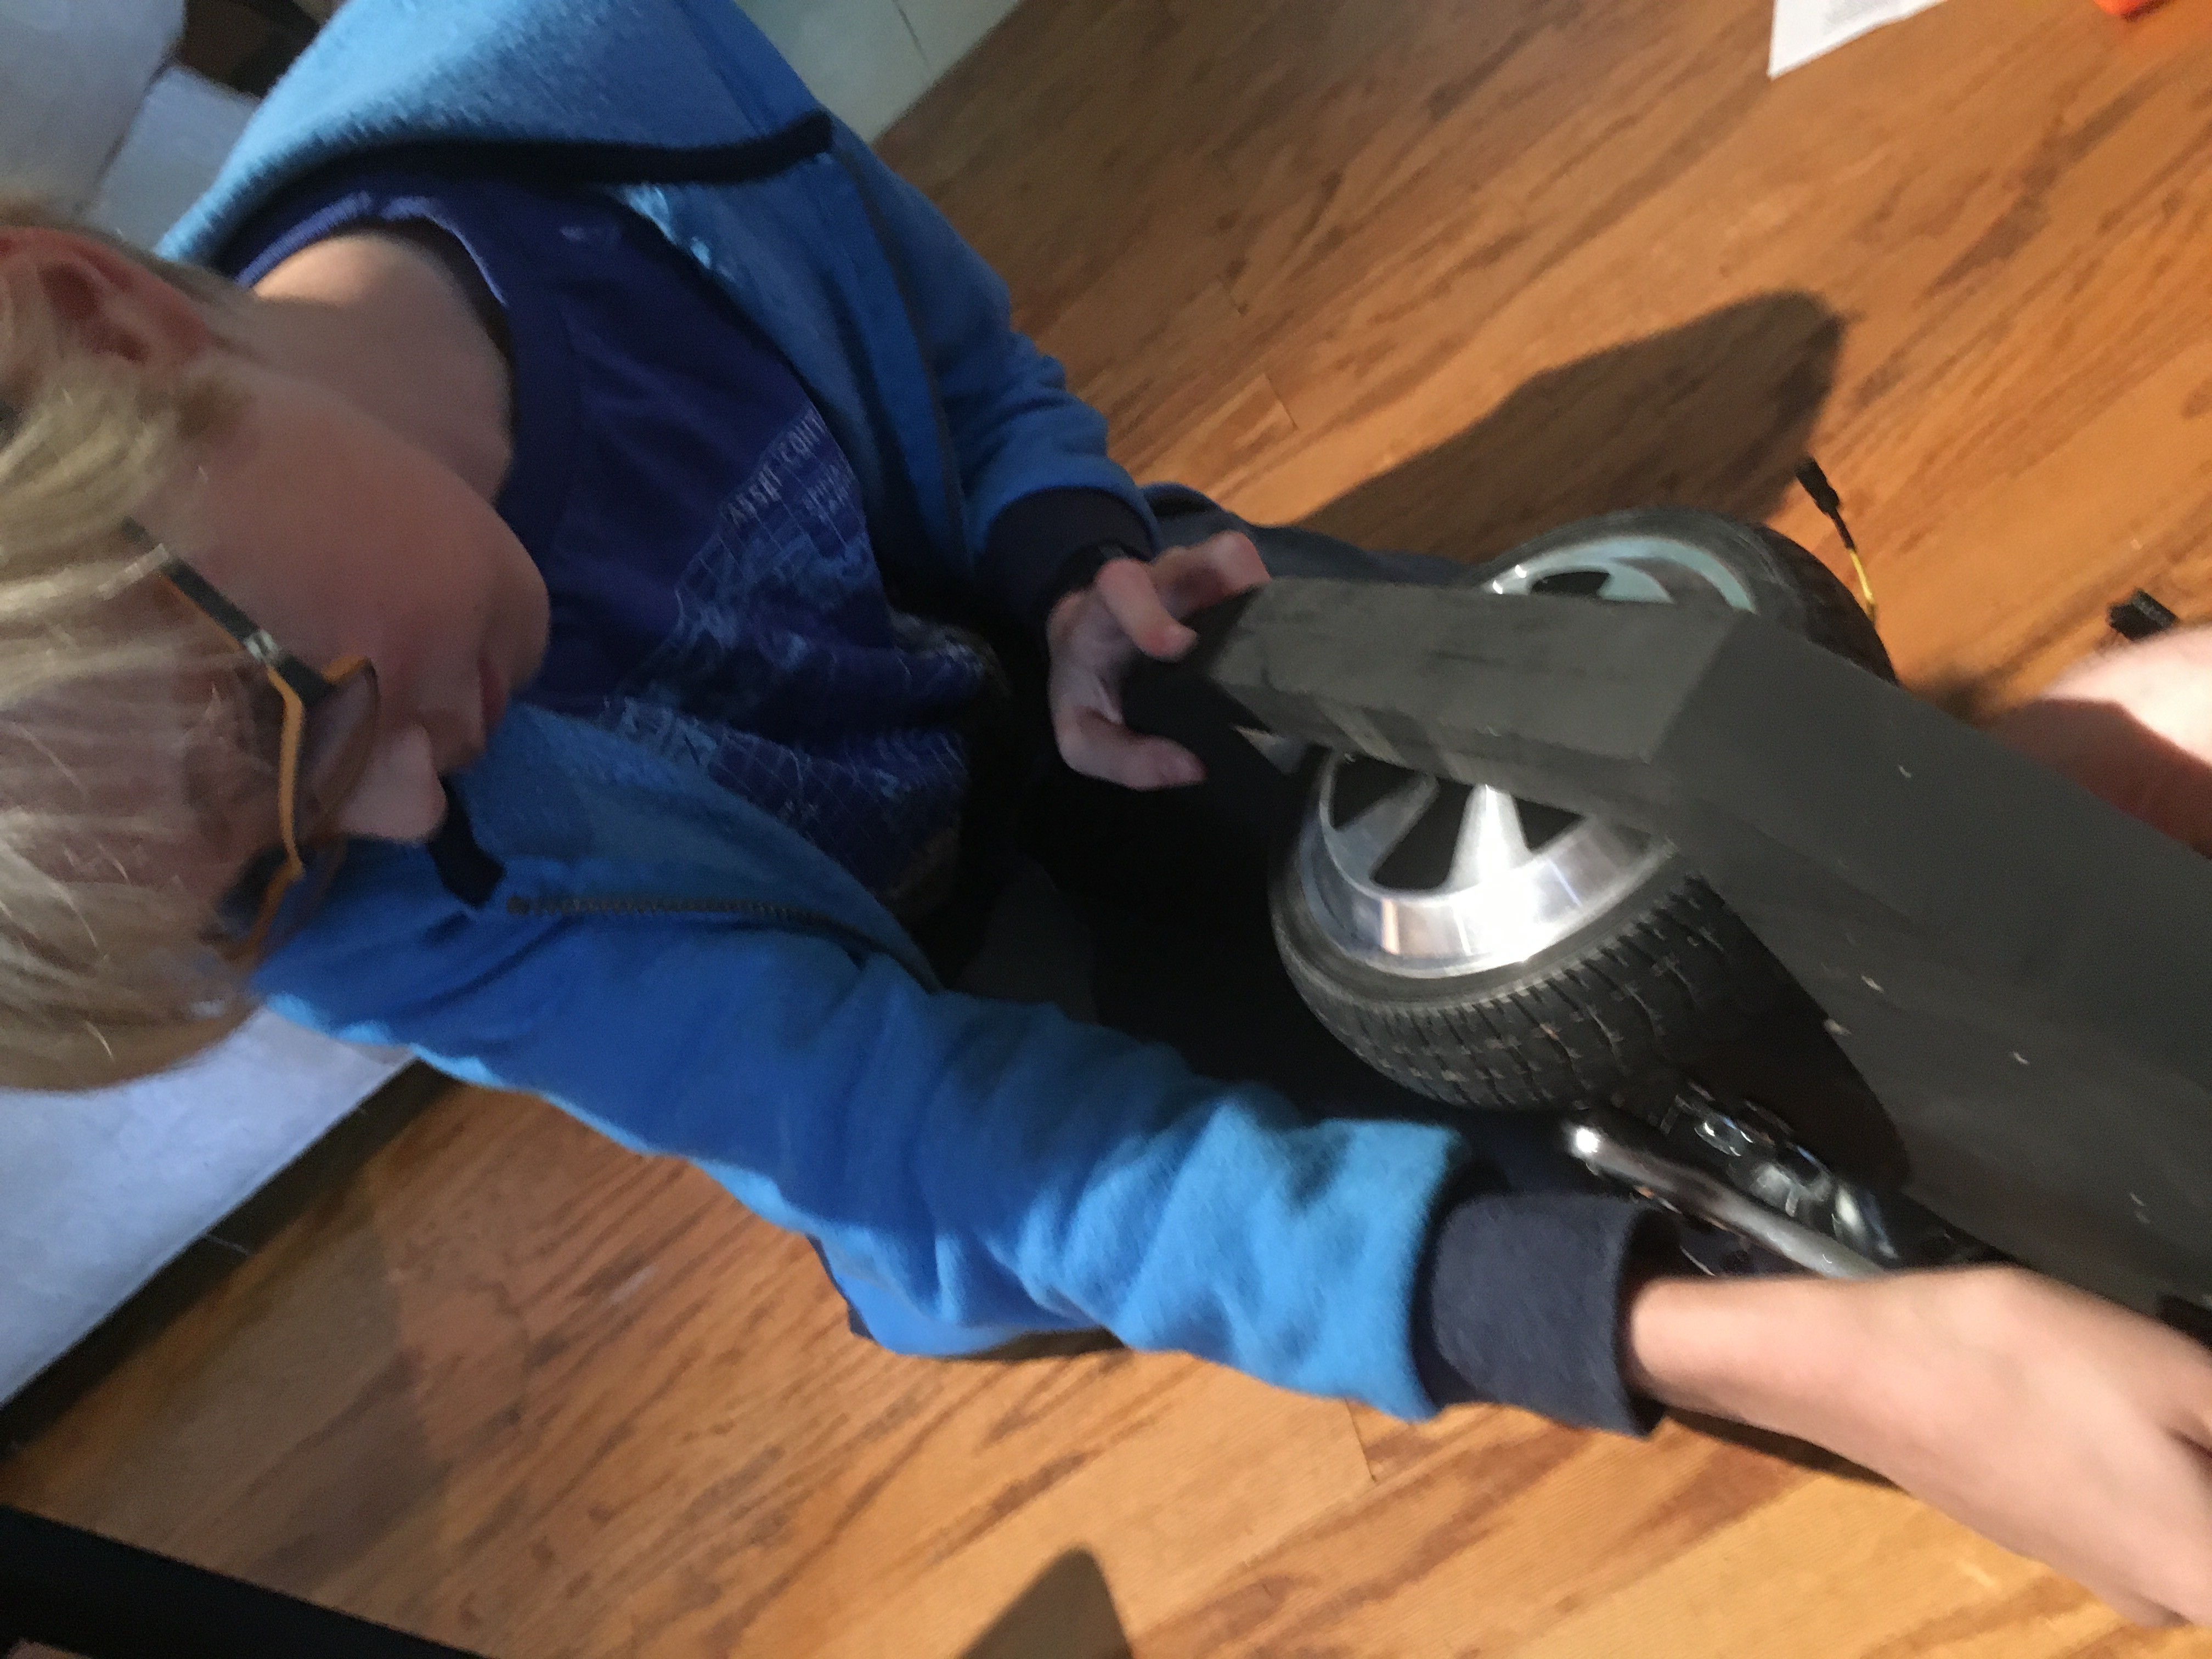
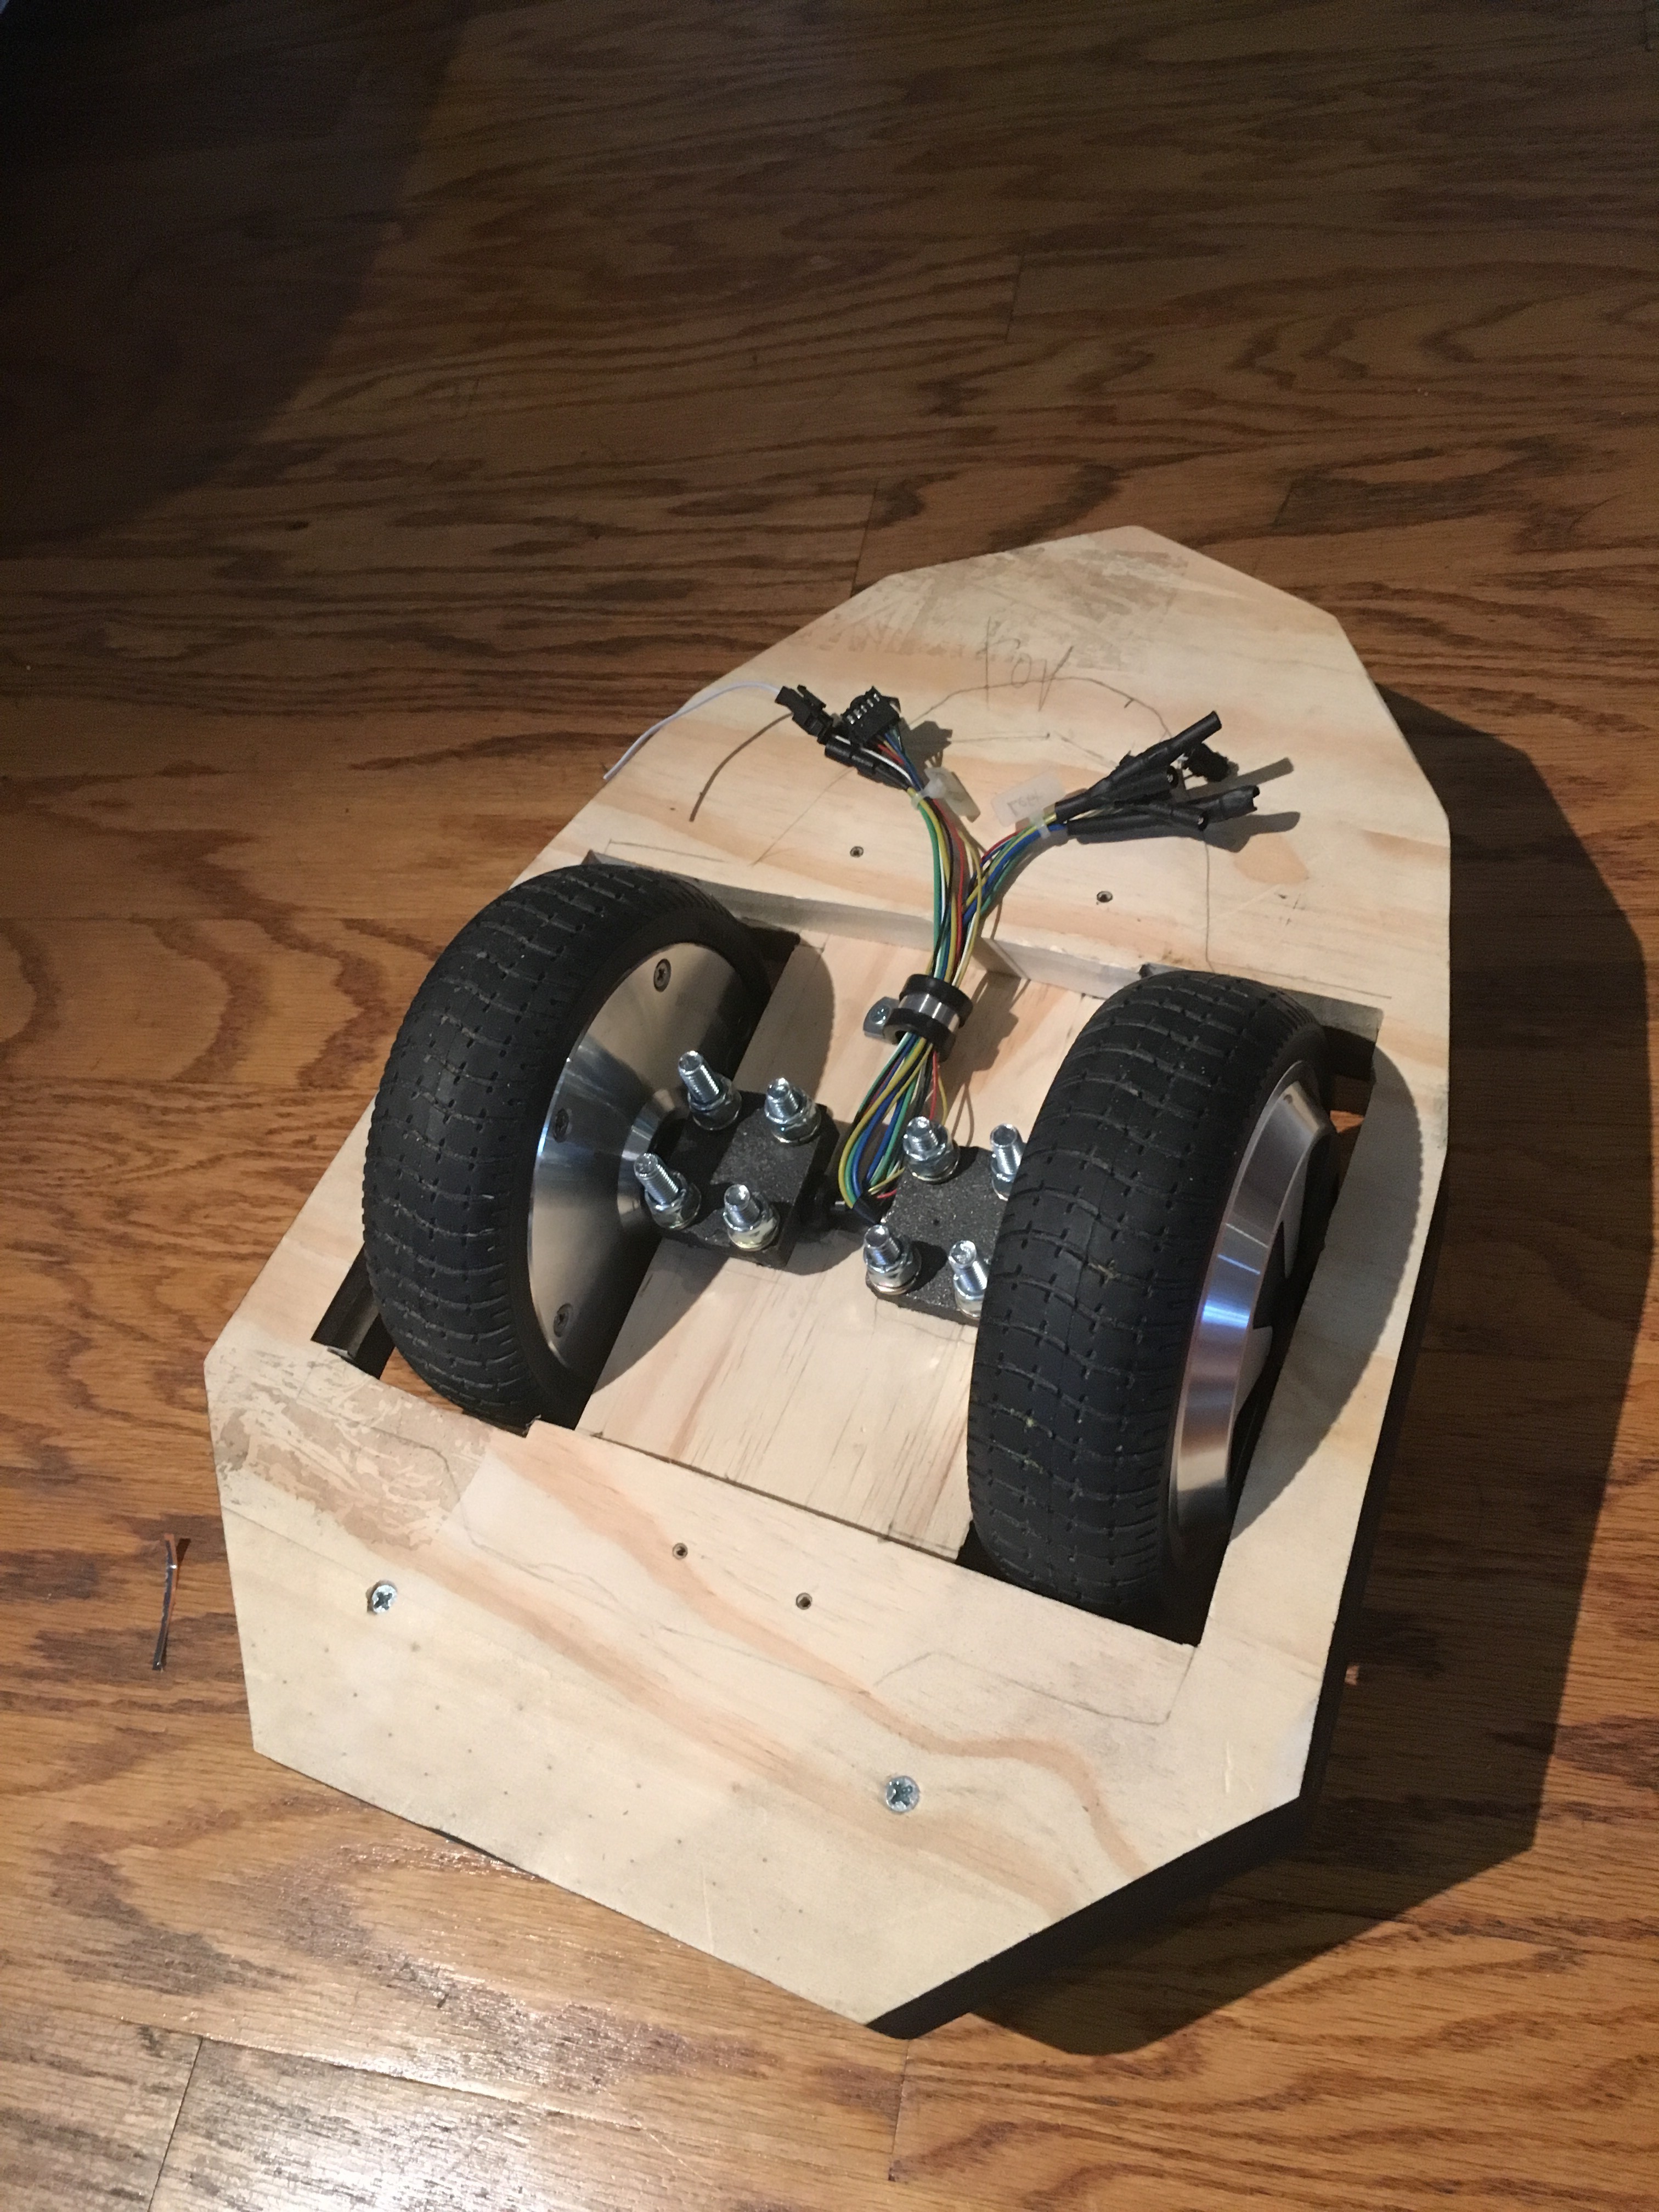
Speaking of the tires: one of them began rubbing oddly after I test-fit this. I'm not terribly surprised: the wheel is pivoting a little in its makeshift mount. Right now, the machine screw bolts are holding the clamp plate against the wood:
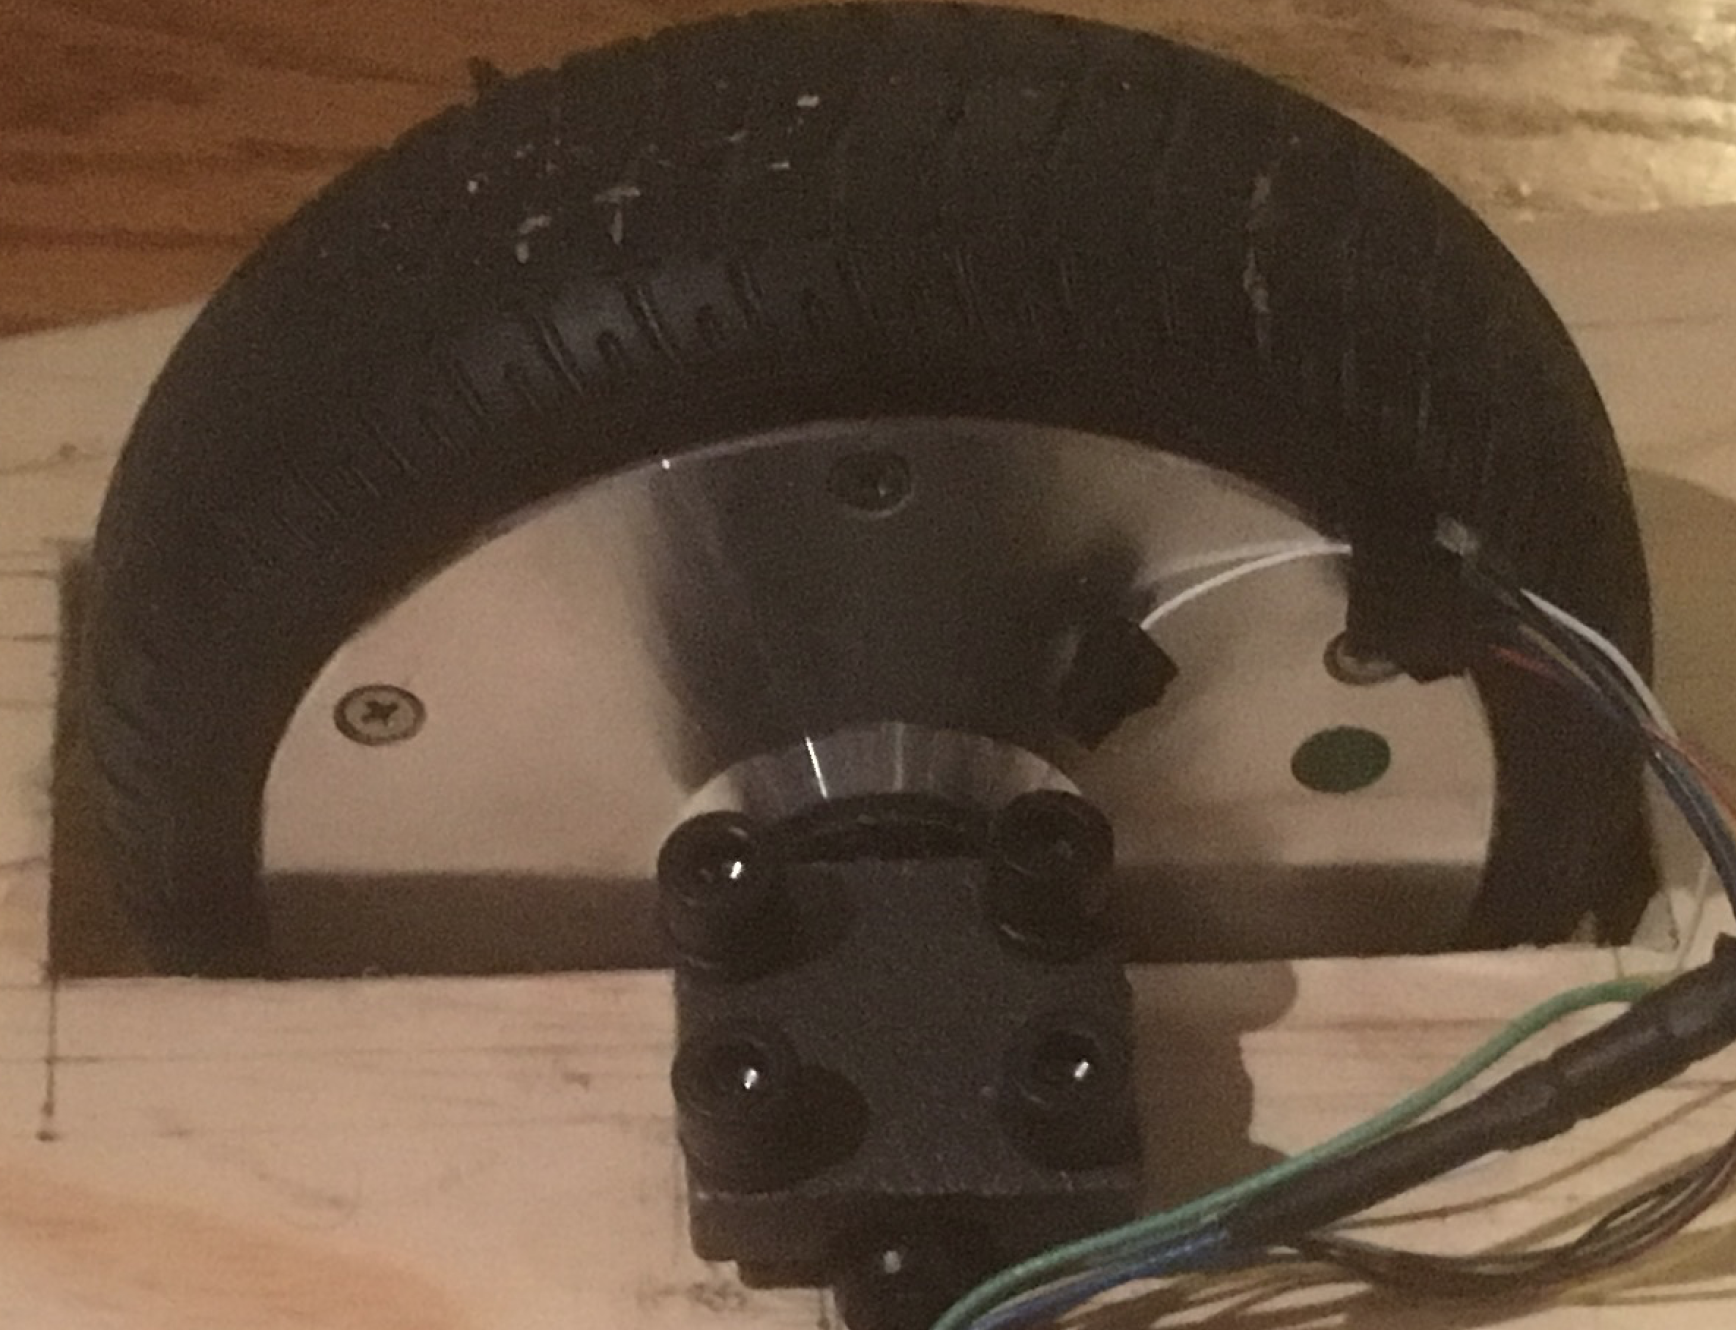
You can see from the shadow that the plate is fairly high off of the wood. Those machine screws are going to rip through the wood if I try to clamp them down very tightly. So, it's time to get some proper bolts that will go through the hole in the wood, where I should be able to apply an appropriate amount of pressure to keep the motors mounted straight. I hope.
Anyway. Things that came in early:
* The DC/DC solid state relay. Which lasted about 4 hours before it blew itself out. Seriously, I've got terrible experiences with solid state relays. I've ordered two more appropriate 36v continuous duty relays; I really don't want to use the golf cart relay. It runs really hot.
* Another pair of motors and brackets. Unfortunately they're a *smidge* wider than the current tires, and don't fit in the base. I was hoping to put them in and reassemble the hoverboard, but I guess that's not happening.
* MCP 4922 dual 12-bit Digital-to-Analog converters.
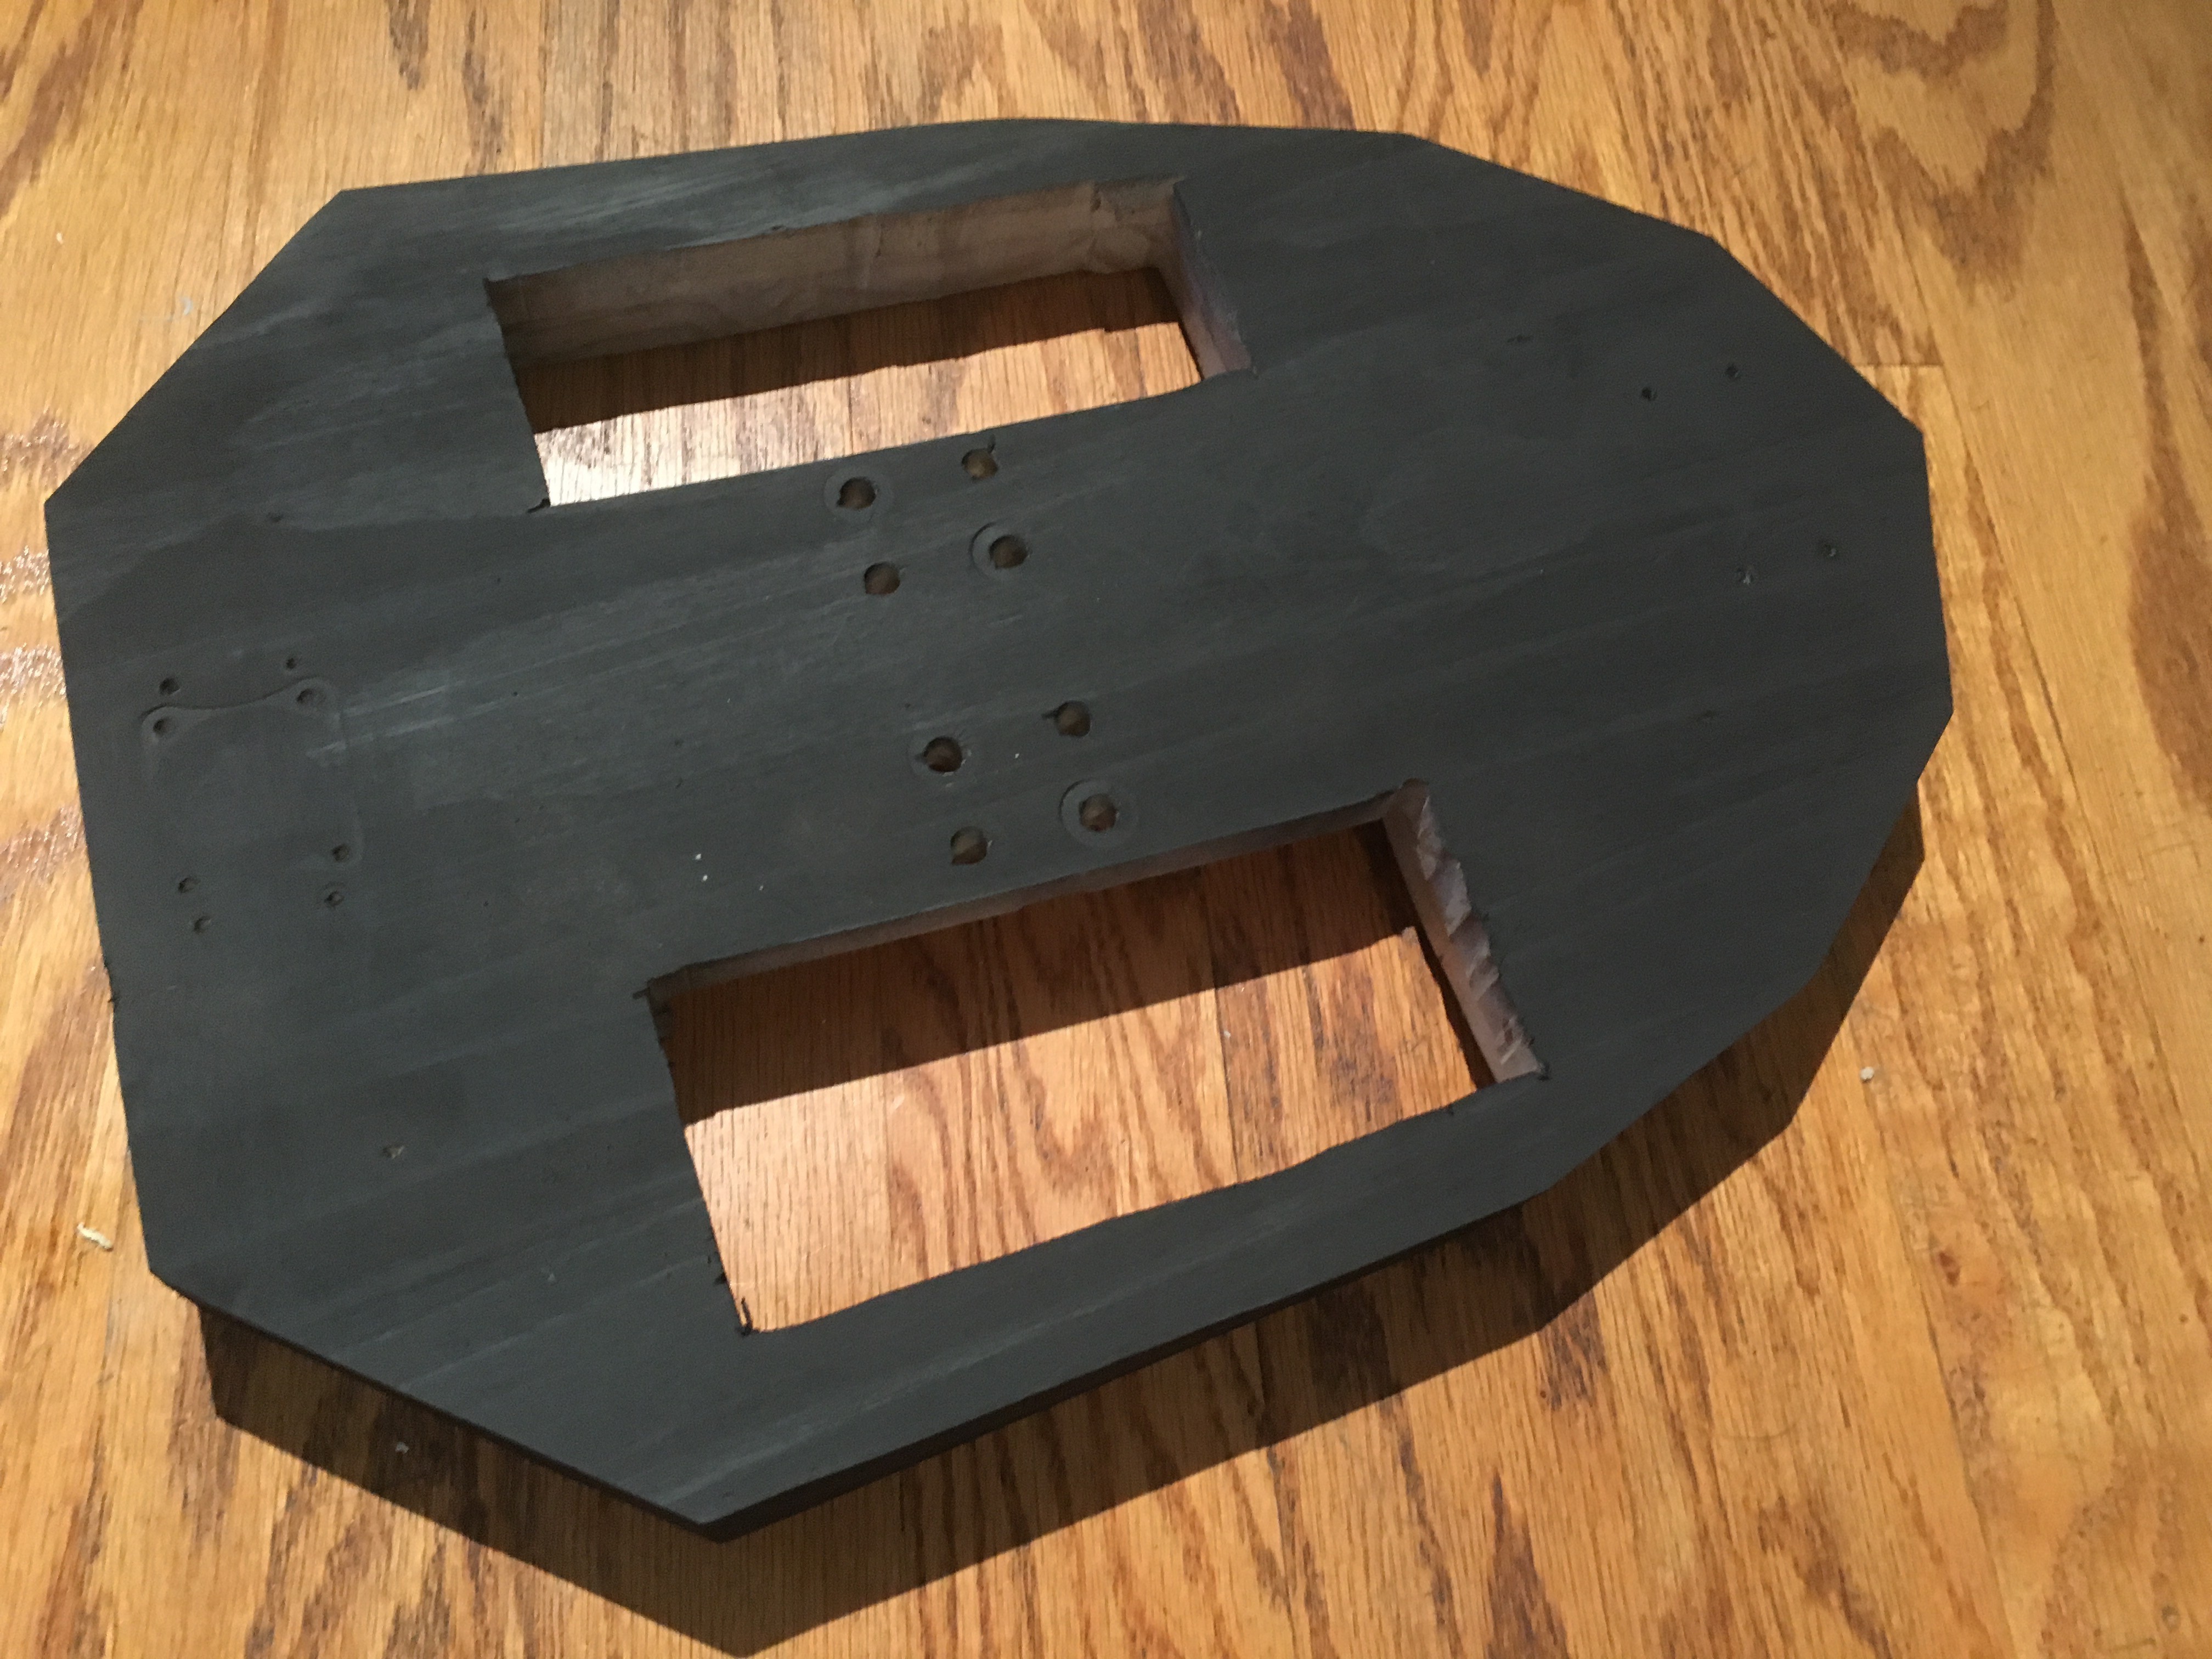
So I cleaned up the woodwork on the base and spraypainted it black:
Mounted the motors with some proper bolts:
Remounted the support structure and wired up the whole lot, removing most of the worthless wires on the controllers (here, with the solid state relay, just before connecting the motors):
And spent some time flirting with disaster! One driving test, the base went completely out of control: the SDI line to the DAC came loose, and the DAC decided that meant I wanted "full ramming speed" - running it in to my stairs. Fortunately, not much damage; just a smudge of black on a baseboard and a spot on the base where it has lost its black paint. (You can see it in the indoor video below; a black spot on the outlet cover and a line heading toward the stairs. Whoops yet again.)
The second failure was more spectacular. The same basic problem happened - the SDI line came loose - but more interestingly, it happened while turning. So one wheel wound up at full speed while the other was full stop. The base did doughnuts in my dining room for a short while, eventually throwing the battery across the room. Again, fortunately, no real damage; just a few skid marks on my floor ("oh, just doing doughnuts with the Dalek, no biggie").
But eventually I figured out some of the more frustrating parts of controlling this thing. The motors still refuse to reverse when I want, but I've gotten it to an almost manageable delay between forward and backward. Turning is too fast, so I've built in some intentional limits while turning. The speed is limited to a really slow speed, which turns out to be 28% of the analog control voltage - about 1.4v out of 5. And I've figured out the brakes on this thing, which is to say that I enabled regenerative braking and am enabling the brake line whenever I'm trying to decelerate. And when the "brake" button is pressed on the remote.
Which leads to this:
And, of course, I want to know: how fast is fast mode? Well, I'm too chicken to find out - but this is "much faster than advisable" mode, which is faster than I intend to limit it for the con:
That starts out in "slow mode", and almost immediately after kicking it in to "fast mode" I lose it in the camera frame (whoops) and the battery falls out the back (double whoops). I finally put the velcro strap back in to hold the battery, but a second test of "slightly insane" speed (faster than this test!) and, well, bad things happened. First it flipped over when trying to turn a very slight amount; and on the second attempt it vibrated the golf cart relay off of its mount, popping off the safety wire that engages the motor controllers. So without a good flat stretch, I'm not going to be testing this thing at any appreciable speed. Suffice it to say "it goes faster than is reasonable."
I'm calling that a win. :)
 Jorj Bauer
Discussions
Become a Hackaday.io Member
Create an account to leave a comment. Already have an account? Log In.