 laurenternes
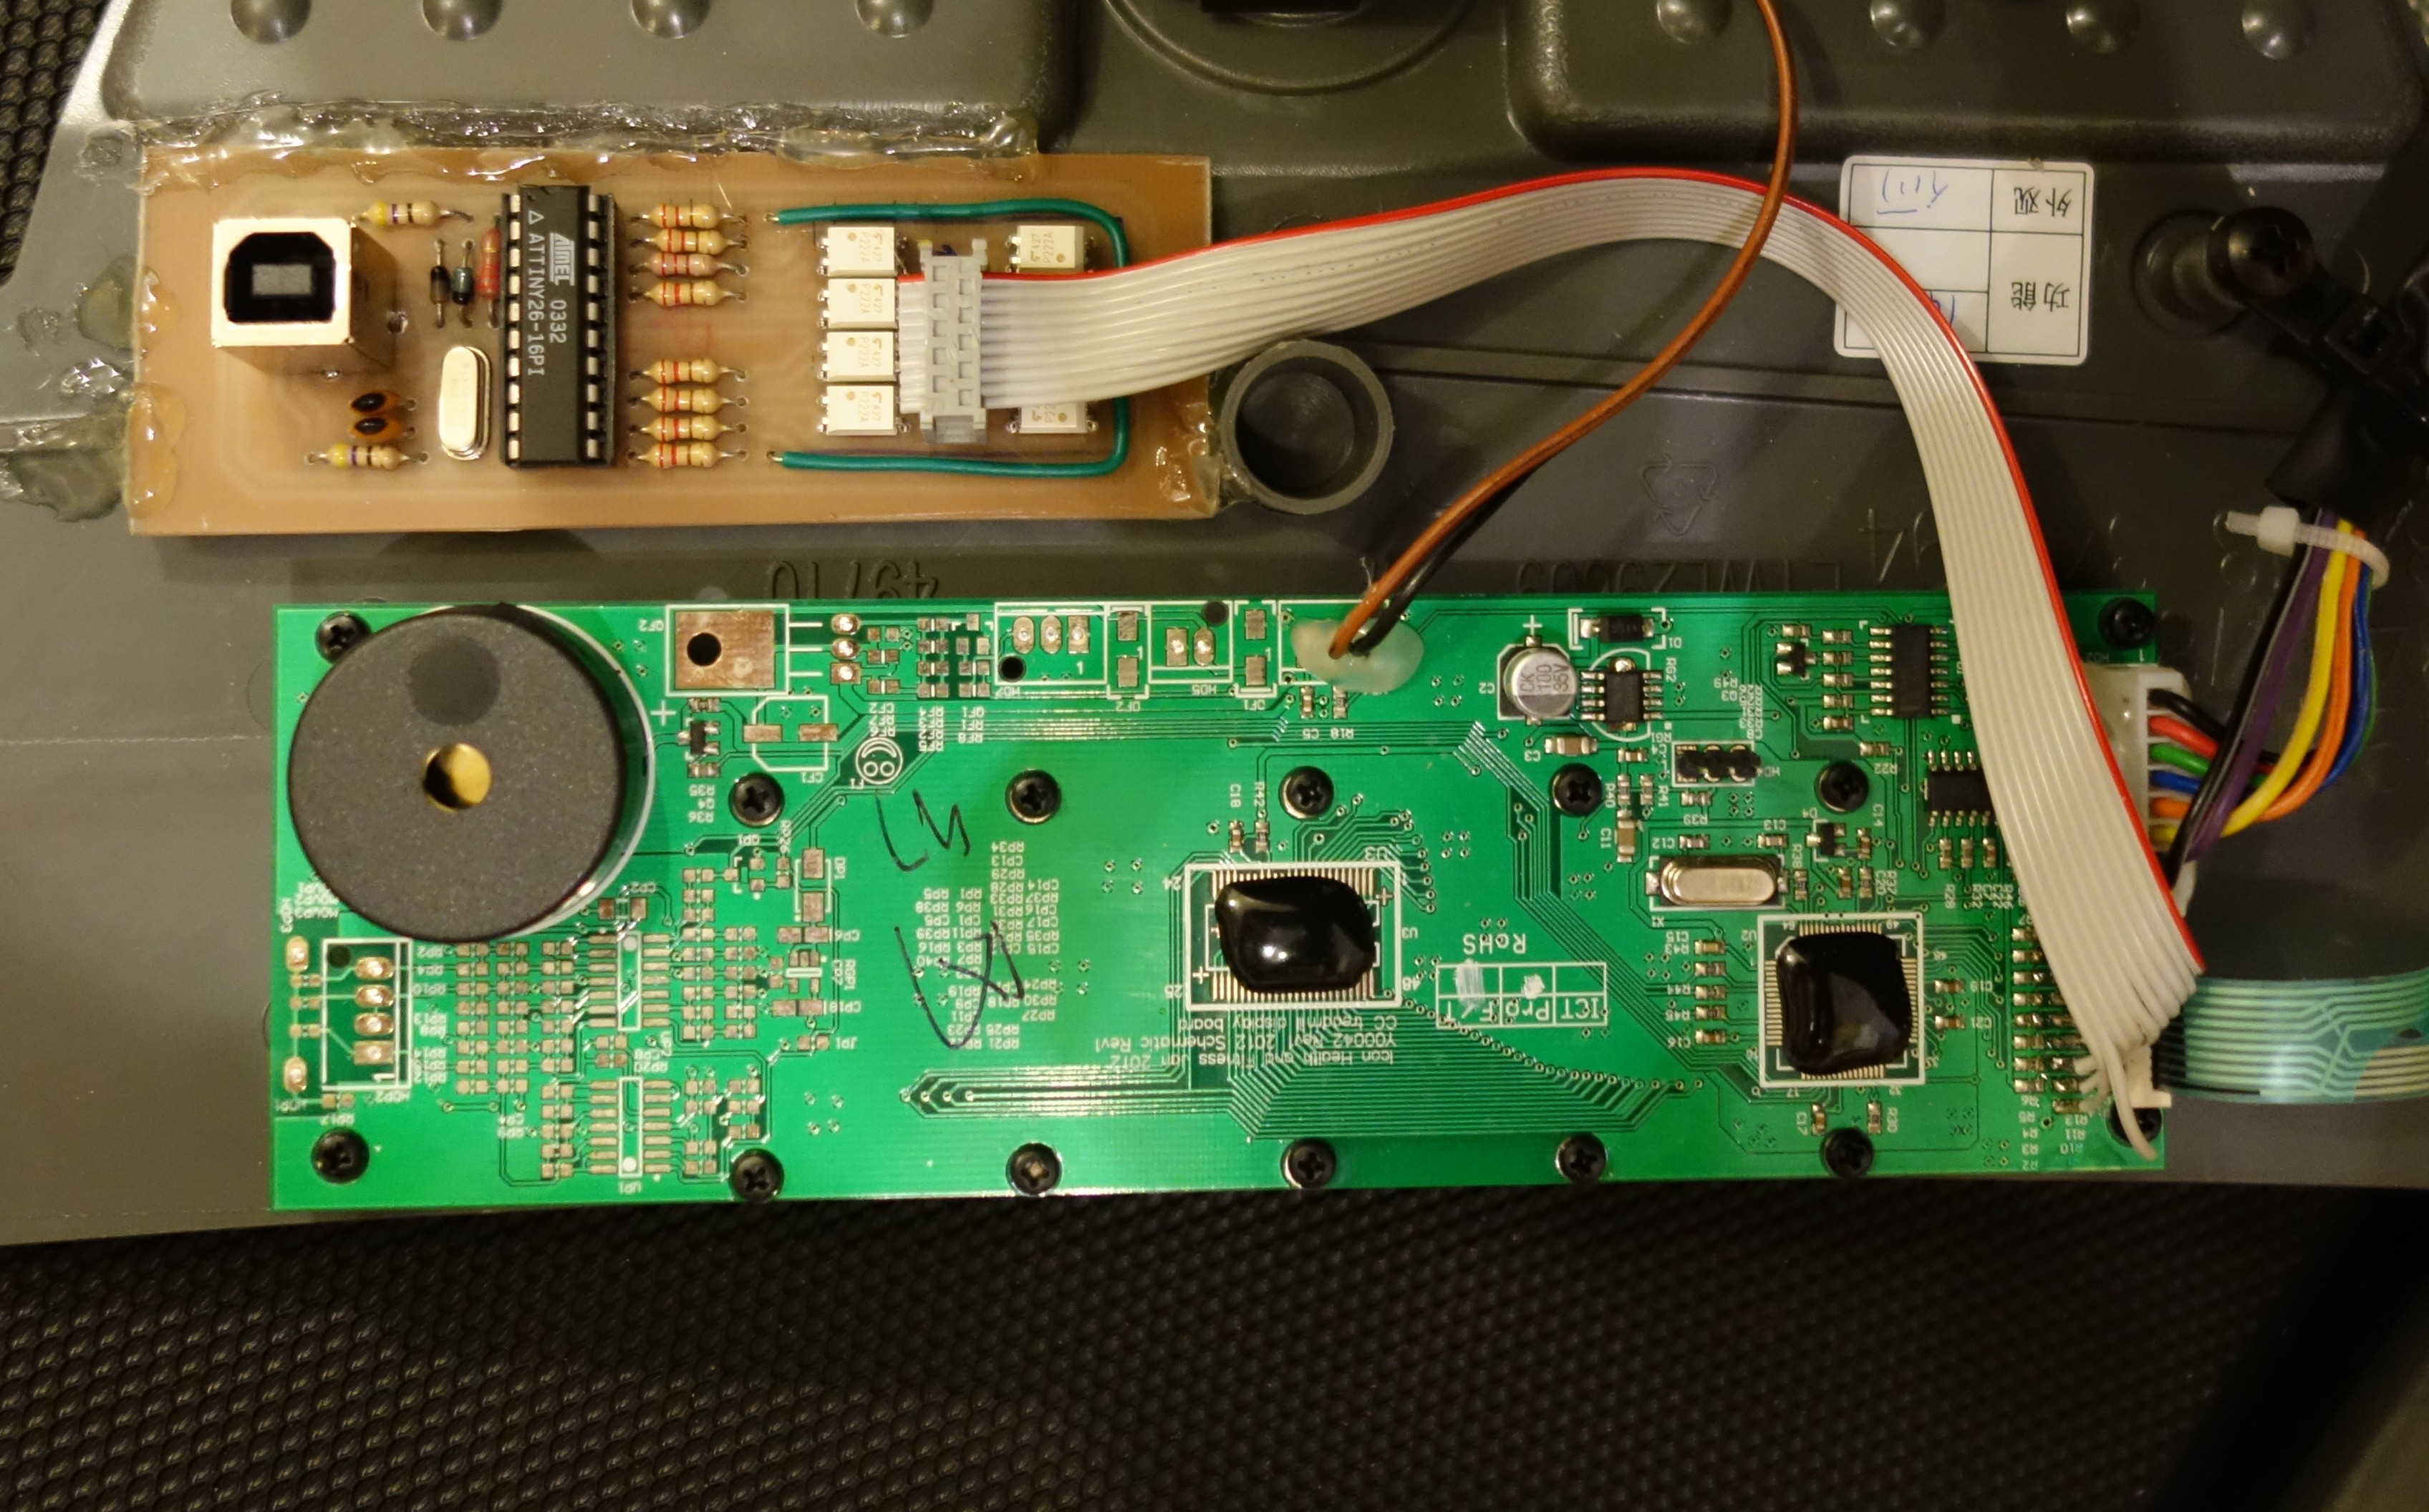
The interface board is ready !
For the record, we use a small CNC to mill and drill the PCB. This is actually also a 3D printer: the Fabtotum. This is a very cool little machine that I back during their Kickstarter campaign.
It is now mounted with hot glue (ah ! hacking !) inside the console. The optos are connected via a flat cable to the keyboard solder joints (on the bottom right).
Ready to go !
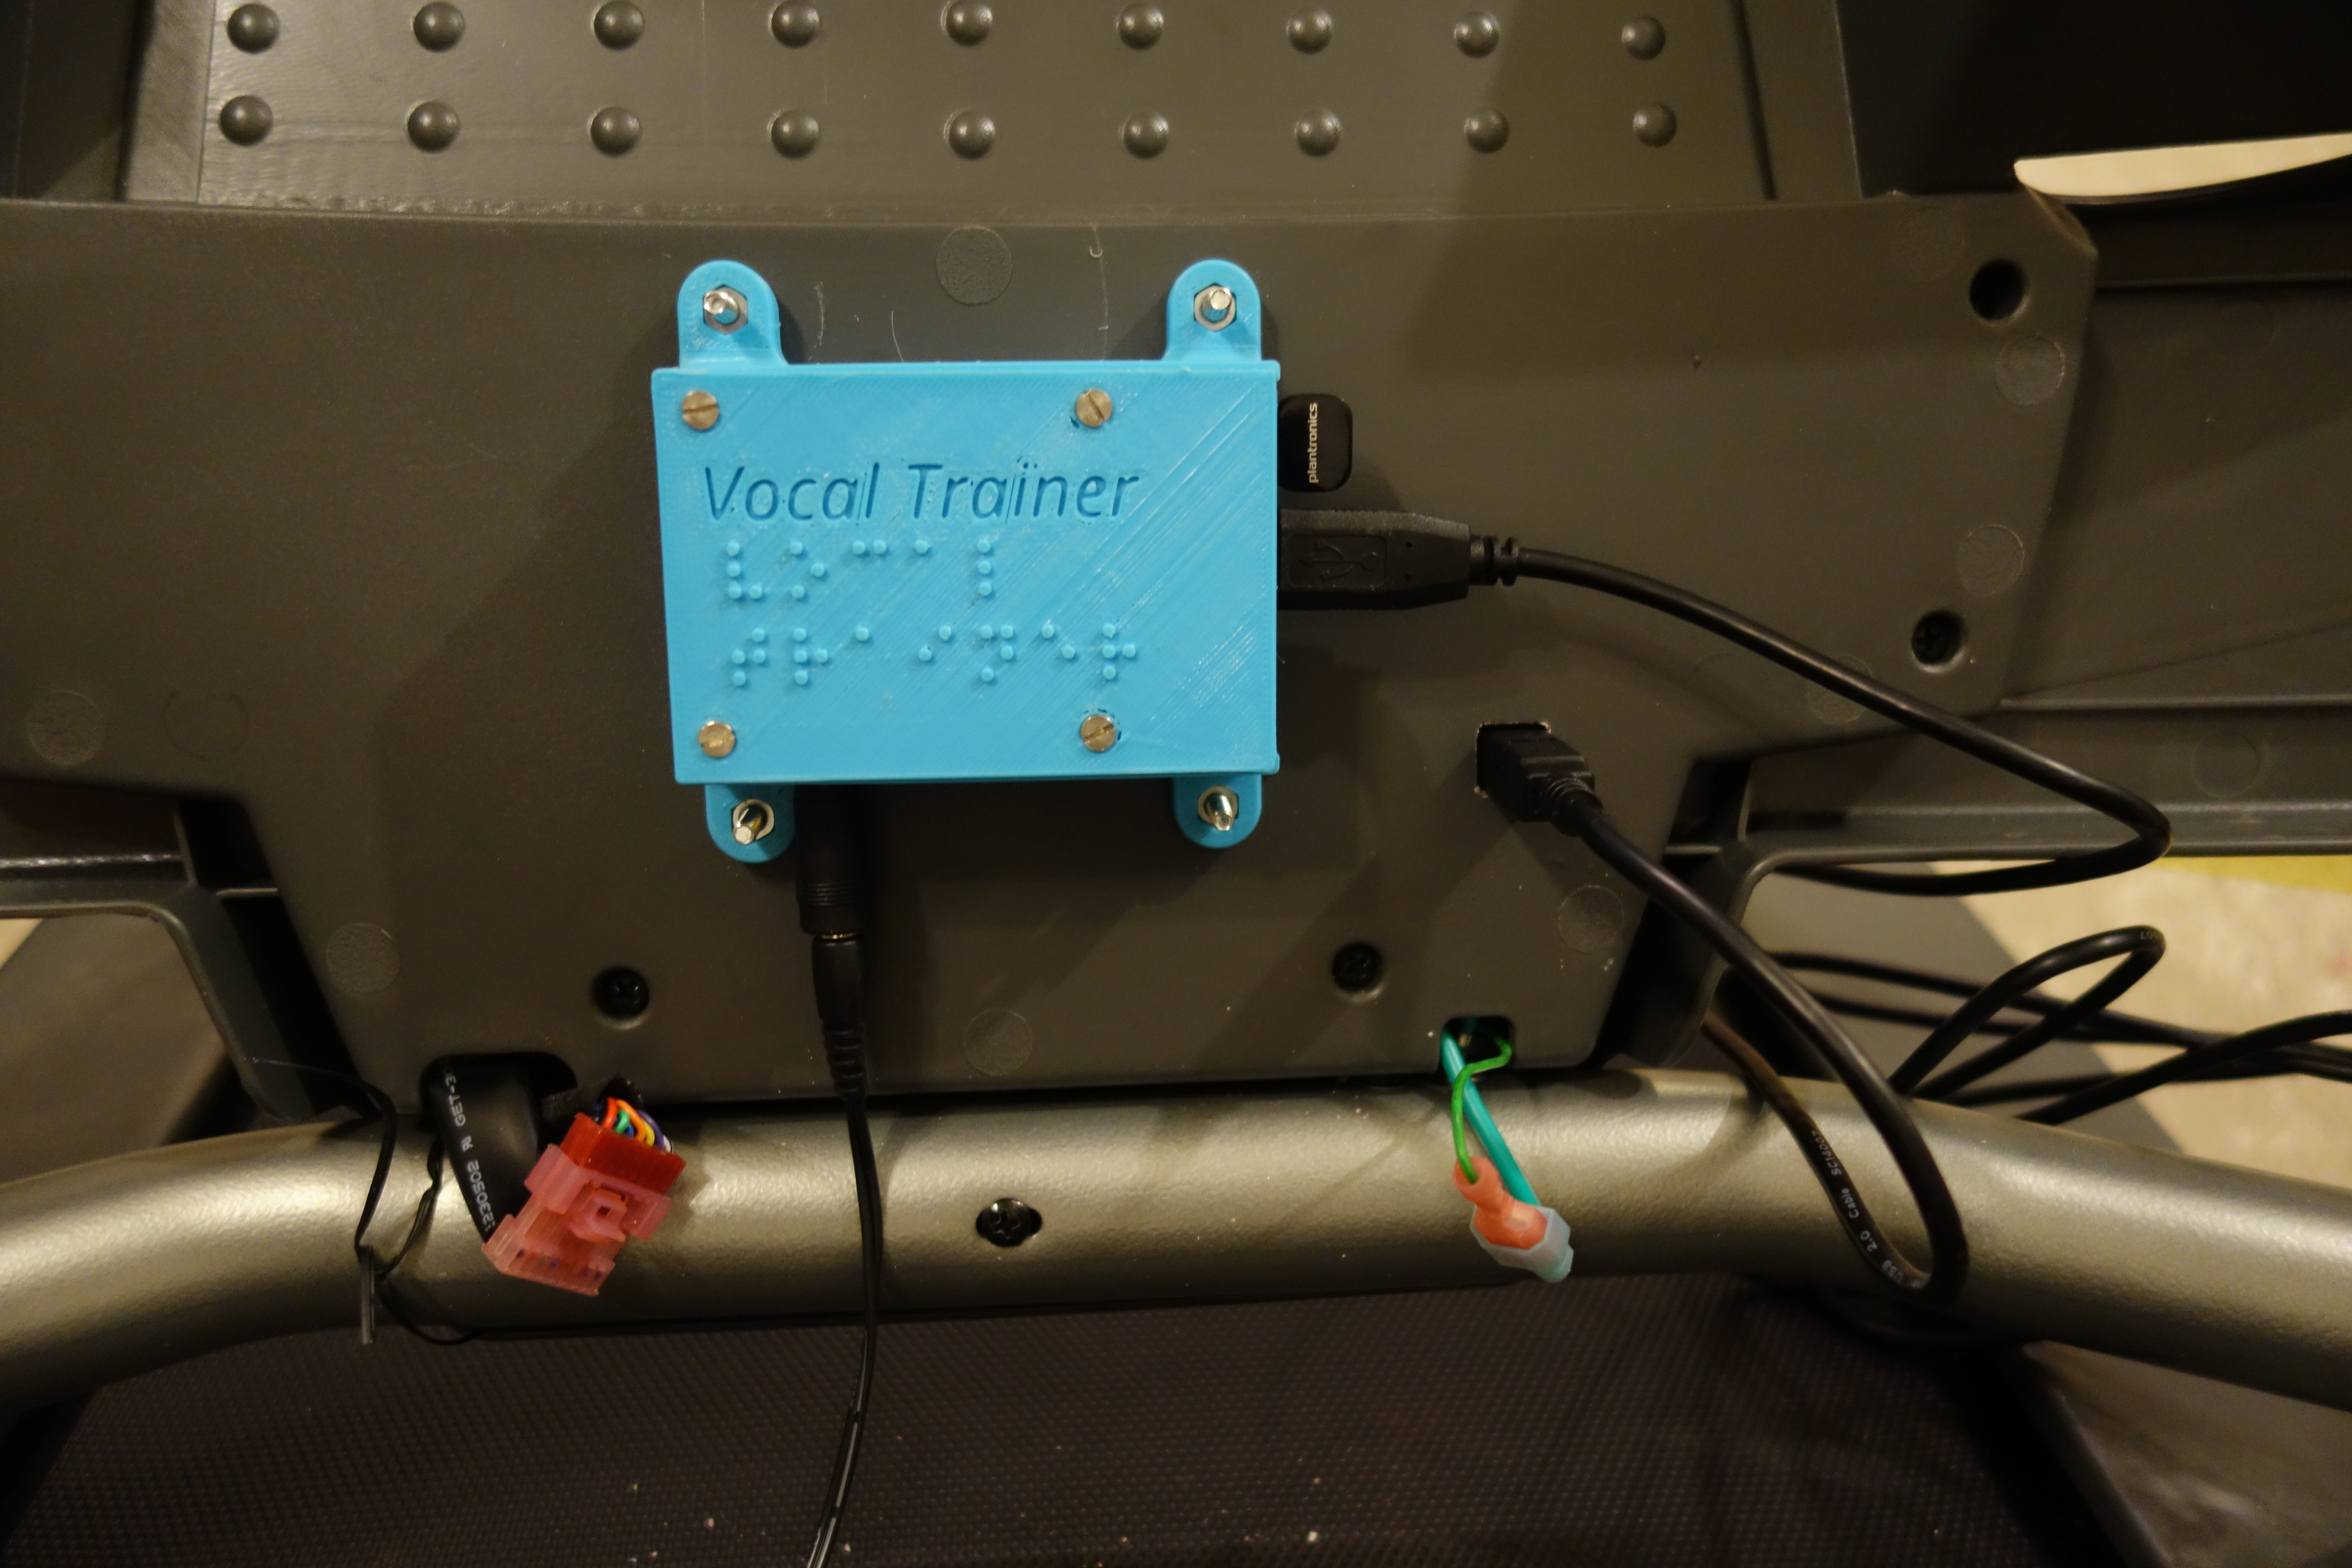
We can now close the console, and use this remote control the Odroid.
The Odroid is mounted (with screws this time) on the back of the console, we added a bluetooth dongle (for the earplug) and a USB cable. (so far, the console was shown upside down)
The vocal stack is ready, prototype mode. Some simple words: "start", "stop" that maps to the same keys on the console. Everything running on a debian.
The Odroid is controlled by a laptop through a SSH connection, this is for easier logging and debugging.
Now, time for live testing, fine tuning,...
Discussions
Become a Hackaday.io Member
Create an account to leave a comment. Already have an account? Log In.