 Bob Baddeley
It's been a while since the last log, so hopefully this one will make up for it. We've got good progress to report.
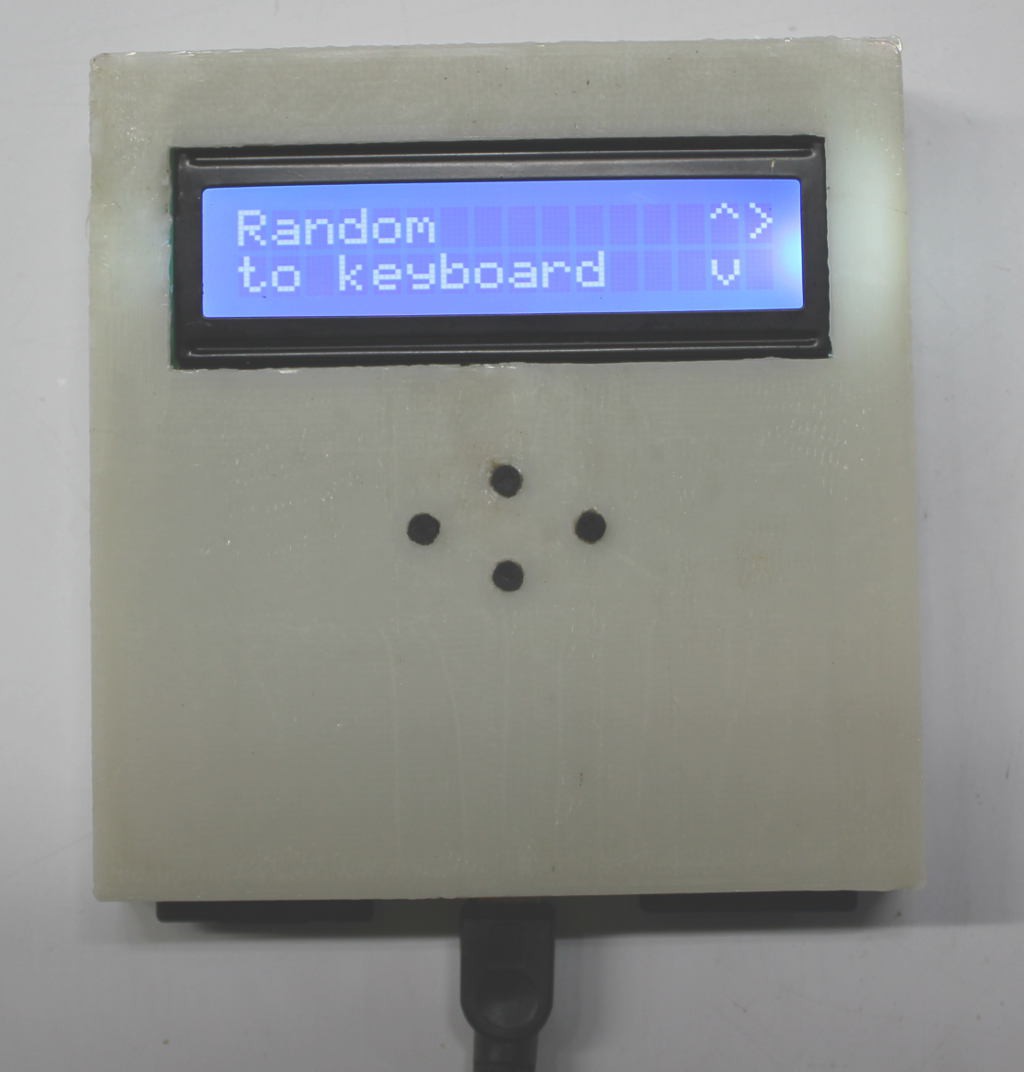
It works!
Here's a video of the device generating 1KB of random data and outputting it as HEX characters over the USB keyboard to a text editor.
Code
There are lots of parts to the hardware, so I wrote test applications for each section. Some parts don't have code (like the battery charger), but everything else has its own small sketch to test the individual section. The current list of test sketches:
- Buttons_Test – tests the four buttons, AND tests presence of each SD card and the write protect of the SD card.
- SD_Test – uses the SD Library to access the SD cards one at at time.
- LCD_Test – tests the LCD library with a hello world.
- Random_Test – tests the random number generator hardware and the shift register for bringing the data in.
- USB_Keyboard_Test – makes sure that the Arduino can talk to the computer as a HID Keyboard. It needs to be one way so that the computer cannot compromise the encryption device.
I've been putting it all together into the final sketch, though, and have made a lot of progress. There's a functional UI which responds to button presses. It connects to a computer as a USB keyboard and when the user tells it, will spit out random numbers to the keyboard.
Currently the random number generator part of the circuit isn't working, so for now I'm using a temporary solution with the Arduino pseudo-random number generator. In V2 of the hardware hopefully it will be fixed and I can go back to the hardware RNG.
I'm also having a hard time with the SD cards. It turns out the Arduino SD library creates globals that prevent me from initializing two SD cards at once. Now I'm delving deep into the library code to try to create and manipulate the two SD cards without using the global. It's a pain.
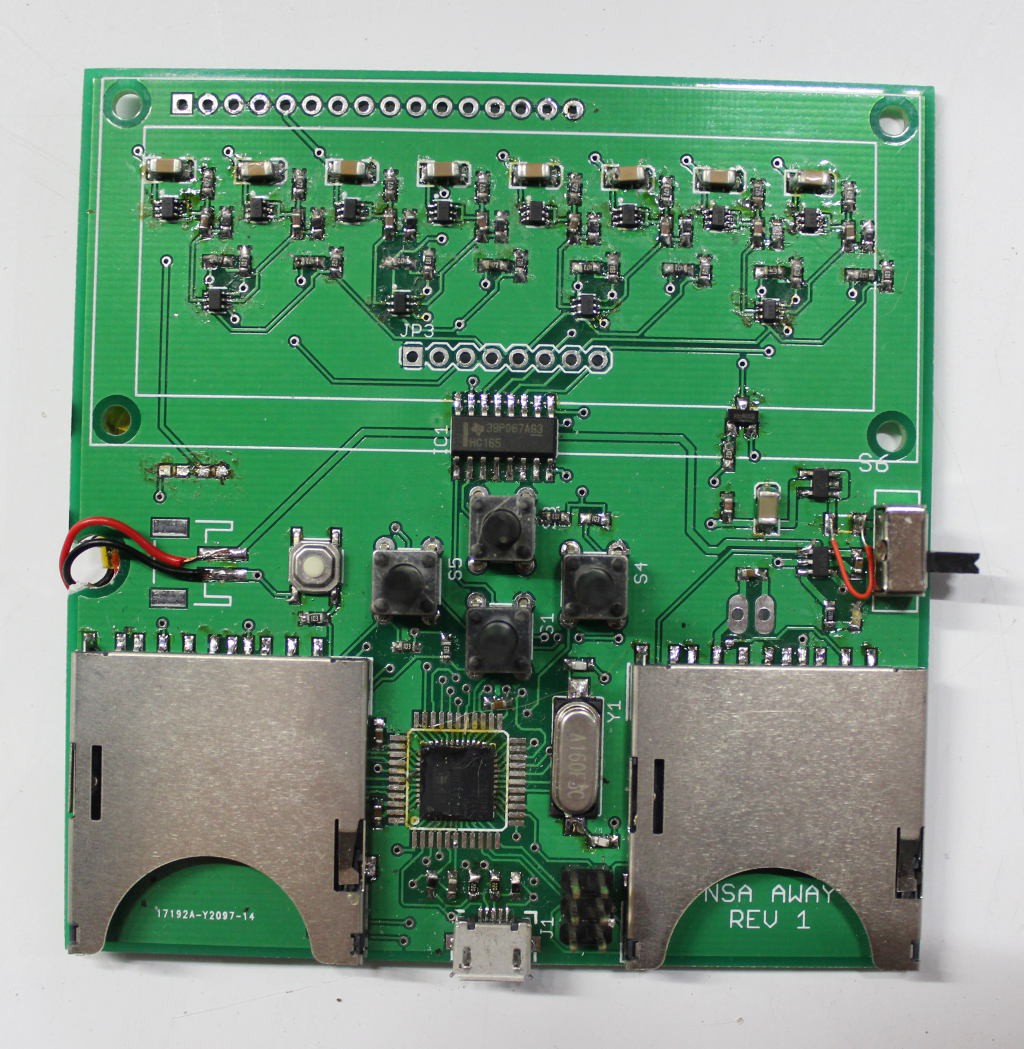
Also, I realized there's no photo of the random number generator circuit underneath the LCD, so here it is. Note that the 8 headers can be used to create your own RNG circuit, or as a debug header to look at the random signal.
Case
The case is designed, 3D printed, and fit on the first try. Well, there were some tolerance issues, but some sanding was all that was needed for it to fit. It will be a two part mold, with a parting line along the holes for the switch, USB, and SD cards. That way it'll be a simple injection mold with no slides and easy assembly, that's also easy to 3D print. Of course, this is the first version, and as such is way bigger than it needs to be and not pretty, so for the first case, I went a little overboard. But it works and will get us moving along for the video and demonstrations.
Discussions
Become a Hackaday.io Member
Create an account to leave a comment. Already have an account? Log In.