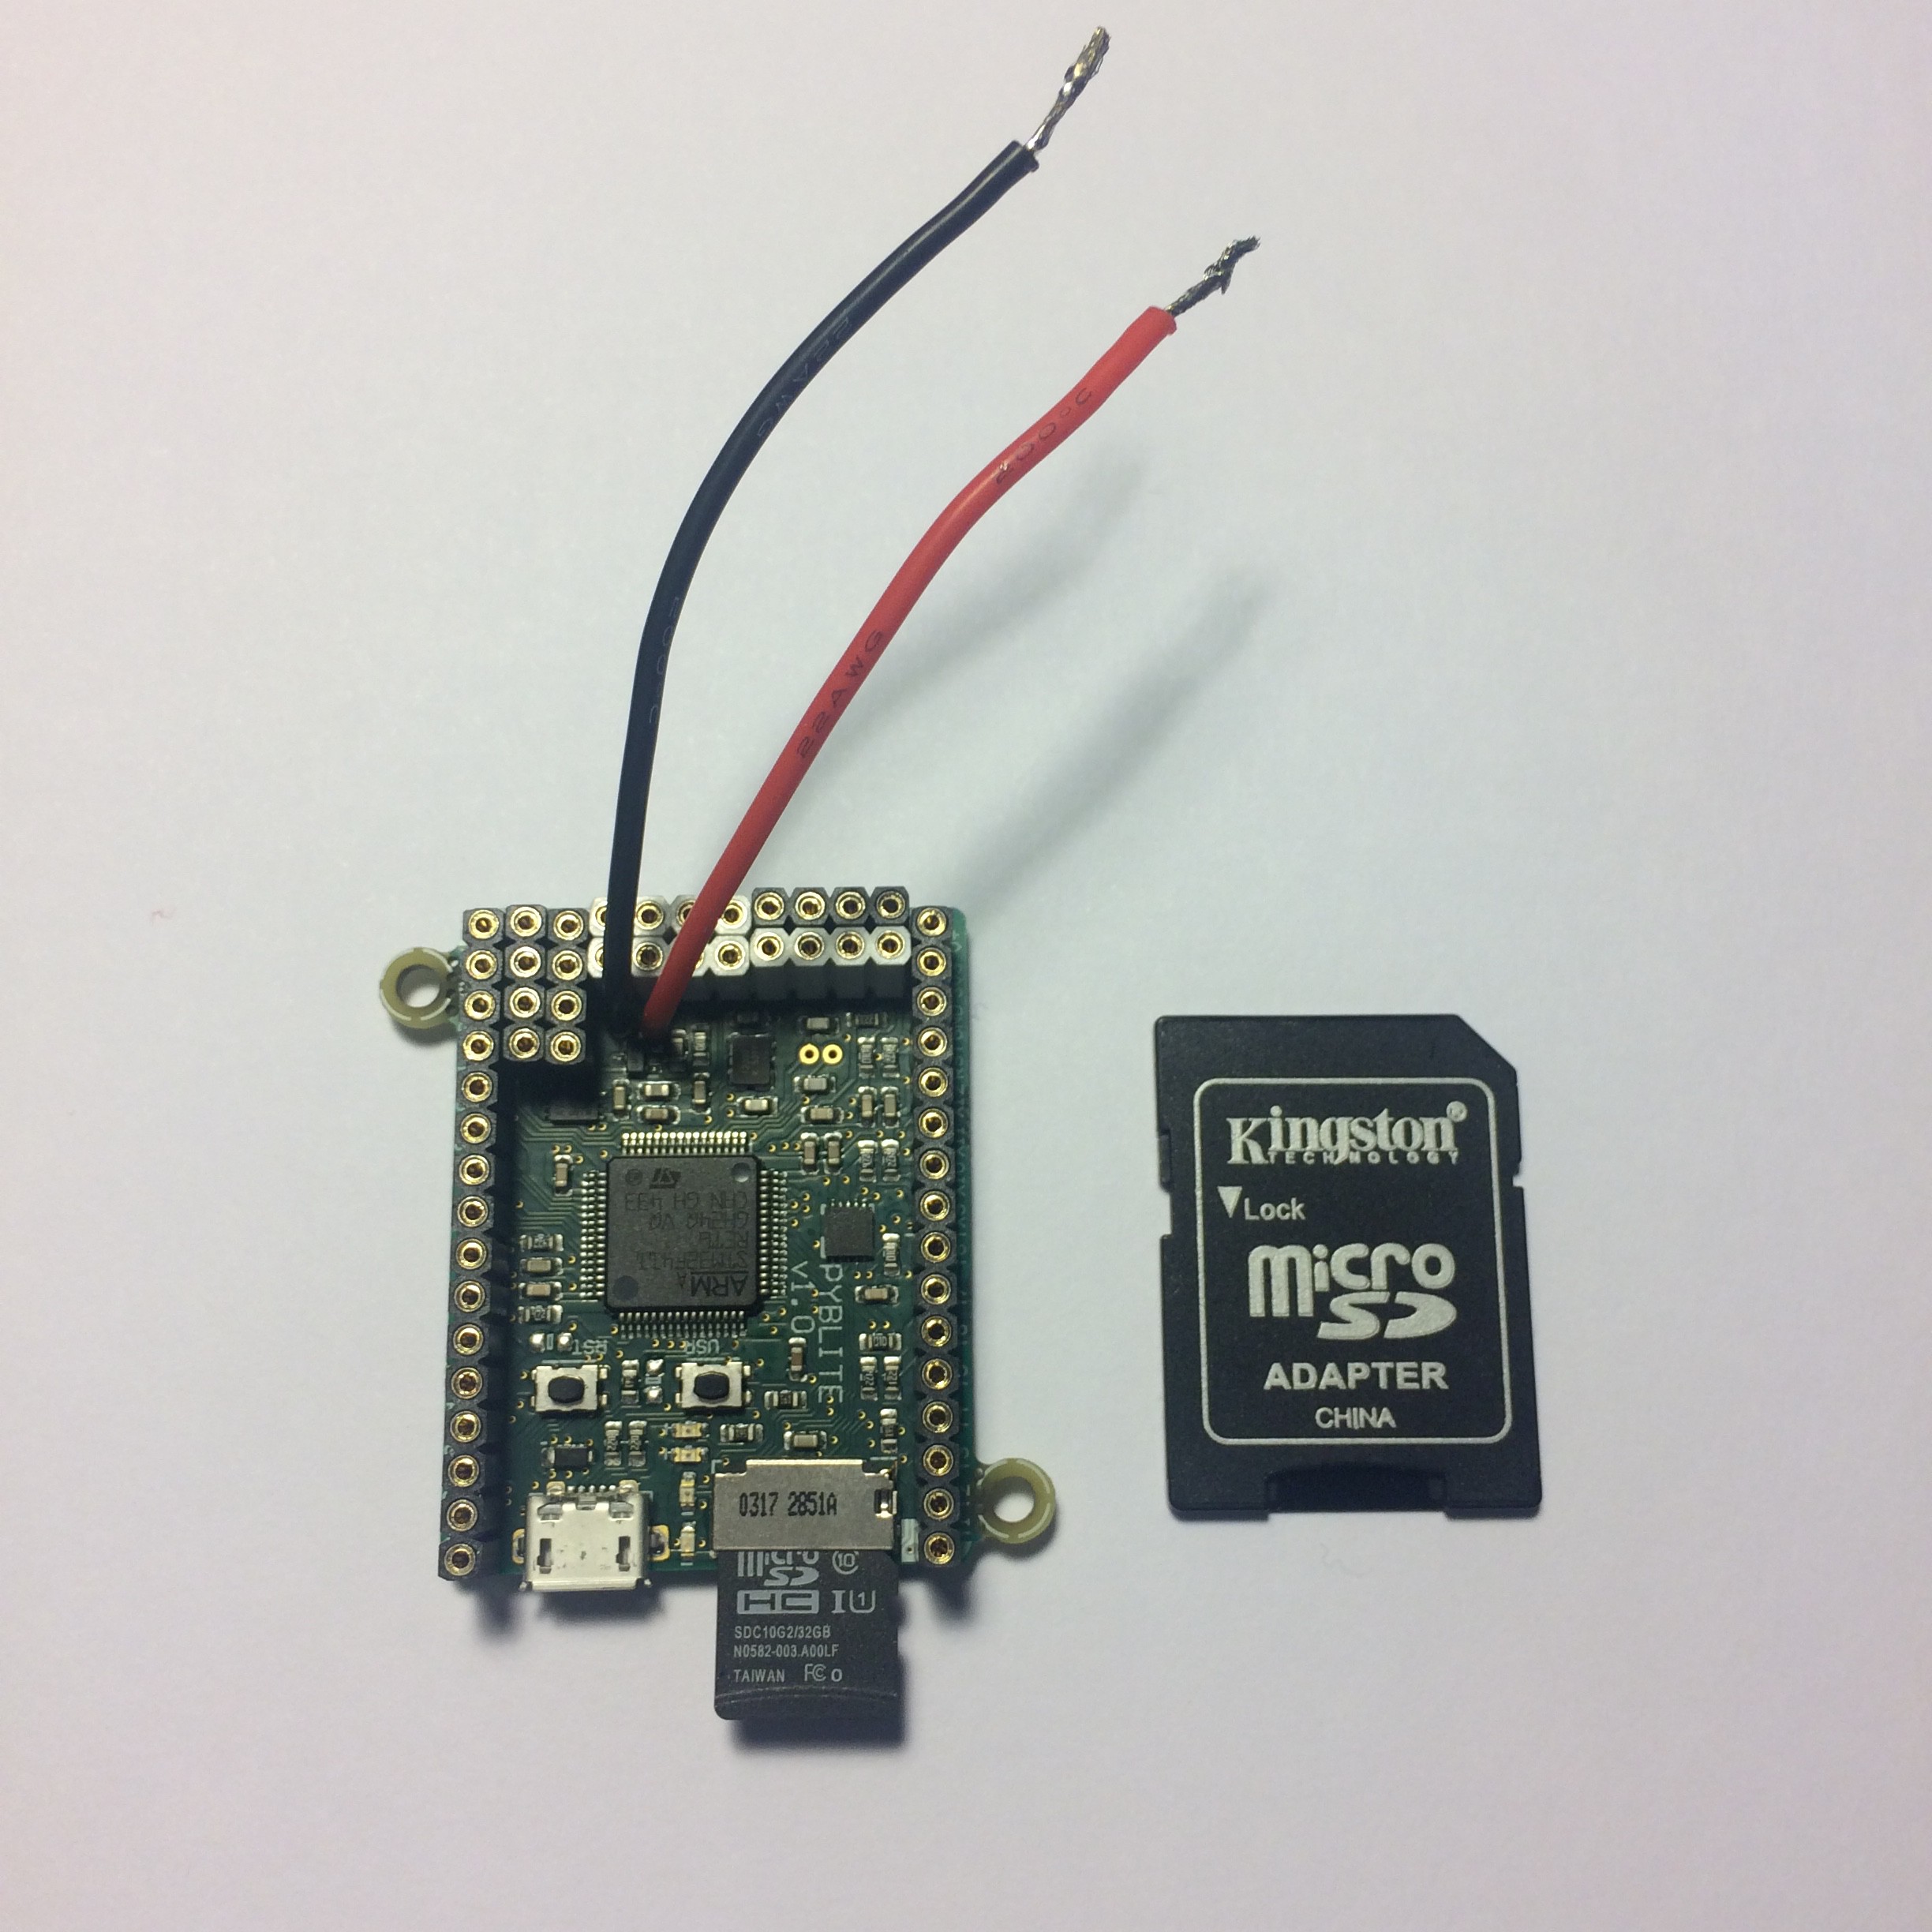
Today I got package with female headers and wires for PyBoard. My thought was that they will make it easier to connect and disconnect main and backup batteries. Now I think I probably didn't really need them. However, I've soldered them already so will keep them. Just a few takes from this exercise for those who might need to install headers on their PyBoard:
- Header pin set doesn't include headers for backup battery slots. I had to just solder wires there. I might think that you can just snap two headers off. The problem is that backup battery sockets are a bit closer to each other than regular sockets + there is some resistor that doesn't allow good fit for headers.
- If you're new to soldering like I am, few tips:
- If you don't have soldering station, at least get wet dishwashing sponge. Wiping hot iron tip really helps to clean it.
- If you're tempted to put some solder on the tip of the iron first and then apply it to the joint - don't. Flux in solder burns off and you can't make it stick (wet) to the joint. So clean the tip and use proper technique: press iron tip against the joint, apply some solder and wait 1-2 sec for it to wet the joint.
- Pay attention to your tip. I used sharp tip (I have 40W Weller iron). After cleaning and carefully looking at it I figured that it's not just a straight sharp tip. It has a bit of "hook" shape which makes it handy - help to "grab" tip of the wire sticking out of the joint
- And, of course, don't try to keep heating joints for more than 2 seconds. If you can't get solder stick to joint in two seconds - you're doing something wrong and there is a good chance you'll overheat some electronics on the board.
I managed to solder all headers and the board is still working. So it was a good exercise. Picture of the board with headers:

On the picture below you can see close up of soldered joints. One in focus is not really good - that's one that I messed up initially by trying to apply solder with burned out flux (kept solder on the tip for too long). And I couldn't make it really nice afterwards. Those nicer joints around are those that I got first time right.

On the software side my next step is to experimentally proof that accelerator value is linearly proportional to cosine of tilt angle. I'm going to make small stand with protractor to make measurements. Now I'm writing some Python scripts that will allow me to observe "live" values from accelerometer on my laptop while I'm tilting the board.
 Max Kviatkouski
Discussions
Become a Hackaday.io Member
Create an account to leave a comment. Already have an account? Log In.