I would like to present some of my previous project. I have founded a group of people with the same idea as me. We have created a nixie clock together.
Of course, there is a lot of similar products. From the easiest one to most complicated (some of them was used as inspiration ;) ). So what is the difference ?
- MCU controlling
- non-multiplex nixie driving
- alarm
- calibration
- custom housing
System consists from 2 PCB, controlling(MCU+converter) and controlled (nixies+glows). Time is showing on IN-12A nixies. All nixies are connected to direct voltage 200V@3mA. This voltage is converted via DC/DC converter MC34063 from 12V. Two indication glows lamps have the same power system (90V@0.5mA). Converter is working in two modes day/night. Voltage is being changed by reference voltage over resistor ratio. Transistor connects one resistor's pin to ground. This mechanism is driven by control board over lighting intensity.
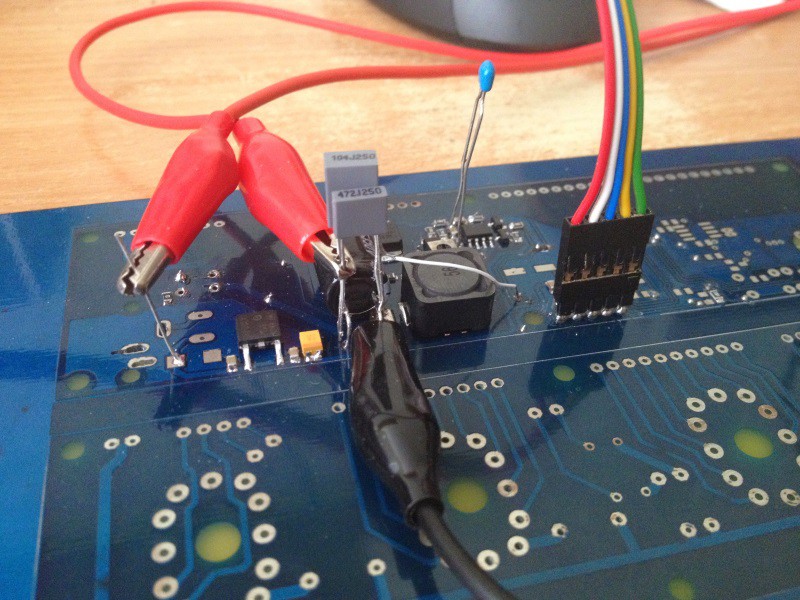
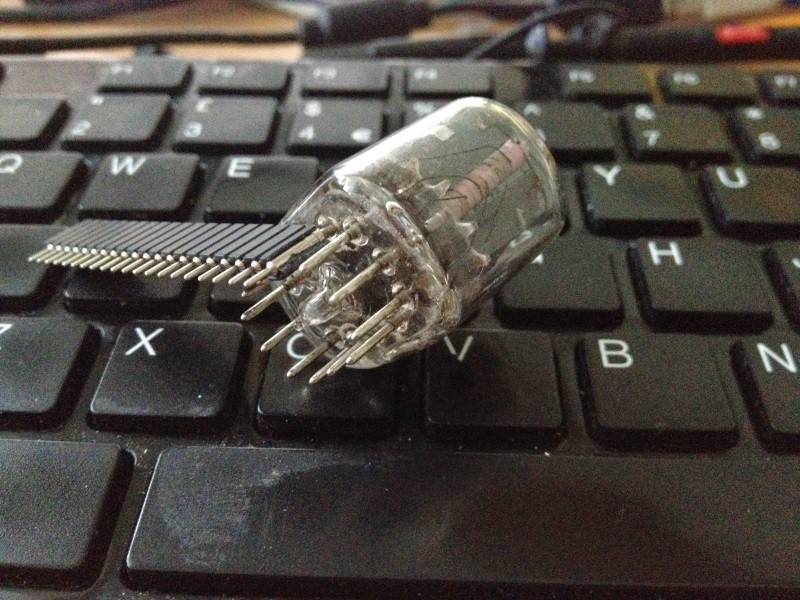
Another problem, which needs to be solved, was nixie connection. There were a lot of ways how to do it. Takes lot of place or used material was not so good. After lot of researches, I have found the right solution. Pin header..., just simple :).
A controlling board was modified a lot of time during development. Someone needs automatic light regulation, another one alarm, different PCB mask color or more precision RTC. Hopefully, we have reach the final version.
The board is divided into different sections. Power (dc/dc converter), switching (nixie switch) and the rest like buttons, buzzer. As I have already written, as a MCU is used PIC16F1947. The reasons, to chose this model was simple. SMD and enough pins to control nixies without additional external circuits. Time is reading from RTC MCP7940 circuit. First version was using DS1307. After some measurements, time difference was too big, even if the connection from DS was used. So we we have decided to use the first mentioned. The new one has also the calibration feature.
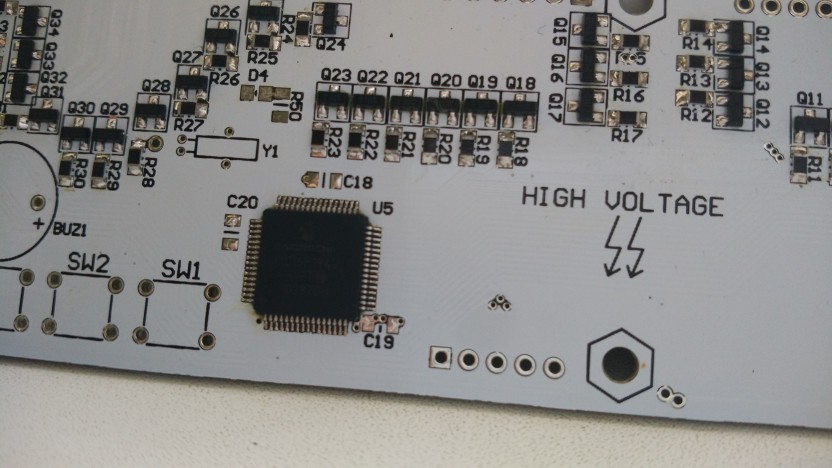
As I have already mentioned, nixies are switching over non-multiplex way. All the cathodes are controlled via SMBTA42. Each contact has own transistor.
Device could be controlled via 3 tact switches. Switches control RTC calibration constant, set alarm and a time of course. The two glows are displaying seconds. They are blinking in 1s period. The bottom lamp displays the state of alarm. If the alarm repeating is enabled, it is still powered.
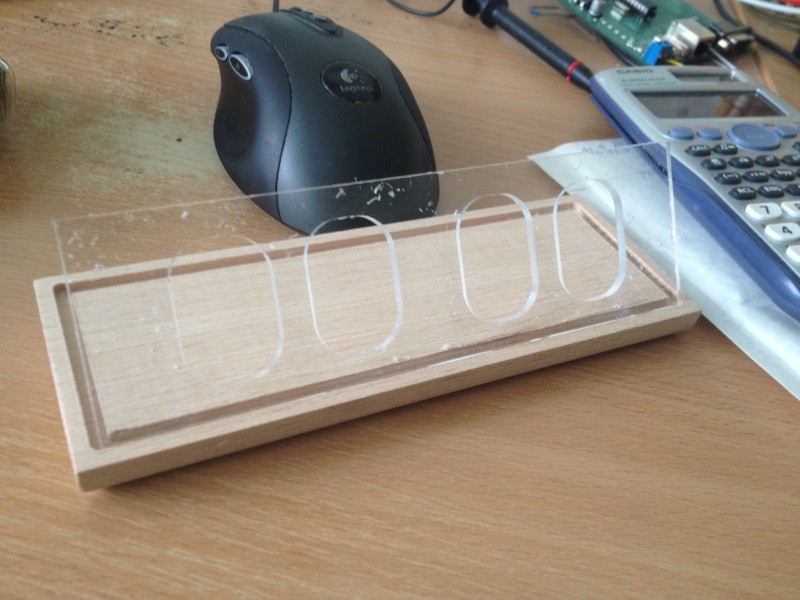
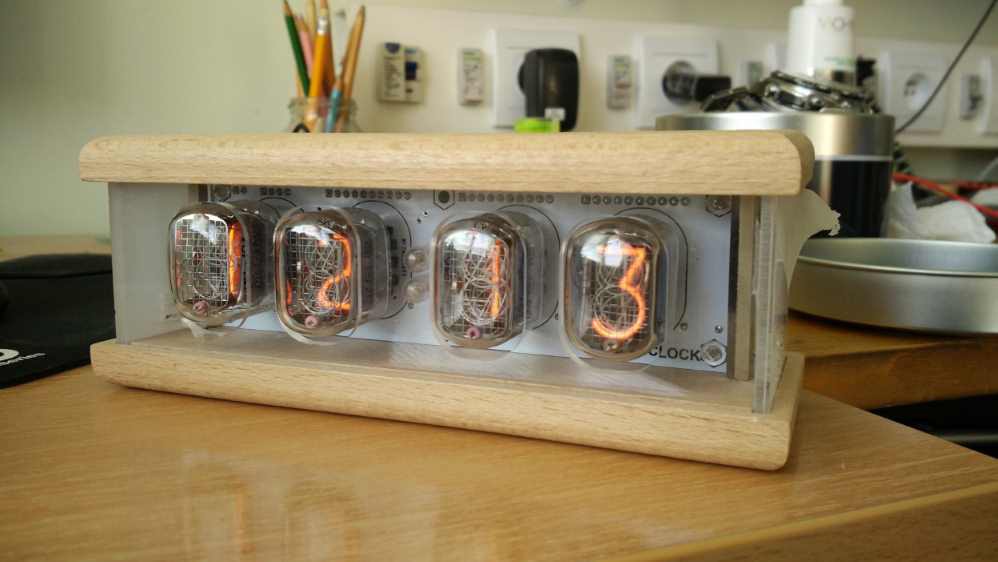
From the pictures it is clear, that the device has a custom housing. Case is made from custom plexi-glass cut on CNC (It pushed it to me finish the another CNC project ;) ). Top and bottom parts are made from wood (not on CNC). Thanks to another college, which made it.
And that's it. I would like thanks all the guys, which help me with the finishing this device. I think, that we have made such a nice device, which makes someone else happy same as me.
The rest of pictures is on Picassa web album.
 Andy
Andy