 Bryan Howard
I’ll keep this post light on text and more on visuals.
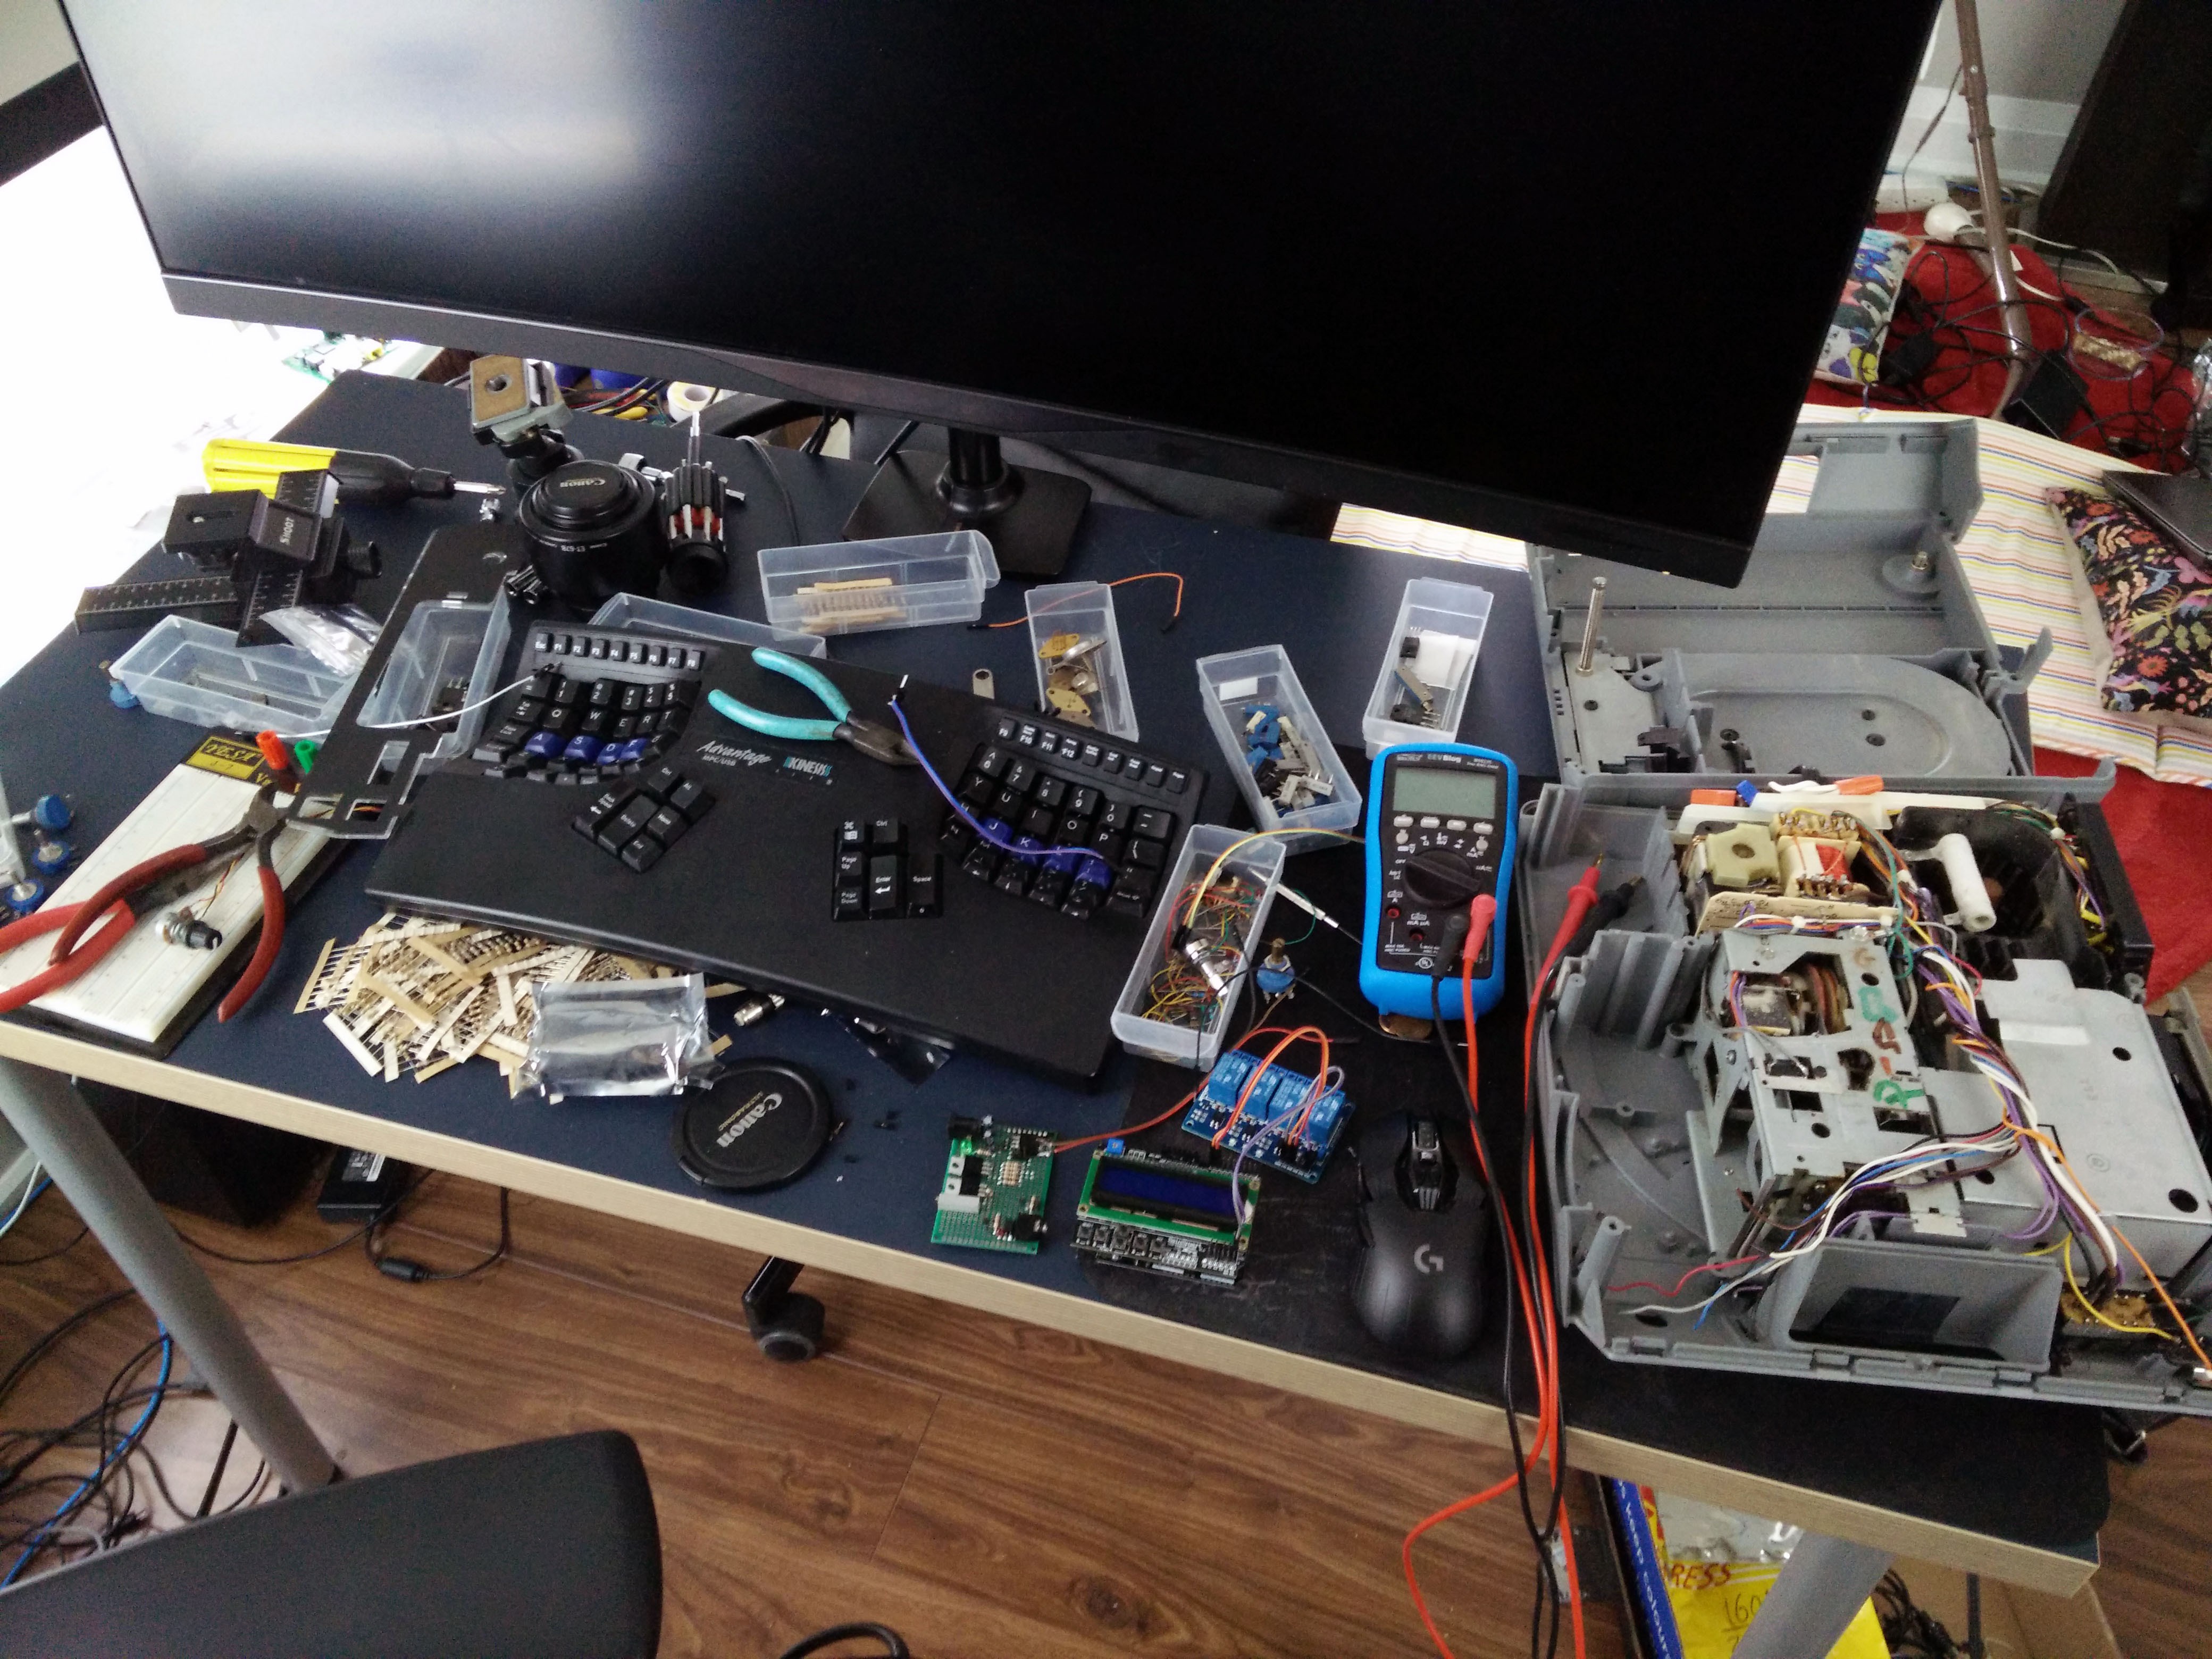
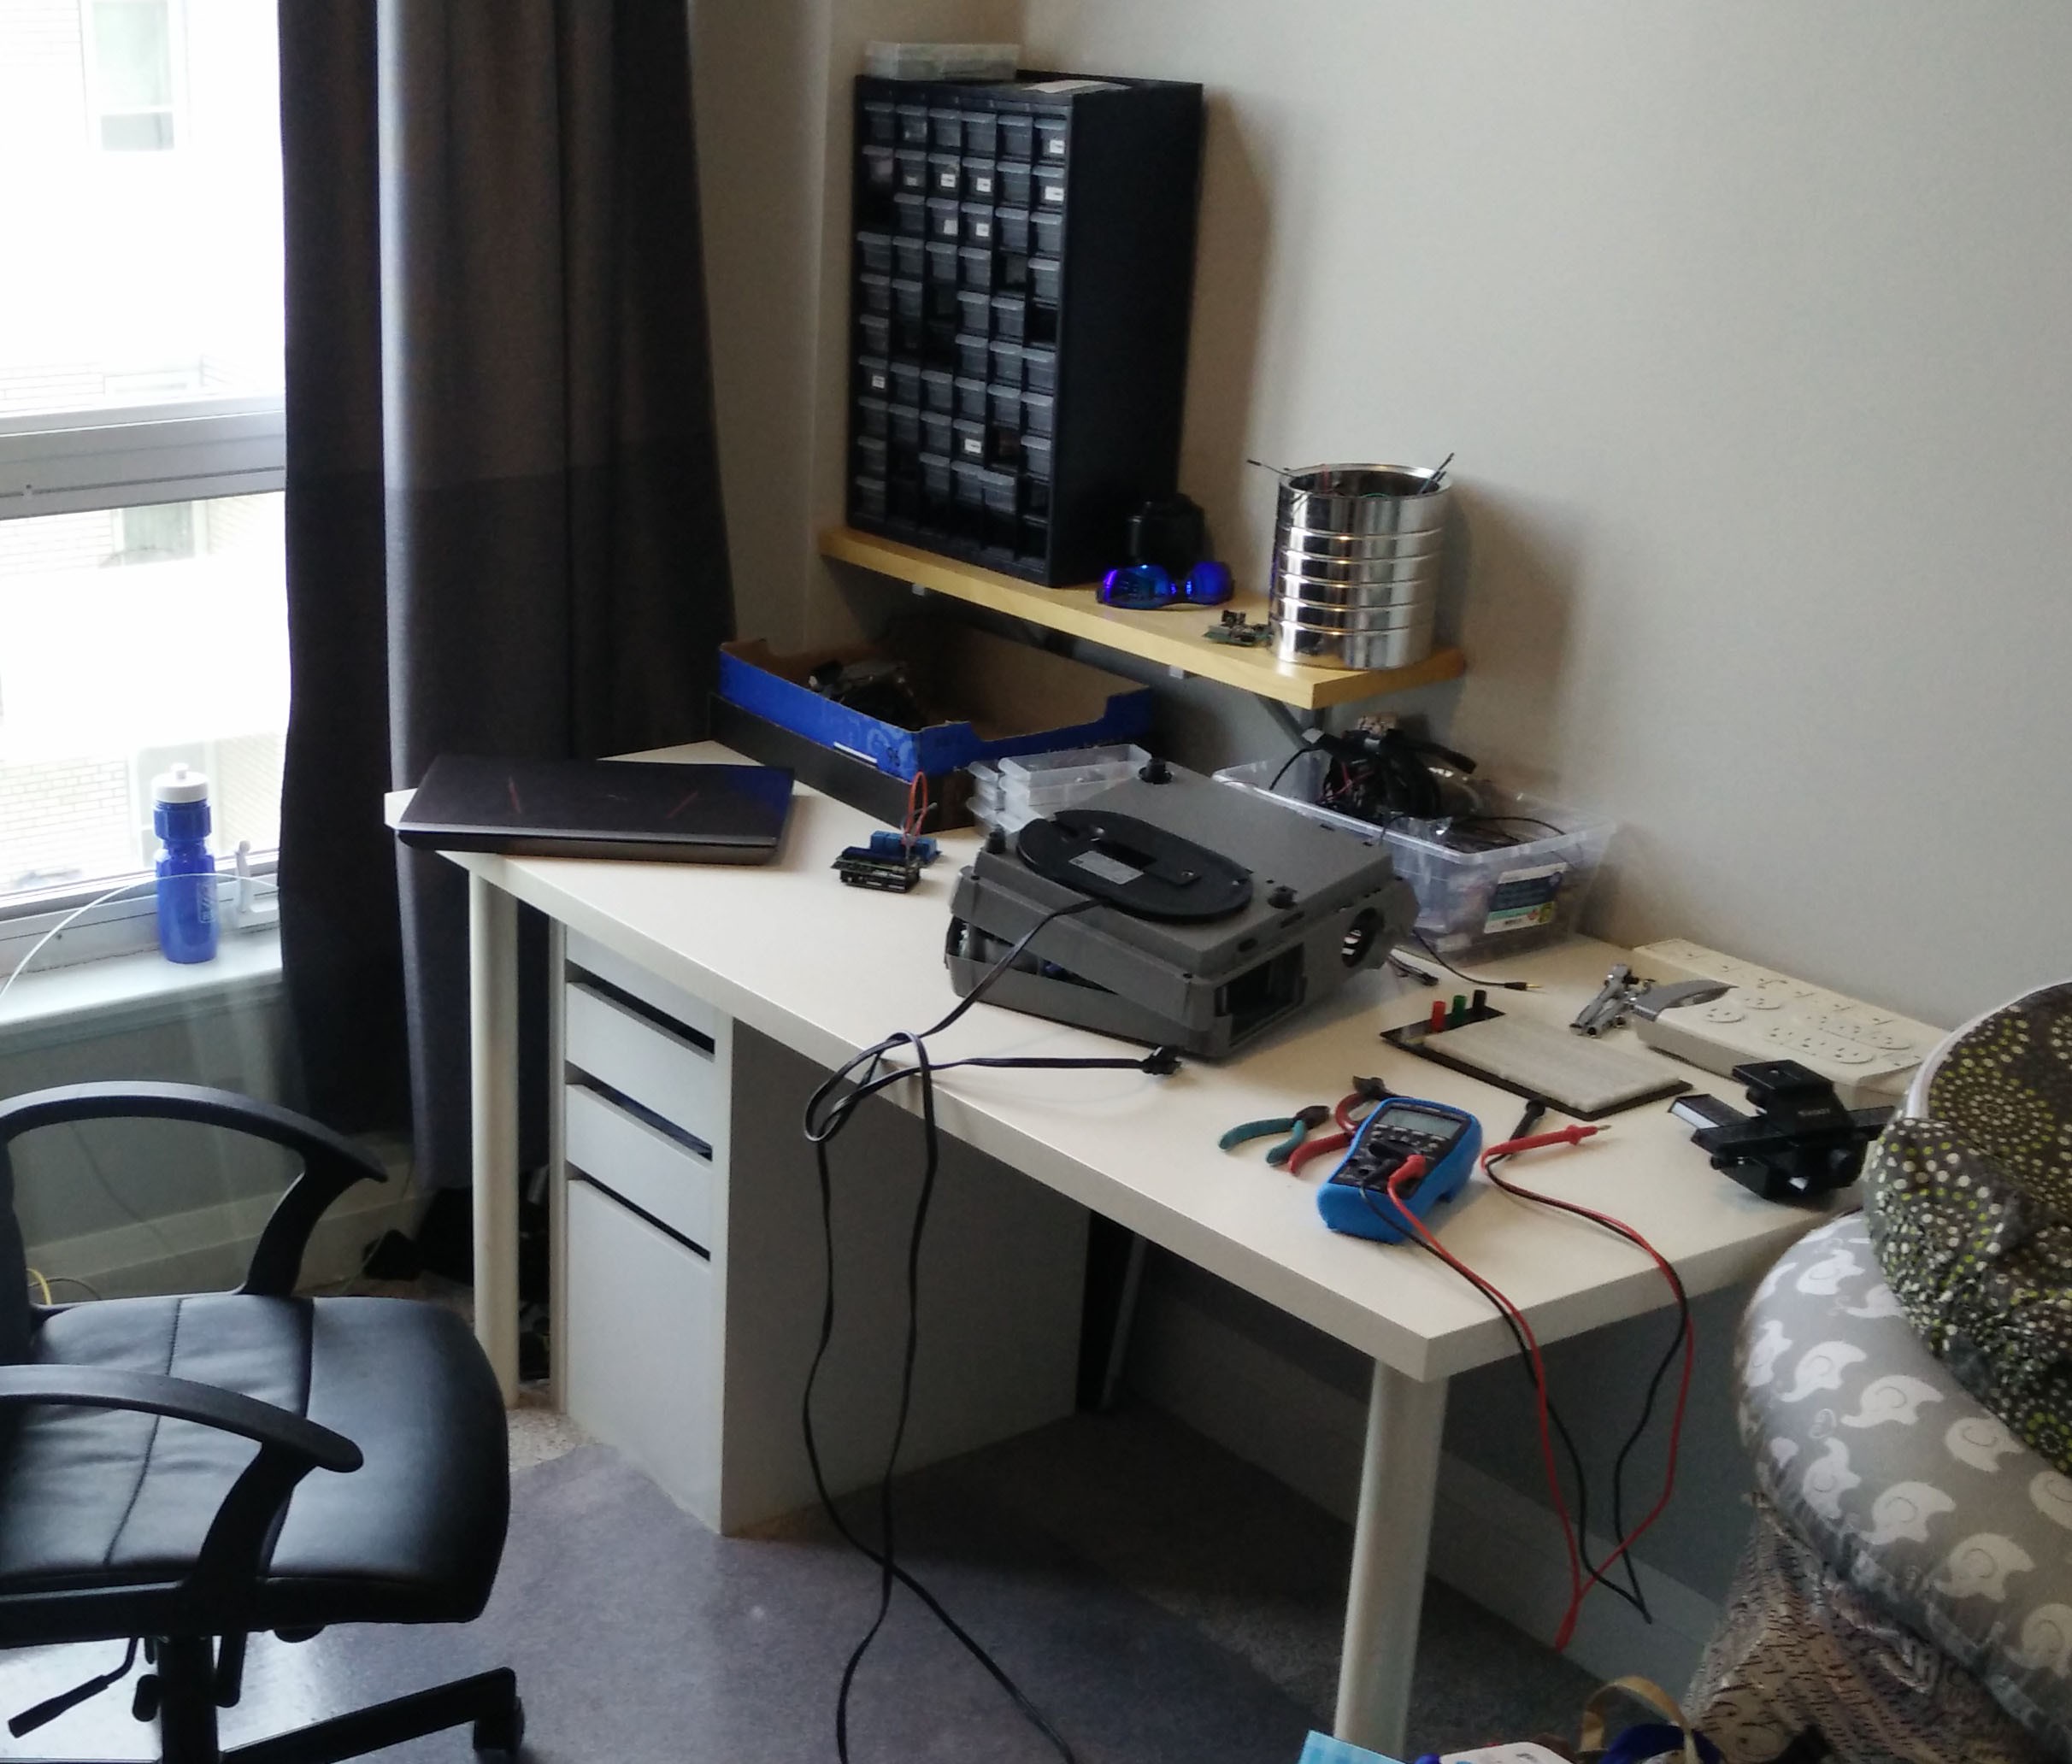
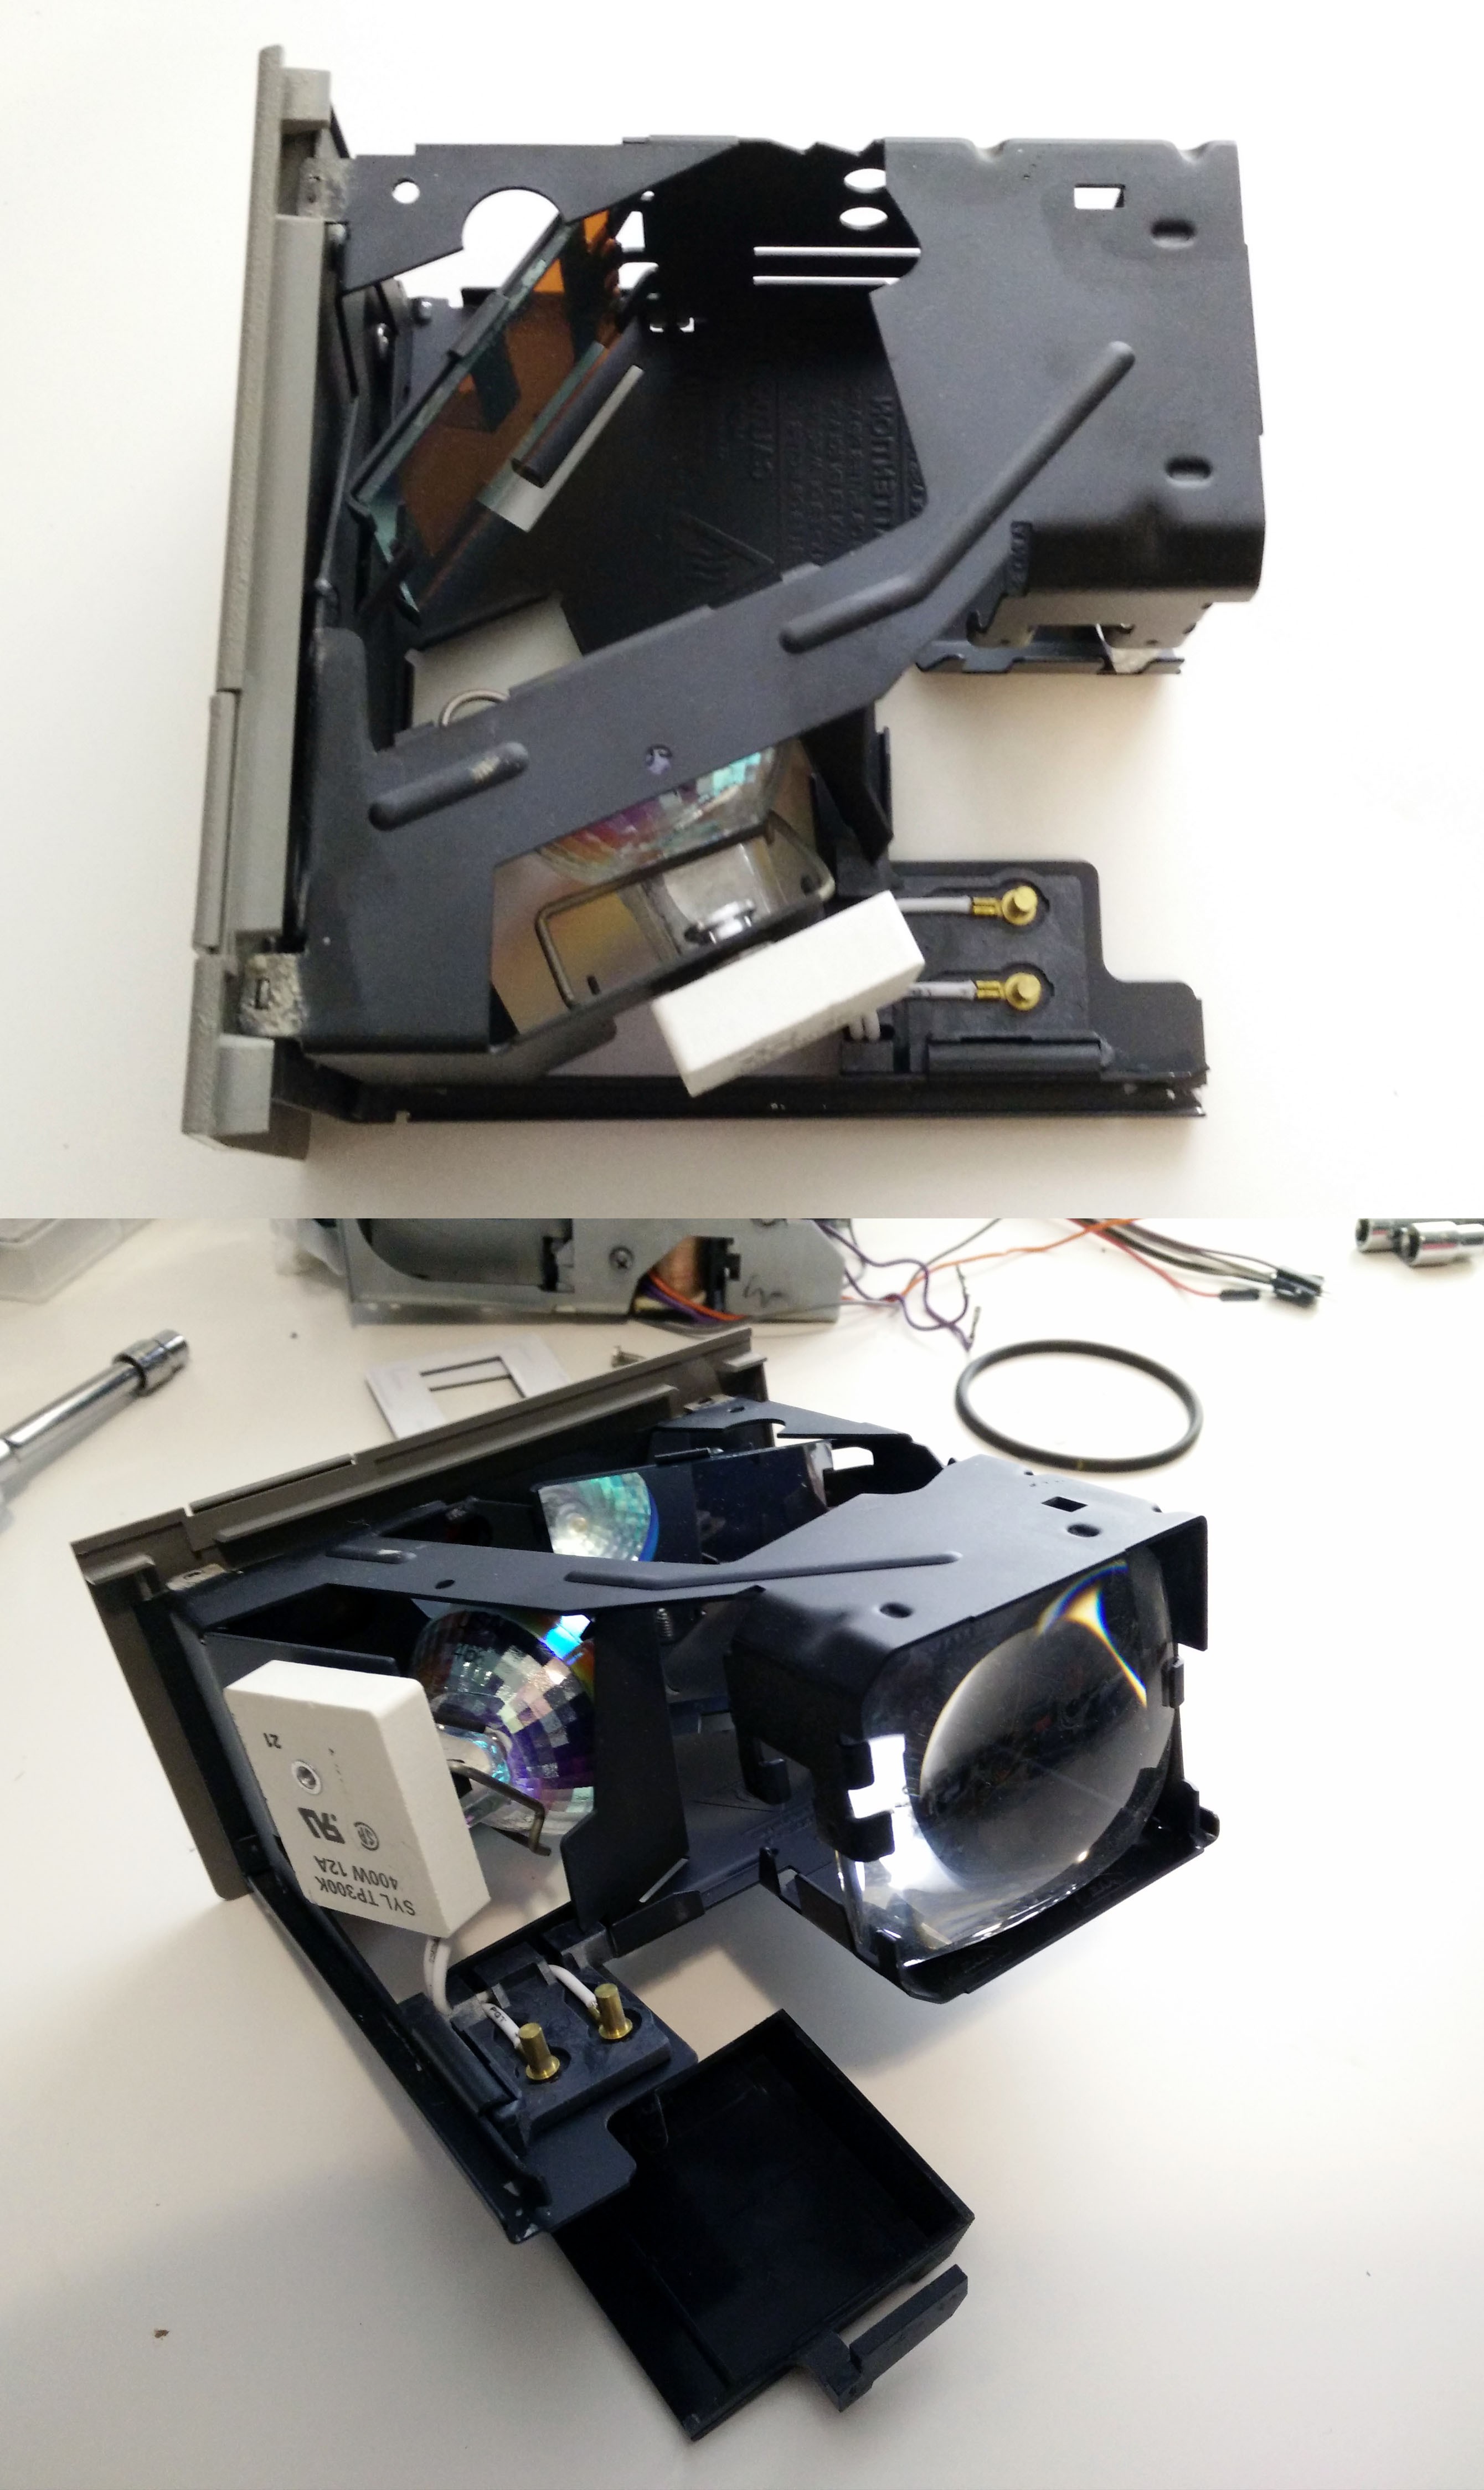
Time to open up the projector but we'll need a bigger cleaner table!
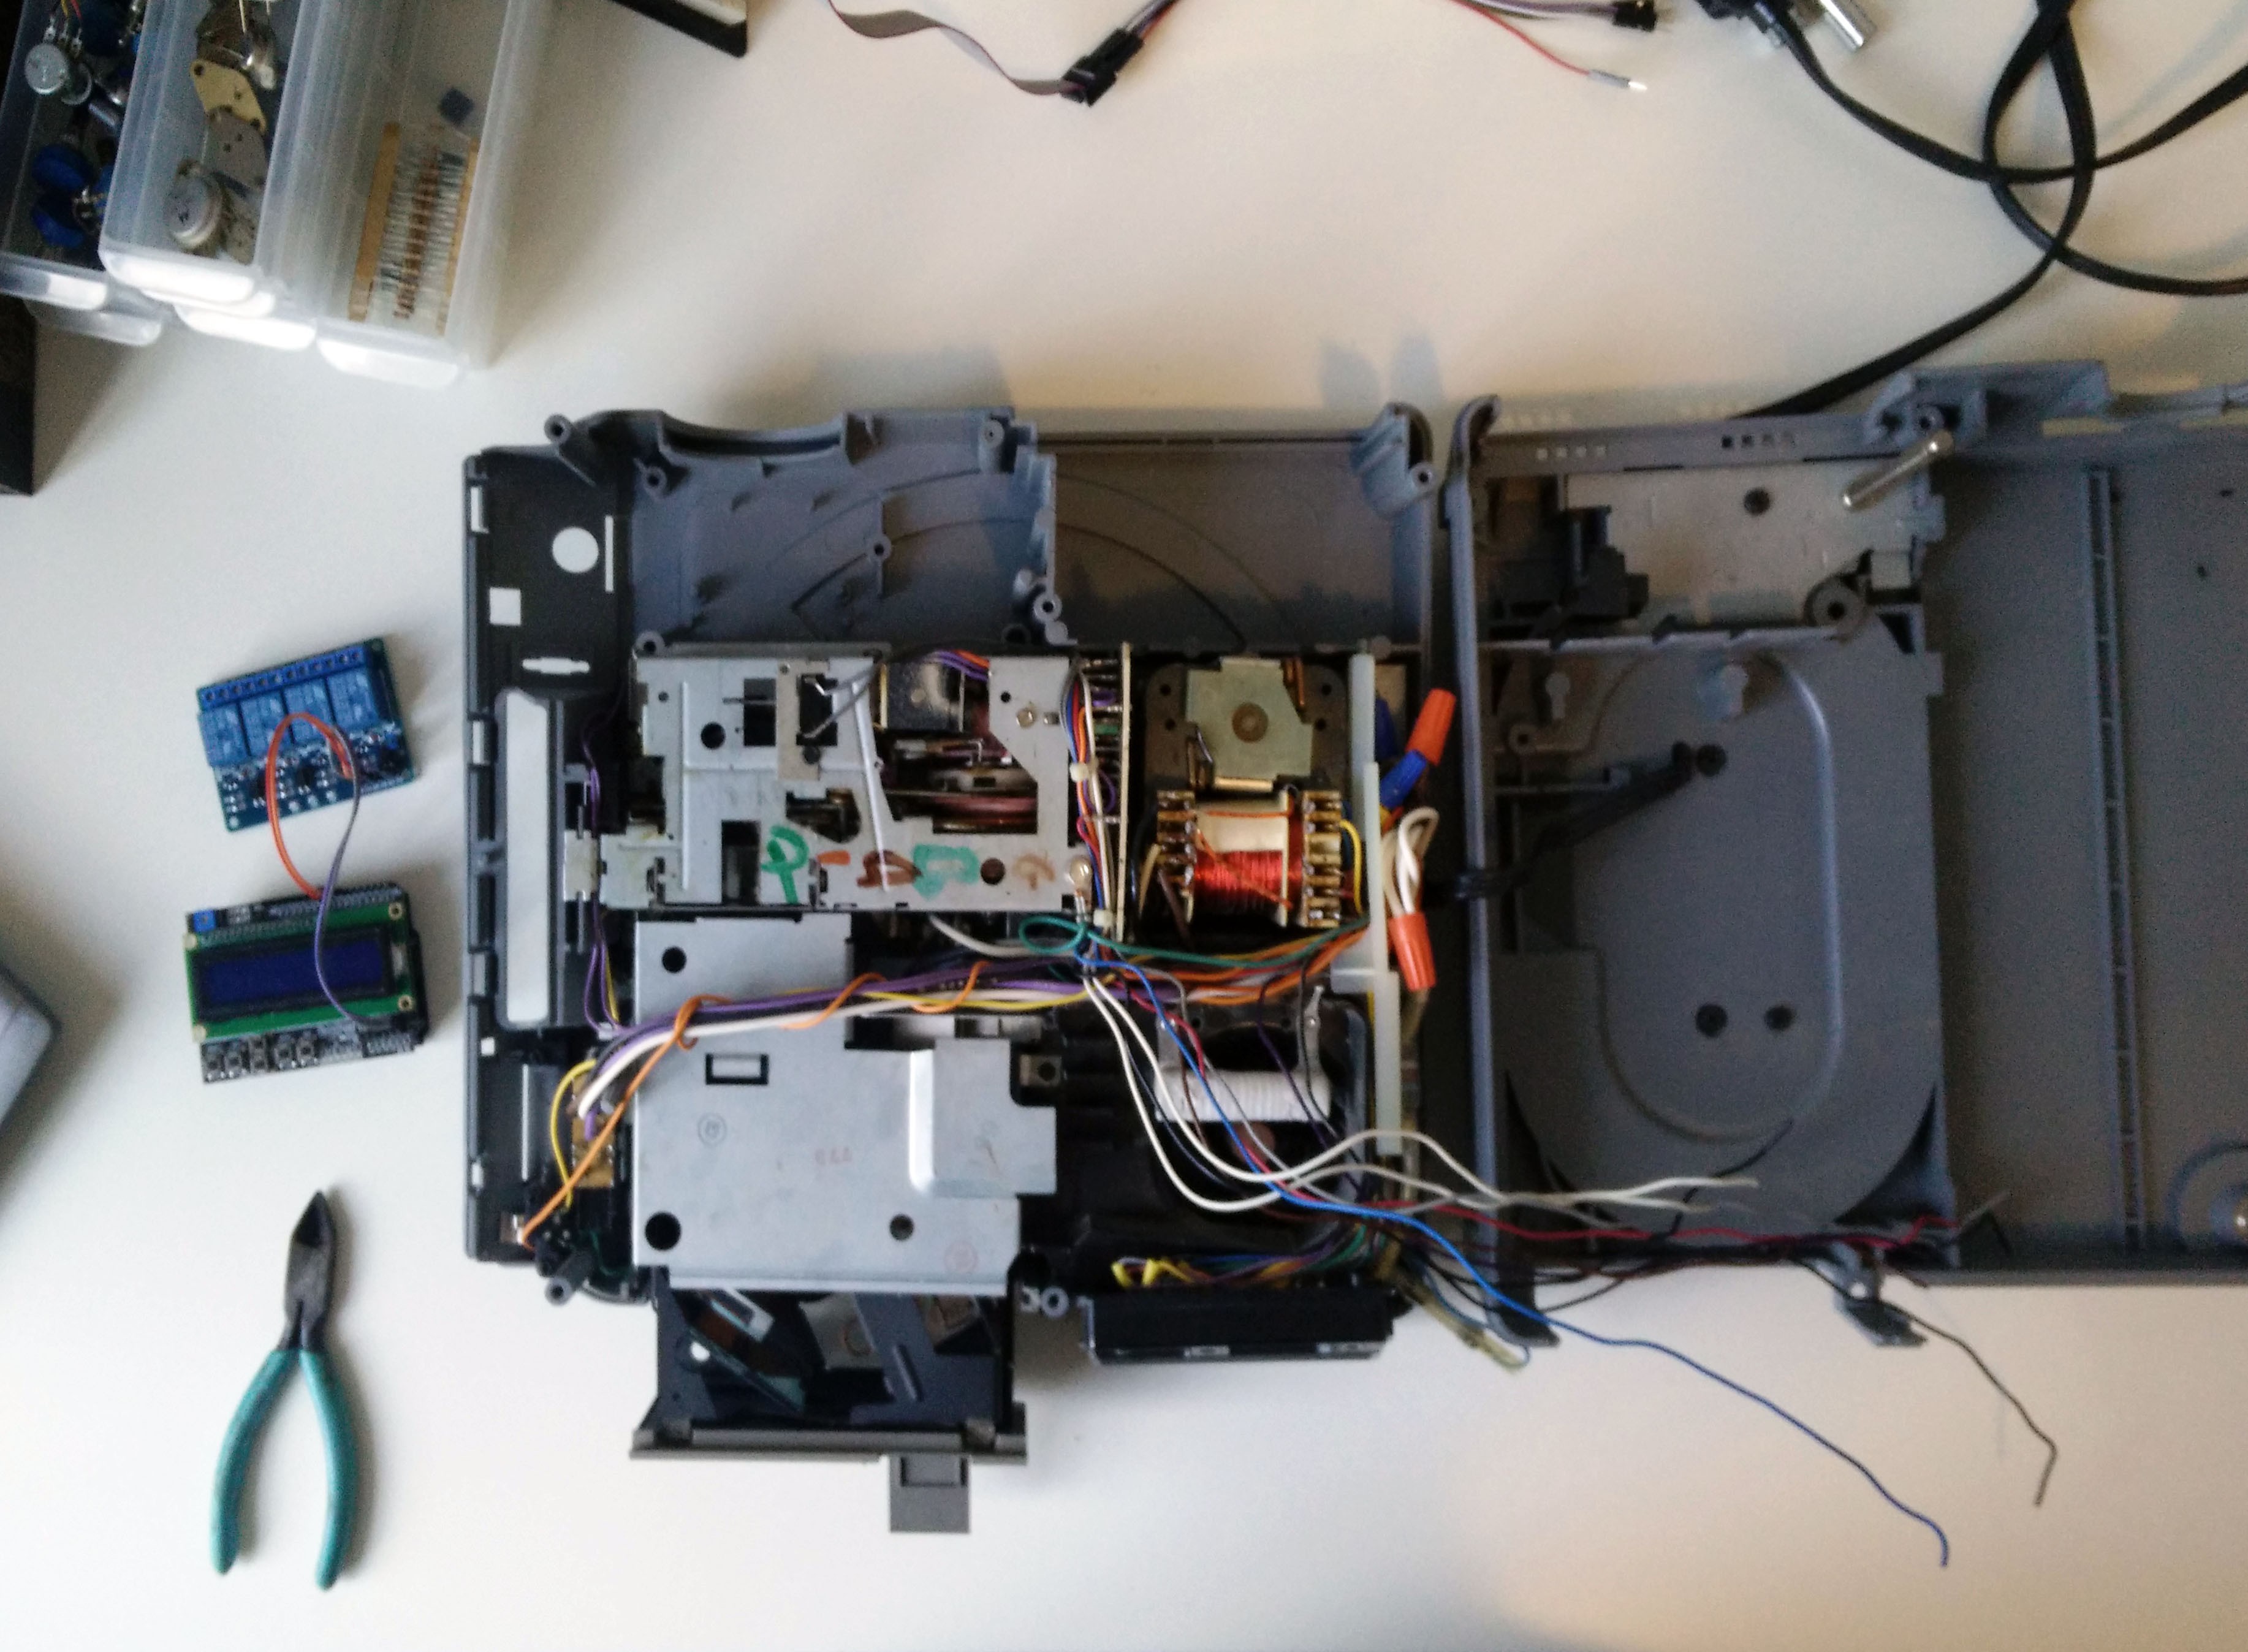
This is the inside of the projector with the front focusing mechanism taken out.
We're only going to need a couple parts, so it's best to tear down the projector to it's shell.
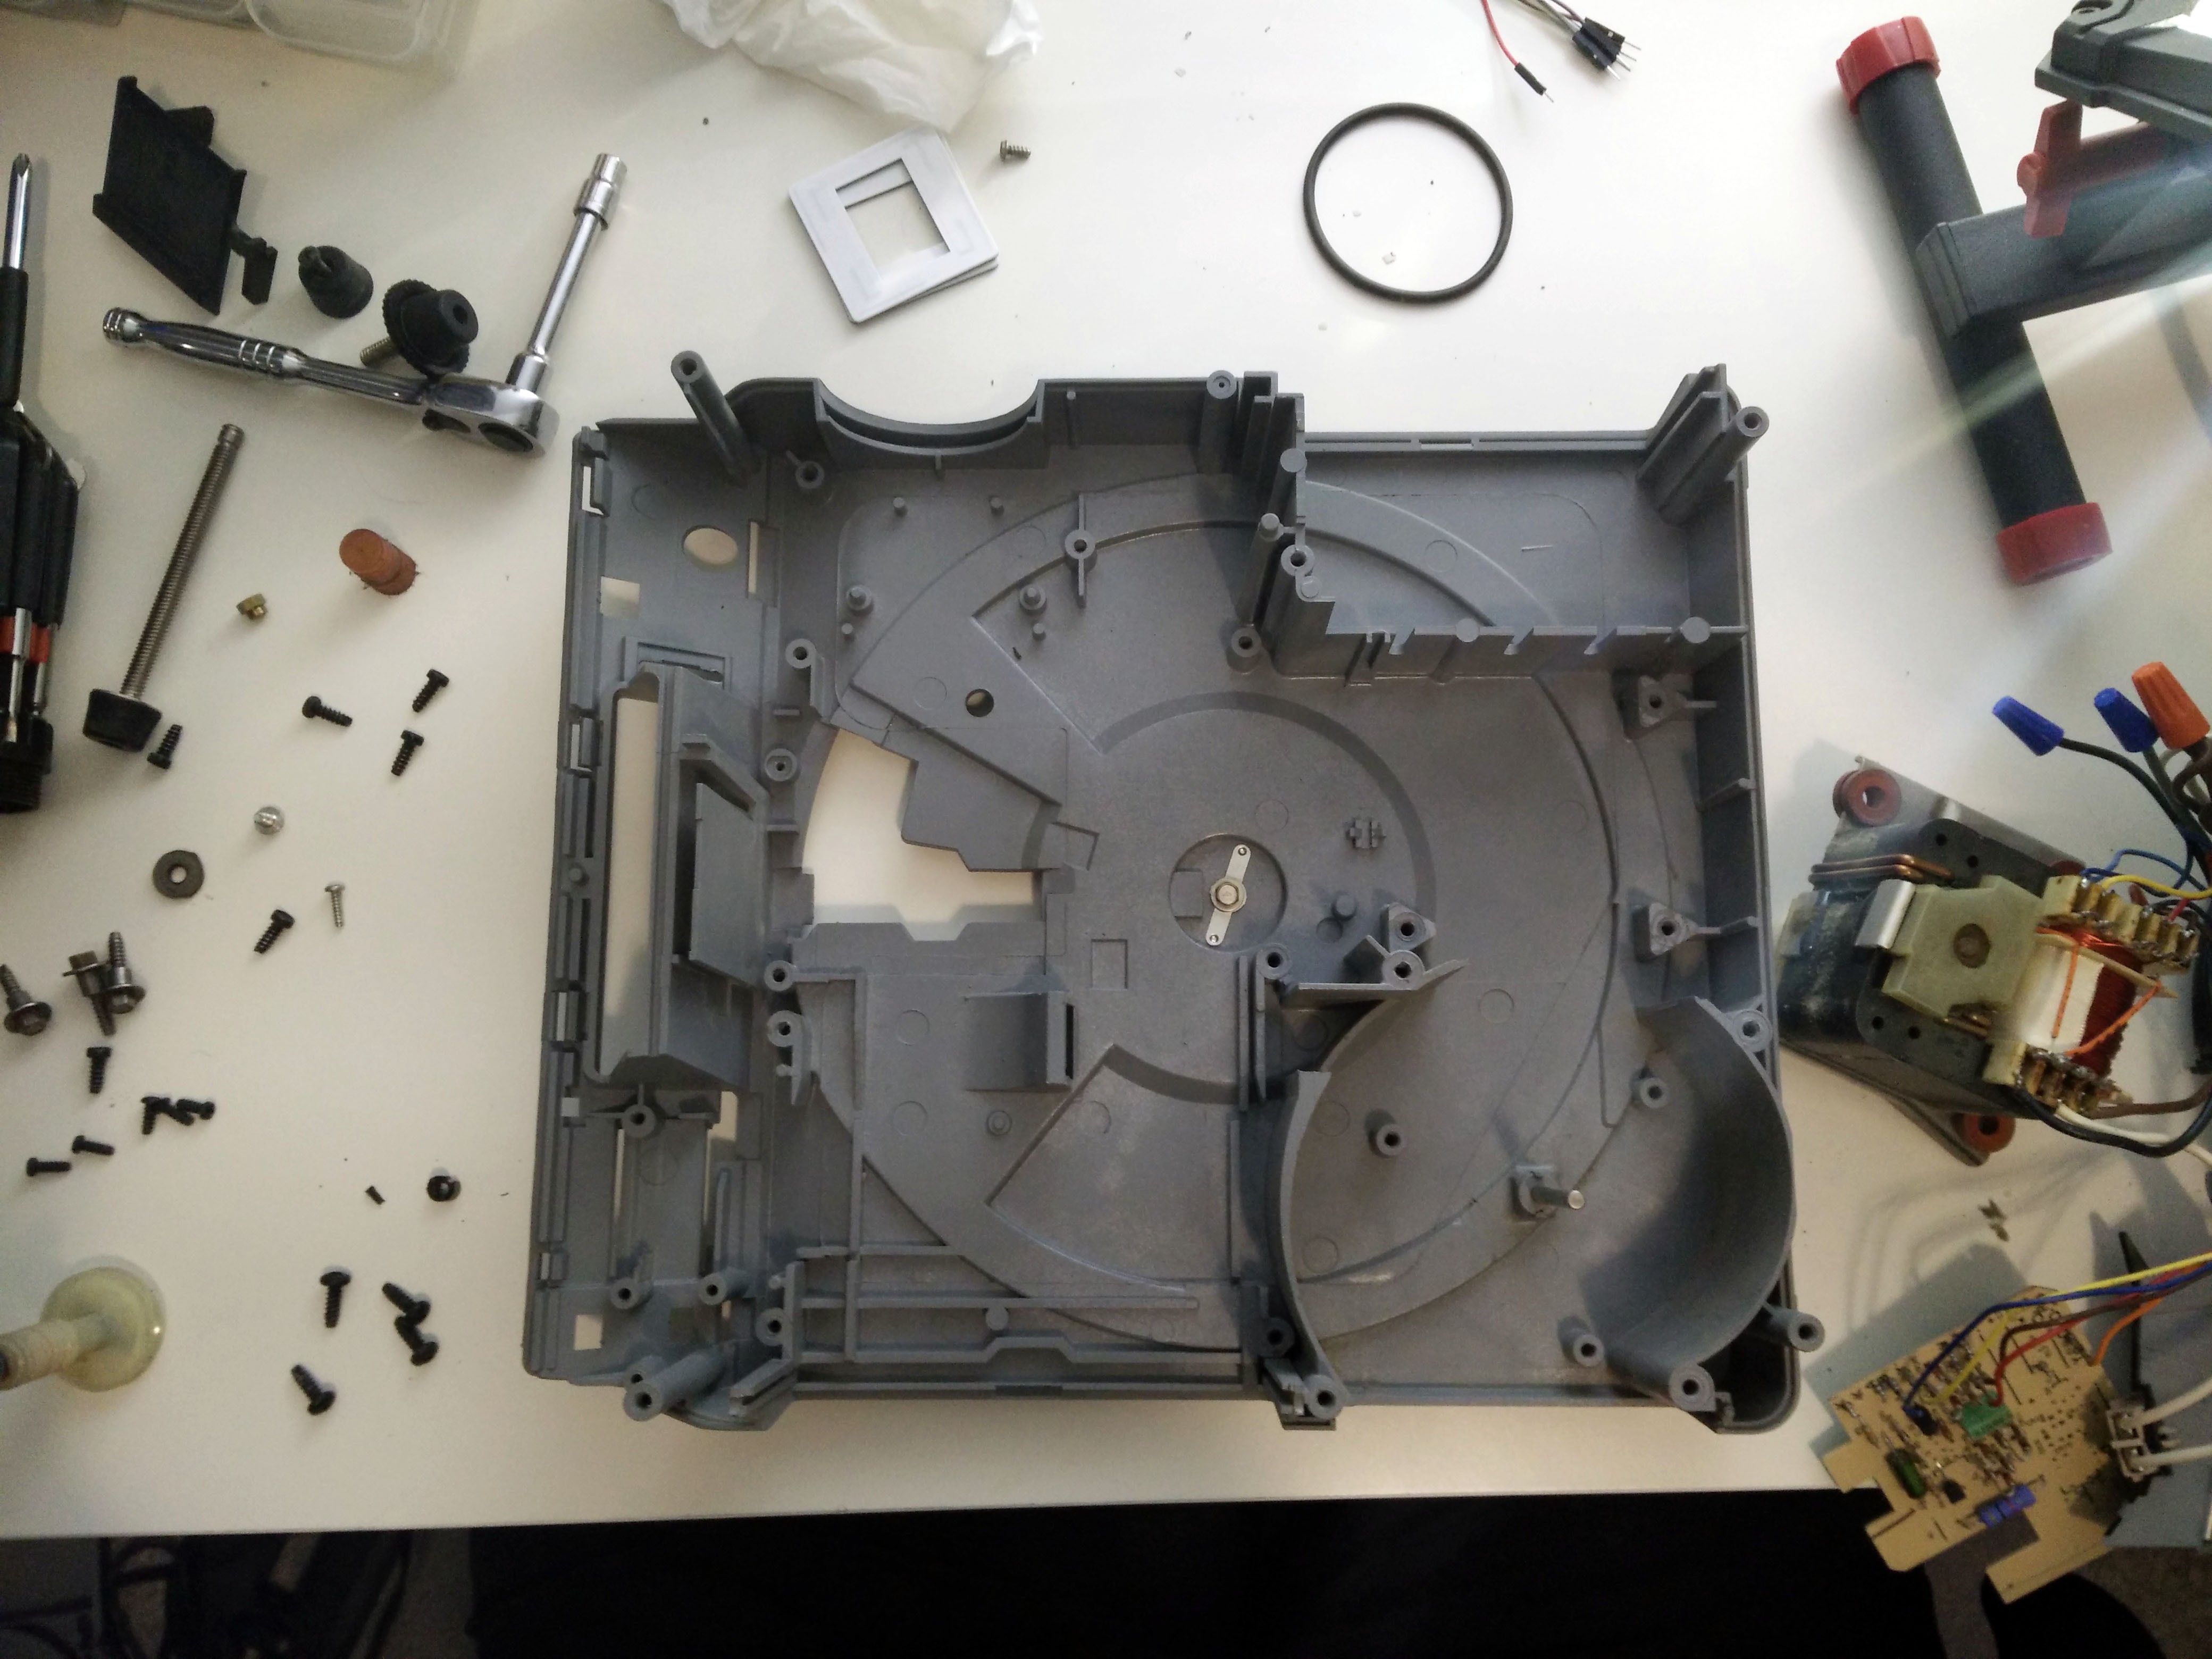
We'll keep the lamp module, but remove the mirror and the lamp. We will be replacing it with an LED and shine it directly into magnifying lens.
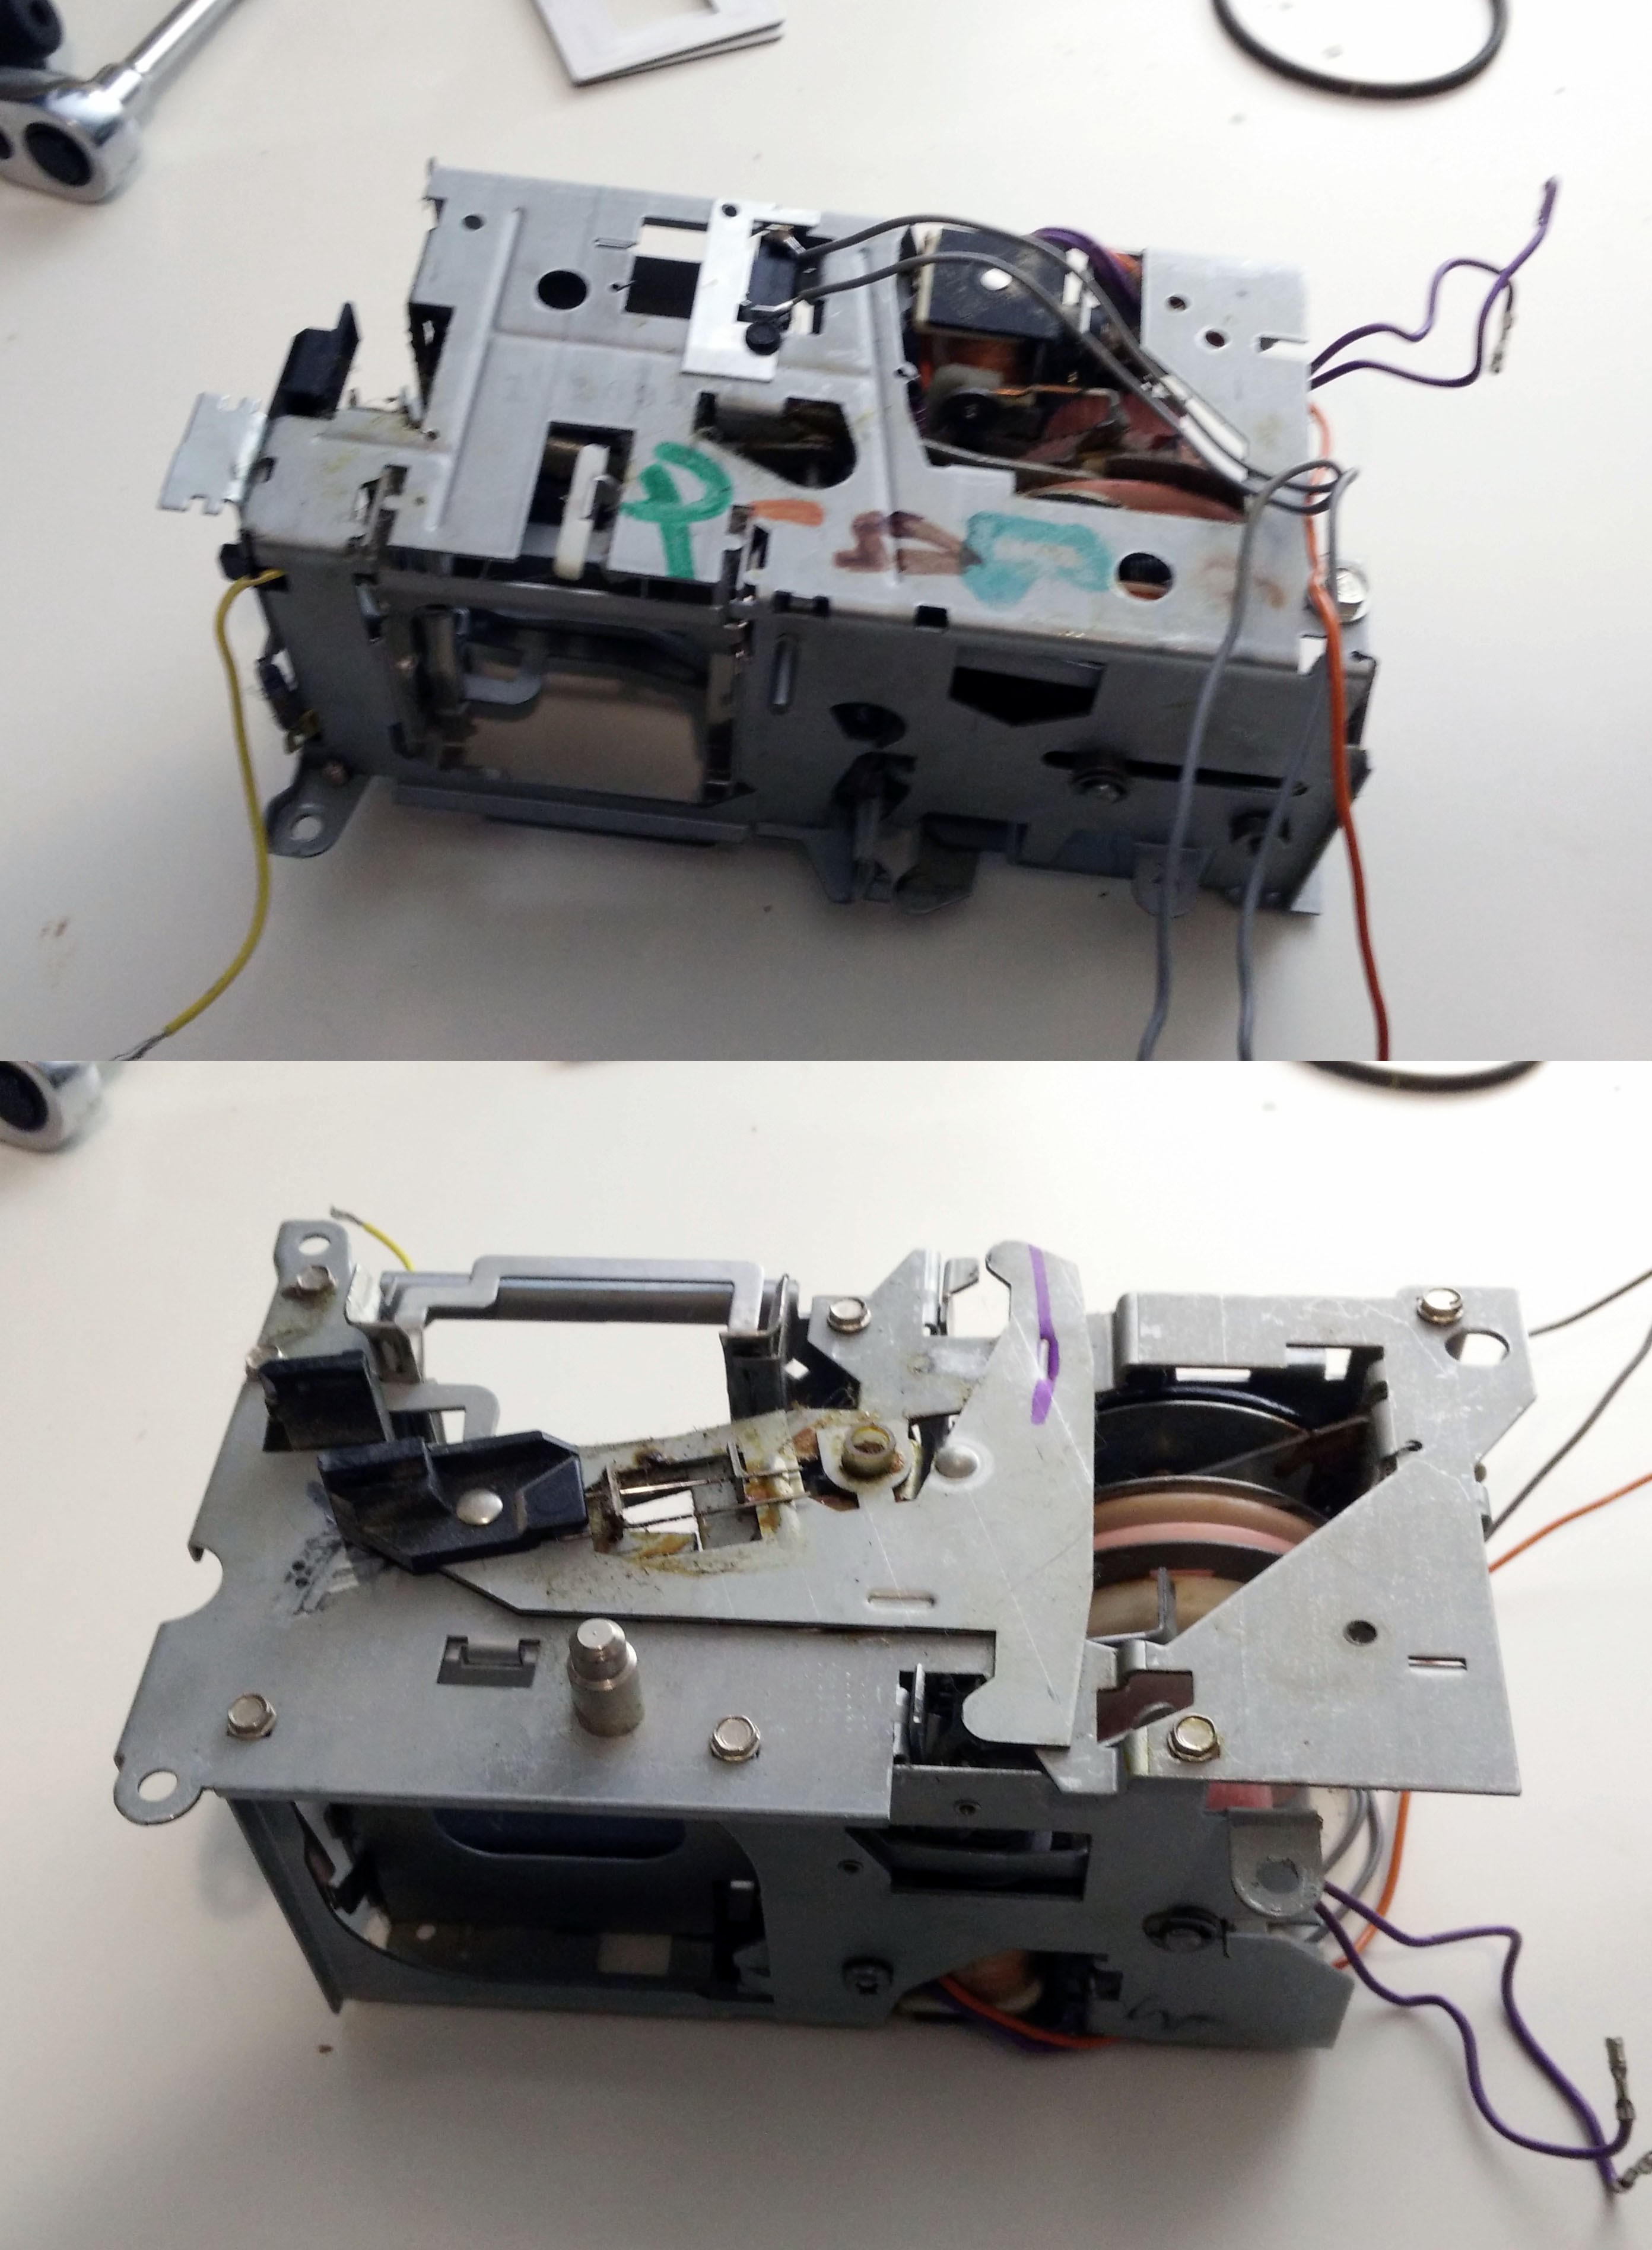
The mechanism assembly is used to load slides and advance the carousel. It'll need some cleaning up!
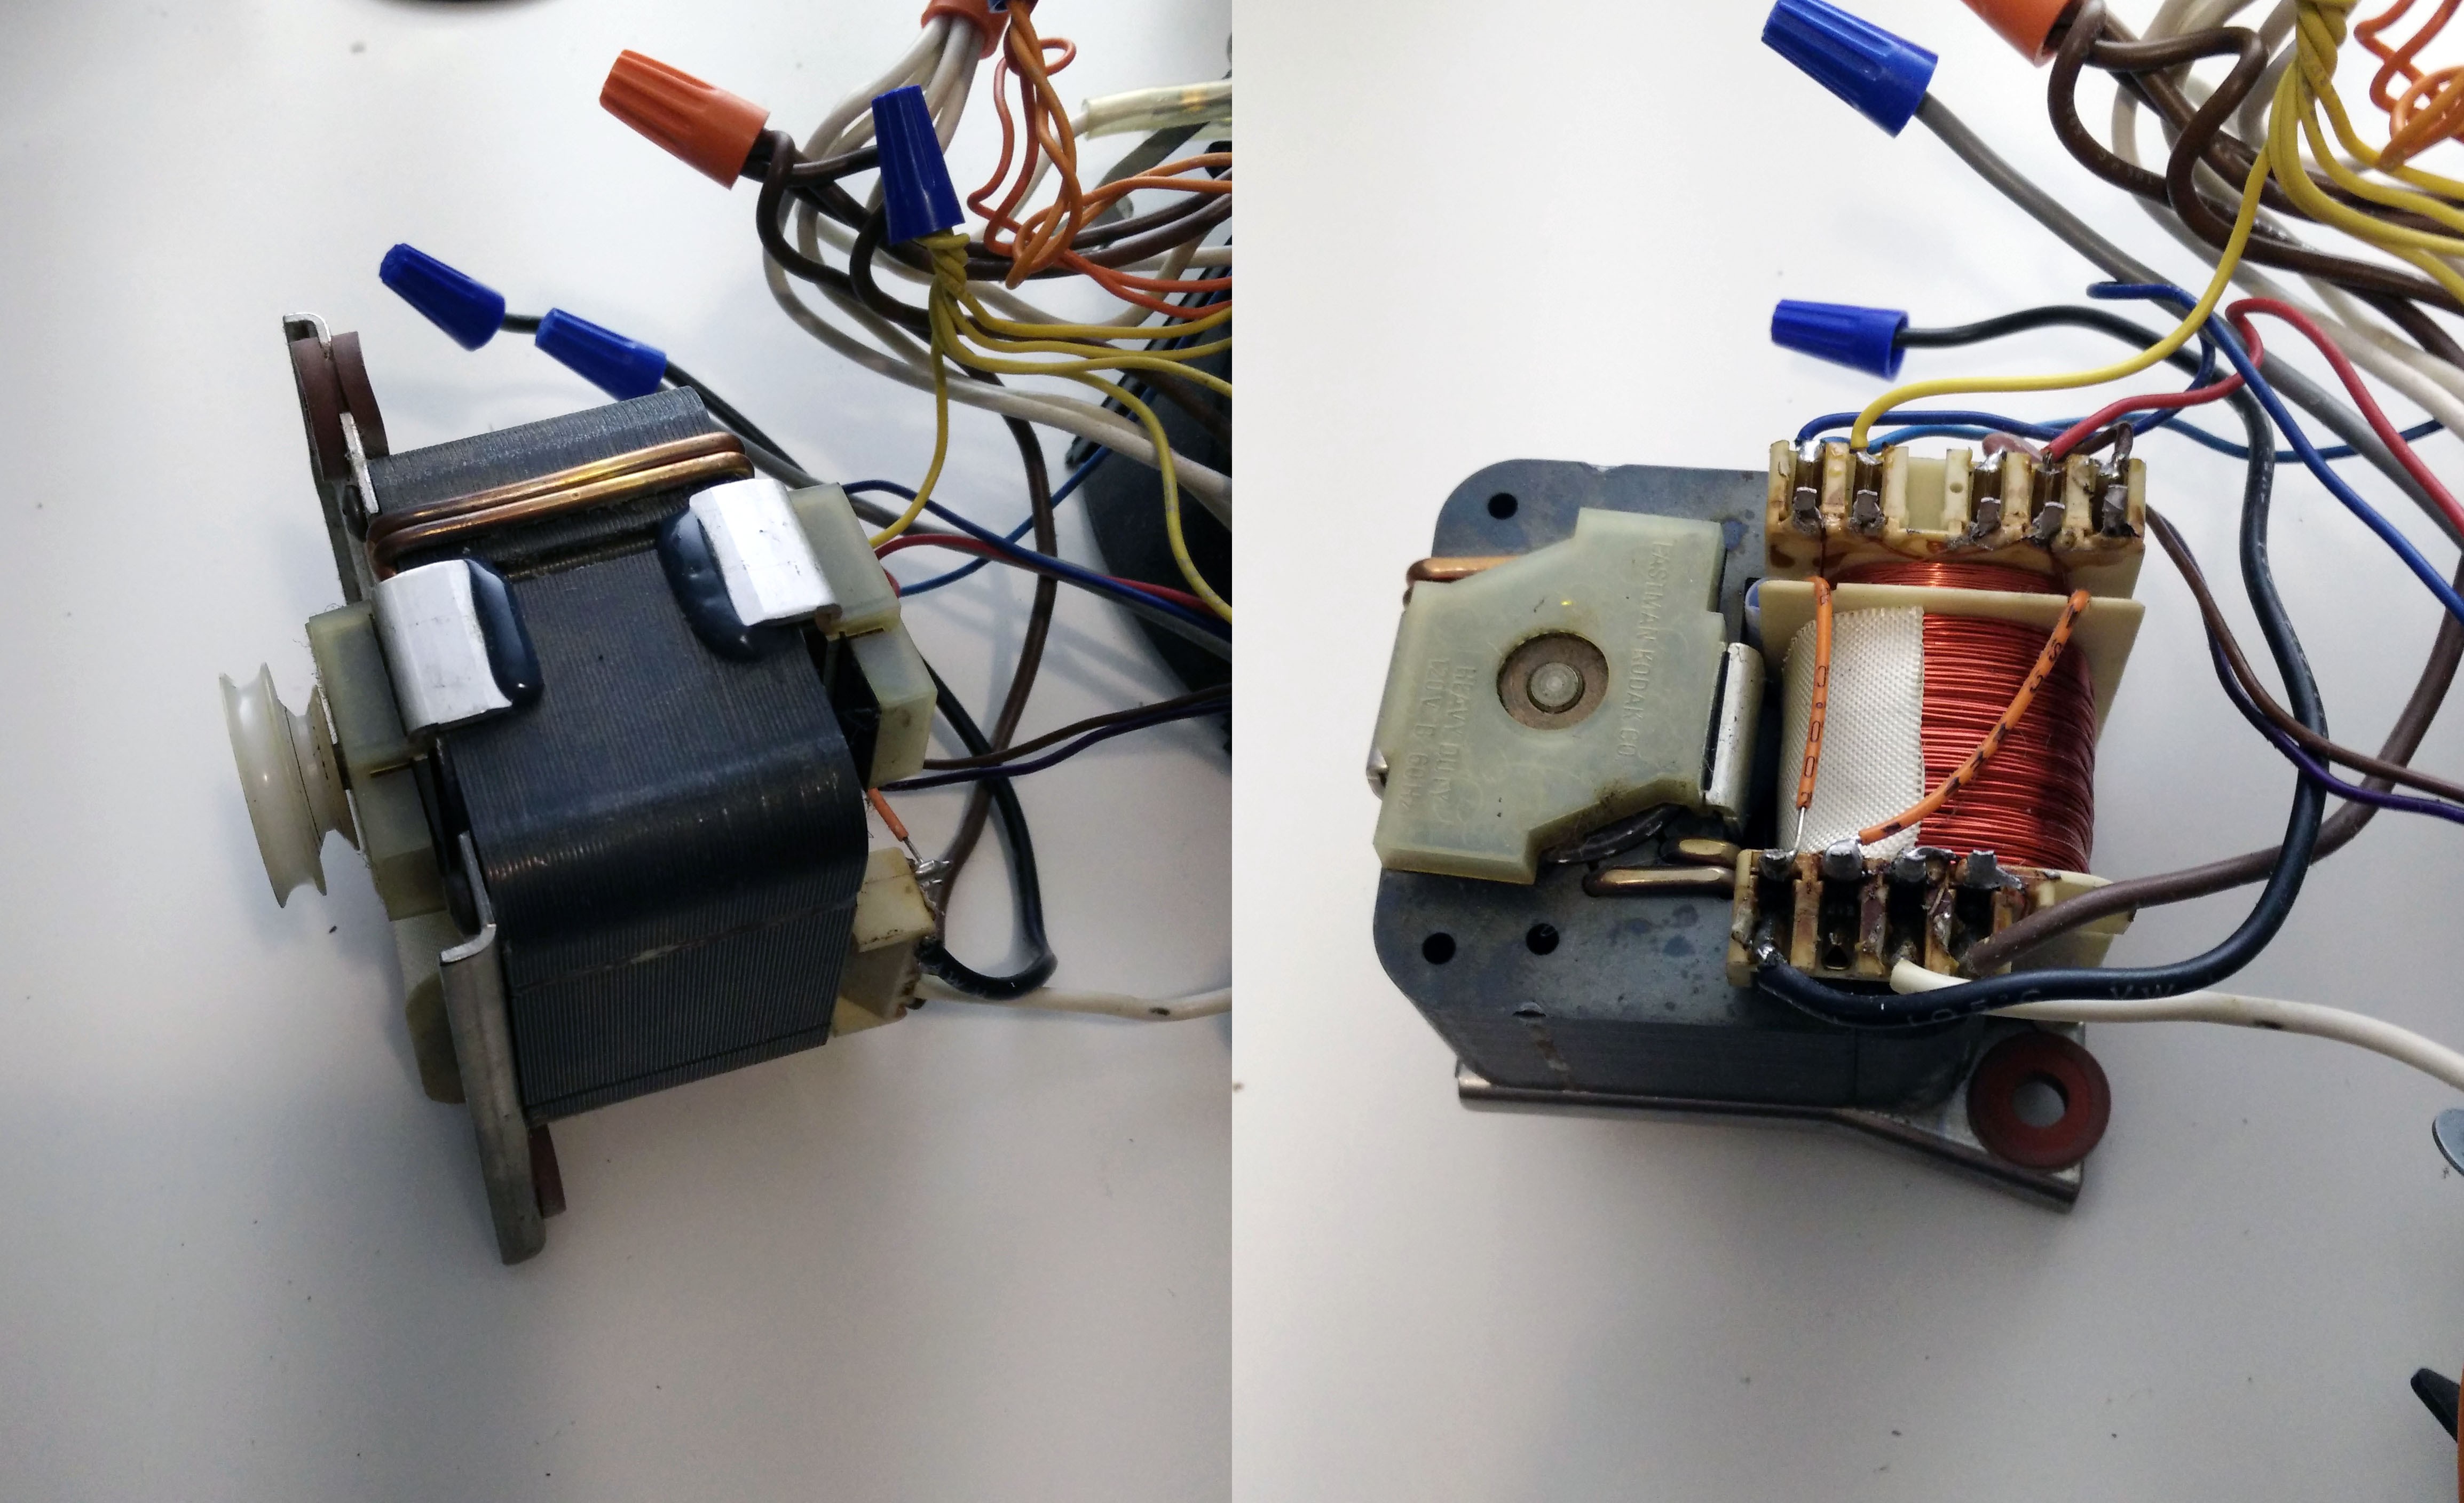
The motor drives the mechanism assembly and powers other components. This part will be necessary and we'll tap into it to power the microcontroller, and LED driver.
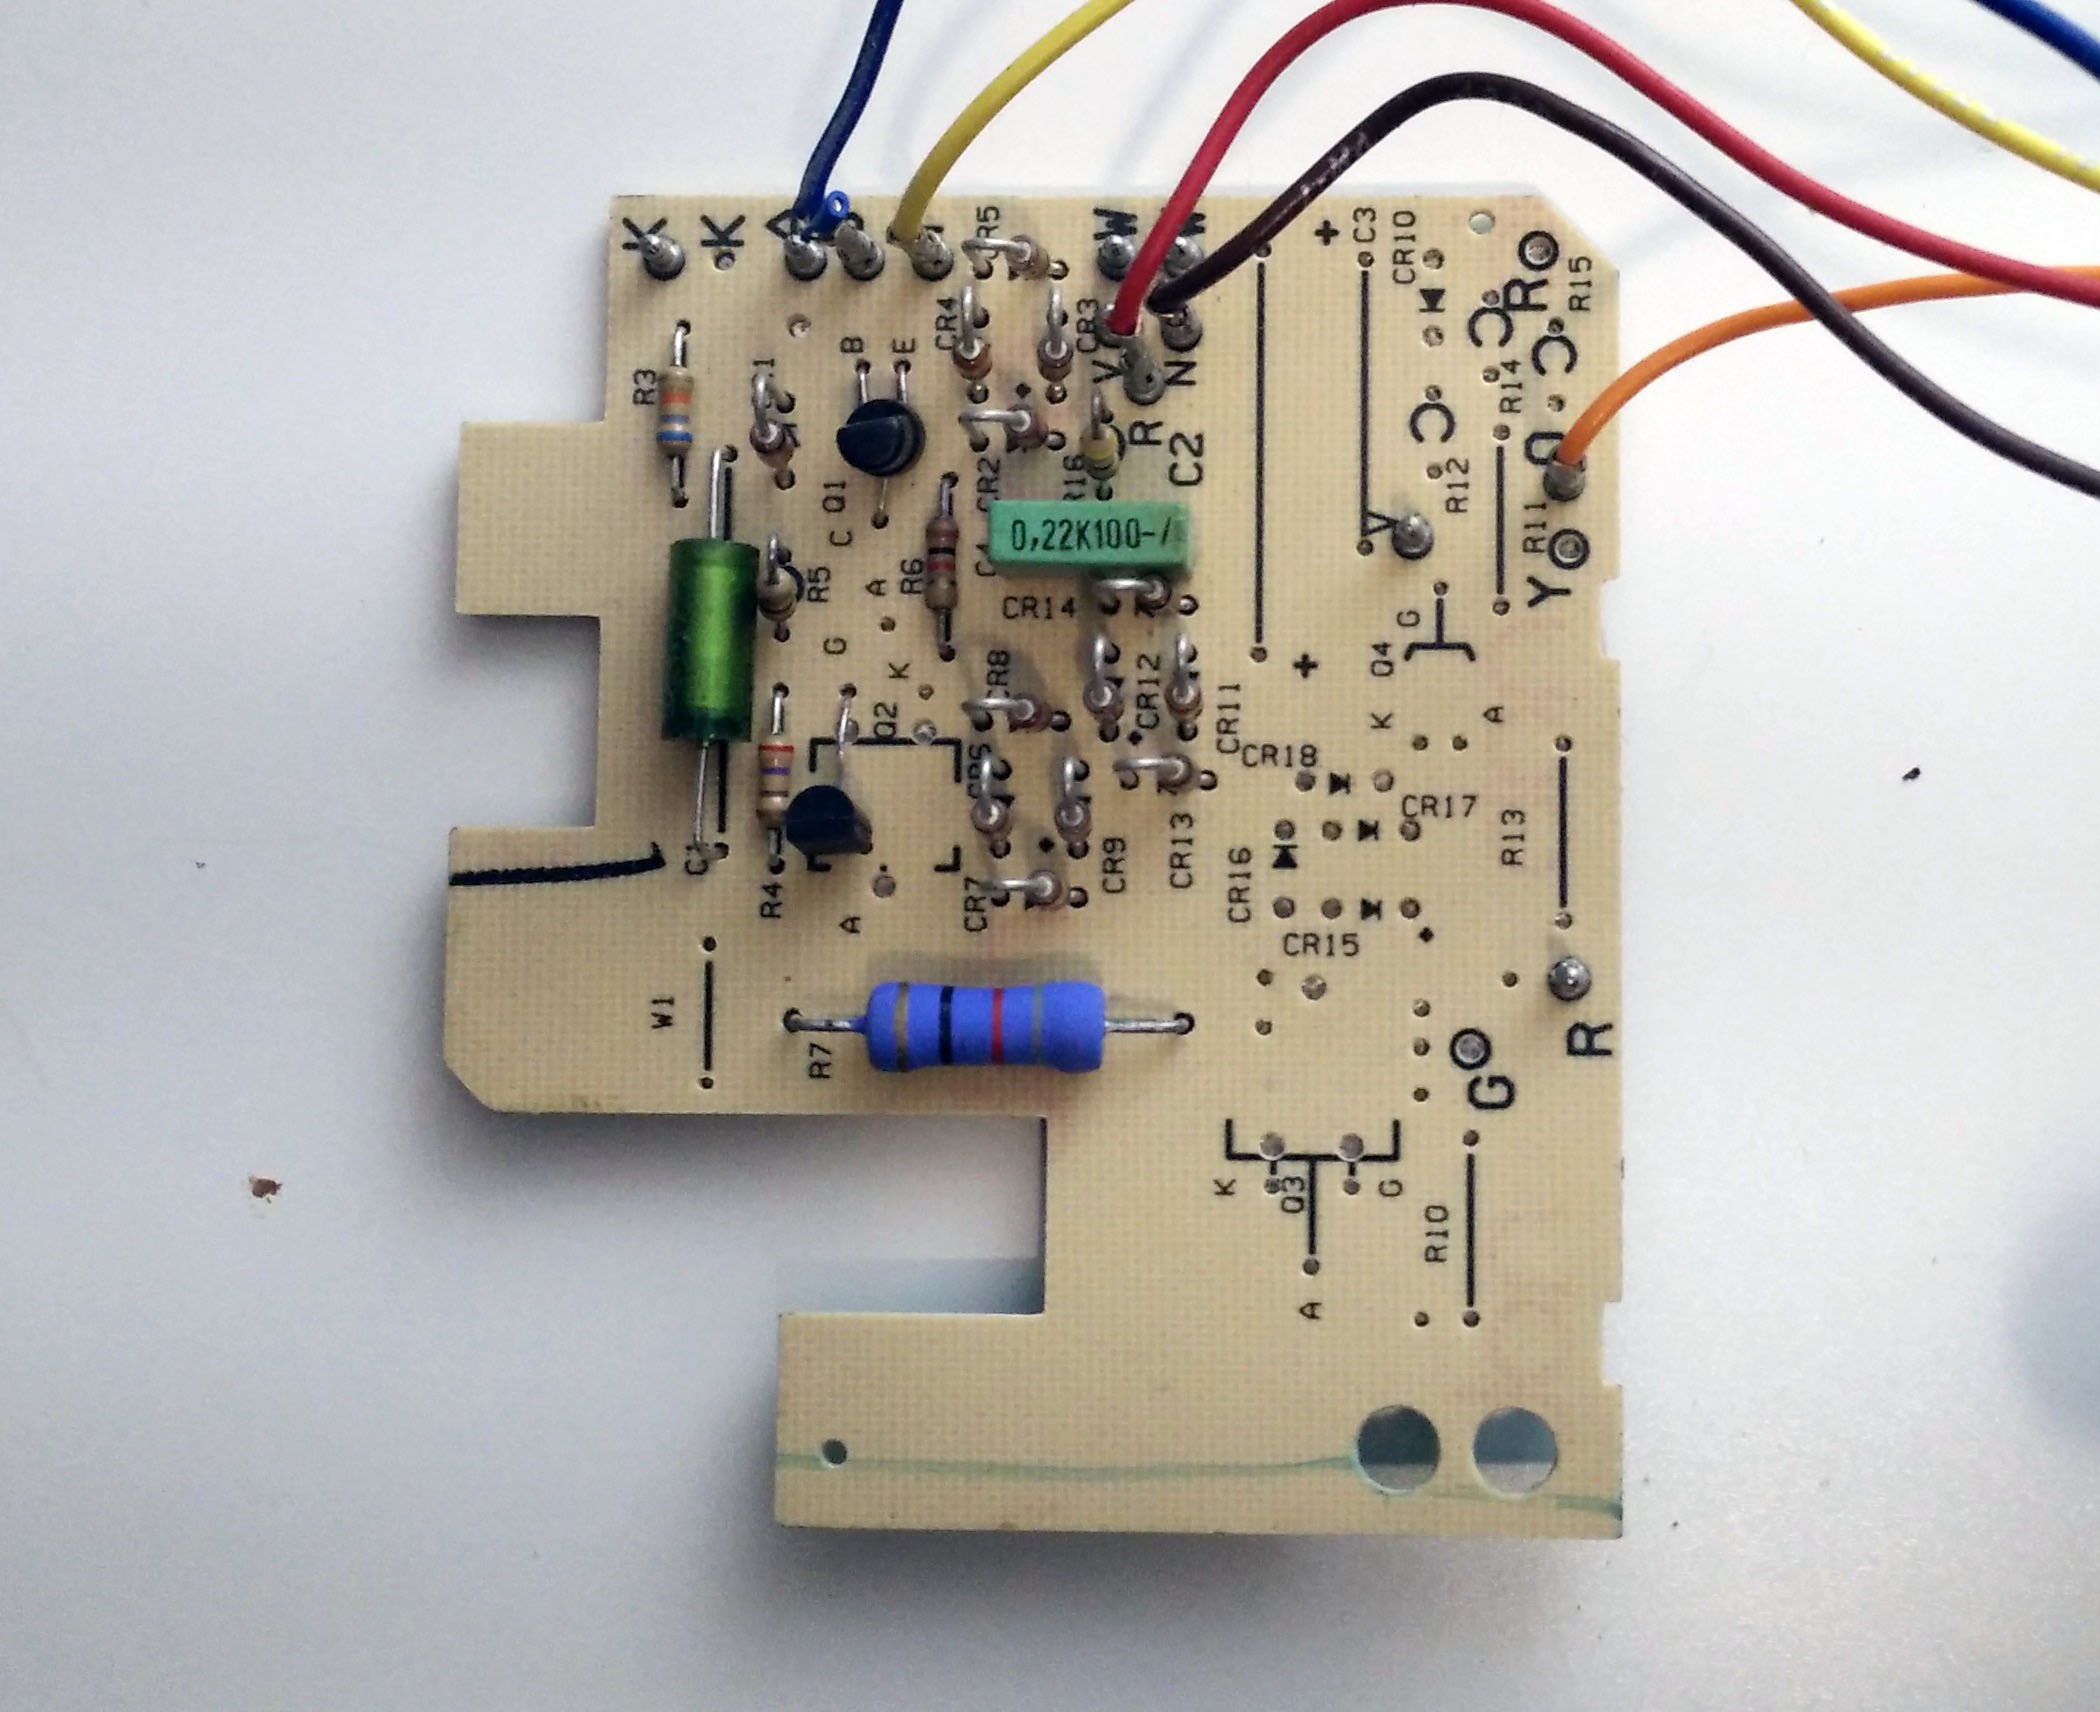
The circuit board looks simple and sparse. All we need is to power forward and reverse on the mechanism assembly's solenoid, so we might not need it at all.
Discussions
Become a Hackaday.io Member
Create an account to leave a comment. Already have an account? Log In.