-
Some Paint
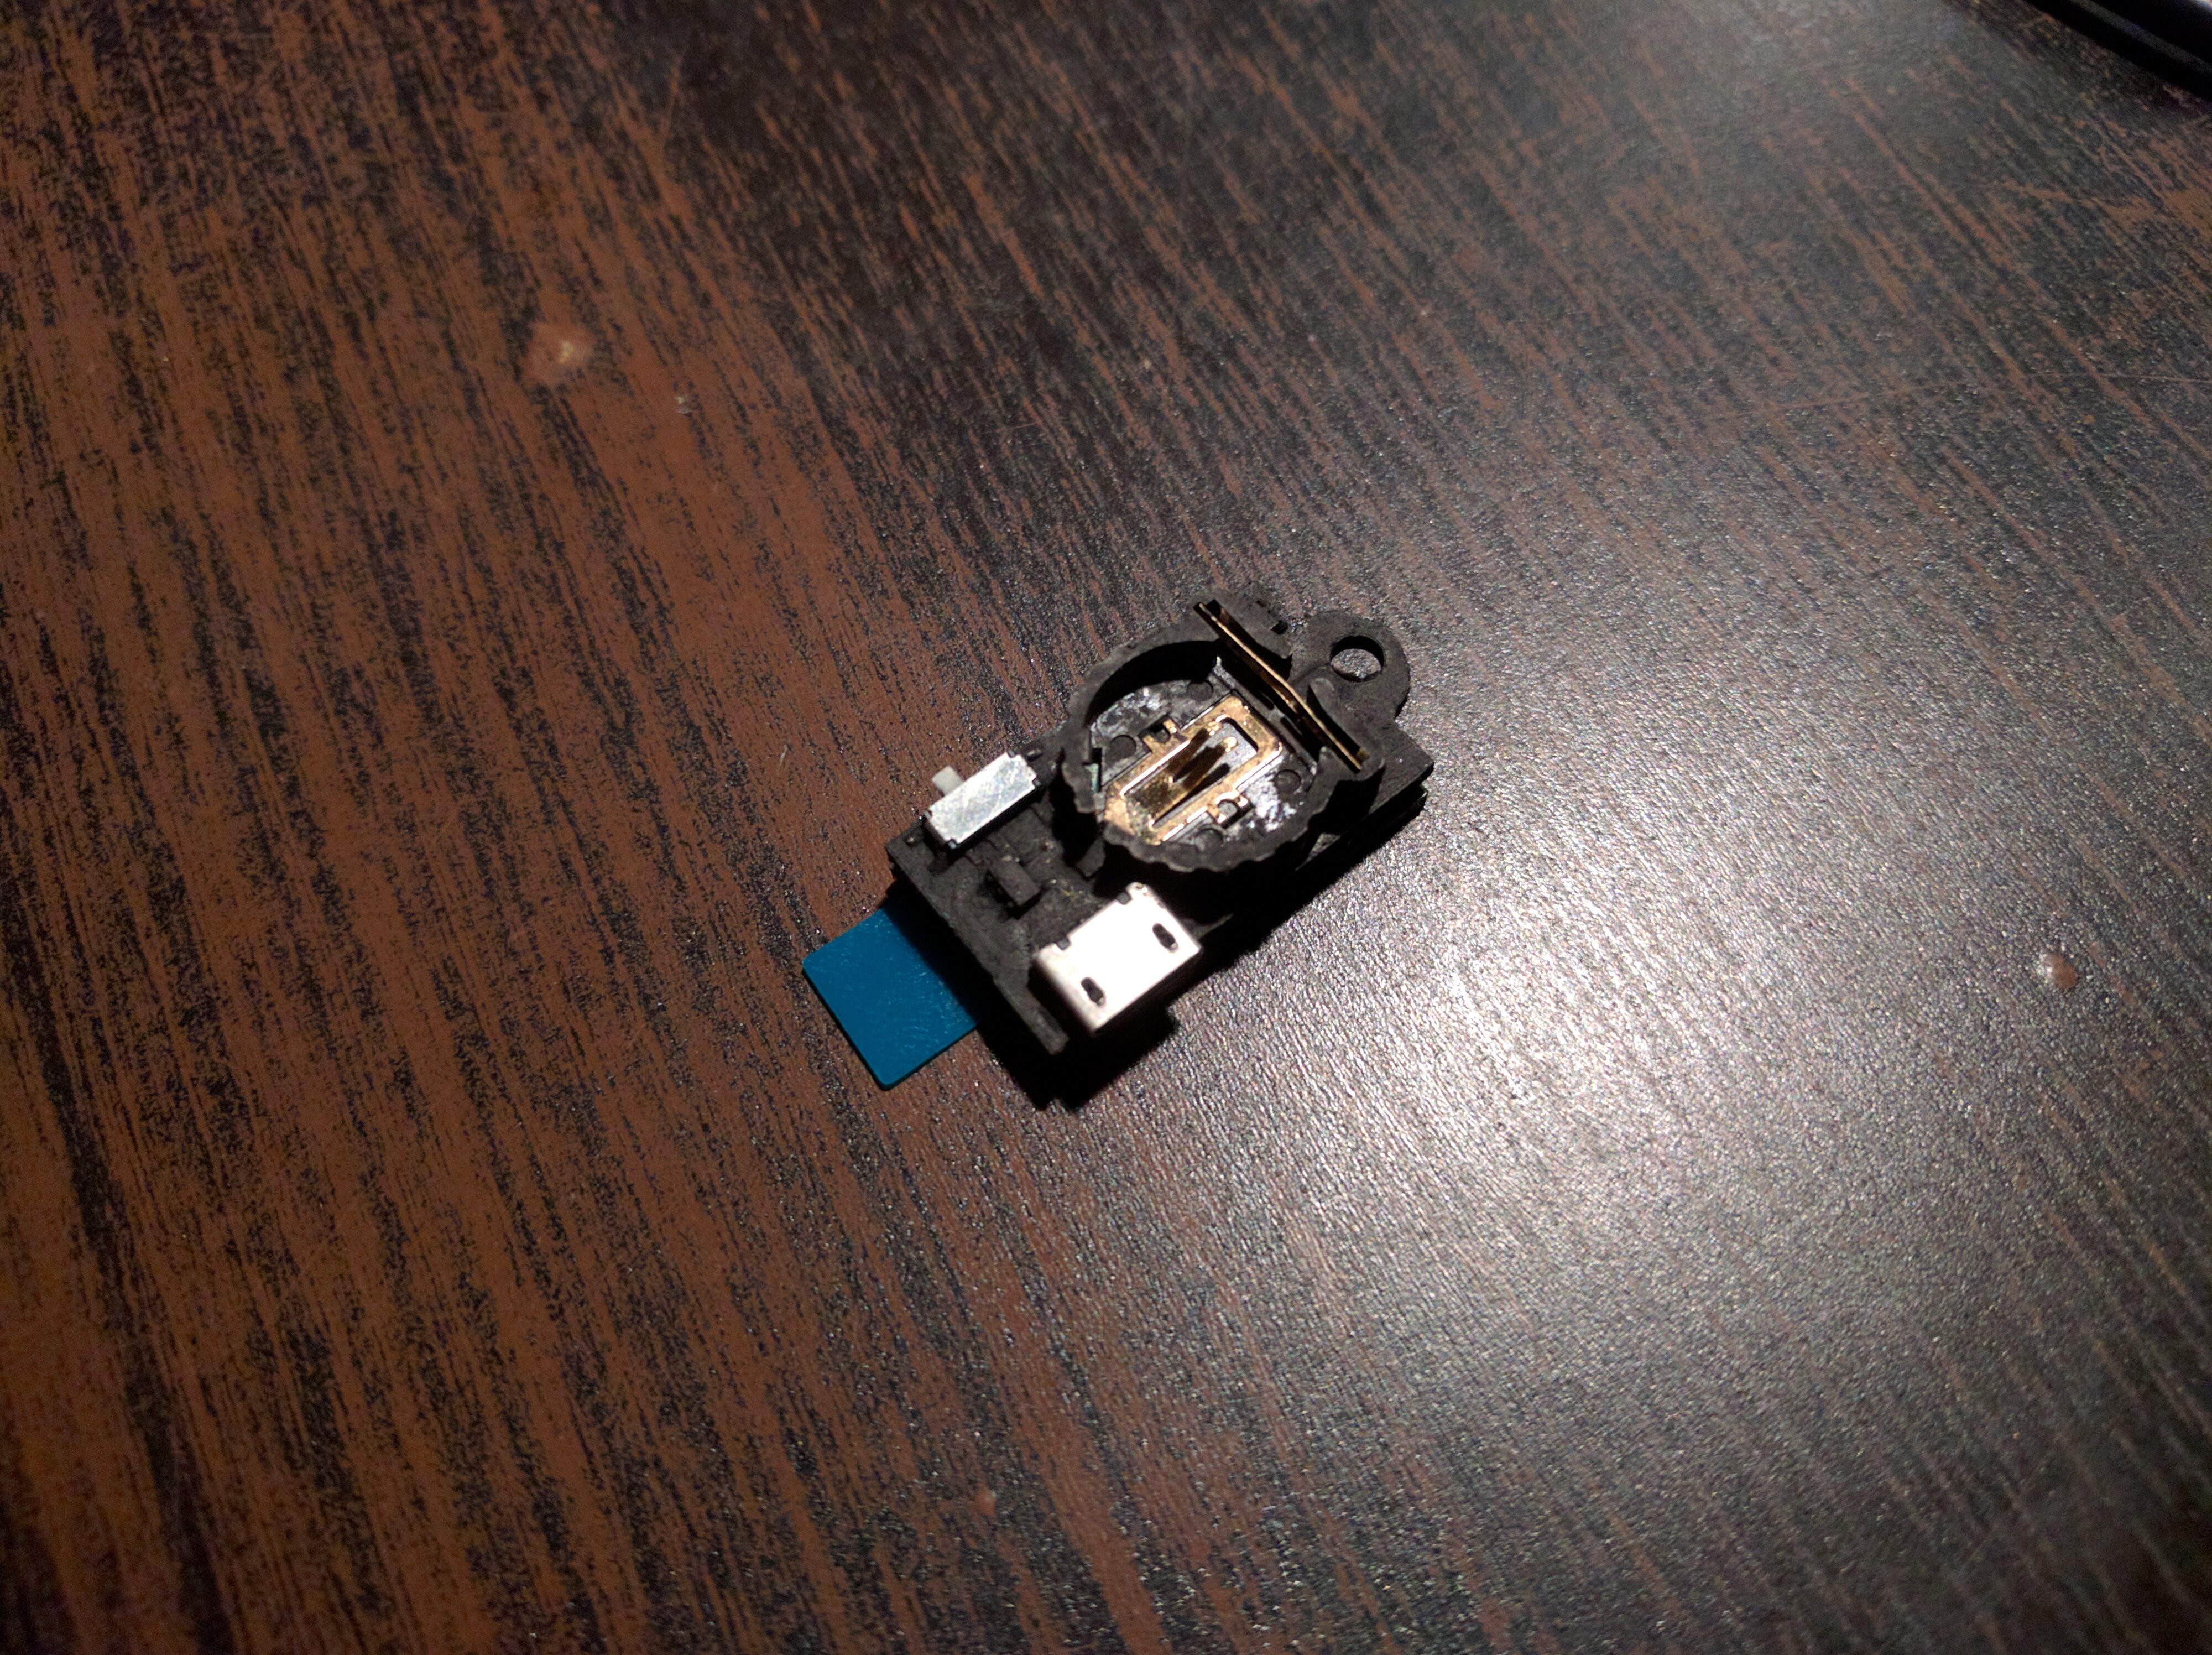
06/10/2018 at 20:29 • 0 commentsThe exposed electronics are cool, but not everyone's idea for jewelry, so I decided to try and do something to make it look better. Of course the first thing I thought of was casting it in a solid block of resin, but that would be difficult to do without breaking the switch and the USB port. I will probably still drown it in hot glue at some point, but in the mean time I simply painted it all black.
![]()
The acrylic paint didn't catch very well on the metal parts, so to avoid "dirty" look I just scraped it completely off them.
-
First Prototype
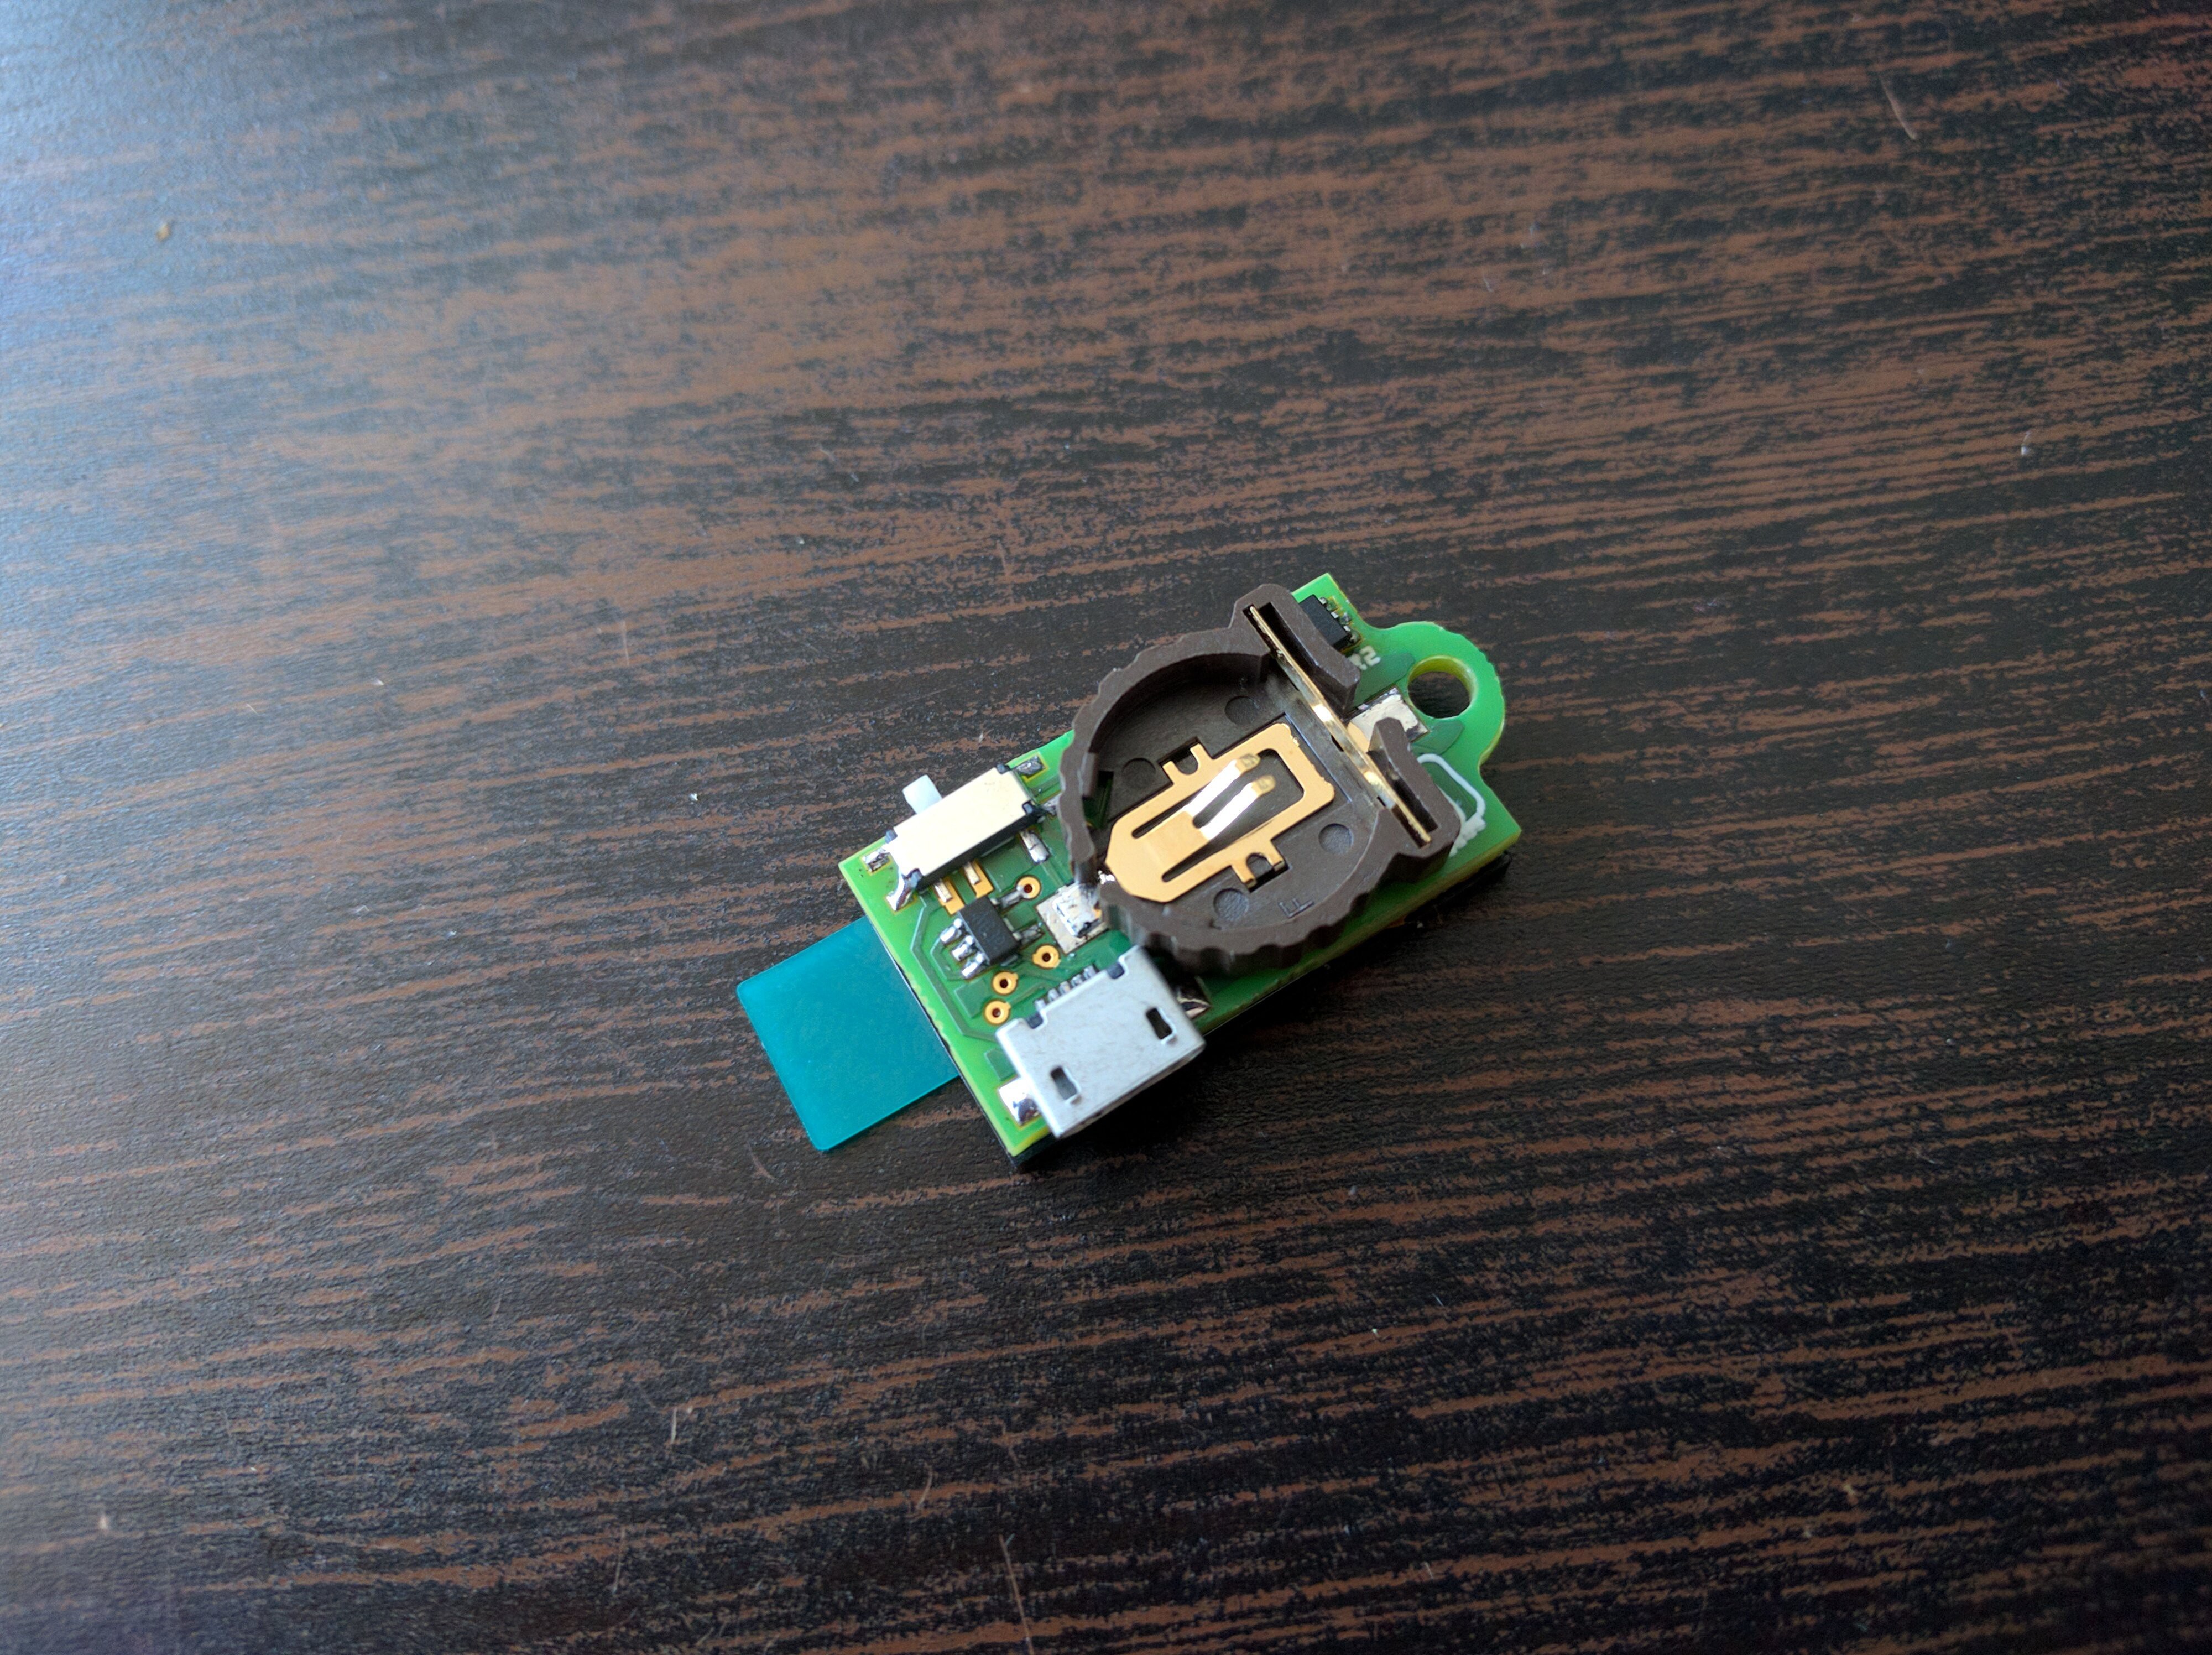
06/09/2018 at 14:35 • 0 commentsThe boards from Aisler just arrived, so I could assemble the first prototype. Almost all fits, except for the resistor next to the battery charger, for which I had to cut a small hole in the plastic of the battery holder. Fortunately there is room to move it.
![]()
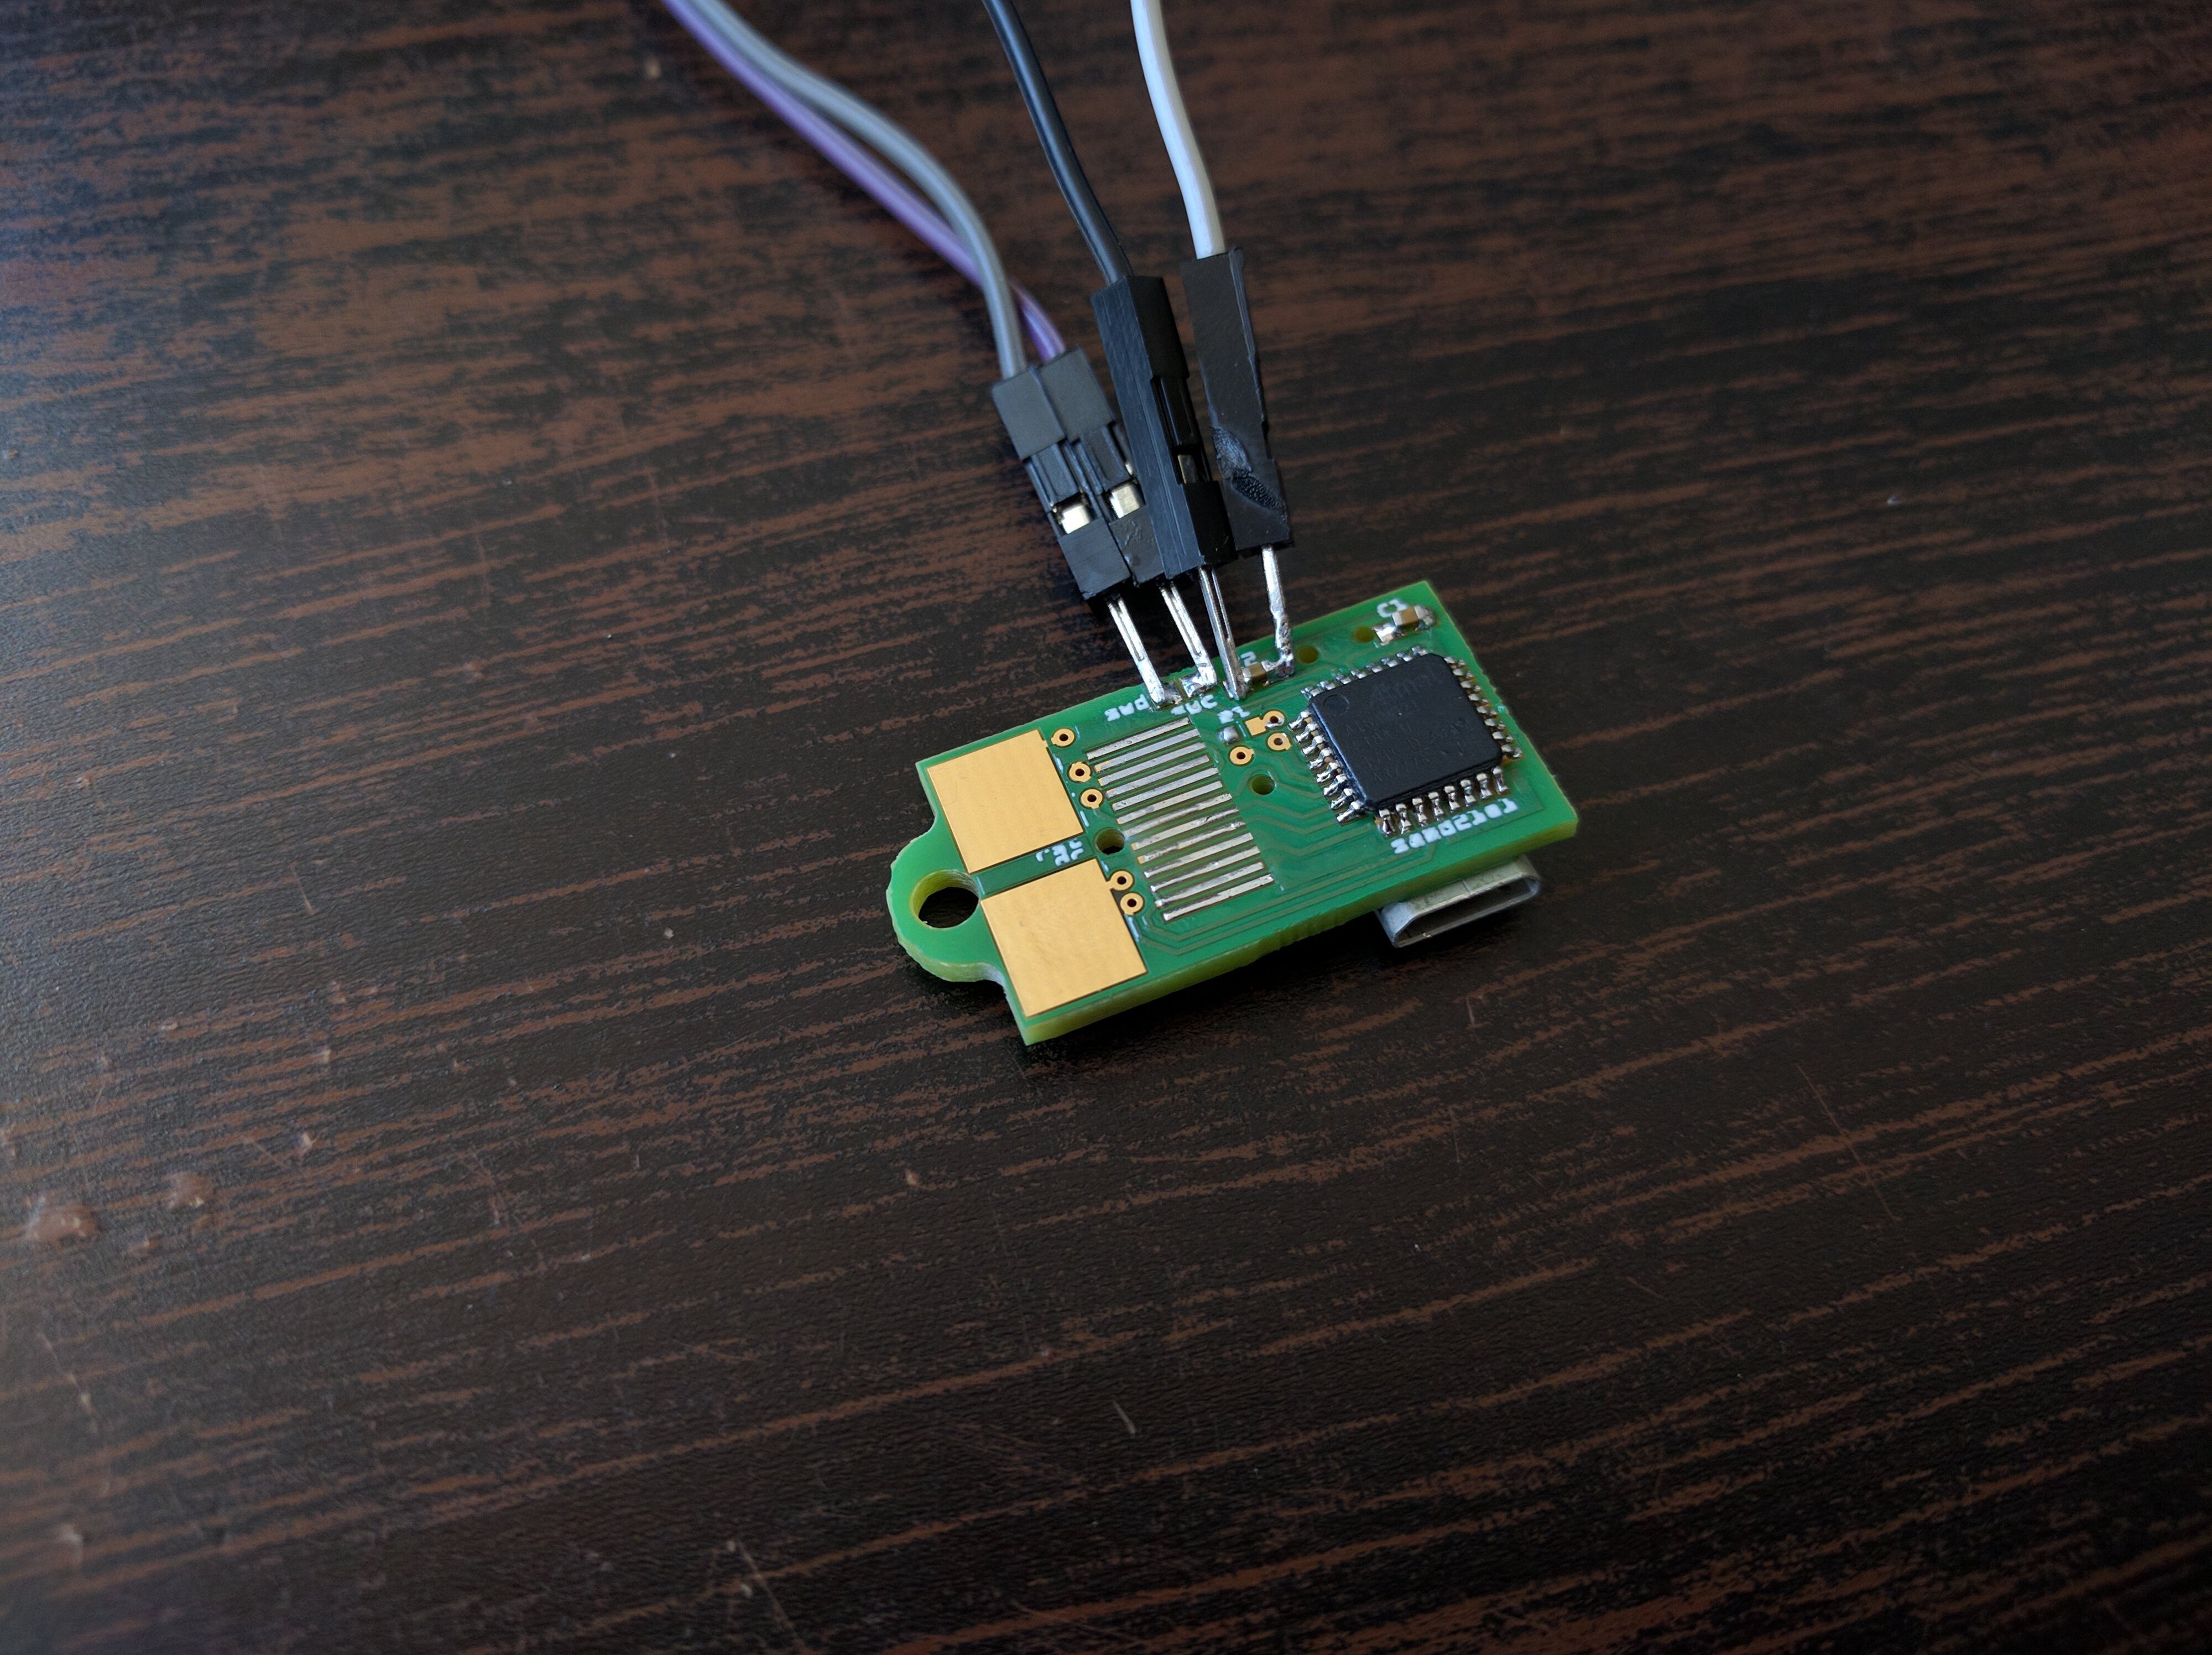
Next is programming the little thingy. I got the bootloader burned on it:
![]()
Now I need to compile some firmware and see how those touch pads work. I still don't have the LIR1202 batteries for it, so I can't test if it actually runs on the battery — it's possible the battery will be too weak for the display. The CR1202 definitely is too weak.
-
Schematic
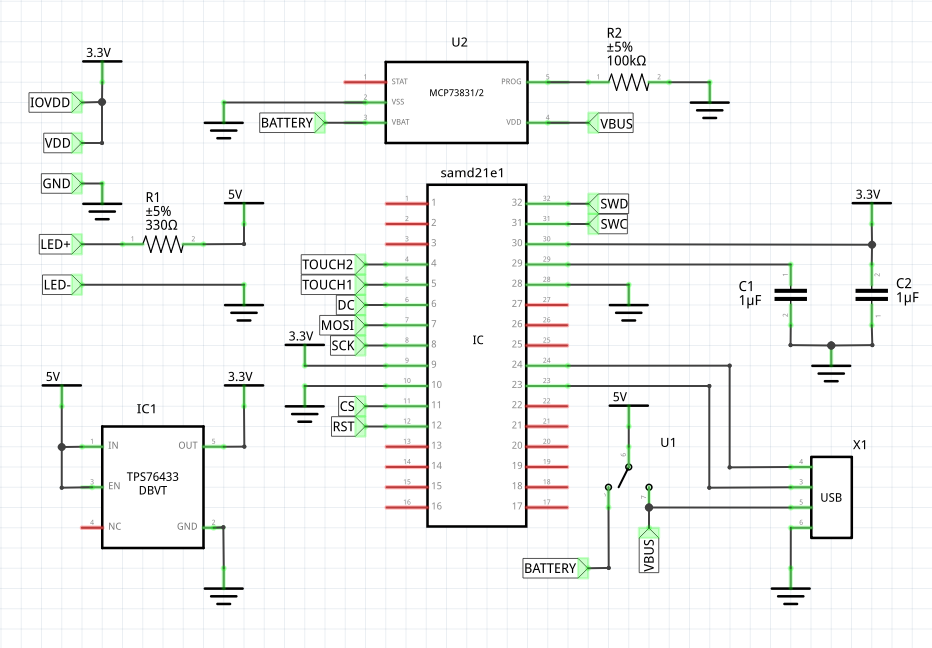
05/30/2018 at 15:21 • 0 commentsThe PCB is ordered and should arrive in a few weeks, so in the mean time I made a pretty schematic for the thing:
![]()
I got around needed a diode for the battery by using a switch — it switches between the battery power or the USB power (or off when USB is disconnected). Battery charging is connected to USB directly, so it will always charge (unless the battery is full). I'm also putting a way bigger resistor on the charging chip than the datasheet has, because this is a tiny battery and I want to charge it at 8mA max. Not sure what the chip will do in this situation, we will see. Since the display connectors are done as pads, they don't show on the schematic, so I added net labels to show what is connected to them.
 deʃhipu


