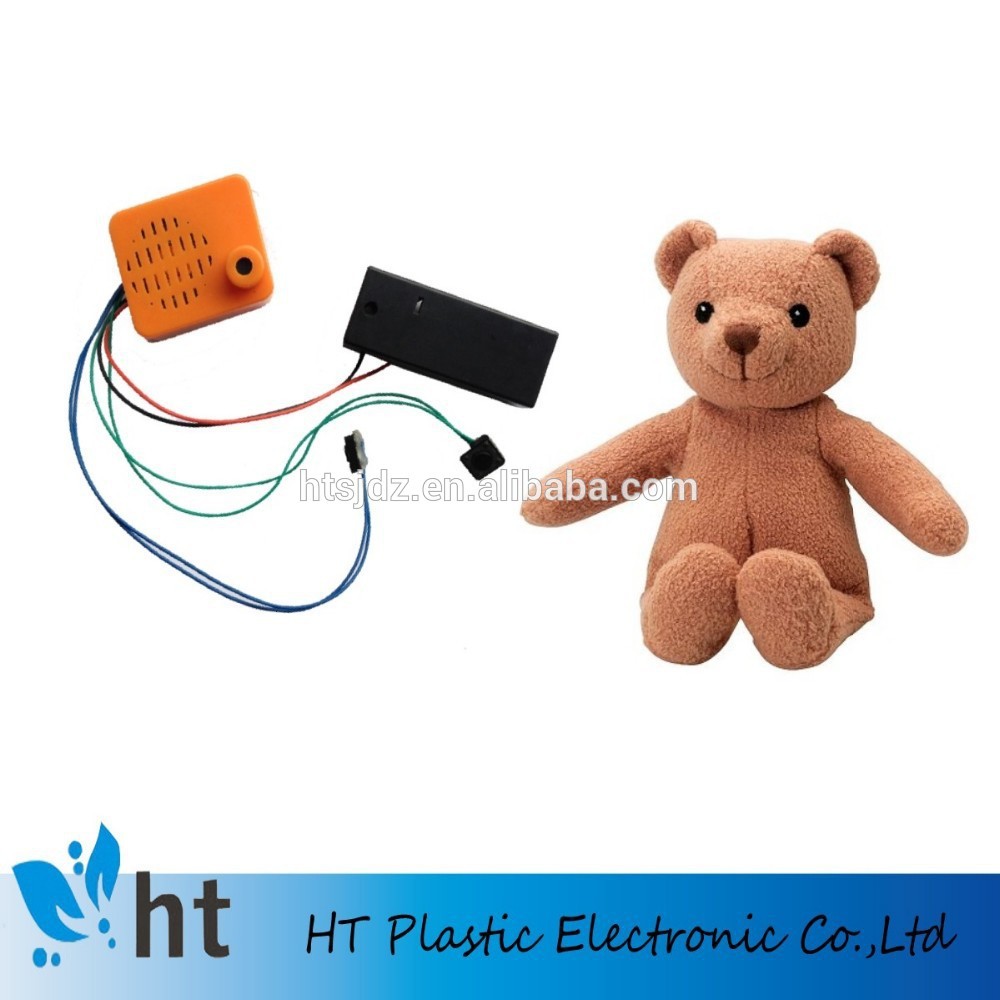
Some of you know I have a biology background, and nowhere does that show more than in the design of lifelike critters. I’m pretty serious about biomimicking robocritters being close-ish to actual biological organisms in terms of layers, since people feel the inside layers of your bot when they pick it up. There is really no amount of stuffing that can turn a square enclosure into a correct-feeling animal skull, ribcage, or body, even though people certainly try.
^ It’s like my teddy bear swallowed a box :(
As long as you have access to the right tools and materials, why not design a better skull, a better skeleton, a better body?
I usually mock up the skull in CAD and 3D print it, lasercut some pieces for speed and ease, and create nice squishy layers using foam, silicone, or wire wrap.
Sometimes the result is cartoonish, like what you’d expect if you were drawing the skeleton of an Adventure Time character:
^ the skeleton of the HaRoCo-1, you've seen this one. 3D printed skull with foam padding around the pettable body, enclosing an FSR to detect pressure.
Other times it's more realistic, based on the skulls of actual critters:
^ the skeleton in Yorick, a fishy seal critter. Head based on an ermine skull, 3D printed, with paint-on silicone enclosing small layers of homemade soft FSRs
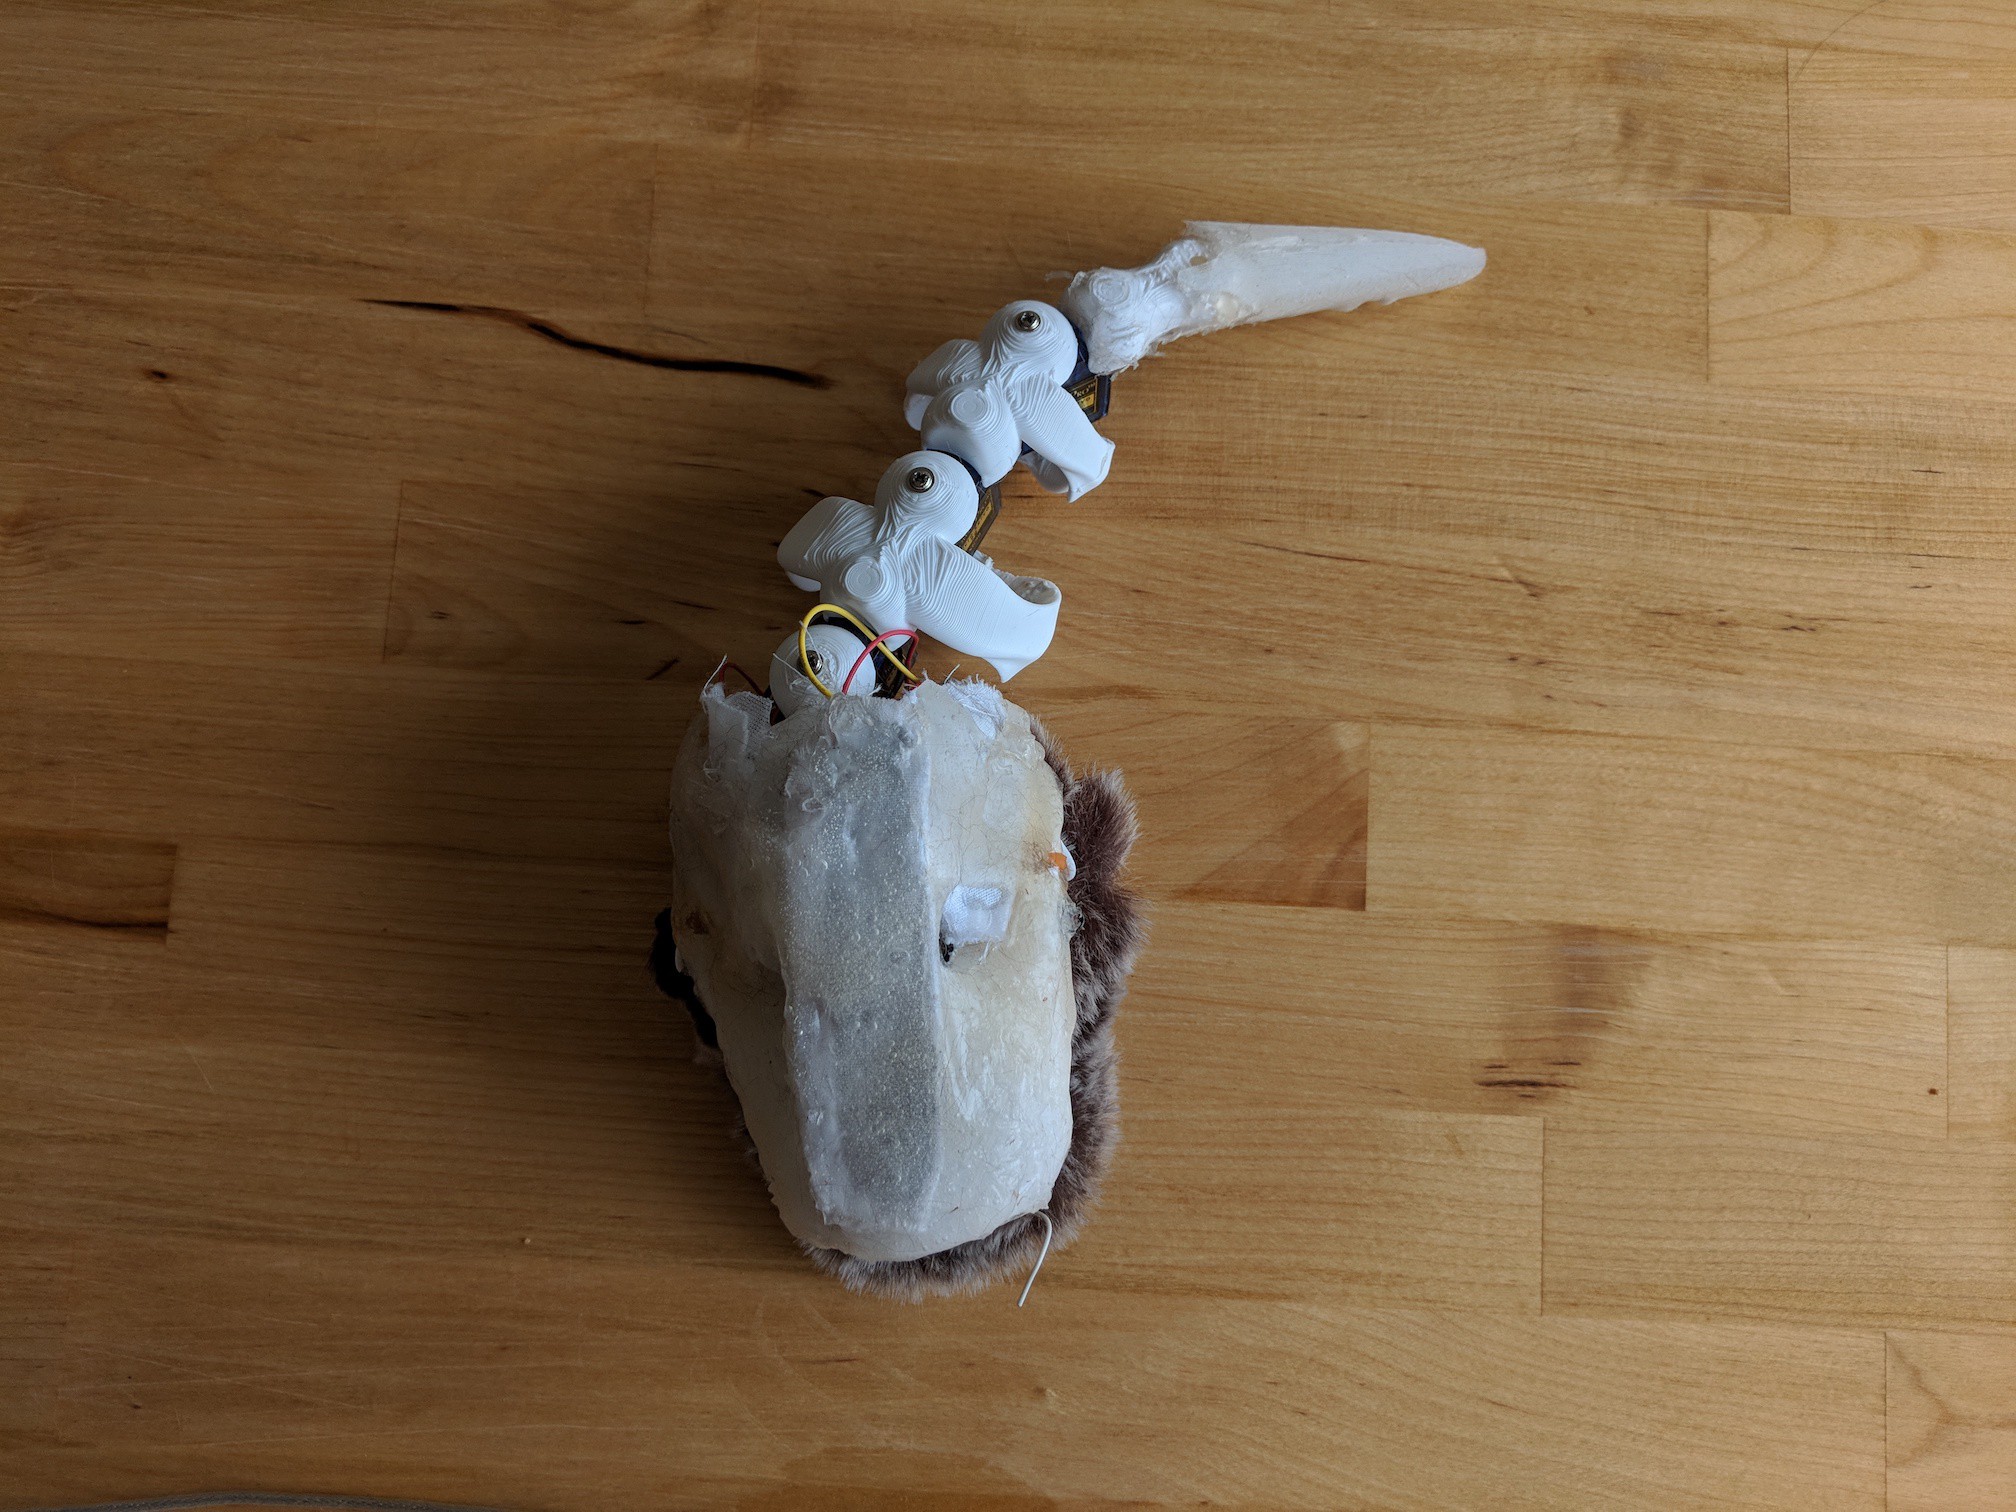
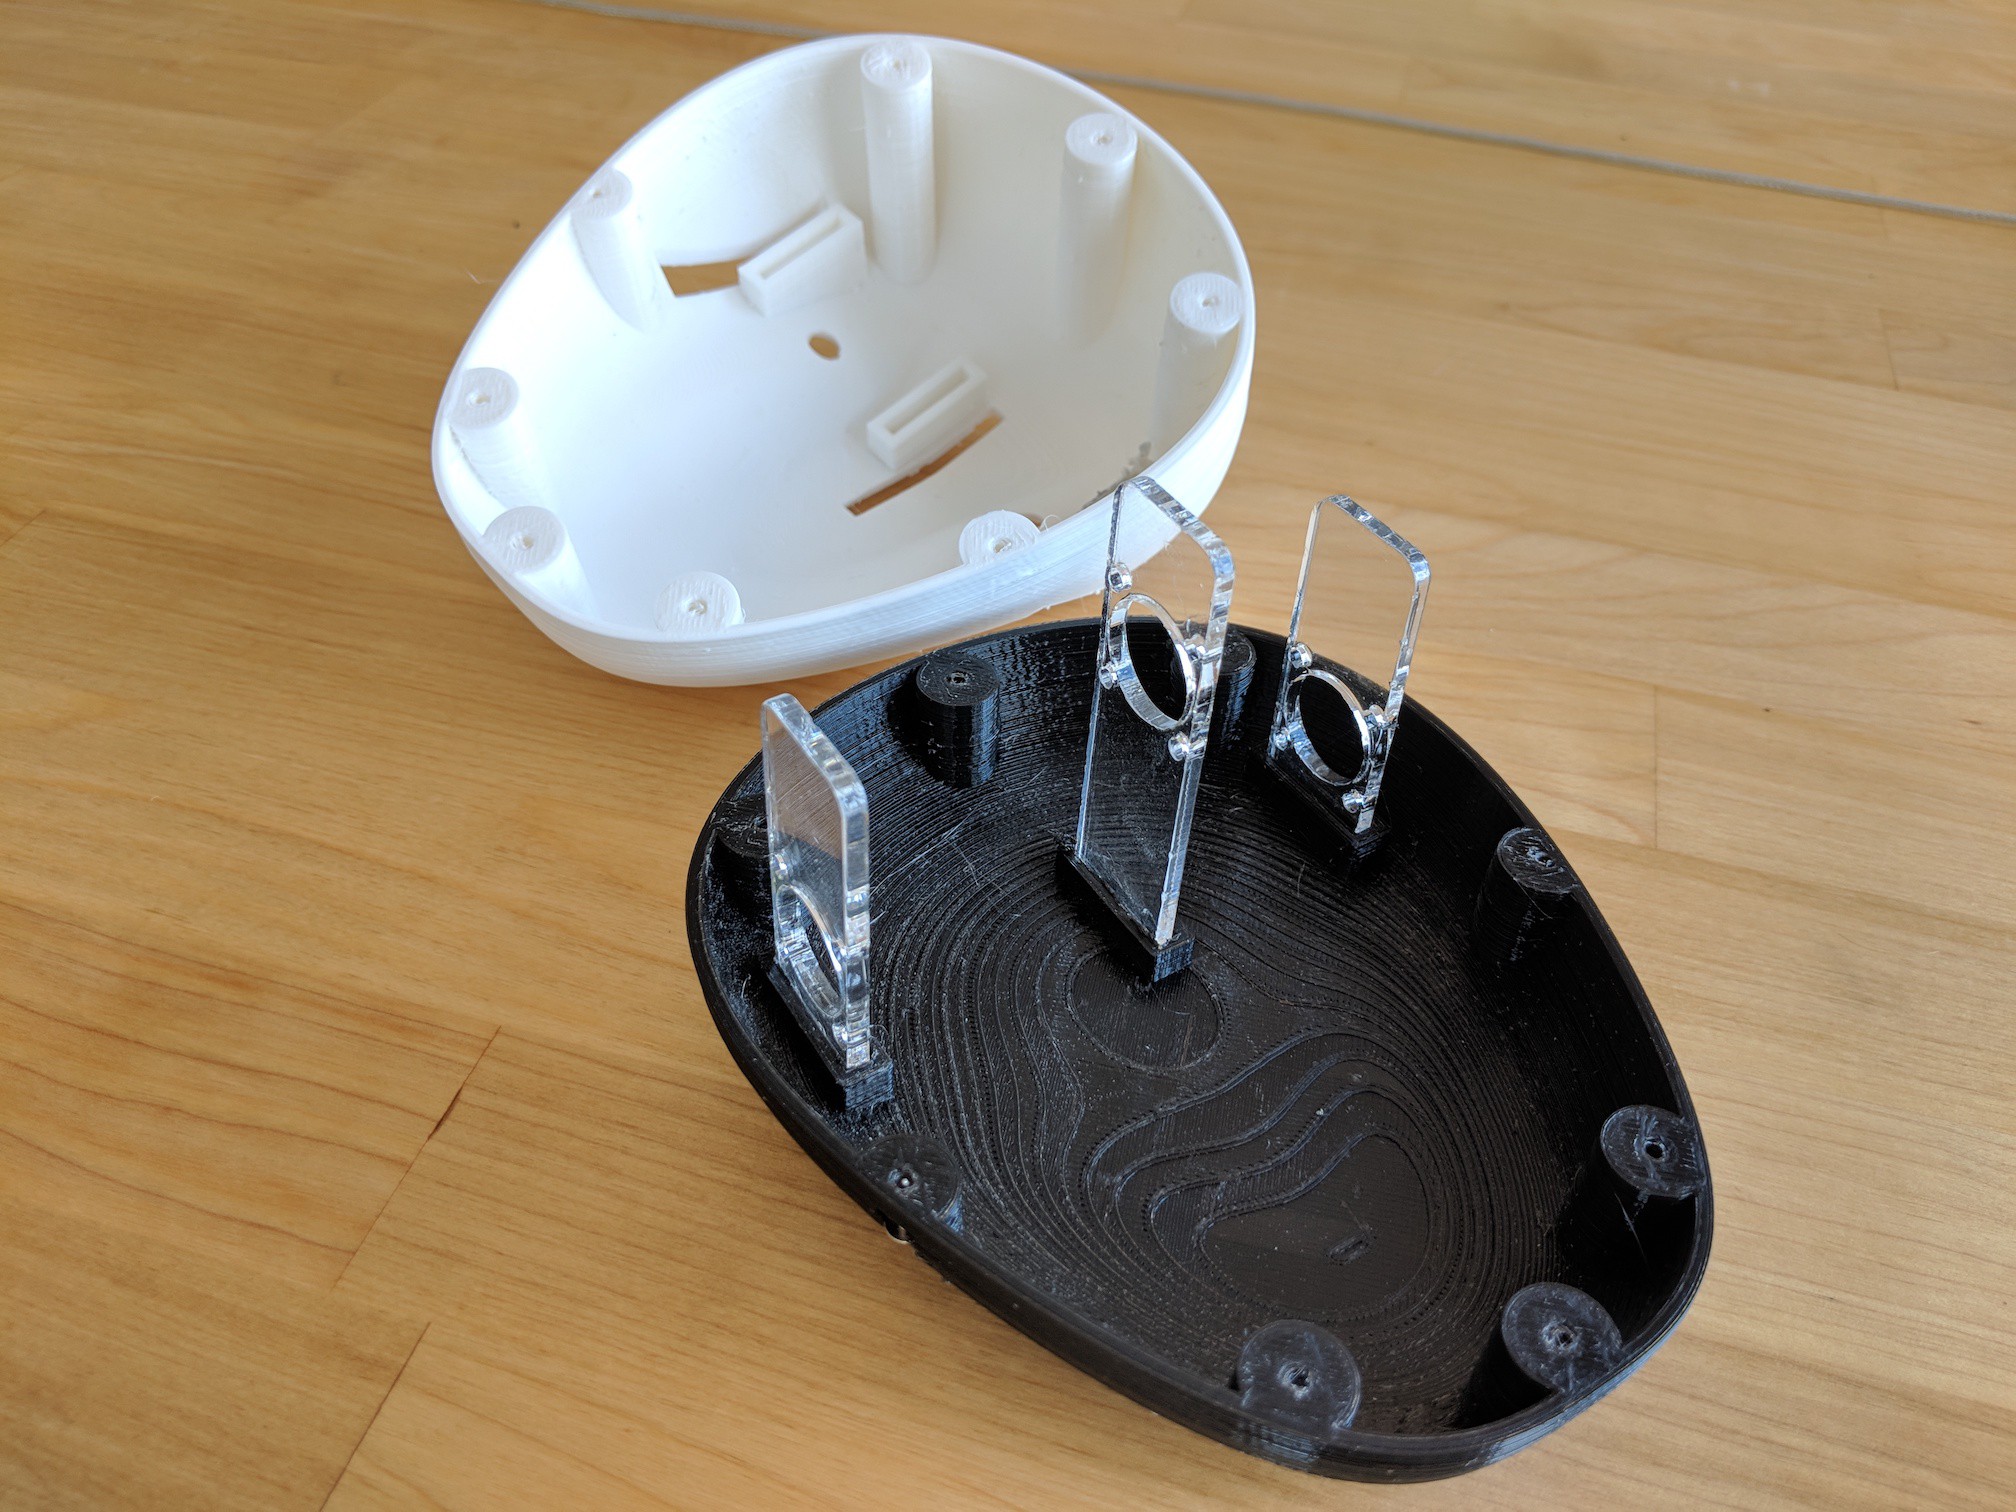
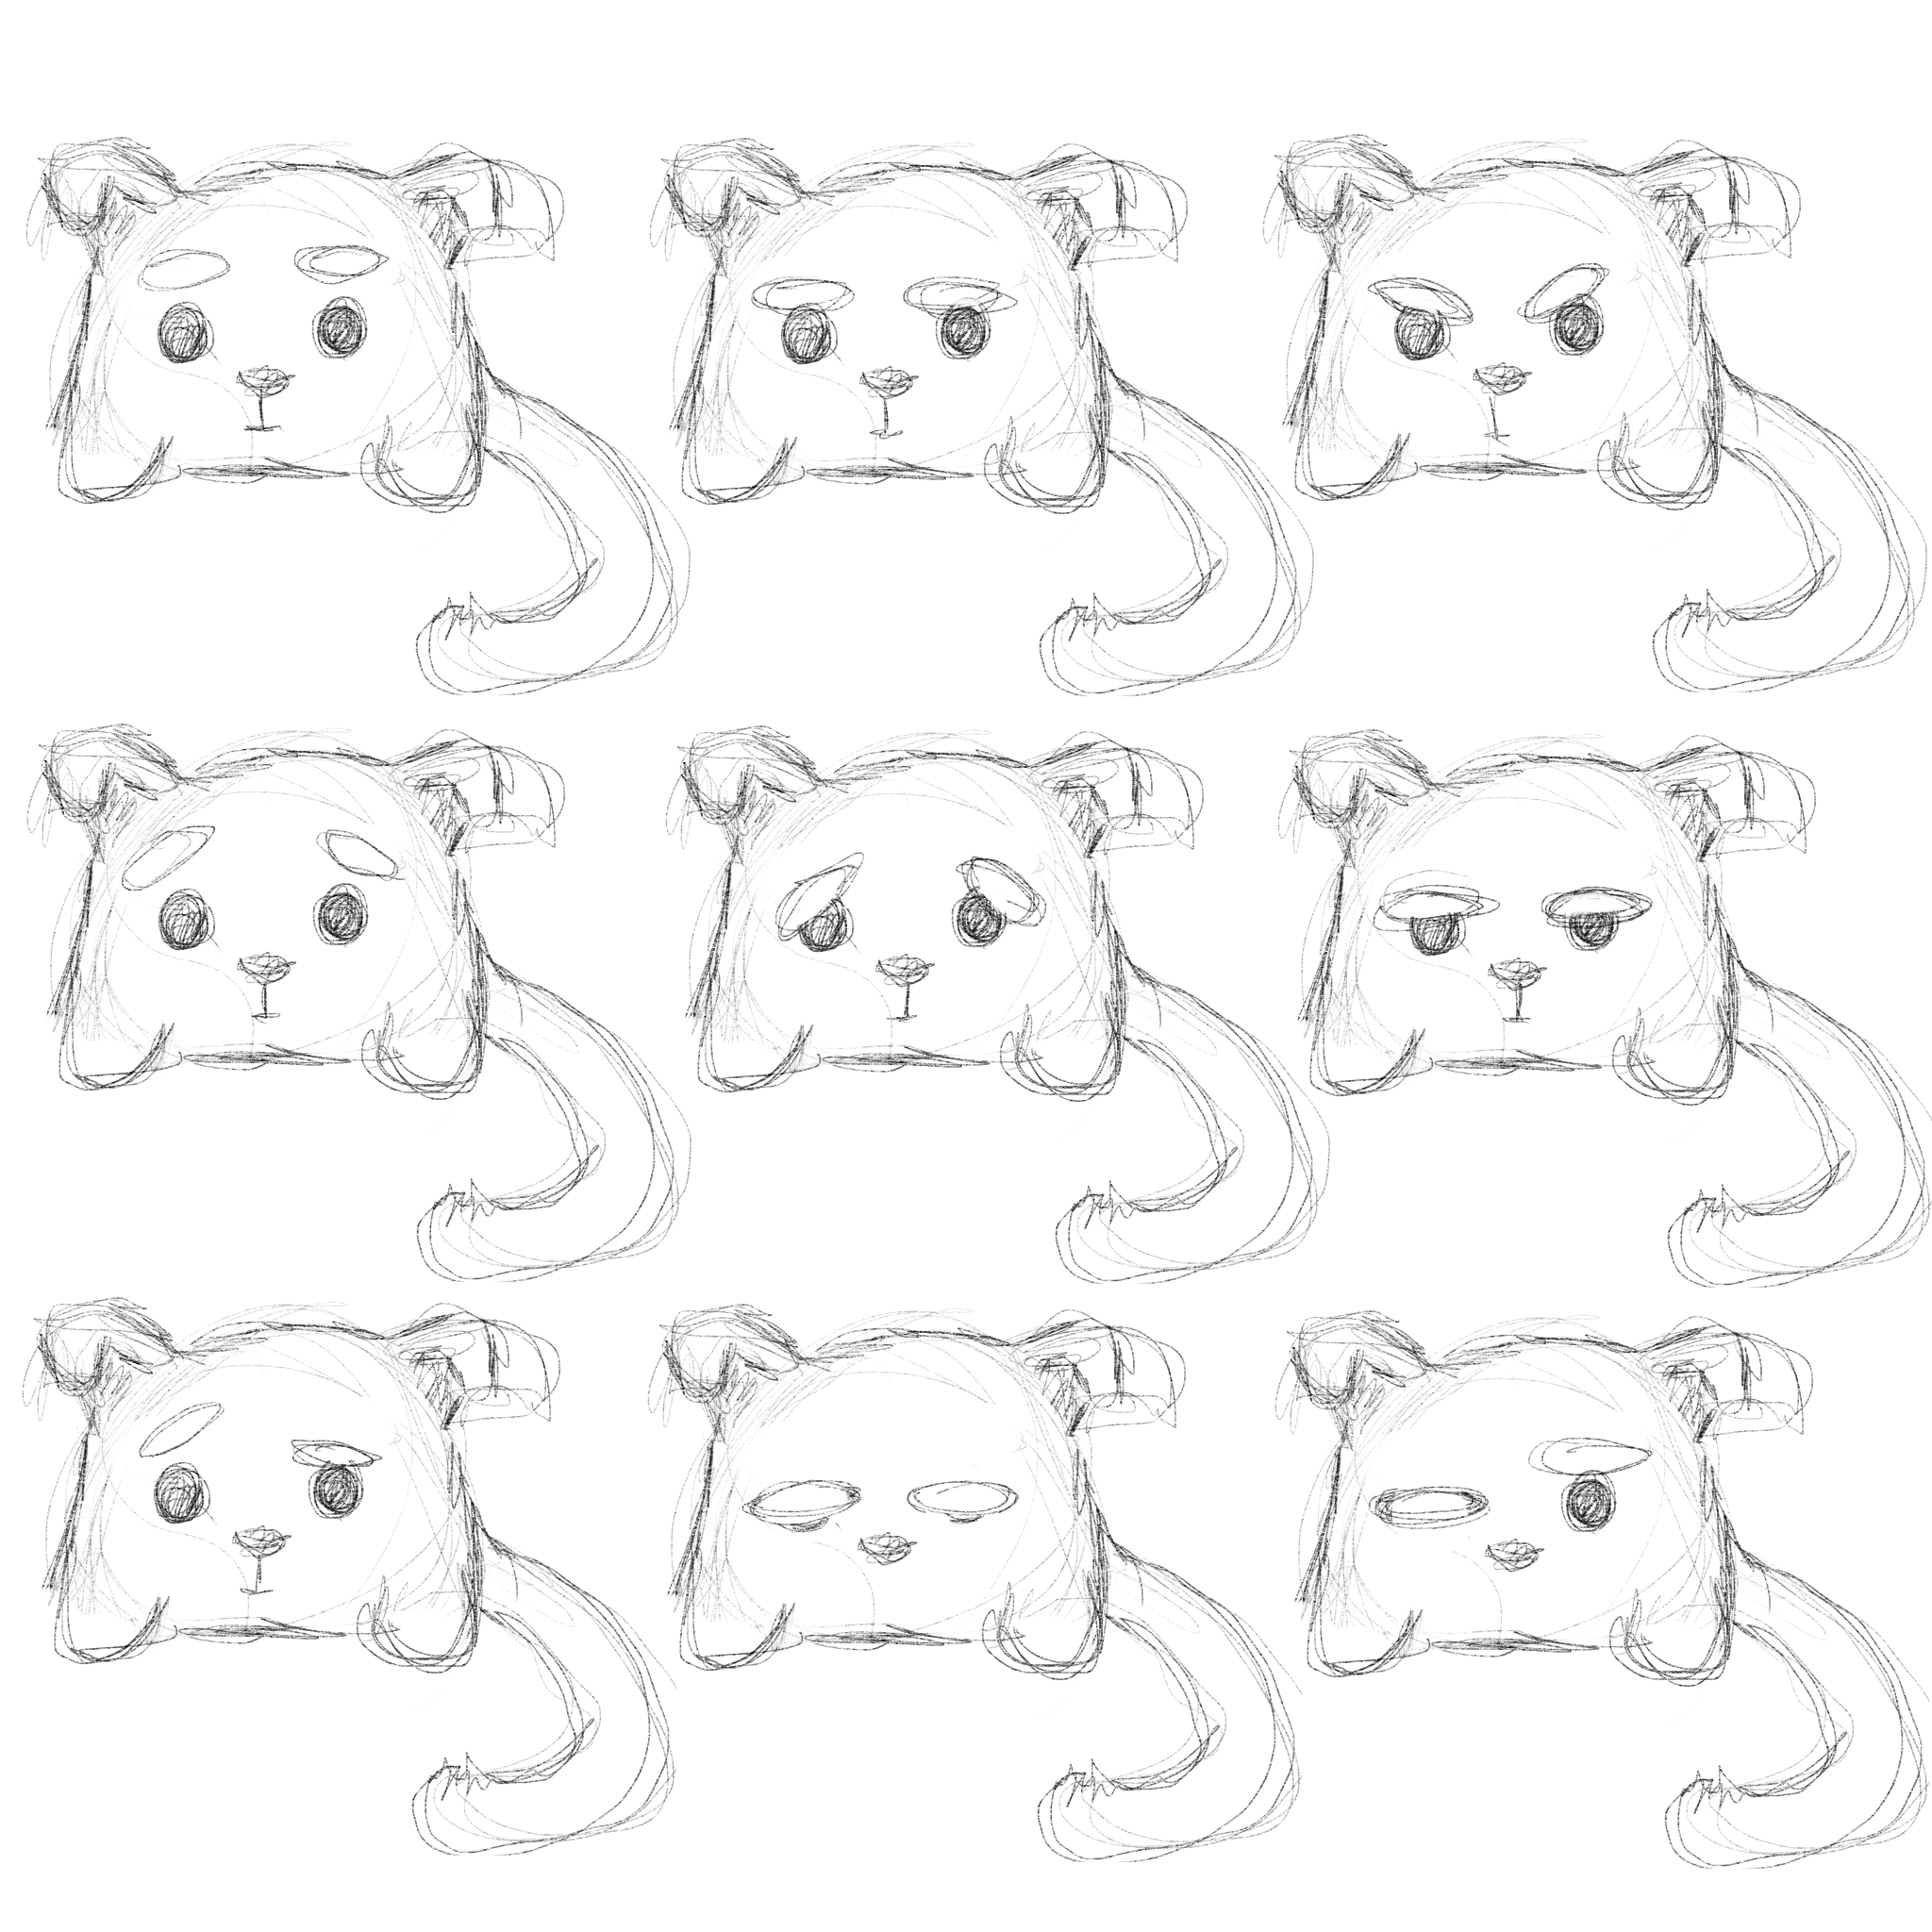
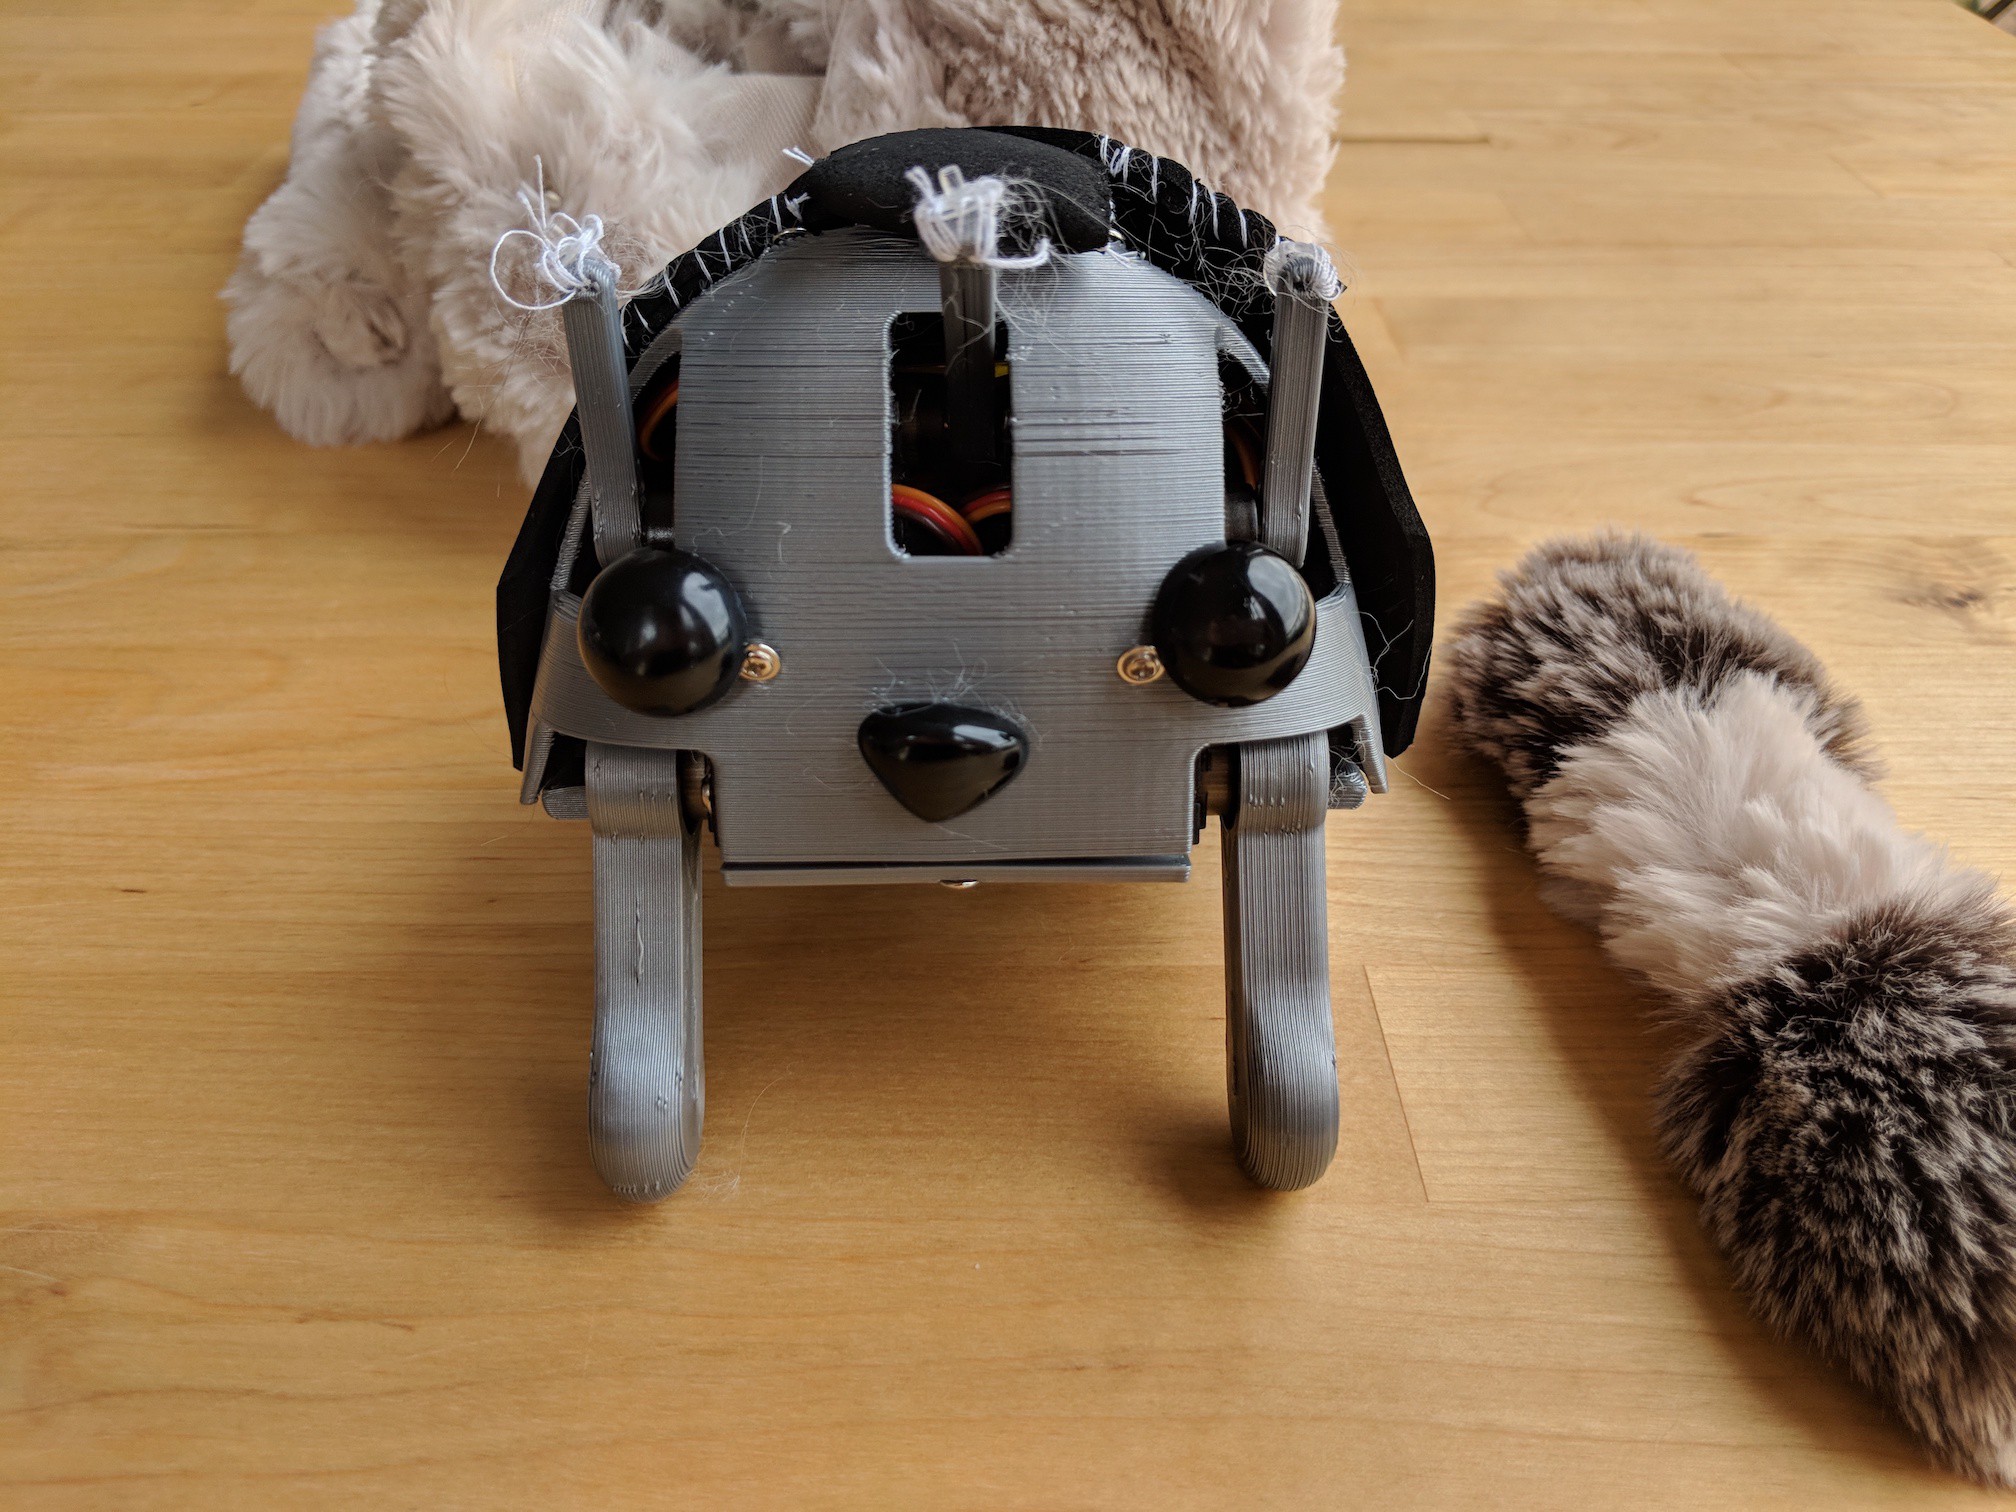
For the HaRoCo-12, I’m trying to focus on non-aggressive, adorable animals as the model. I’m starting with the cartoon-skull method, with the intention of making a more realistic skull later. But the really nice thing about this skull is that it contains lasercut struts that allow us to rapidly replace the size and type of motor or servo. So we can experiment rapidly and check out what works best.
Personally, I think this is too much solid matter and not enough room-for-fluff. But it’s not a bad start, and it will give us the opportunity to see how the critter looks with the eyes set more vertically on the head.
I'll post an update when this little bot has some moving eyebrows.
When I found out we were in the DesignLab residency, one of the first things I said (after much celebration) was:
“Oh good! Now I can go next door and look at ears.”
To clarify: The Supplyframe DesignLab is next to the Pasadena SPCA, which is open to the public and has tons of fuzzy animals from dogs and cats to chickens, rabbits, and lizards.
Also to clarify: Ears are harder than you’d expect.
The cosmetic creation of a good ear isn’t impossible; in fact, there are experts in creating cosmetic replicas of human and animal ears. But most of my critters aren’t going for perfect realism. They’re hinting around the edges of life, they’re implying the right shapes and functions and letting you fill in the blanks. Getting the implication of the ear, and getting the right implication, can be more difficult.
Even though they can’t always hear, animal robots often look misshapen without ears. They look unfinished. But having prominent ears or realistic ears can create an expectation that the robot should hear or that the ears should articulate. So you’re caught a bit between a rock and a hard place-- how do you create a design that looks familiar, sweet, and complete, without implying function that doesn’t exist?
^Mostly and Often, HaRoCo-1 robots, with their differently shaped ears. On Often, the younger brother, we made the ears smaller to de-emphasize them.
Again, I rarely go for realism or familiarity, and this is on purpose. The more real the ear, the more your user expects it to do what an ear does. But if it looks like a stuffed animal, or if it is a creature they’ve never seen before, the expectations change. They don’t try to whisper in its ear or get disappointed when the ears don’t move.
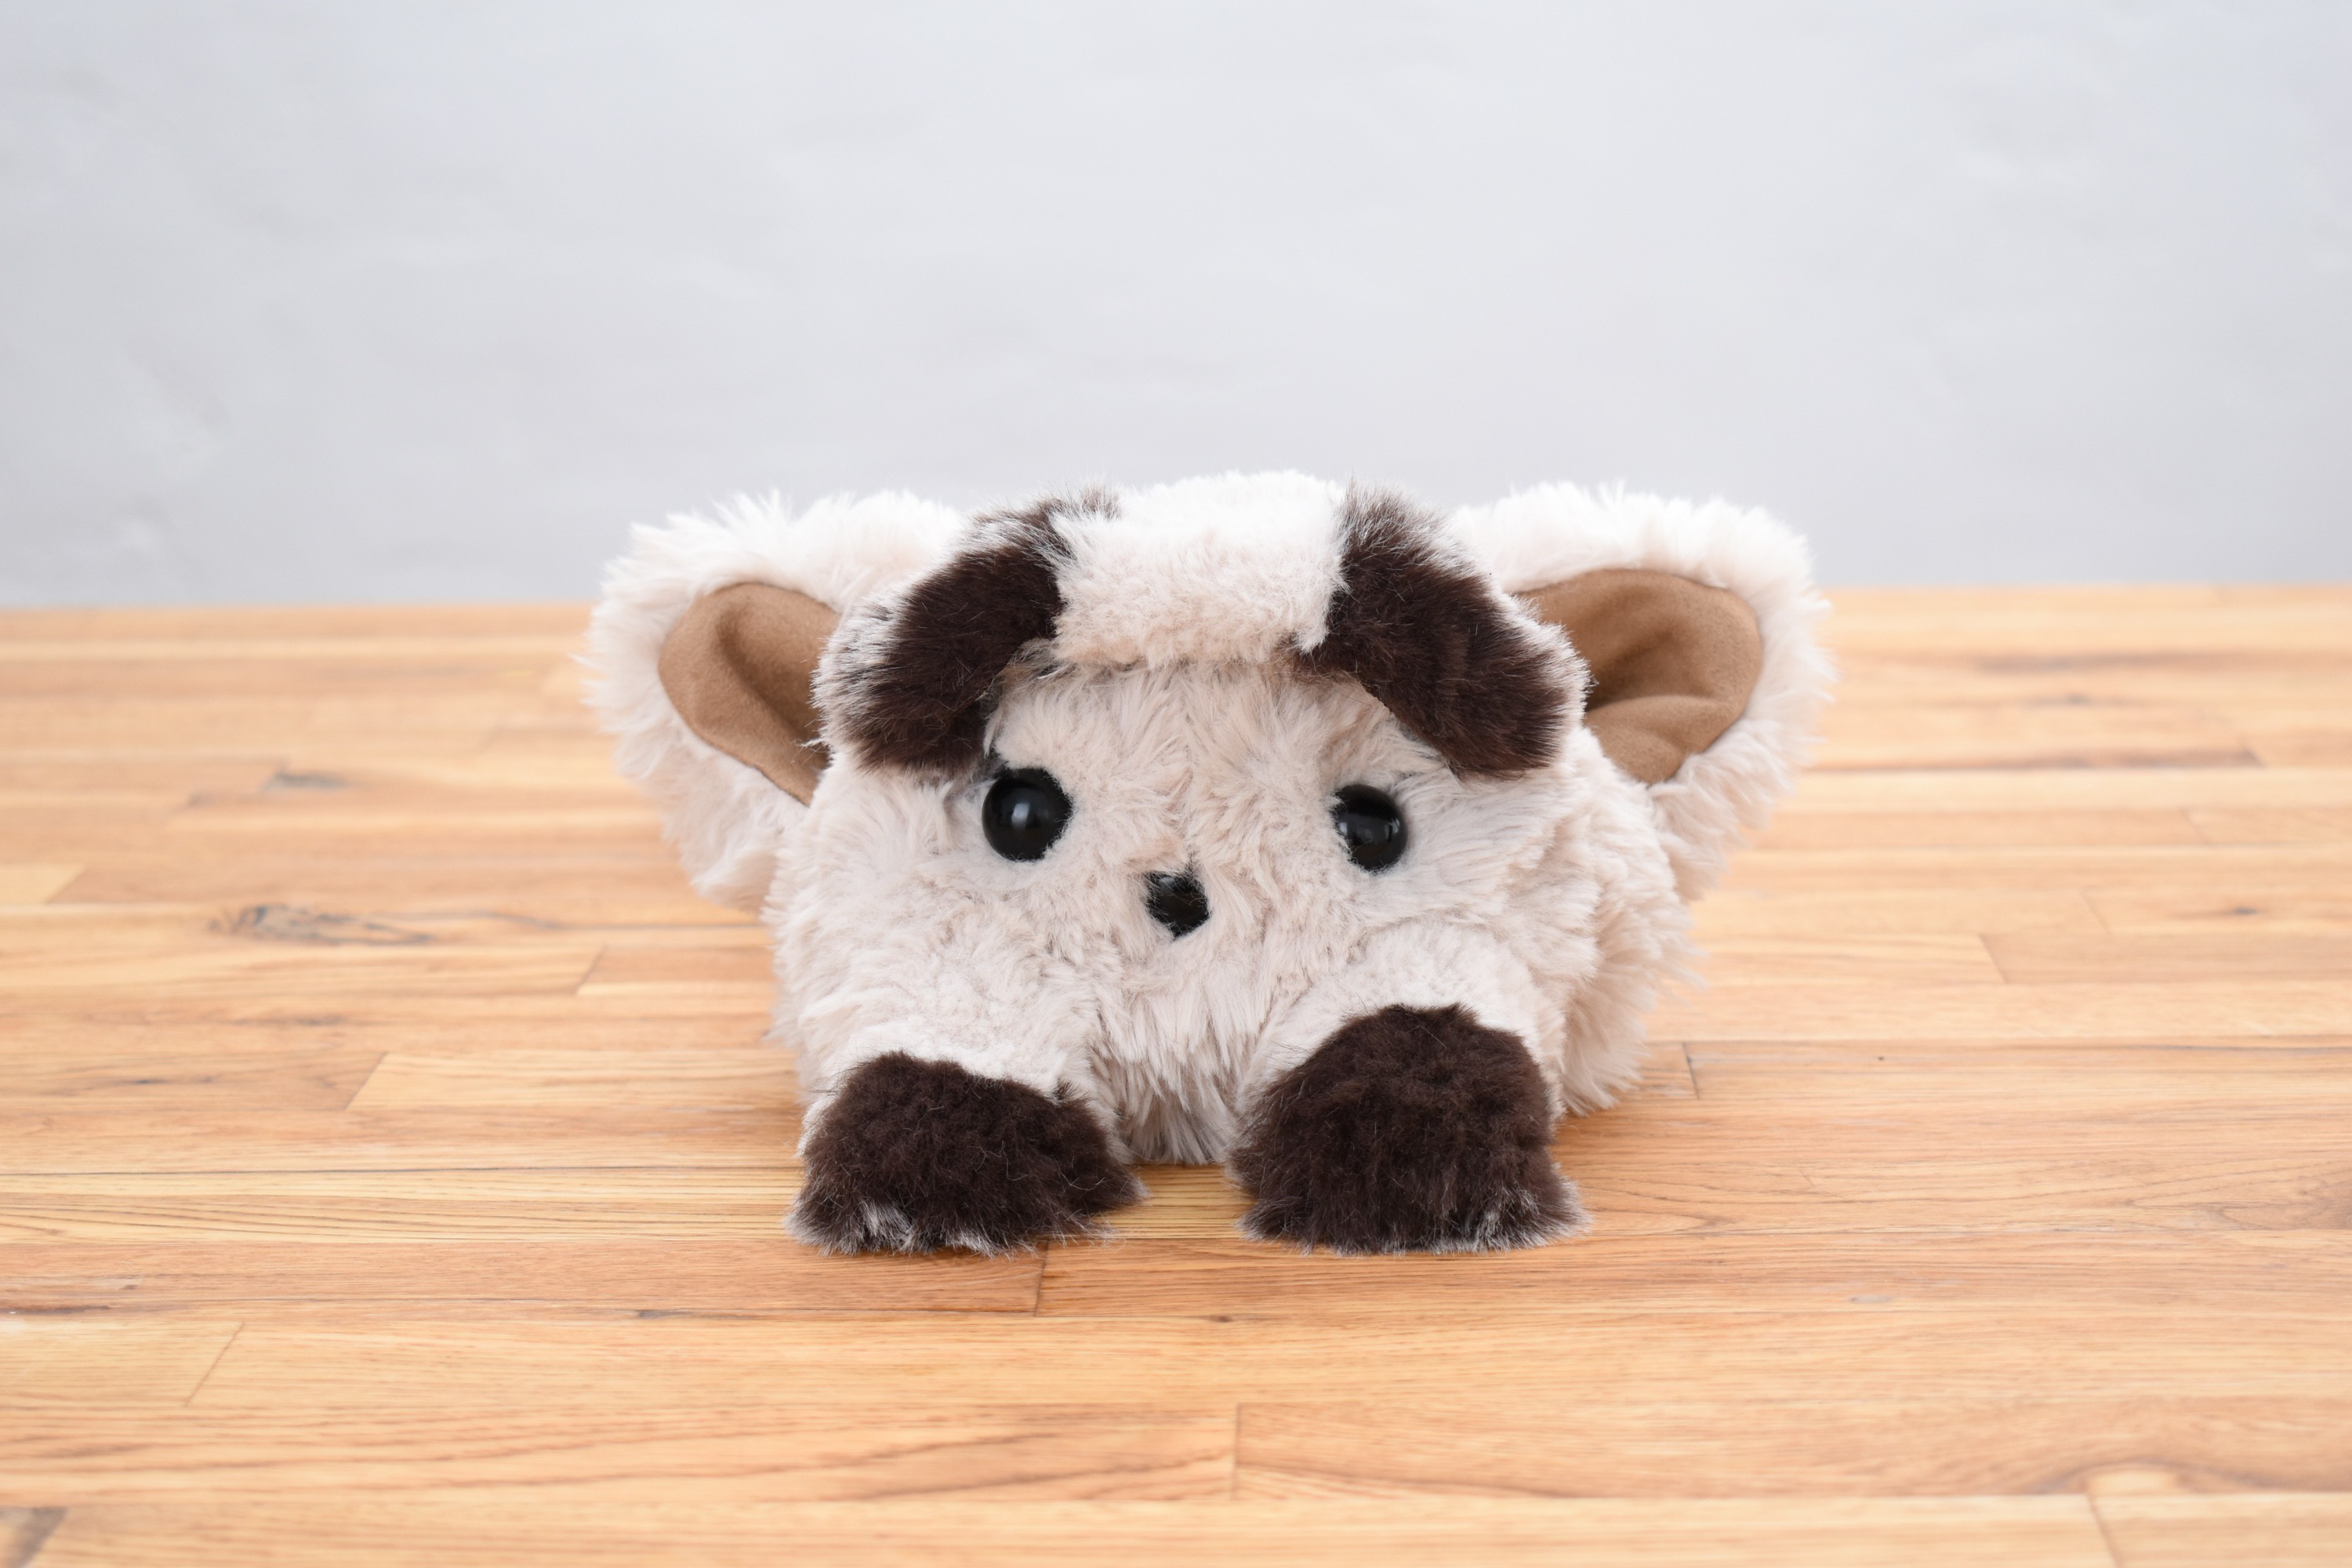
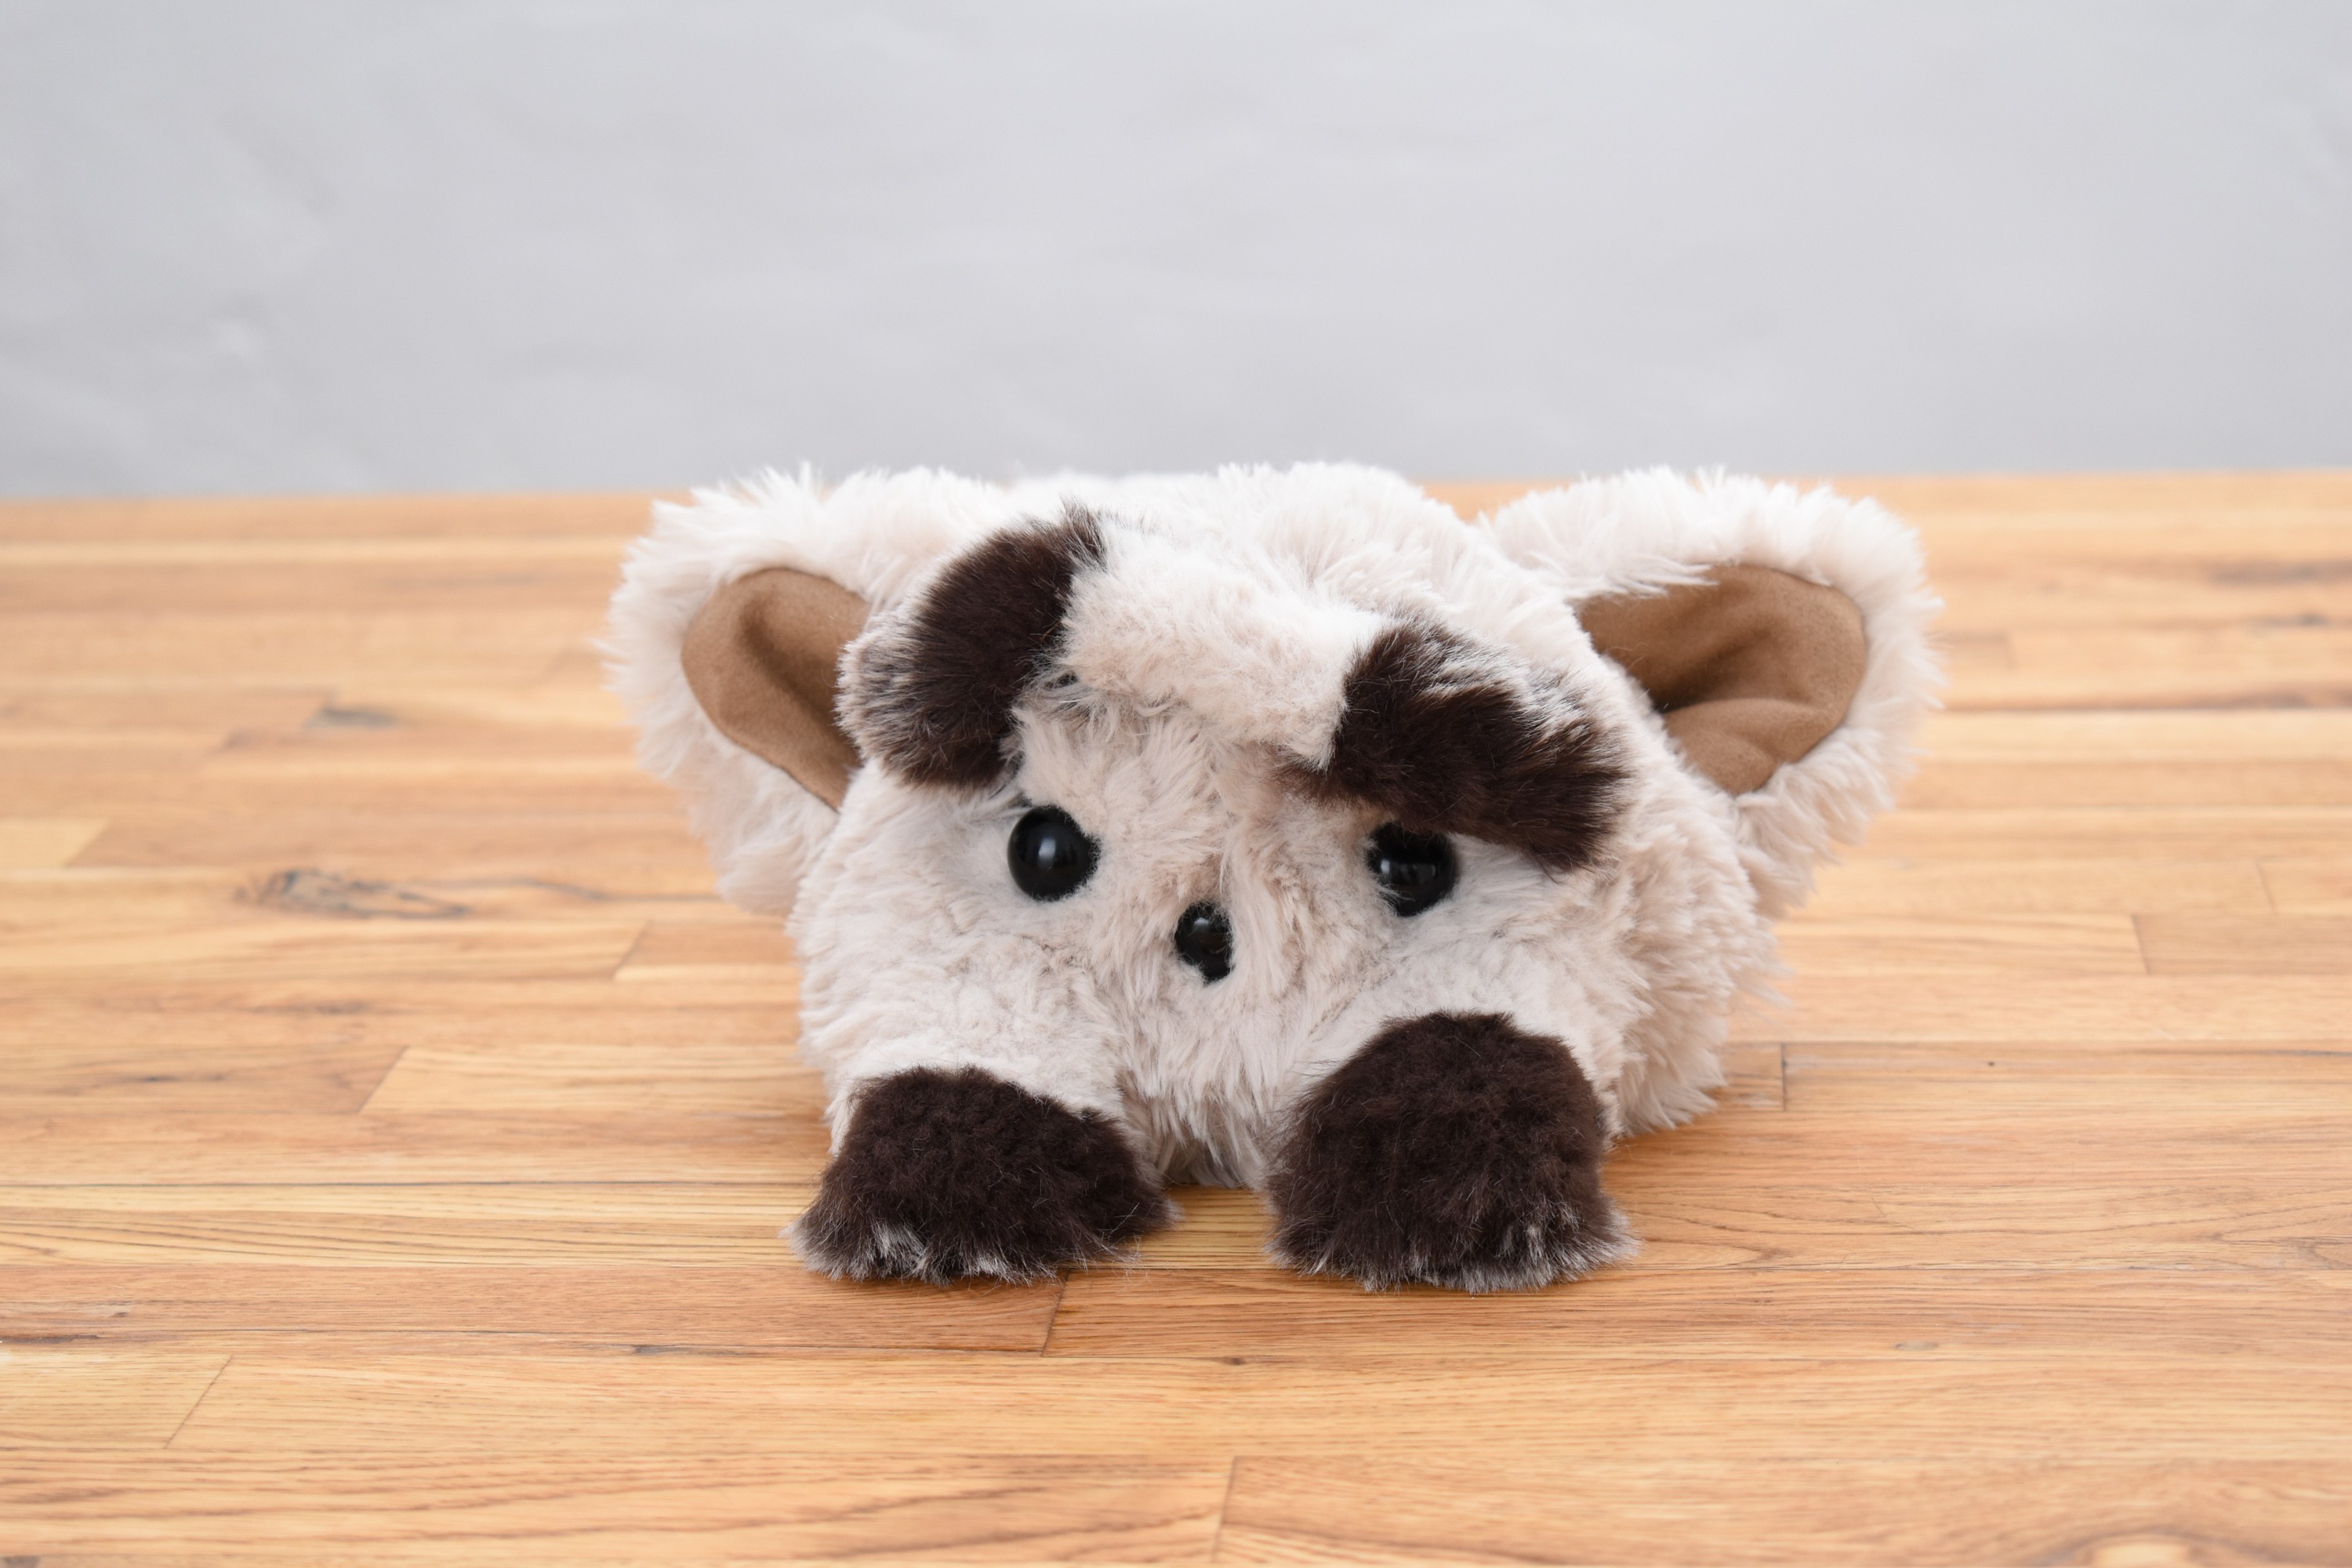
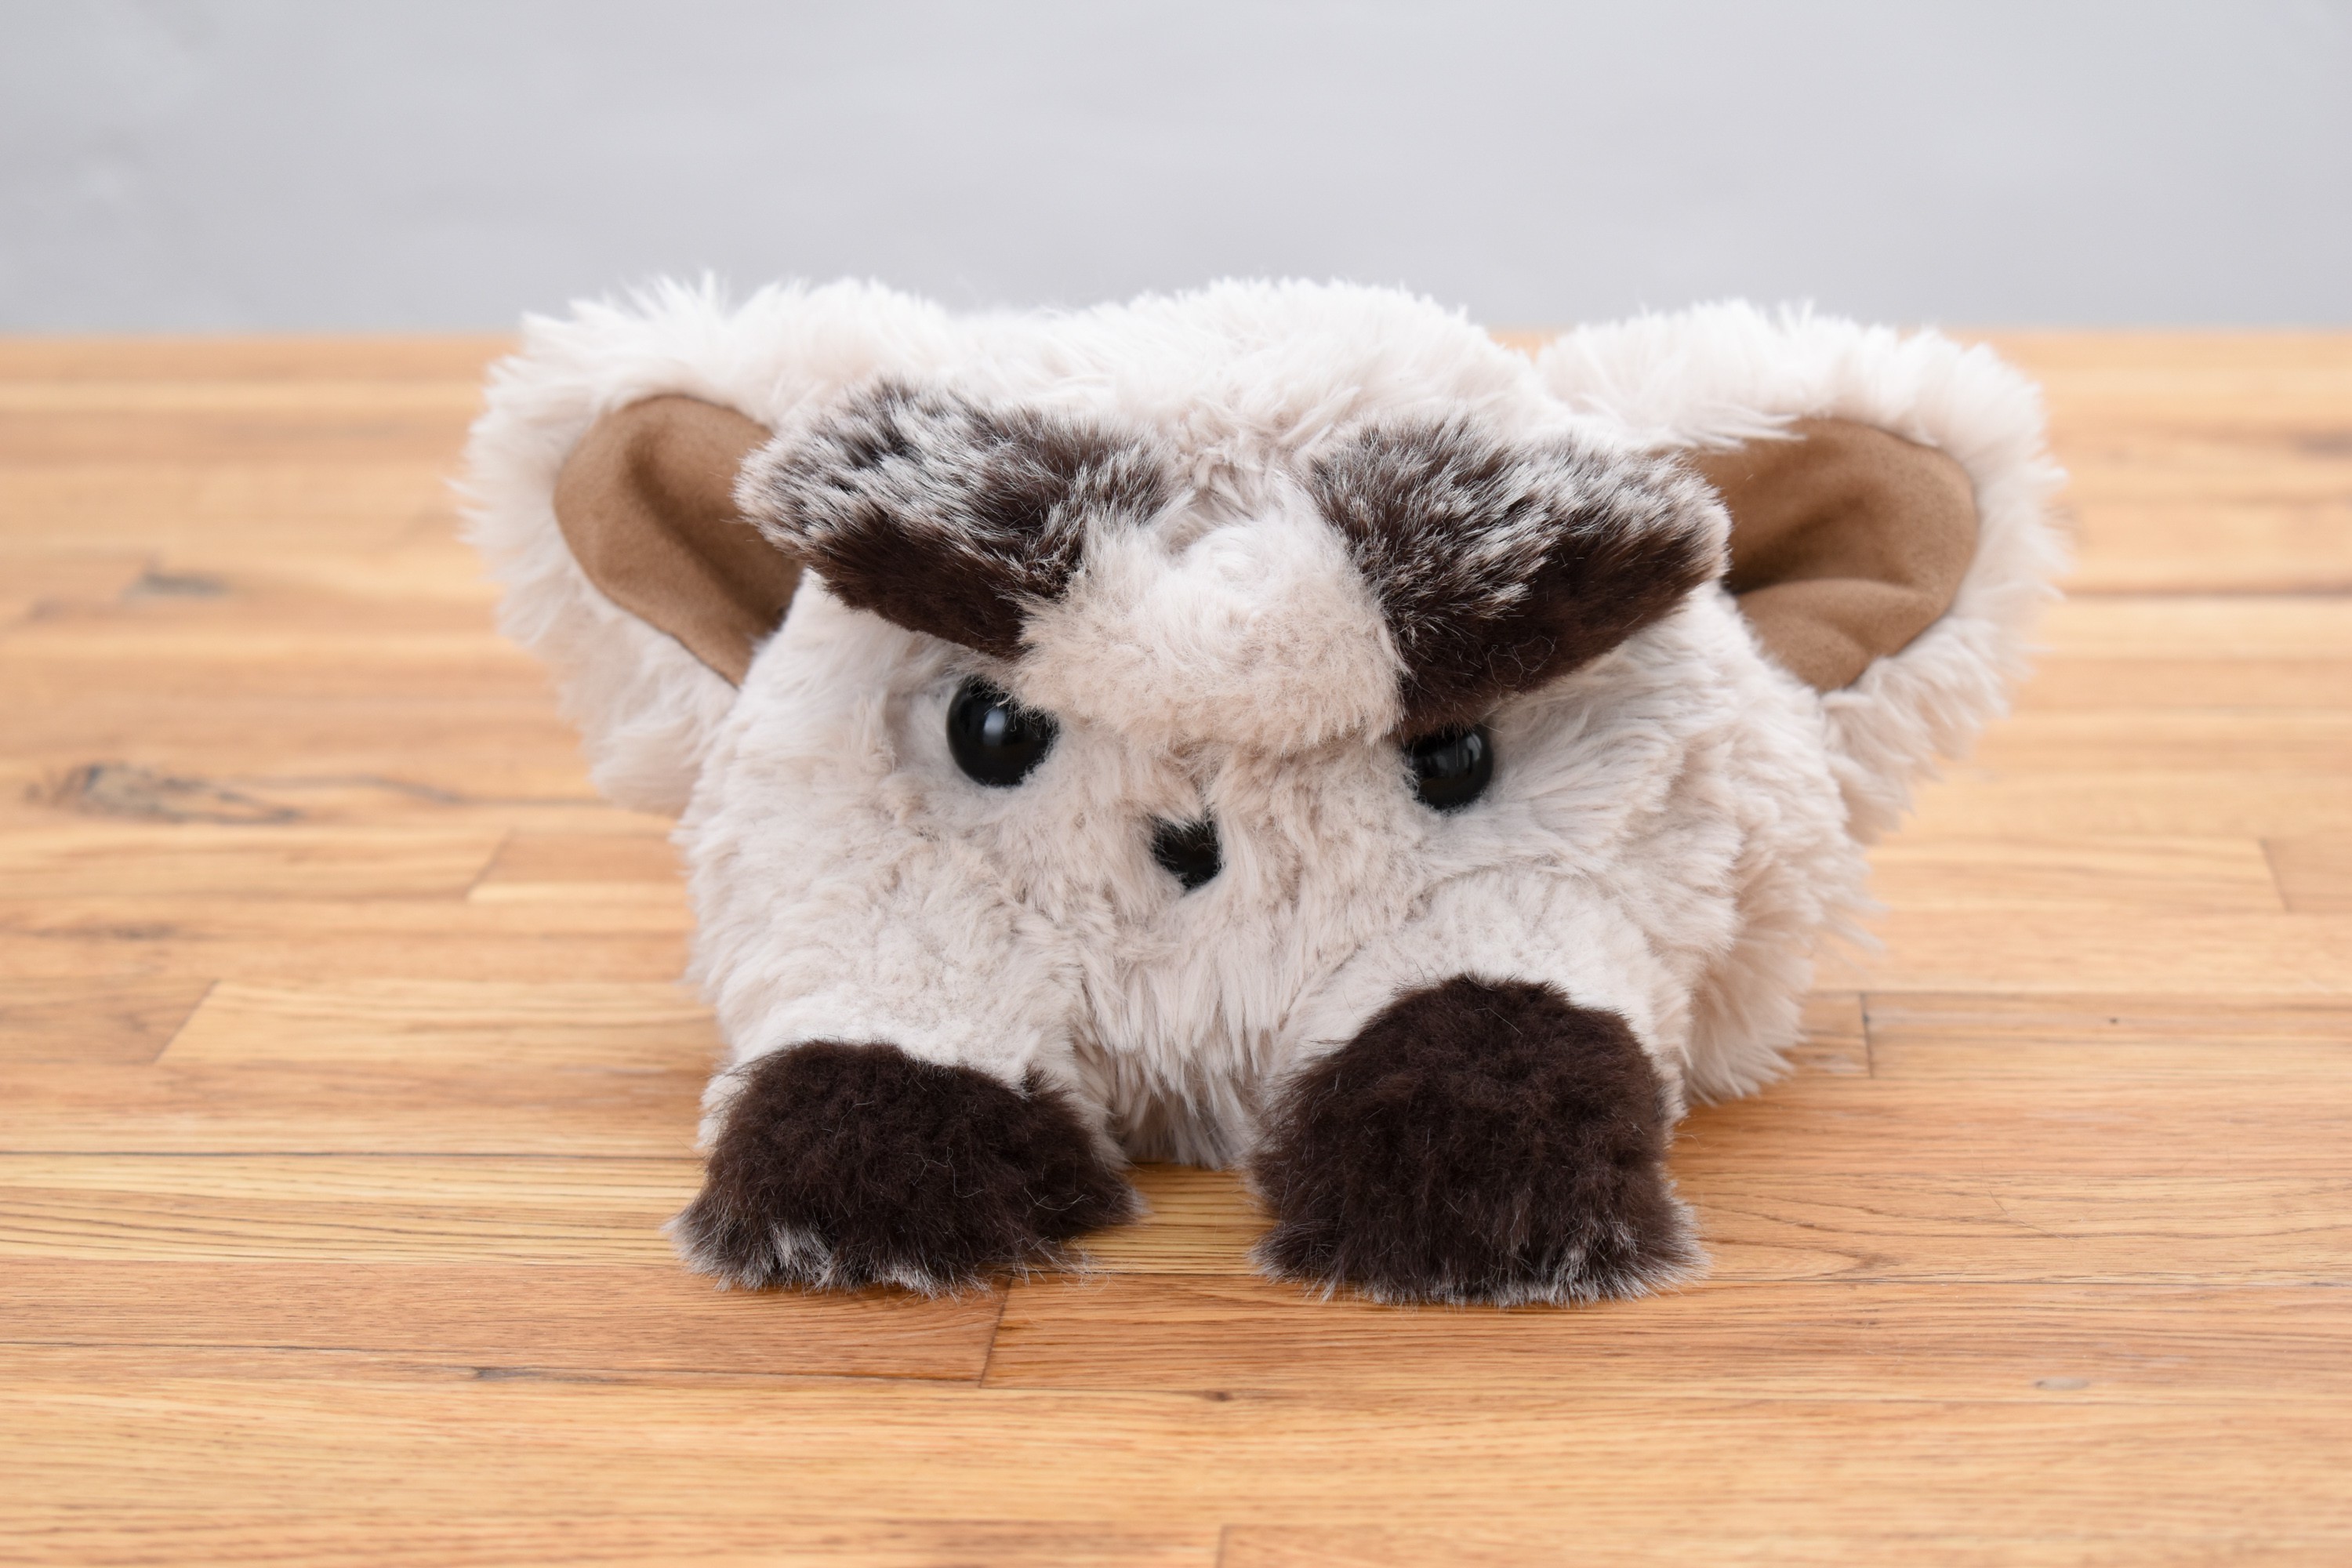
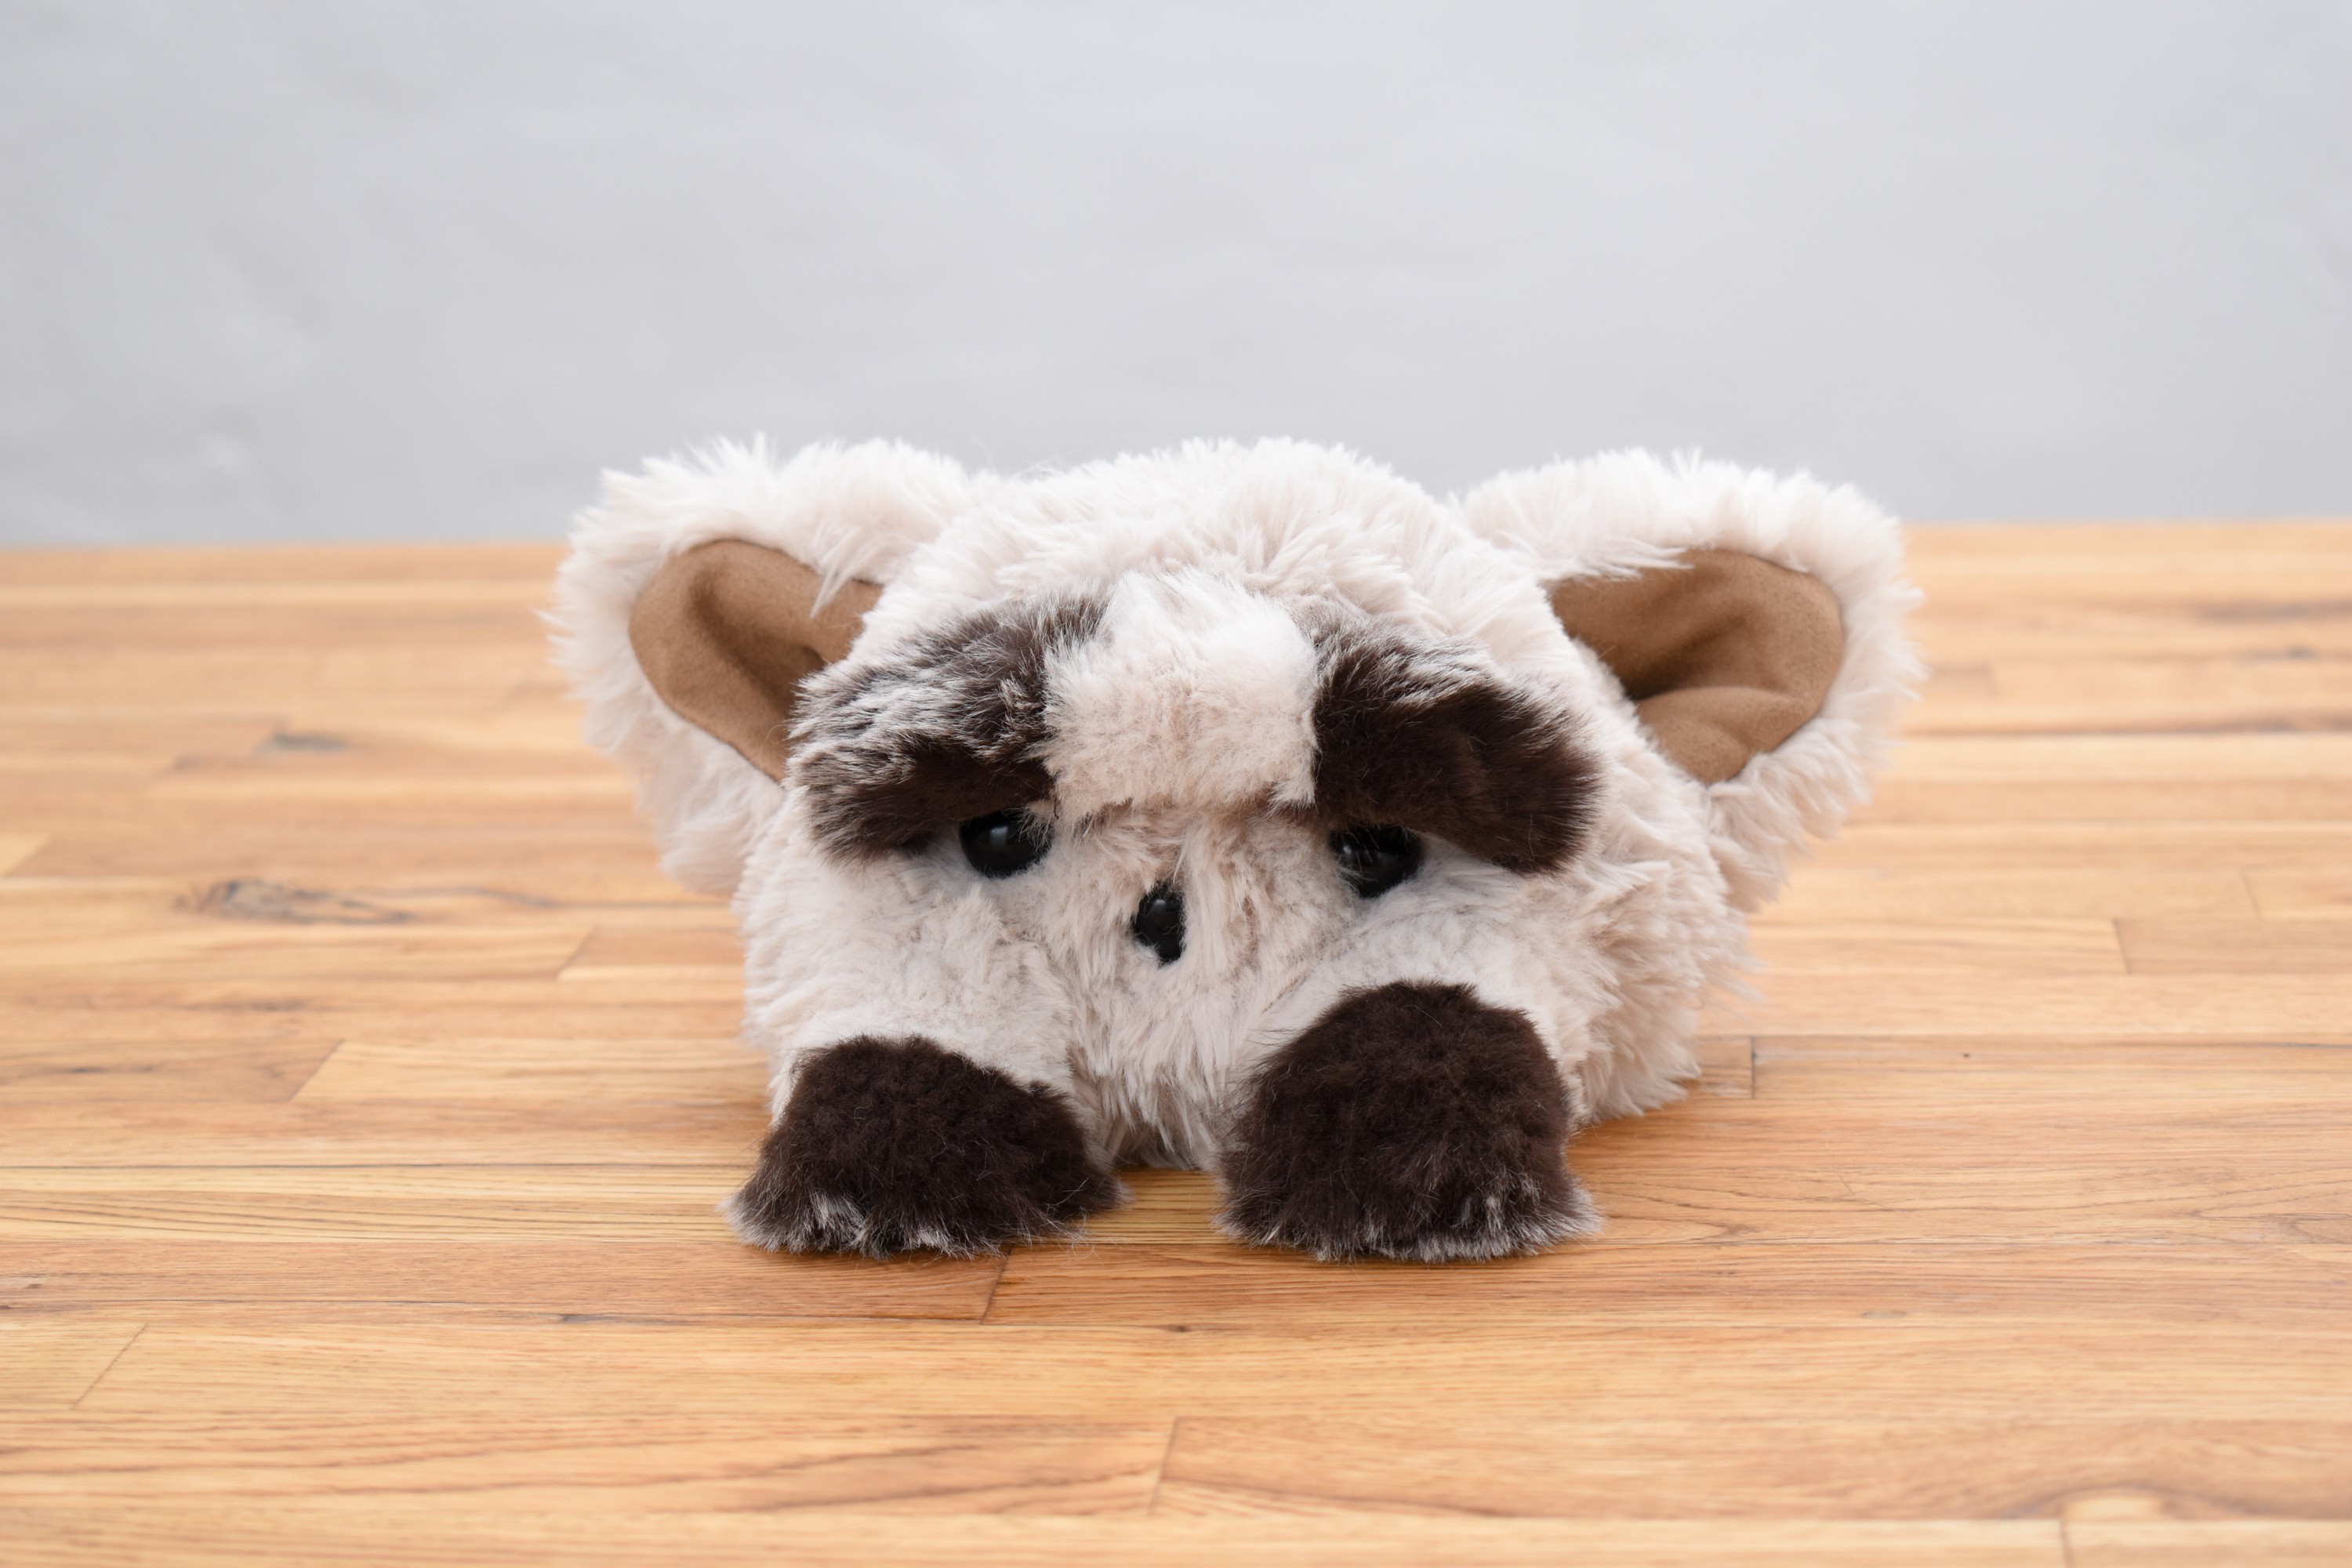
If you can eliminate ears altogether without having an incomplete look, all the better. This is yet another reason why the baby harp seal was a good choice for the makers of the Paro. It’s also the reason why I substituted horns in place of ears on the Fur Worm. Horns are static, they don’t articulate, and they provide a sense of completeness to the face and body. (Horns can also come across as aggressive, but it’s hard to feel that something as small as the Fur Worm could possibly be aggressive.)
^ Cute Fur Worm with horns. Without horns, he just kind of looks like a sock :(
I suggested horns for the bigger critters, out of a sense of mischief, but Richard said no. I guess my days of creepy Starfish Cat-ing are over.
We’re working on the HaRoCo-12, but I wanted to make a quick post about our first baby, the HaRoCo-1.
^ My initial sketches of the HaRoCo-1
When we built the HaRoCo-1, we wanted to test if it was possible to bring a critter to life with only eyebrows and legs. I remember describing the little gumdrop shape of the body to Richard and miming its ability to boost itself up, look at you, and blink. “I think I can do it with only five servos,” I said.
^ The HaRoCo-1 without its fur, sitting next to its eyebrows.
HaRoCo-1 isn’t designed to be easily handled and carried; for maximum expressiveness he needs to be sitting on a flat surface. (The design elements for easy carrying and flexible location would come in later models.) But we found that his basic expressions were pretty effective. The very act of blinking had an emotional effect.
Ultimately, HaRoCo-1 was a test for the power of expressions. We already knew we could fake life using only three servos, but I wanted to try something with more specificity of expression. I wanted to try something with a face.
Robot critters with articulated faces are way harder to animate than critters without, but the basic principles stay the same. I used the same basic structure I talked about when I made the Fur Worm: purpose, emotion and story; consistency, randomness, and context.
^ My talk with the Fur Worm, sorry about that end bit.
But the more human-like you get, the more difficult it is to program coherent “randomness” into your behaviors. In the Fur Worm, I’d randomize which motors moved, and also randomize the amplitude and speed of the motion within a given range. As you squeezed him longer, that range would change.
Using the same software on the HaRoCo-1 would make it look like he was having a seizure. So I needed new “ranges,” new inputs, and more specific moods. For HaRoCo-1 (and all its facial-expressing progeny), the randomness of the motion has to come in categories, and the categories have to be organized and skewed by mood. So in the end, HaRoCo-1 moves in different ways based on how he “feels,” just like you and me.
^HaRoCo-1 getting hangry about his battery being low
Stepper motors are pretty great for low speed, high precision, multi-rotation applications, but they have some serious downsides. They're heavy, expensive, and if you actually want the precision feature then you have to significantly overspec the motor so it doesn't lose steps under load.
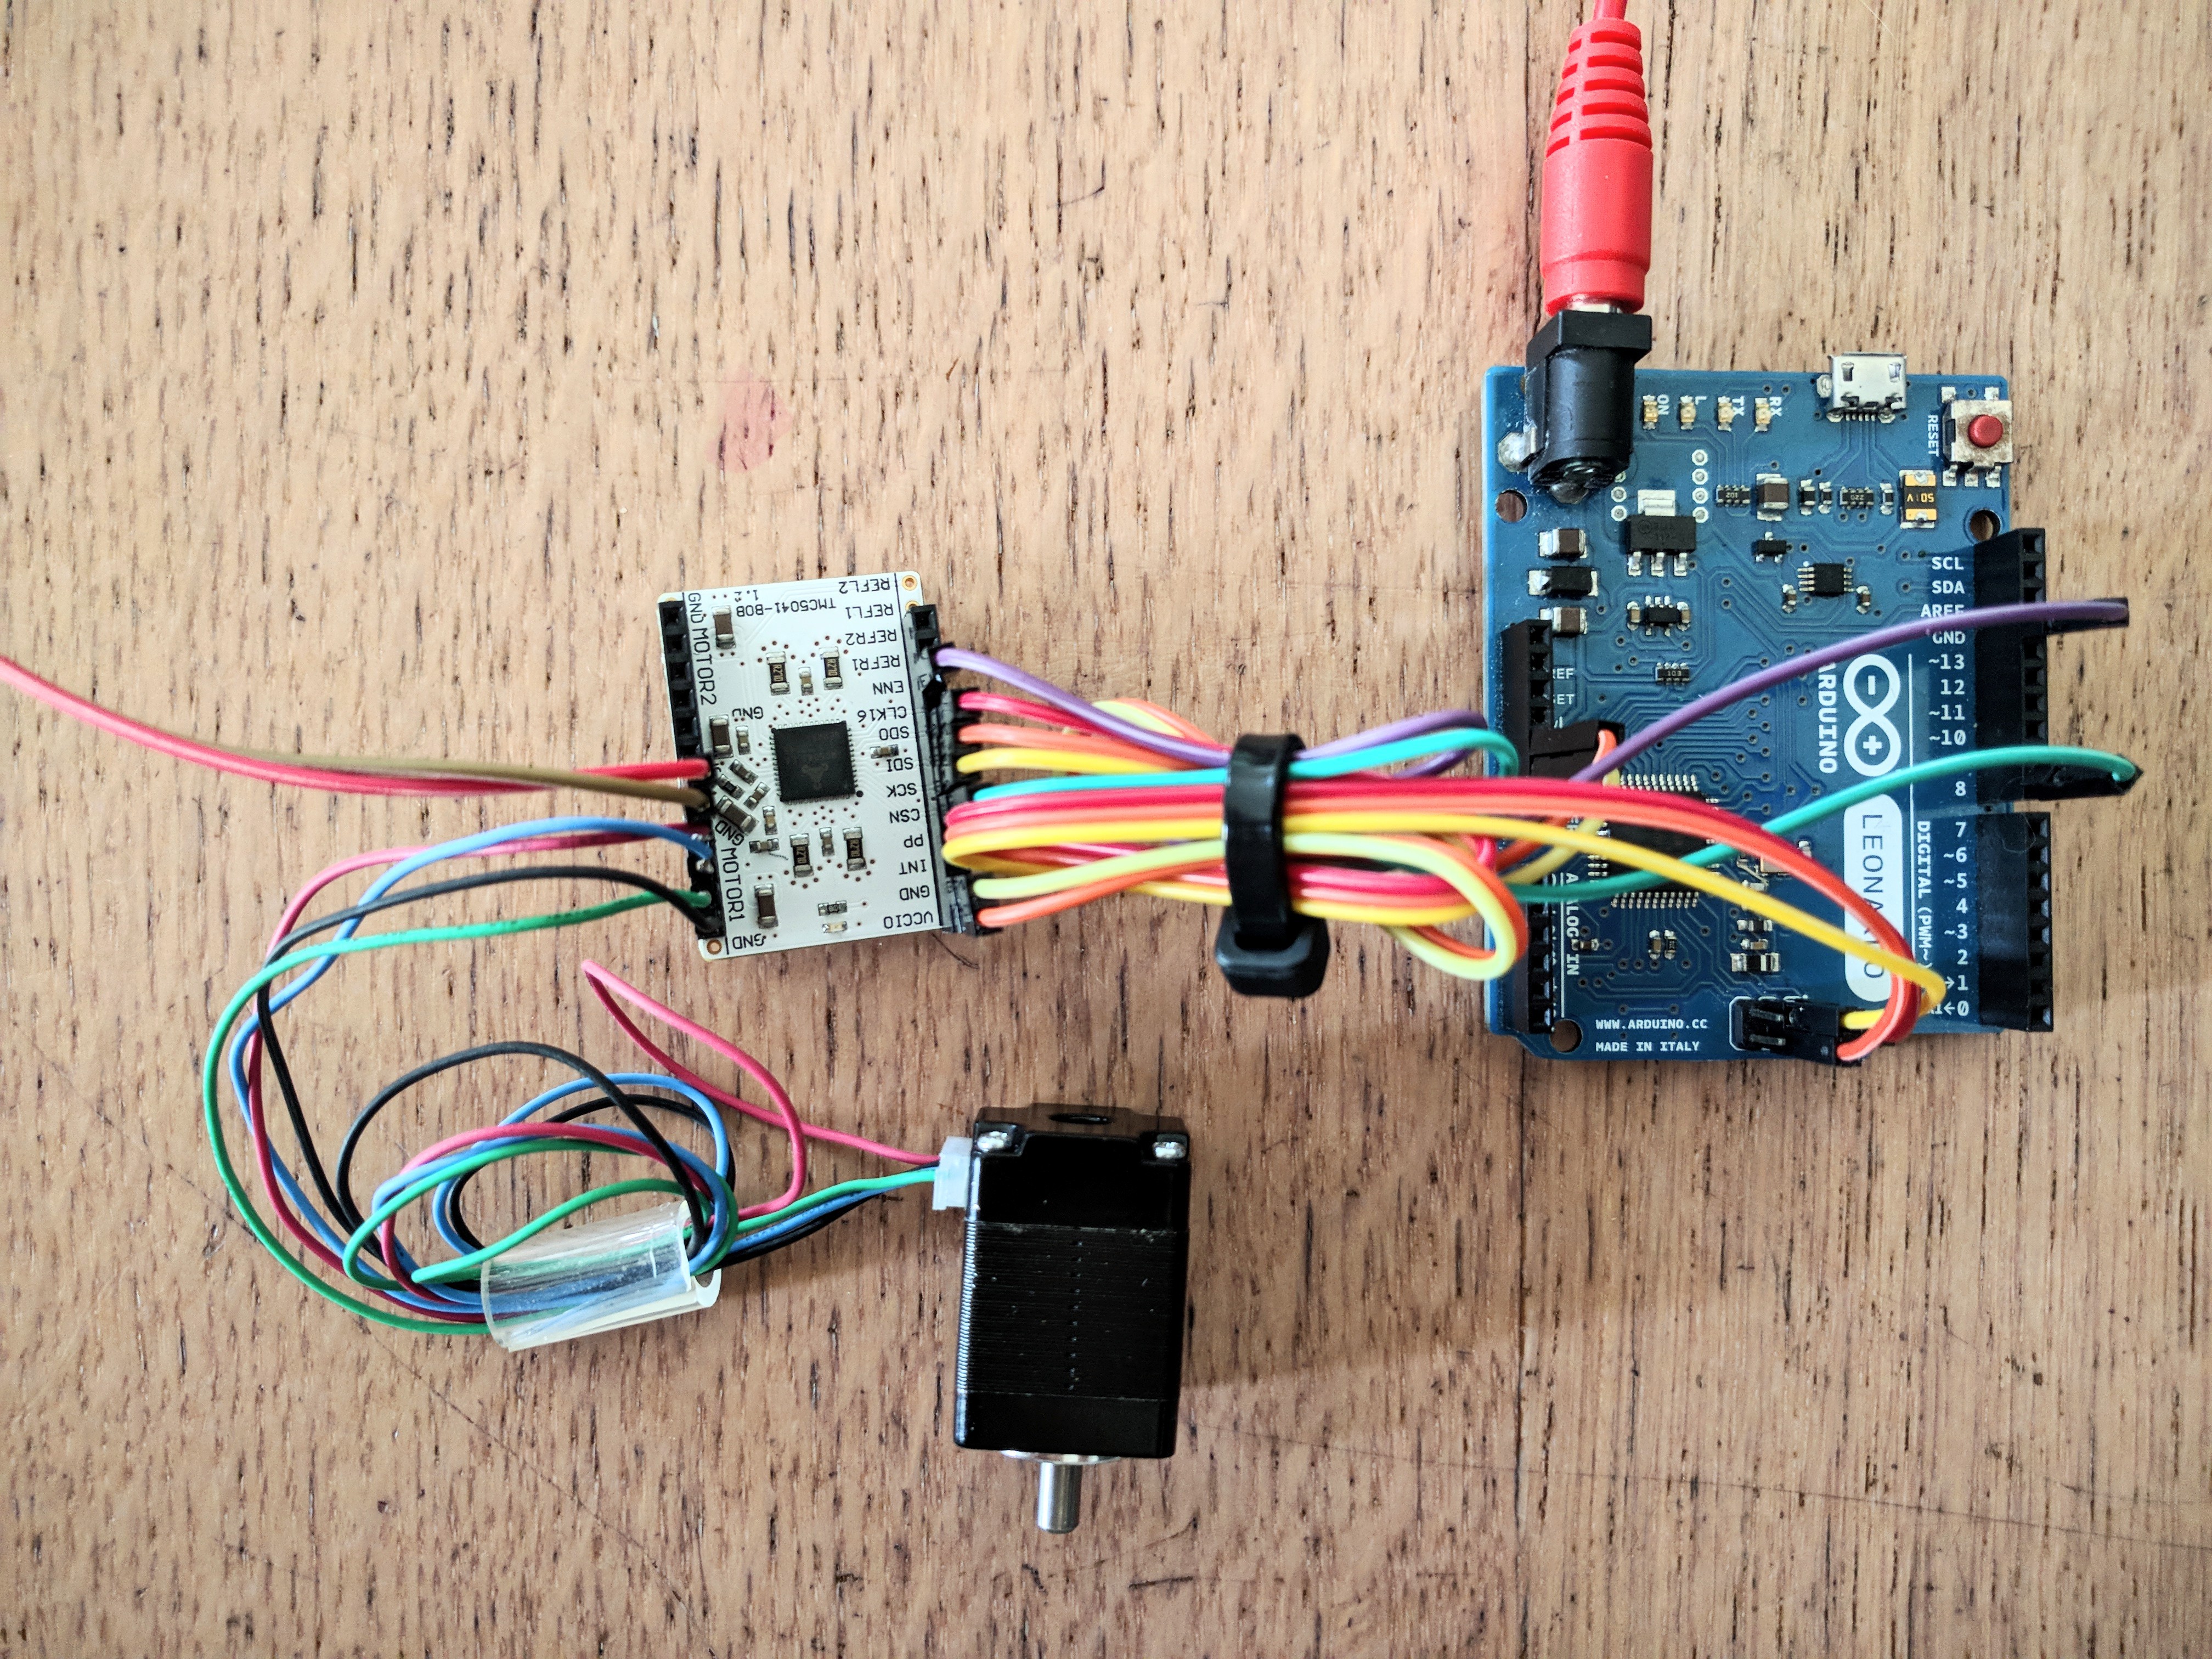
Using steppers has also been an awkward pain in the butt. In the simplest configuration you clumsily bang MOSFETs on and off. Better setups use a stepper driver, like the much-beloved and -used TMC2130, but the interface is basic and requires constantly-outputting clumsy firmware to set the DIR pin and toggle the STEP pin to get motion.
Enter the TMC5xxx line of stepper controllers. These do all kinds of fancy dynamic things while driving the motor, from saving power to running near-silently. The most interesting improvement is that you no longer DIR/STEP the motors... you connect via SPI and tell it a target. The target is how many steps you want it to travel, positive or negative to specify CW vs CCW. From there, it calculates and executes beautiful acceleration curves, all configurable. It also senses and adapts to the specific motor that's connected, and tracks (and I think compensates for) missed steps. No microcontroller overhead. They also have inputs for encoders and limit switches.
Now the downsides. The ICs cost about $10 apiece in single quantities, though that goes down to $5 in volume, and up to $20 for breakout boards. The configuration is deeply unpleasant, requiring 100-200 bits of registers set with no good defaults and complex, non-obvious interdependencies between the settings.
However! I'm working on a library to make these chips easier to use, and hope to release a version that works for the TMC5041, TMC5130, and TMC5160 in the next couple of months.
 Christine