 Involute
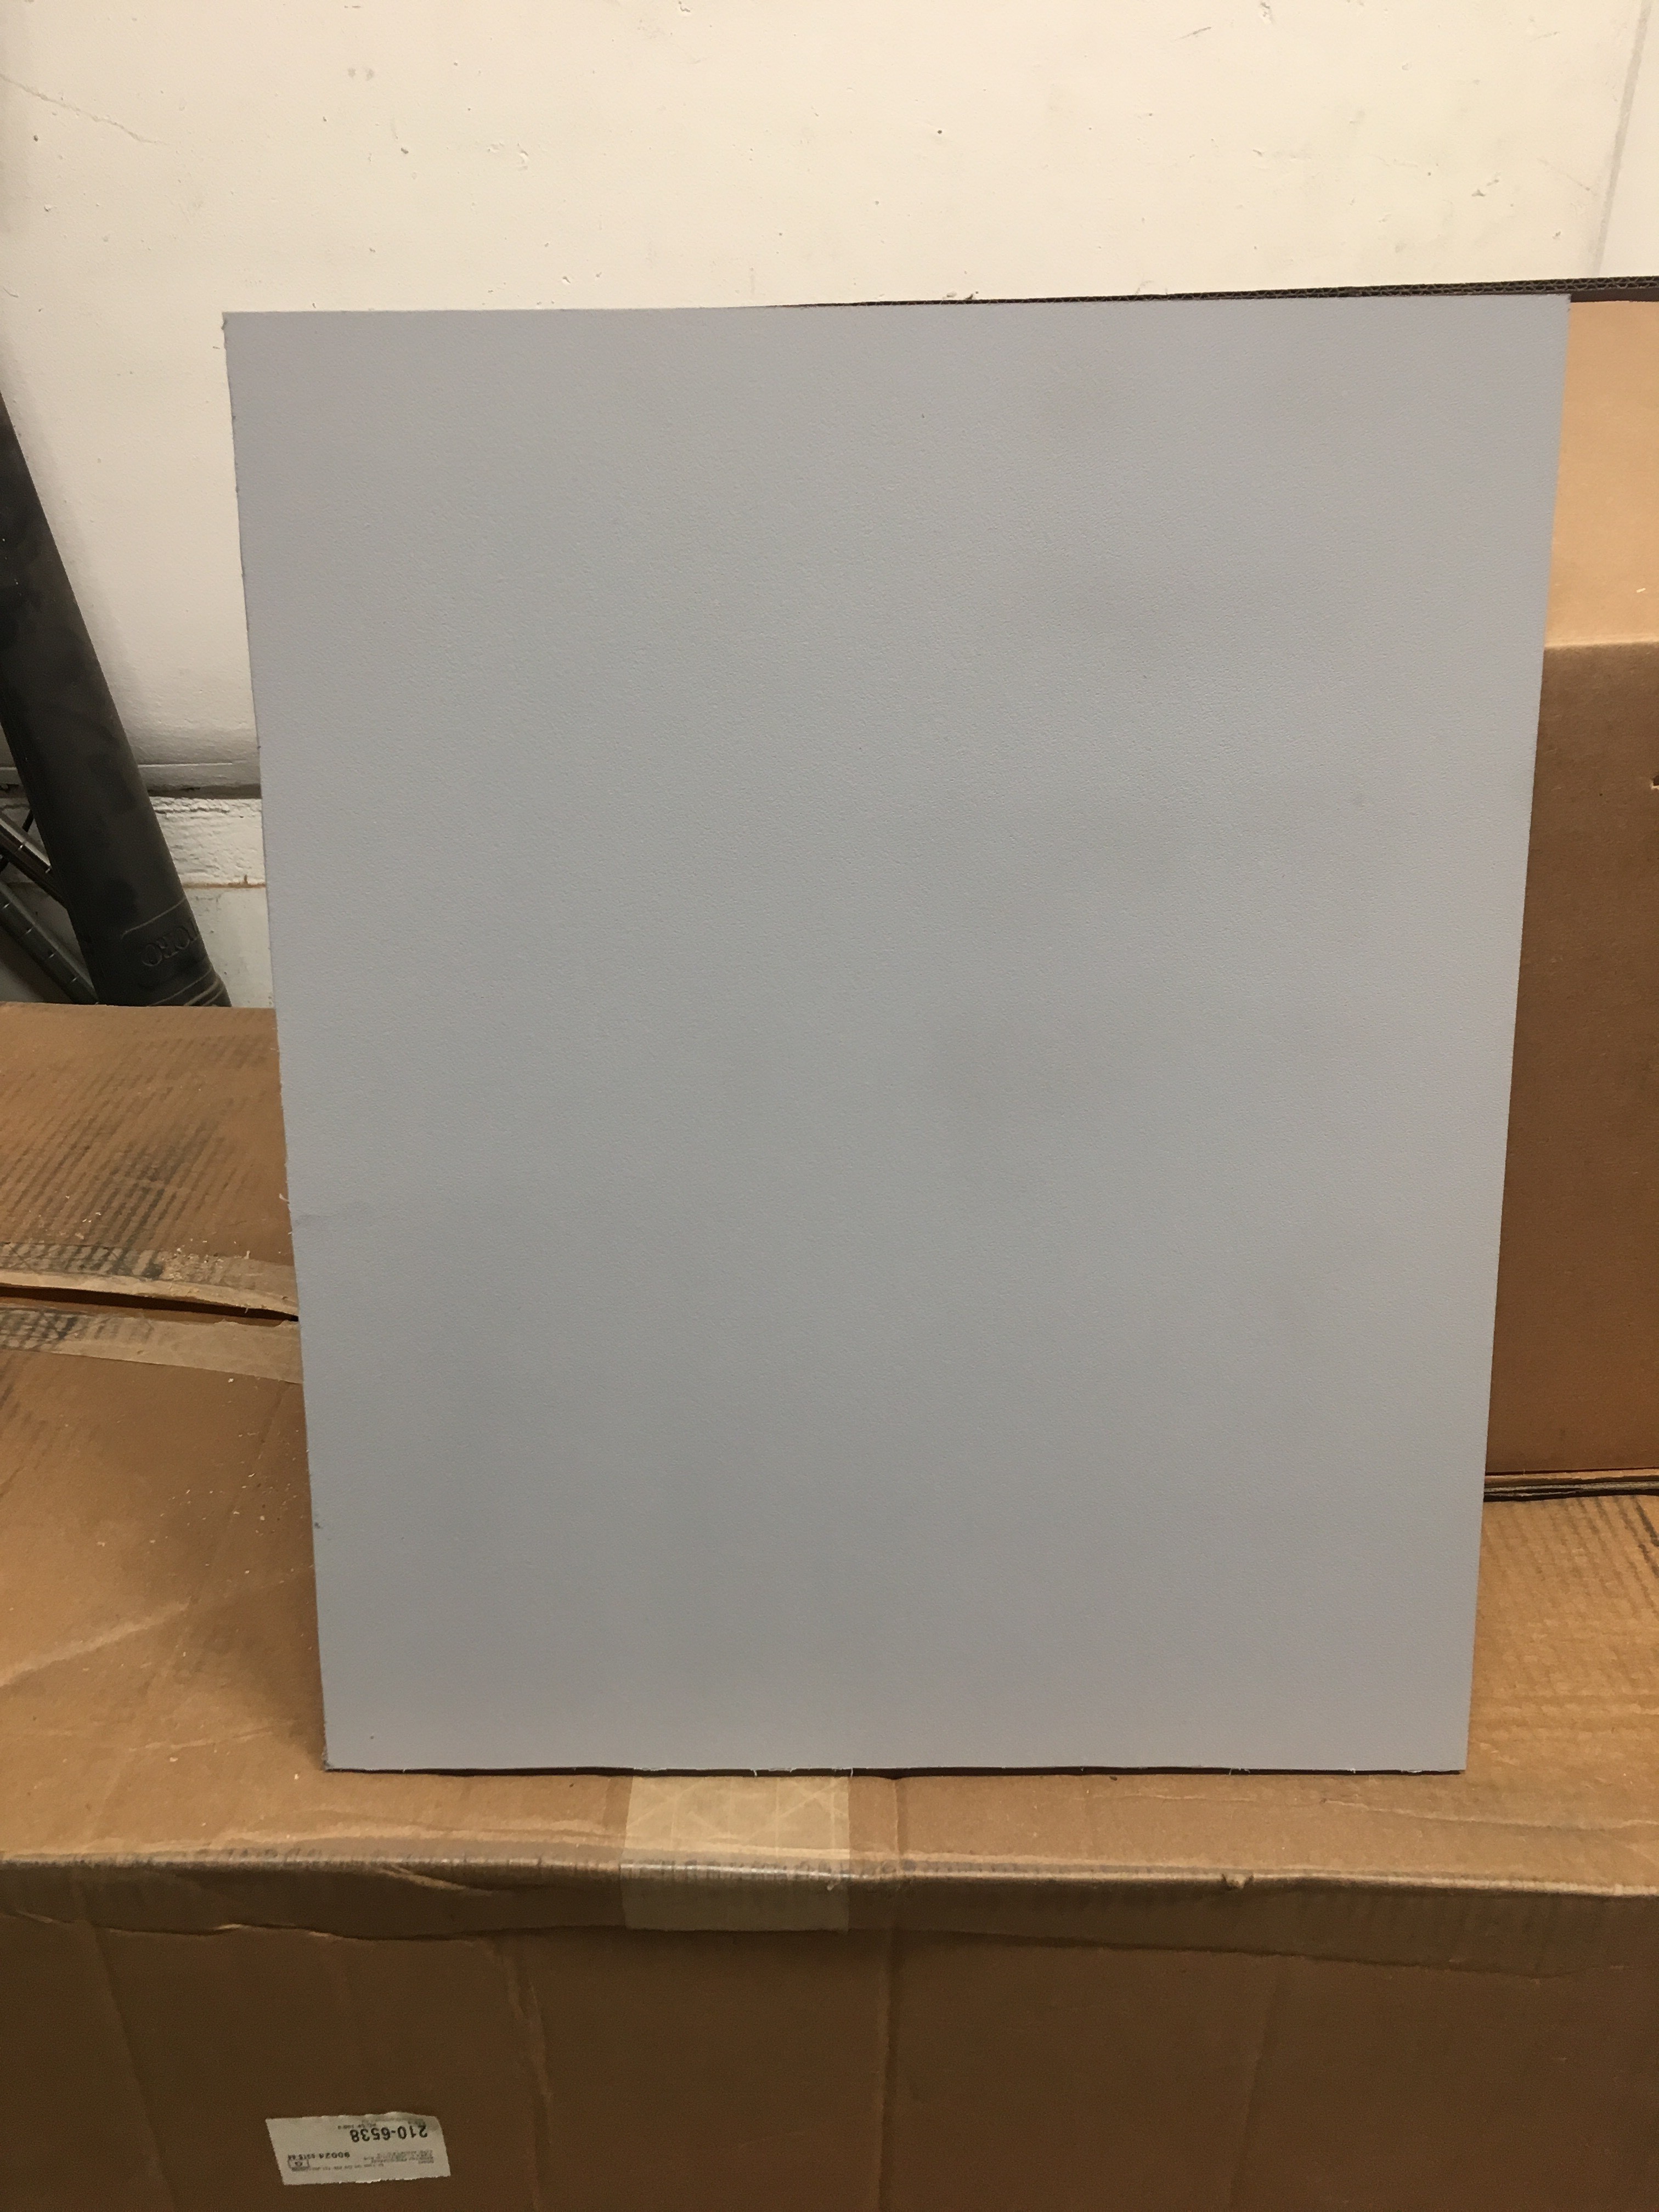
Well, I wasn't able to etch holes in the panel without turning each one into a gooey, melted mess, regardless of laser settings. So, I decided to hit one side of the panel with a coat of primer:
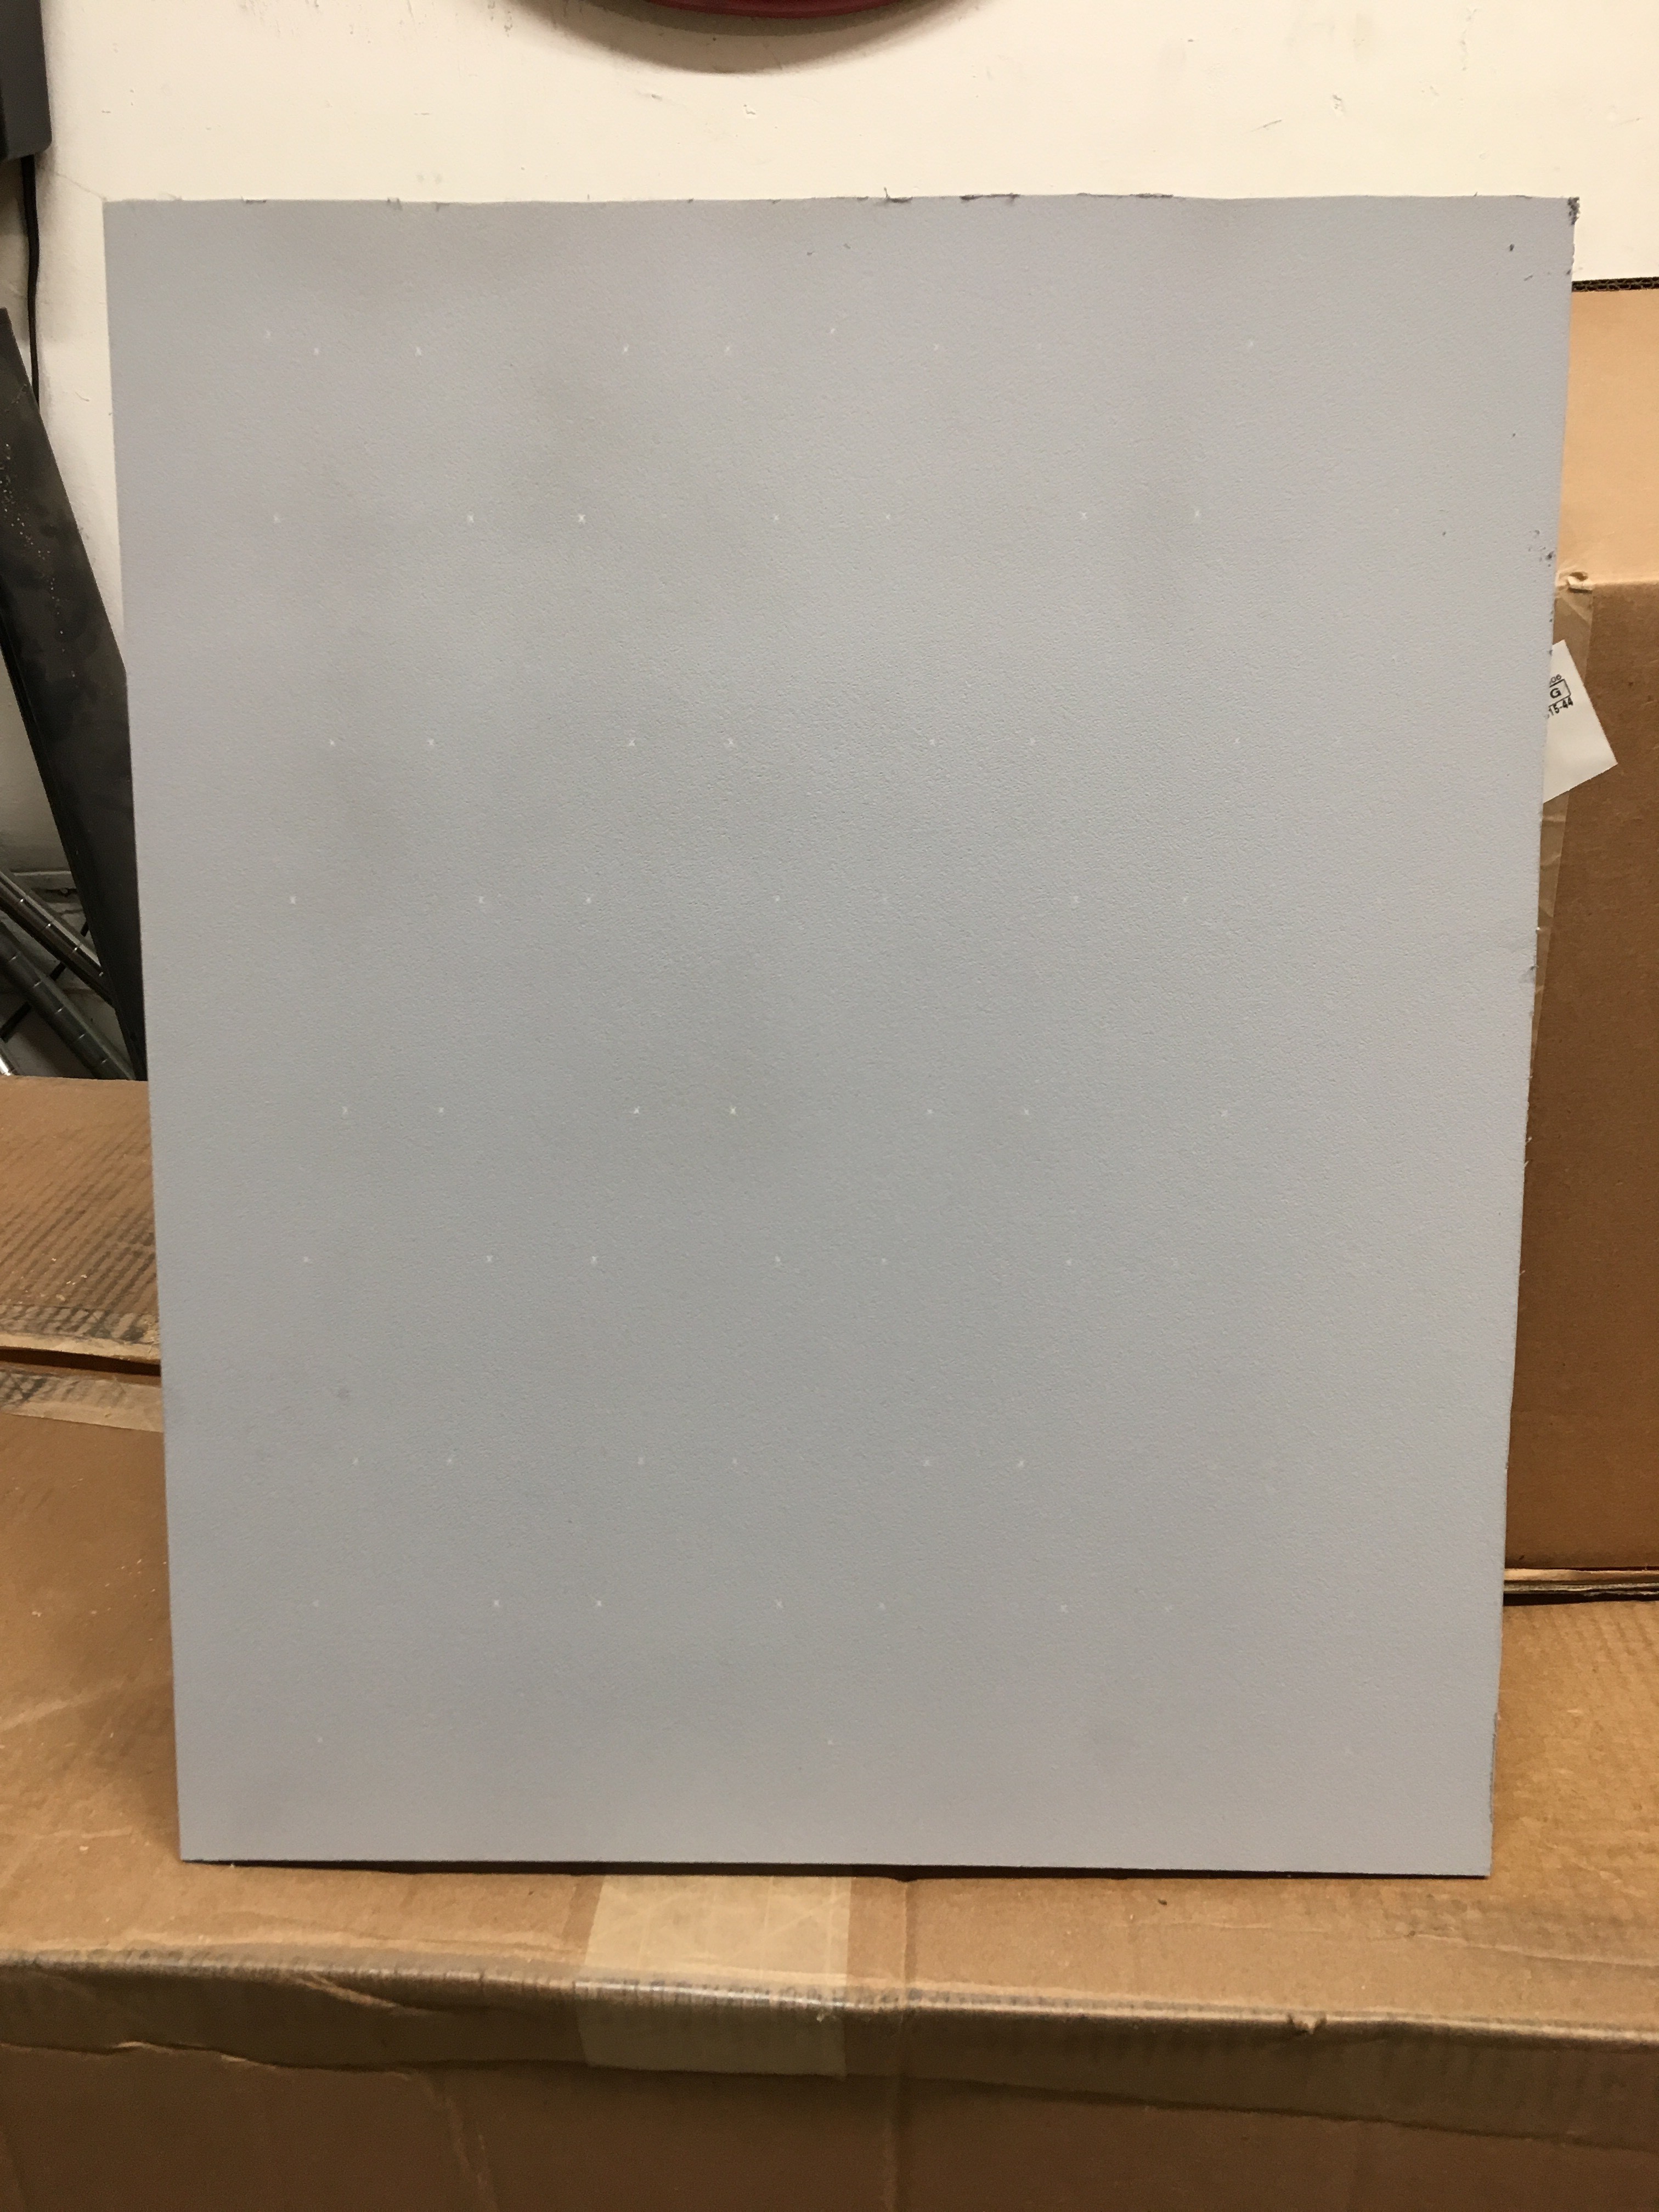
then laser etch an "x" through the primer wherever a hole is supposed to go (barely visible in the photo):
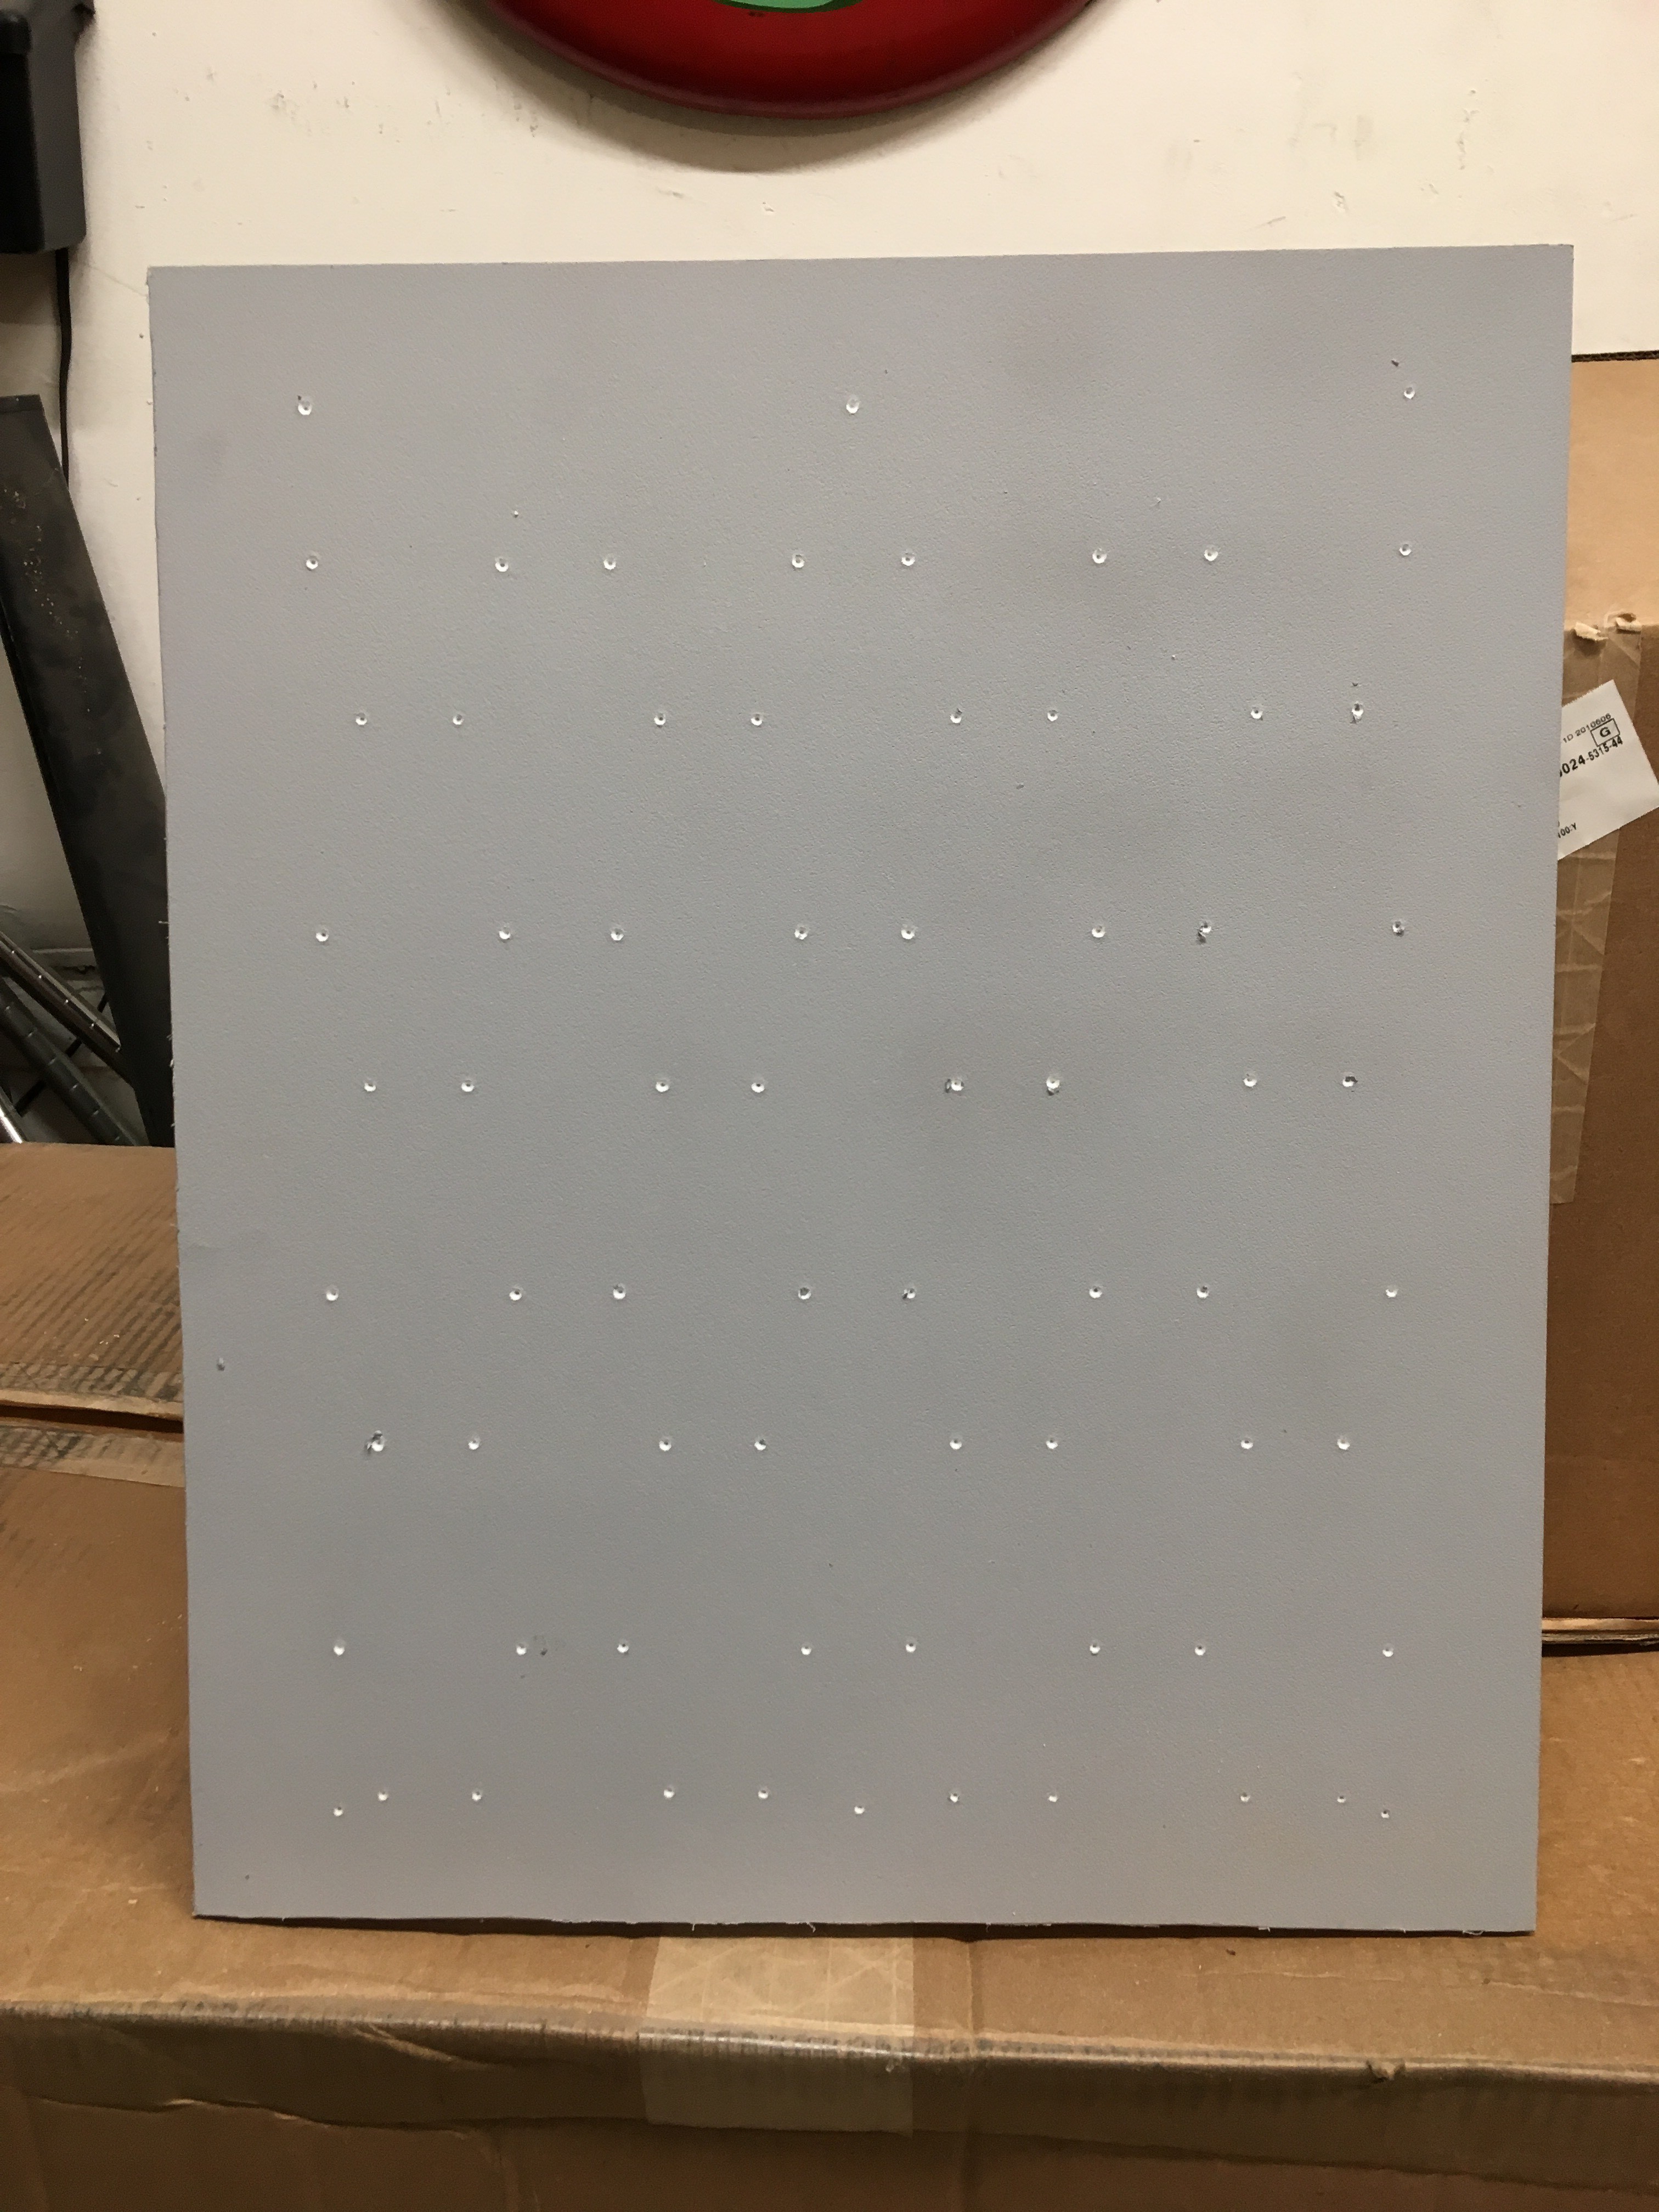
then center punch each "x" to provide a better guide for the drill bit:
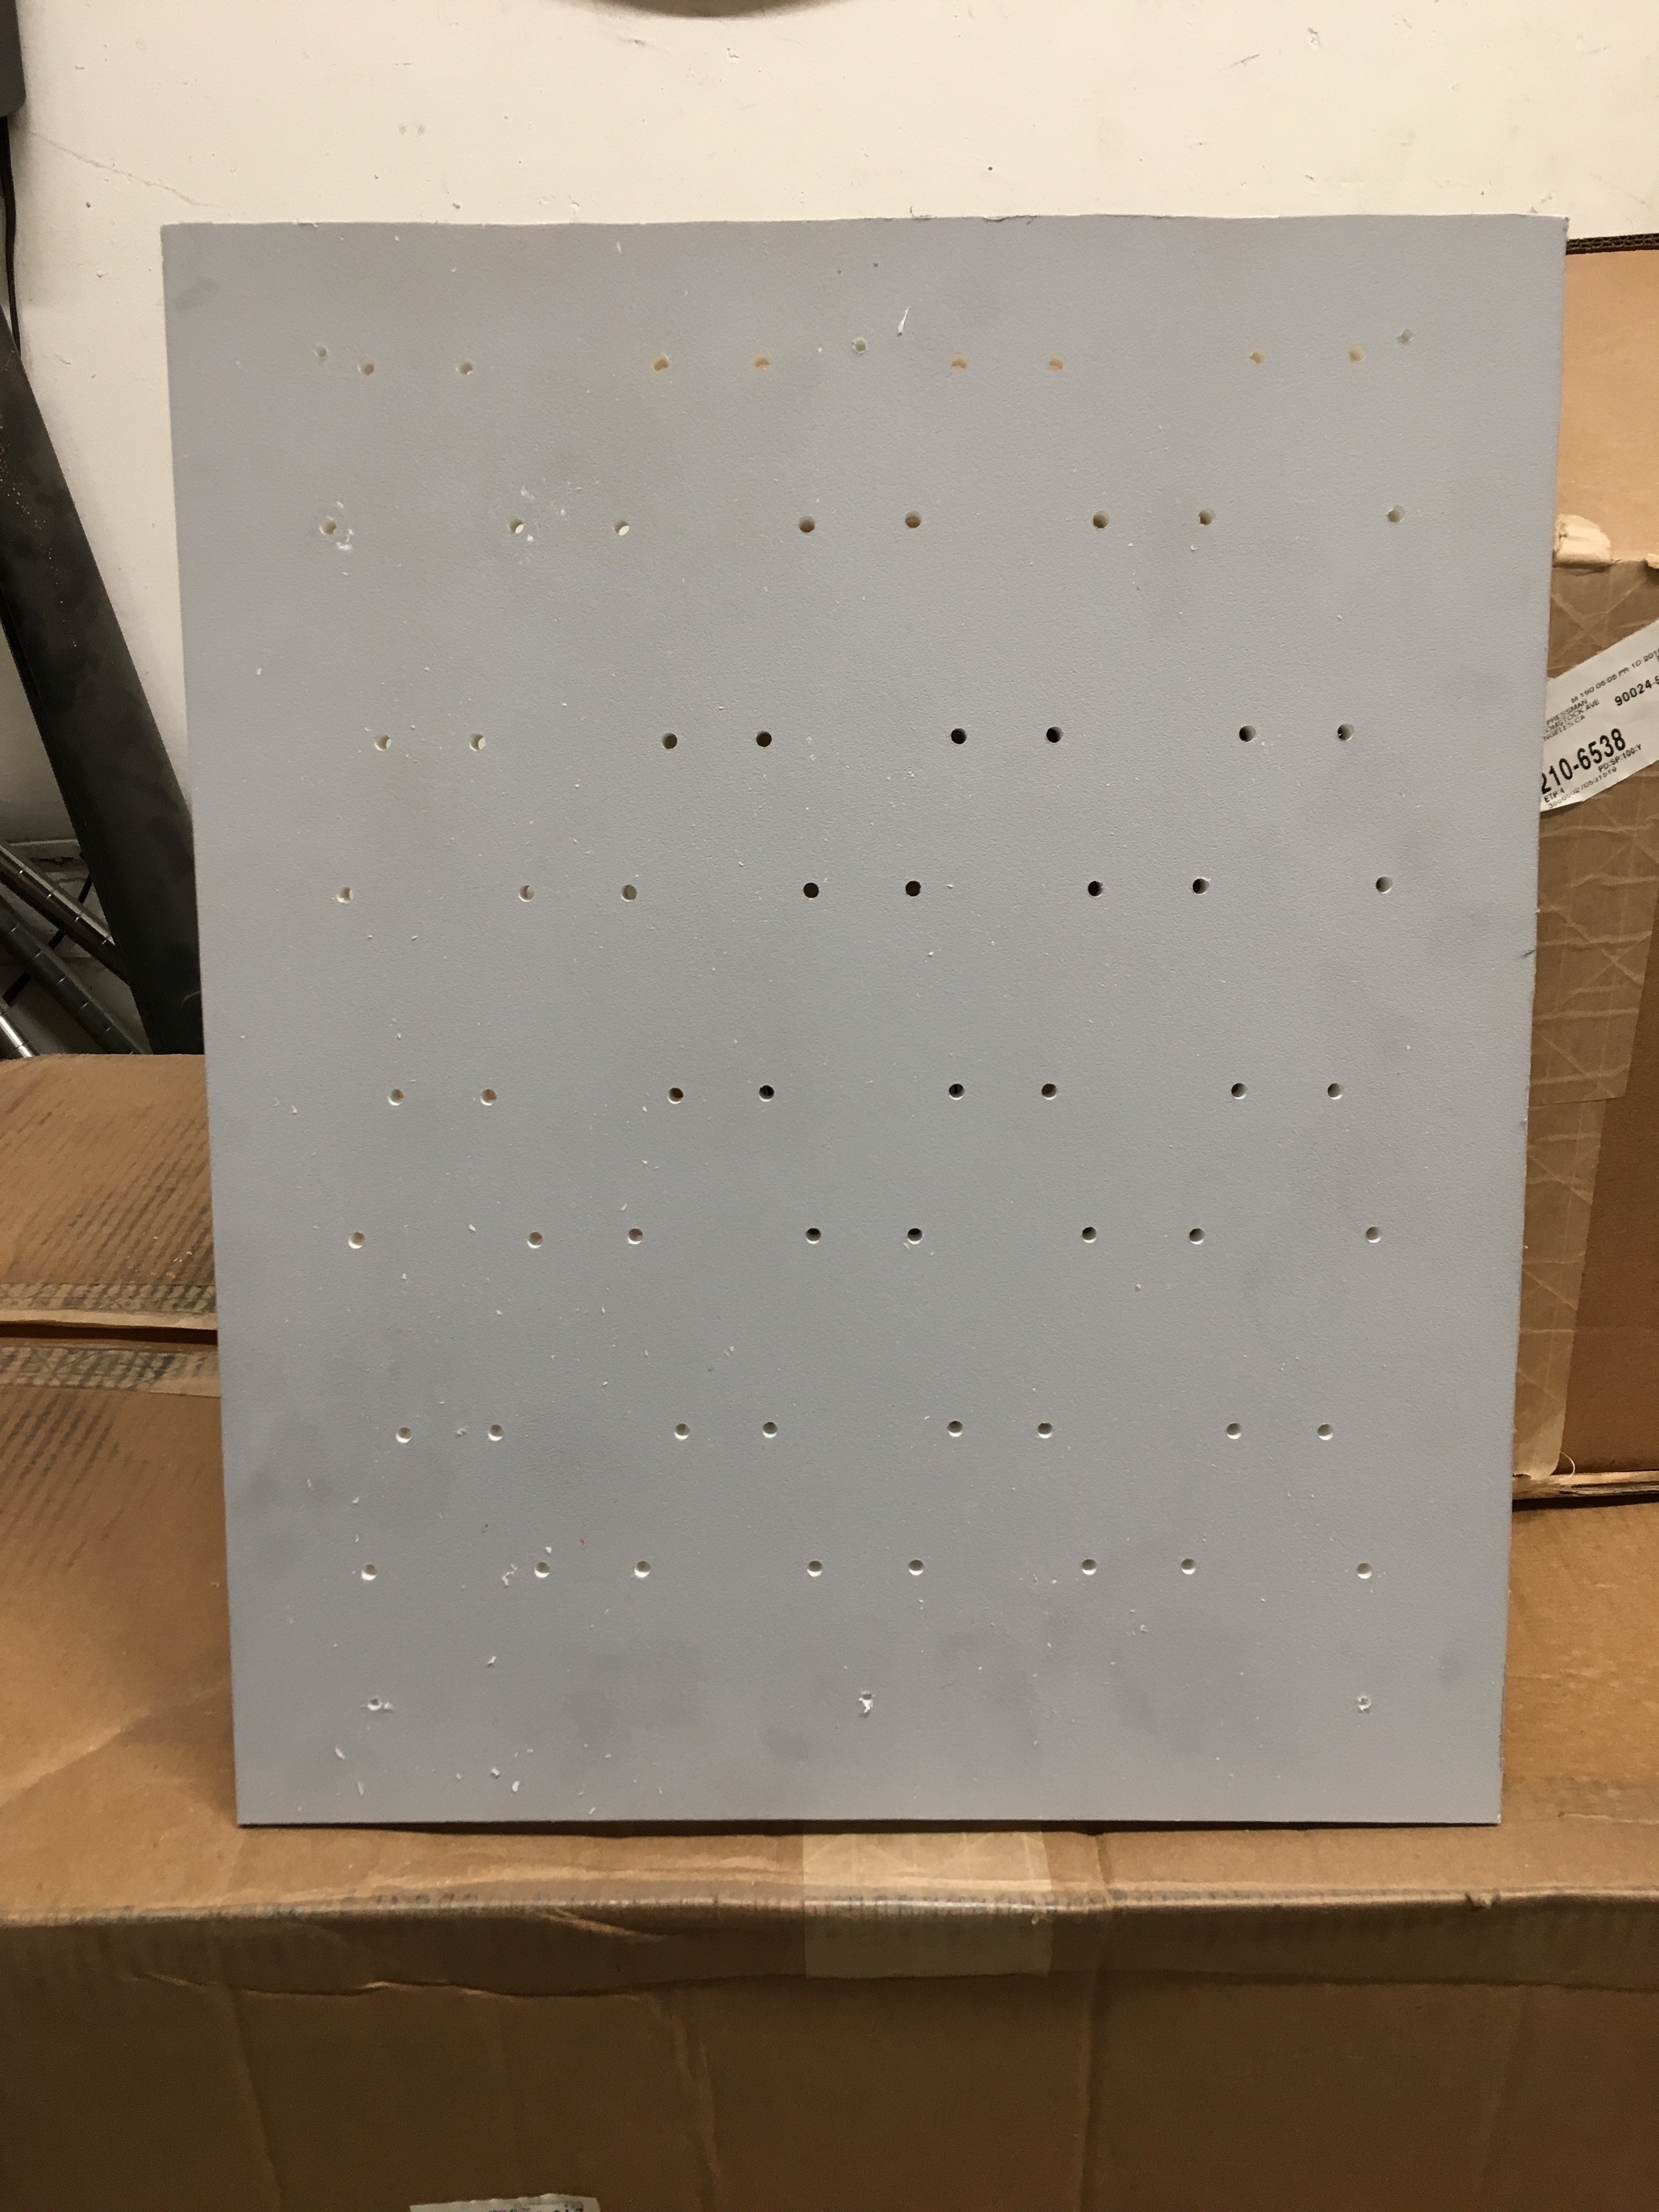
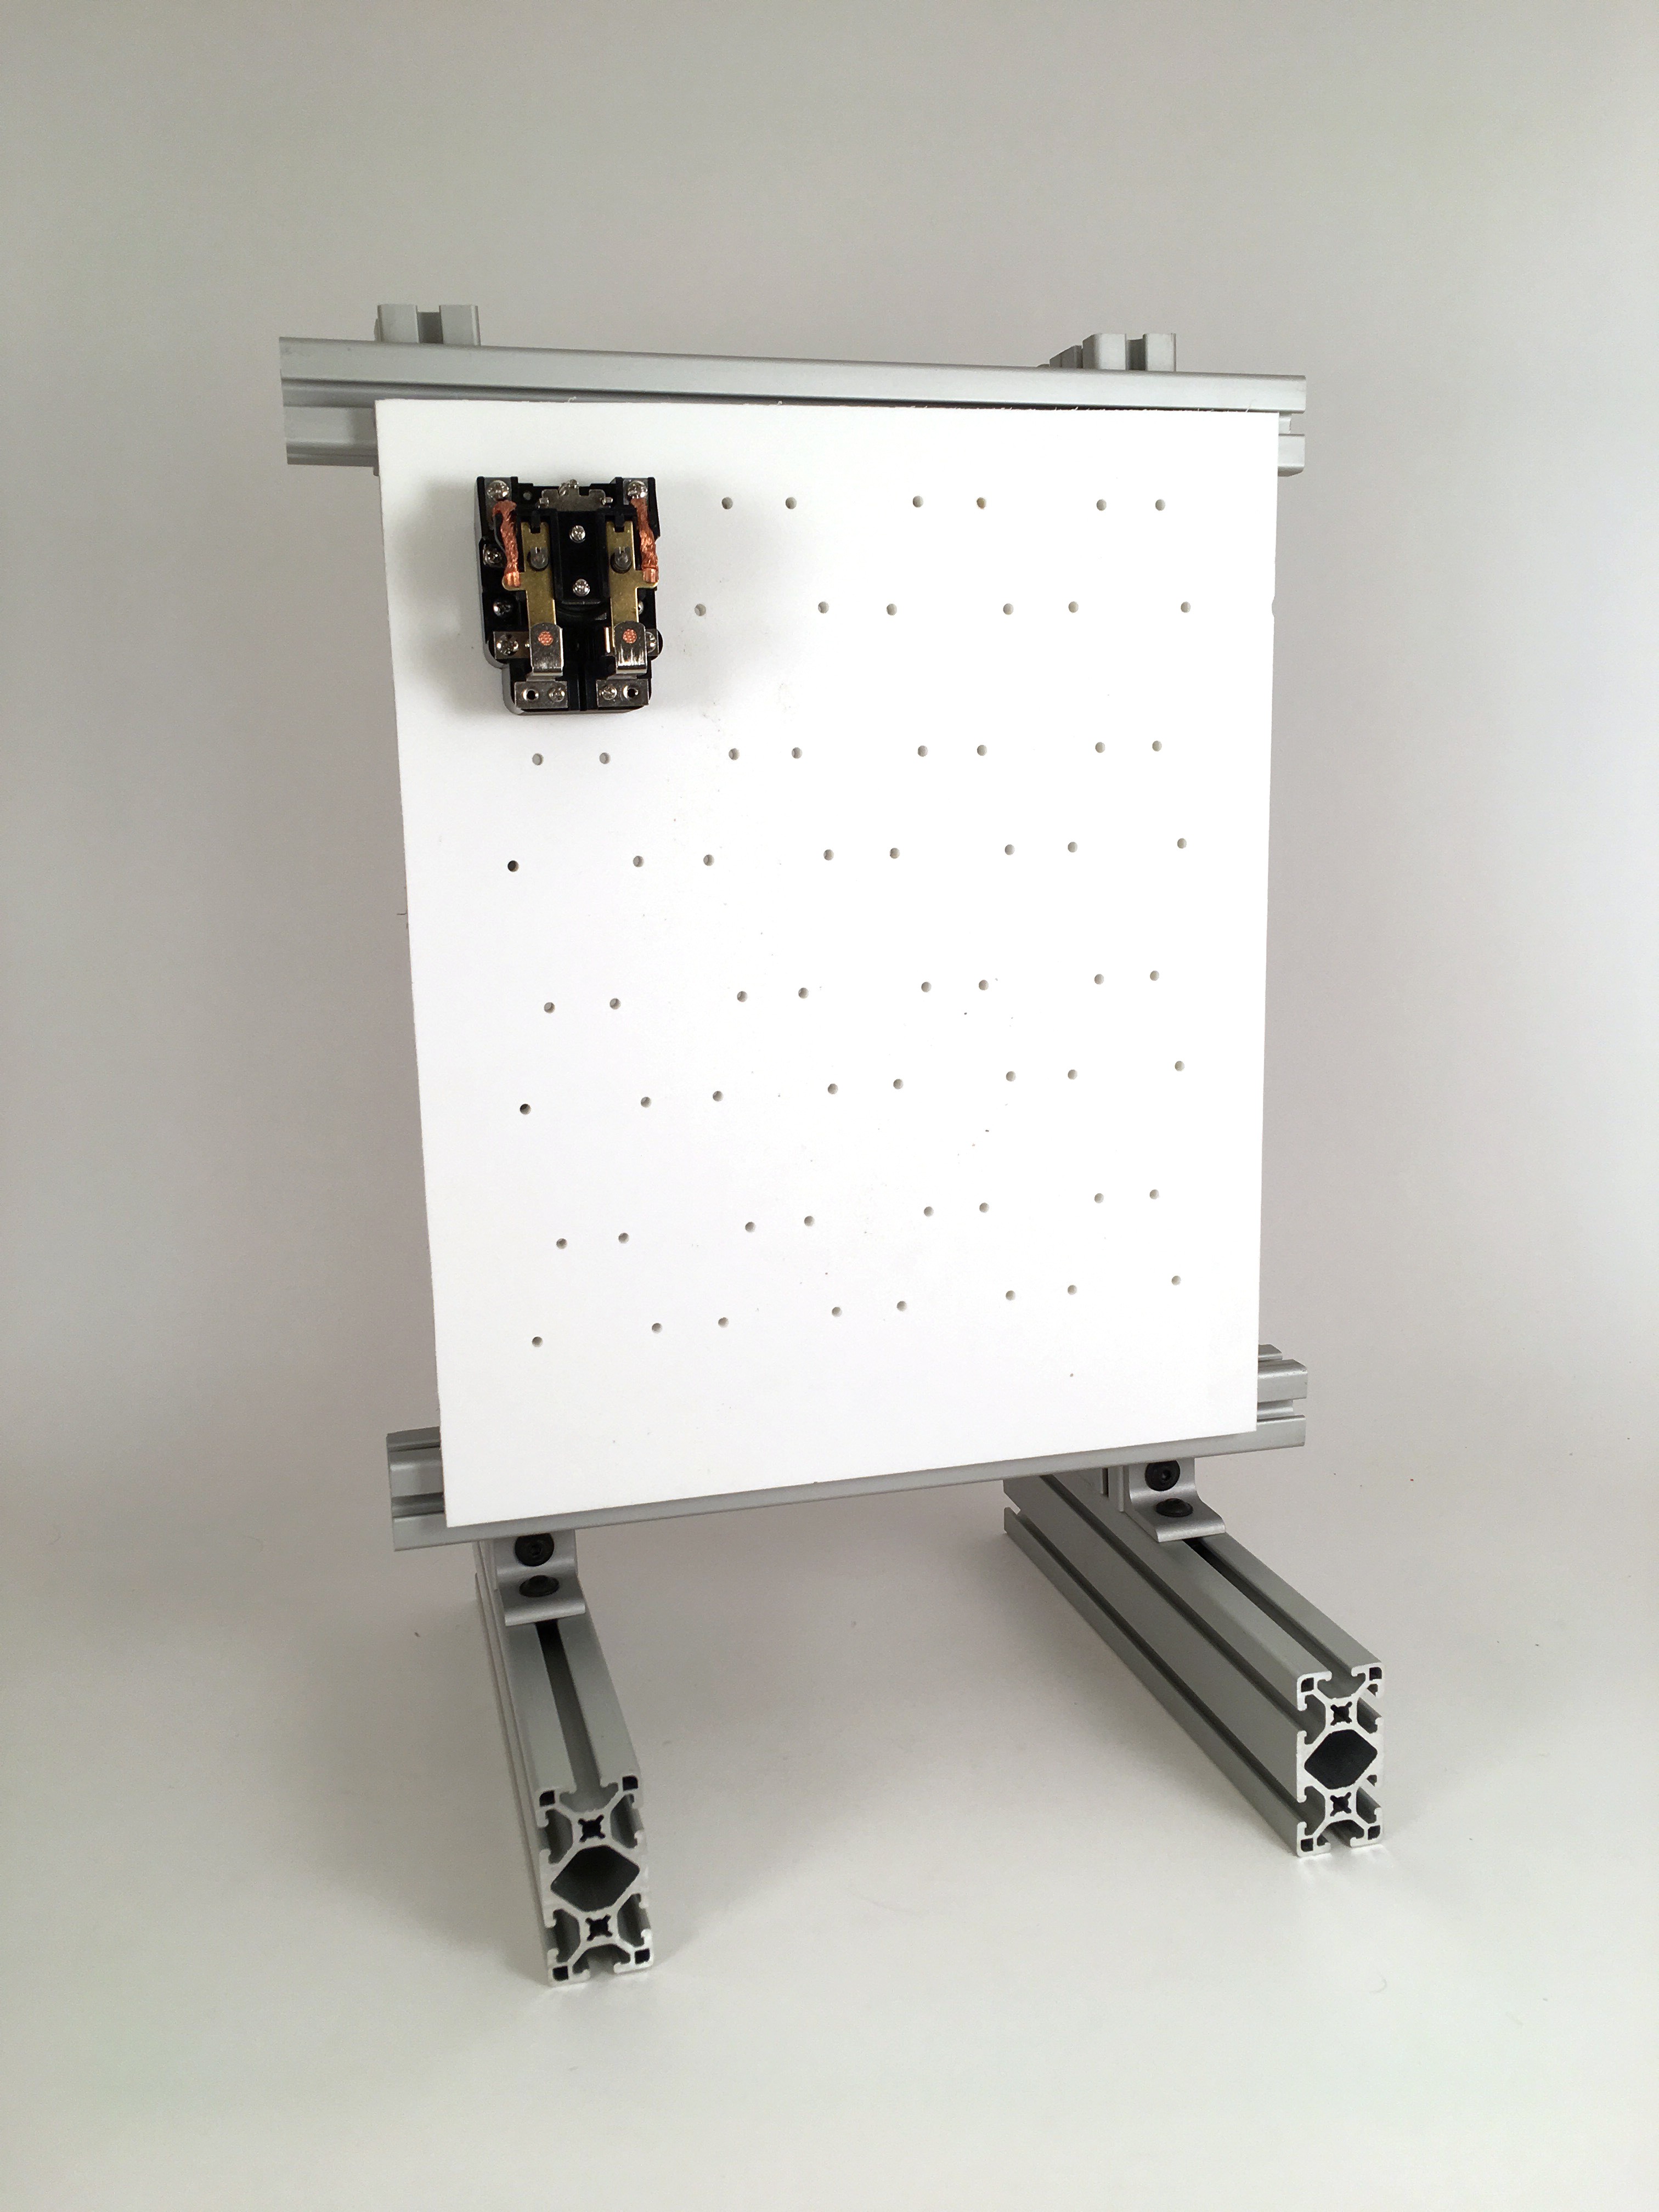
then drill each hole on the drill press:
Here's the first relay mounted:
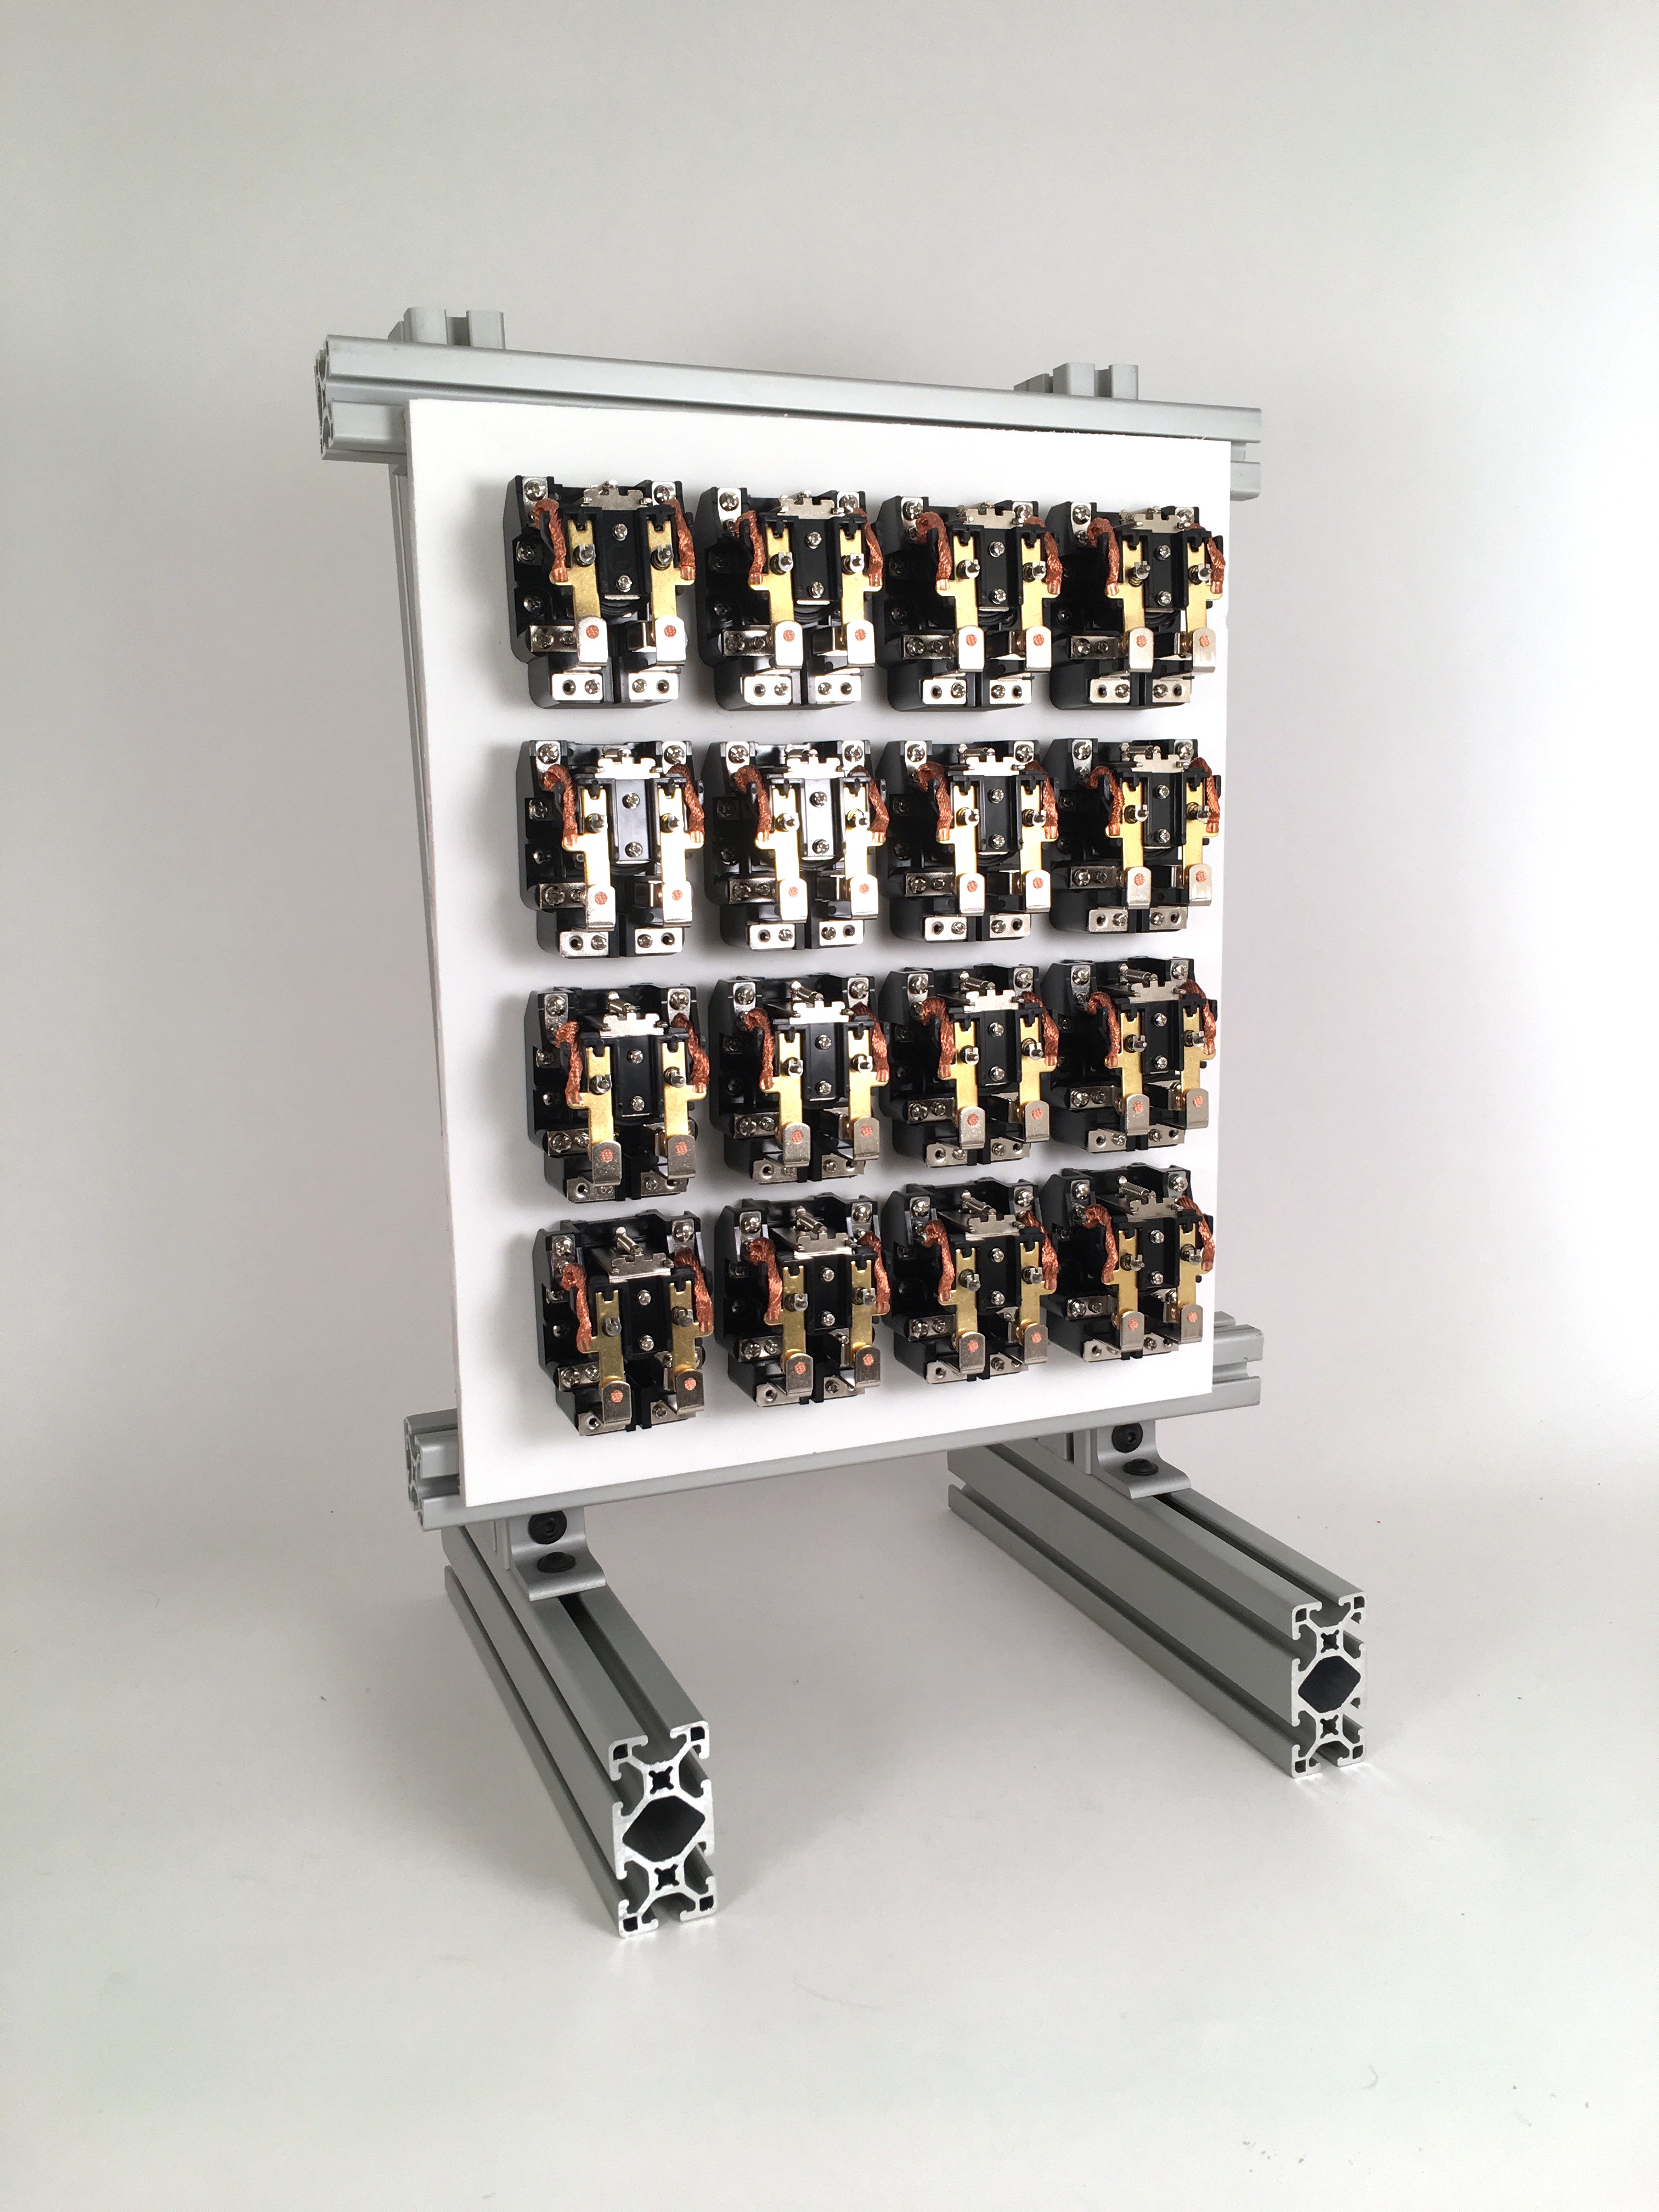
And, the rest:
The panel attaches via a Z strip at the top and bottom that engages with the horizontal extrusions:
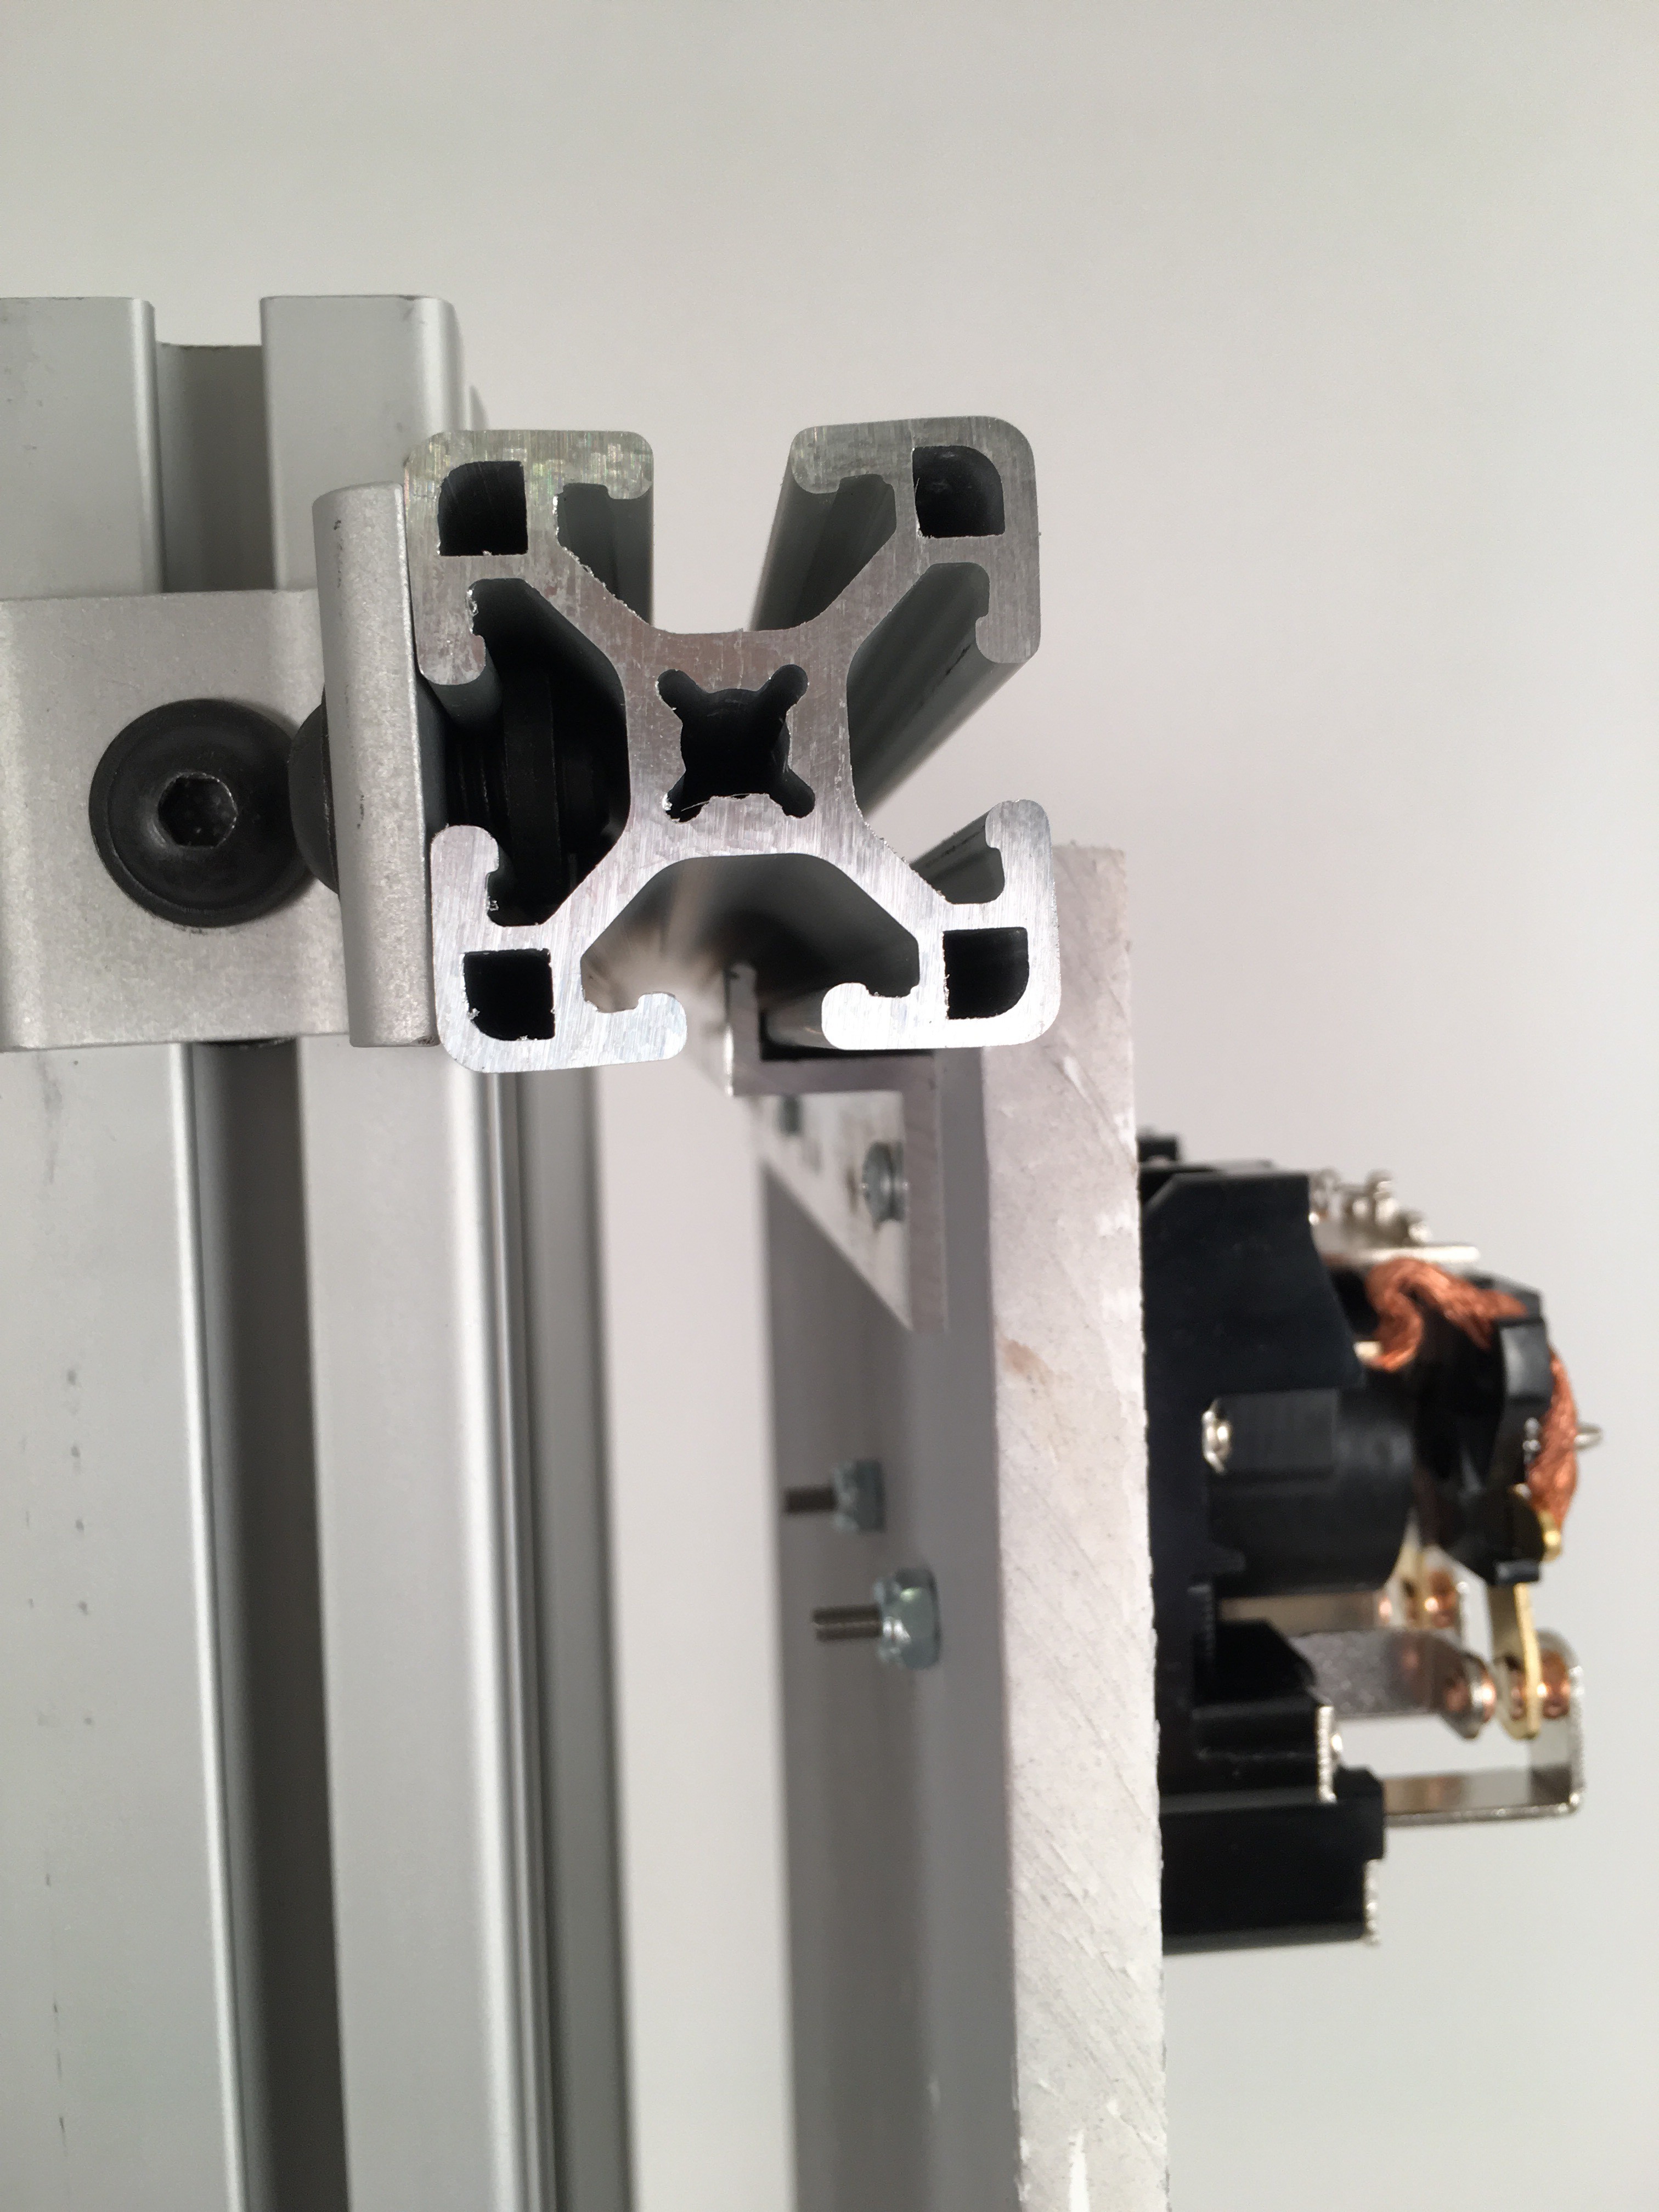
This mechanism allows the panels to be slid in and out quickly and easily while maintaining solid attachment and alignment. There's about .04" of play front-to-back, so it remains to be seen if this will be a problem (e.g. causing a rattle when the relays are firing).
Discussions
Become a Hackaday.io Member
Create an account to leave a comment. Already have an account? Log In.