SUCCESS! Completed the LACT upgrade so the droid doesn’t wiggle with 1-2cm of play.
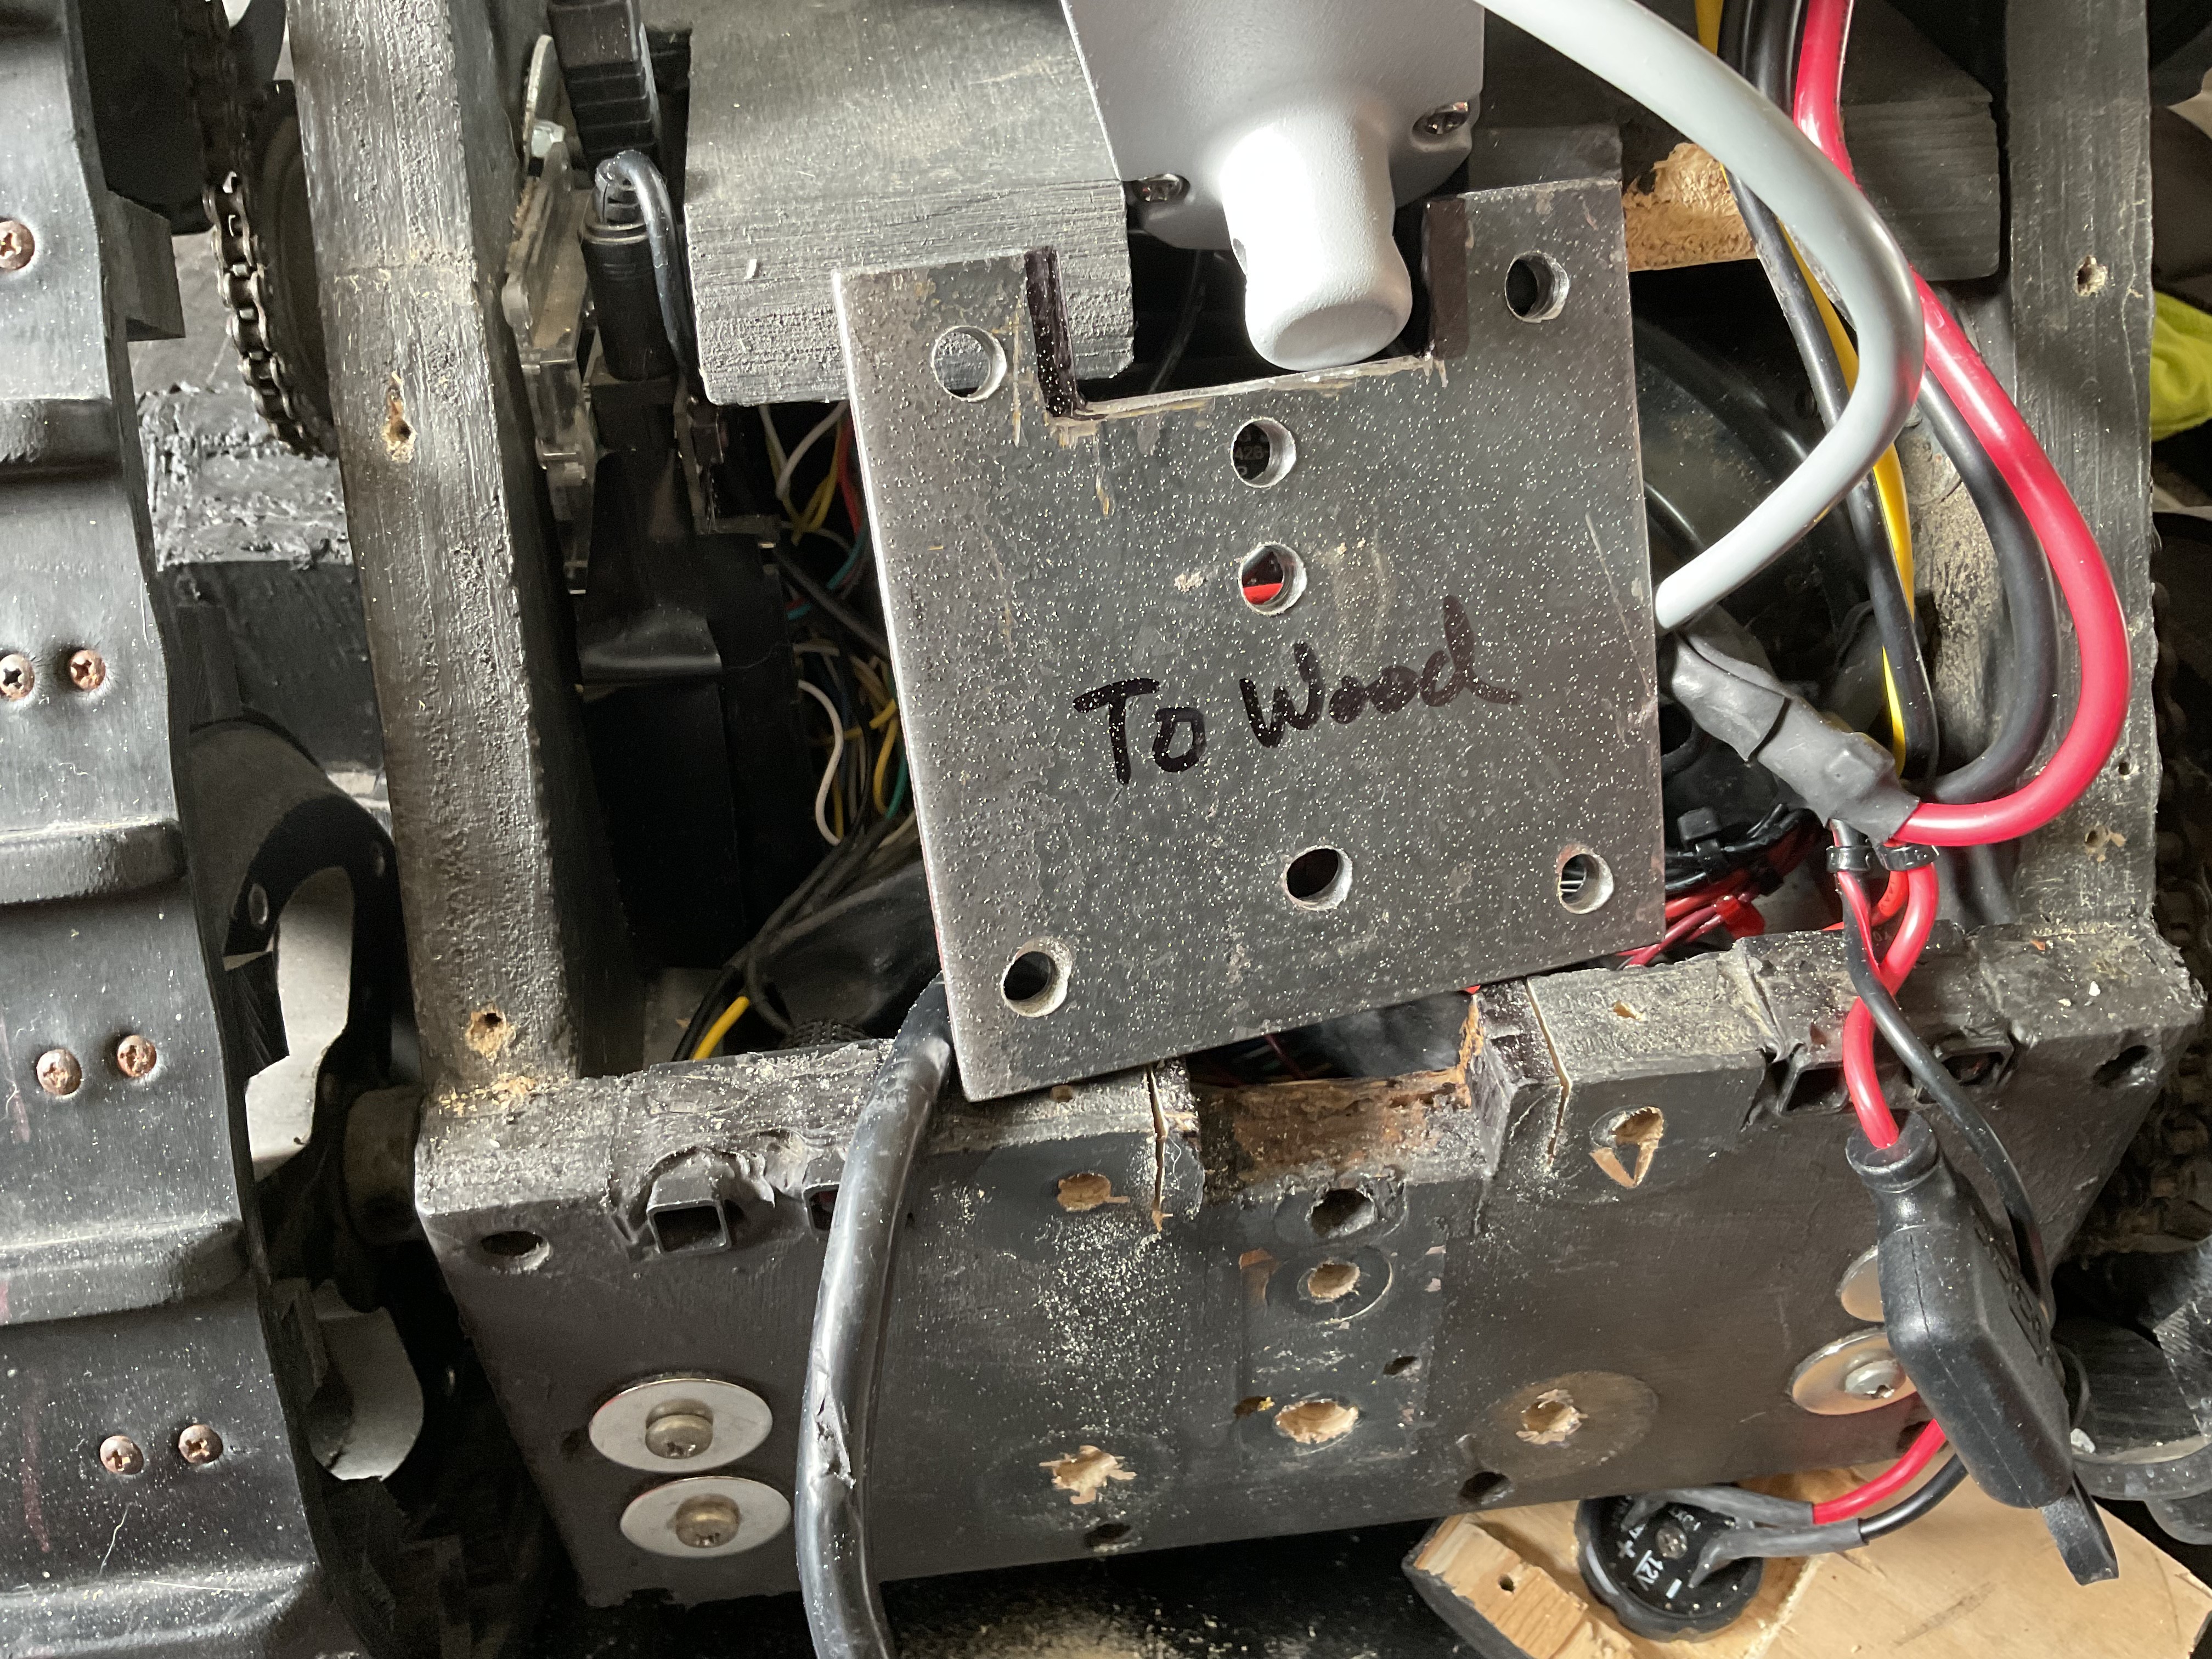
here is the 1/4 steel plate that is used to reinforce the 3/4 inch maple plywood
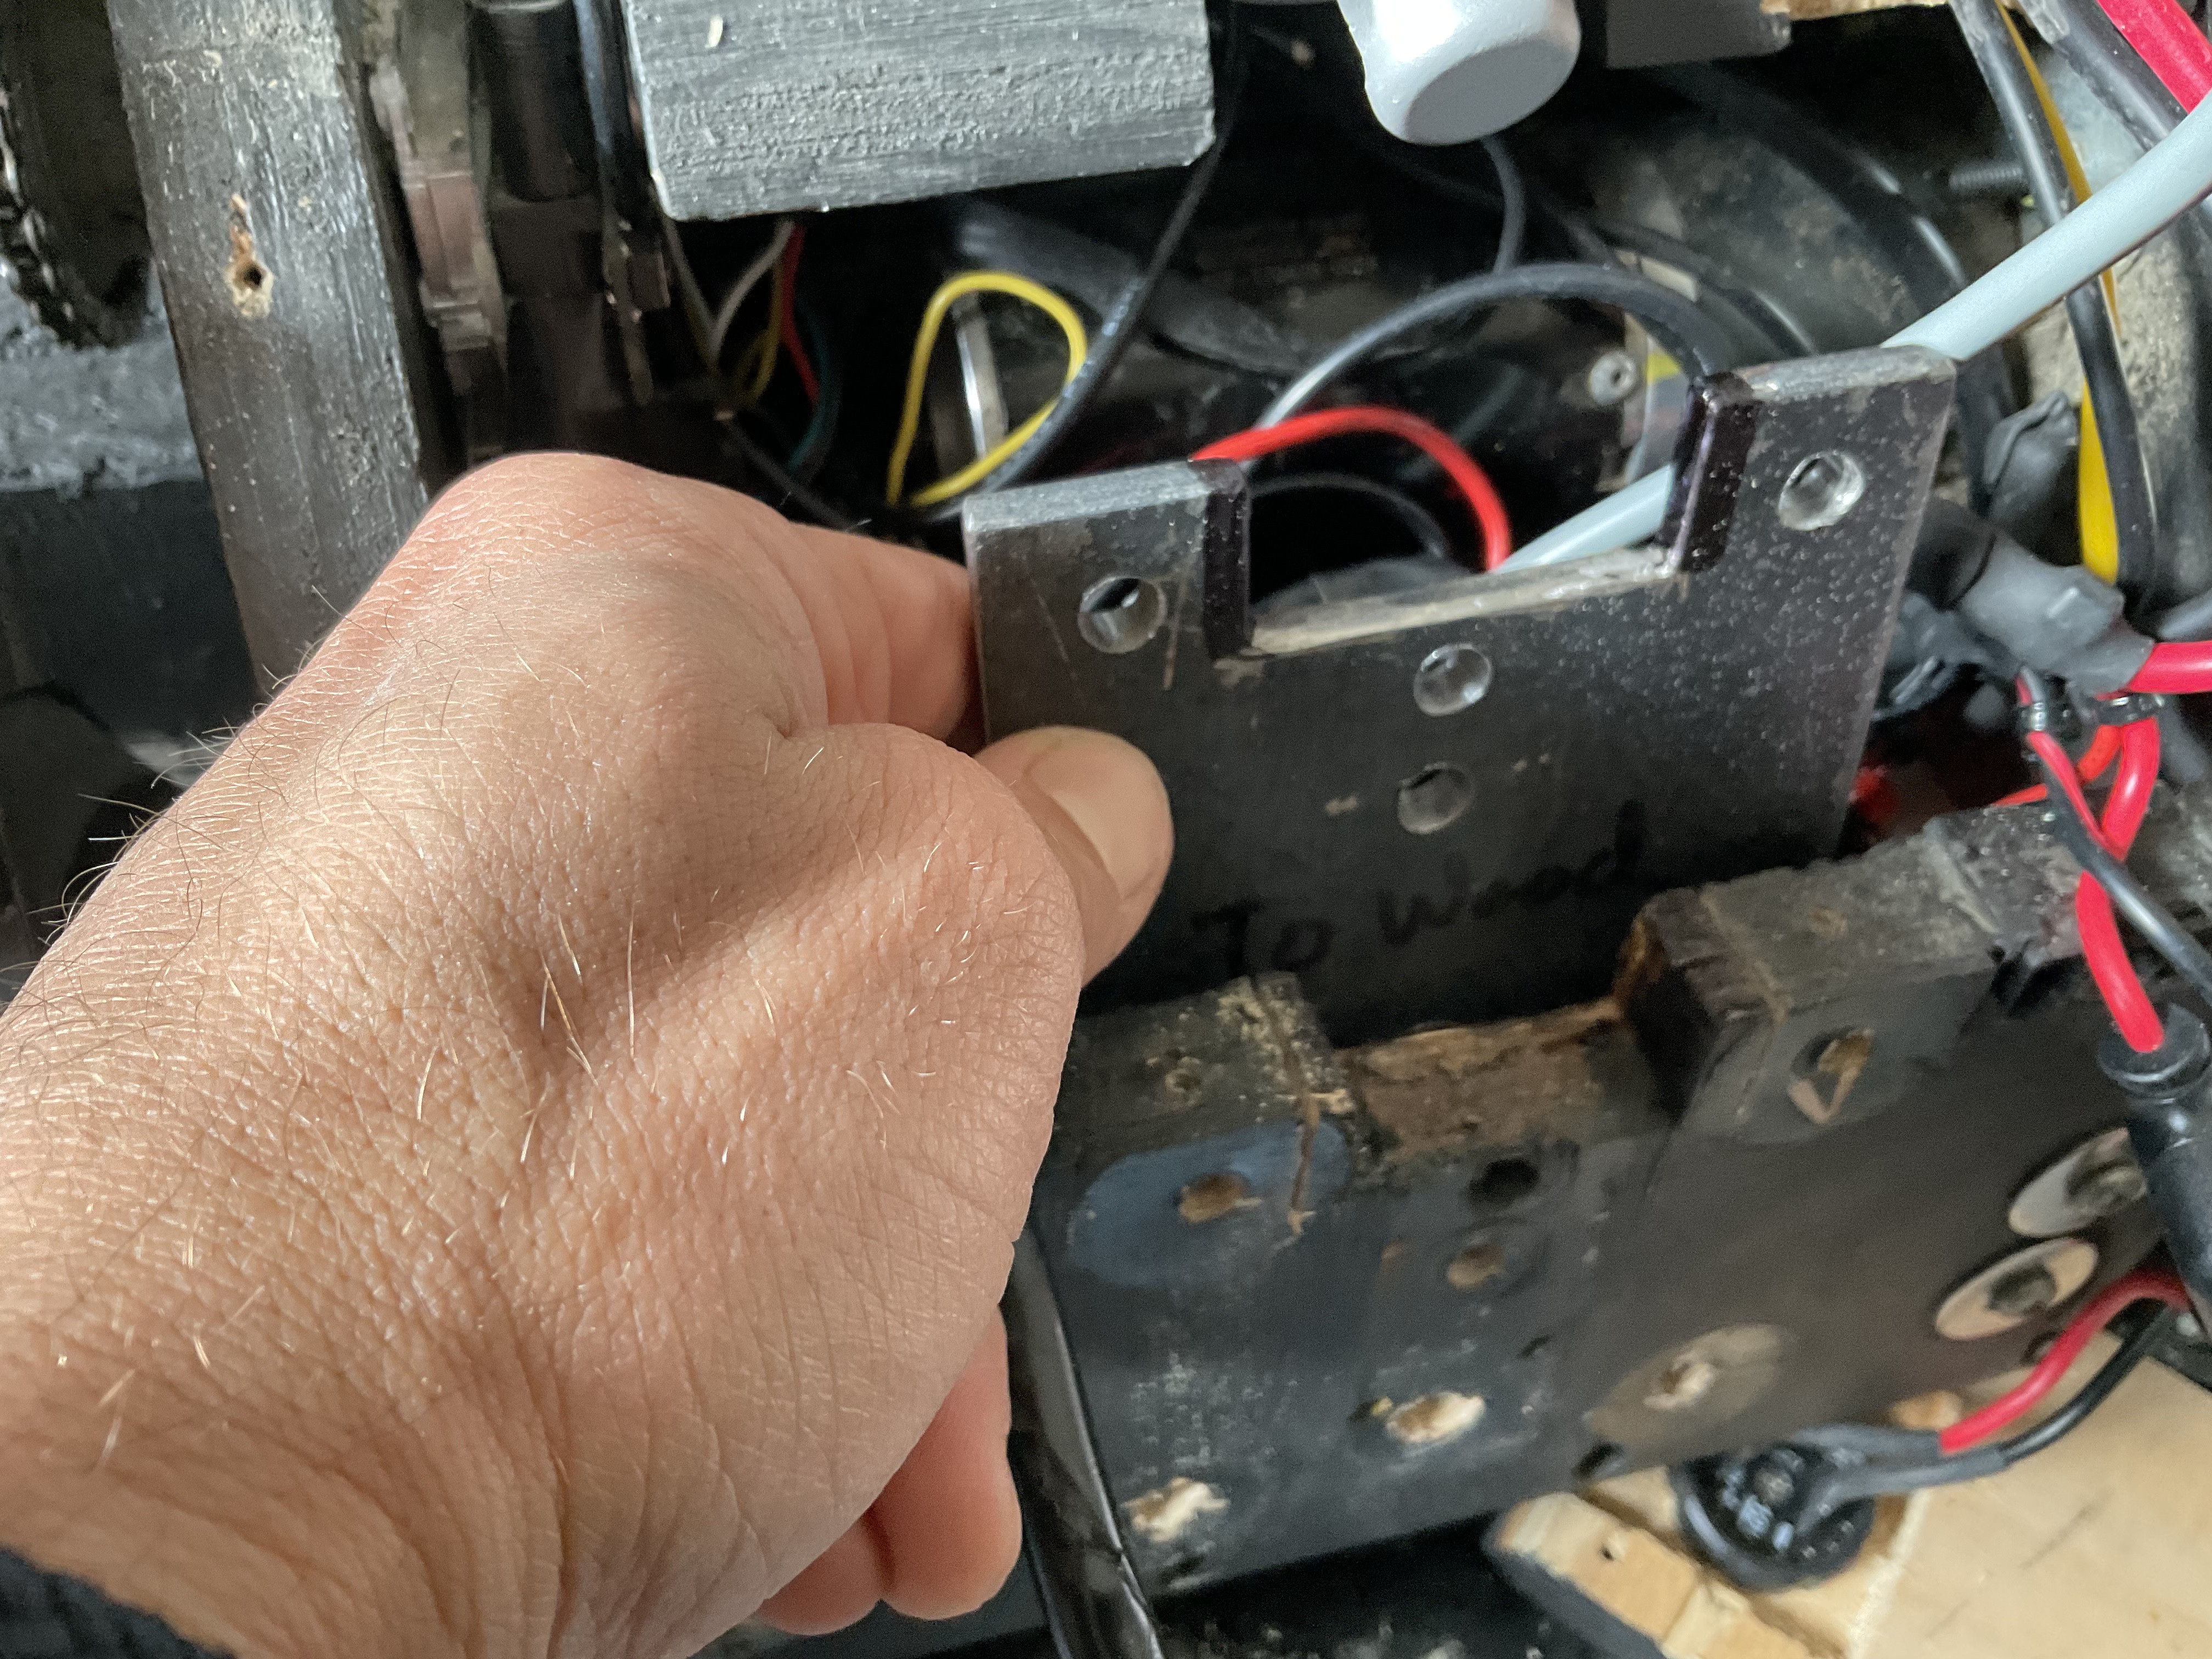
Here you can see where it fits and the black sharpie marker points that need to be milled in order to fit the new LACT mount which is 2 inches in width and not 1.75 inches.
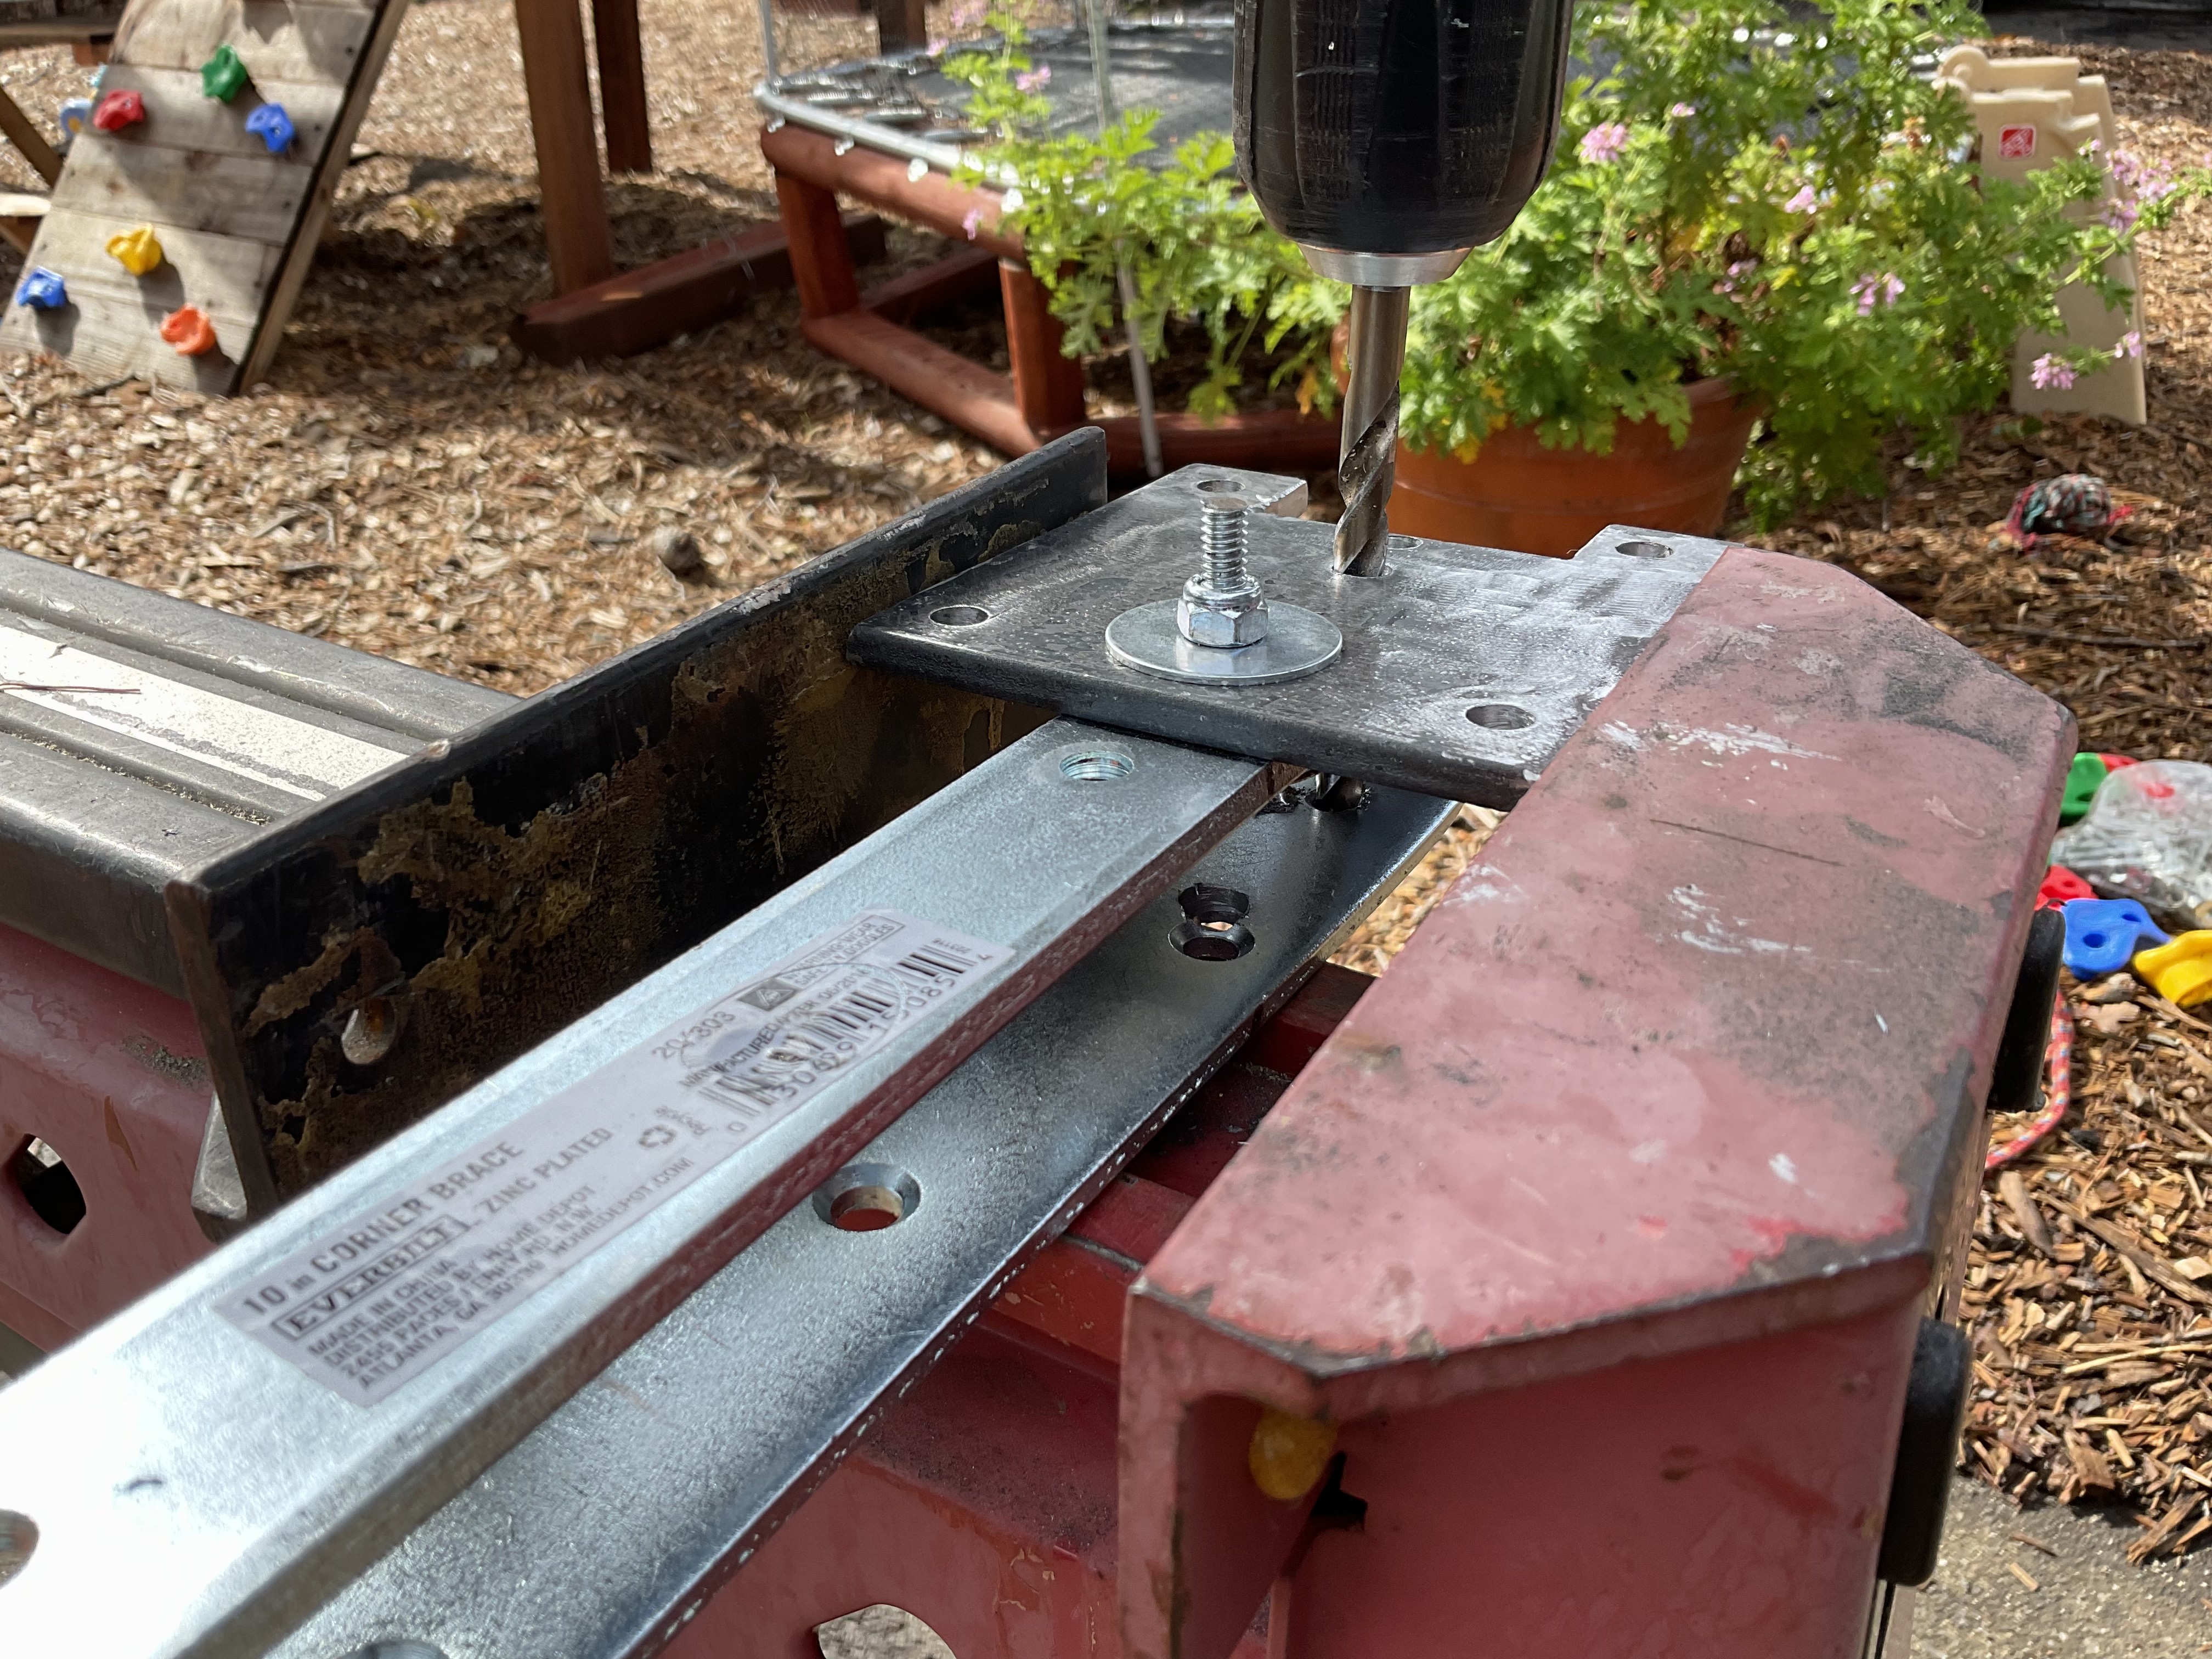
Here you can see me drilling new holes for the 3/8 x 2 inch bolts which are replacing the tiny 1/4 inch bolts. Always use lock tight nuts!
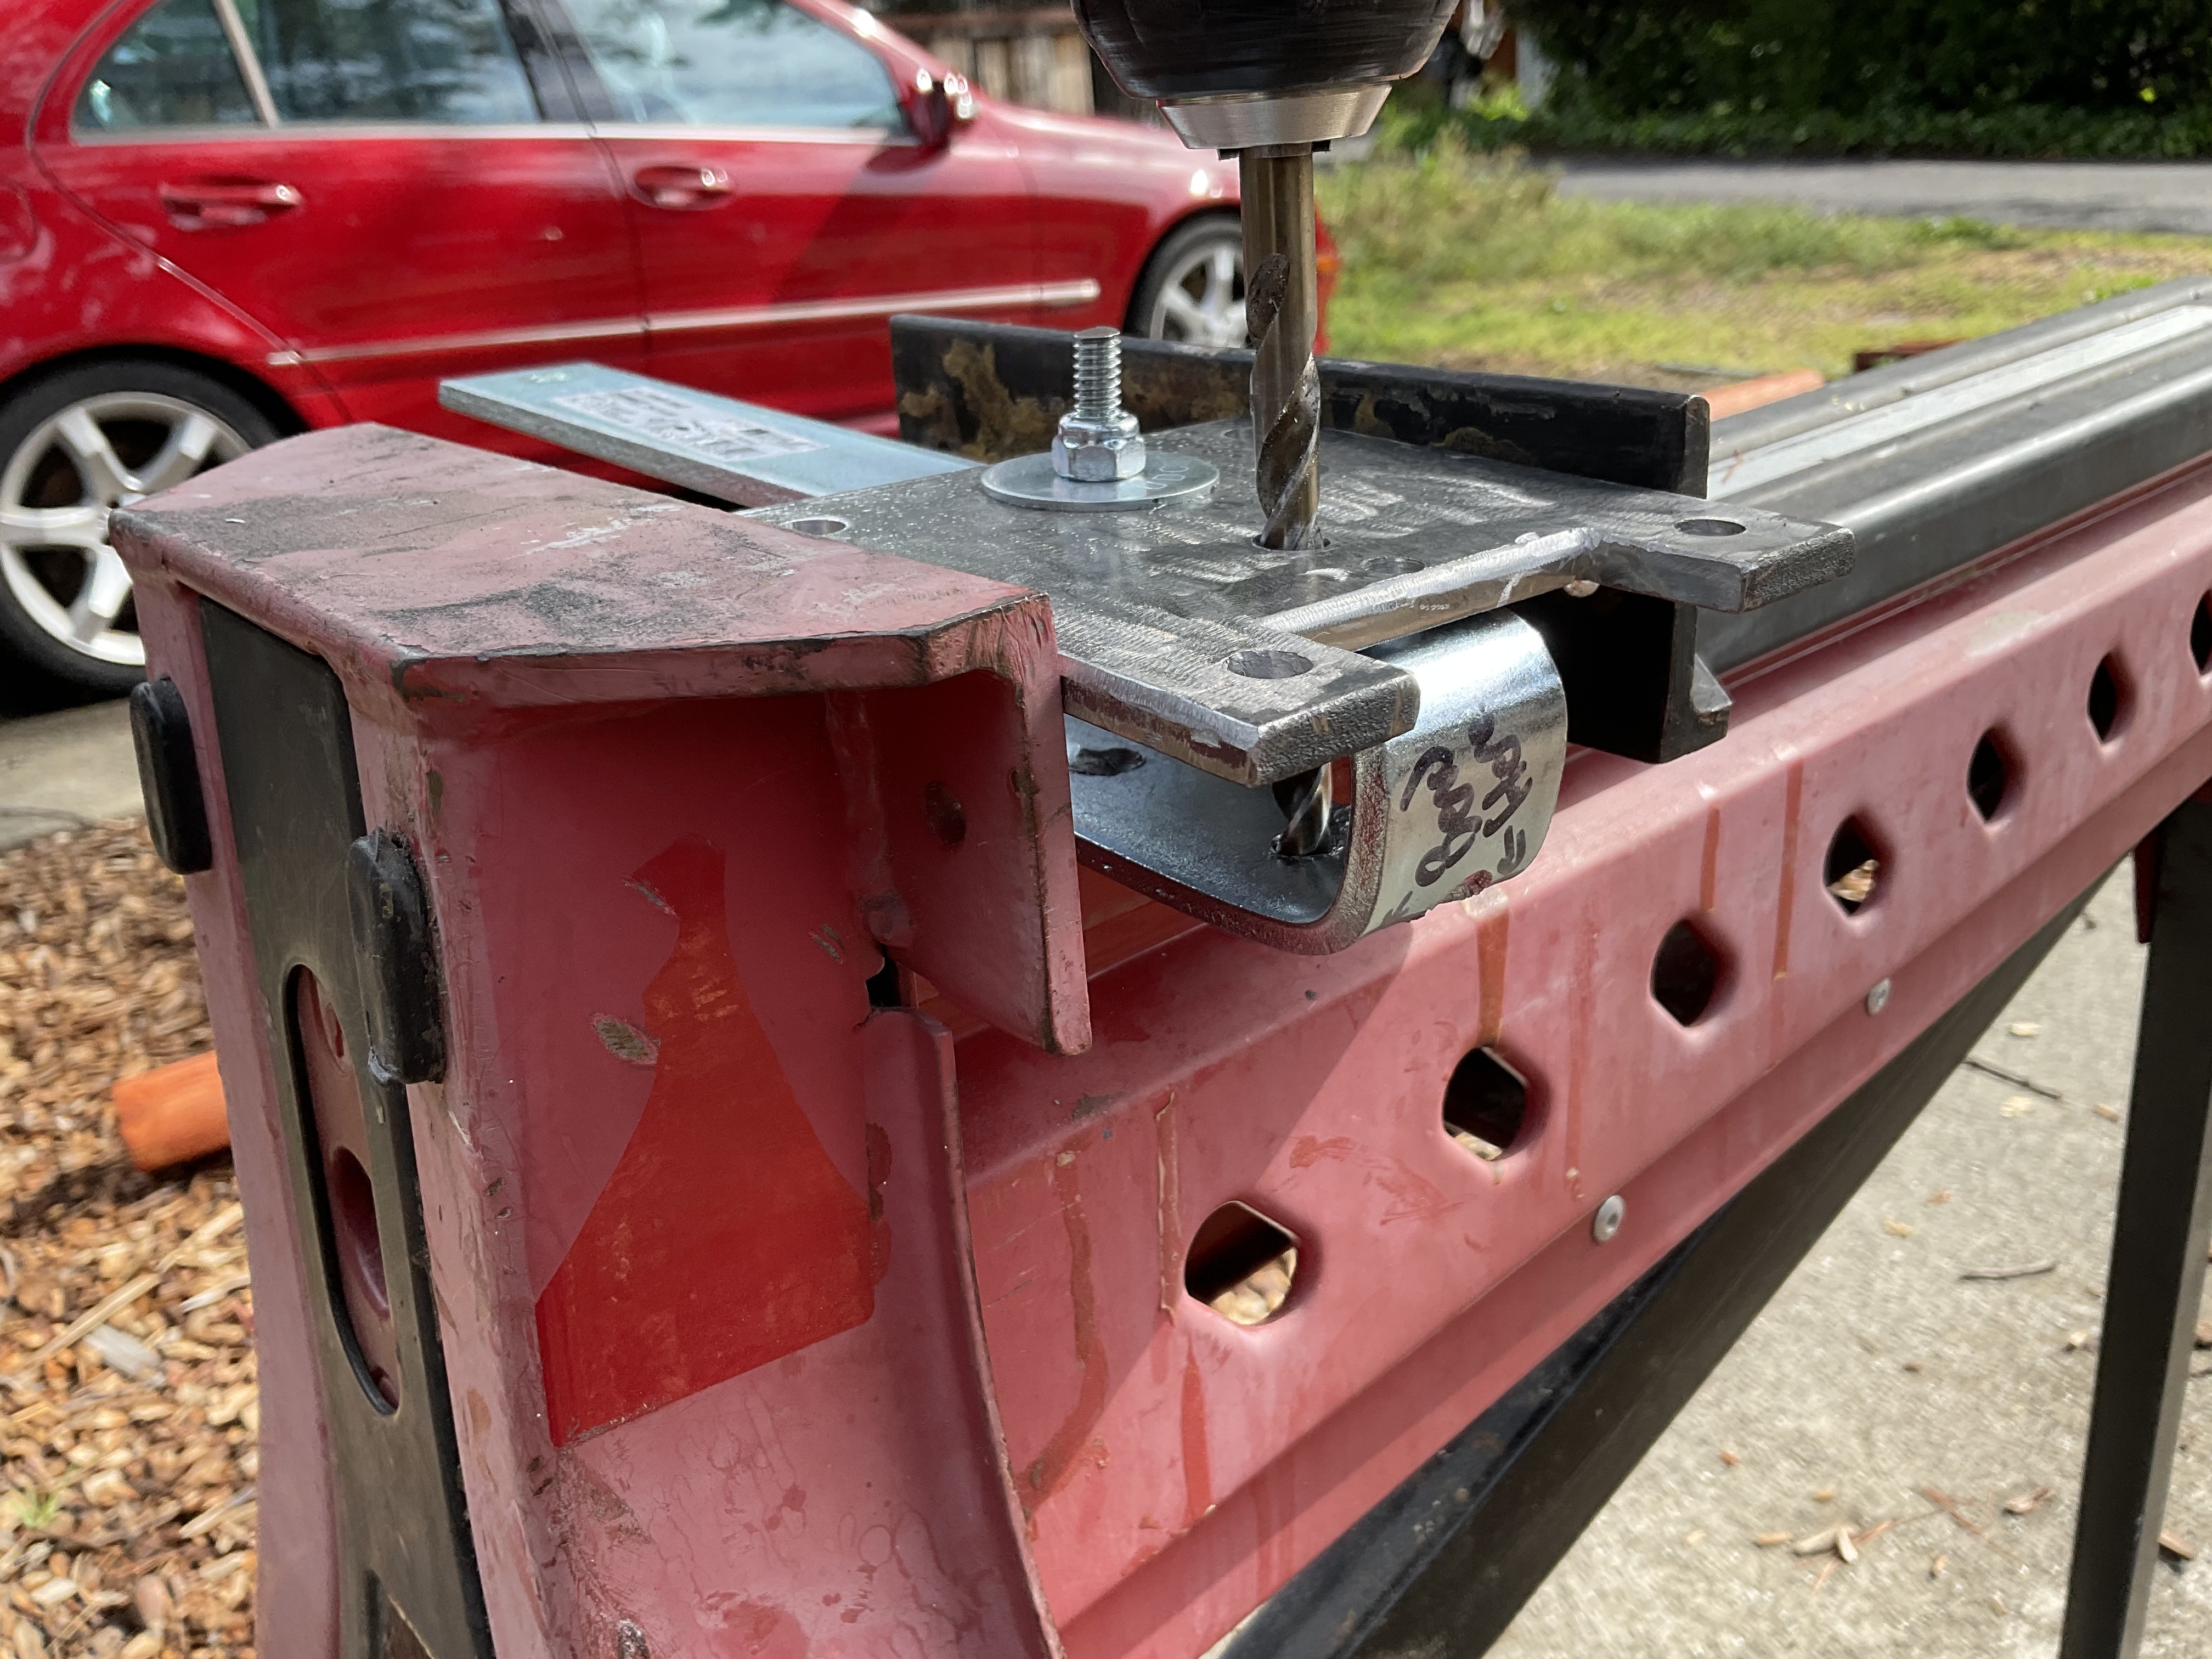
You can see the lock tight bolt holding the mount in place so I can drill a hole properly aligned. It takes a lot of energy to mill this with a drill… I need my bench press back at home. I am getting too old for this, might actually break my wrist with this kind of torque. Be careful guys.
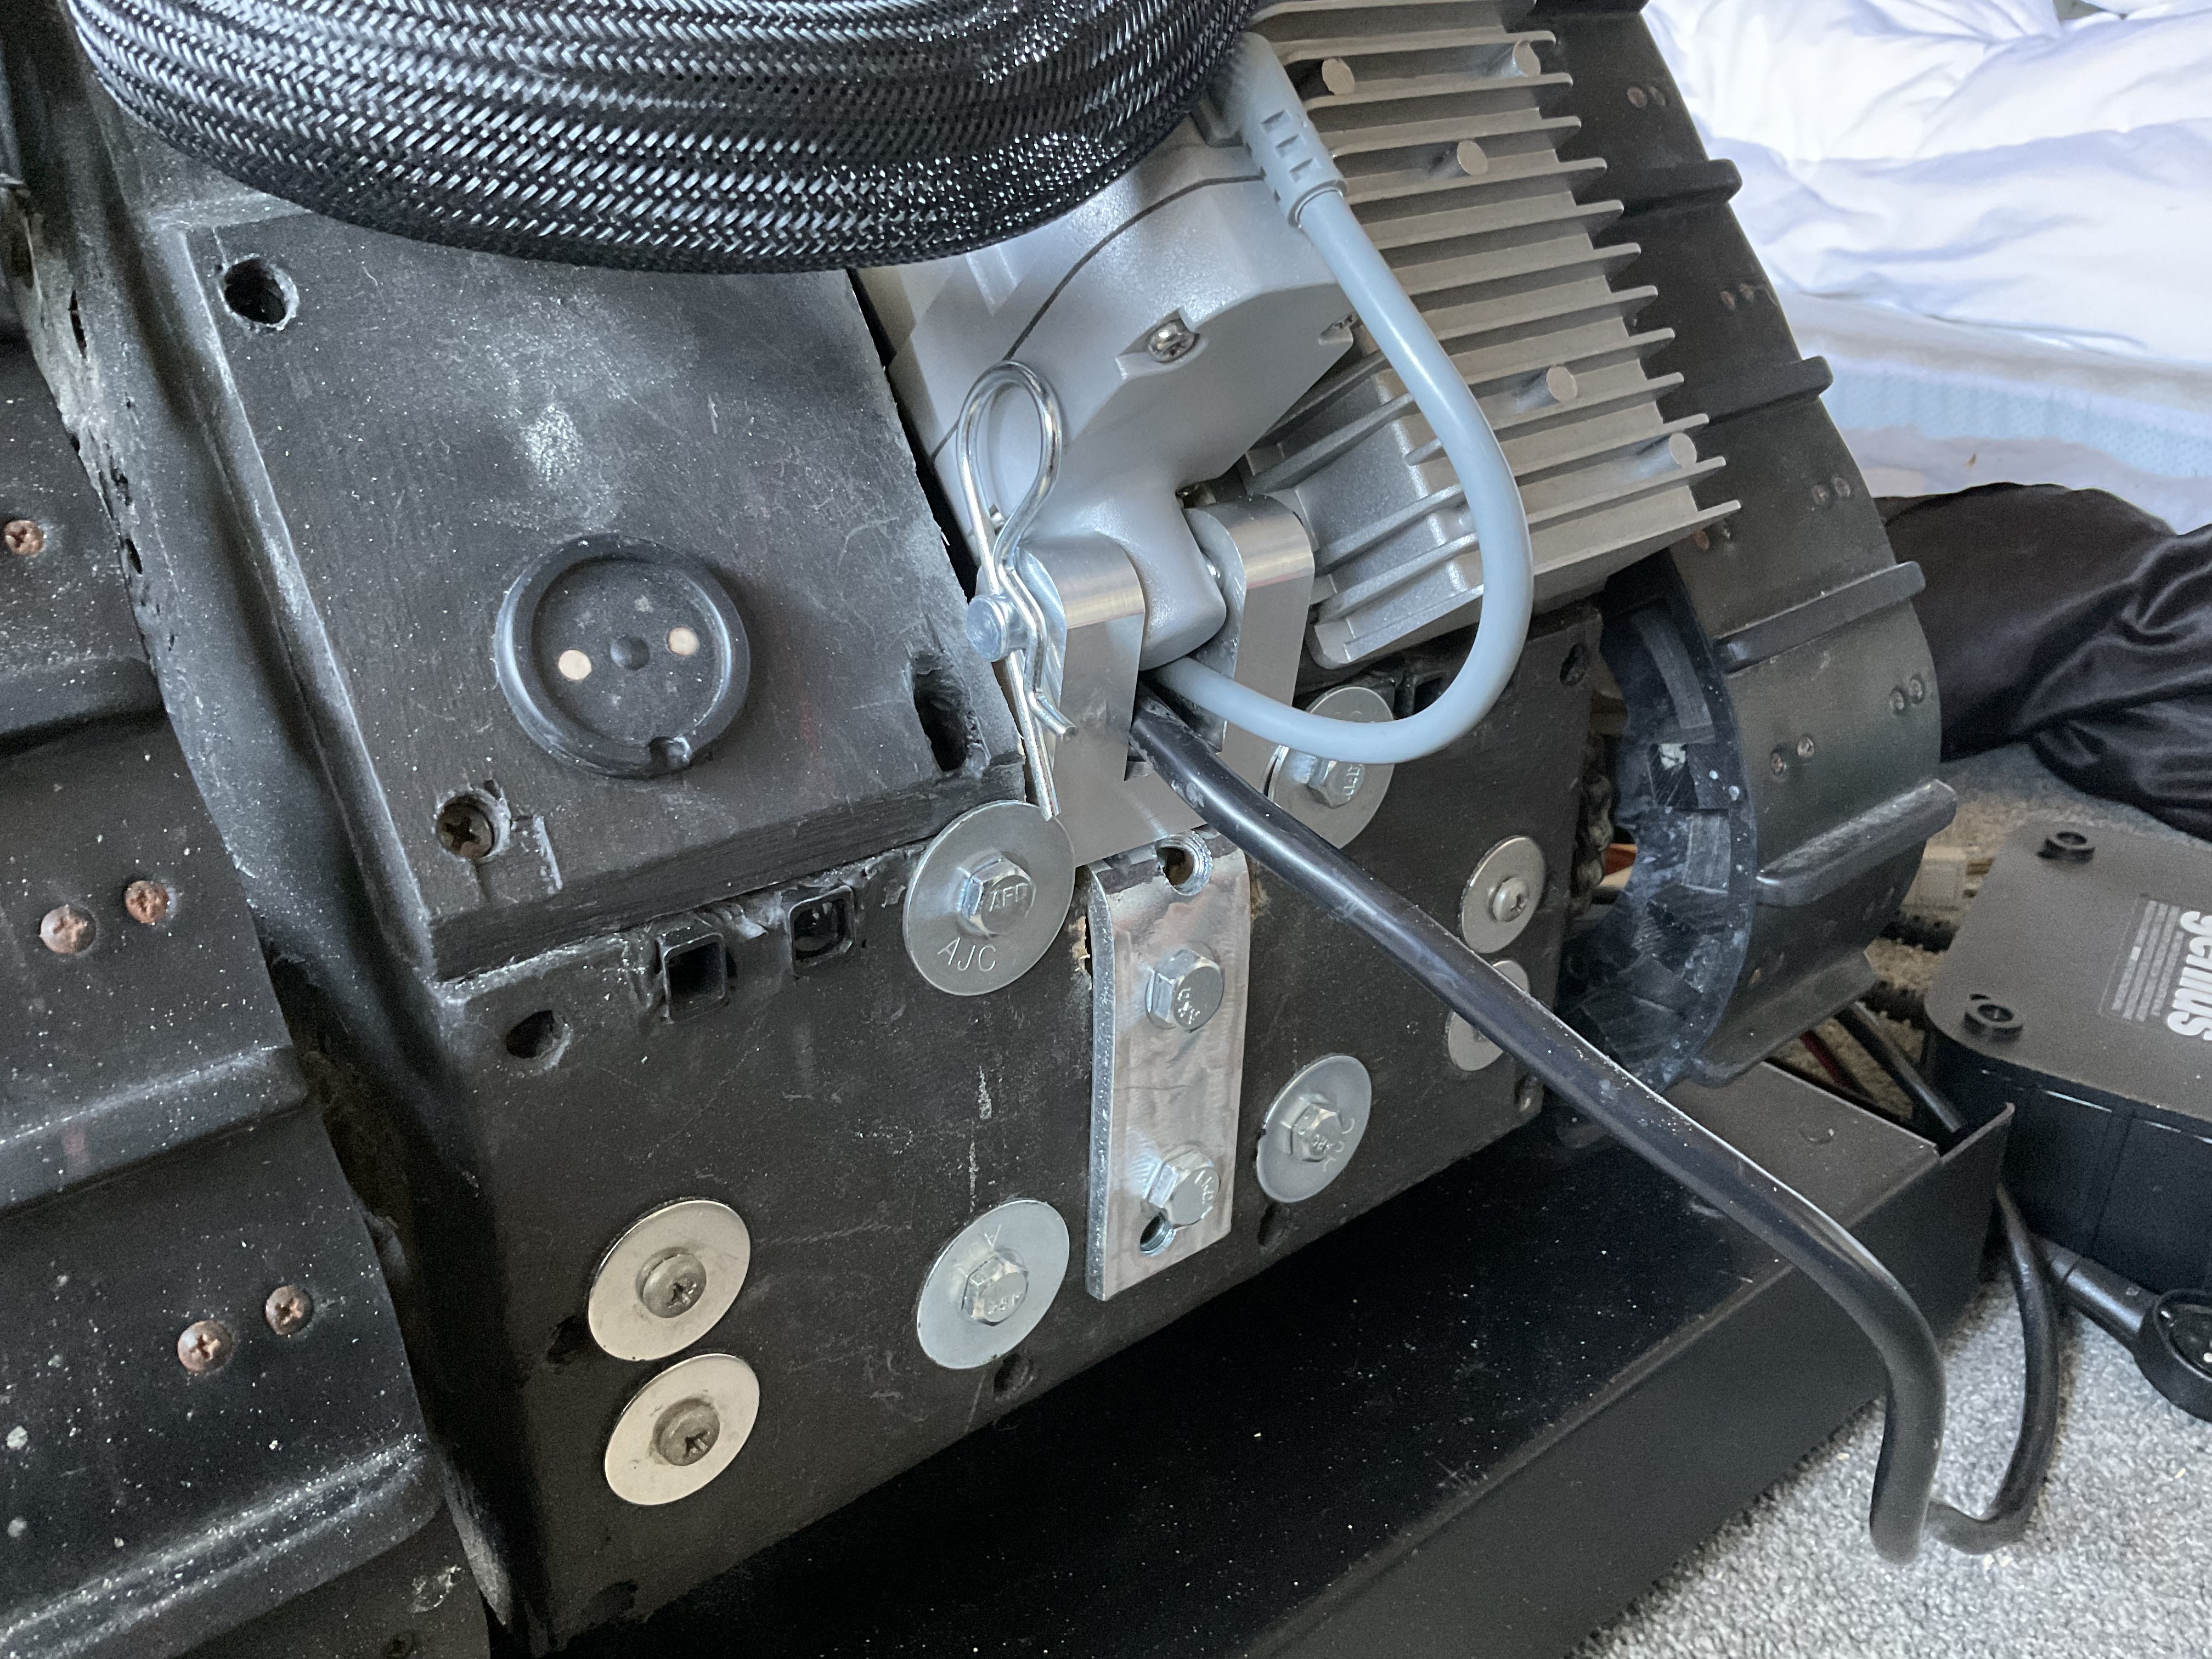
Ahhhhh…. Se la vî to the old LACT and bienvenidos to the new upgrade.
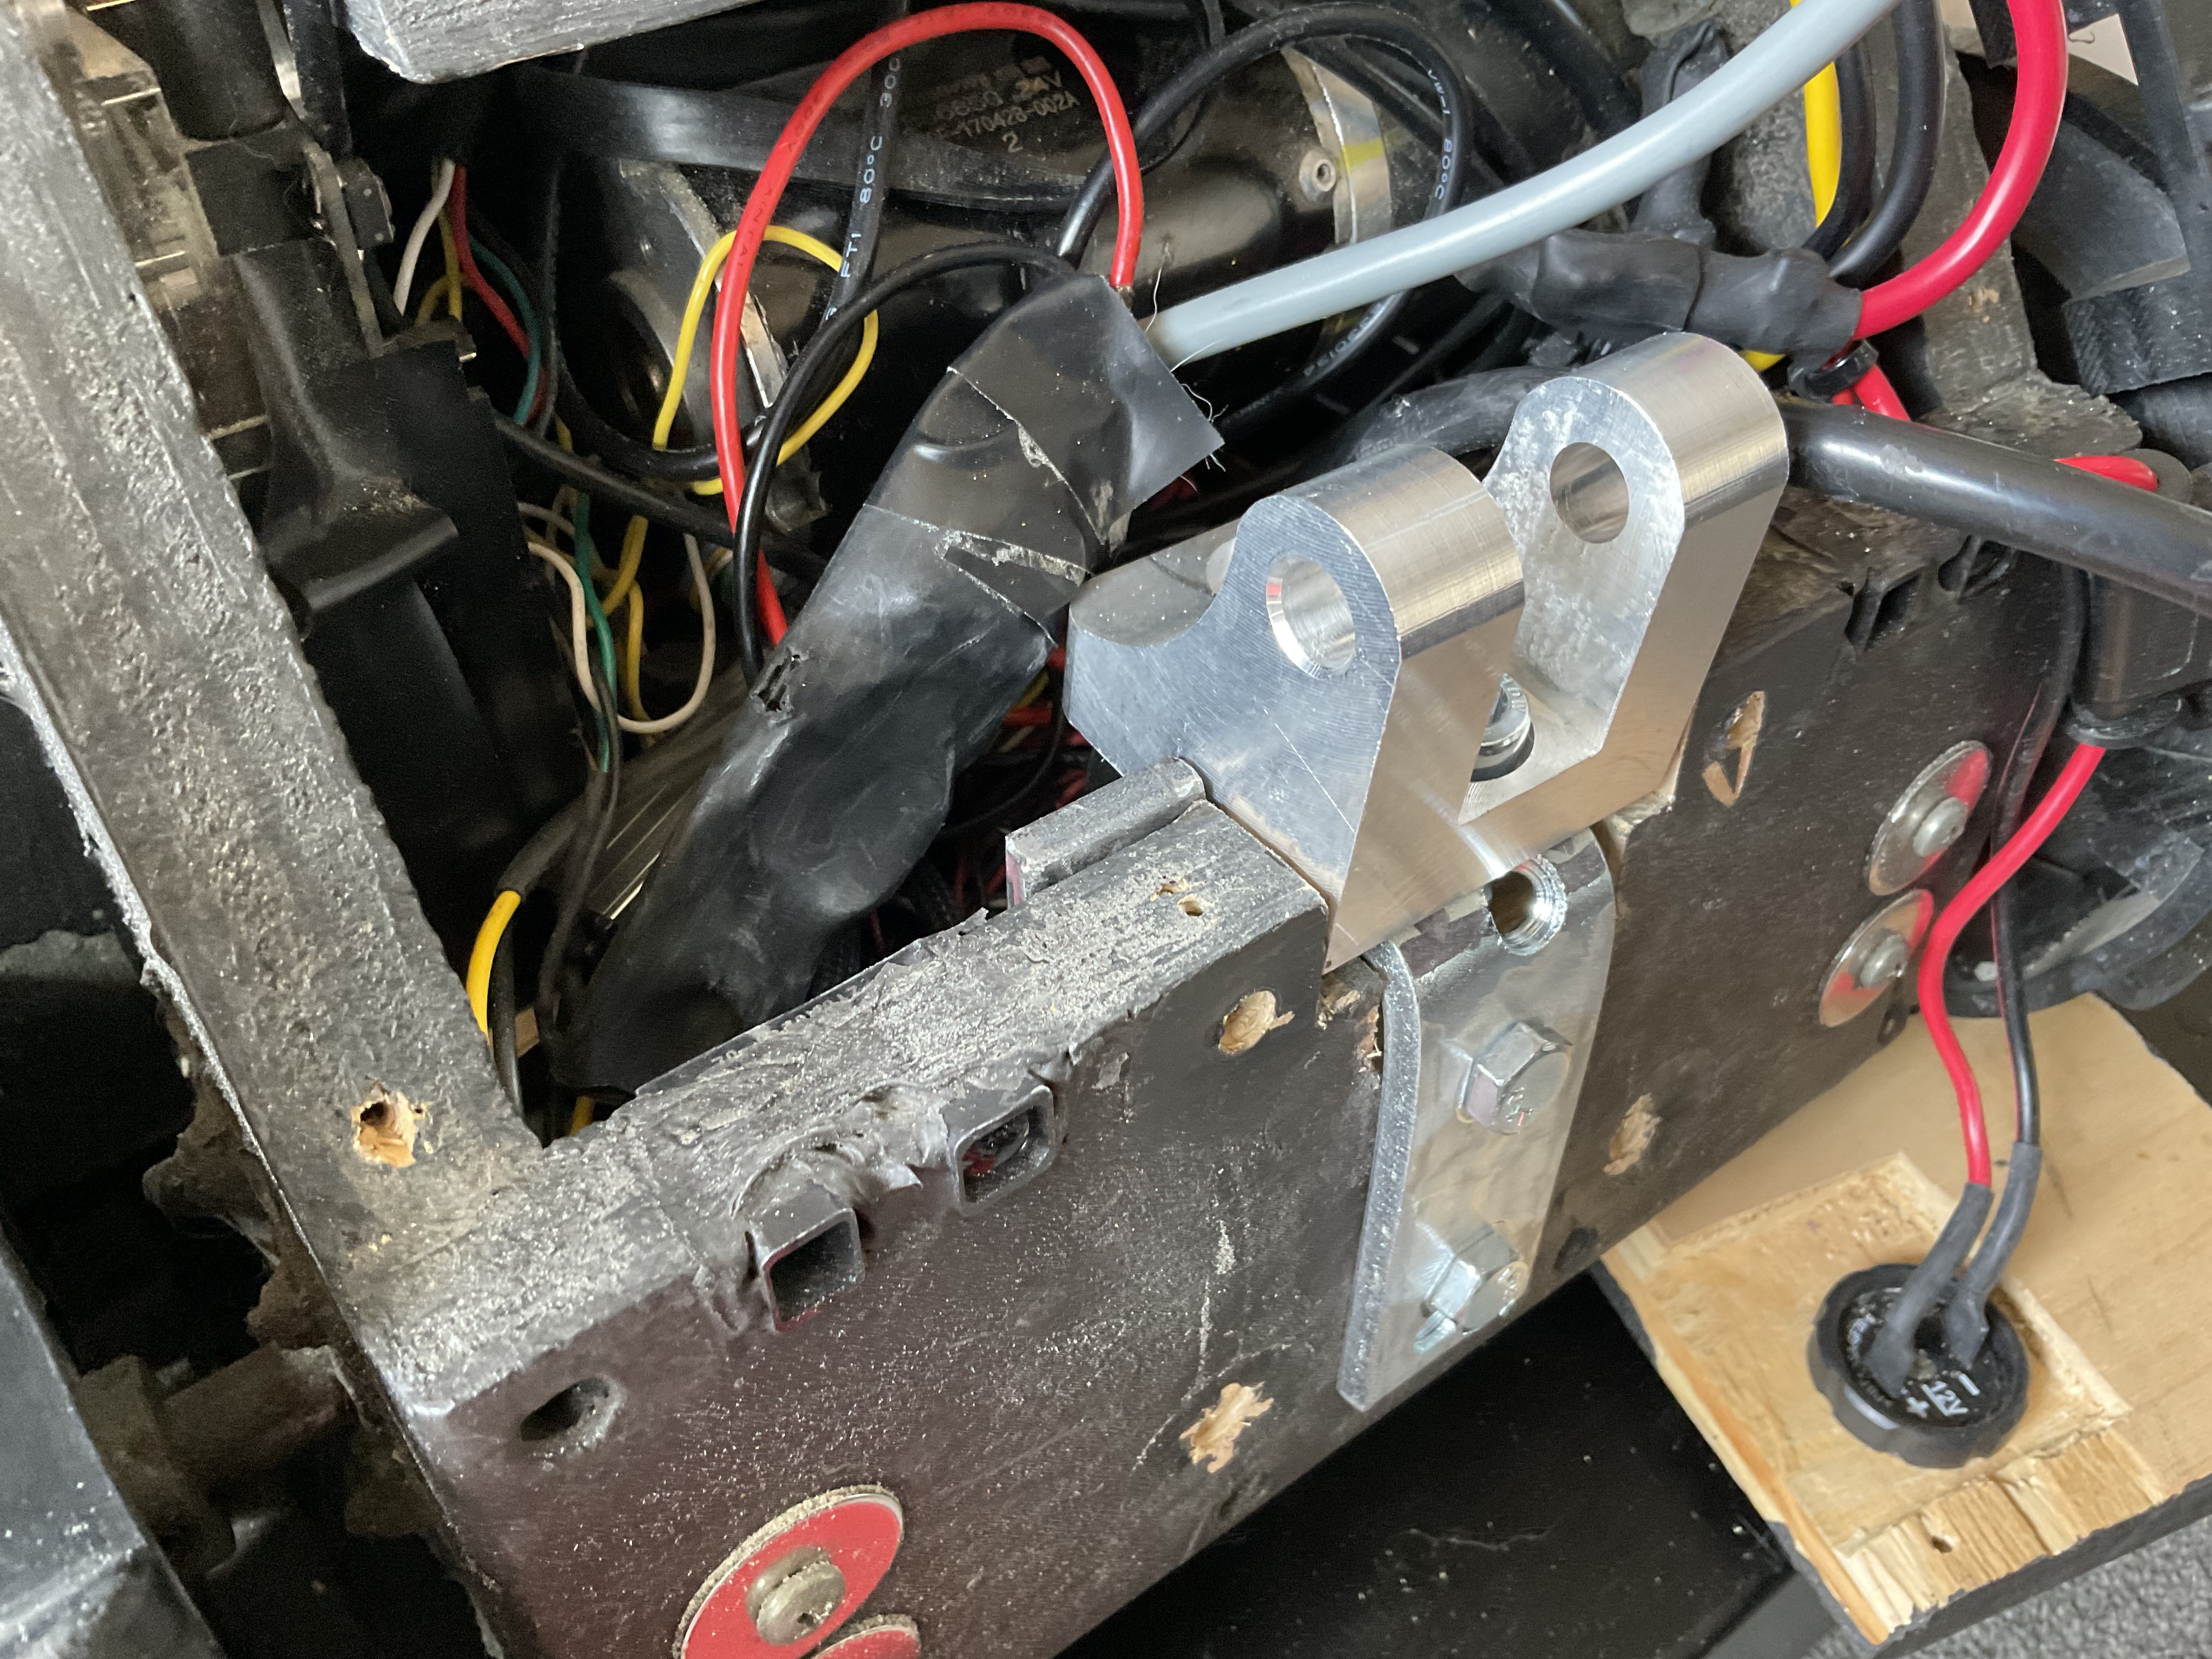
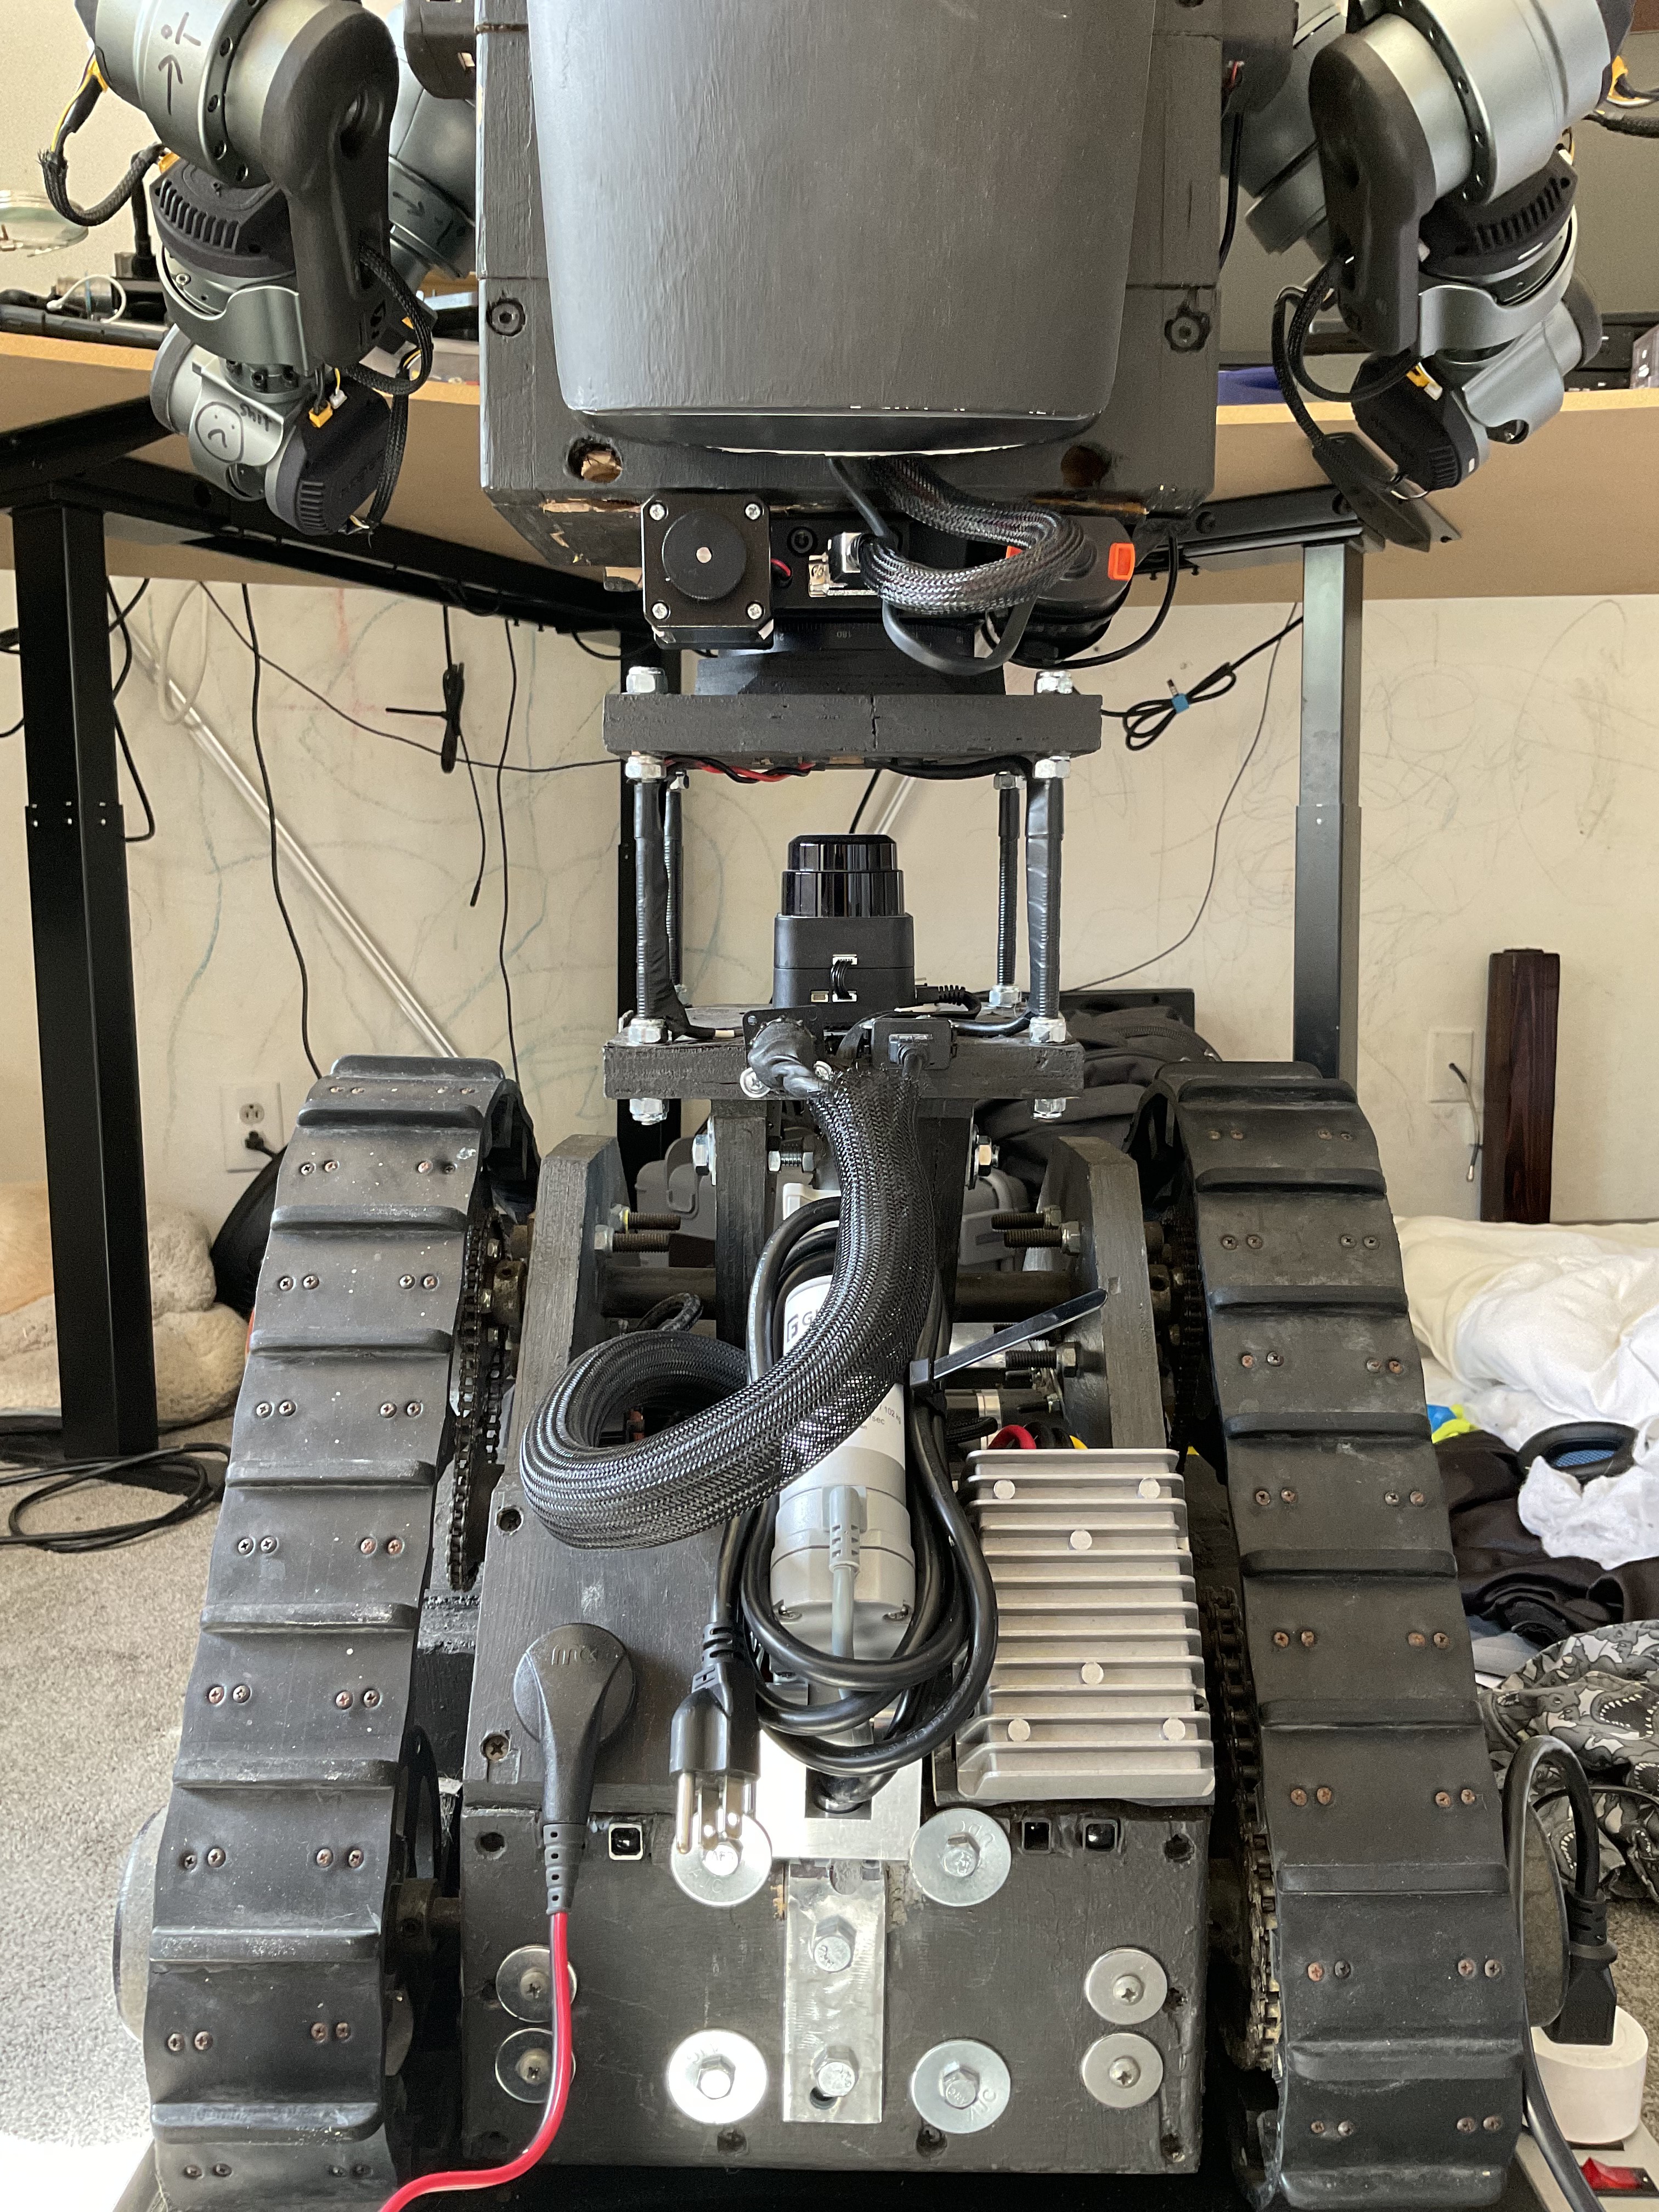
Here is an internal shot of the mounted hardware.
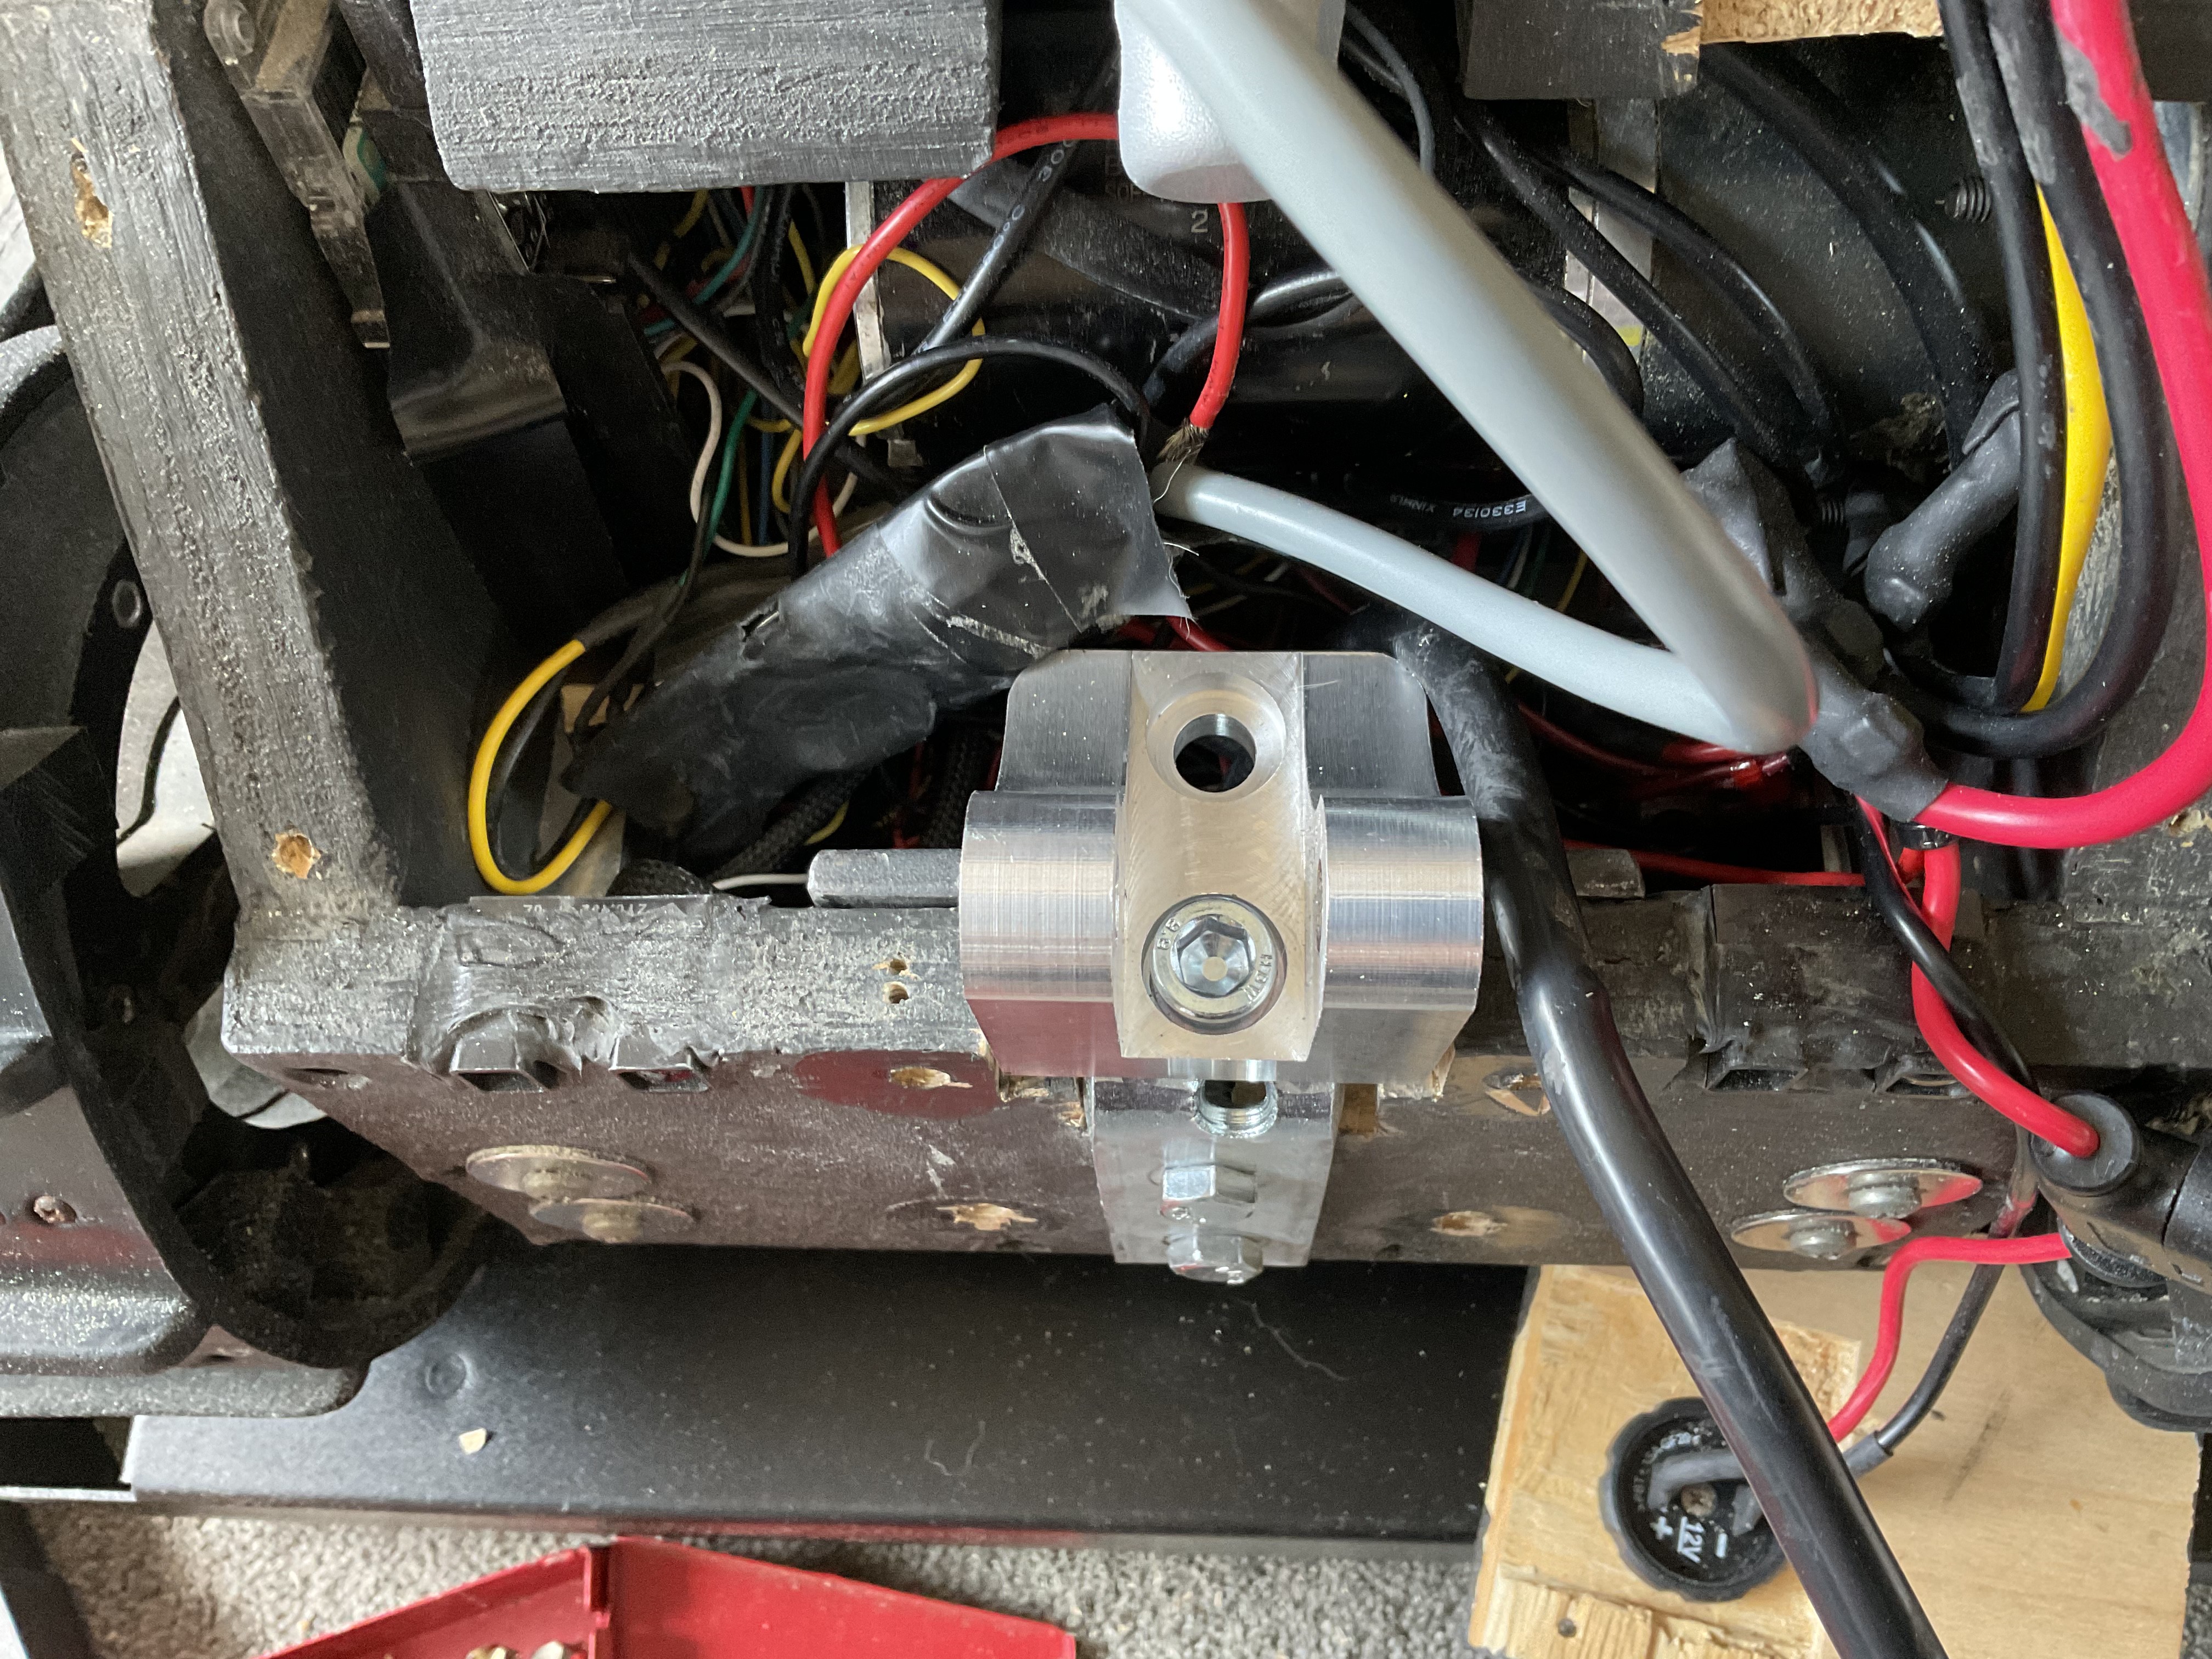
Internal shot of the mounted hardware. Using an 8.8 hardness bolt here.
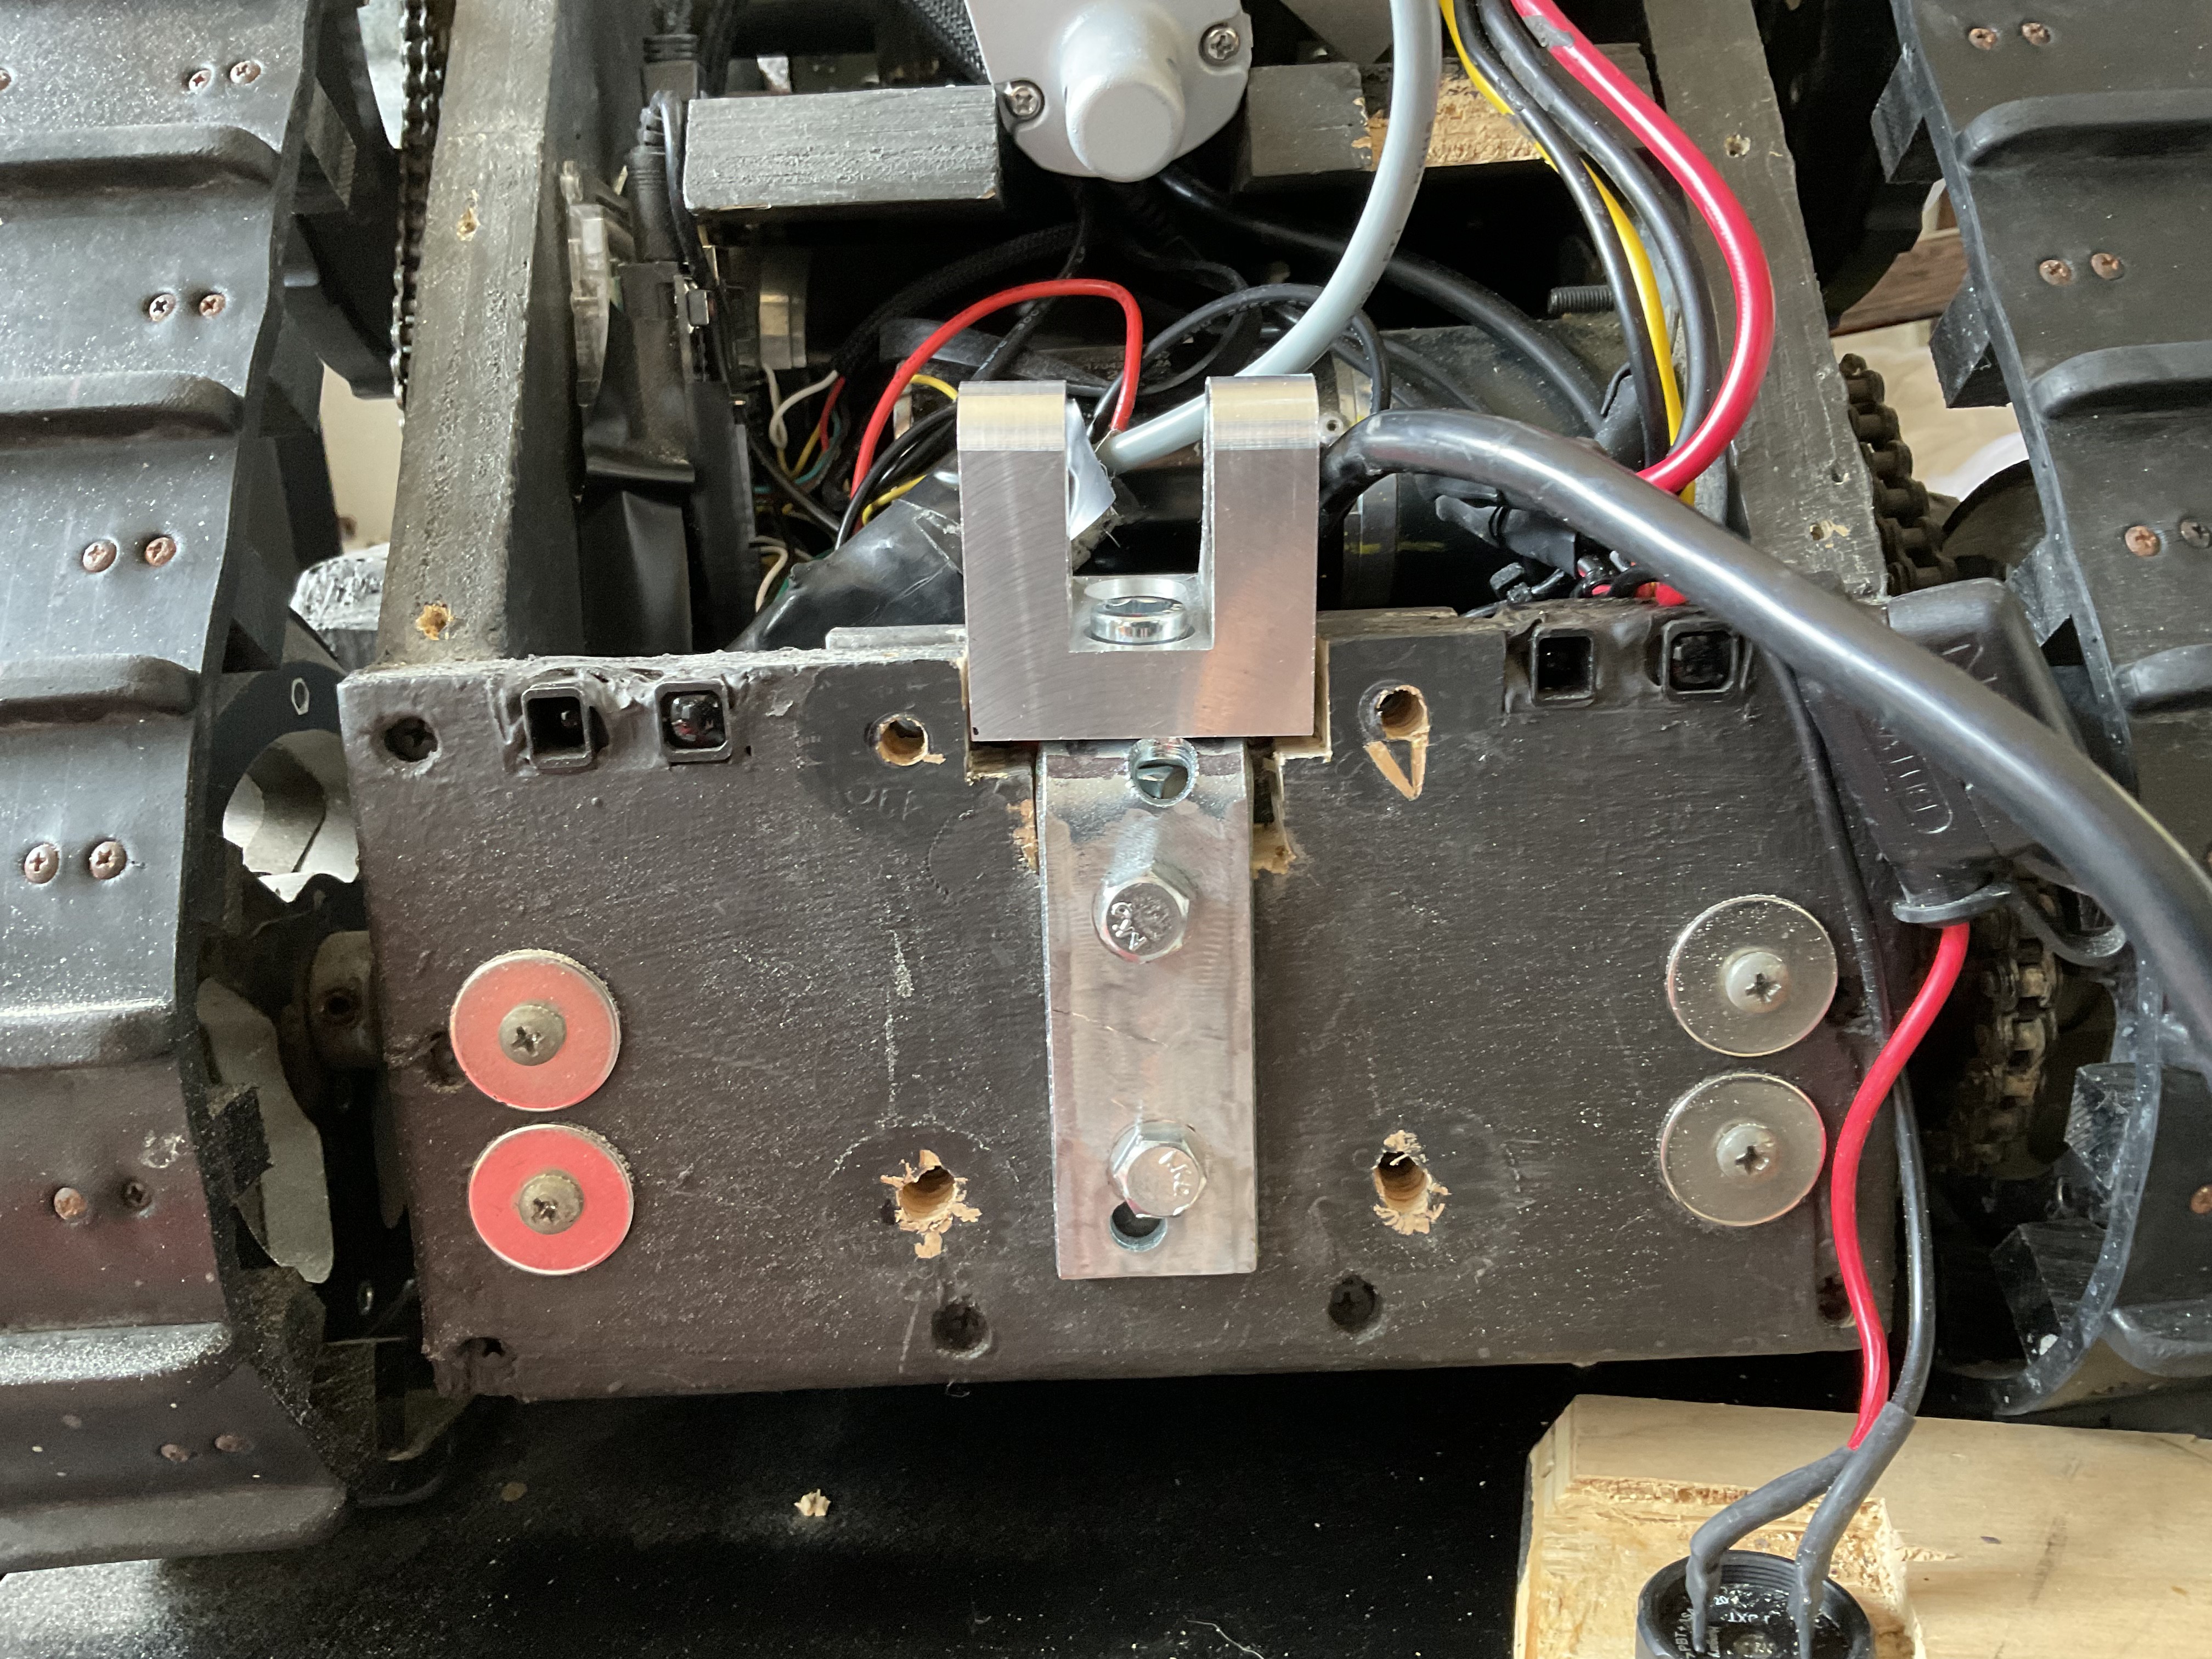
Rear view of the droid’s new mount upgrade.
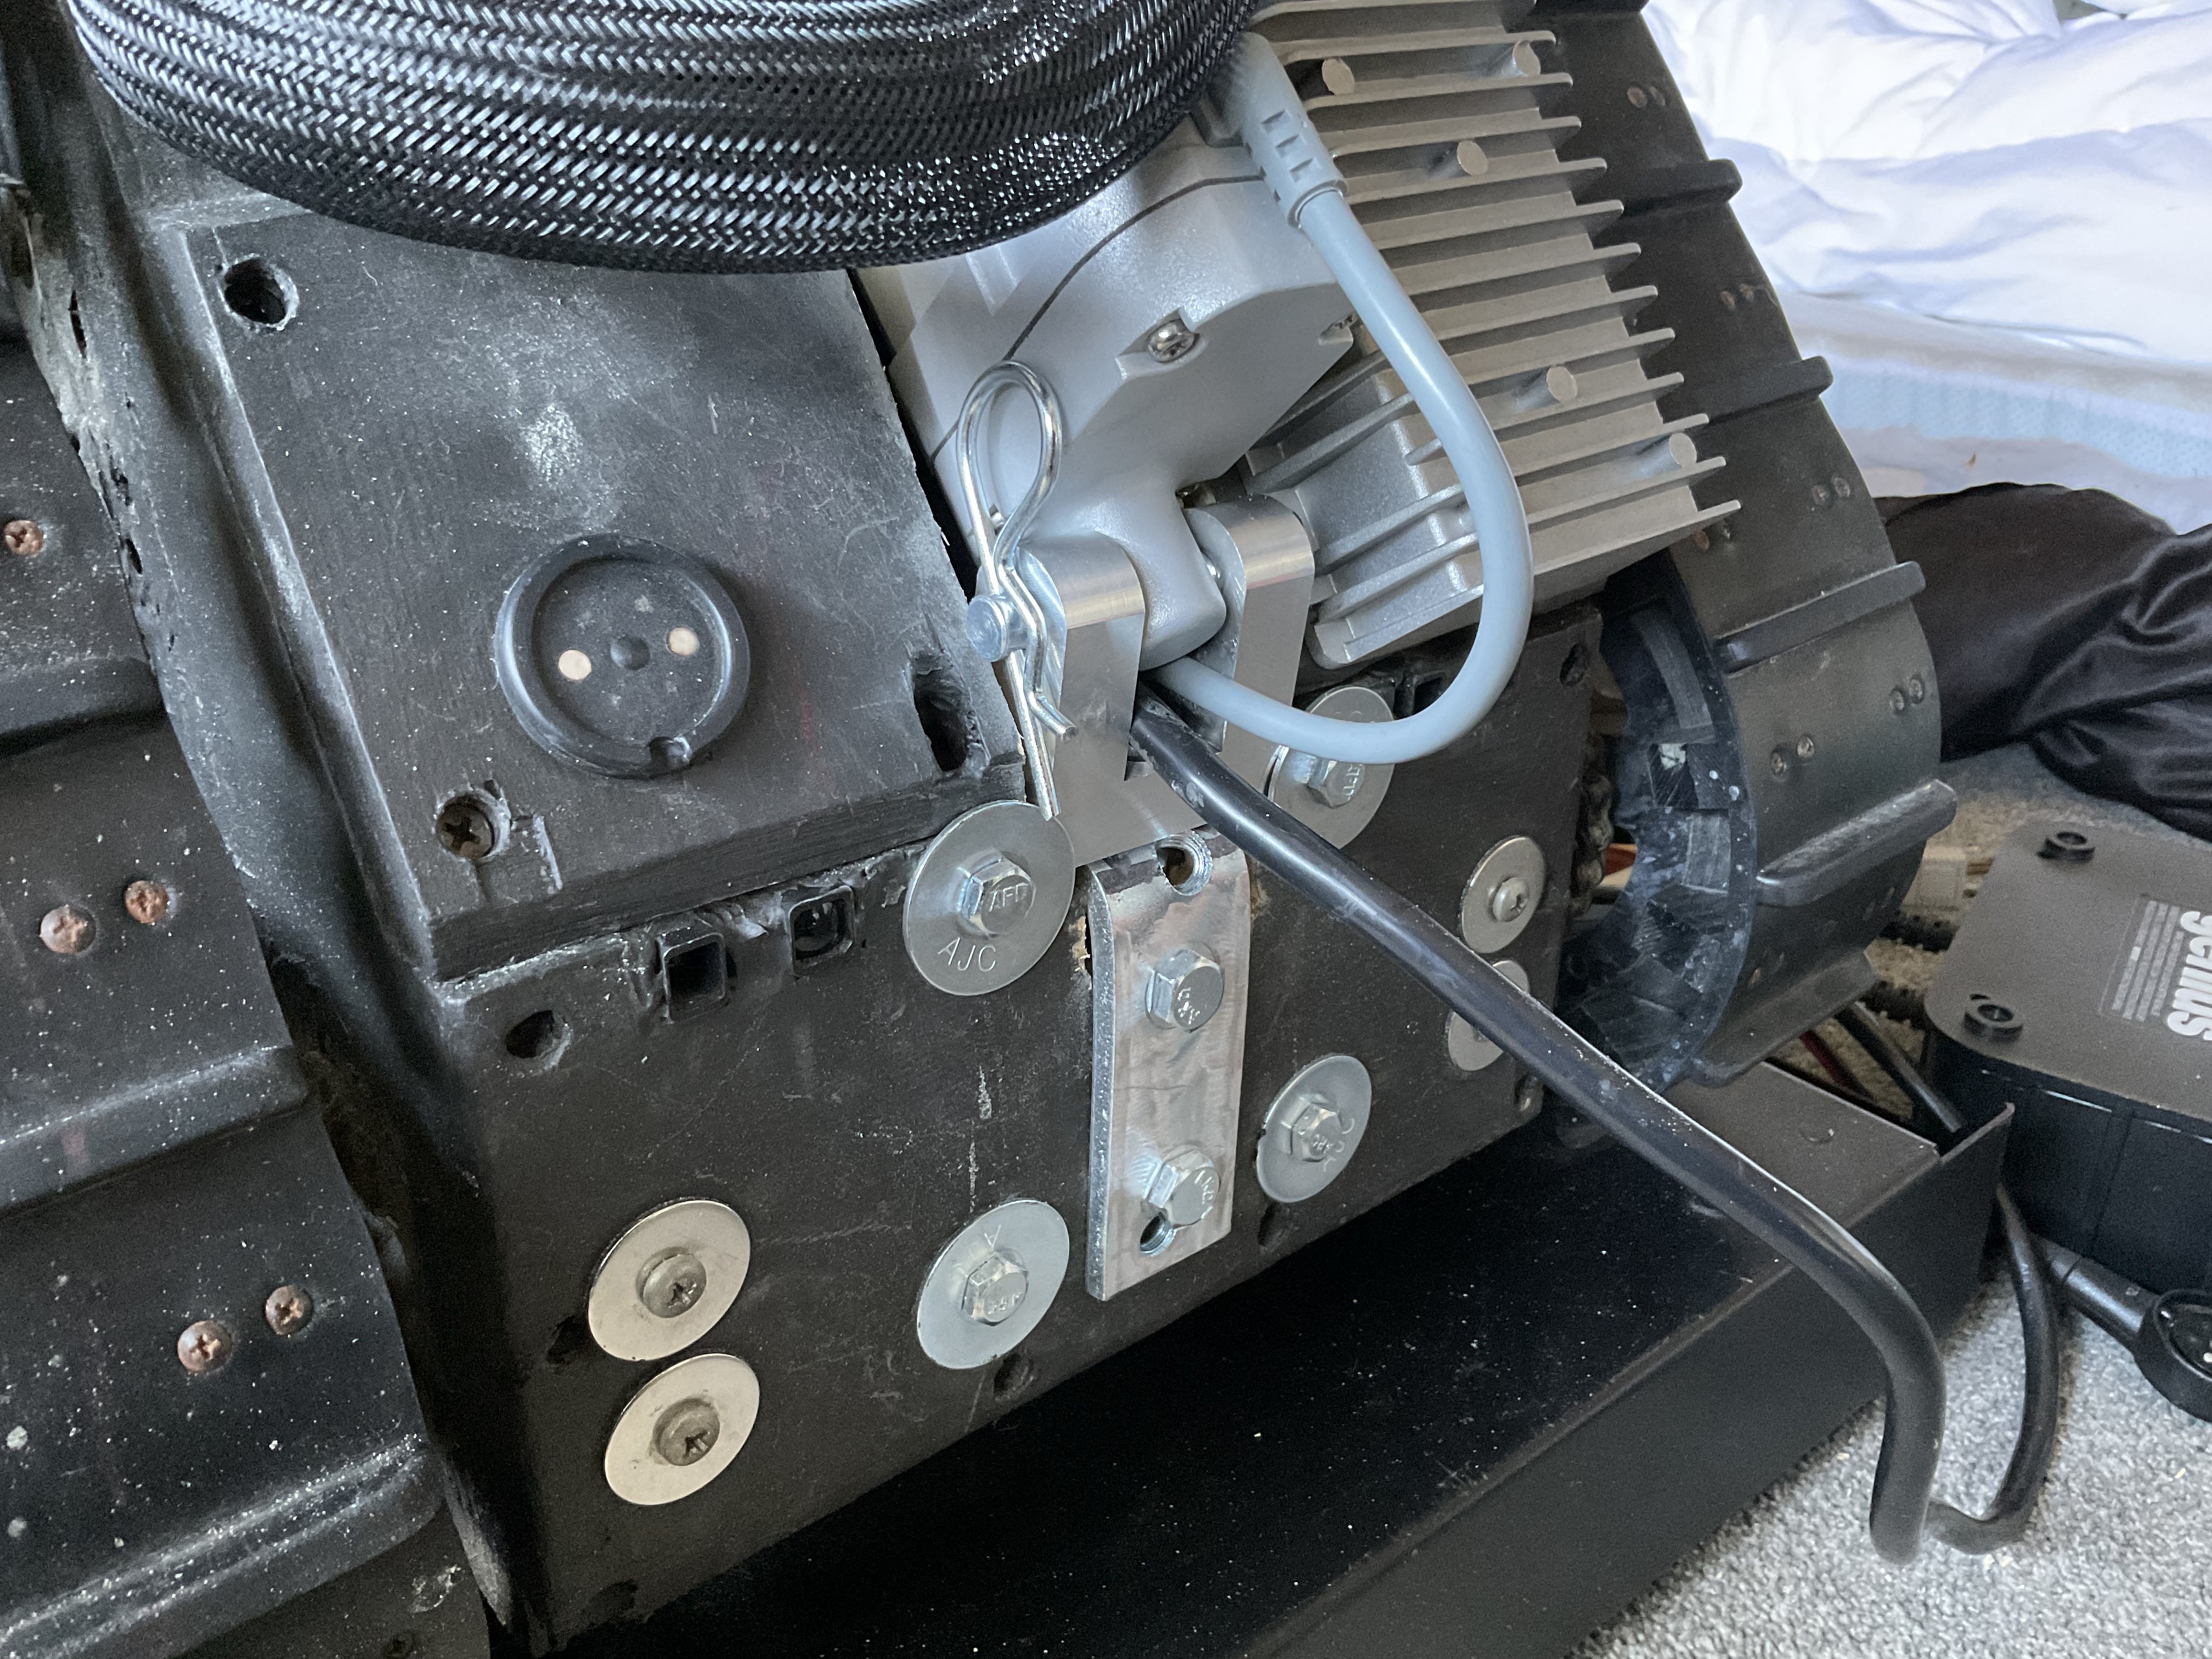
Satisfaction guaranteed baby!
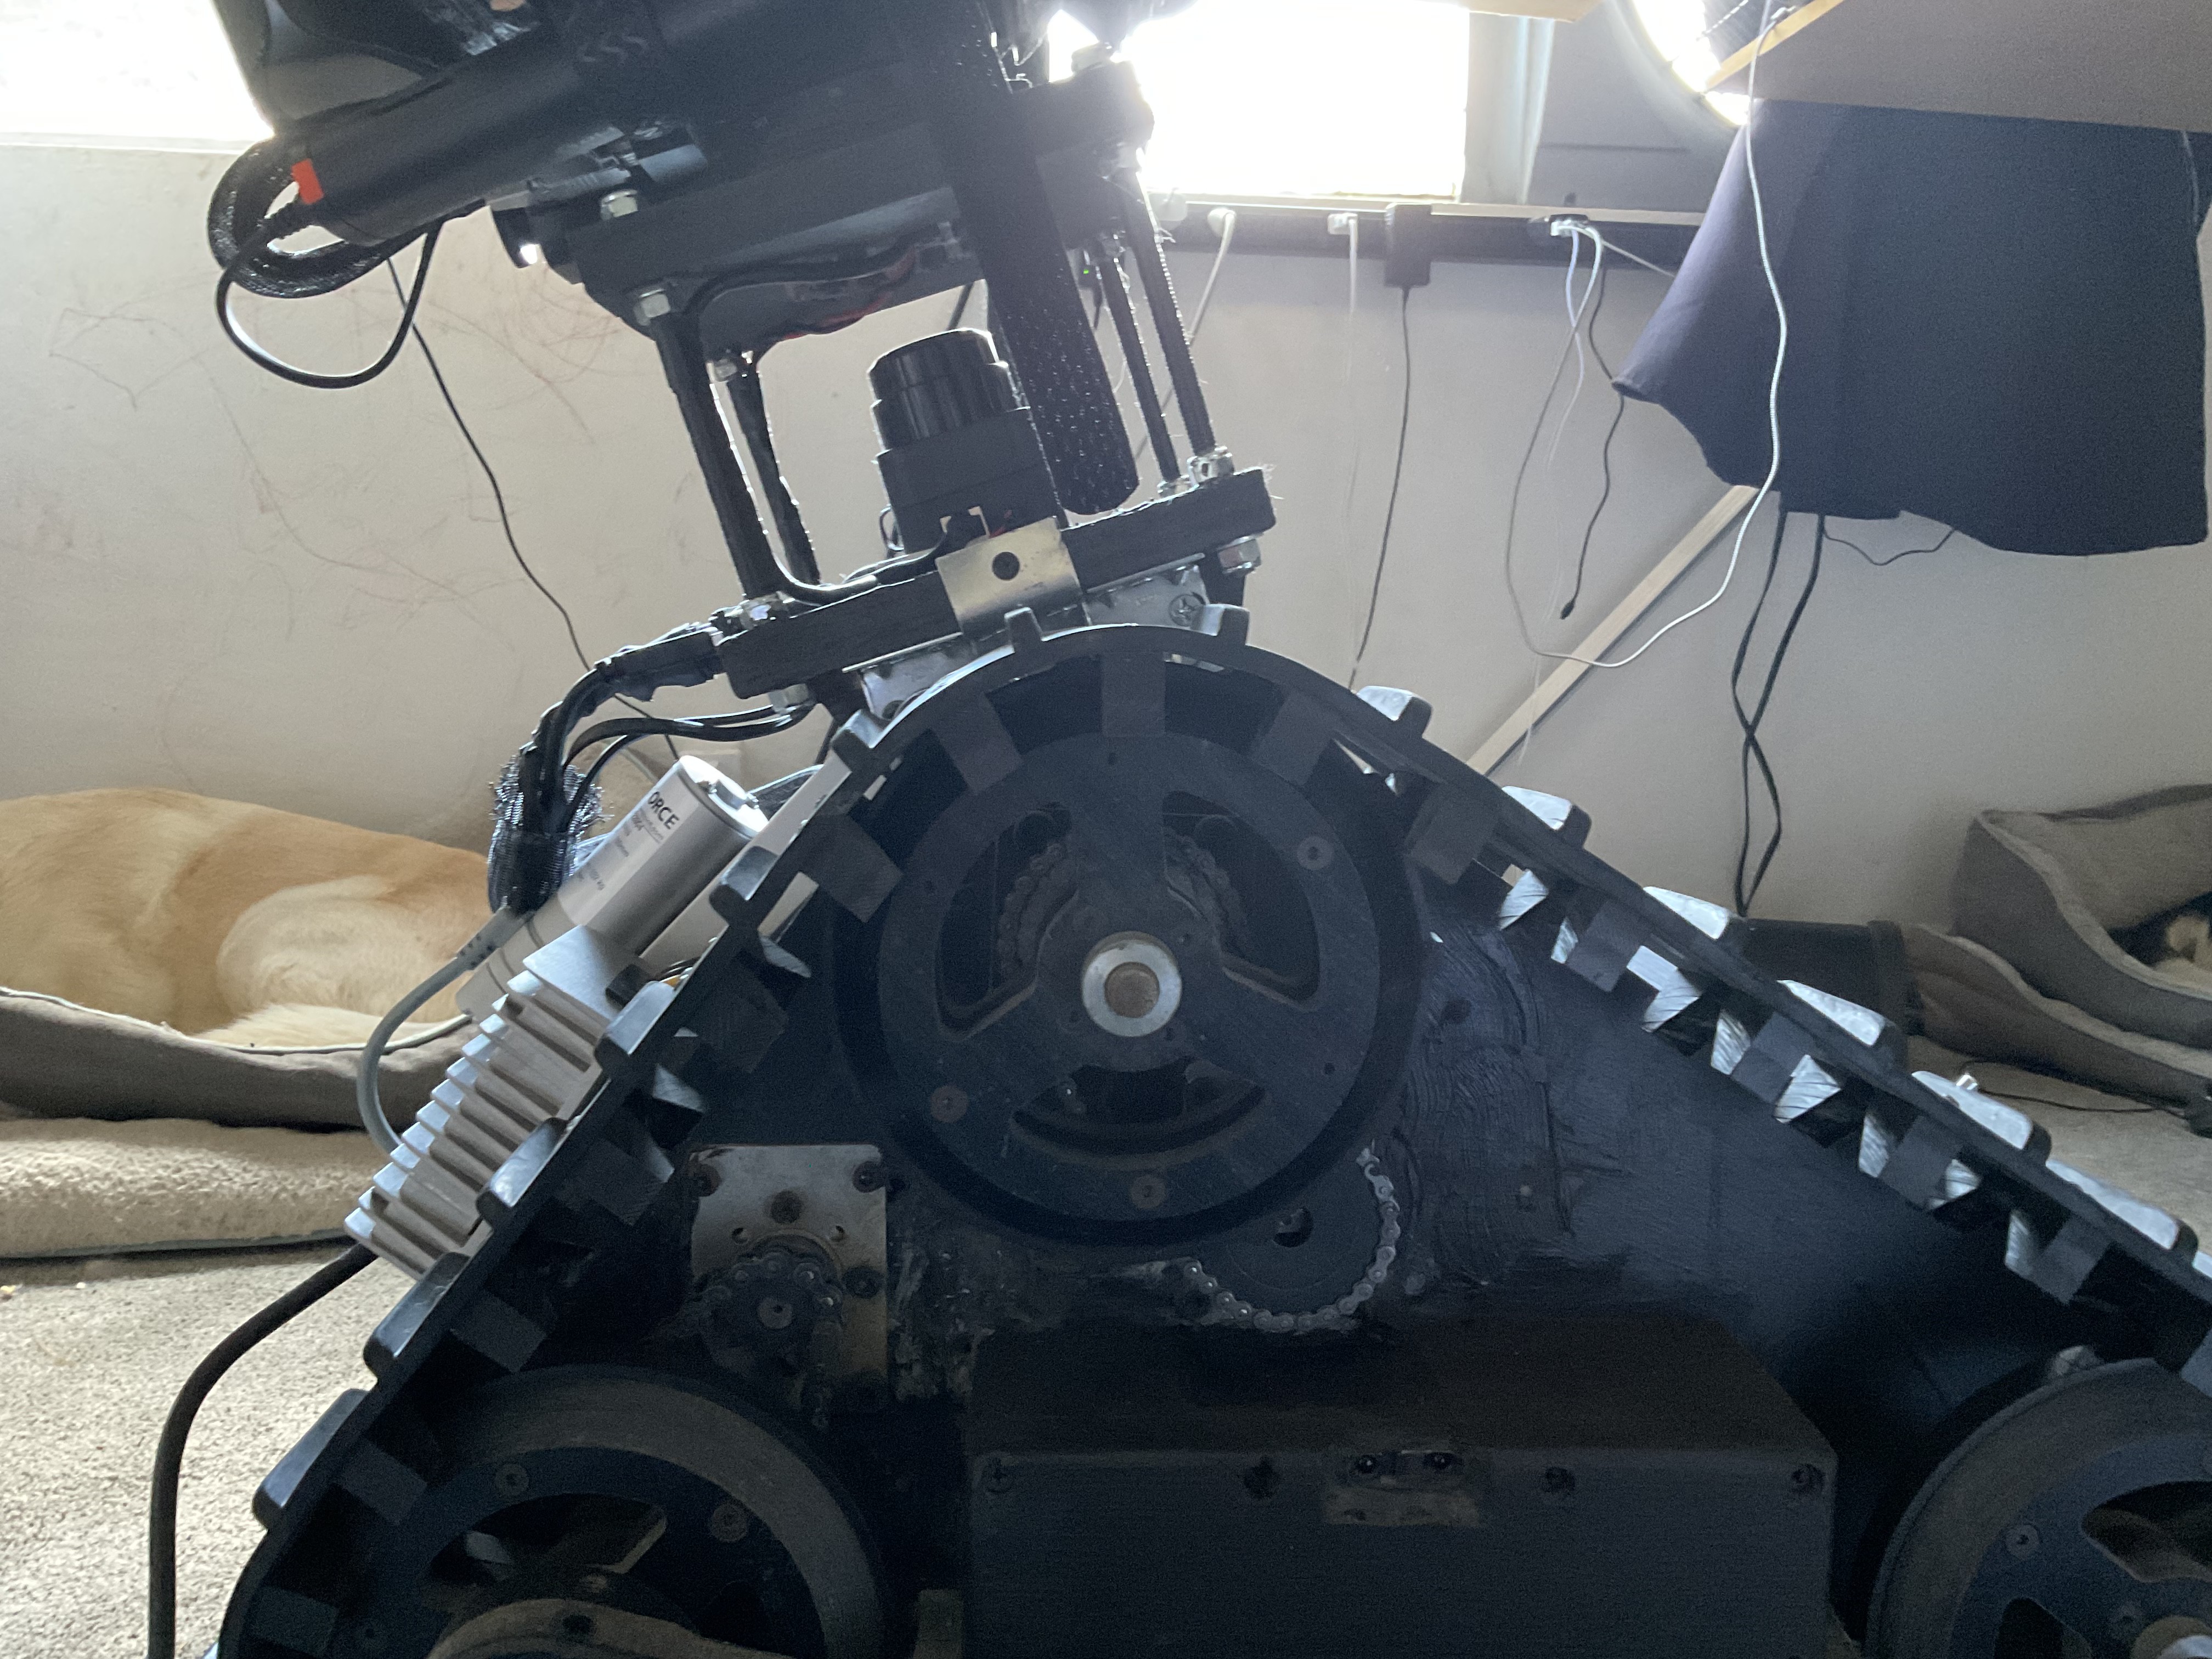
The angle of incidence for the rear most angle is shown here with the new upgrade. This is the maximum angle the droid can take towards the rear direction. If you engage the 4” linear actuator it will push the droid nearly to the 100º degrees of motion.
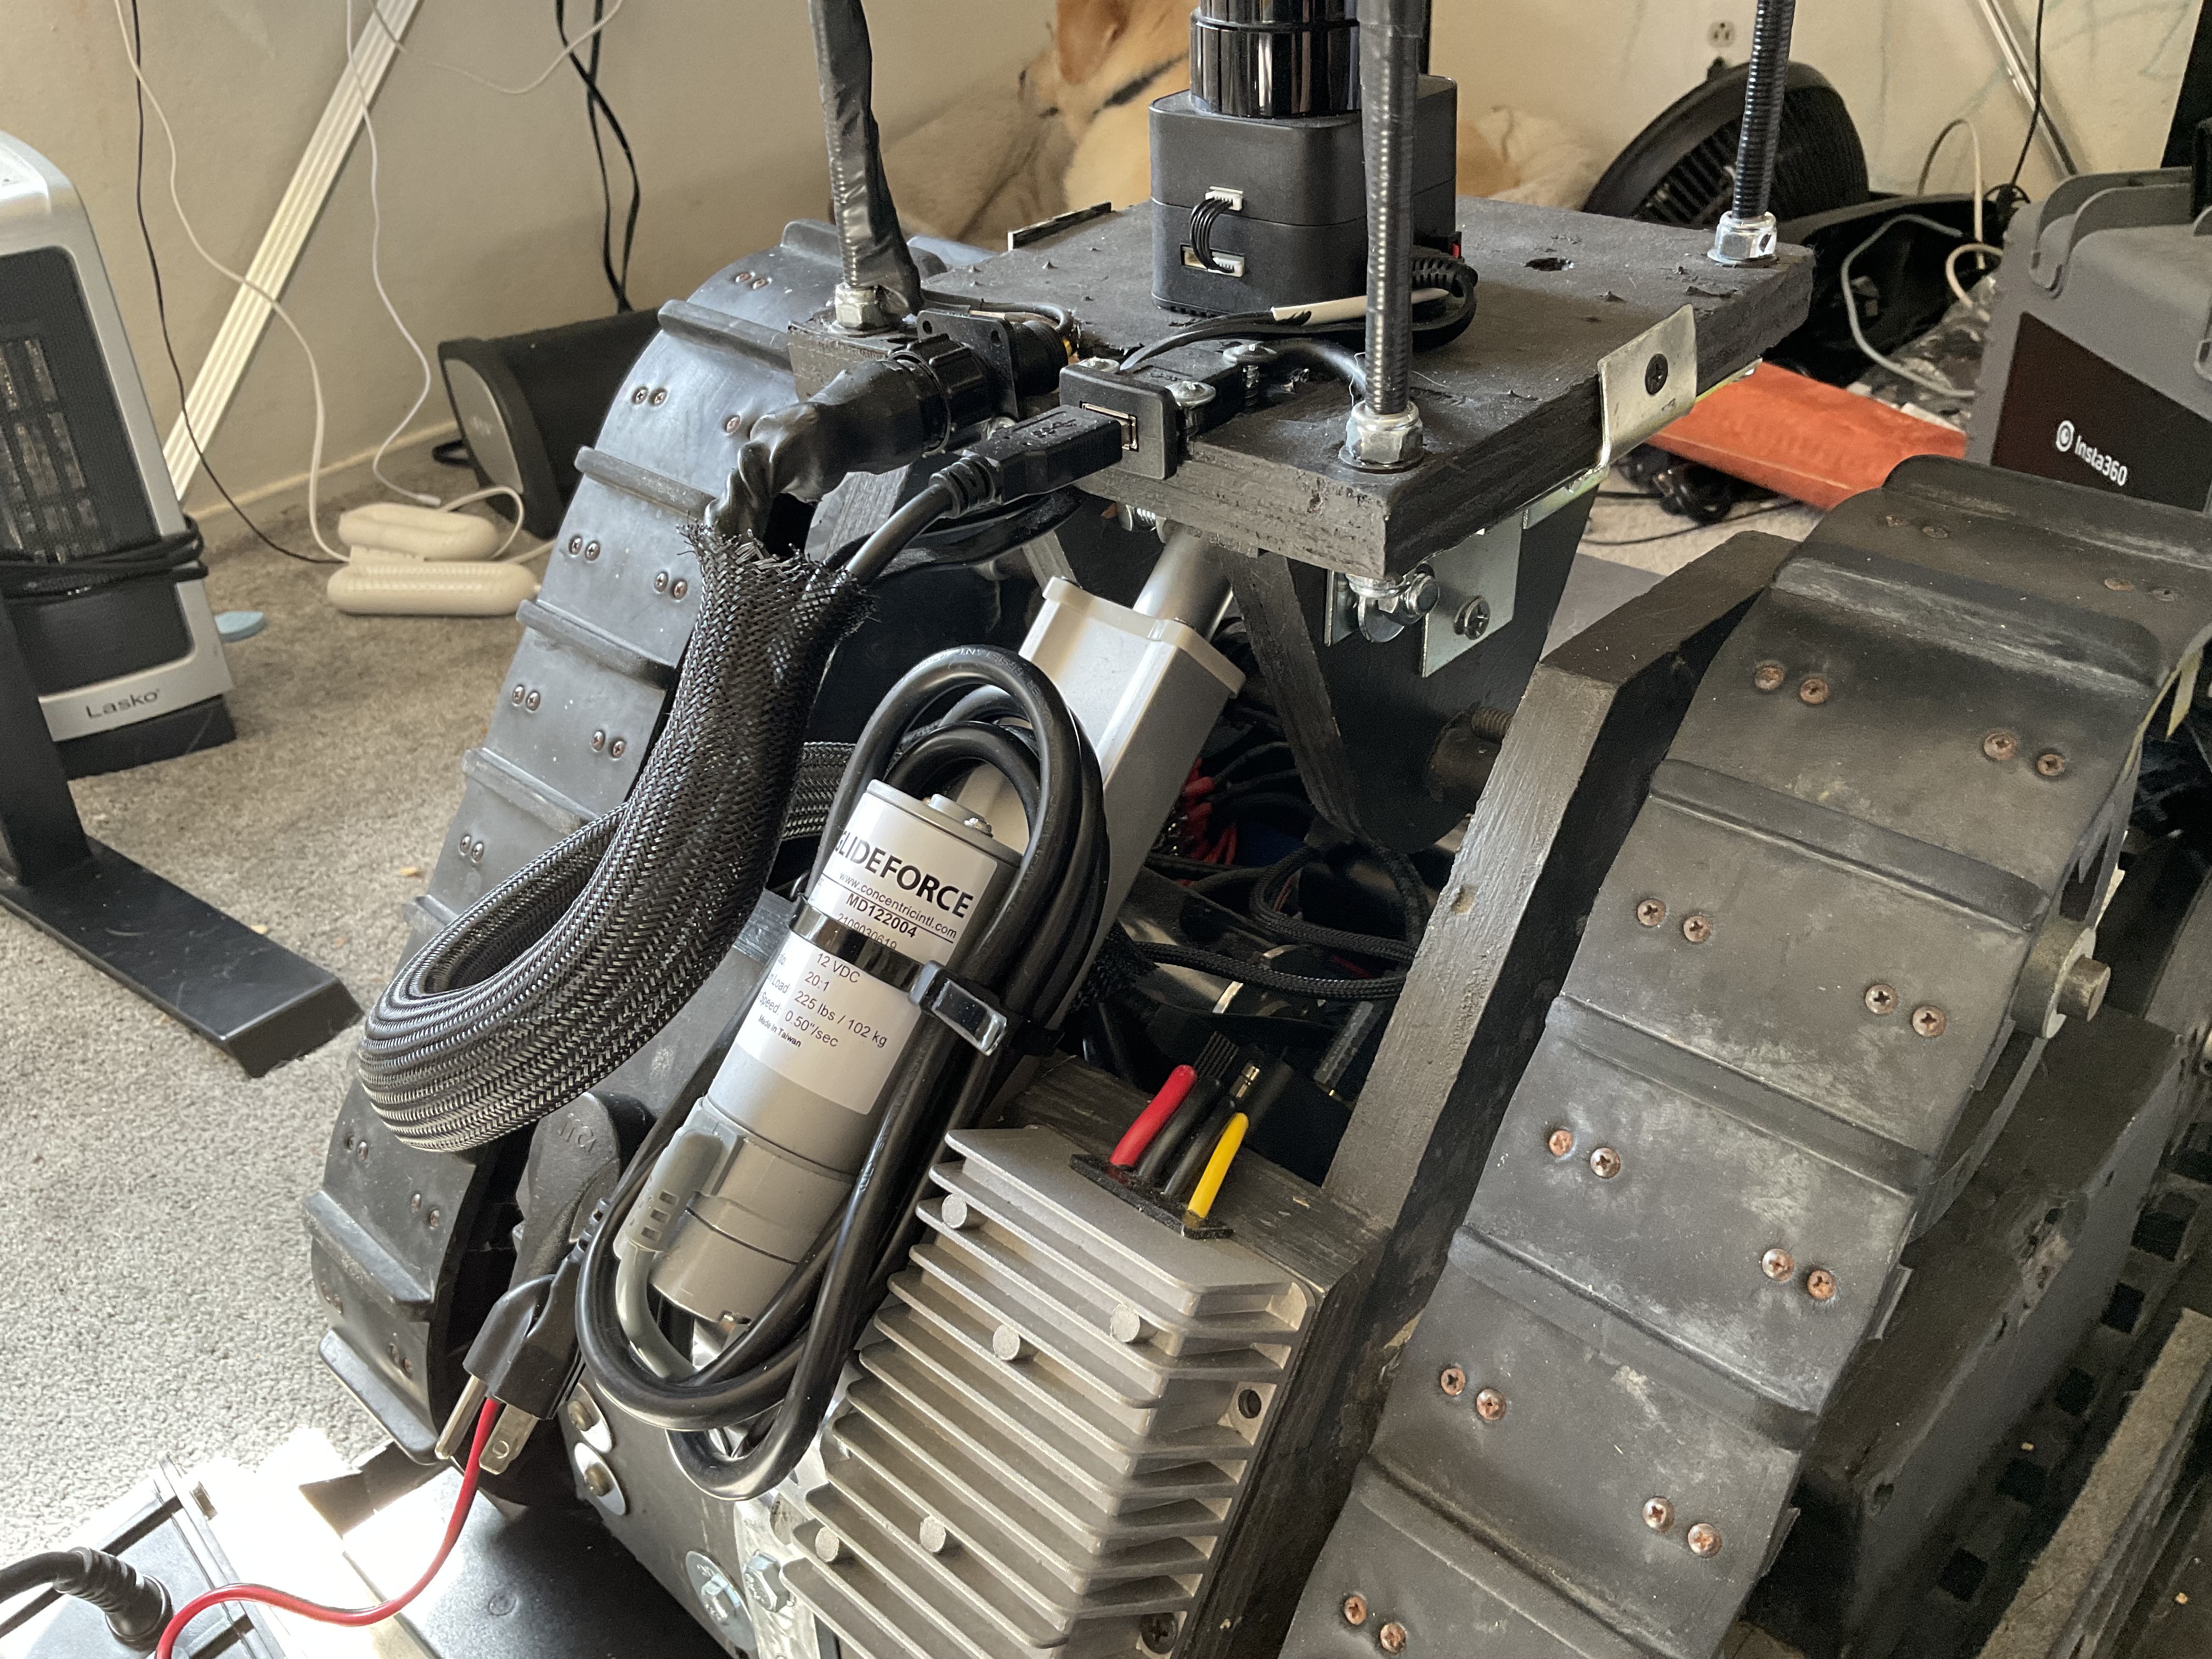
Looks great, I turned on the droid and its working like a charm. Notice the LACT has been sent into the upright direction. It means we are successfully able to communicate with the hardware. You can use 2 ways to talk tot he Pololu Maestro and Pololu Jrk Motor Controller series, in this particular case I use the Arduino to speak to the motor controller with serial lines. I could have used USB serial connection as well, which is what I use to speak to the Maestro 24 servo controller. I love you Pololu, best chips ever.
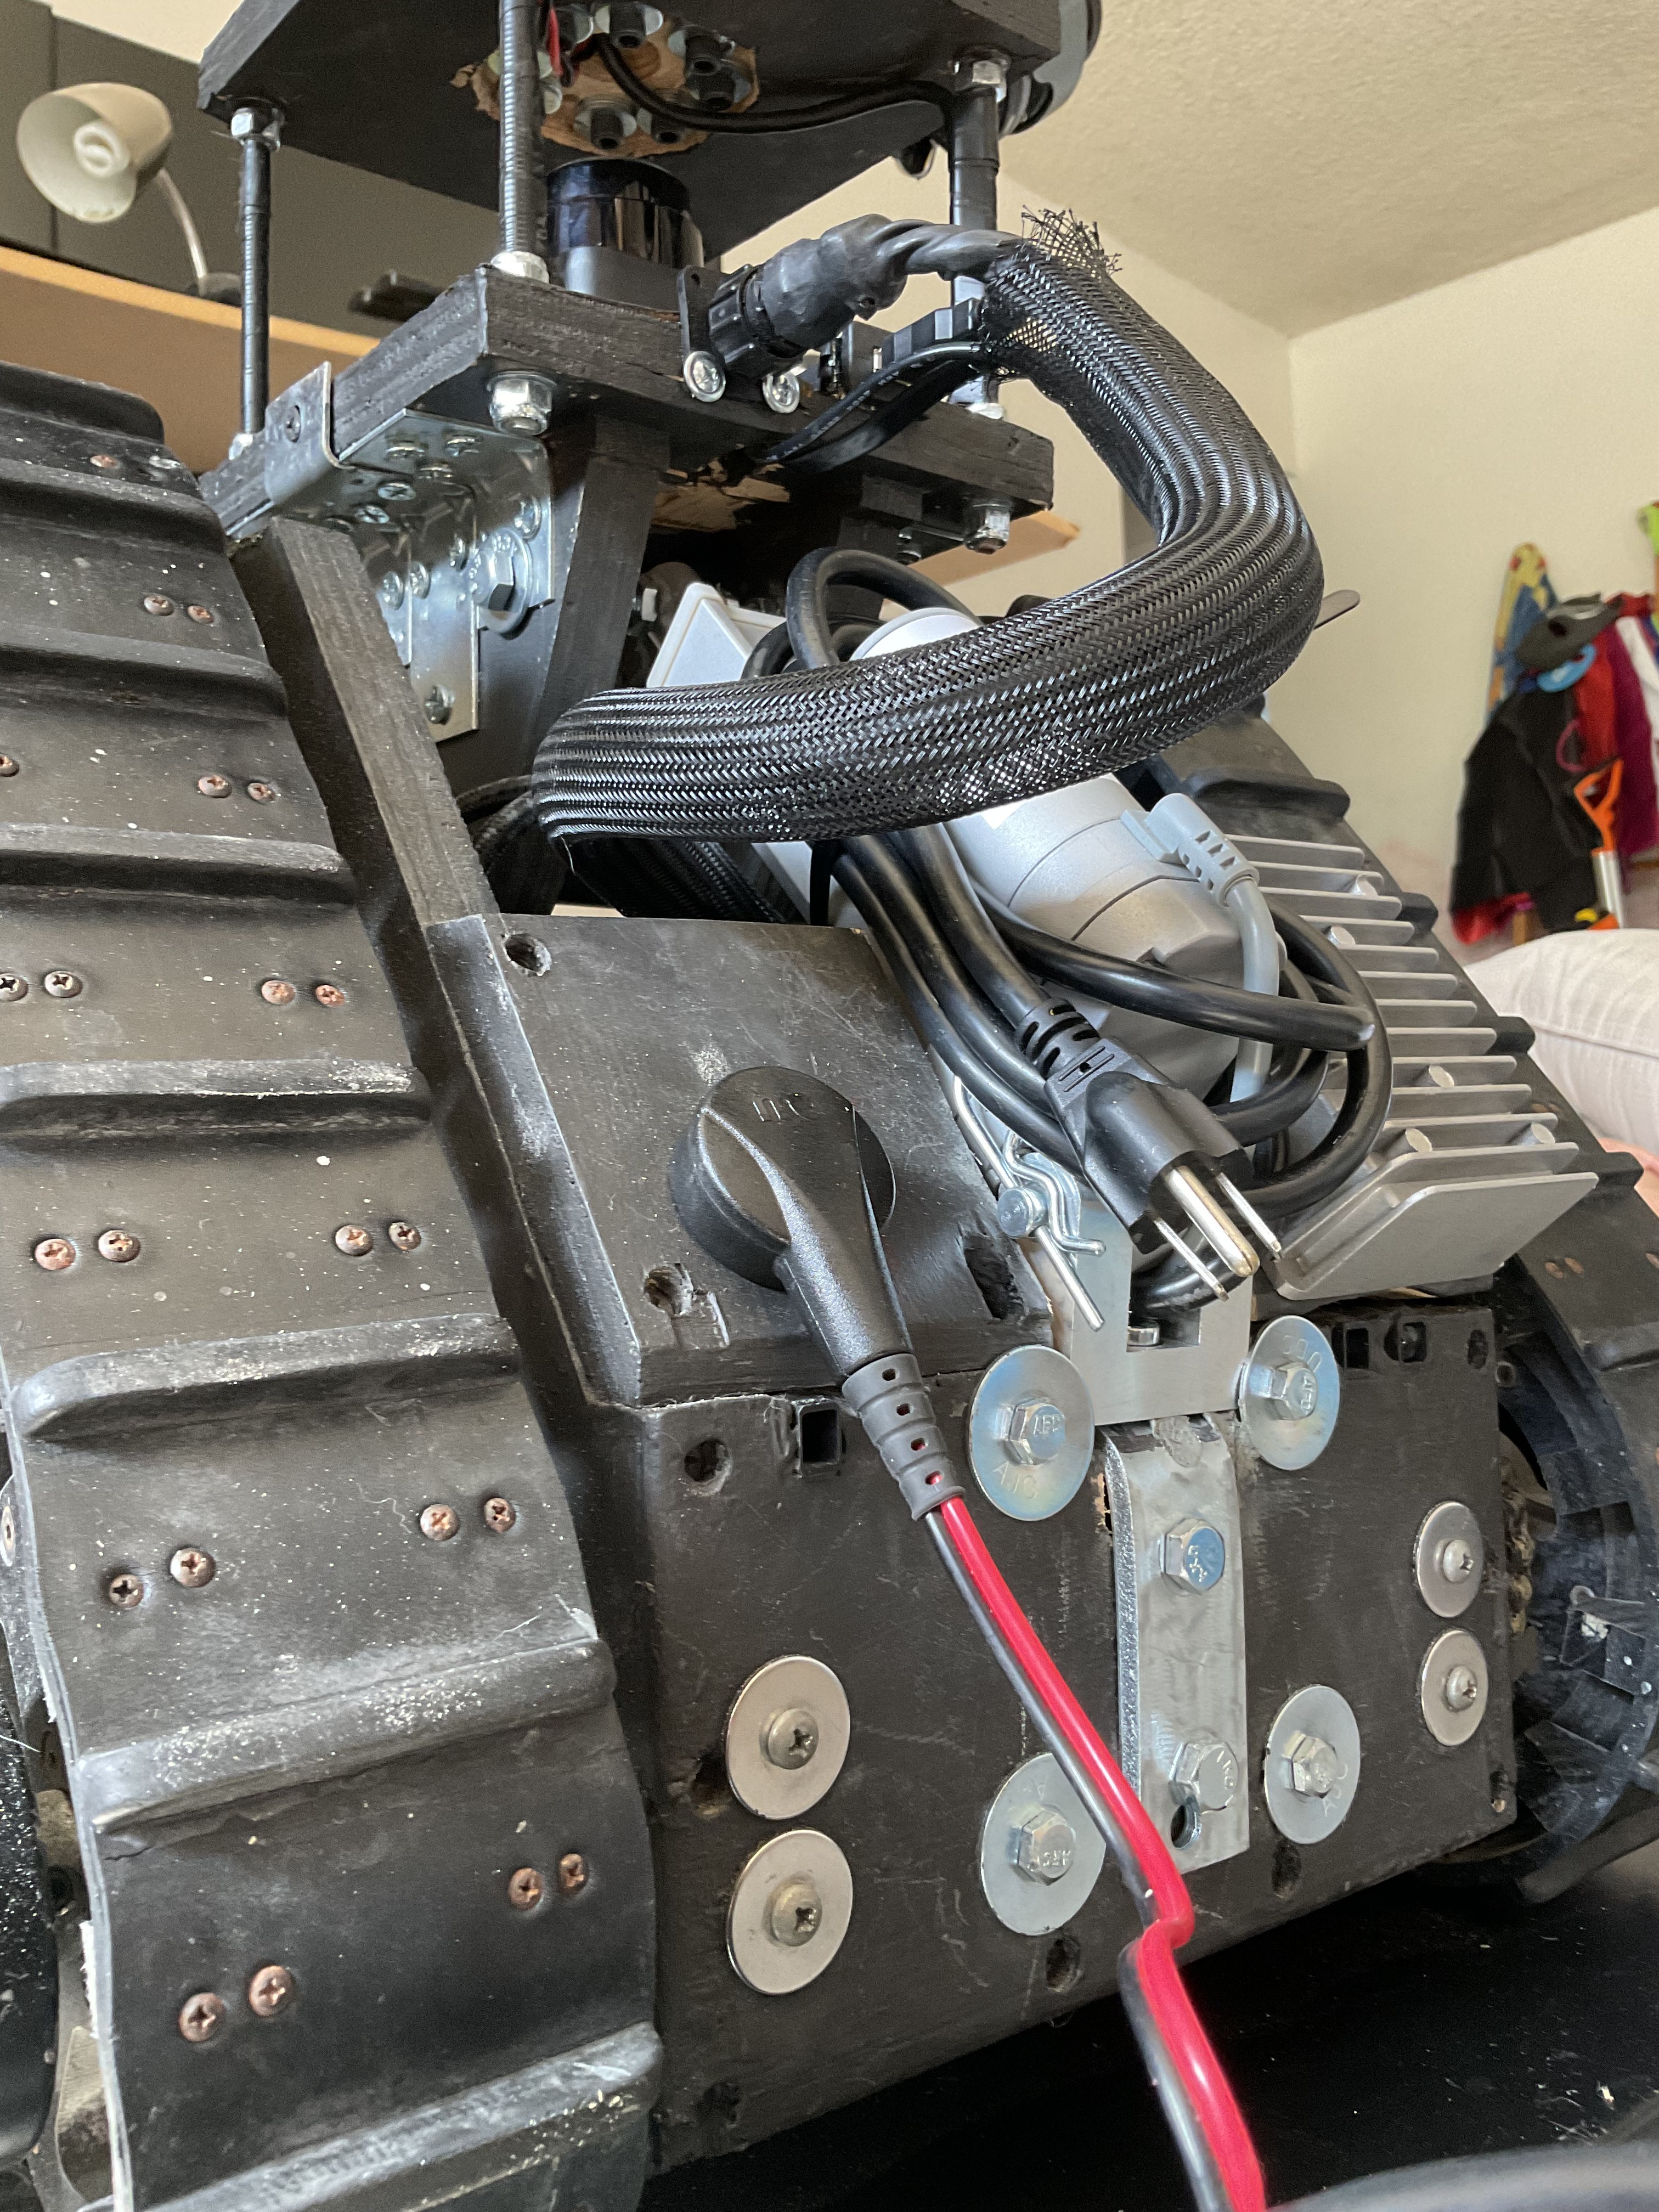
SO beautiful guys. ROBOTS!
I love my droid. Will take it out for a spin and blog that too. It’s ready for some mountain testing and broadcasting. I can post the YouTube link to the VR camera as it will be broadcasting to my channel. Thanks for reading! Will keep more awesomeness going… I regret not showing you guys how to wire up the rotation plate with the stepper motor. I use 24v and communicate with the controller from Pololu once again. I use their greatest power stepper motor controller and I love it. The sounds are exactly what R2D2 sounds like. Speaking of R2D2, its a amazing to see how much of an antique his design has become. Welcome to the Future of Robotics!
ORBITUSROBOT ONLINE
 RudyAramayo
Discussions
Become a Hackaday.io Member
Create an account to leave a comment. Already have an account? Log In.