Hello new and old followers alike! I've got a mega update for y'all. In this update you will see the video proof-of-concept for the scripting engine as well as finalized wiring of all components. I'll also share some pics of the revised circuit board.
Mission 1
I'm going to take pisolaris out on a "field mission". This weekend I'll be going to a friends summer home in the middle of nowhere and I plan to tote #pisolaris along with me! This deadline gave me the motivation I needed to push really hard for wrapping up the loose ends of this first prototype. I'll be sure to provide an update with initial findings.
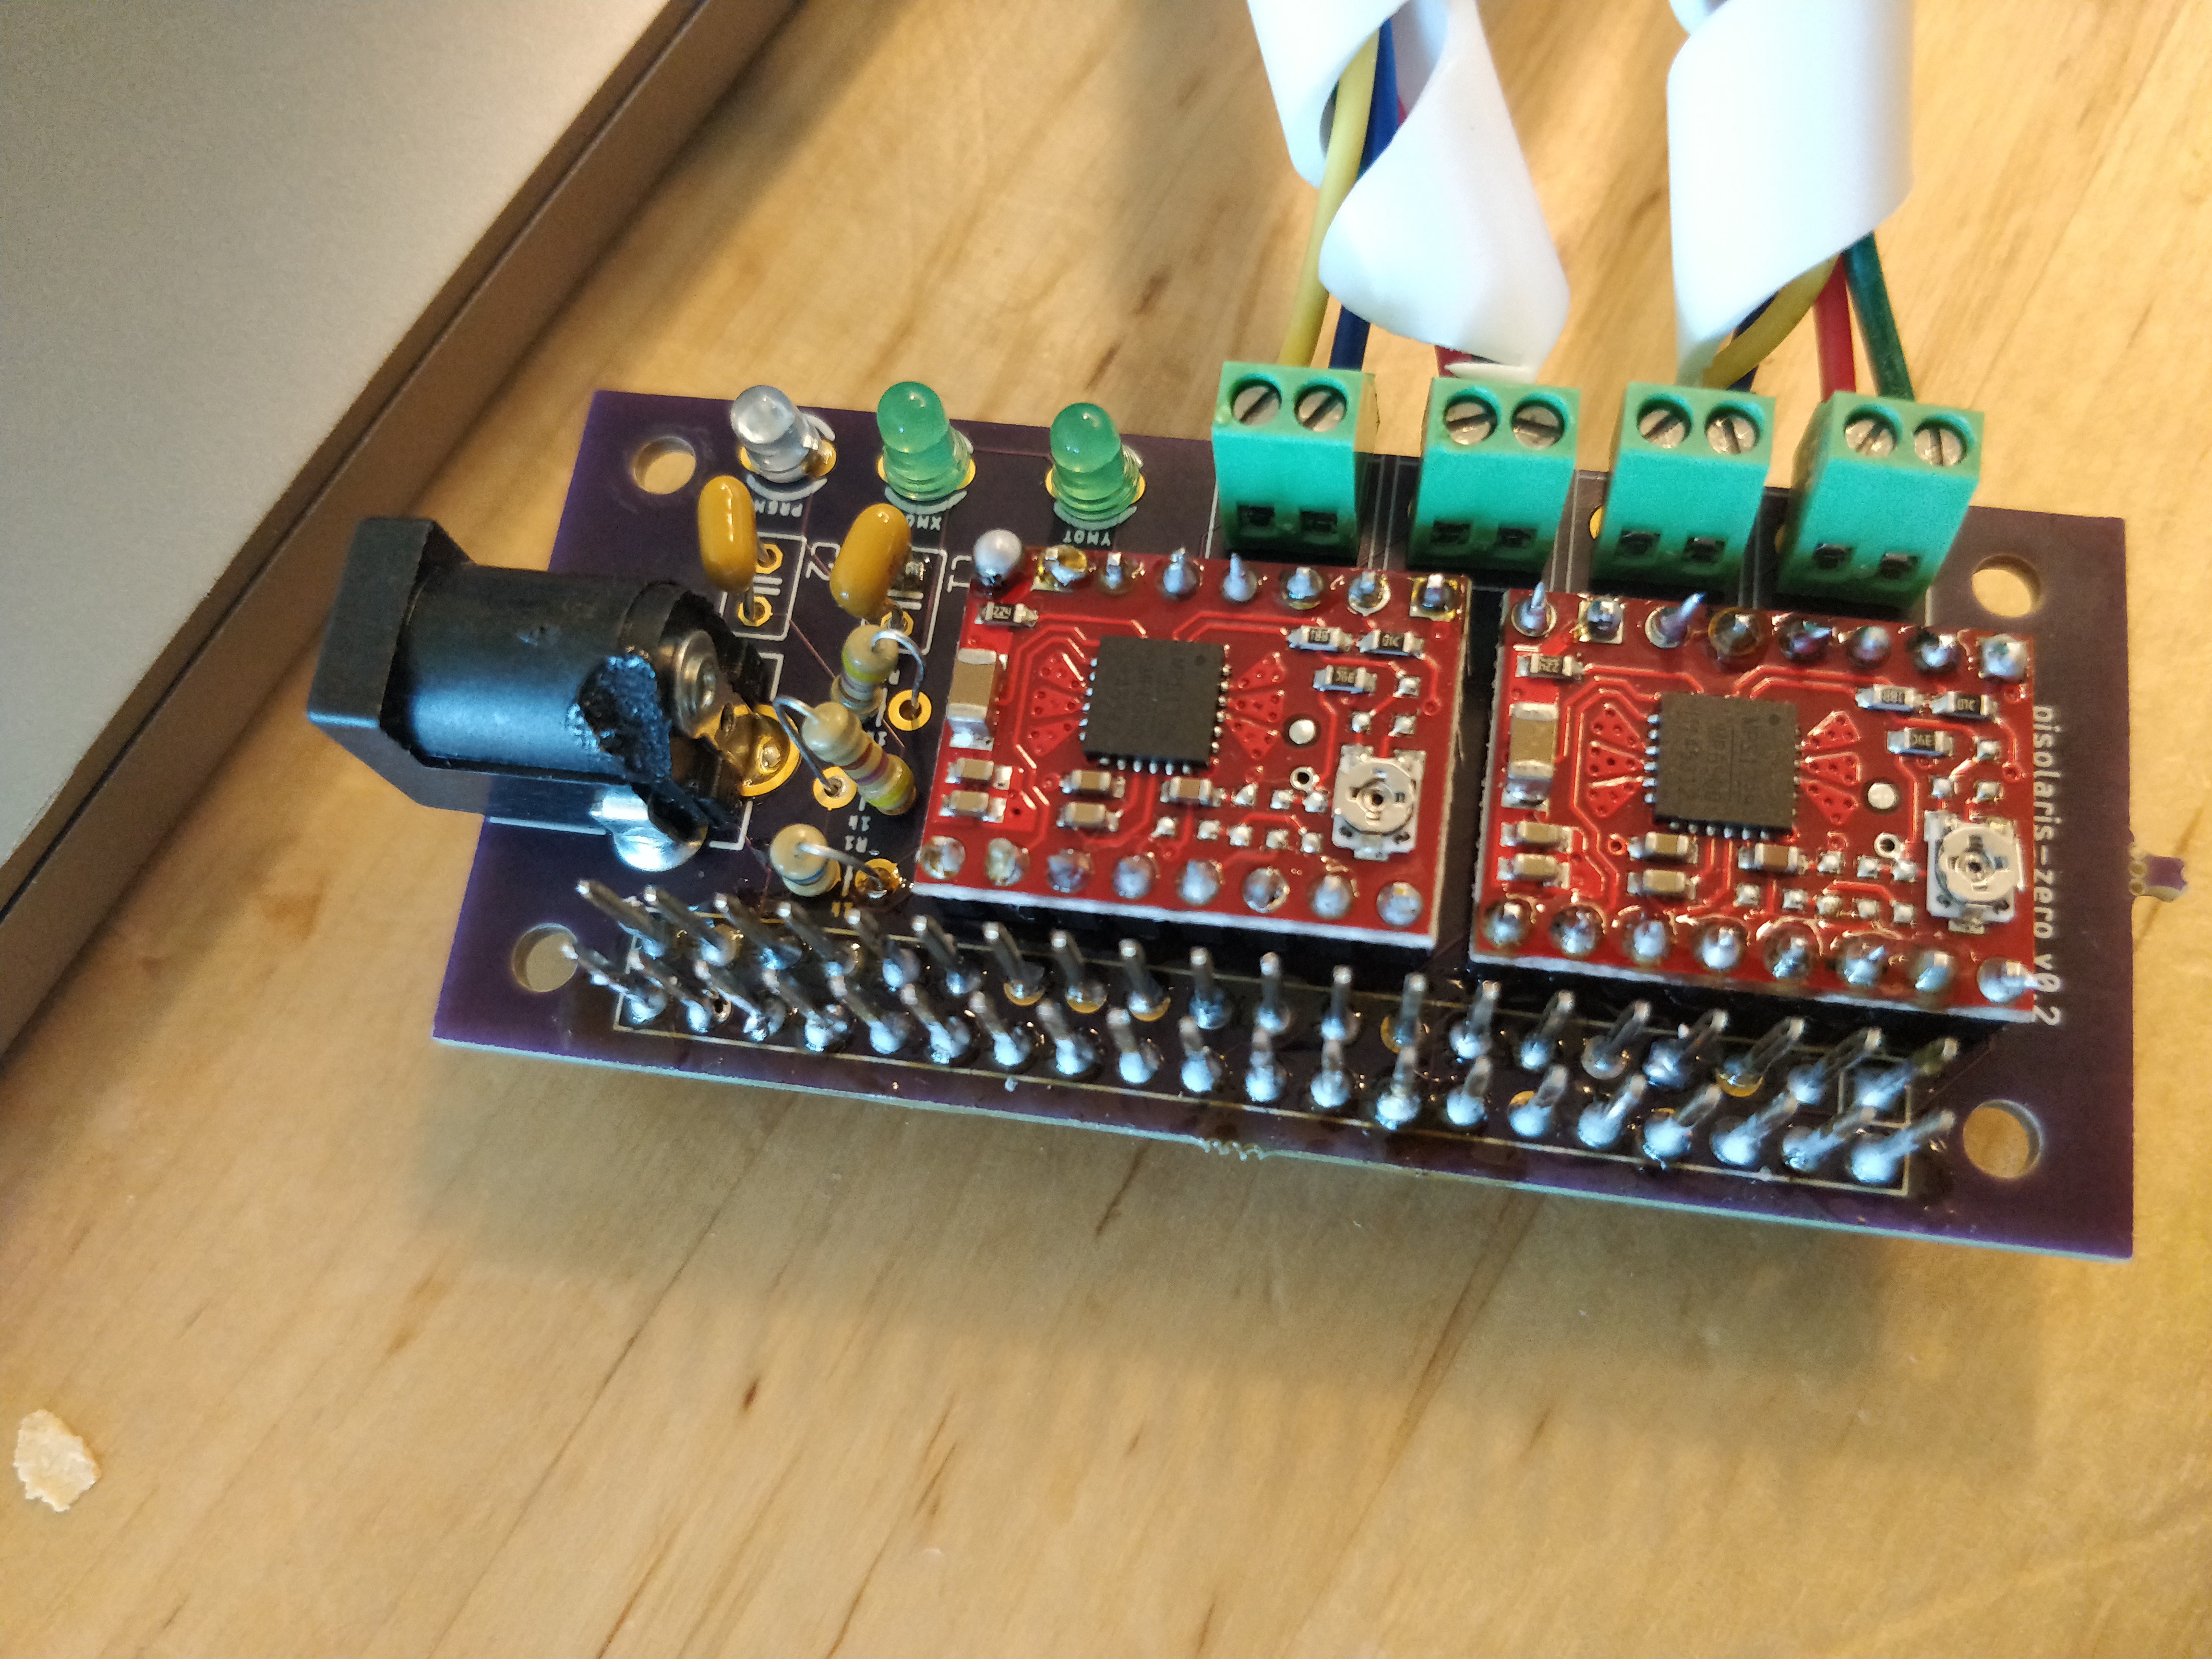
Oshpark board - v0.2!
The first board that I designed had some major flaws. Through-pin holes were too small and even some connections were completely backwards... So I dedicated a lot of time to make sure I got it right. Sent out my Eagle boards to oshpark and bam! Here's what it looks like, all soldered and working. pisolaris-zero version 0.2!

And what's even better? This beauty works!! All that planning actually paid off.
Horizontal movement dilemma
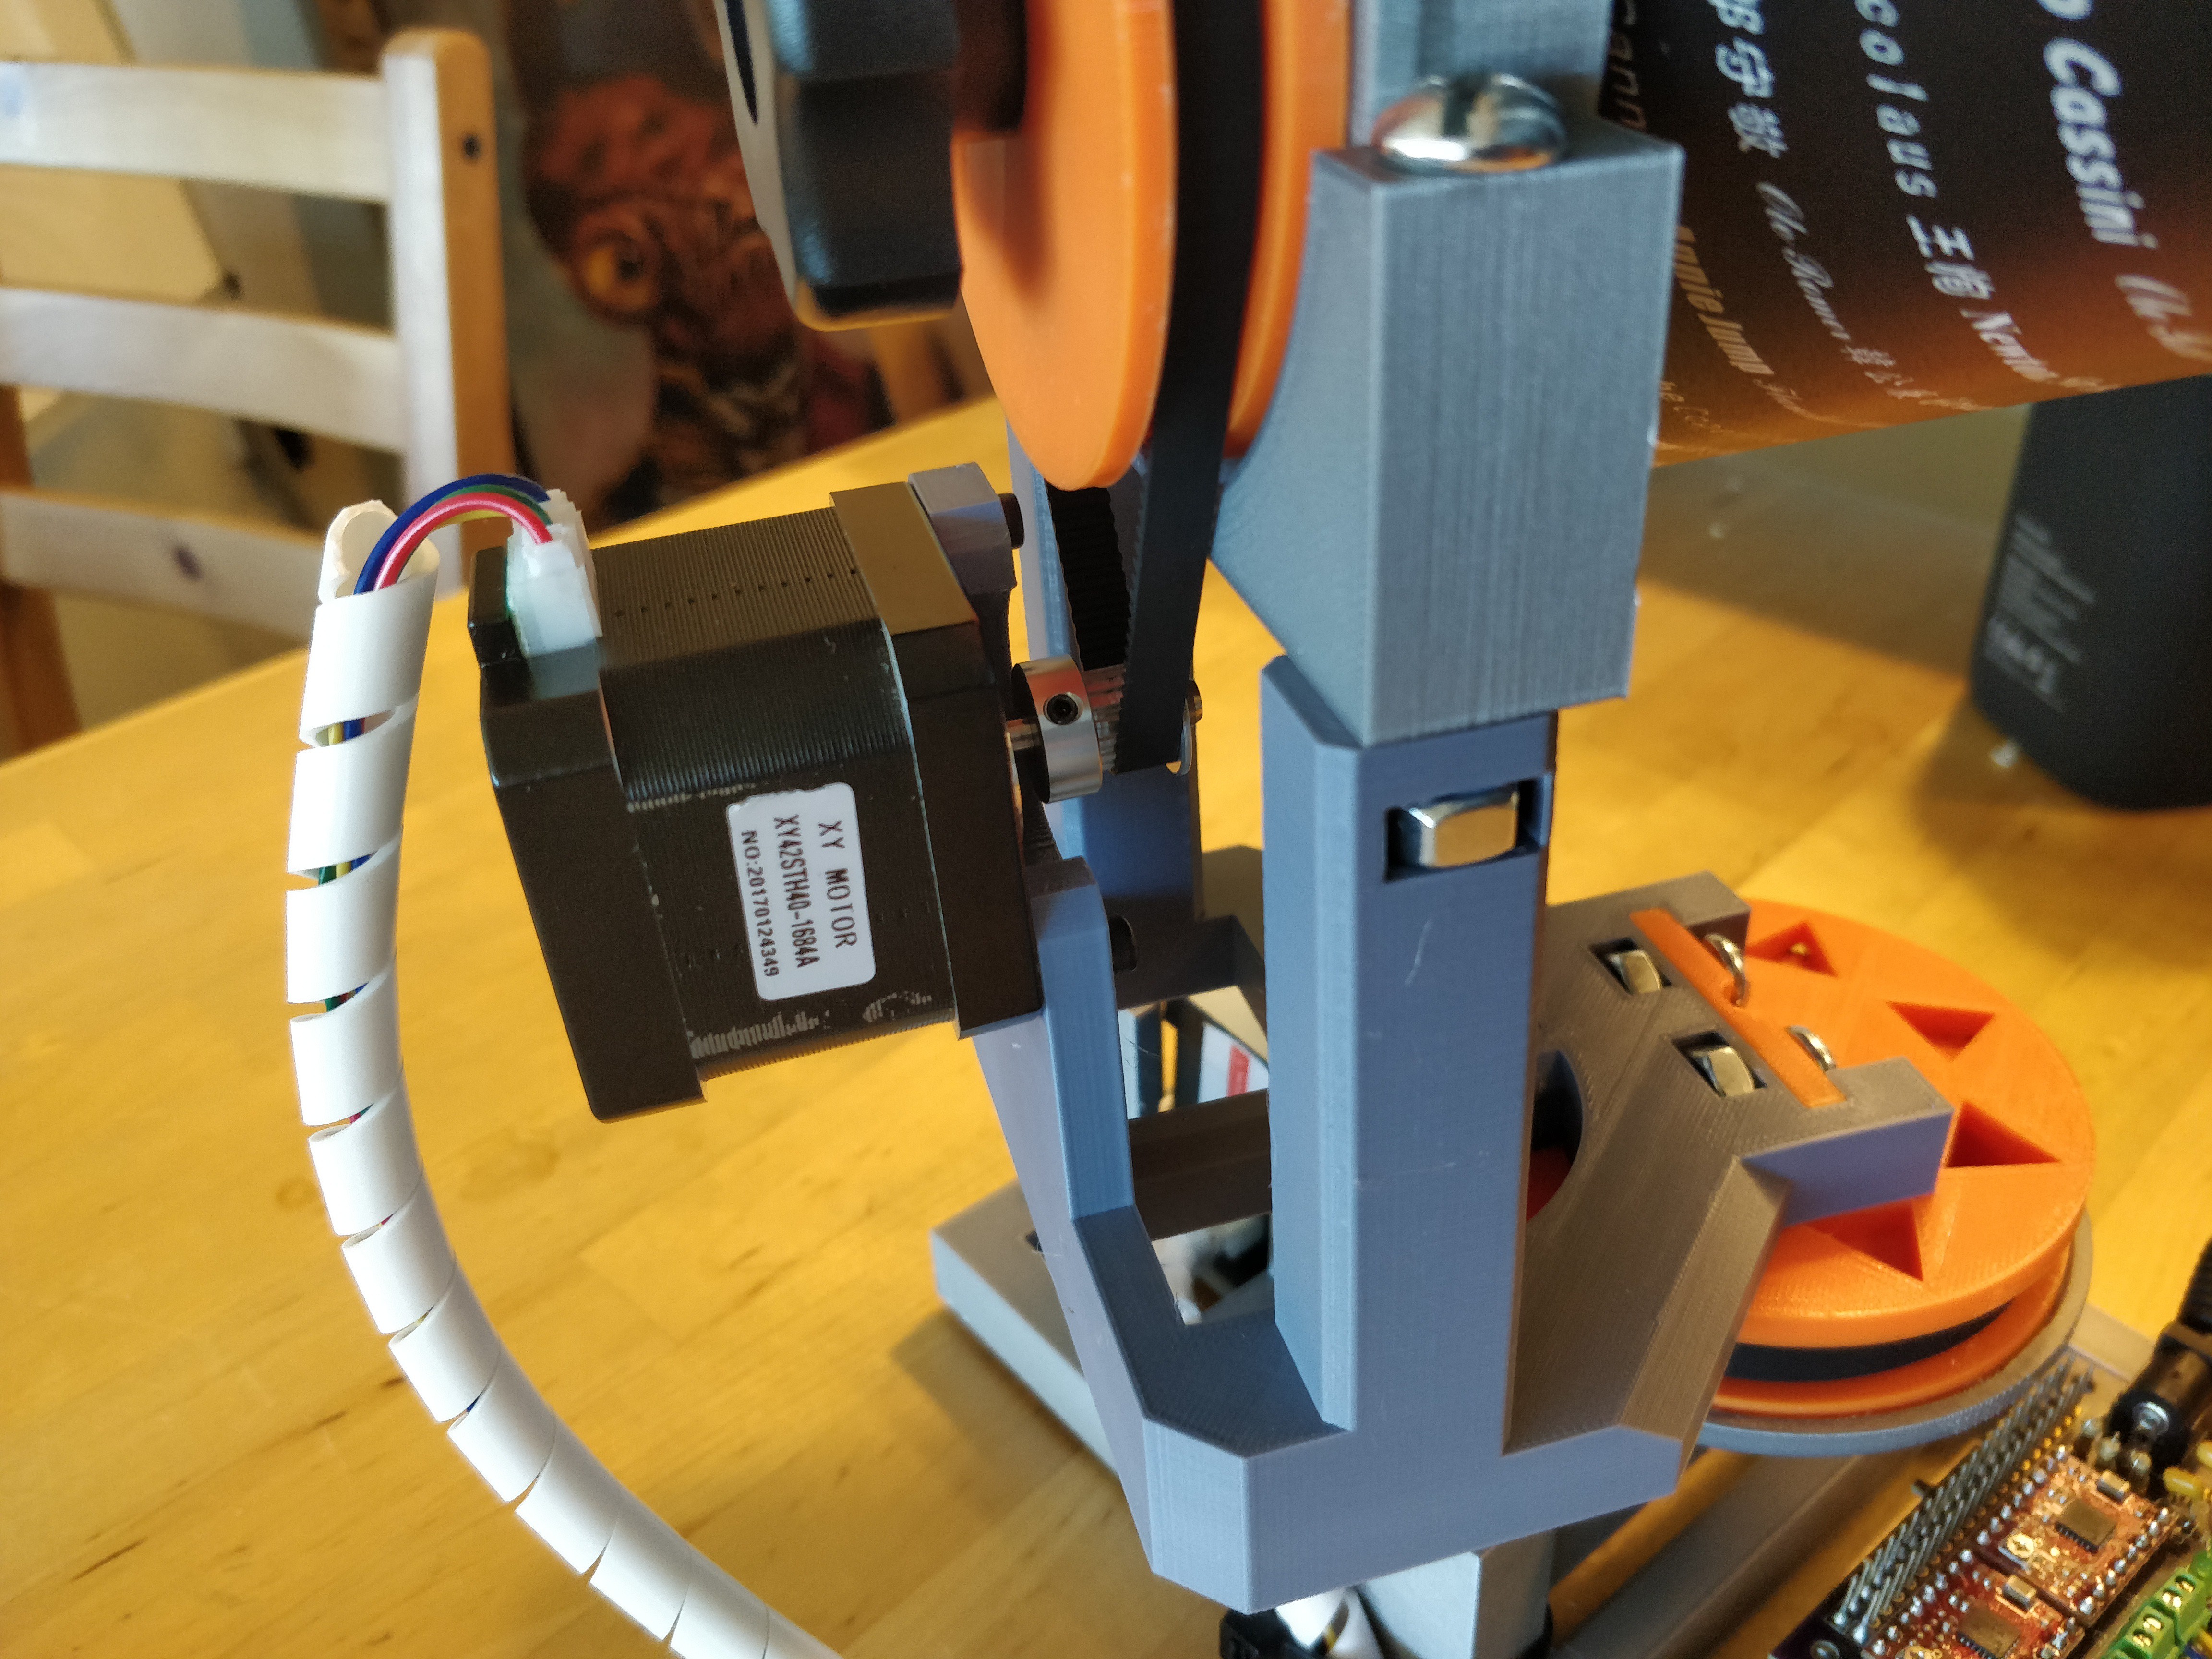
In my previous log, I had mentioned the woes of horizontal movement issues and trying to figure out how I should attach the drive pulley to the main shaft. Well the solution turned out to be rather simple and it's not what I want to do forever, but it works enough at the moment. I grabbed a D-Shaft and printed all the holes just a smidge too small which helped keep everything nice and snug. That pretty much was all I needed. It's infinitely more secure than any previous attempt I had made using bolts and what not.
I'm sure it will degrade over time but that's a problem for another day :)
Vertical motor-mount component
I went ahead and did a minor redesign of the vertical motor-mount component so it no longer uses threaded rods. This increased the vertical stability by... a lot. It kinda looks ugly, but I have some plans in my mind for creating an outer ''vanity" shell to hide the unseemly reality of how it all clicks together. It's so exciting that I can finally think about the polish of some parts!!

Scripting test!
Last but not least, here's a video of pisolaris running a script. The exact code looks like so:
local shadow = {}
shadow["alt"] = -120
shadow["az"] = 90
updateShadow(shadow)

shadow["alt"] = 0
shadow["az"] = 0
updateShadow(shadow)

shadow["alt"] = 120
shadow["az"] = -90
updateShadow(shadow)

shadow["alt"] = 0
shadow["az"] = 0
updateShadow(shadow)
It's lua code and I'm still working on the final definition for what globally accessible functions will be exposed to the scripting engine.
Worth mentioning that these are supposed to be angles. Right now the step-to-angle ratio has not been fully defined so that's why it doesn't look quite right in practice.
Next steps
I'll be fixing the step-to-angle ratio issue tonight, then doing a field-test on Friday with software tweaks as necessary. The next major kind of iteration that I plan to do will revolve around fixing that oh-so-minor jittery thing the motors do and then doubling down on finding out just how many steps I can get out of one of these nema-17 motors.
Until next time, friends!
 Josh Cole
Discussions
Become a Hackaday.io Member
Create an account to leave a comment. Already have an account? Log In.