 Alain Mauer
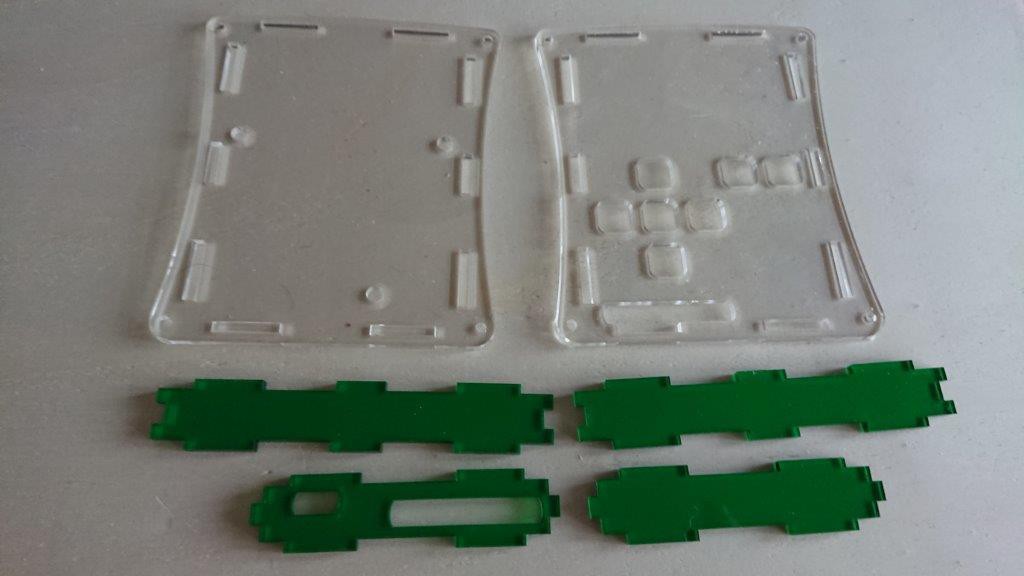
And now to the workshop, powering on the 30W lasercutter. I use 3mm Arcylic.
 |  |  |
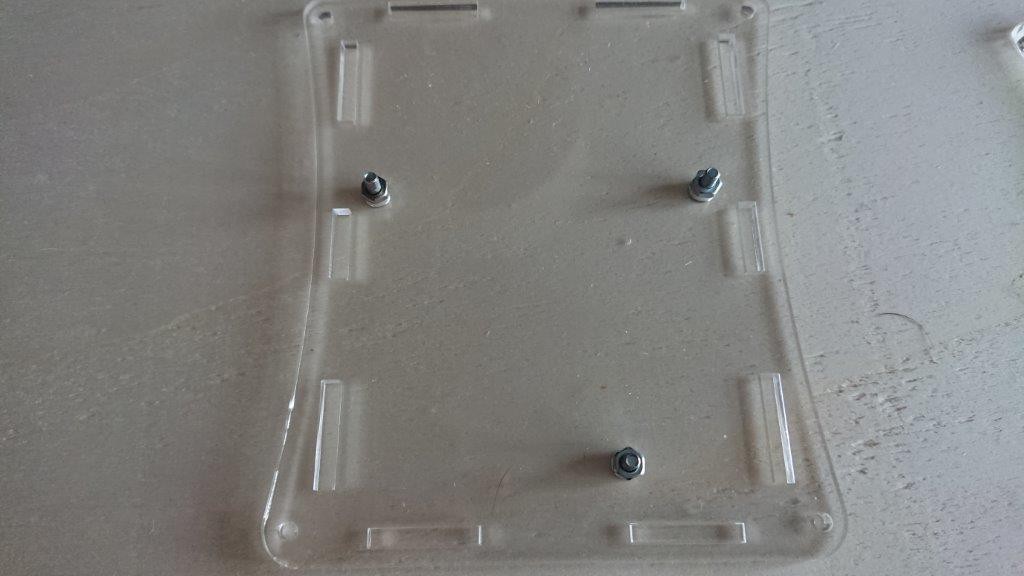
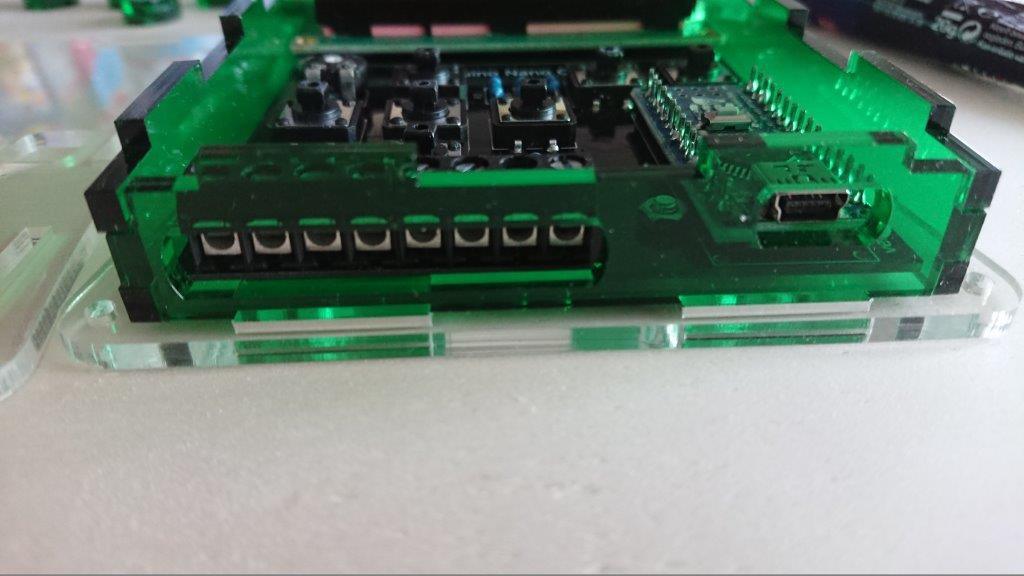
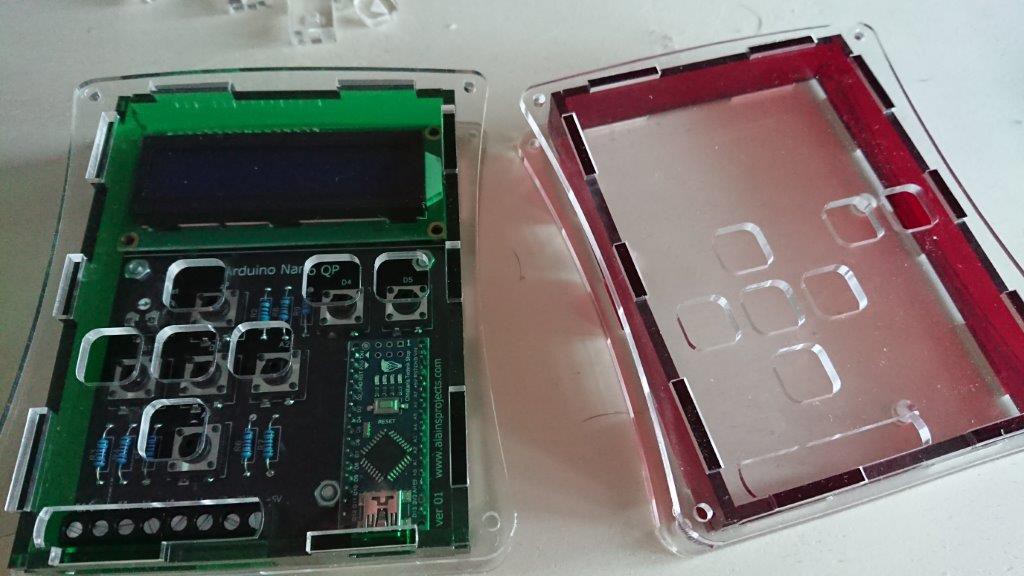
Screwing the PCB on the Back Part with 3xM3 screws

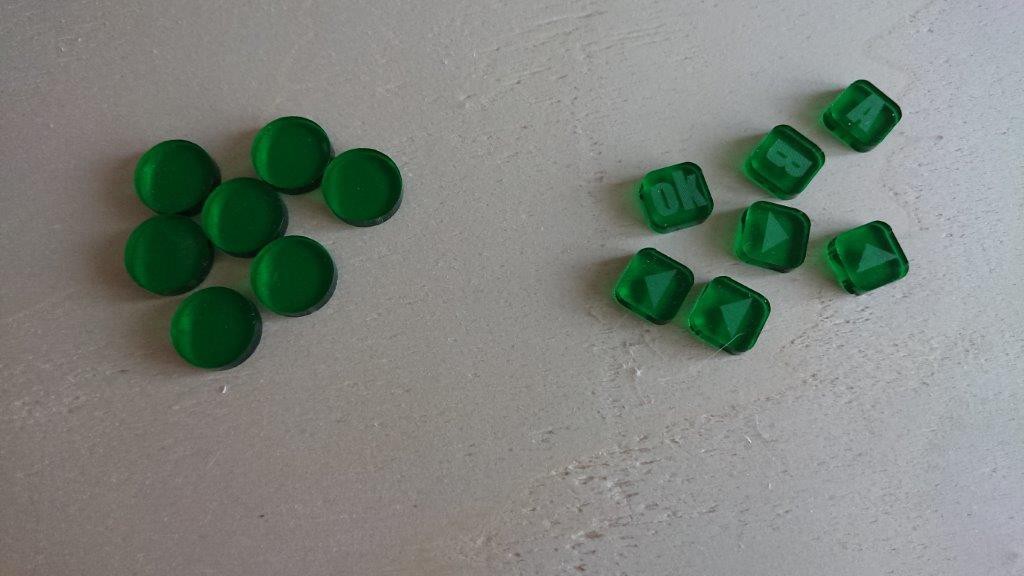
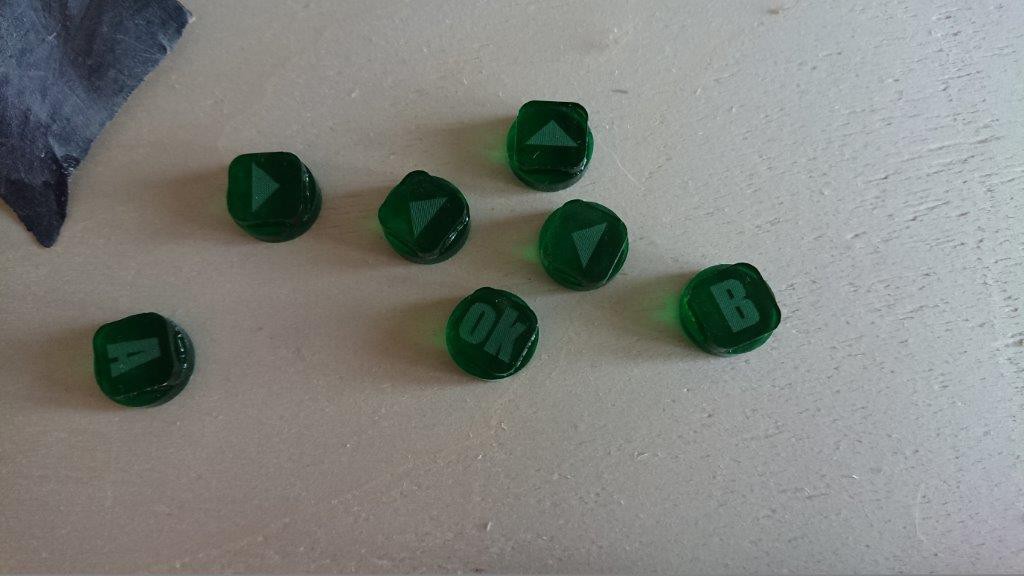
Now the buttons in the frontpart and insert the frame parts
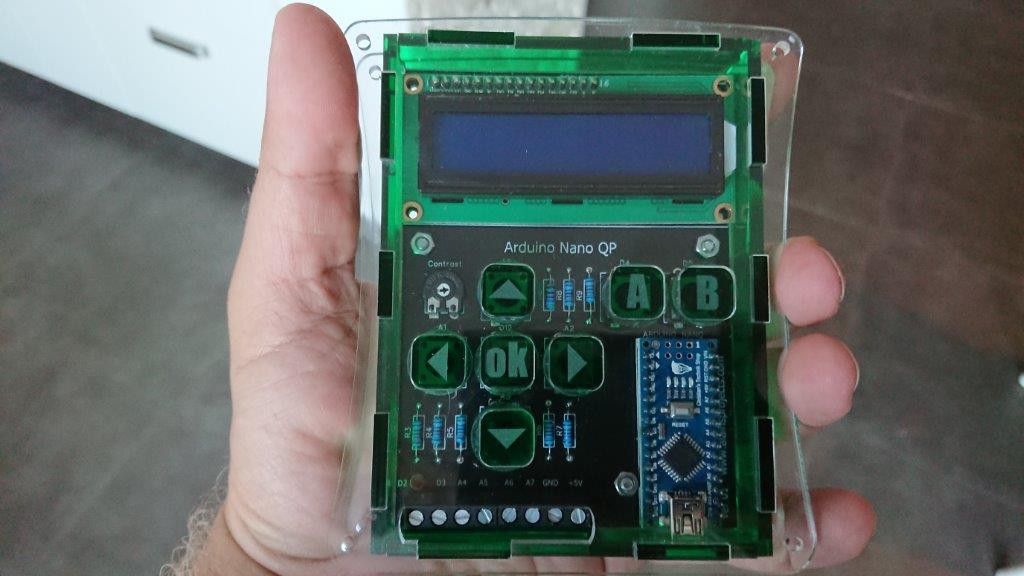
Now insert the back part on it. Just the 4 mounting screws are missing, they should reach me by friday.
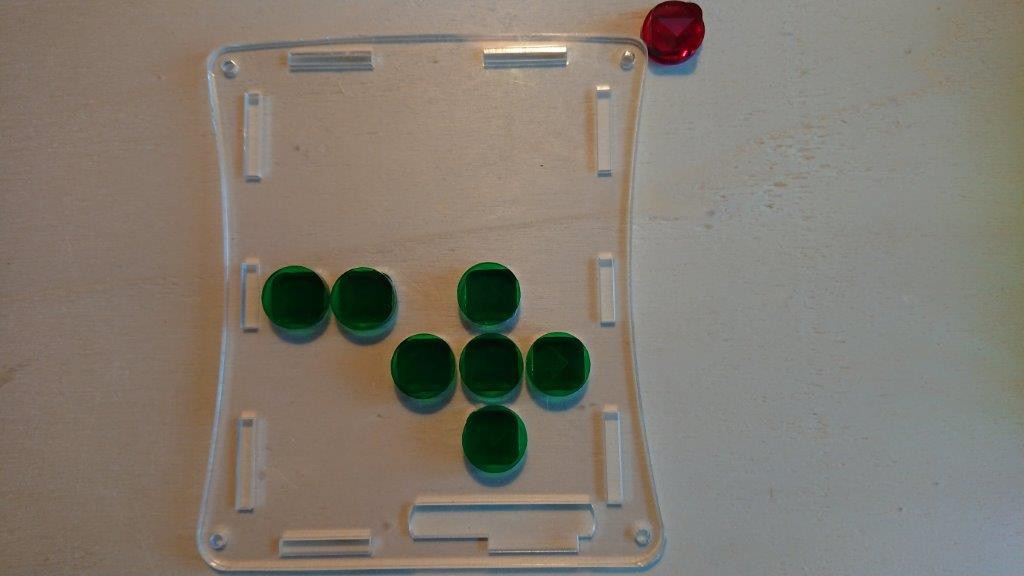
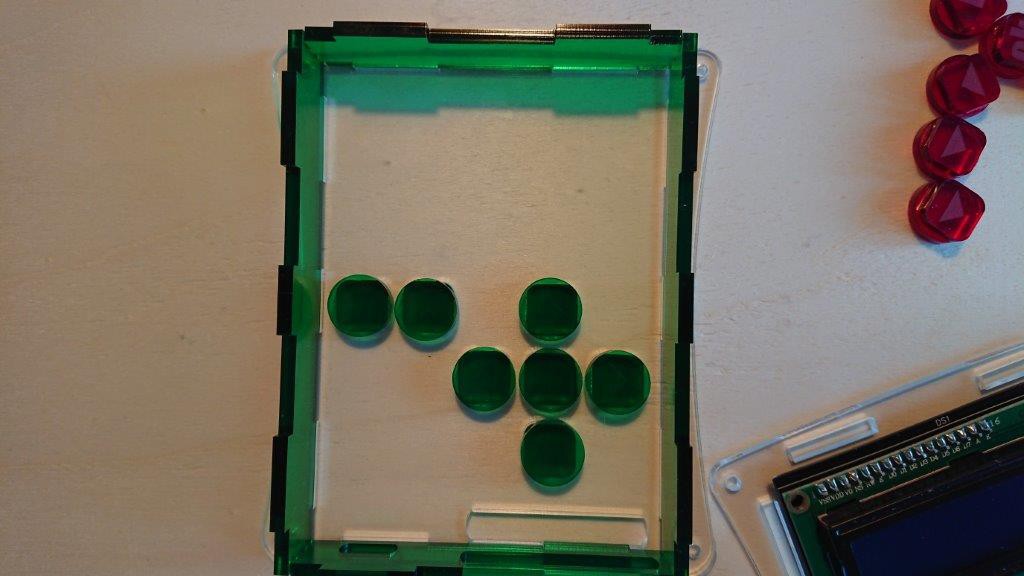
And I can do it in more colors :)
Discussions
Become a Hackaday.io Member
Create an account to leave a comment. Already have an account? Log In.