Here are images of the assembled prototype based on the images in a previous log entry entitled "Major Progress". Most of what you see below is explained in the comments of the previous log entry.
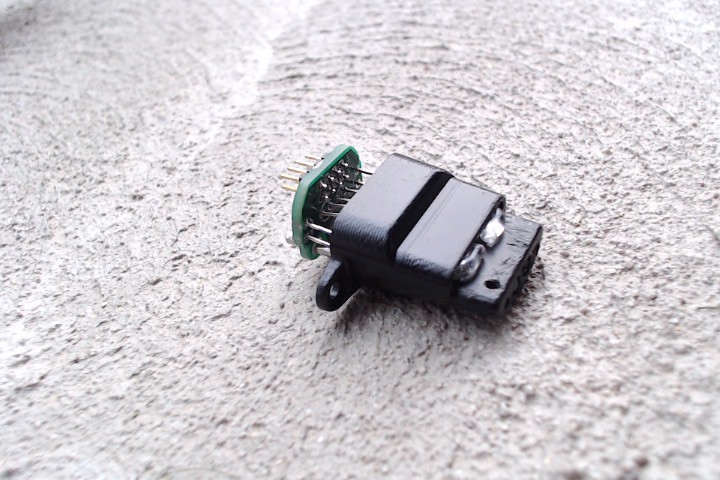
The following three images shown the mouthpiece connector board with mounted parts plugged into the main board. The parts on the connector board are supported perfectly aligned to slide into the mating features inside the mouthpiece.
You can also see I changed from though hole to surface mount resistors. I find 1206 size resistors to be easier to work with than through hole resistors. There is no need for lead forming or cutting and they are easier than through hole resistors to unsolder to swap values. I unsolder them with a hot air soldering iron although they are easy to unsolder with the an appropriate blade on a conventional soldering iron. Also, using many surface mount parts should allow contracting out board pick and place assembly if it was ever necessary to make more than could be hand assembled.
The main PCB is two layer but it was necessary to use a four layers for the mouthpiece connector board because so many leads had to cross over each other in a small space. however even a four layer board this size is very inexpensive.
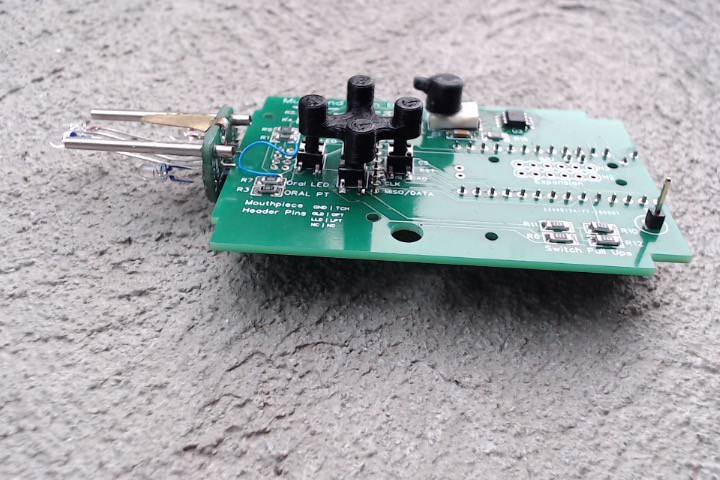
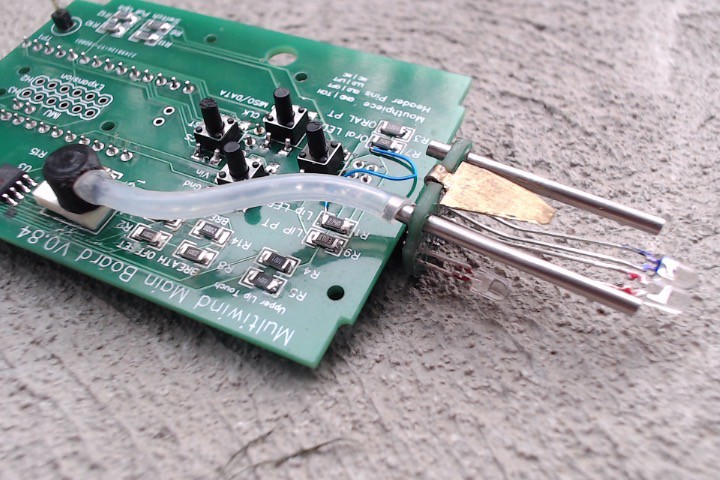
The following image shows the tube to the pressure sensor. There was not enough height to mount the pressure sensor standing up so it will be mounted flat on its back. To avoid kinking the tubing an adapter part will be 3D printed to mate the tube at a 90 degree angle to the pressure sensor. The air exhaust tube is not installed.
The brass electrode for upper lip sensing can be seen soldered to the connector board. In the final version the electrode will have a 2mm wide tab that will go though a hole in the connector board. I've ordered 50 electrodes from a water jet cutting service at a cost of about $2 per electrode which will be almost the total cost of the upper lip sensing feature in addition to two resistors, which is a pretty good deal.
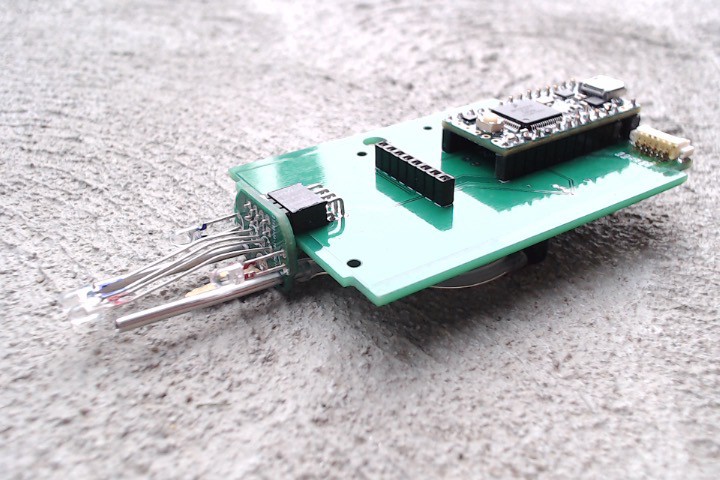
The following image is the bottom of the board showing the mouthpiece connector, display connector, the Teensy and the serial connector. It's possible to buy various lengths of preassembled six conductor cables for the connector used in the serial port. Each finger unit board would have a similar connector for the other end of the cable.
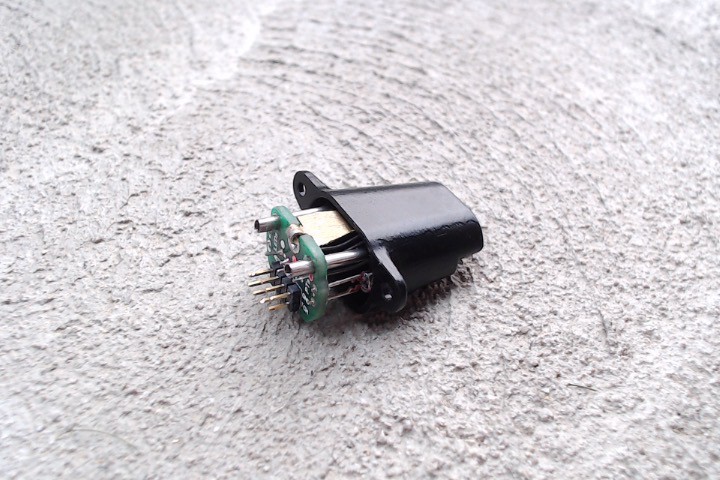
The following image shows the PCB and sensor assembly inserted into the mouthpiece. Medical grade epoxy will seal around the connectors in the mouthpiece and securely hold the sensor assembly. The eight pin connector has pins with a spacing of 0.127" that plugs to a matching connector on the main board.
An eight conductor ribbon cable with an IDC connector could also be plugged to the mouthpiece allowing the mouthpiece to be mounted some distance from its electronics. I intend to design a small adapter board that would take a cable from the mouthpiece and convert it to row of 0.1" spacing pins to plug into a standard breadboard. This should allow easy experimenting with alternative mouthpiece electronics. The mouthpiece only needed six conductors but an eight conductor connector was used because that size of ribbon cable and IDC connector is more readily available. The extra two leads will be reserved for future features that may be added to the mouthpiece.
If there is enough interest I can offer for sale assembled mouthpiece modules much like the one in this image that other makers could use in their own projects. The price is TBD but should be very reasonable. The external electronics would consist of four resistors plus a pressure sensor and some sort of processor to read the values and do something with them.
The following image is bottom of the mouthpiece showing the curved light pipes that sense lower lip position. The lower lip rests on the ledge from which light pipes protrude and the part of the lip overhanging the ledge protrudes into the small gap between the light pipes. Moving the lip up and down with respect to the ledge varies the amount of of light it blocks passing from the emitter light pipe to the receiver light pipe. The range of travel of the part of the lip in the gap is about 2 mm but due to the flexibility of the lip this translates to a very long motion of the lower jaw - ten to fifteen millimeters. It's highly controllable and positions are highly repeatable because part of the lip is always steadied by resting on the ledge. This very wide range of motion offers an entirely unprecedented of control vs the range of travel in conventional electronic or even acoustic mouthpiece for which the range of motion is rarely more than 1 mm or less.
Other unique features of the arrangement include:
- It takes zero force to hold the lip in a given position because the lip rests on the ledge. It's very relaxing to play because the lip is loosely held in a position.
- Positioning is very accurate and repeatable because part of the lip is steadied on the ledge and the position of the lip in the optical gap is referenced relative to the ledge. It's similar to the difference in accuracy of using a mouse that is steadied on a hard surface to point on a computer screen vs the unsteadiness of pointing your finger holding it in mid-air. Even less accurate is positioning your finger while pushing it against a spring force, which is analogous to how existing electronic wind instrument/breath controller lower lip sensing must be controlled.
- The amount of effort required to move the lip up and down in the gap can be adjusted simply based on the amount of the lip on the ledge vs the amount protruding over the ledge. It's possible to adjust the stiffness of the virtual reed in real time simply by repositioning the lip.
- Accuracy is further increased by the small vertical surface about half way between the ledge and the back of the mouthpiece. The user can feel this with the front of their lip and use it as a guide to repeatably position their lip relative to the ledge.
- More than one type of lip action can vary the amount of lip in the gap. One method is to vary lower lip position approximately vertically which feels like playing a reed instrument. Another is to gently press the lips forward toward the mouthpiece to vary the lip position along the mouthpiece. Yet another is to squeeze the lip at an approximately 45 degree angle, toward the inner corner of the ledge. Different combinations of these actions can make the mouthpiece feel familiar to those familiar to players of various types of wind instruments, reed, brass, flutes and others (e.g. harmonica, whistling).
- However note that the mouthpiece is not intended to perfectly emulate any of these types of instruments. It's really a new type of mouthpiece, but one that players traditional types of instruments should be able to use familiar types of muscle control.
The lip sensor, combined with the equally unique tongue/oral cavity sensor are what make this mouthpiece totally unique and unprecedented. Sensing upper lip position adds yet another channel of control.
The mouthpiece will be much easier for beginners than any existing mouthpiece. Even users who have never played a wind instrument before should be able to get satisfying results with almost no practice. It's not even necessary to blow to have three independent controllers of one's sound, almost effortlessly by varying the shape of the mouth and lips. Anyone who's ever whistled can use this mouthpiece. In fact it's easier than whistling.
I should also add that the light pipes are so small it's almost impossible to feel them with the lower lip. It feel more like a normal mouthpiece, but one that is magically responsive.
The hole near the light pipes is for a 4-40 set screw that can be used to adjust the amount of air that travels through the exhaust tube. As far as I know this is the first mouthpiece that would have adjustable air back pressure ranging from no air flow up to some maximum amount.
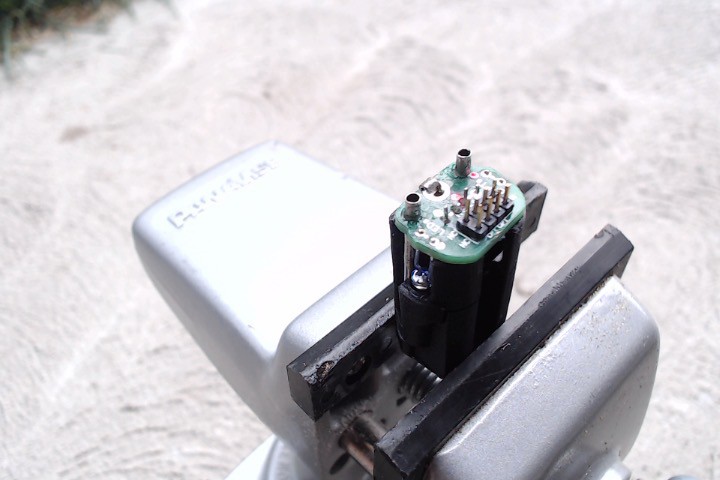
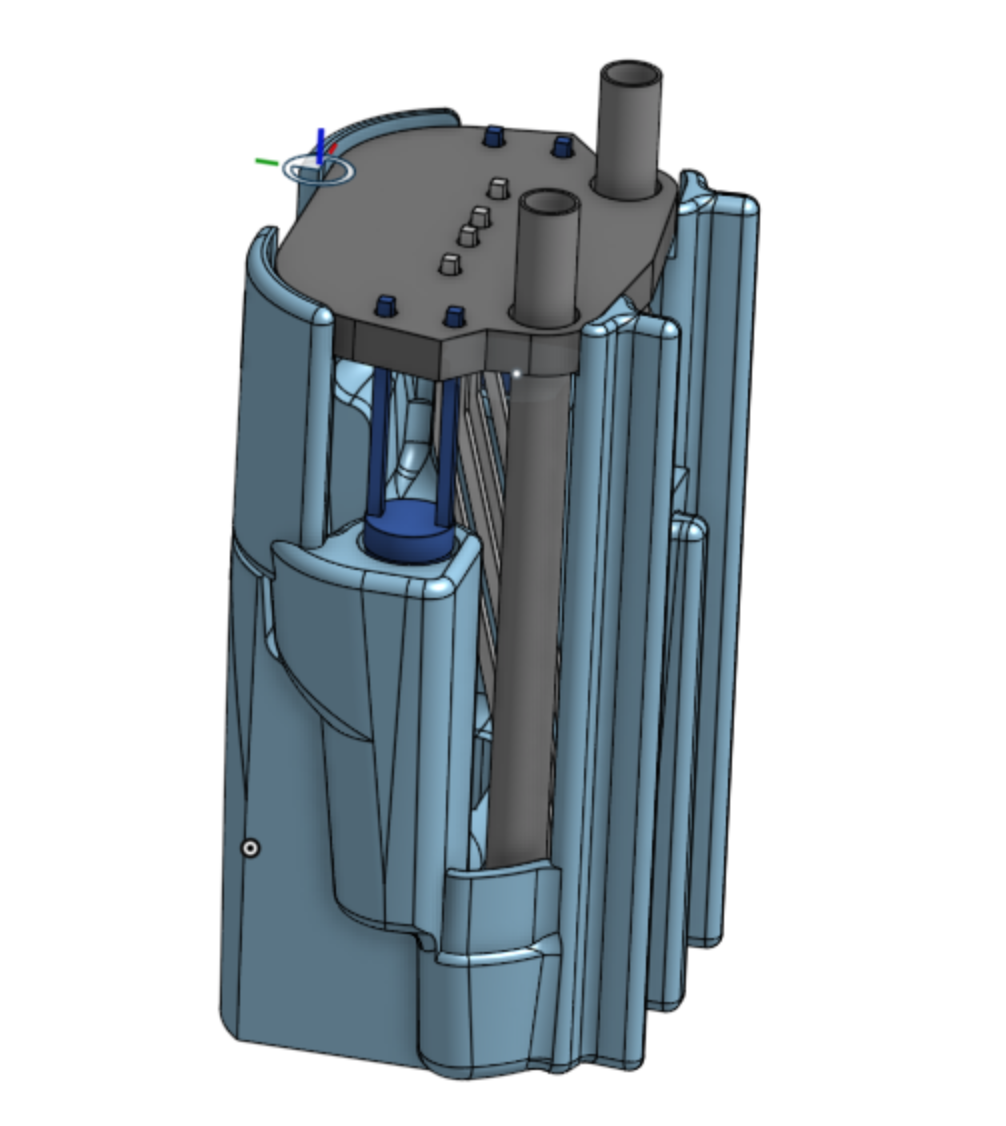
This is the 3D model of the alignment jig. It's a bit ugly as it a hack of the mouthpiece 3D model but it works well.
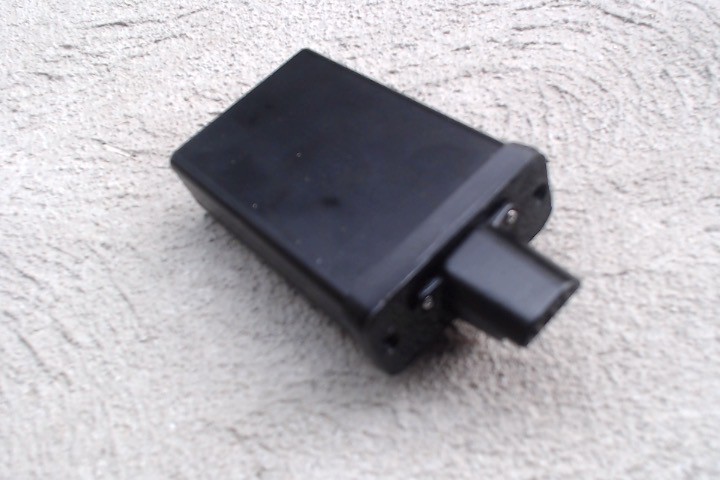
Here is the mouthpiece plugged into the main board and mounted on the front bezel of the main housing. Sorry a little out of focus.
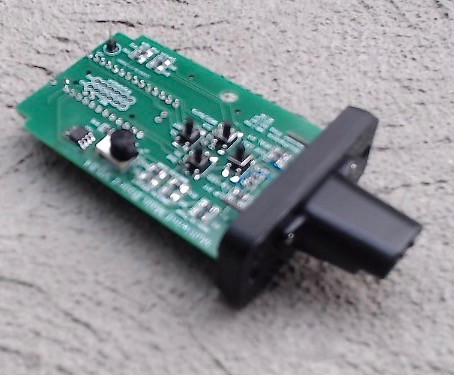
The mouthpiece board slides onto the middle board holding slot of the Hammond enclosure and the 3D printed bezel slides over the front. Another 3D printed bezel with holes for the connectors will slide on the back. The total length of the enclosure is 80 millimeters,
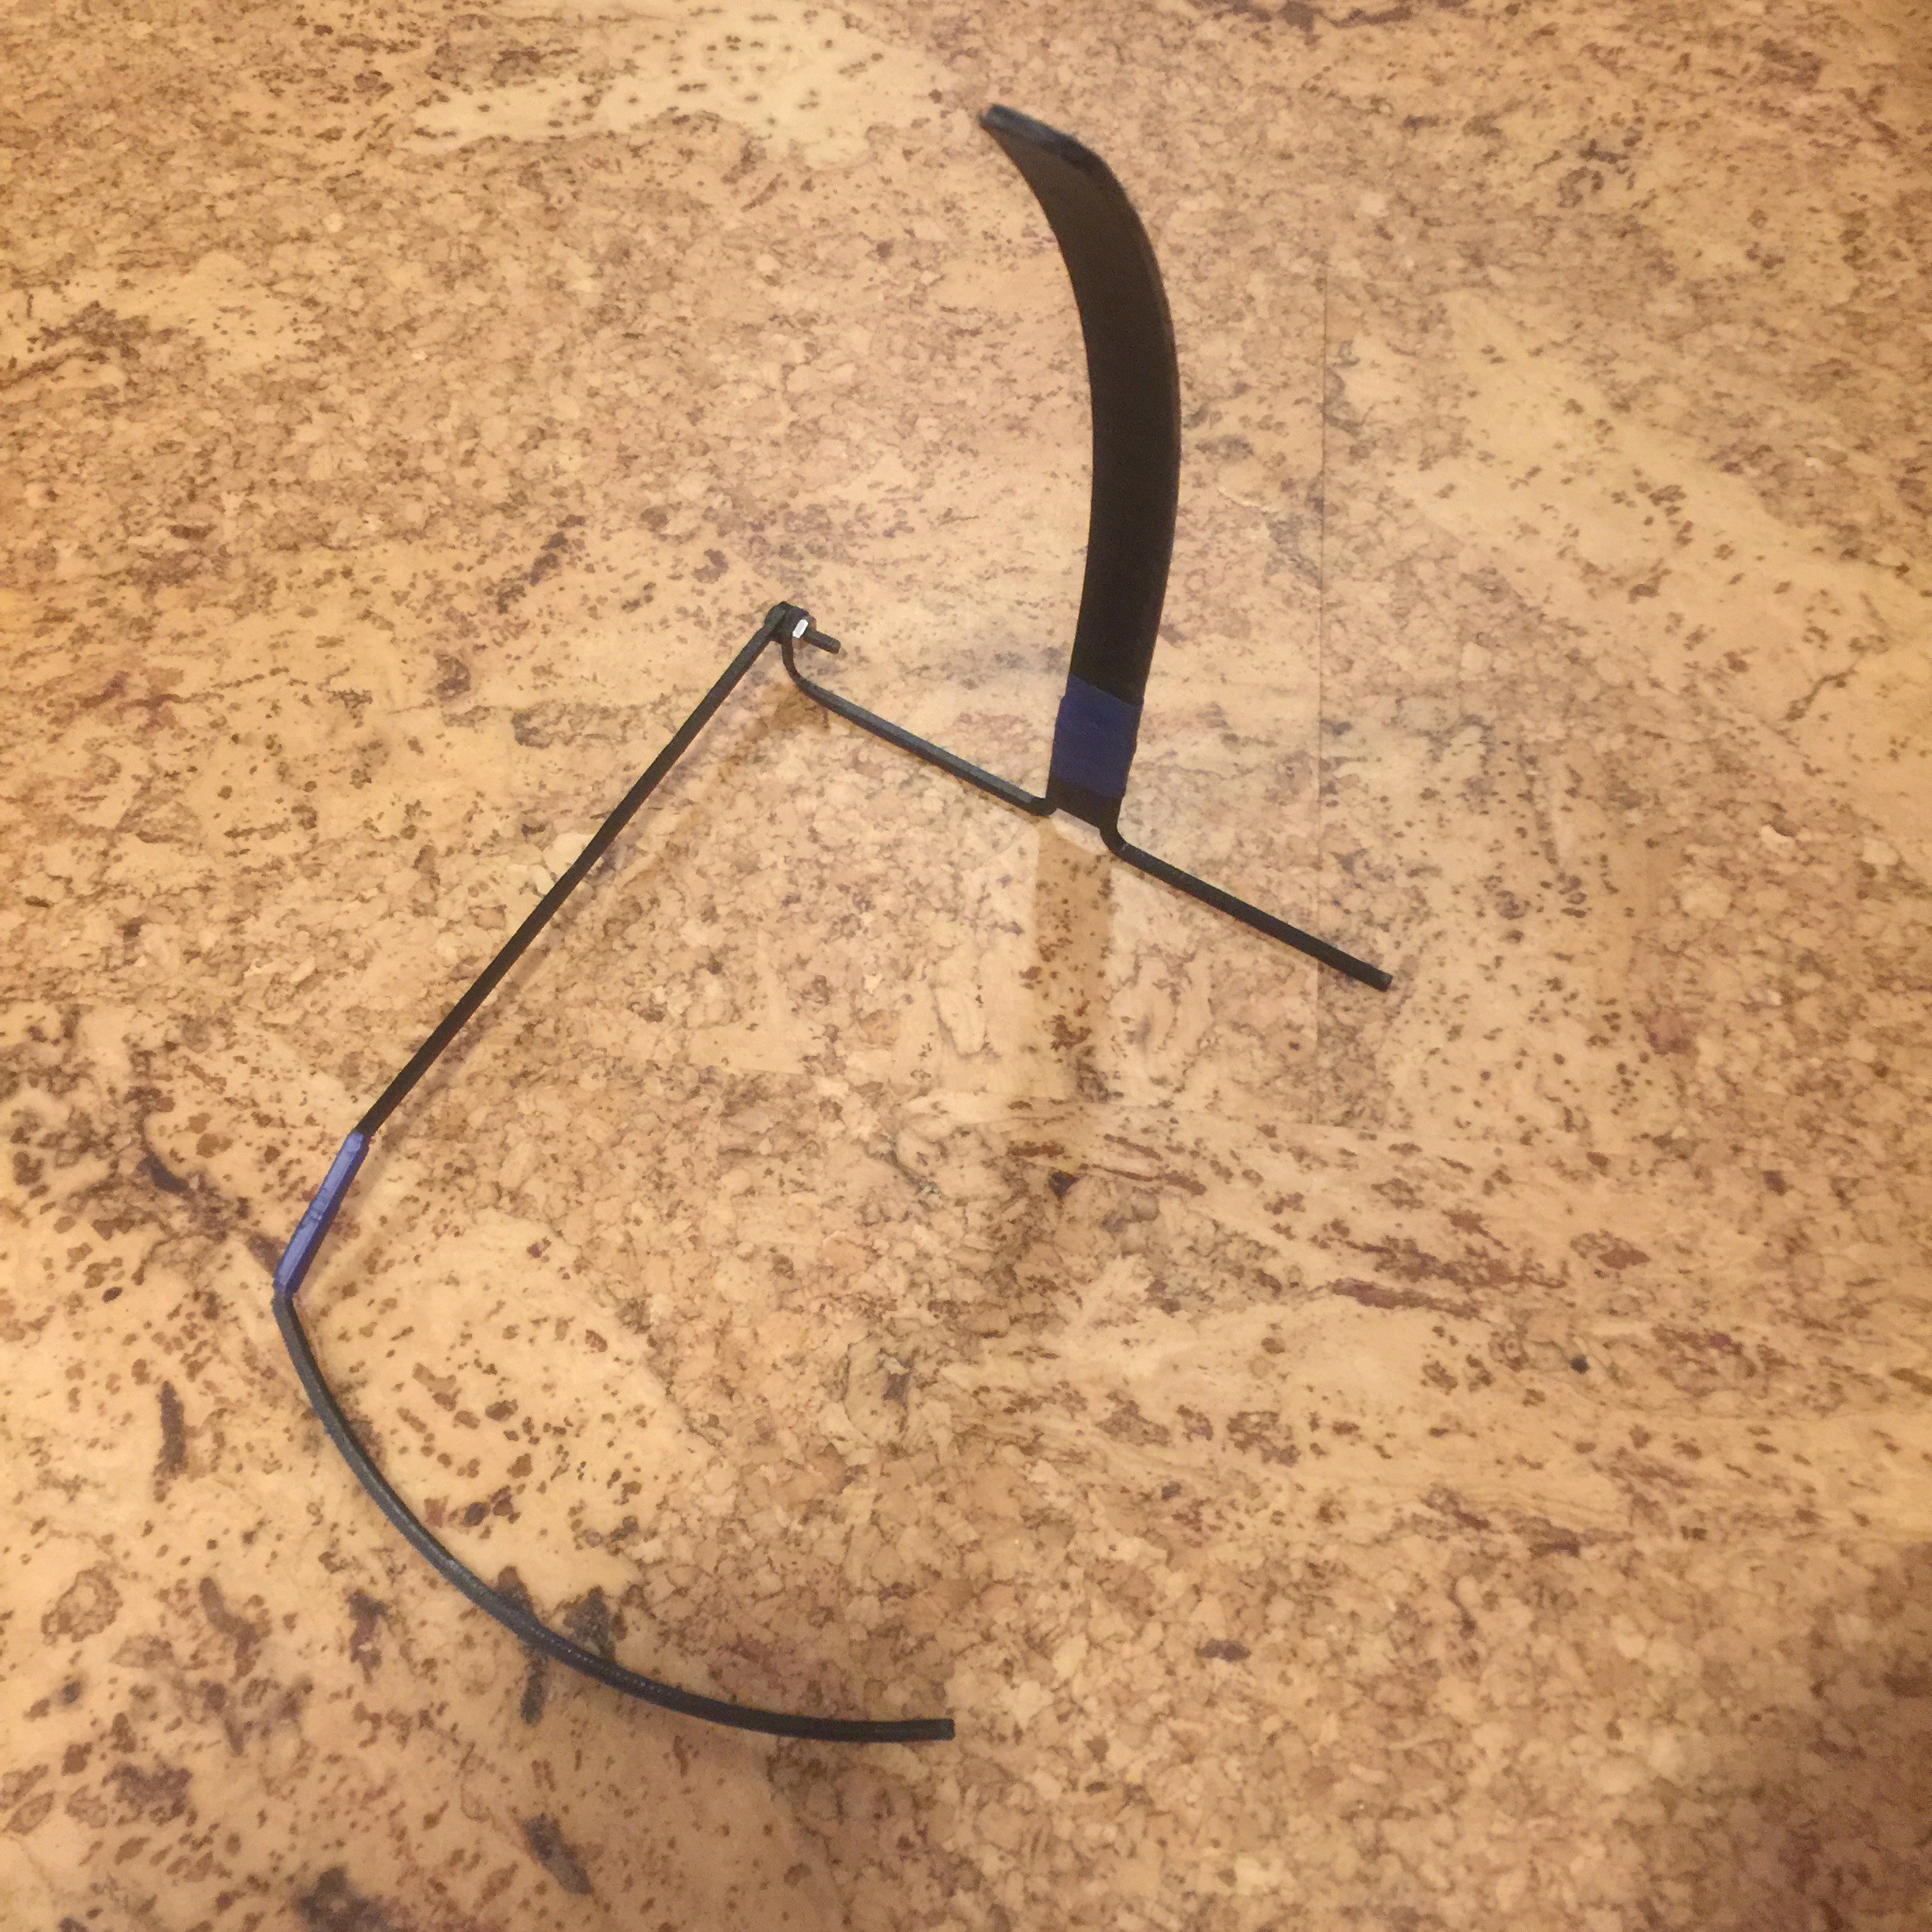
I'm also making progress on the neck support unit. I have a quote from a 3D CNC wire bending company to make both the formed wire parts for under $2.50 for both parts in quantities of 500.
I was not able to find a wire bending company that accepts 3D models and the CAD software was not able to create engineering drawings of the complex 3D shape so the easiest way to convey the design to the wire bender turned out to be to 3D print it.
The following image is a 3D printed prototype of the neck support to send to the wire bender for exact shape and dimensions. The filled in upward extending tab will really be formed with wire but it wouldn't be strong enough to print the shape of the actual wire. Testing 3D printed versions of the support unit also allowed me to perfect the shape although they would not be strong enough to use in actually supporting the mouthpiece in use.
Similar but much simpler formed wire parts will be used to connect the mouthpiece to finger units.
 Chris Graham
Discussions
Become a Hackaday.io Member
Create an account to leave a comment. Already have an account? Log In.