 Wasim Sahu
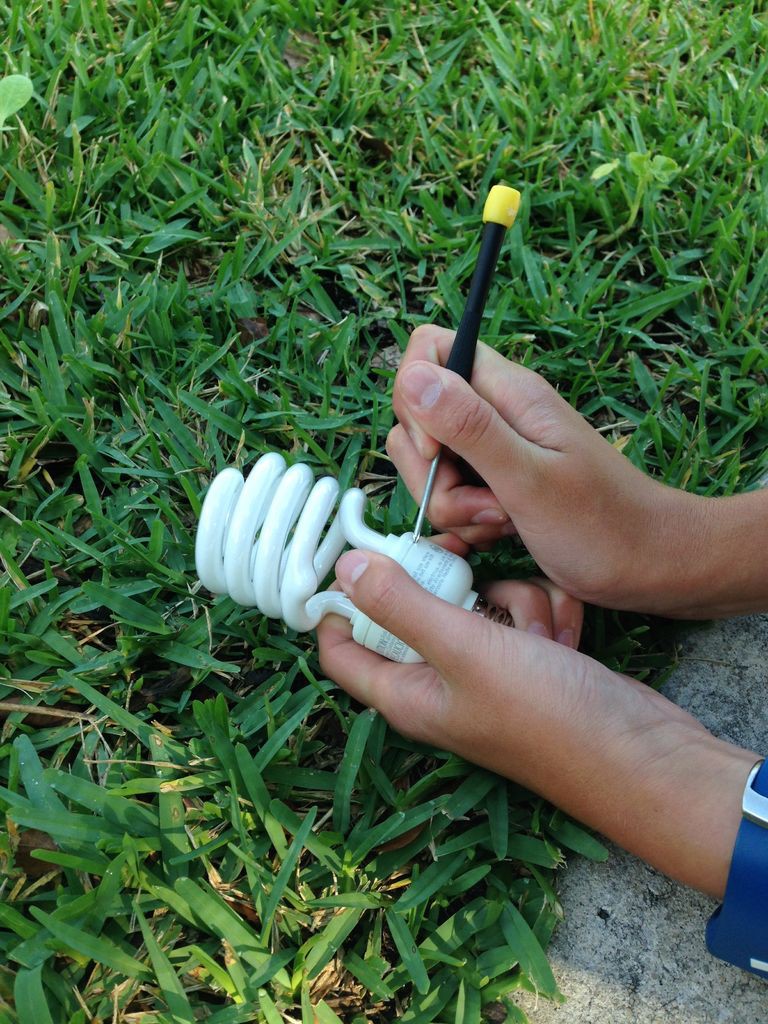
NOTE: If you already have your diodes, you can skip this step!
If you are like me in that you do not have diodes lying around, have no fear! You can find perfectly good diodes inside of your old, broken CFL bulbs in your house. Here is how you do it:
CAUTION: CFL BULBS CONTAIN MERCURY AND OTHER POISONOUS MATERIALS WITHIN THEIR GLASS TUBES. DO NOT BREAK THESE TUBES!
- Go outside with a screwdriver or some sort of tool capable of prying things apart, and sit in the grass or some other soft material. By doing this, you can significantly lower your chances of braking the glass tube, which contains poisonous substances that you don't want to mess with.
- Locate the seam by which the two plastic halves of the CFL bulb are connected, and begin to carefully pry the two pieces apart with your screwdriver.
- Once the bulb has split apart, you will notice that the PCB inside is being held back by two wires connected to the light bulb’s metal base. You can either cut these off like a civilized person or do what I did, which was to continually pull until the wires broke off.
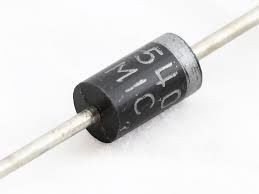
- Most likely, your CFL bulb will contain 6-8 round, black diodes with gray stripes on them to indicate their positive ends. However, if you are like me, your diodes are rectangular prisms, not round, and have engravings on one end to mark the positive side.
- Once you have located the diodes, you can take them off by heating up the solder with your soldering iron and pulling the diodes away. If you have a heat gun, you can take the diode off much easier by applying heat all around the diode so both sides of the diode can be pulled away at the same time. Remember, you only need to get 4 of the diodes in order to create our AC to DC converter.
Discussions
Become a Hackaday.io Member
Create an account to leave a comment. Already have an account? Log In.