RRichmond
-
routing that thing
07/20/2018 at 17:43 • 0 commentsnext step, routing.
it took me around two days (working on the nights) to get the majority of the parts and route something, it took me that long because while i was routing i was looking for components, yeah not the most efficient way, but i got some nice prices for all the parts, it felt like i search for hours.
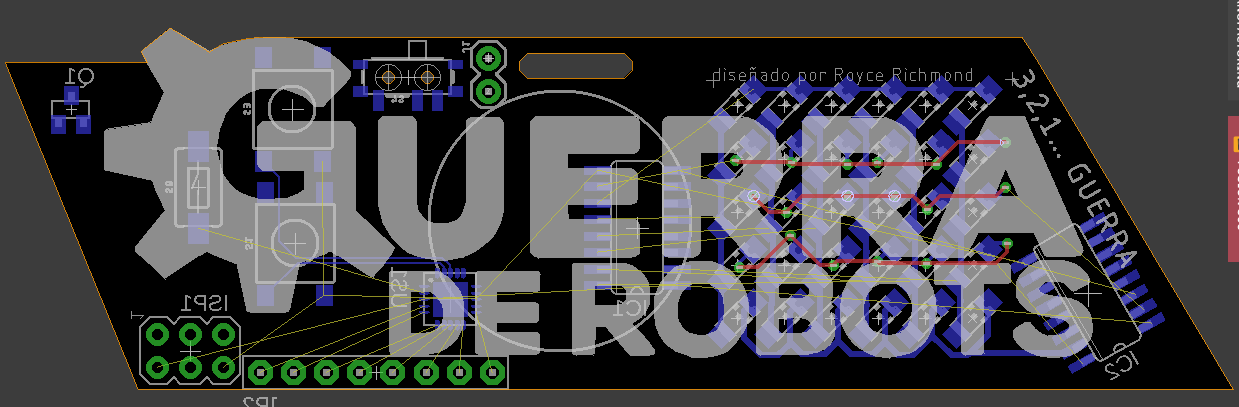
so i got one draft of the board, it used 1206 LEDs to big for my taste, but they were cheap.
![]()
but almost all the space is gone, and that circle, that's supposed to be the battery, on top of everything, glued in place with double-sided tape.
so this was going to be the final board until i find out more parts a little cheaper.
-
It works, well at least a part of it
07/20/2018 at 17:32 • 0 commentstoday i decided to try the shift register approach and see if it was a viable option or i need to turn to charlieplexing.
my 2032 battery was dead, so i used to AA batteries instead, and it work, it has enough juice to power up a standard Arduino, shift registers, and LEDs.
if i power it up from 5V USB each led sink about 50mA, that's a lot of current, but manageable if it flashes fast enough.
but with the AA batteries, it sinks just about 16mA, that's great, so it means, no current limiting resistor.
this is the great think about using AA or 2032 batteries :D -
So, how much does it cost ?
07/11/2018 at 21:35 • 0 commentsi managed to get the outline, now i need to define the components that the board will have. my first draft was in a sheet of paper, without knowing the real cost of any component (at least the real and updated price of each component)
![]()
my first idea was this
- 6x5 LED matrix4 user buttons
- 1 Hall effect Sensor
- Any microcontroller
- 2 Shift registers
- ICSP header
- I/O pin header
- 2032 battery
as far a I know any microcontroller and almost any IC can be powered by a single cell battery, i didn't test this theory so far, my experience in this field is just a keyChain i made (https://github.com/Rheyd/Keychainino-RT).
so after long hours of searching in Newark, I found at least some parts with nice prices, the problem, not all the parts were cheap, or available in SMD, the 2032 battery, and the battery holder, this parts were or too big or expensive, so i decided not to include them, instead i would use heat shrink tube on the battery and .1" headers, this will reduce the cost of the badge.
i keep searching and testing but mainly searching
-
so it begins
07/11/2018 at 21:17 • 0 commentsso, i knew that this isn't the type of projects that will come up in one night (i wish i could do that) but rather a long and maybe painfull (in case something bad happens) process.
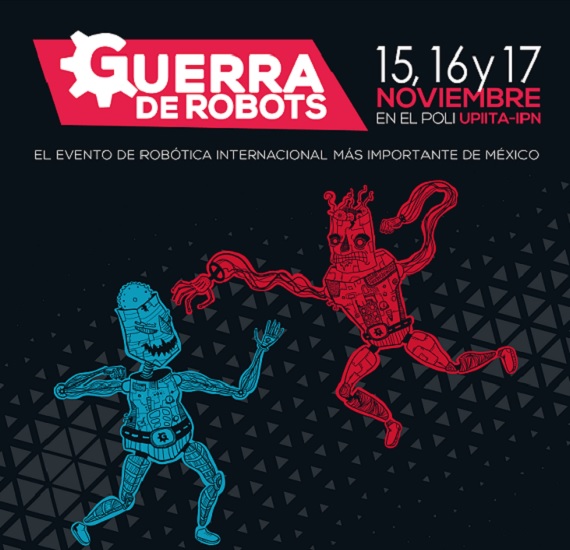
first things first, i need to get the board outline, but nothing is ever that smooth, so i needed to find an image of the logo of the event
![]()
then i cut, edit and modify the image, and finally import it to Solidworks (Any CAD software will do this trick) Tools > Sketch Tools > Sketch Picture
![]()
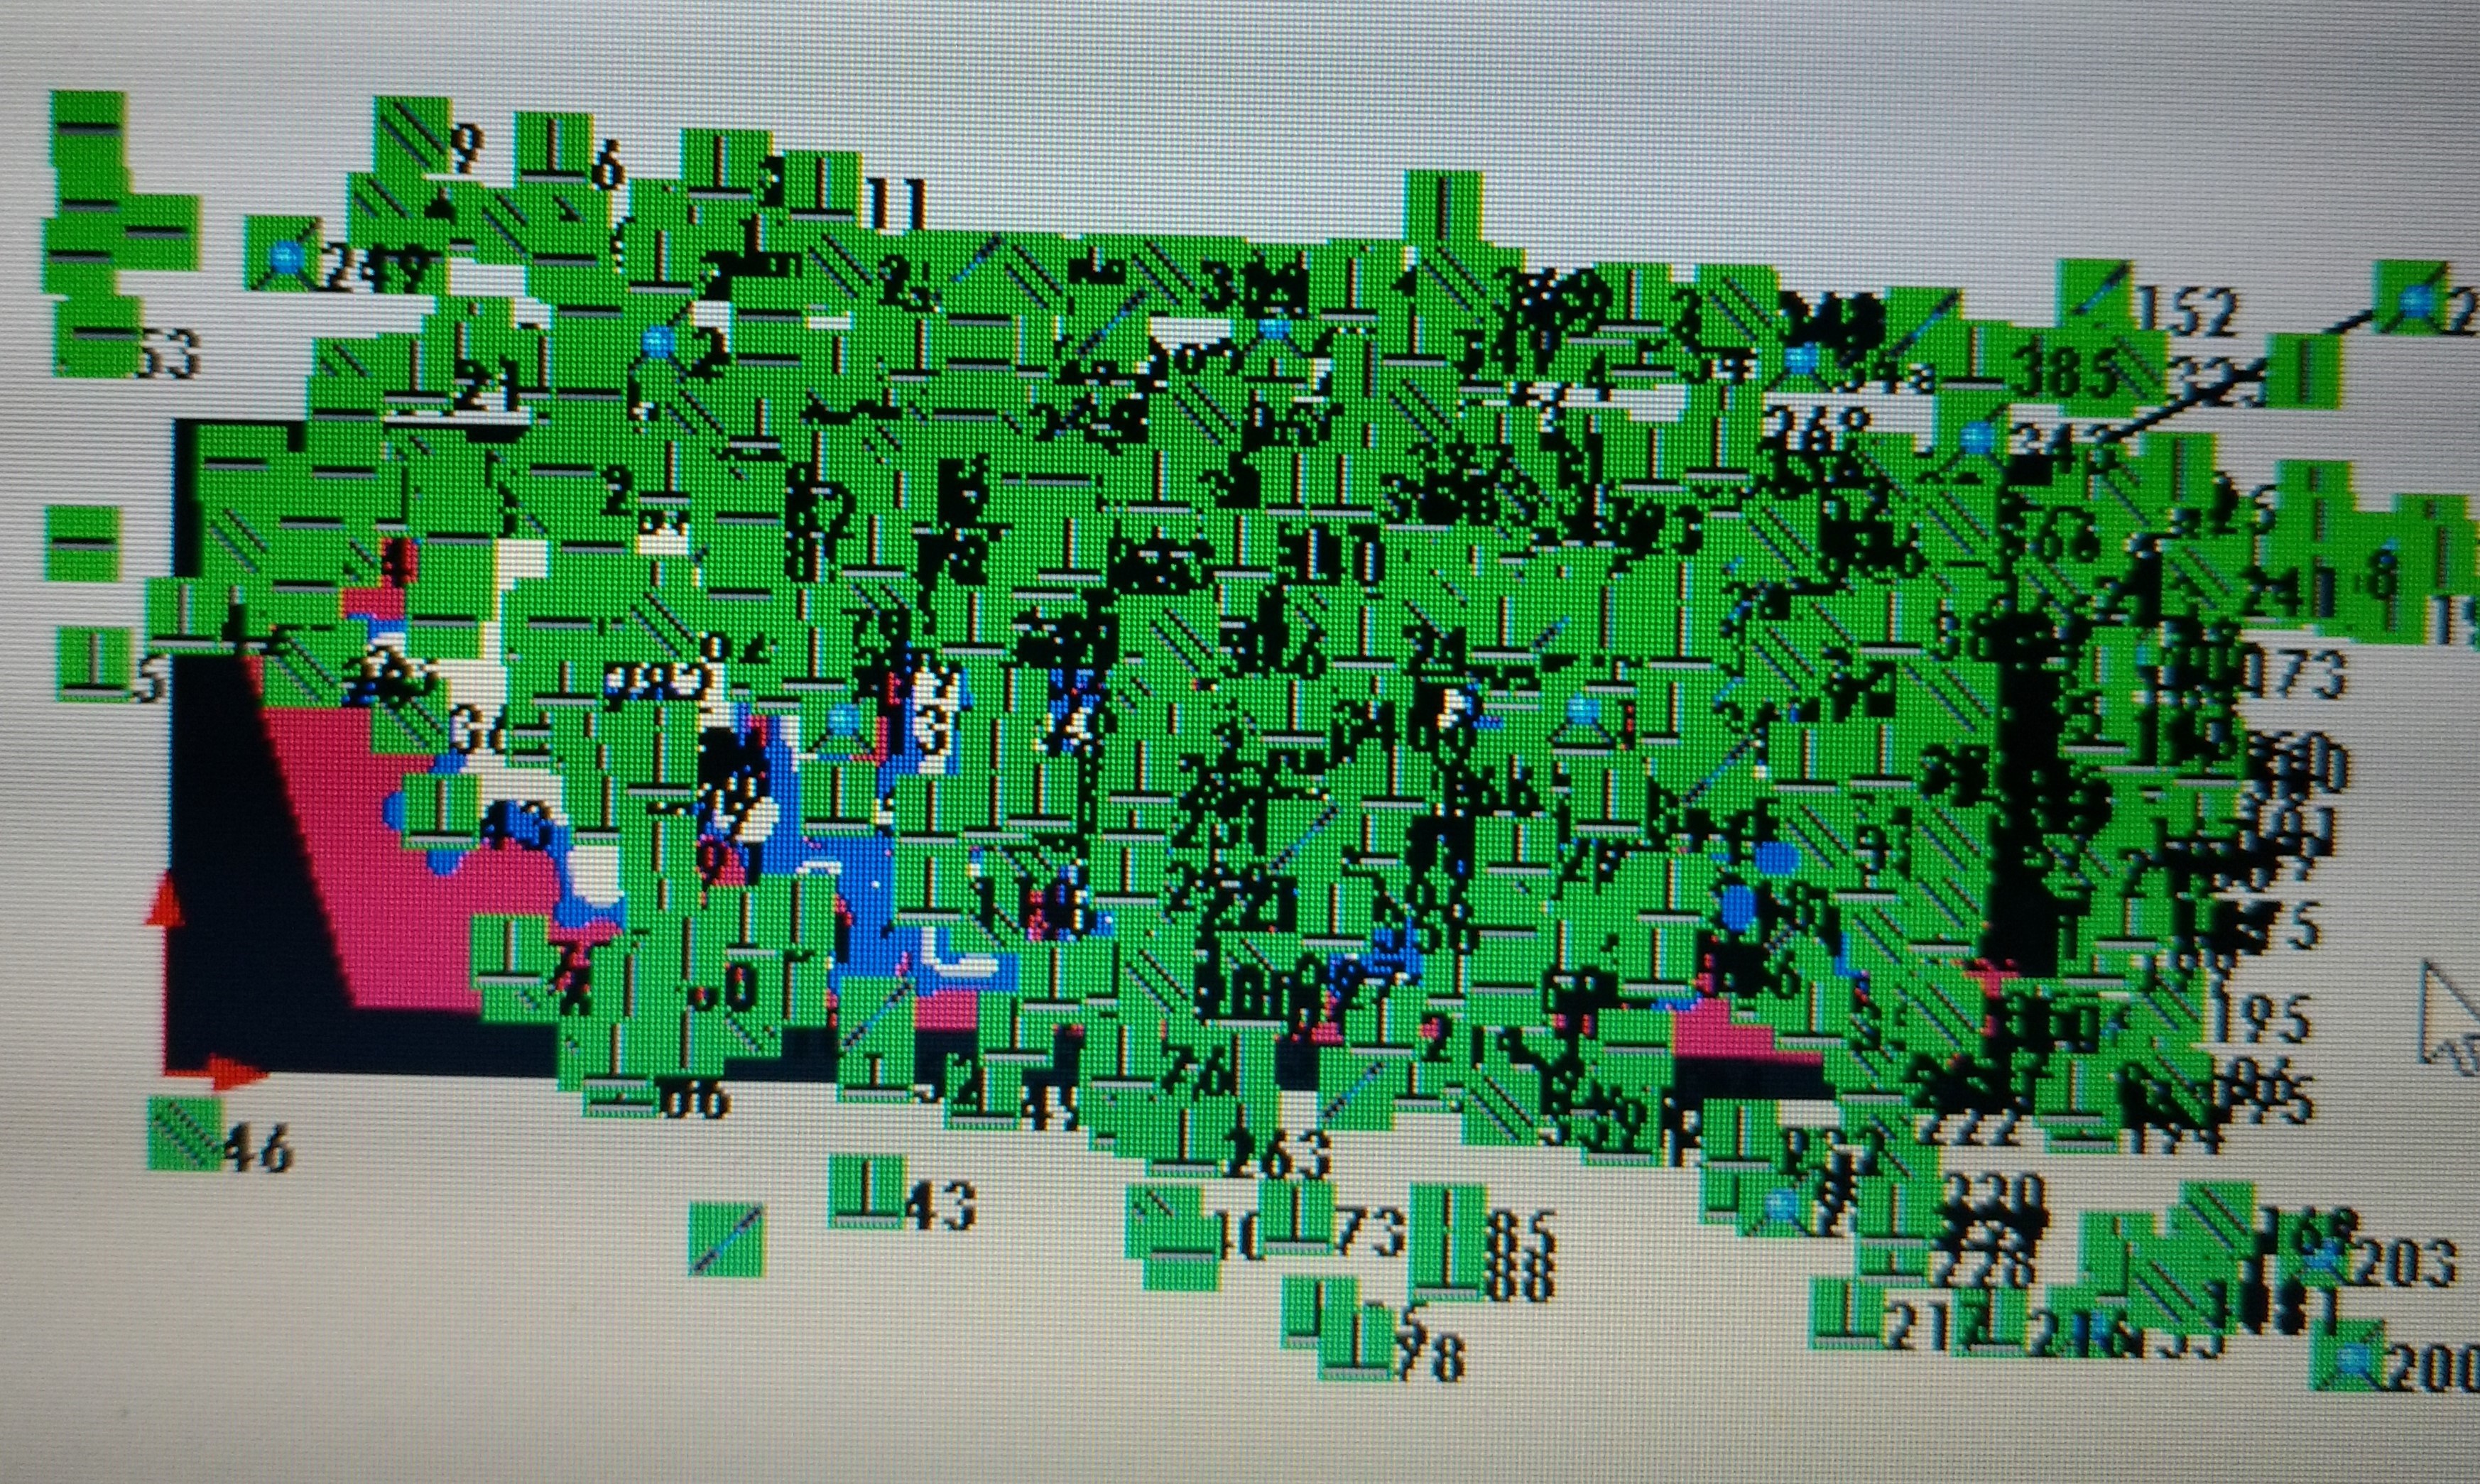
then exported as DXF, but here is the first problem, apparently when i did that it was exported with very low resolution, and i mean very low, i tried to fix it, but i couldn't make it. finally, i decided to go in the hard way, draw a lot of lines so i can approximate a curve with lines.
after that it was time for eagle, i imported the DXF file with the default ULP and it was good to go, phase 1 was completed.
![]()
then i decided to import the rest of the logo as an BMP with an ULP of eagle, so then i head back to photoshop and started to take parts away from the logo, and other things, until i was left with just the typography.
![]()
here is where I got the second problem, every time I tried to import the file, it was either too big or too small, never the right size, I was playing around with resolution, size, and preferences of the ULP, but nothing, it wasn't a big progress, again I decided to go another way, I head back to SolidWorks and started to draw the contour of the logo, so I could import the DXF file, it was a long time, but it work at the end and I could import the DXF file and everything lined up perfectly.
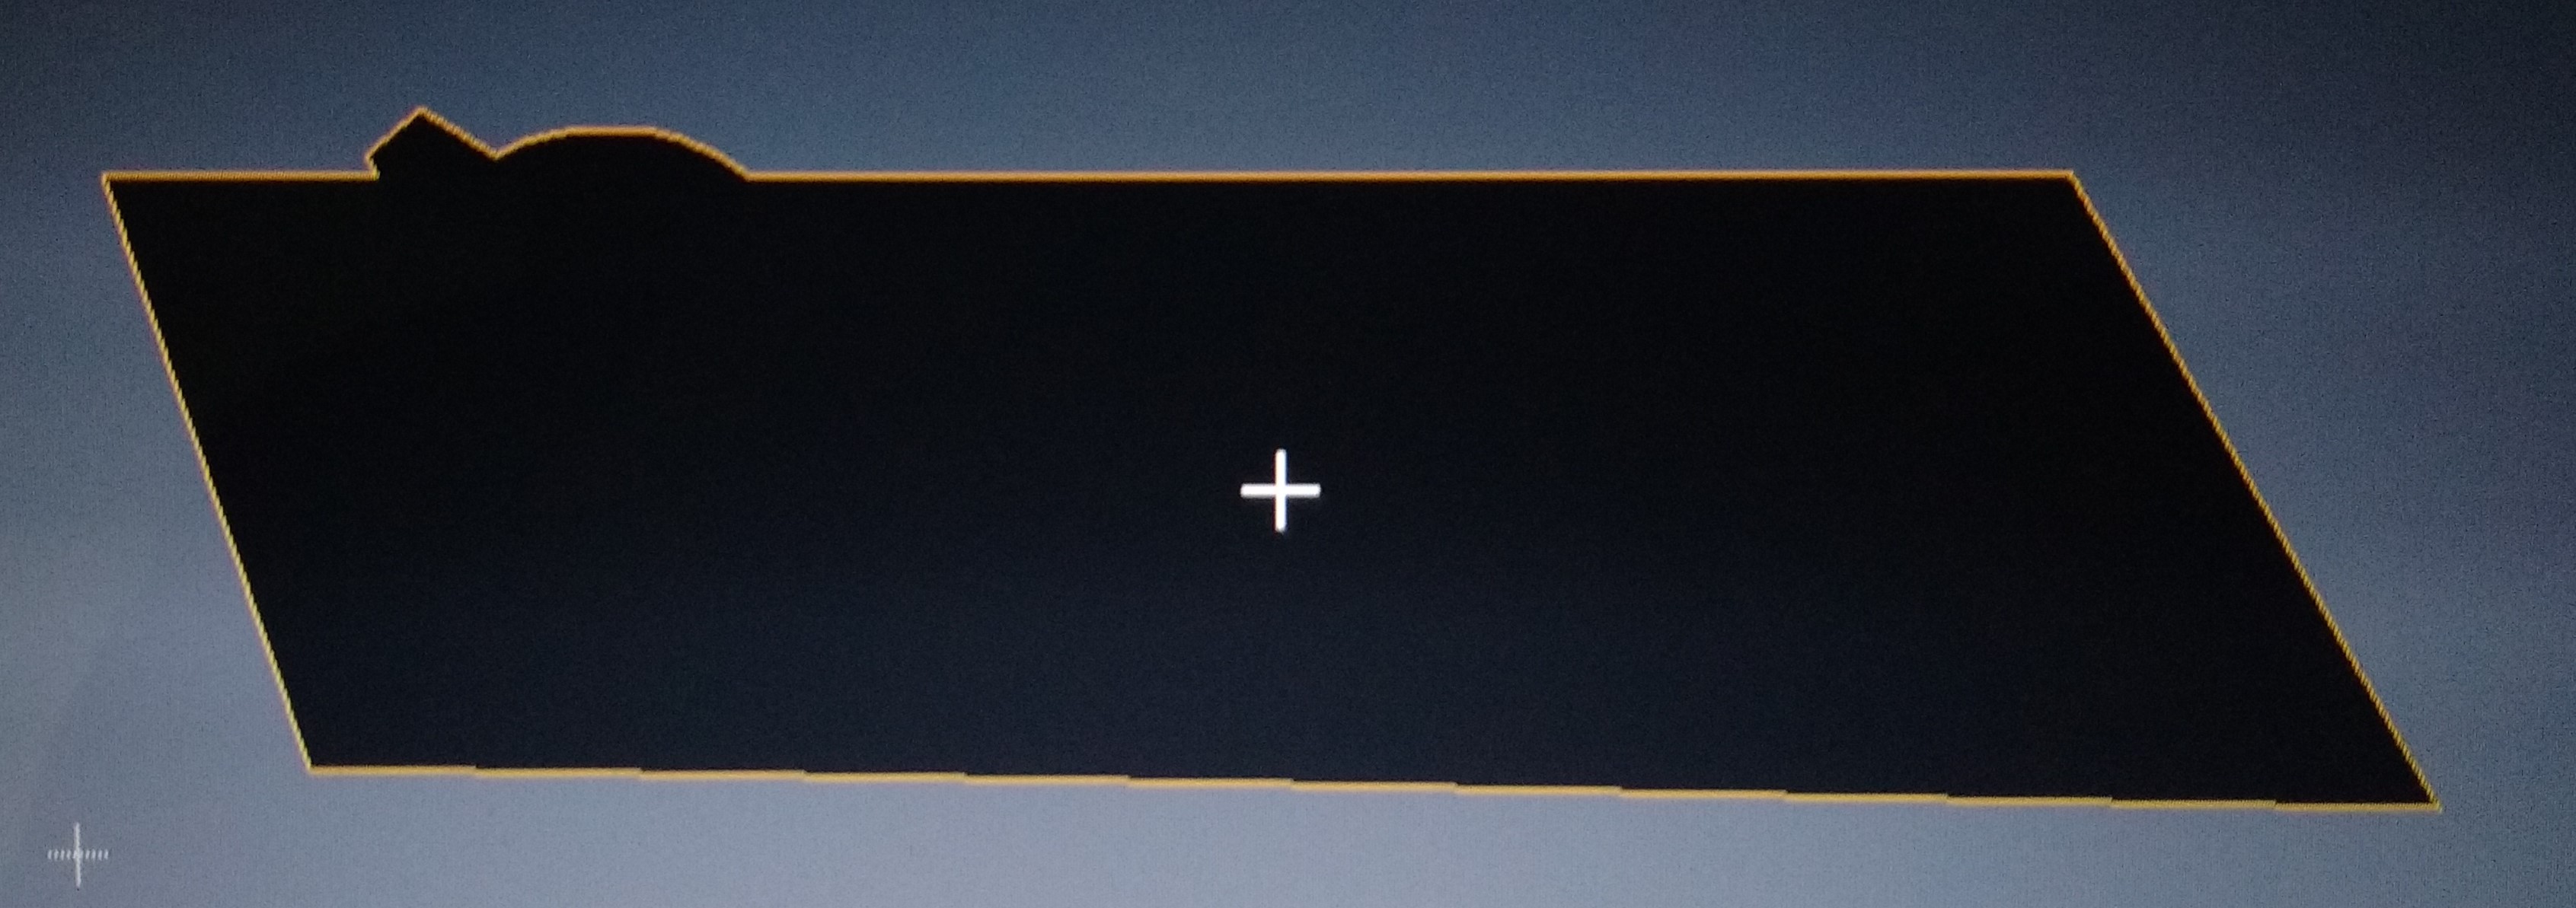
but now i needed to make a poligon to fill the contour of the typography, or leave it and just have a barely noticible logo, but this time i had a line to follow and this process was faster than the first time in Solidworks.
![]()
![]()
the good thing about making this badge with polygons is that the resolution is awesome, i cant say the same about the BMP ULP file of eagle, it takes more time, and i mean more, but the end result is just awesome
Guerra de Robots (robots war) official Badge
My first attempt to make a badge, for an upcoming event of robotics in my college. each year should be one brand new ;)